There has been a lot of focus on the Separatists. They are one of the main affiliations in the core box and have seen a lot of action in tournaments. The release of Count Dooku with the magna guards was a huge boost for the affiliation, but it also left one key character and a key squad type missing from the set-up: General Grievous and super battle droids. Appetite for Destruction solves two birds with one stone, with General Grievous, two B2 battle droids and a super tactical droid (Kraken) available for Separatist players to use in their squad building.
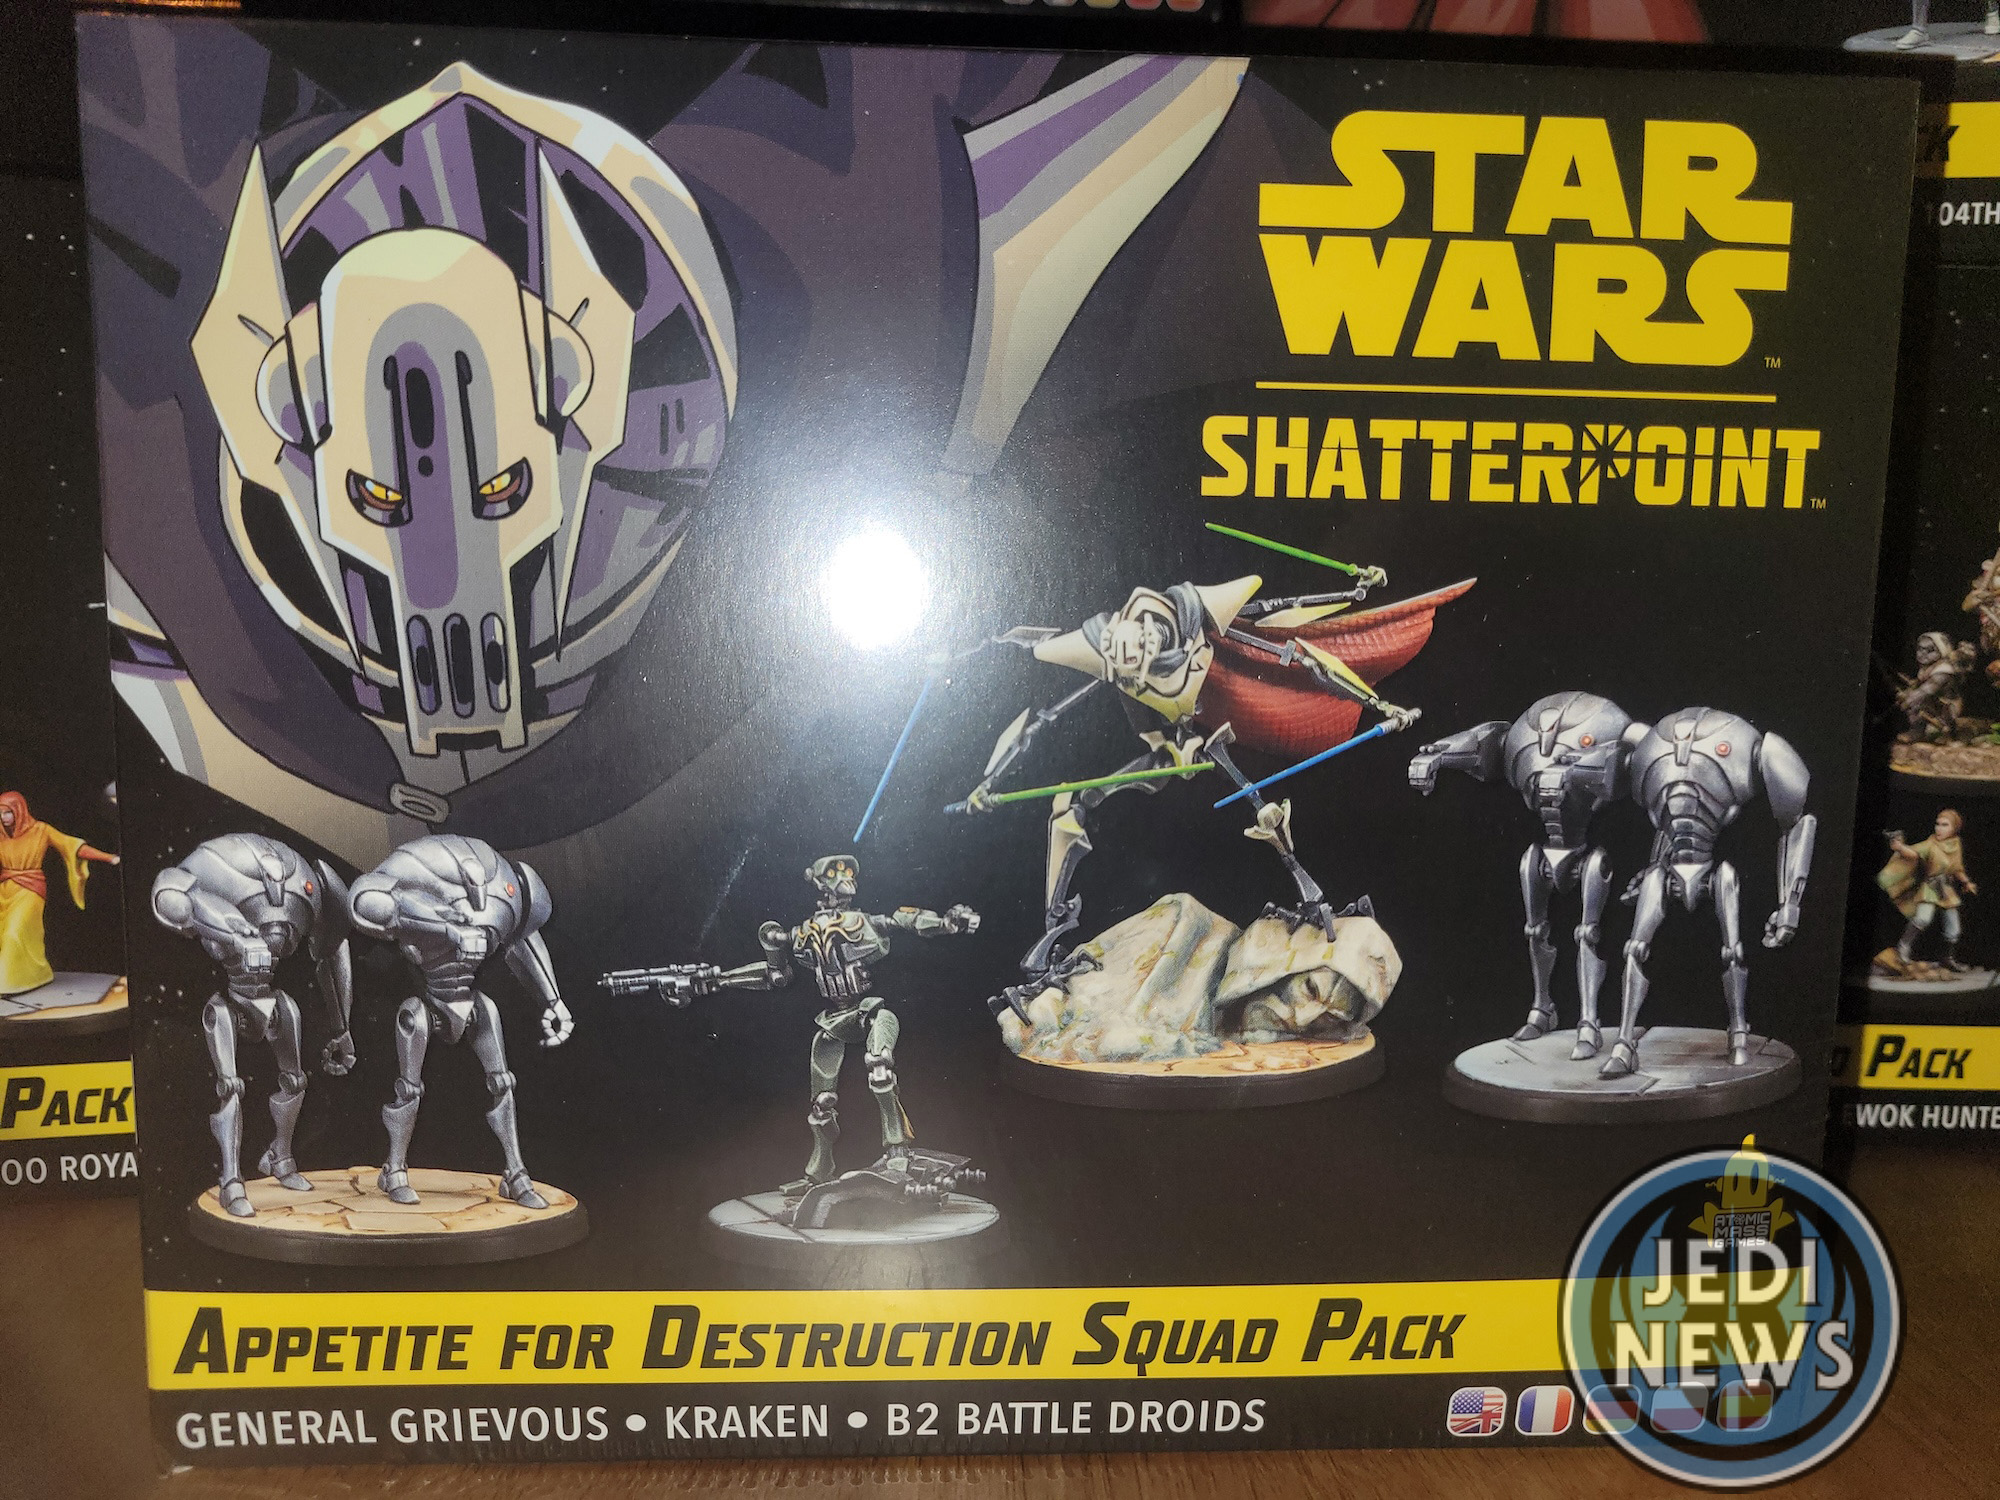
This set really adds a lot of options for players, to have the two main leaders available as well as being able to finally have an almost full ‘droid’ force to face off against the do-good Galactic Republic. For me, it is the latter part of this that makes me so excited. This pack allows players to relive pretty much every Clone Wars battle from the television show when combined with what is currently available. I want to be able to send Anakin and Obi-Wan after General Grievous and see how the battle plays out. I want magna guards rushing to Grievous’ side to protect their general. I want the clones having to deal with droid after droid in a non-stop onslaught. Ever since Shatterpoint has been released, I have always enjoyed the cinematic feel of the game and now having these key characters, I can do that so much more.
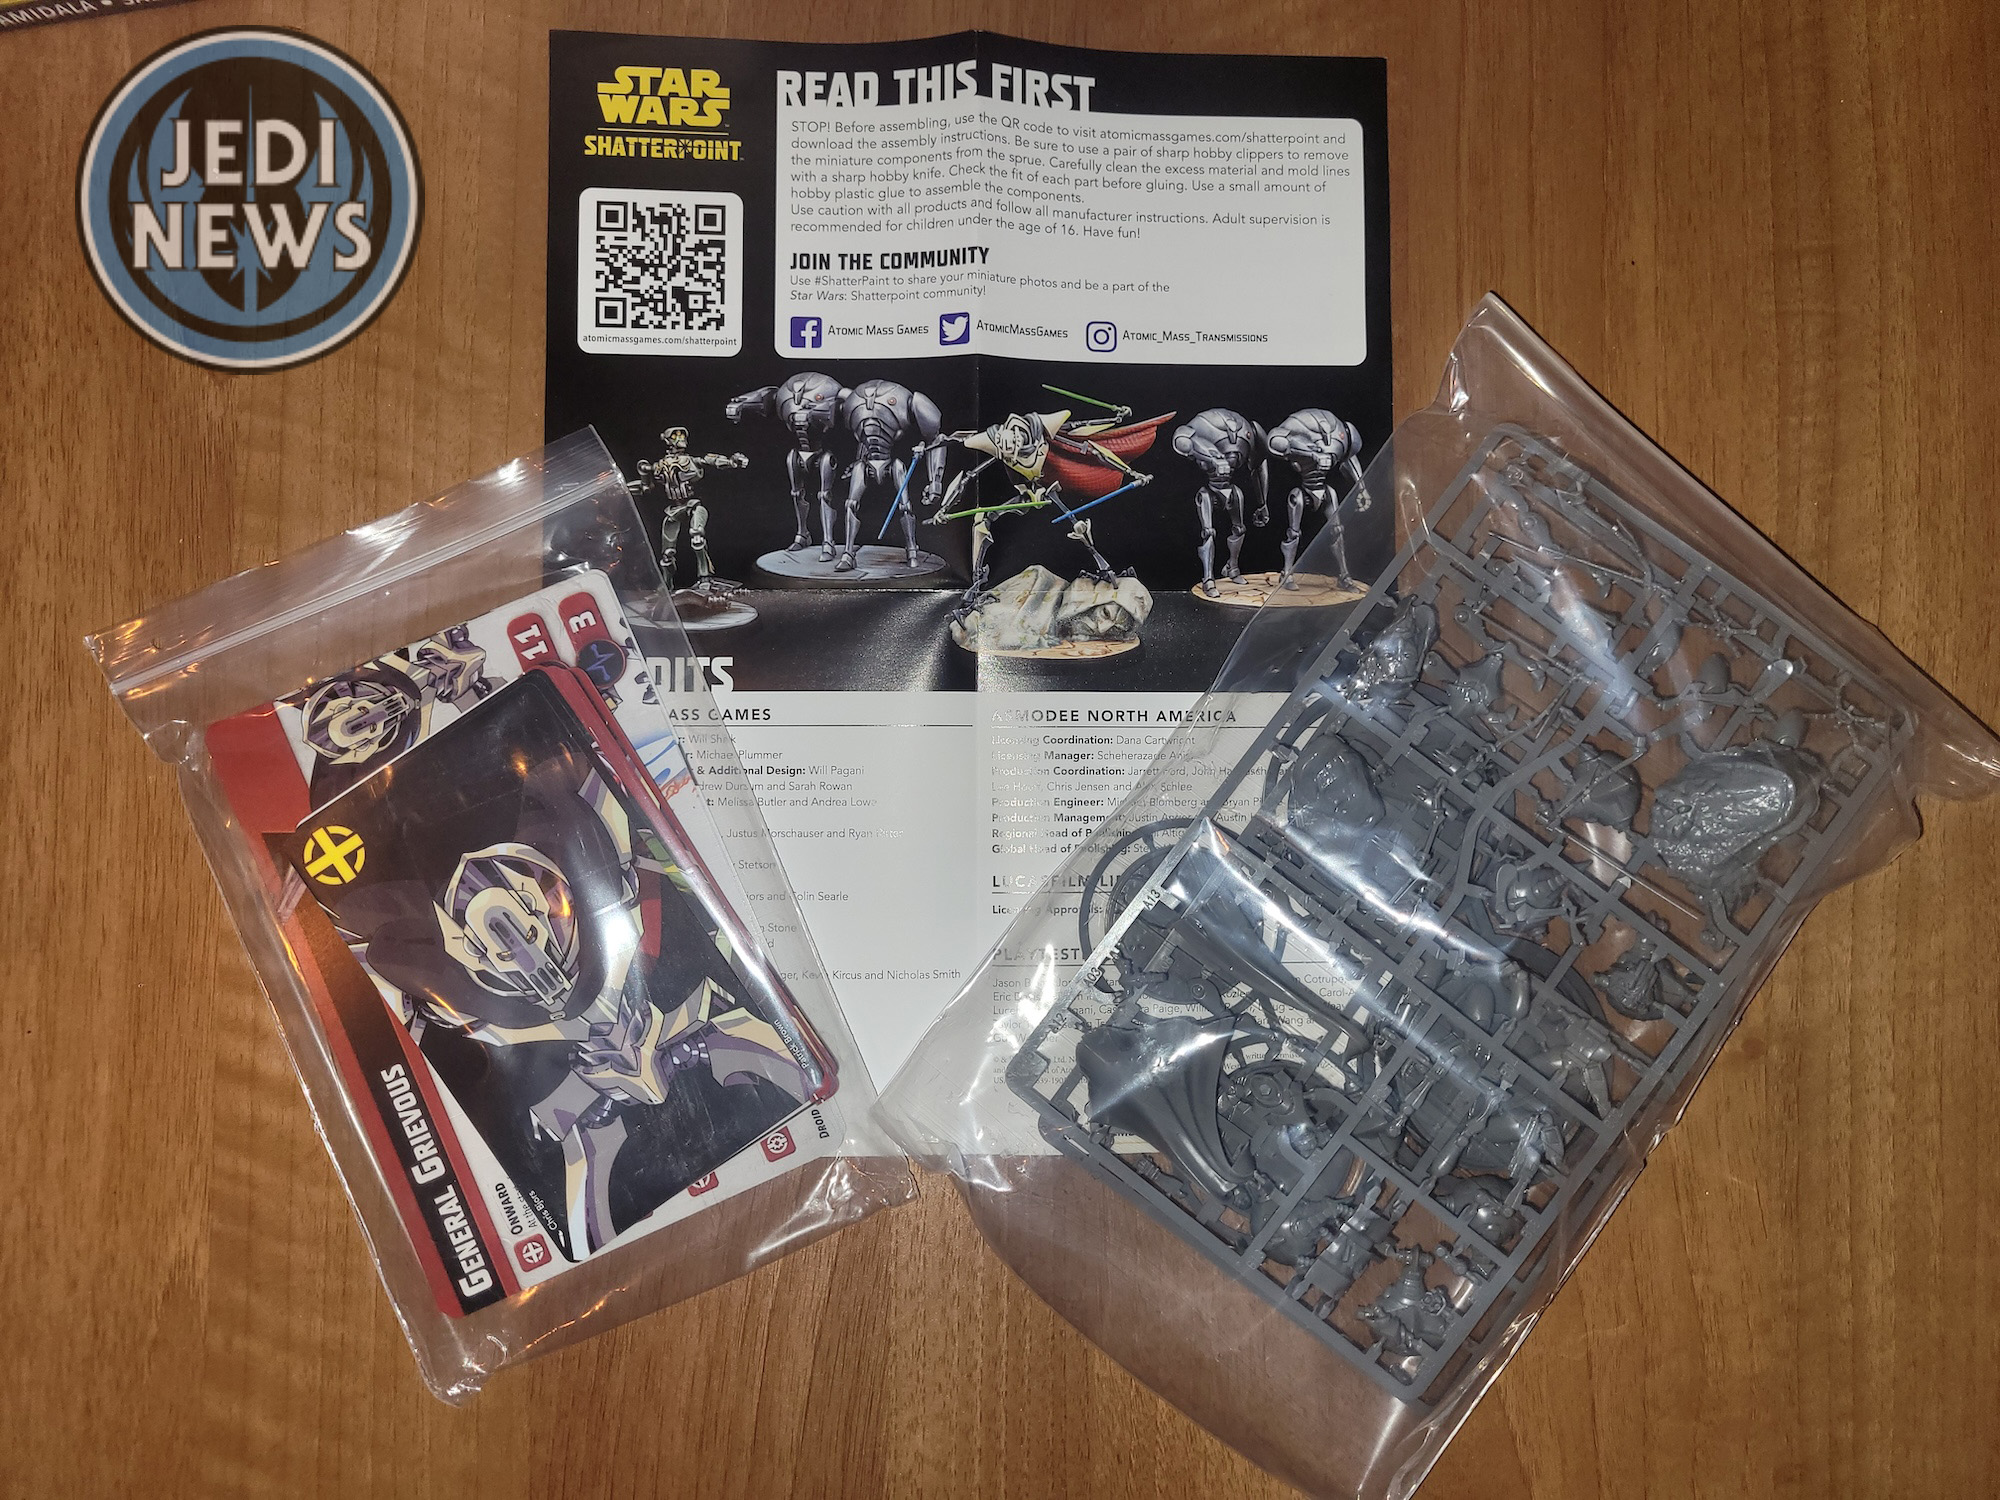
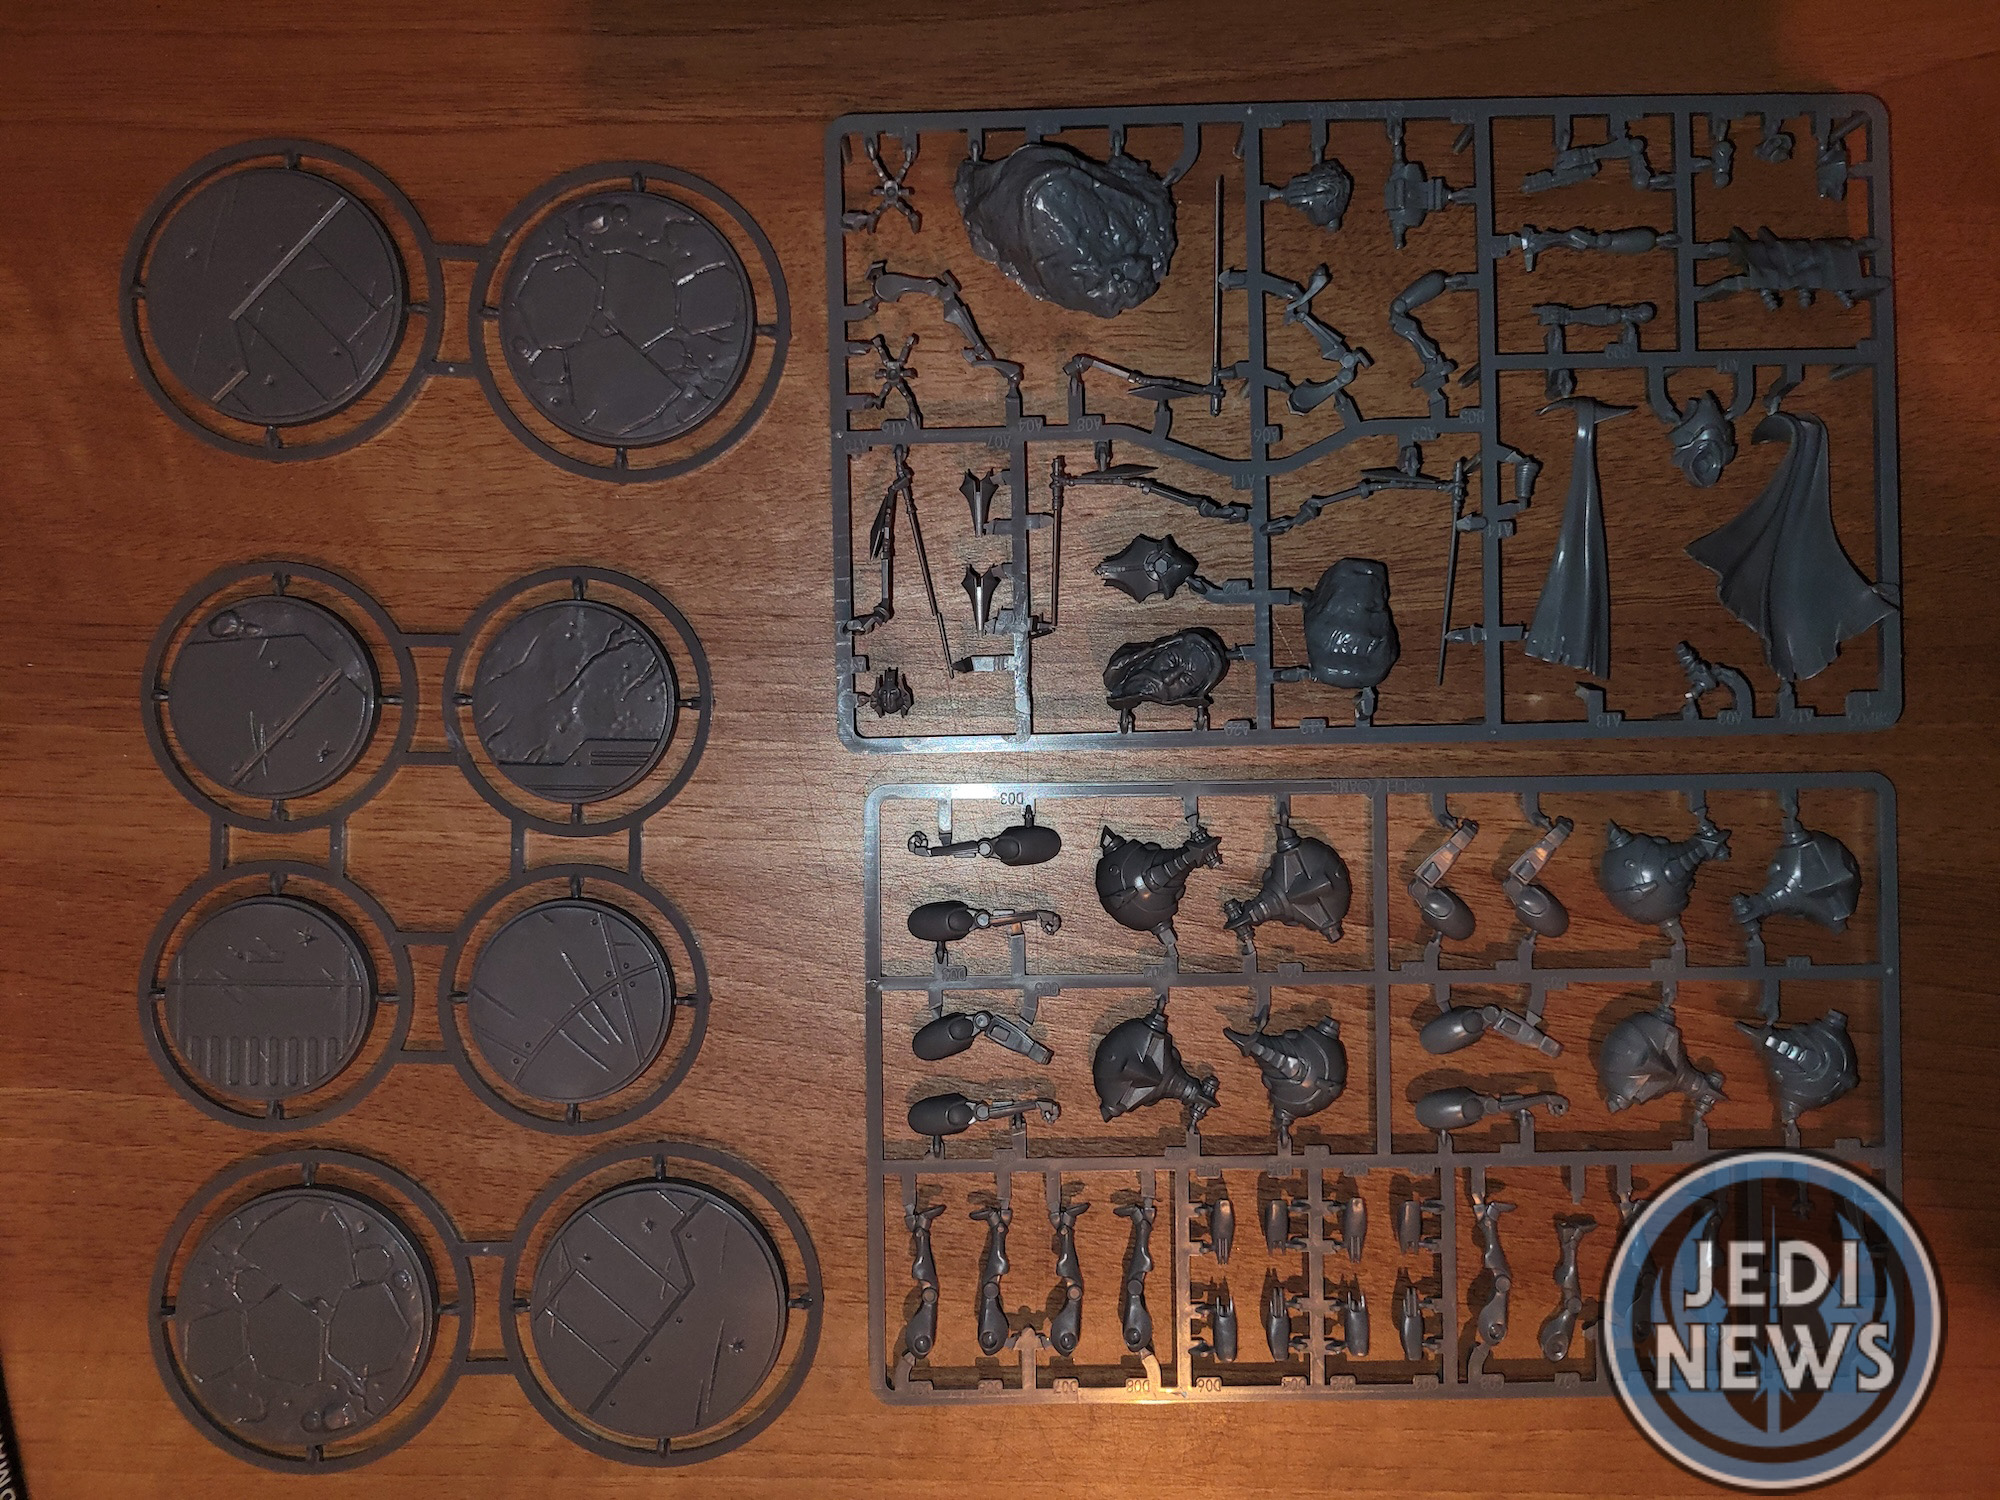
Opening the box, there is everything you would expect: the sheet with the QR code for the build instructions, the cards, and the sprues. It is one of the rare occasions when the squad isn’t all on a single sprue, and the two take up a lot of space! Just be careful that none of the pieces have fallen off the sprue, one of the super battle droid’s legs on mine had come away. That leaves us with the elephant in the room, the bases. Unfortunately, when the set was first released, several players found that their boxes did not have enough of the bigger bases to be able to have the super battle droids and Grievous correctly placed. Thankfully this has now been corrected. It is unfortunate for those players it has happened to, yet I’m rather pleased that now in the set you get four larger bases and four smaller bases. This means that there is a spare large base (very useful to have) and three spare smaller bases. When you are trying to mix and match different style bases, having some spares to switch out can be immensely helpful.
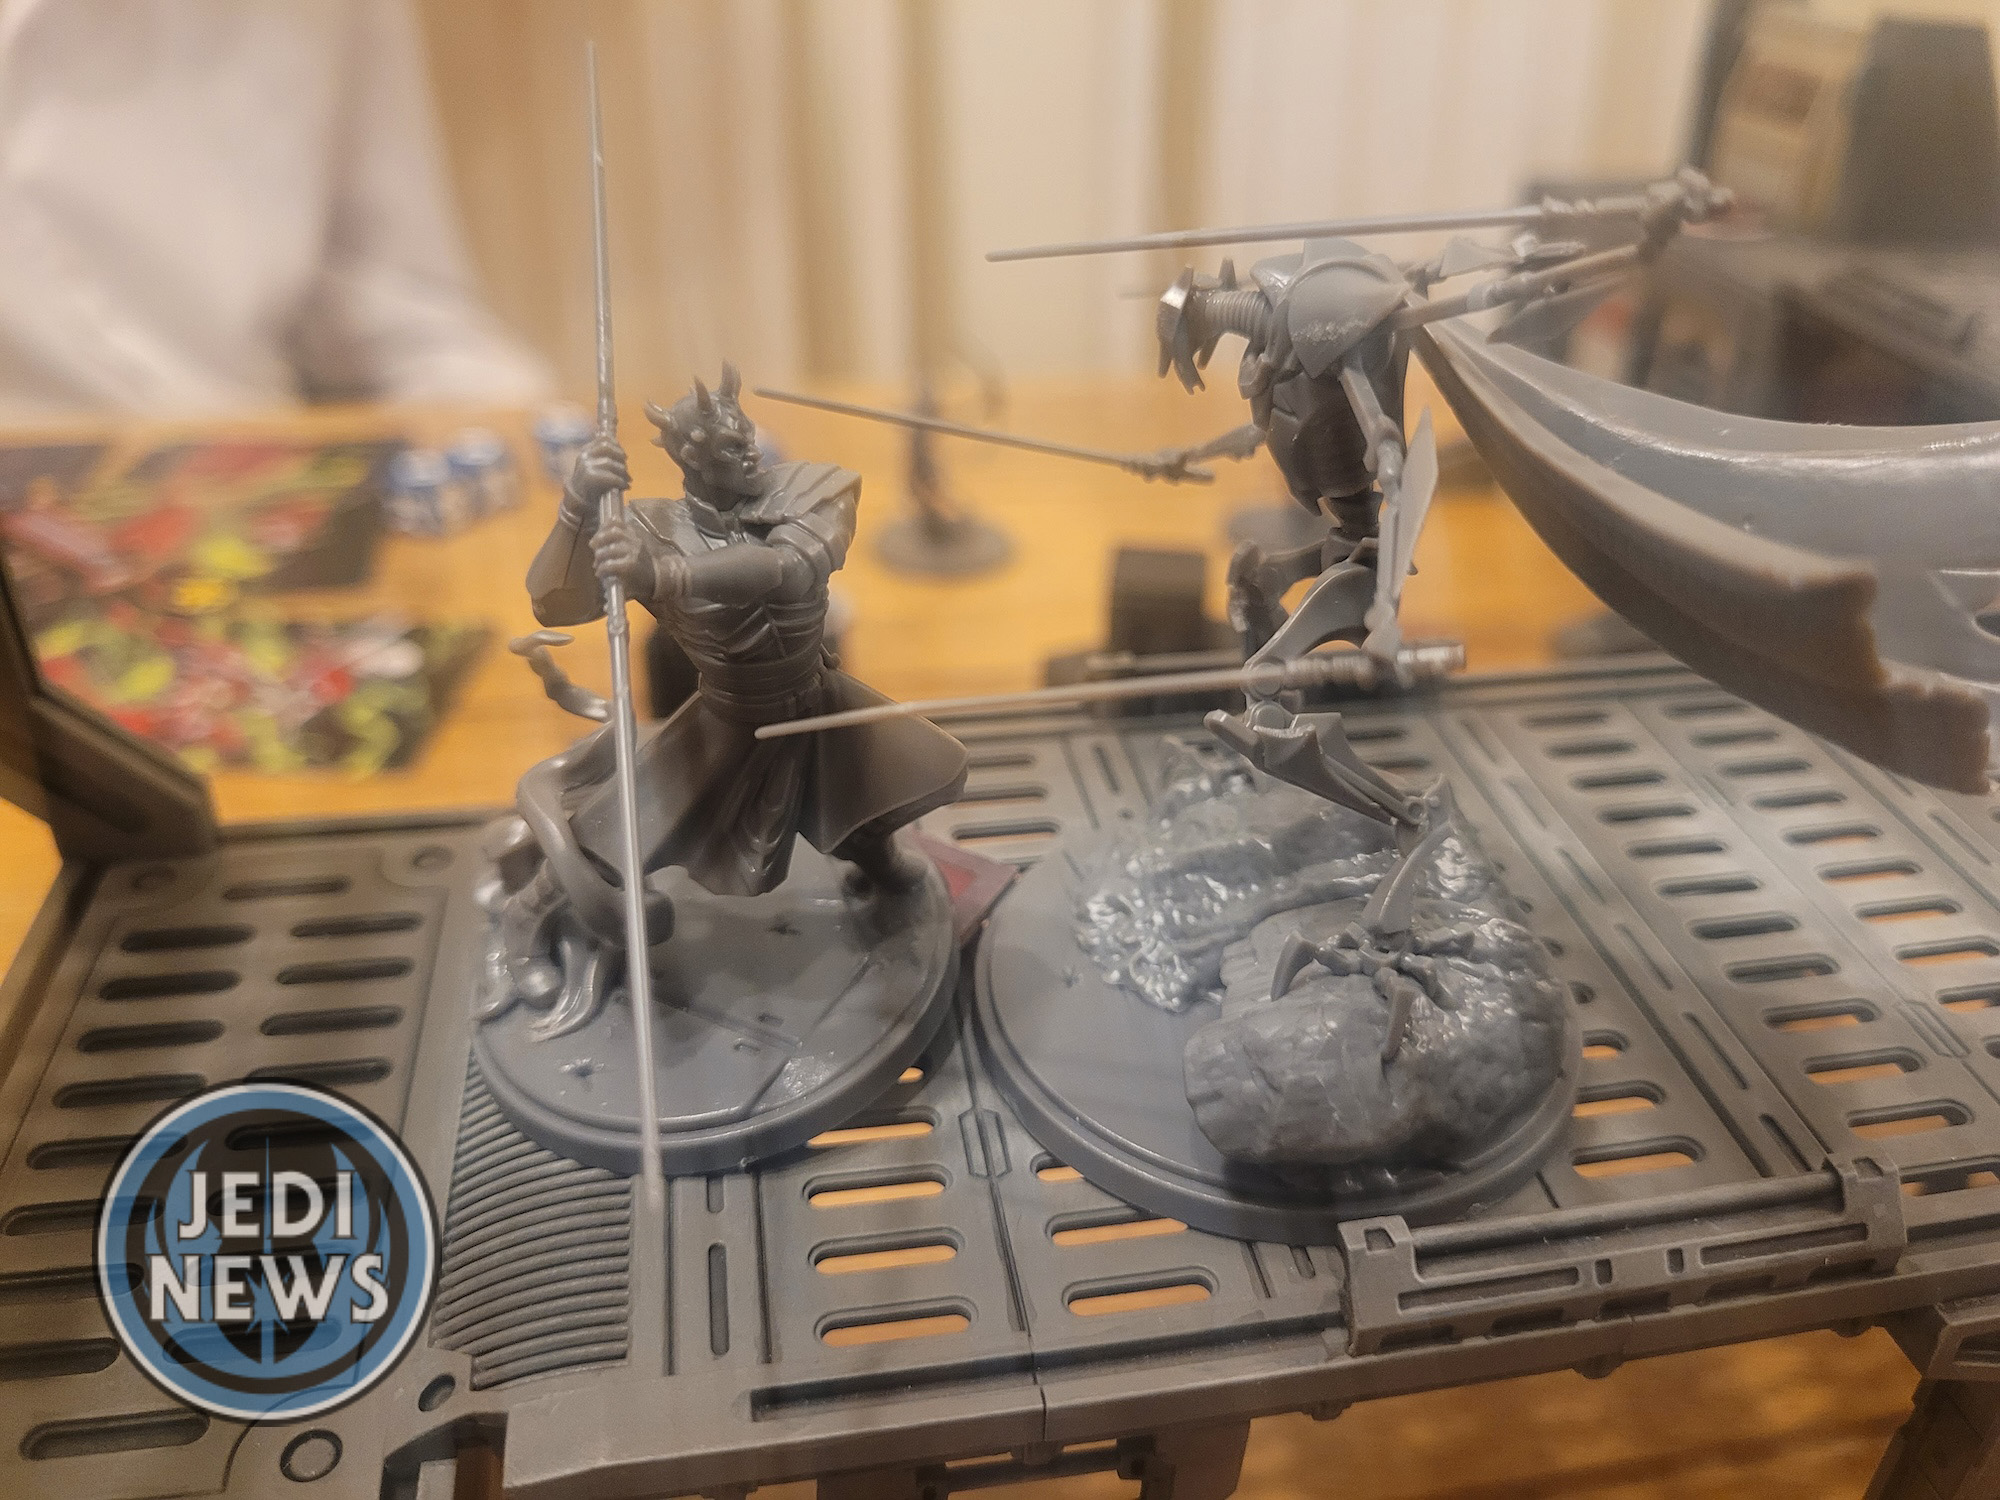
This brings us onto the builds themselves. First – of course – is the general himself: Grievous. Just looking at the instructions, you can see that this is going to be a rather time-consuming figure to put together, with sixteen steps before you get to the final, completed model. As I said at the start, there is a lot of sprue in this box and unfortunately that creates a problem for this model. I hadn’t even noticed till I started clipping some of the pieces, but if you zoom in on the sprue above, you might see the issue: broken lightsabers. Grievous has four lit lightsabers. I mean, it’s bad enough dealing with one on a sprue let alone four. On mine, two were already broken inside the box. A10 in particular is going to be prone to this as it comes out of the sprue. I had already had worries that this would happen on the game board, just due to the sheer number of them, but it happens before even assembly has started. What frustrated me more was it was the same side that both sabers had broken. I mean two unlit sabers would work if Grievous had one on each arm. So, the solution? Either cut them off and have them unlit, try and glue them back or get a metal rod and pin it on. I thought I would try to glue them, as what did I have to lose. I didn’t expect much hope with this, as I’ve seen on some of the Facebook groups that the blades are too fine. I did have one advantage, both pieces were still attached to the sprue. With very careful gluing (and I would certainly recommend a thin glue for this), I was able to get them glued together and looking relatively undamaged. Making sure the glue had completely set, I cut them from the sprue without problem. It wasn’t easy and required a lot of patience. I do wonder how well they will survive game play, but that’s a problem for another day.
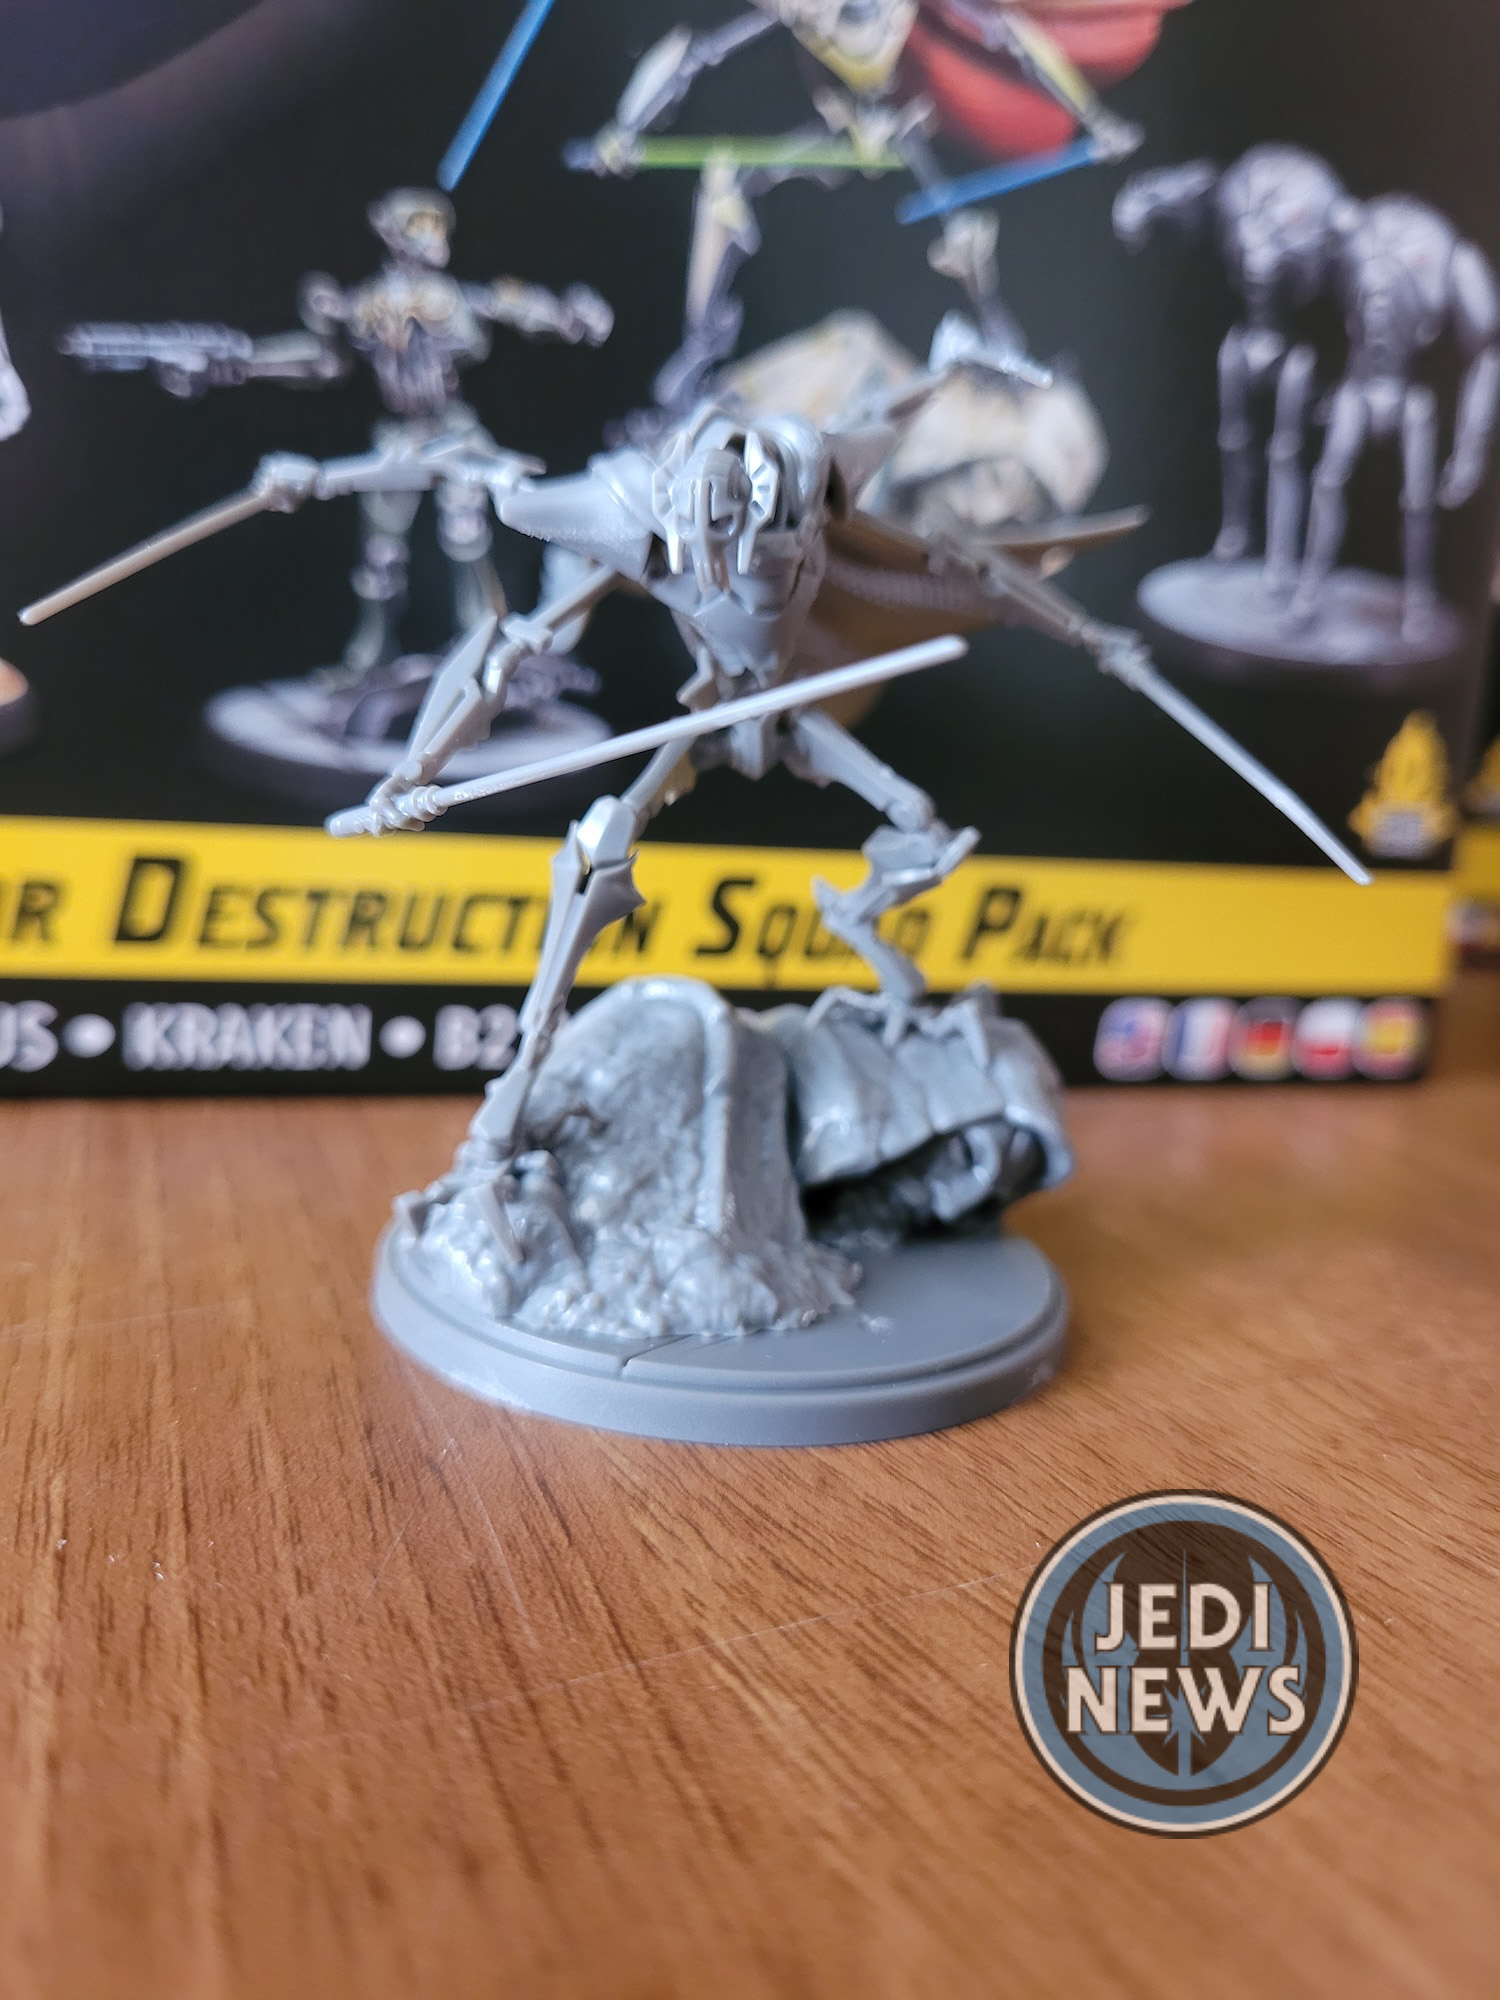
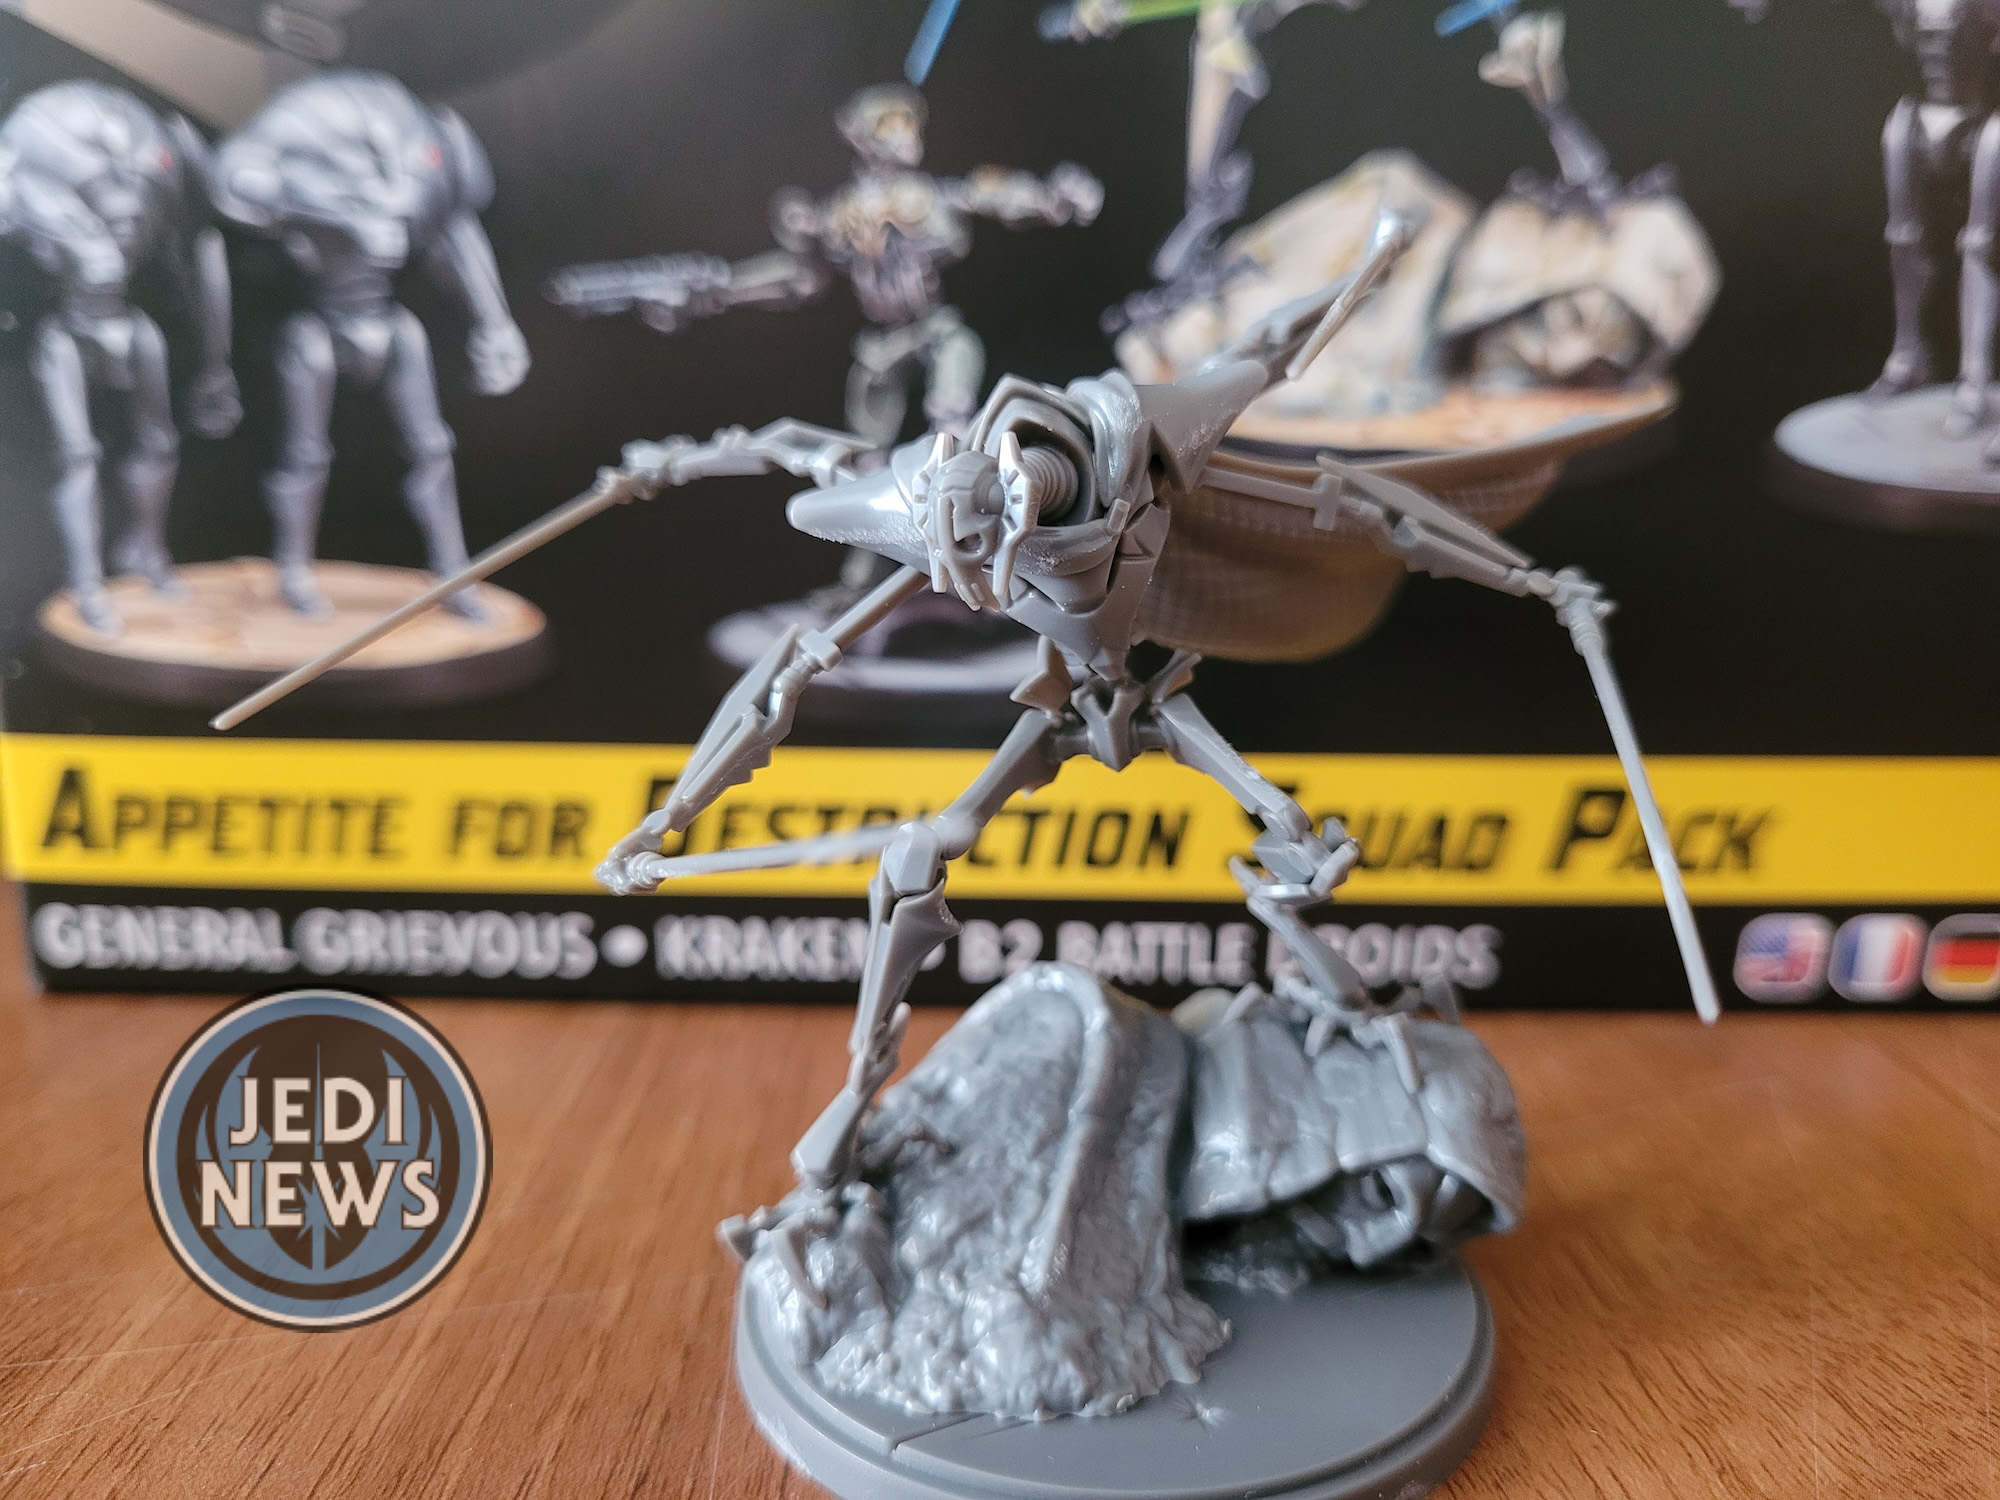
Even if you are lucky to have lightsaber blades that aren’t broken, there are a few pieces that can be a bit tricky. The cloak is in two pieces. Attaching the first is easy, the second, which comes with a clasp and must attach to the rest of the cloak can be frustrating. I would first glue the clasp and where the cloak connects to the shoulder. Once this is done, glue the cloak to itself so you can properly line it up. The next thing I changed was the head and neck. I attached the neck first to the body to ensure it was in the correct orientation before then attaching the head. Finally, for attaching the feet to Grievous, I actually assembled the base and attached the feet as there are grooves that hold the feet brilliantly. Doing it this way meant I could then line Grievous’ legs up a lot easier before attaching everything together. There’s no getting past that this is a complicated model to put together. There are four lightsabers that you must keep working your way around to ensure you don’t damage them.
Grievous is the trickiest model so far that I’ve had to assemble from Shatterpoint. Four lightsabers on a thick sprue with another sprue and bases included was always going to be a recipe for disaster and part of me wonders if Atomic Mass were a little ambitious to try and get this done in the normal sized box. However, when you look at the completed model it is glorious. They capture the general perfectly and he does look imposing – as he should. The sculpted base looks impressive, even more so because – let’s be honest- it completely looks like he’s crushing Obi-Wan! On the battlefield he will be an impressive sight. I’ve just got to hope those lightsabers don’t get damaged!
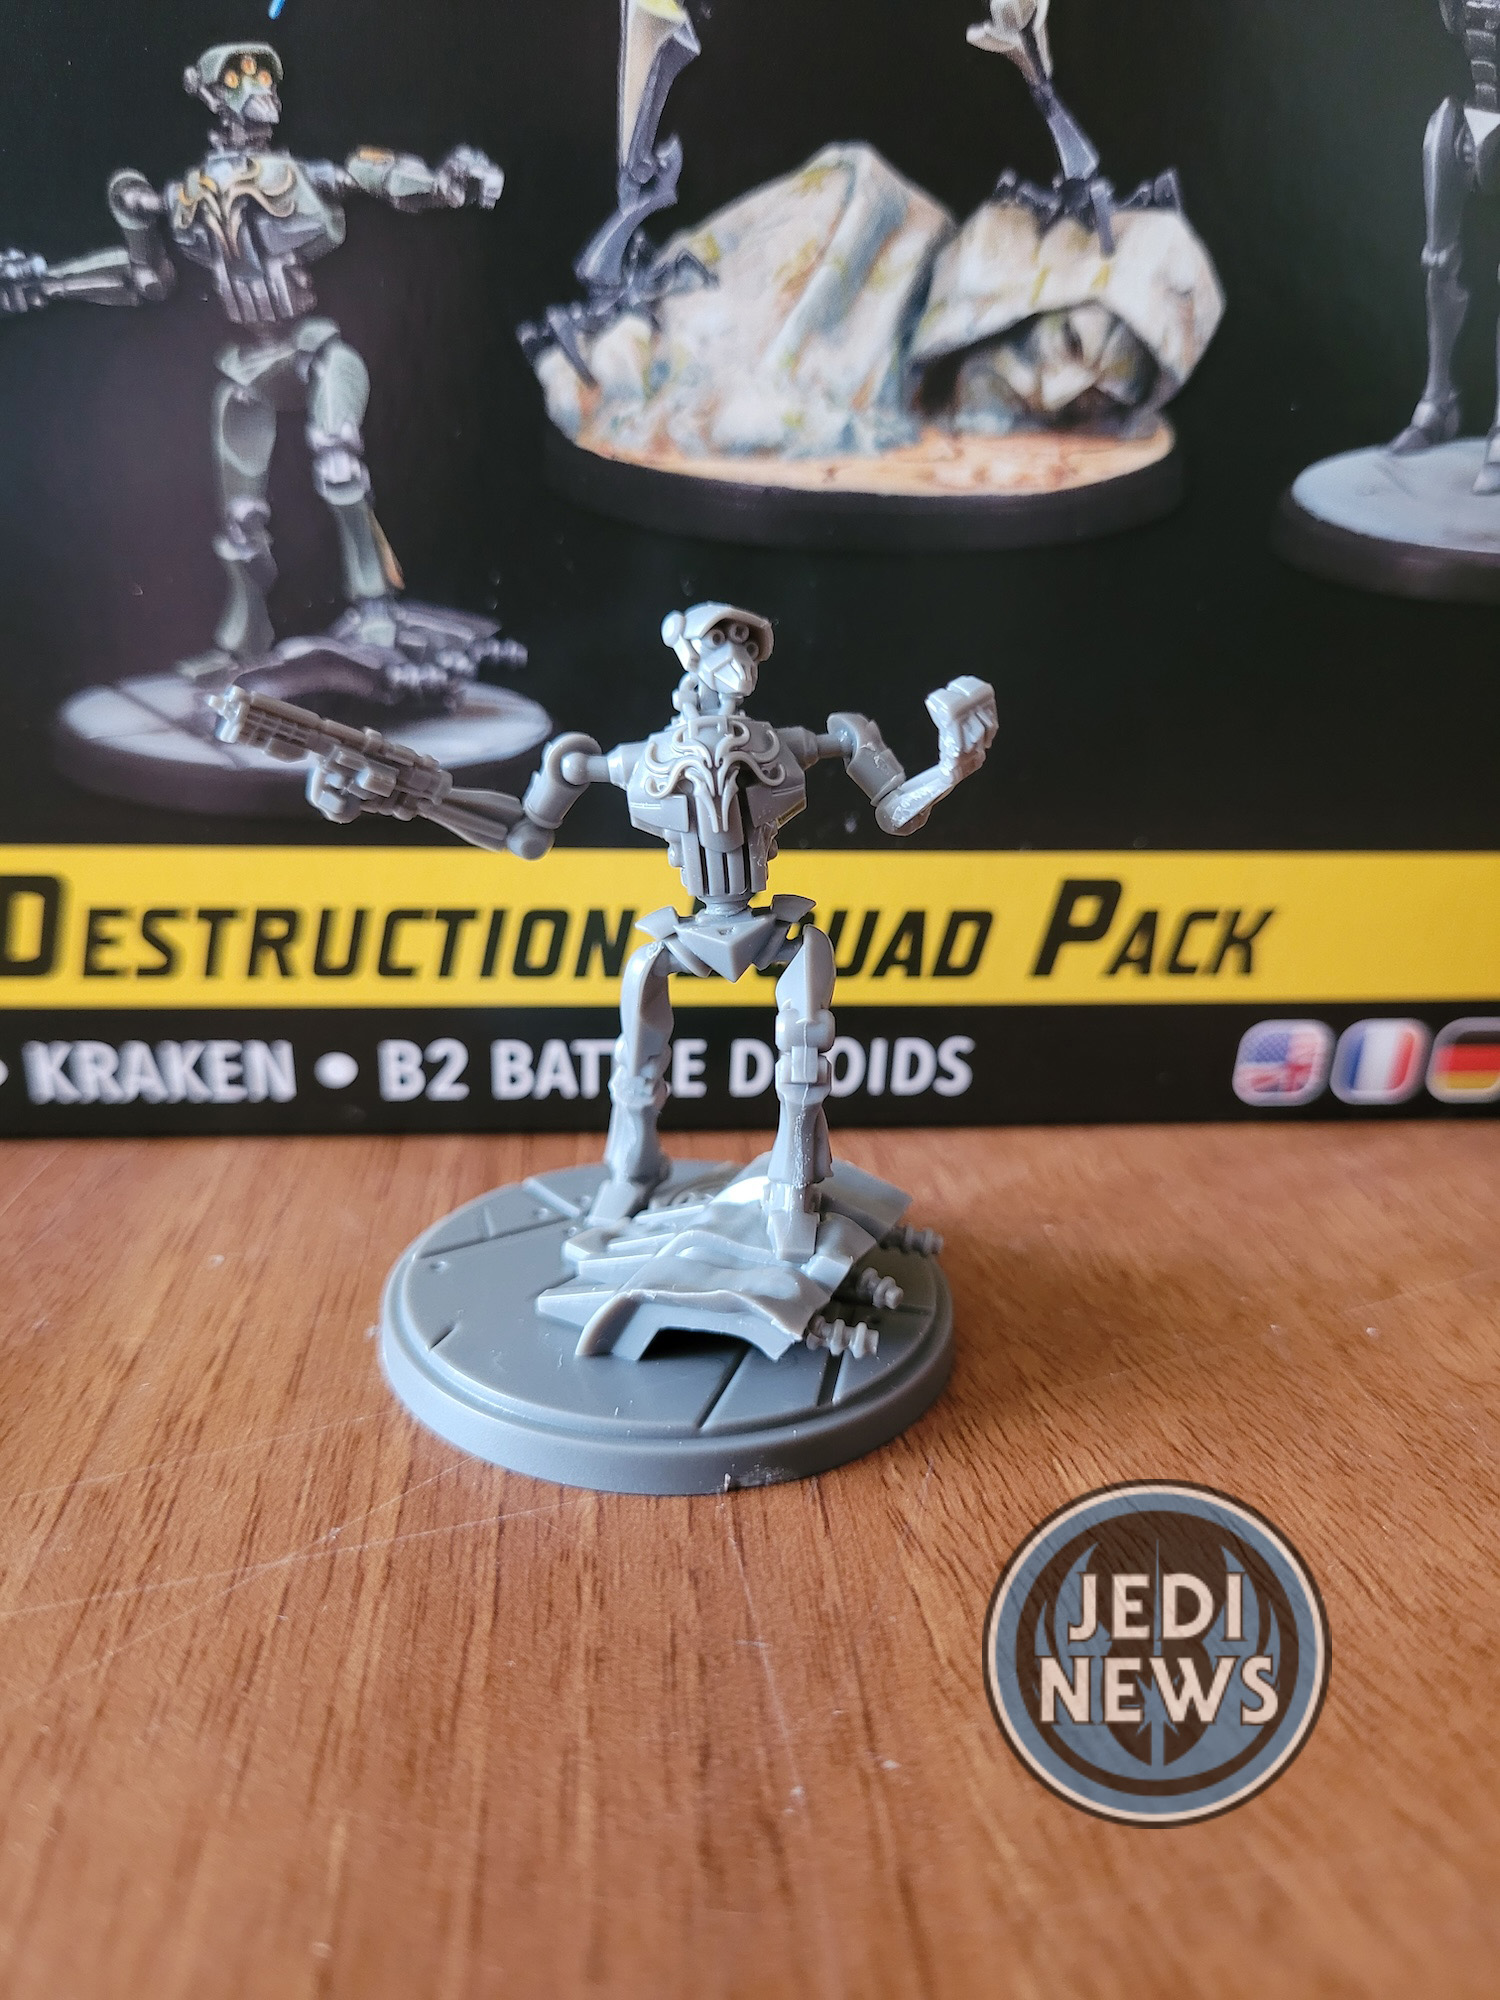
Next up is the super tactical droid: Kraken. I found with the last super tactical droid that I had to be careful with the legs. Although my first warning would be, make sure you don’t cut the peg off part B03, it’s very close to the sprue and is very easy to miss. Once I’d assembled the body, I bypassed the head and arms, and headed straight to the terrain and legs, to ensure that Kraken would stand up correctly. I glued the whole thing to the base before moving back to do parts four to seven. The rest of the build is fairly straightforward. There are alternate left arms to use, but I went with the one not on the front of the box. This one is different from the pose in the core set, so I preferred it, but I do like that there is an option to change it. The model itself I love. The pose, the clenched fist, the rubble at the bottom, I prefer this to the one in the core. There’s just something more dynamic about him.
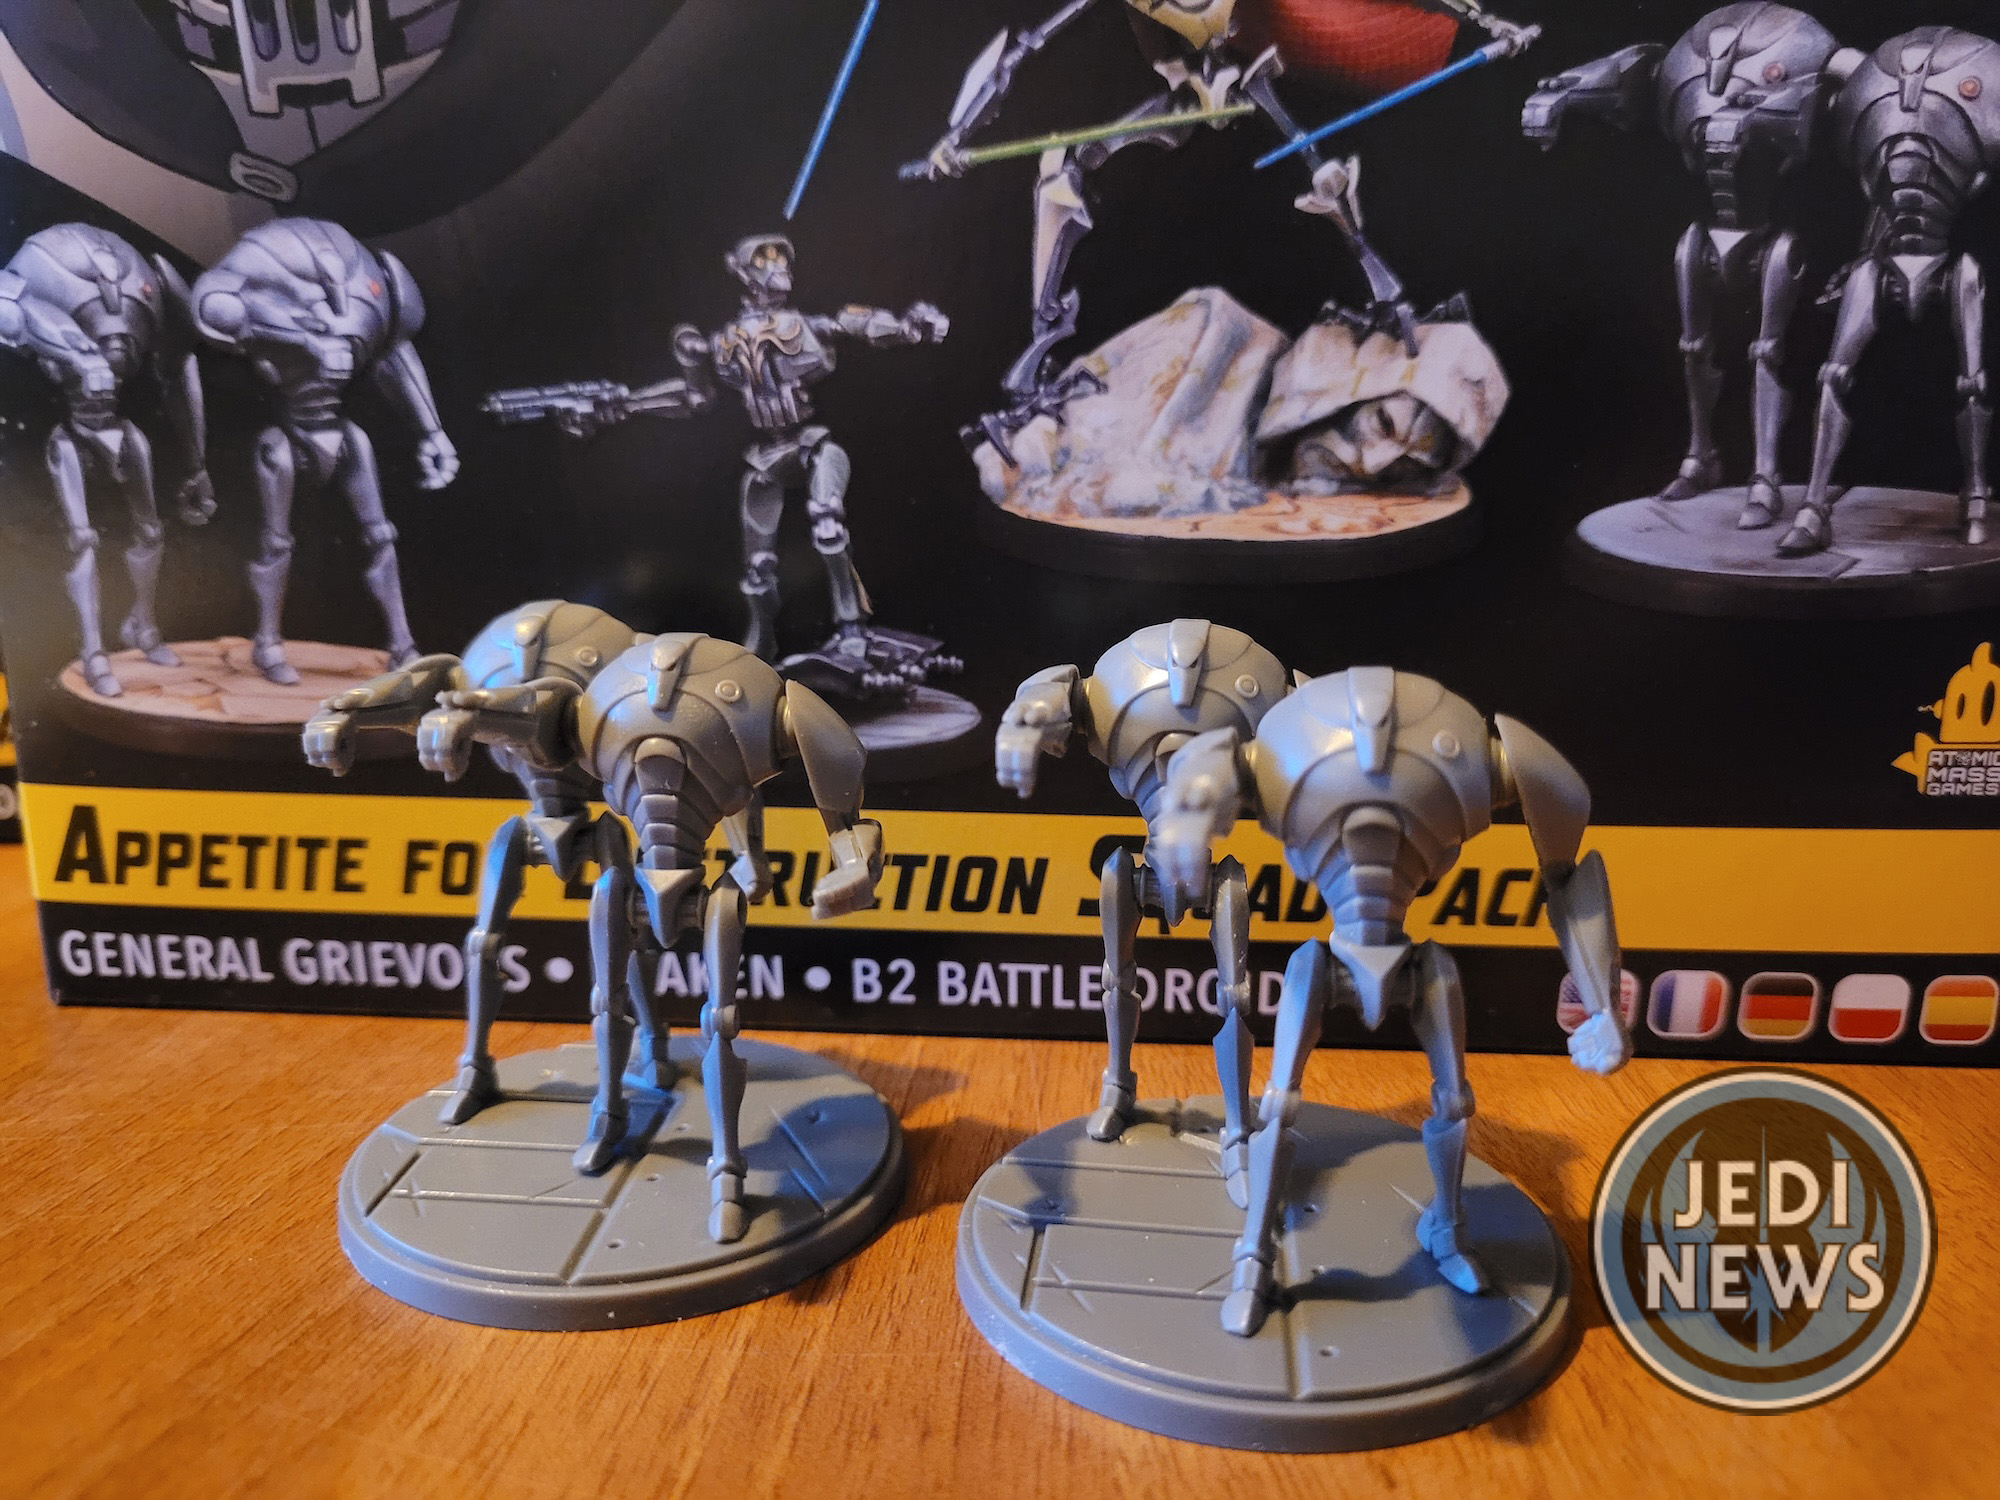
Then it’s time for the two sets of B2 battle droids. The two sets are identical, so although you will be making four droids, there are only two different poses. Thankfully these characters are very easy and simple to put together and shouldn’t cause any real issue. I could perhaps say that there needed to be more dynamic differences between the two models, but I actually really like it. When I expect a horde of battle droids attacking me, I see them in the rows upon rows we saw in Attack of the Clones, and this really brings this to mind.
With the models built, let’s take a look at the cards. Grievous looks terrifying. His abilities are pretty good and as you’d expect. He can spend a force to gain scale and then move. When he activates, another droid unit within four can dash. The ones I really like are for a cost of two force, every other unit that is engaged with Grievous (bar the one he’s attacking) takes two damage. In the right circumstances this will work really well. Even if it doesn’t, it will certainly make opponents think about rushing more than one unit in. Which is precisely what you want them to do when you look at Grievous’ stance card. The first side is ‘cunning warlord’ which allows Grievous to do a ranged attack and when he is defending, he can actually move. Very keeping with the character. However, the horrendous side is the ‘quad arm attack’ that takes away the movement and ranged attack and instead gives Grievous the possibility of doing eleven damage in a single attack. Gulp! So, your opponent is going to want to have more than one unit engaged, but then they fall prone to Grievous’ ability. If that wasn’t enough, if you are brave enough to go toe to toe (or should that be claw) with Grievous, if he does wound you (and he’s got a pretty good shot at it) Grievous heals two and if the wounded unit was a force user, you refresh two Force! Oh, I’m going to have fun playing with him; perhaps not so much fun playing against him. He certainly lives up to the reputation he has from the movies, television shows and books that showcase him. Used correctly, he is one heck of a unit.
Kraken on the other hand is far more defensive and all about supporting others. If you want to place him in reserve it costs one less, which is a huge bonus for the player. He is able to move droids when activated, provide tactical network so battle droids can dash, gain hunker, remove a condition or make an attack. All very, very useful when timed correctly, really making your opponent come to hate Kraken. He has a good amount of damage output, particularly when you can also activate ‘tactical network’ to have more battle droids backing him up. But you are certainly going to want to keep him out of engaged combat. He is what I would expect from him being the counterpart to the super tactical droid from the core set. Being able to now run two super tactical droids, could be incredibly interesting. The bonus over Kraken, he costs a point less, allowing you a bit more flexibility in your squad lists.
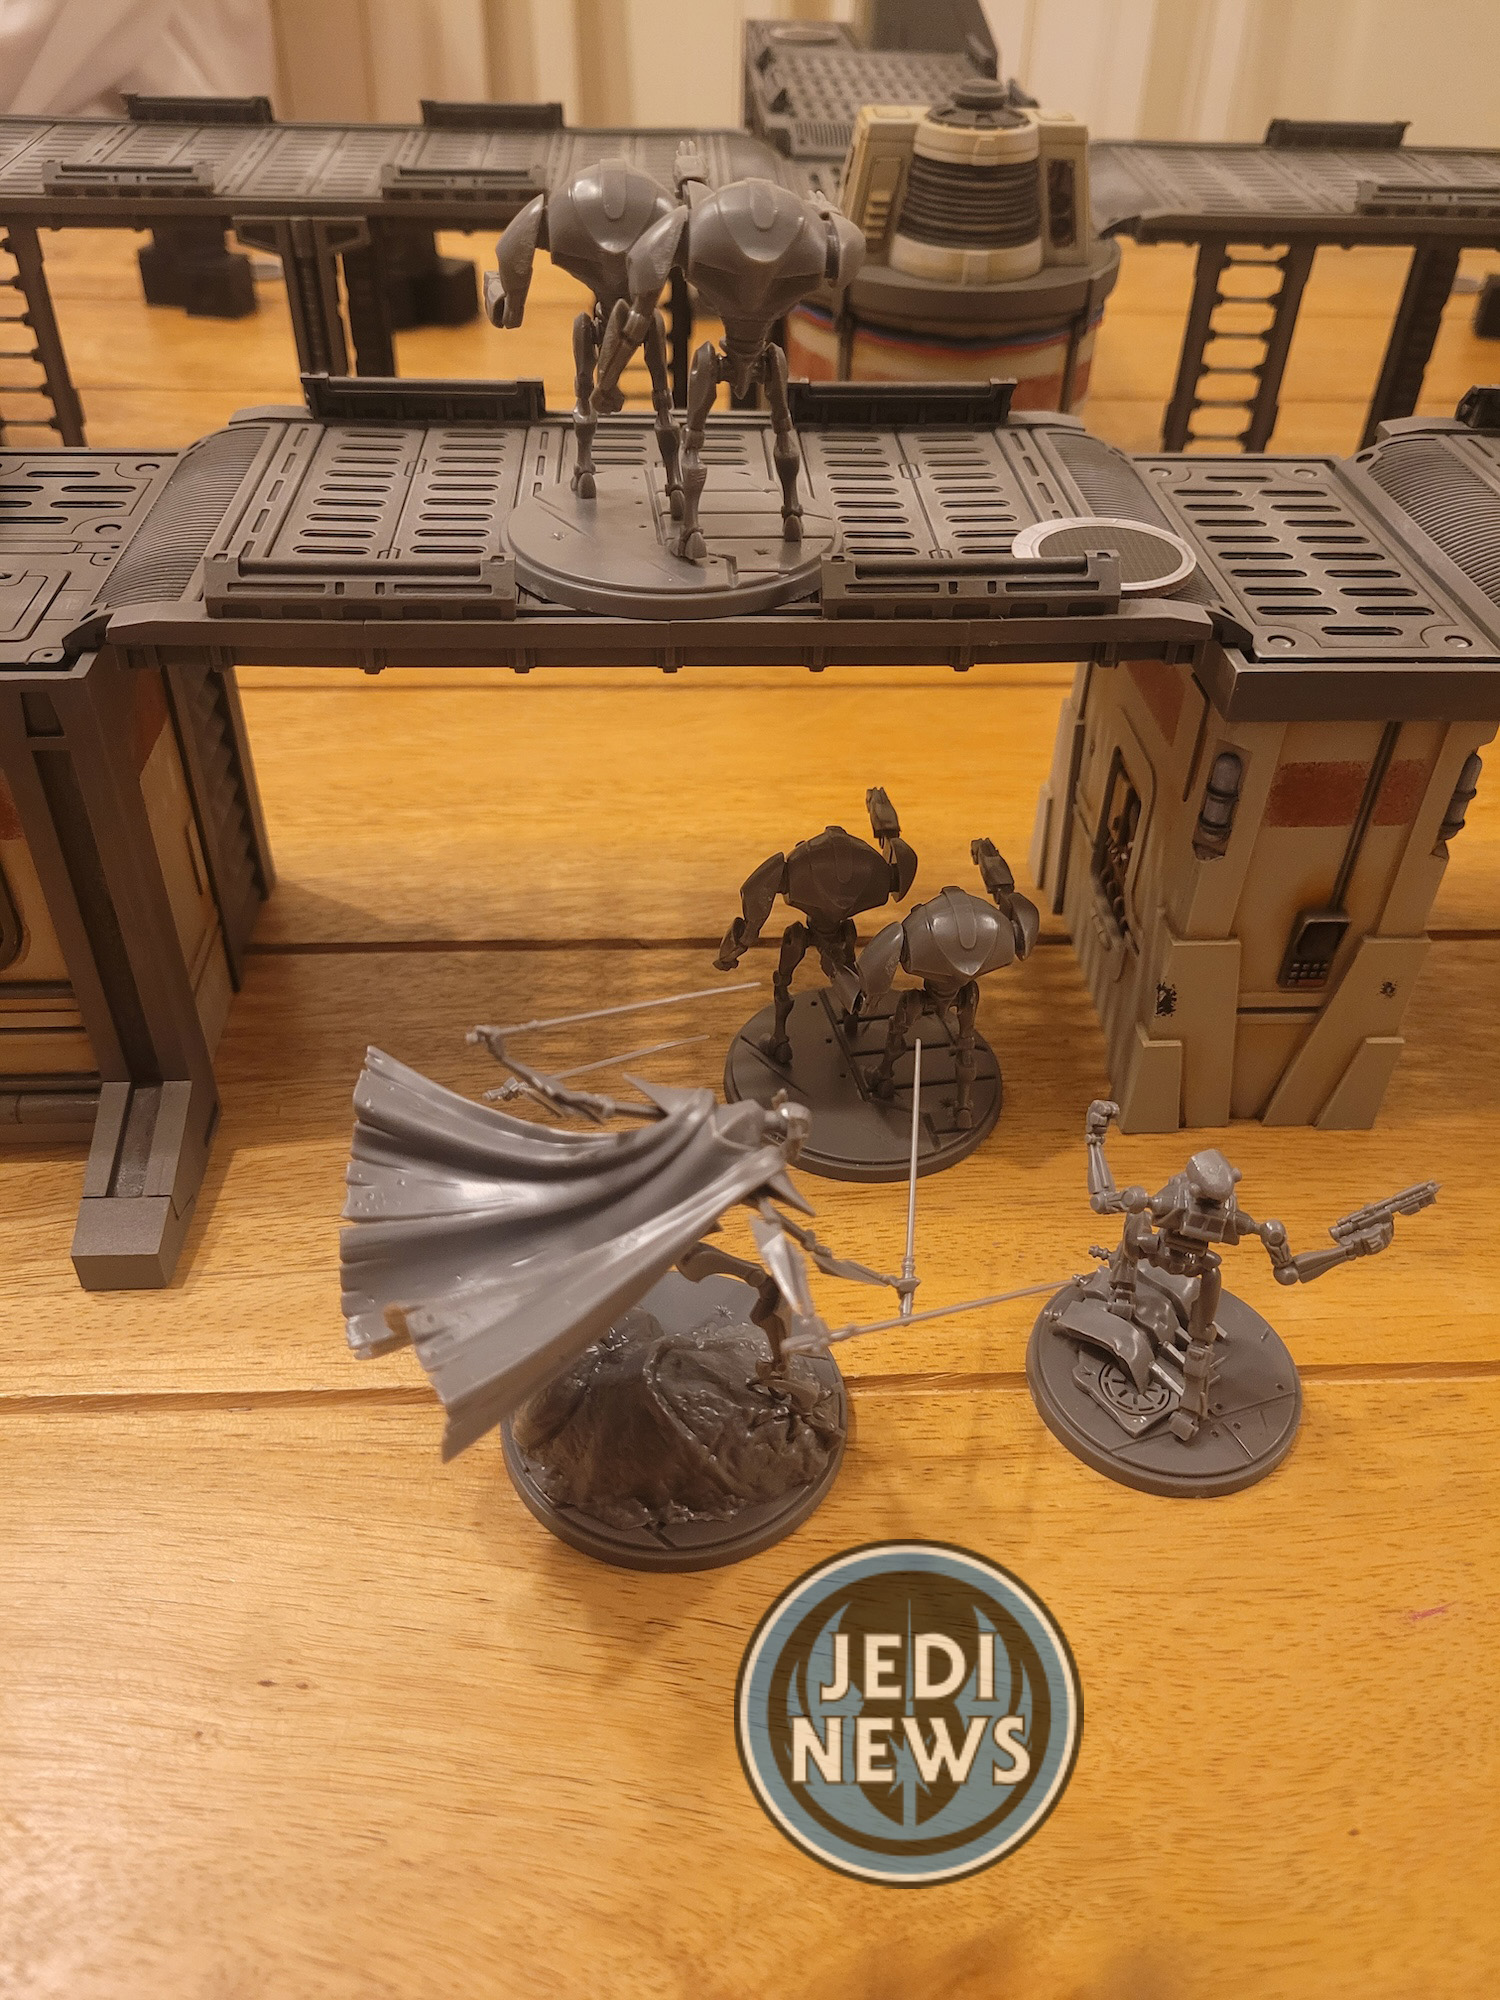
That leaves the B2s. With a damage output of nine per attack and being able to place conditions or move themselves, these are going to be quite nasty when combined with Grievous’ damage output. Their card isn’t anything special (nor would I expect it to be), but what I really like is that they have ‘saturation fire’, which means that for a force, if they are targeting a unit contesting on objective, they add two dice to their roll. More chances to get that higher damage output! They have the keyword ‘battle droid’ so they can be affected by Kraken. It really shows how well this squad should work right out of the box. It is all damage, damage, damage with Kraken as support allowing the others to do even more damage. Let’s get them to the table and see if they meet the expectation!
The battle I played against my son was fun and showed how good this unit is for the Separatists. Grievous is a beast. He can take a lot of punches. If you have lots of droids on the board, he can start bringing them in to help him against opponents. On the defensive, his jump after he was attacked was incredible, surprising my son and allowing me to take objectives. Both my son and I looked at each other and both said it was like he was scuttling away from his enemy; it felt so thematic. My favorite part of Grievous was the quad arm attack. He was facing off against Savage. No surprise, even with Savage blocking a damage, Grievous went through him like a knife through soft butter. It was beautiful but scary. I don’t think I want to go up against him!
My big surprise of the game was Kraken and how much I enjoyed playing him. Lots of ways for him to support units that are droids. It probably is worth noting here that Grievous has the droid keyword, so effects will also affect him too (a lucky bonus!). I had Kraken shooting at Aurra Sing, and due to some very fortunate dice rolls, I was able to shove Aurra three times. This is an incredible amount to do and meant I could take over an objective thanks to some ladders!
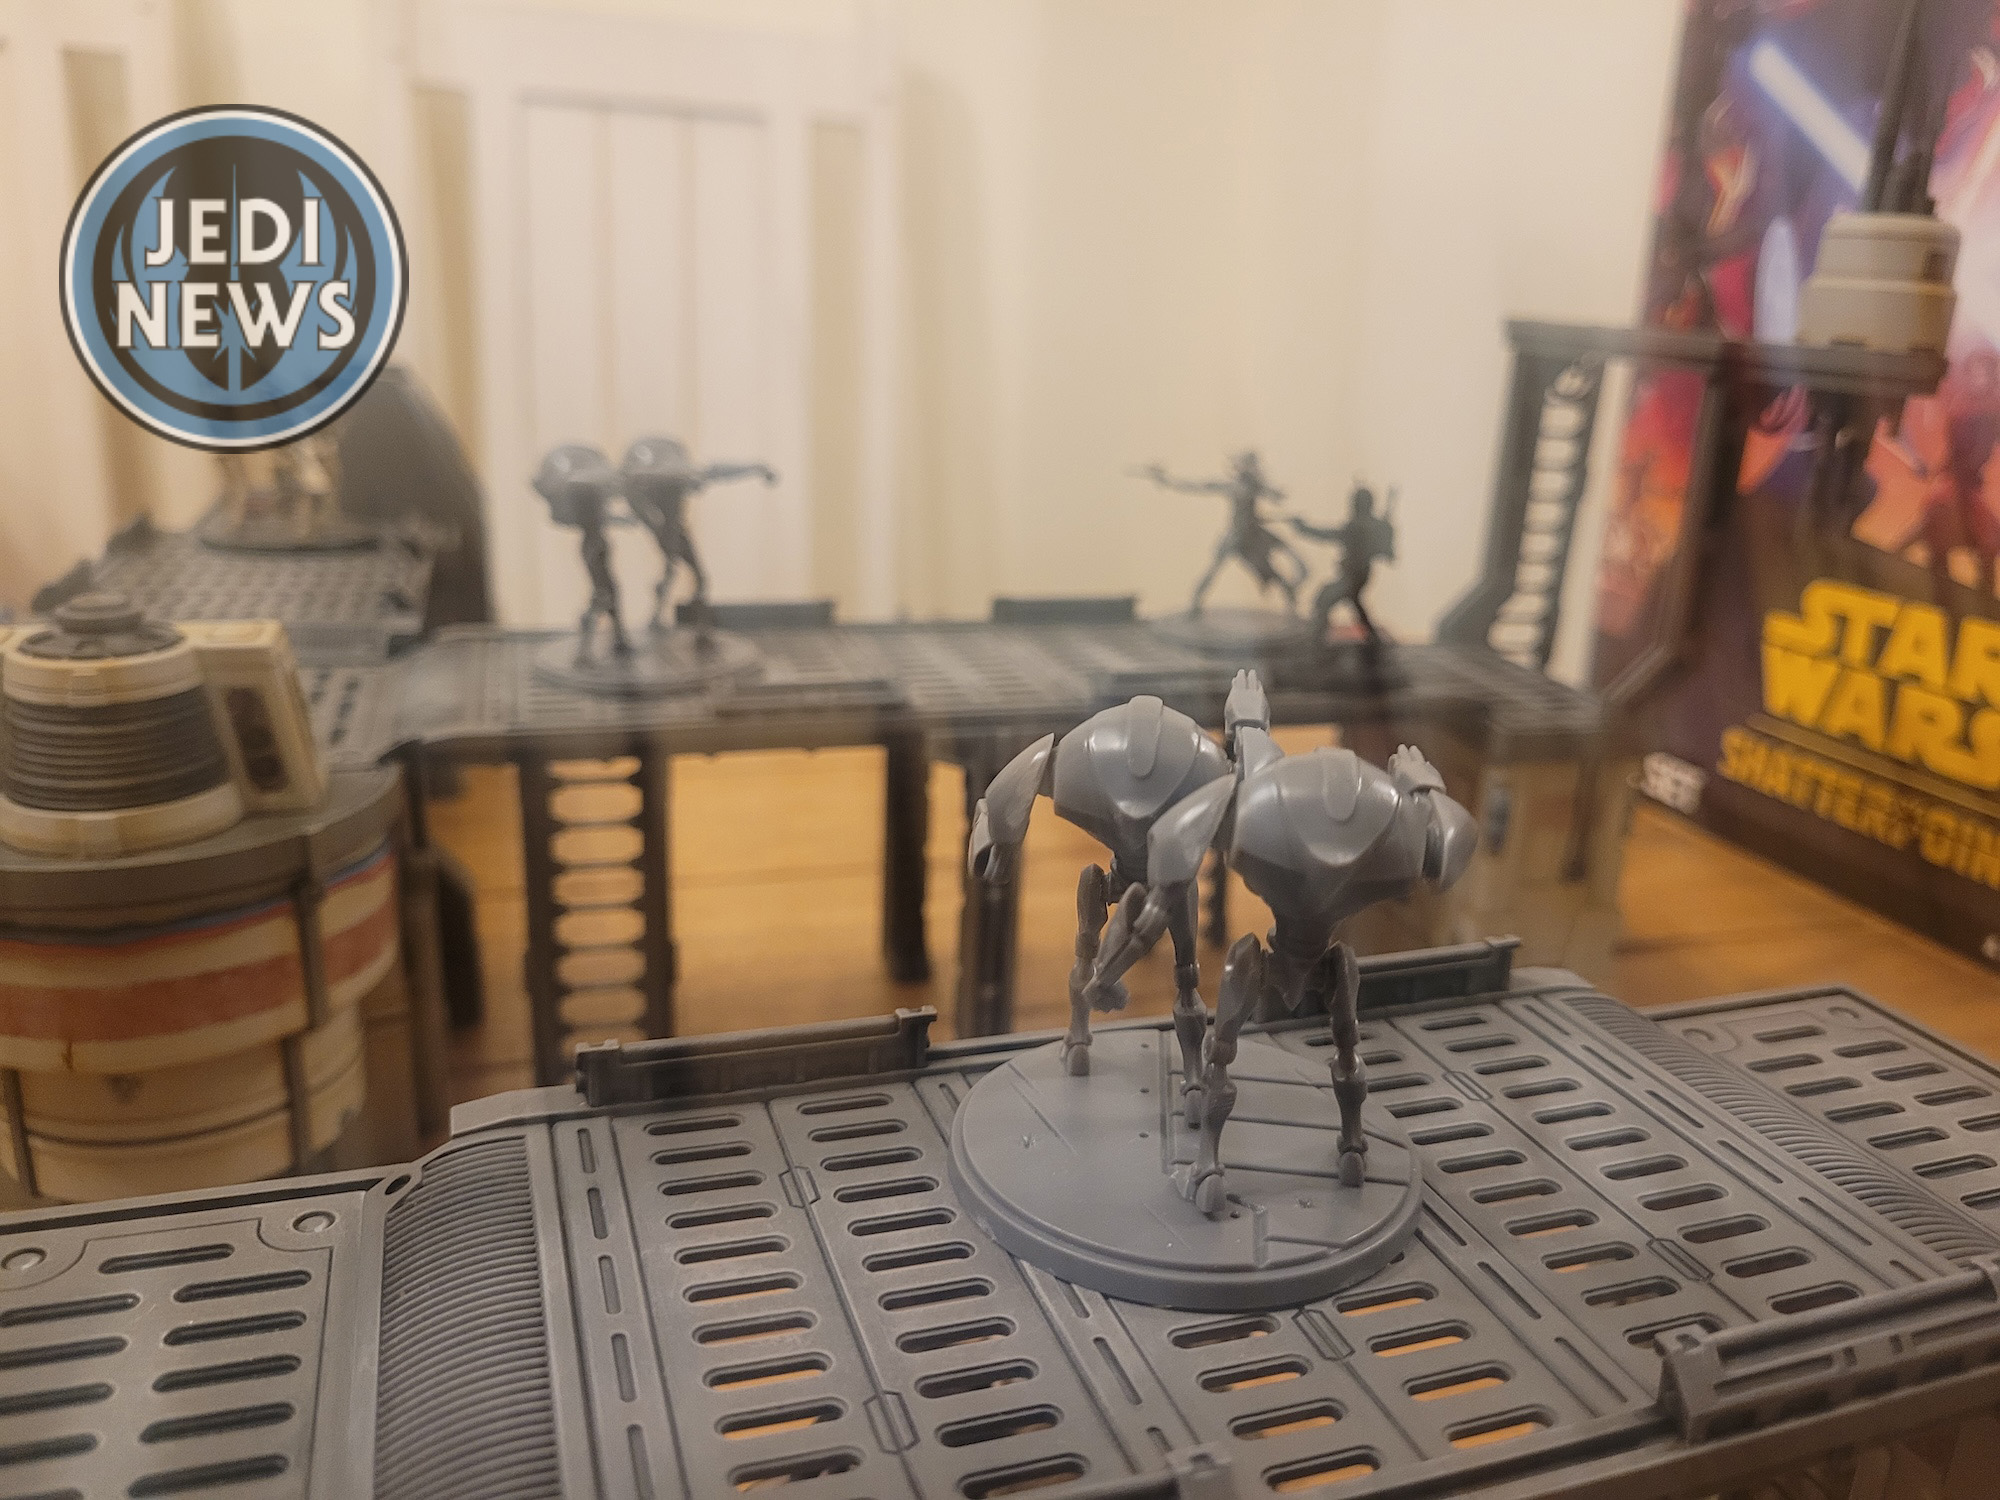
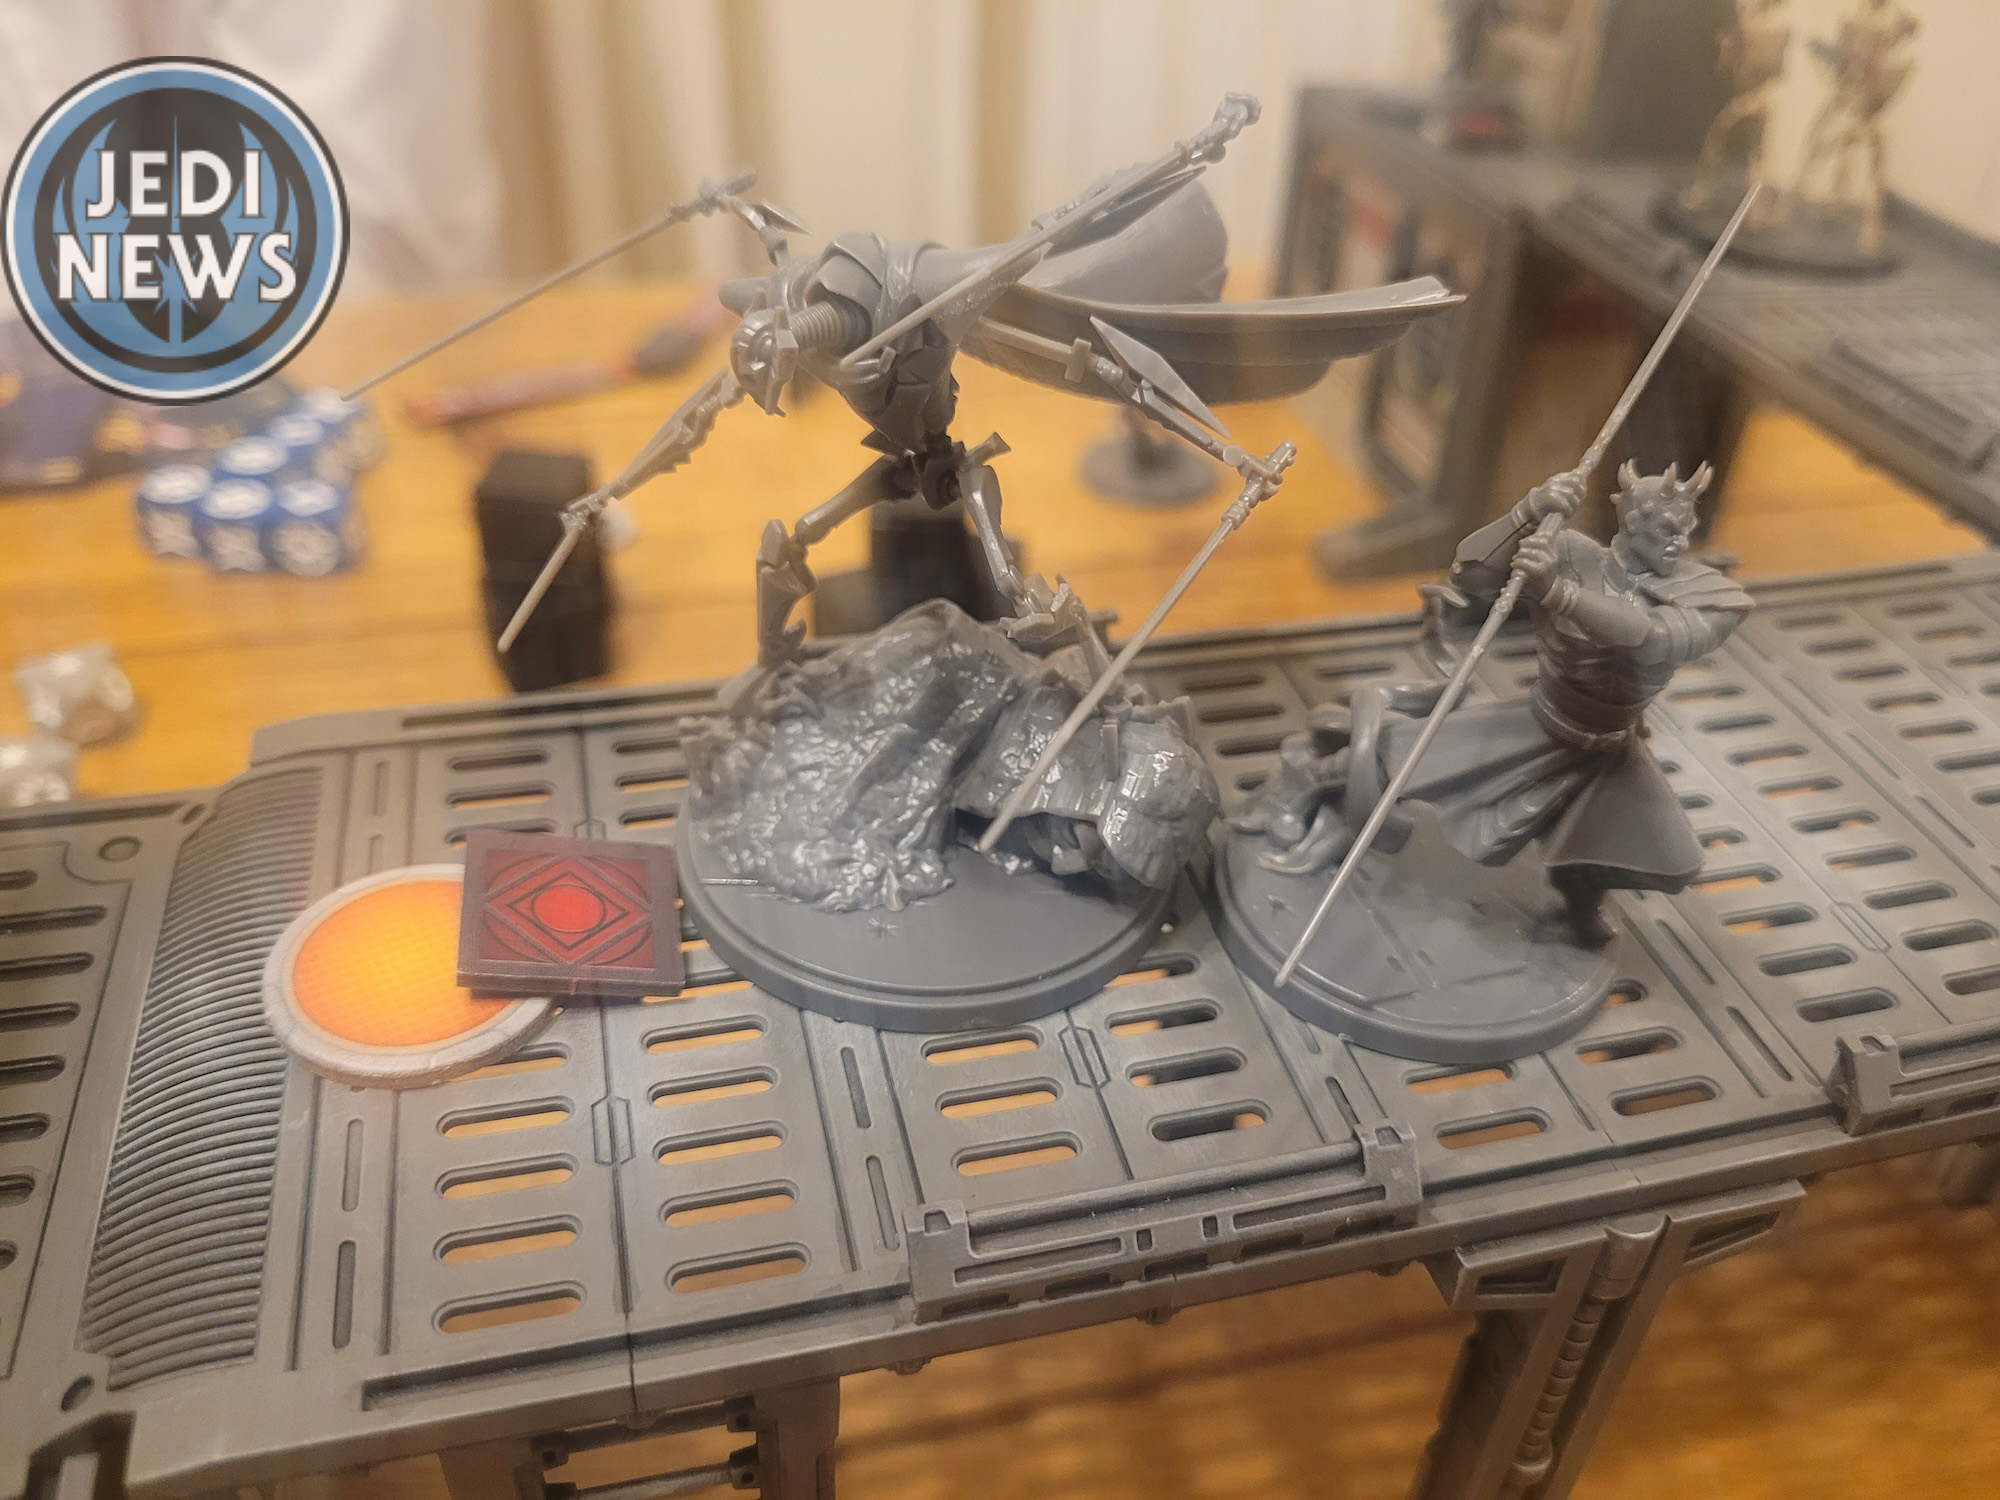
The B2s were also enjoyable to play, mainly because of adding two dice to their attack for a force. It meant I could beef them up a little if I needed to. Protection also meant they were able to survive a little longer than my B1s.
All in all, the game was hugely enjoyable and showed just how much potential this squad is. For Separatist players, this is a no brainer: you need this set. Grievous alone is worth the set. The only downfall is the model. When I showed my son, he was like “wow”, it is an awesome model. However, when we were playing, the lightsabers were a pain to work around, I’m sure these will get broken in future games. Aside from this, he is going to become a staple in Separatist lists, no question. Kraken is great to have a tactical droid that only costs three, and he is surprisingly nimble. The B2s, simple yet effective. I’m intrigued to see how people start running their lists, this squad gives a lot of potential for different builds. Although I played Dooku and Jango along with this squad, I’m not sure I made the best decision. More droids will be better, and another tactical droid could be amazing. But that’s the fun of this game, the variation you can bring to each game and to each squad. This squad pack isn’t just fun, it’s essential!