Shatterpoint, let’s be honest most of the game is all about The Clone Wars. Not a bad thing, but so far, the number of nods to the series is huge. We’ve also had the Rebels crew and are starting to get more and more releases from that series. Which leaves one series that has yet to be covered. And in comes the Clone Force 99 Squad Pack, who am I kidding, it’s the Bad Batch. The Bad Batch has only just recently come to an end, to have the ability to play this squad in the game looks like a huge amount of fun.
Unlike Rebels, the designers have given us the whole squad in a single box. The artwork in this set is stunning. I love the image of Hunter on the front, the artist has really captured the likeness perfectly. In terms of gameplay, the Bad Batch is going to be an interesting one. Within the Star Wars universe, they do things slightly differently and I’m interested to see if that randomness comes across in the gameplay.
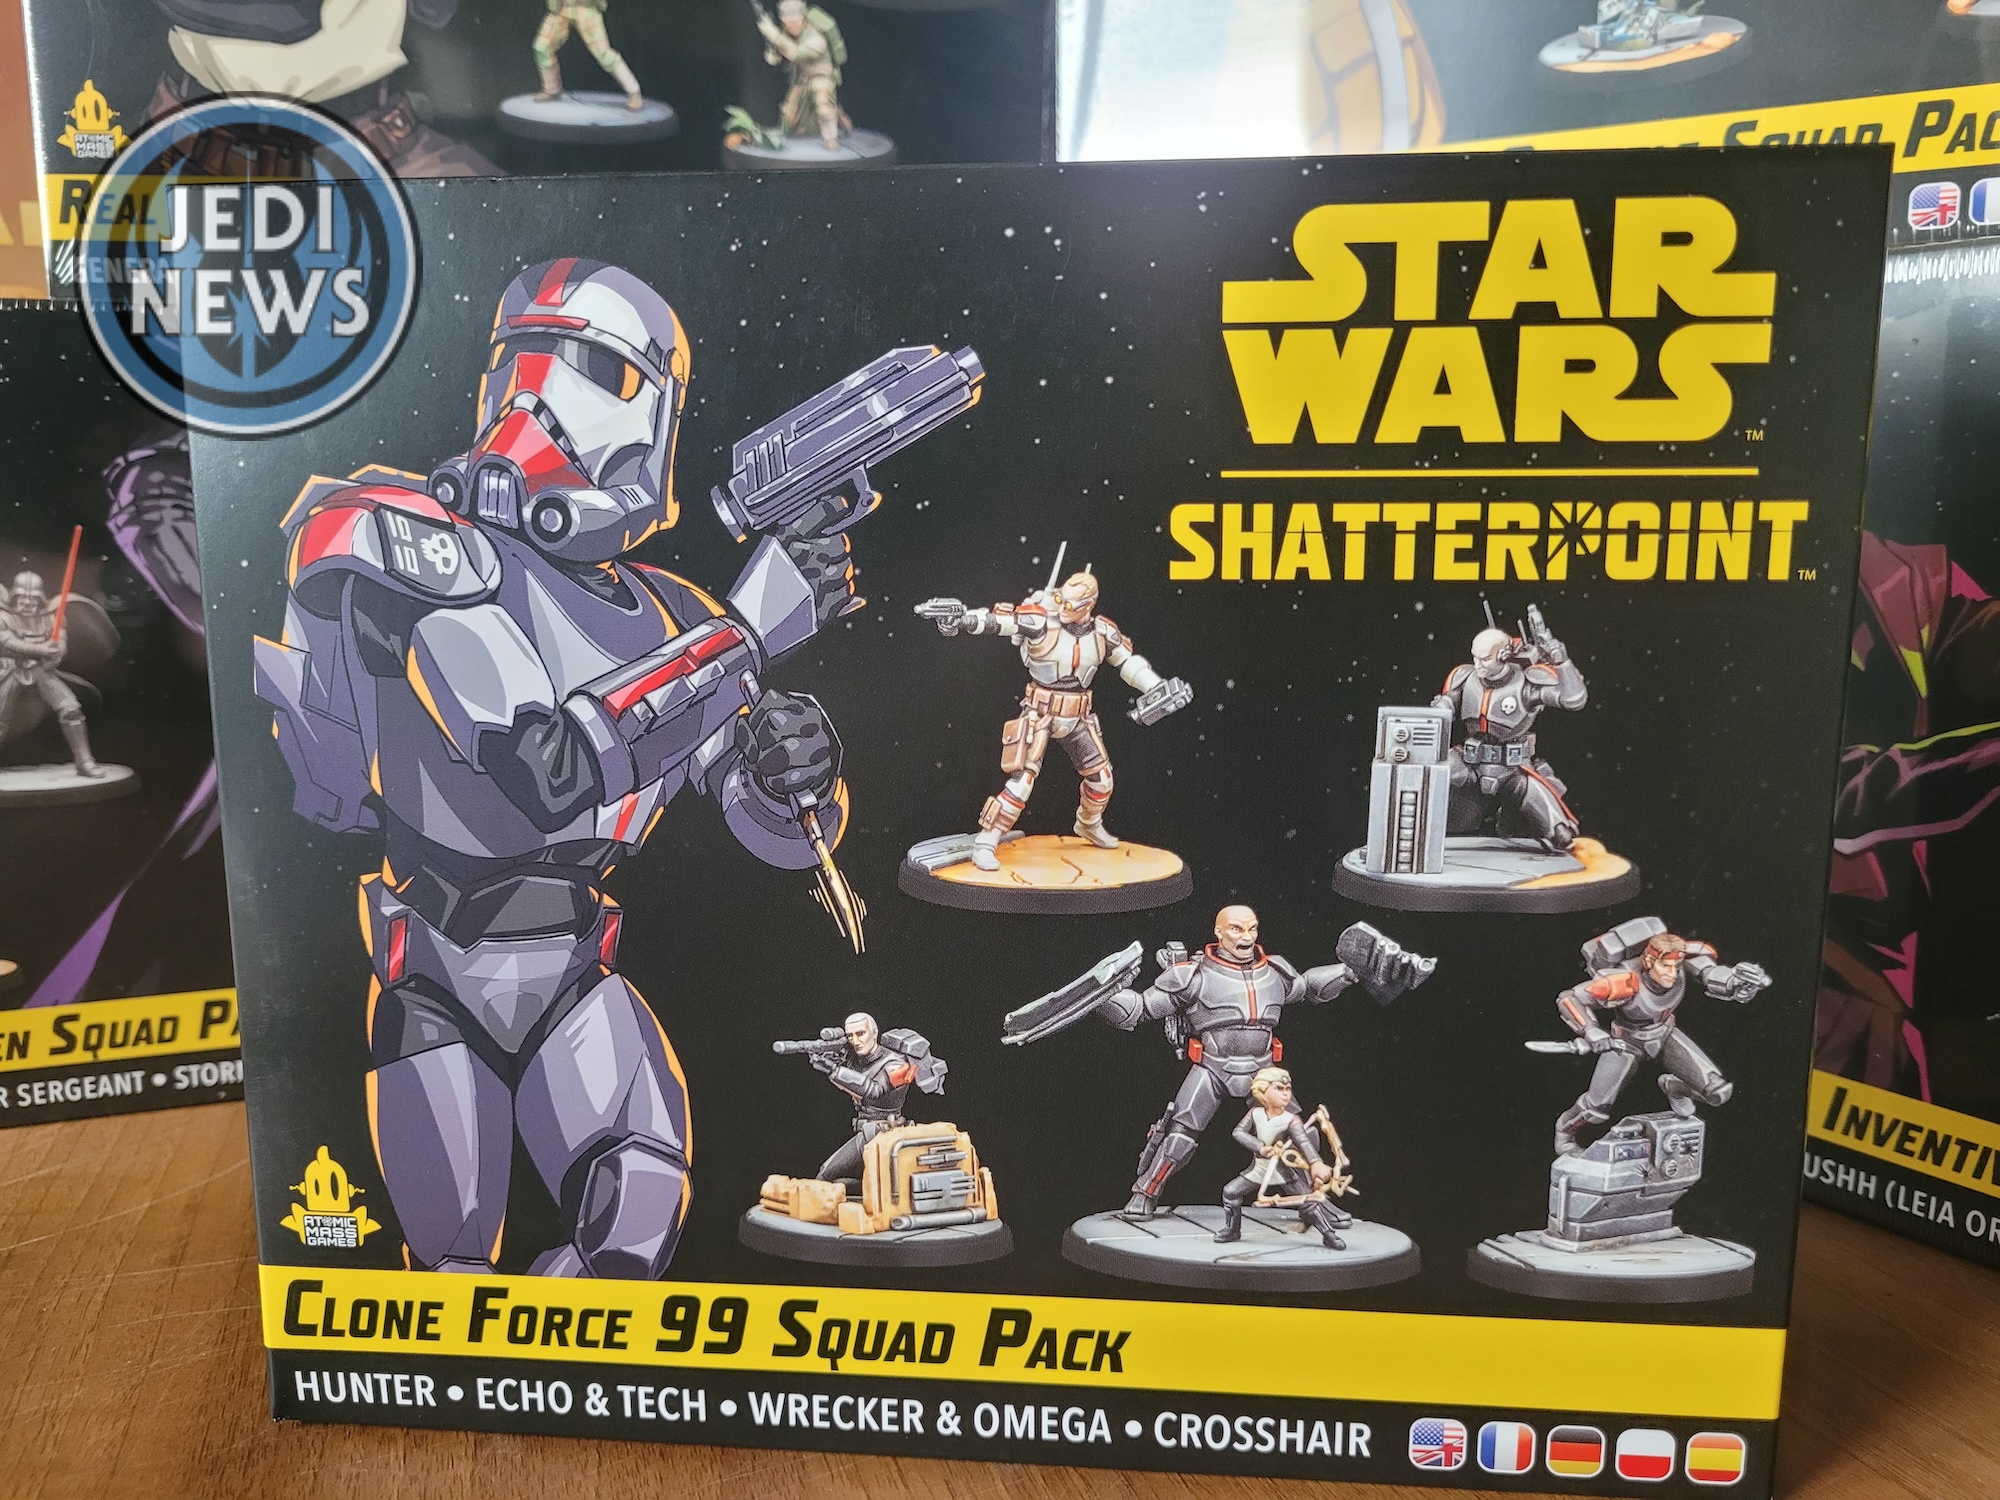
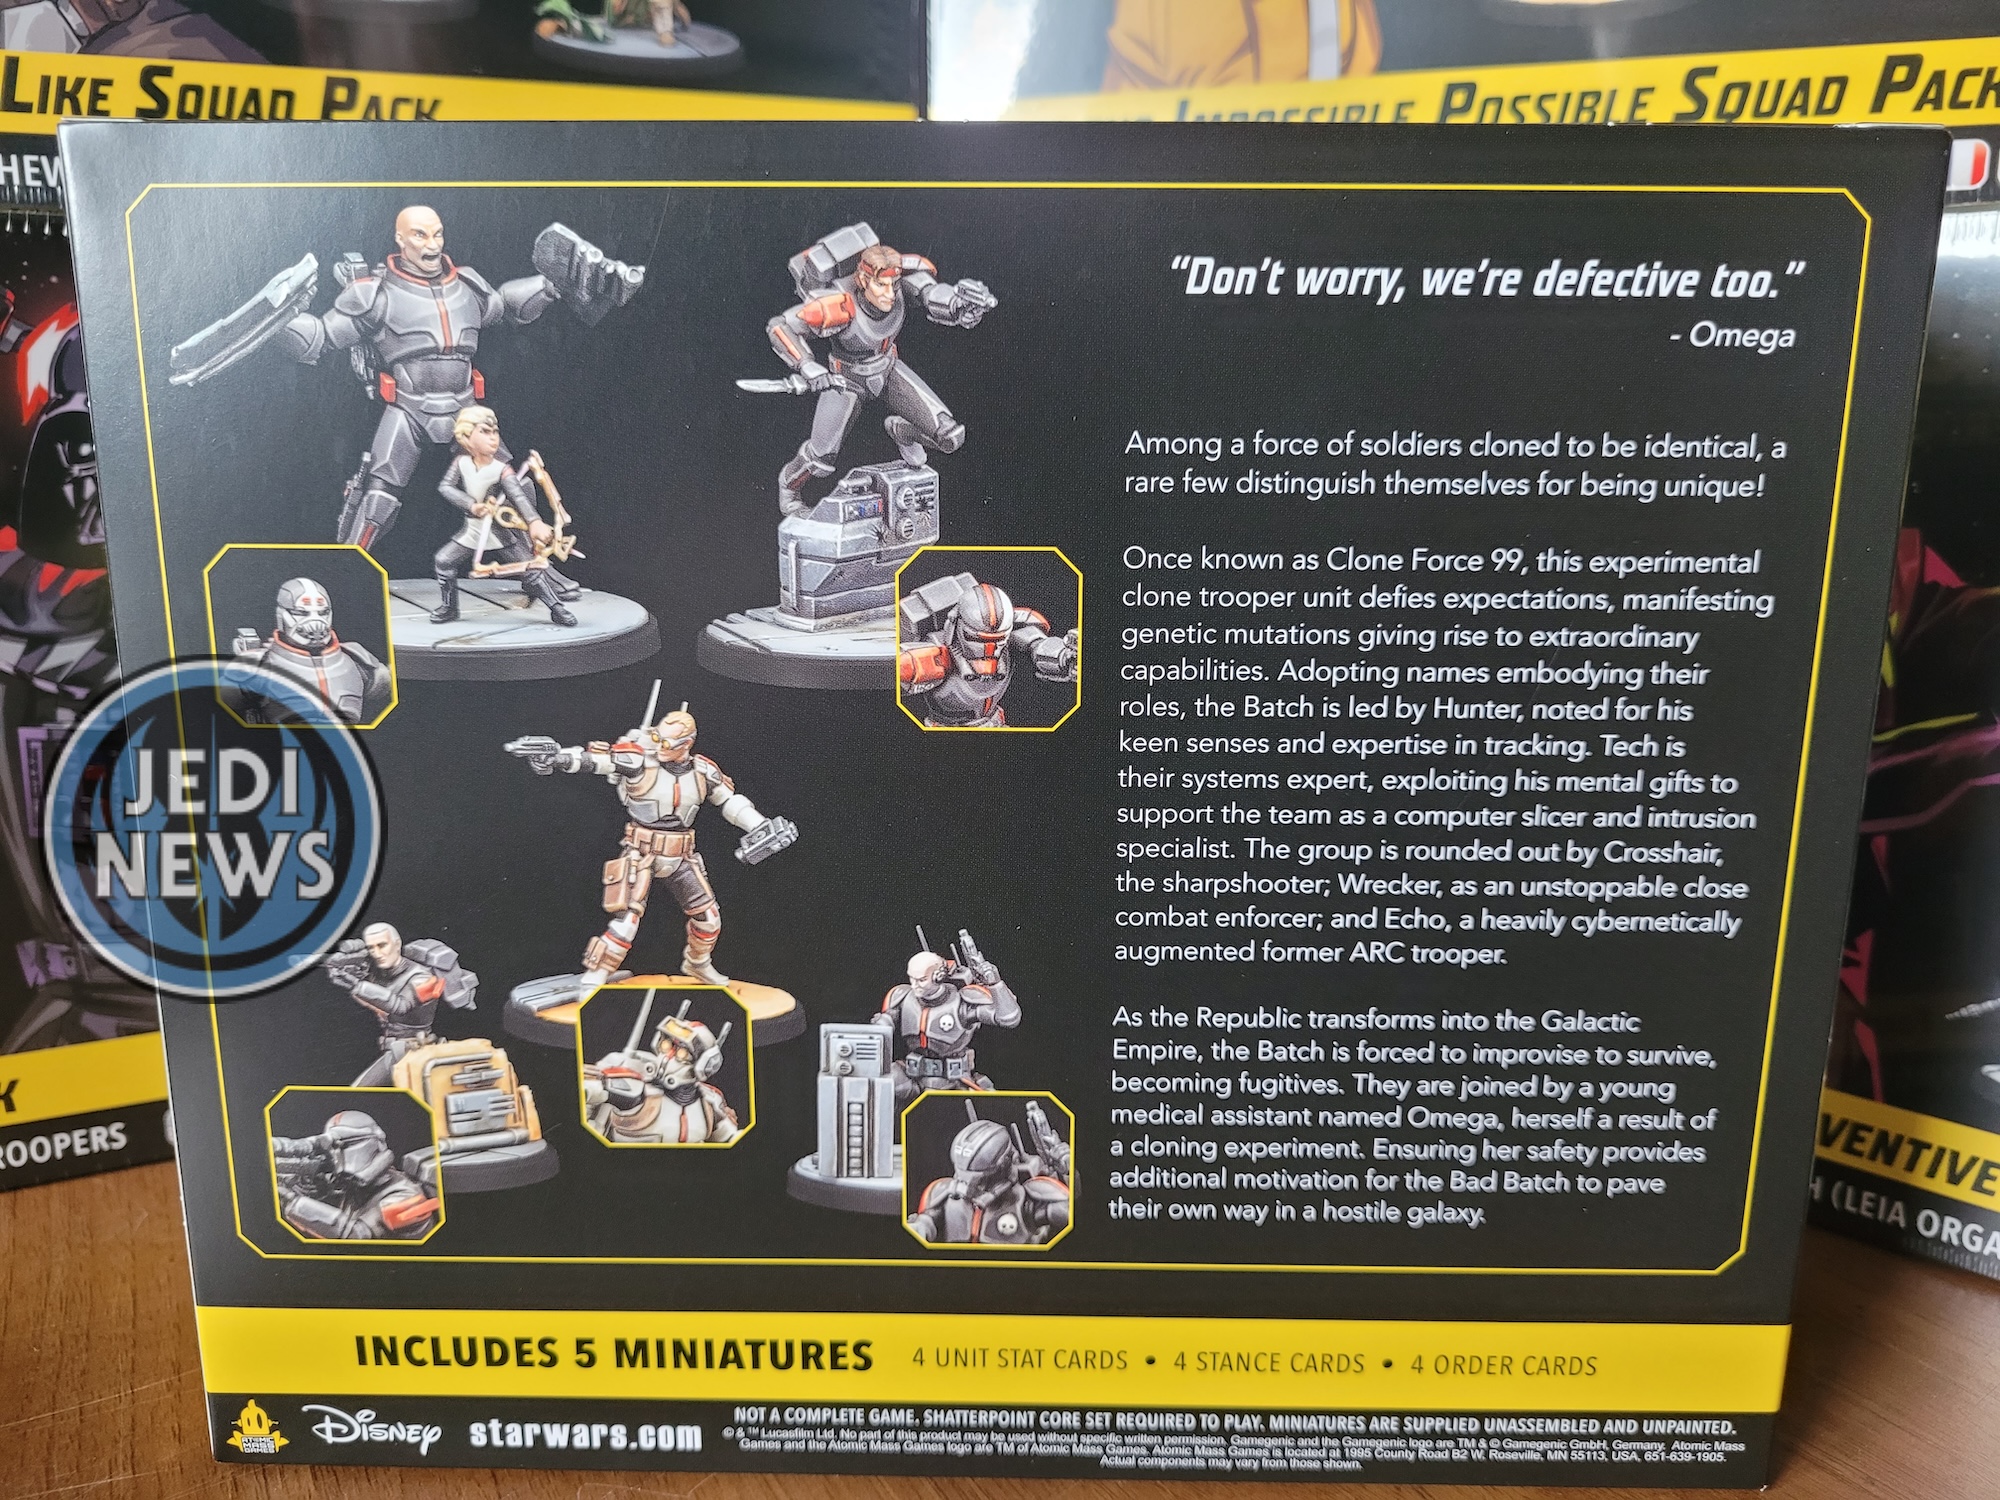
Unlike some of the recent releases, Atomic Mass actually have the alternate builds visible on the back for players. I think this is much better than having players guess what the models are going to look like. I can already see a huge problem though, what version to go with! Each of the clones has a helmeted and a non-helmeted option. Usually with my clones, I always have them helmeted, I mean what clone would go into battle without their helmet. But this isn’t just any clone unit, this is the Bad Batch. They frequently take their helmets off and we also know their faces much better than other clones, having spent three series with them. Which you would think would make the choice clear. However, all their helmets are as unique as the clones themselves and to not use them also seems like such a shame. Oh, Atomic Mass, why do you do this to us!
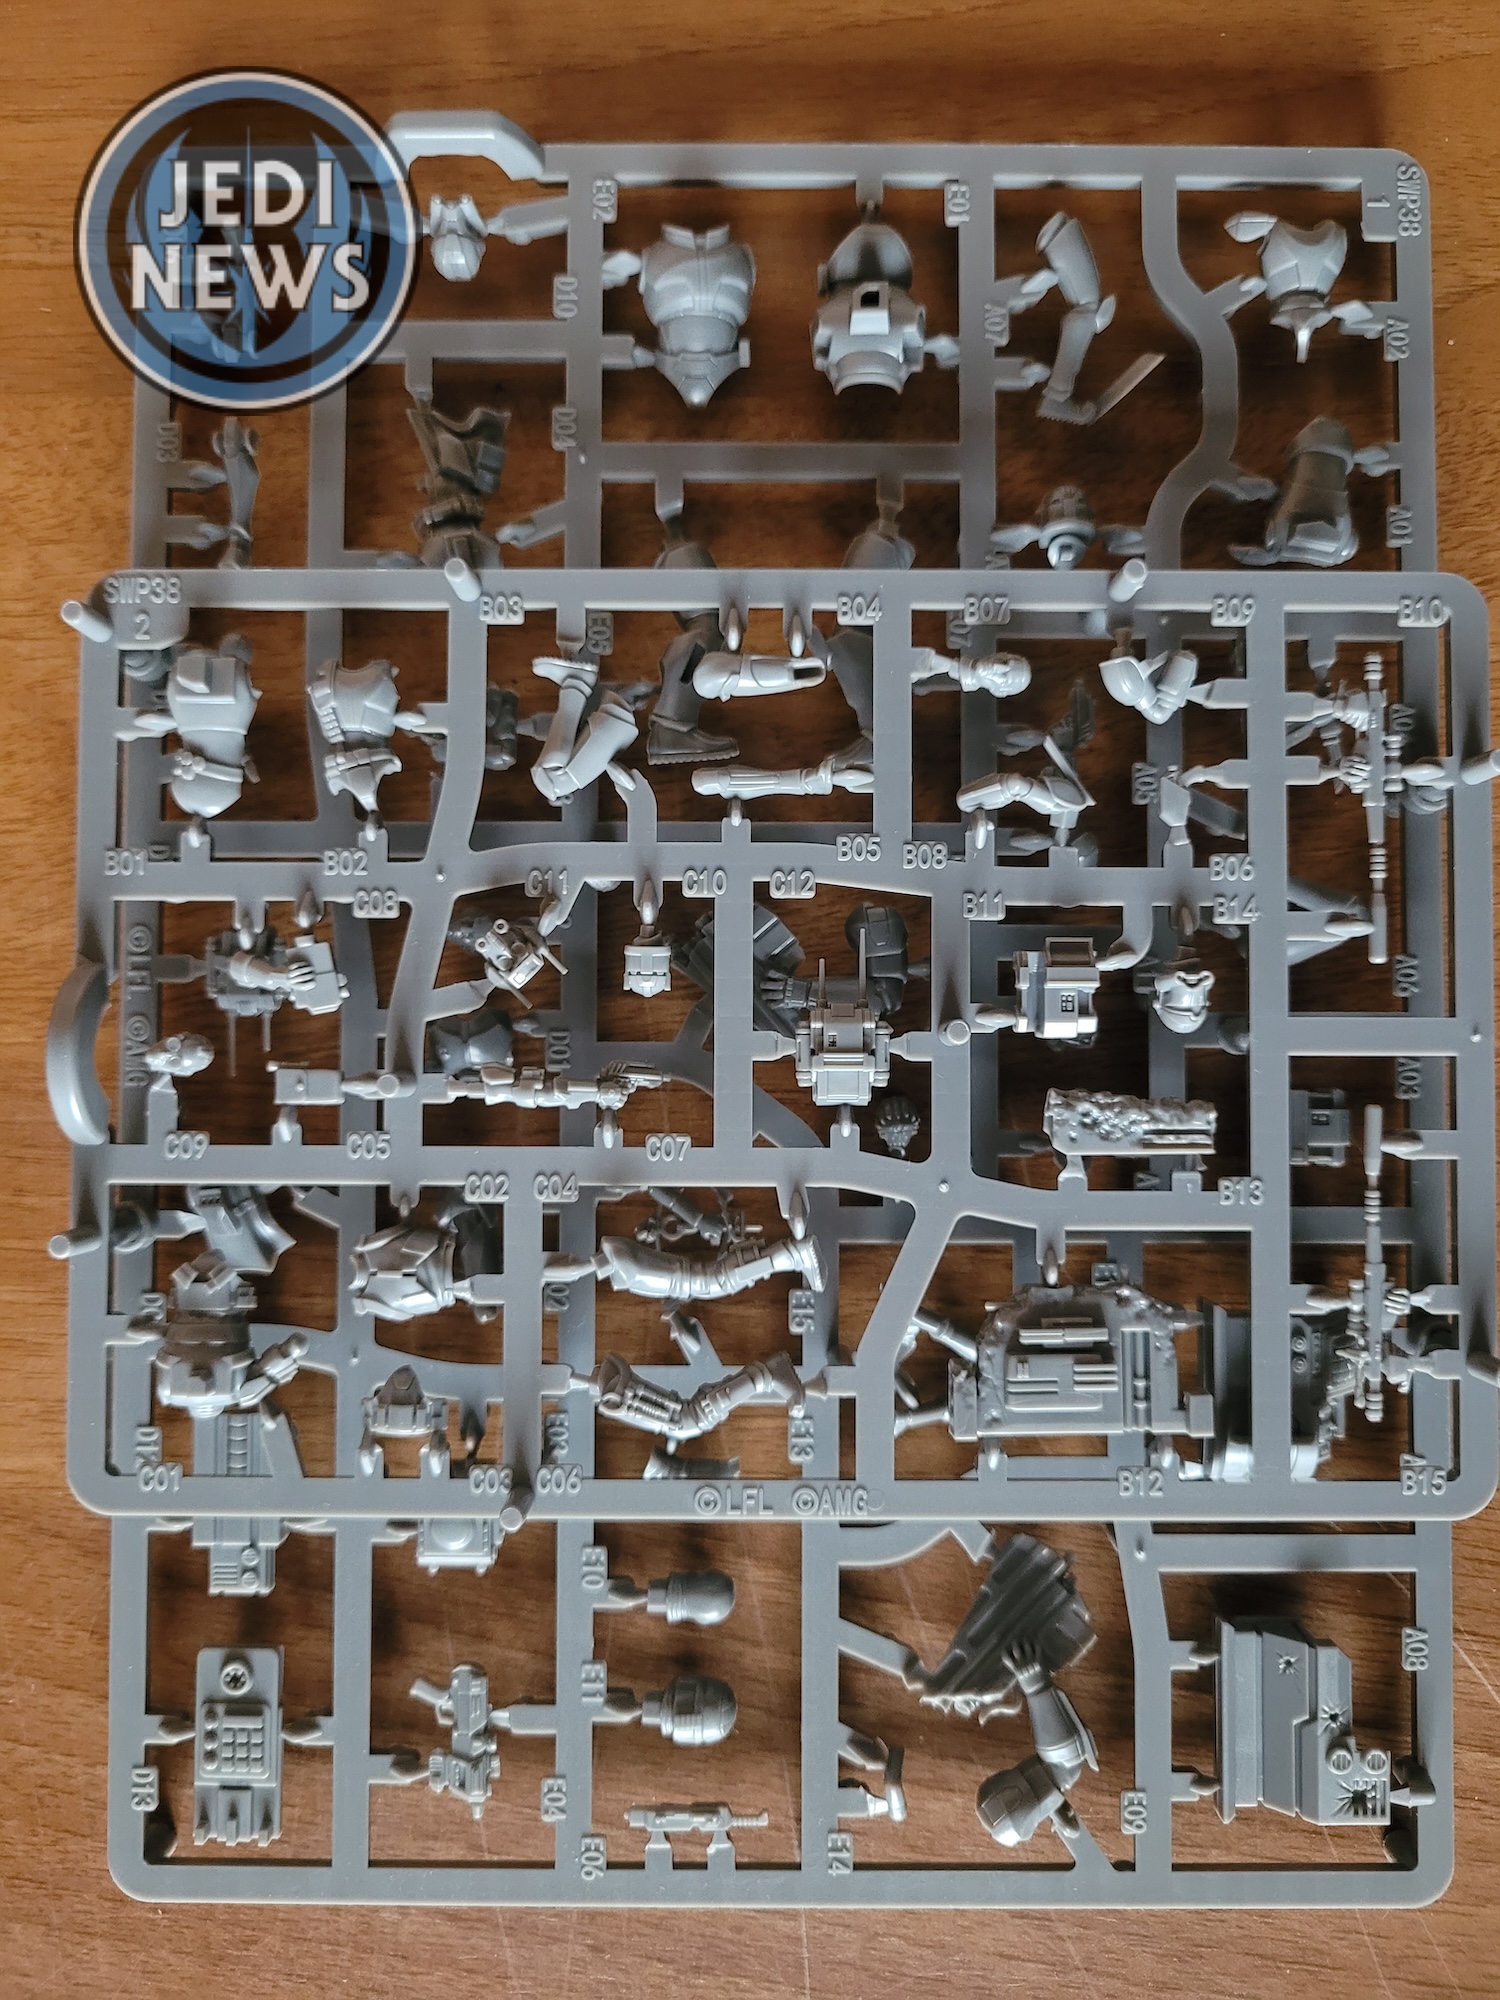

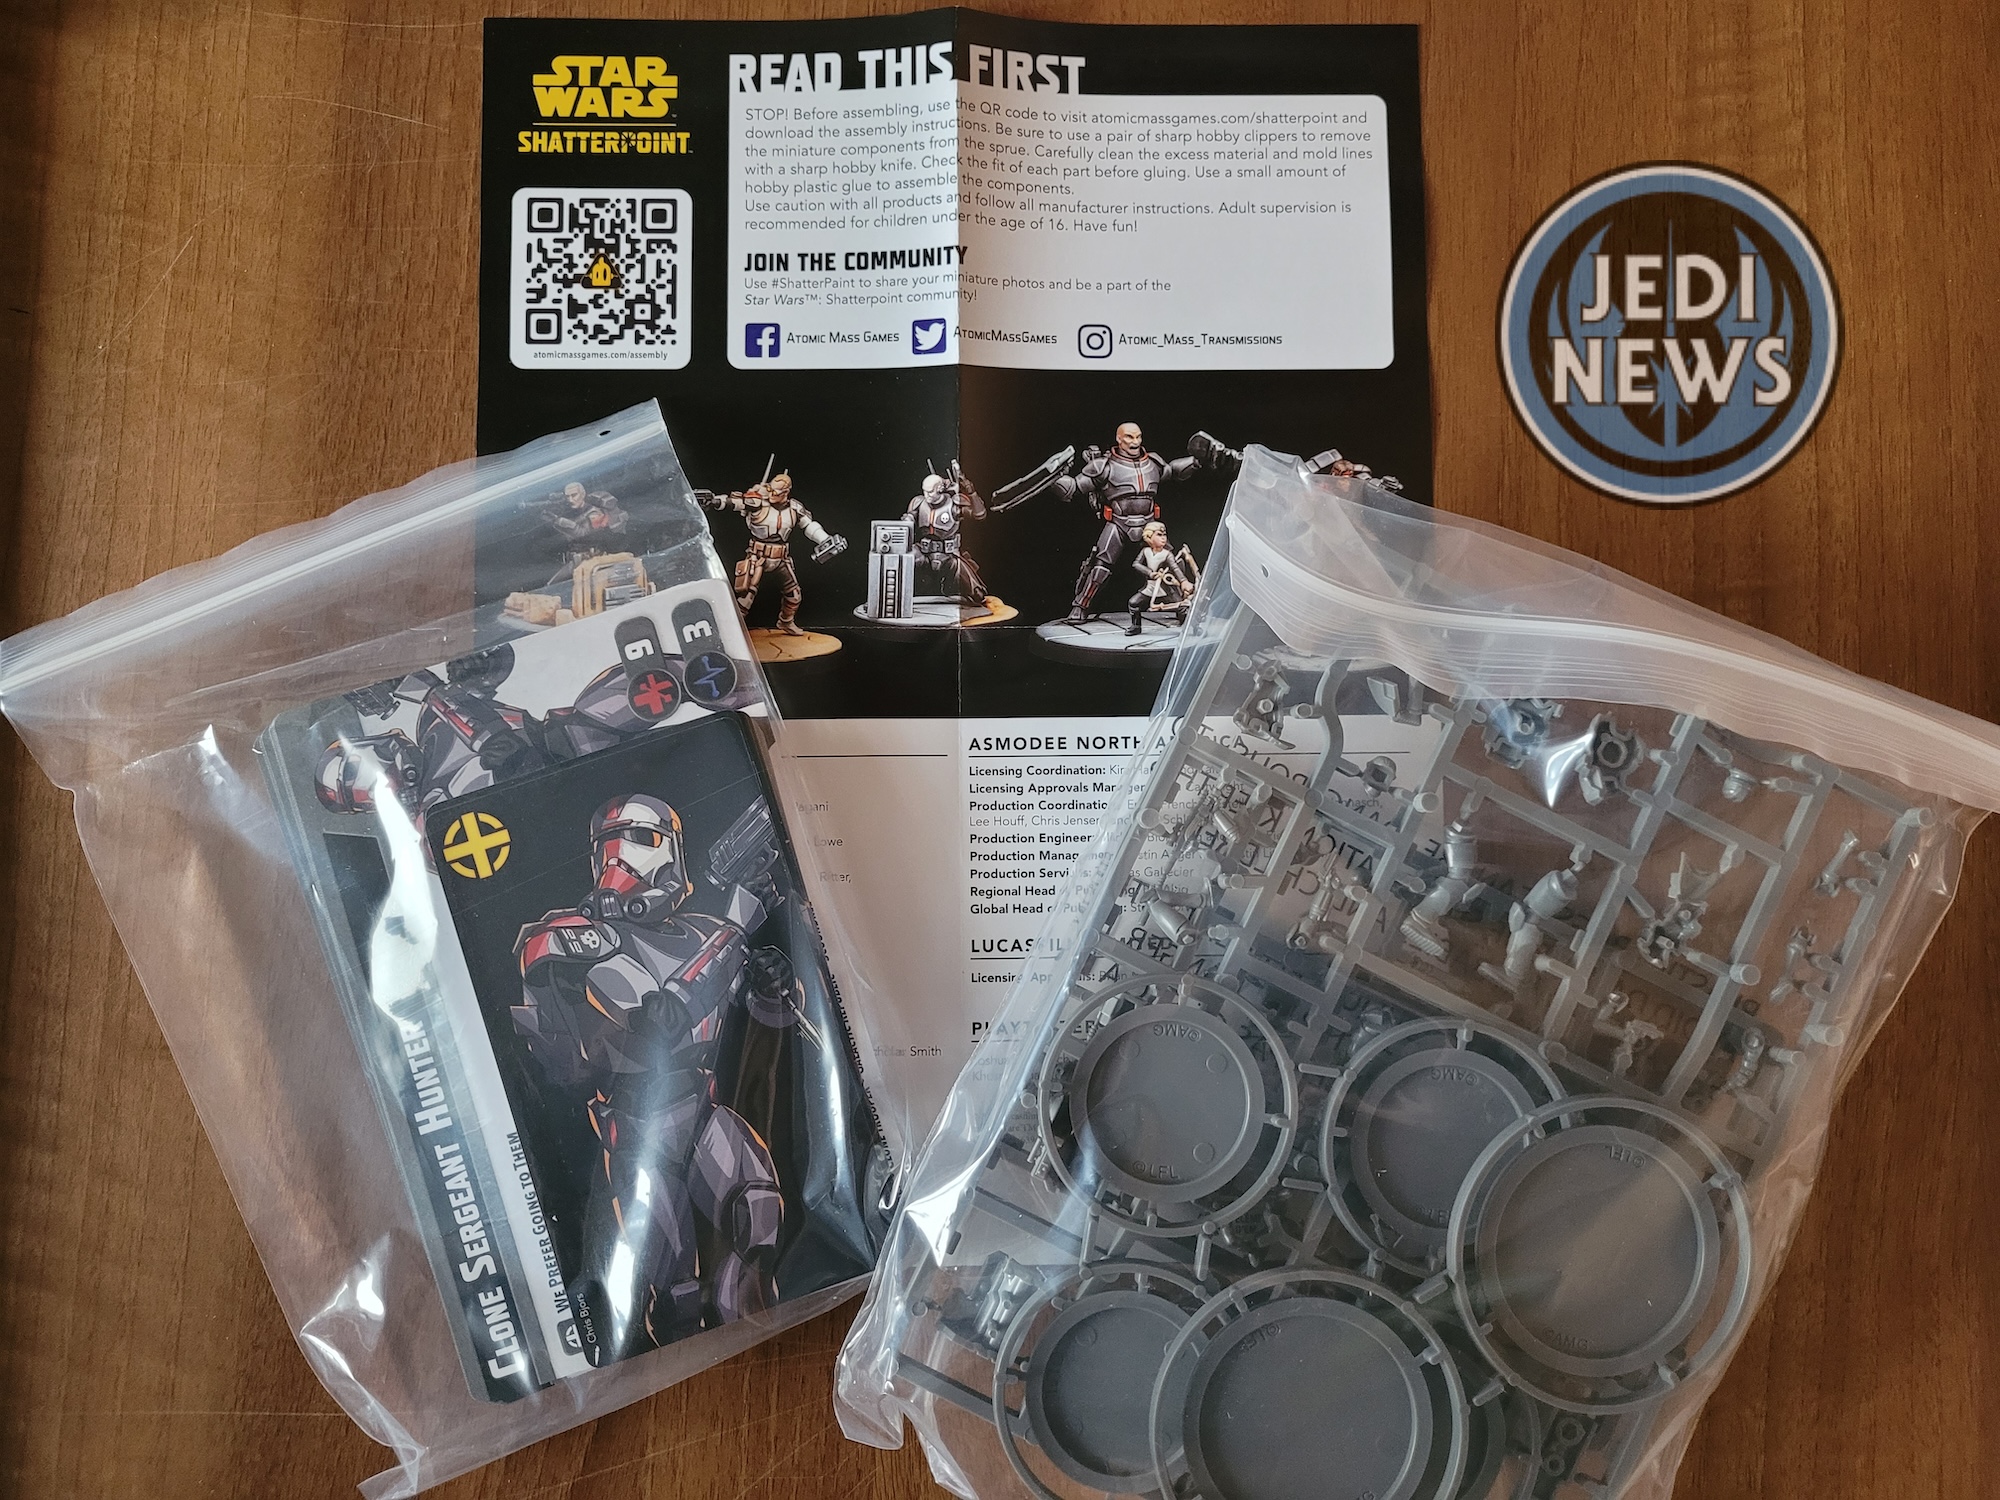
On opening the box there are the usual things inside. The leaflet, cards, bases and sprues. And yes, it is sprues with this set, as the models are over two sprues, there’s just that much packed into this squad in terms of models and scenery for the bases. There are four normal bases and two bigger ones for Wrecker and Omega. With the instructions loaded up from the Atomic Mass website (following the QR code on the leaflet), it’s time to build – and more importantly decide helmeted or unhelmeted) – the models.
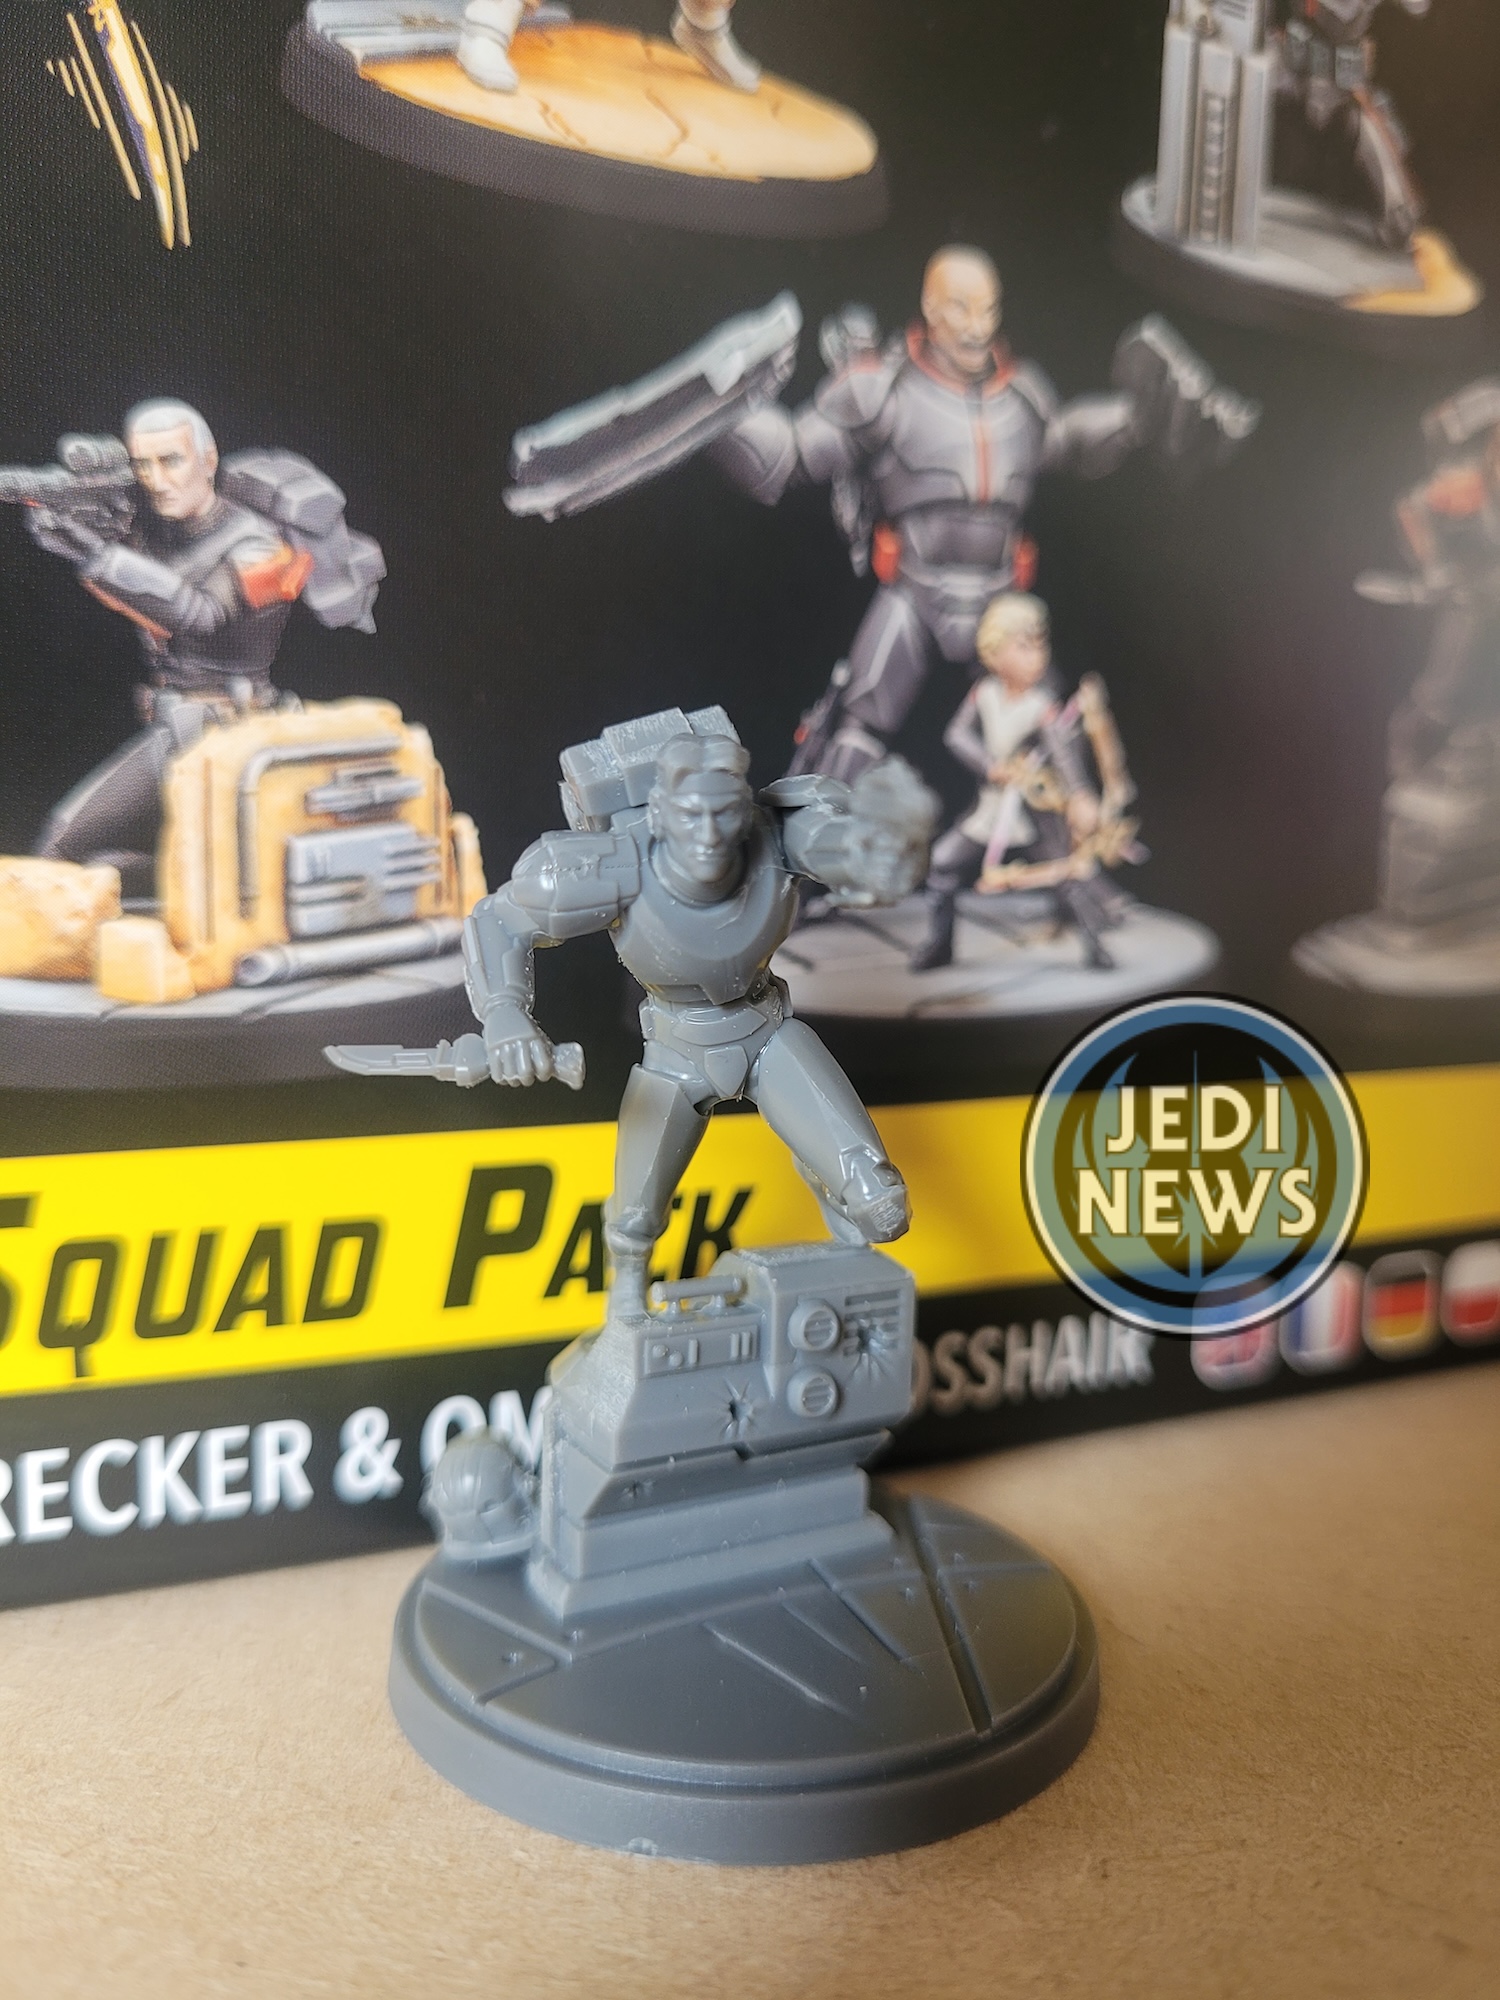
First up is Hunter. The build for this model is beautiful. It’s simple, there’s nothing to cause players any problems. What I really like is the way Hunter joins the console he’s jumping over. There is a solid connection that isn’t going to come undone, as the foot is moulded to part of the console and that part then glued to the console itself. It gives me a lot of confidence that he isn’t going to fall off. The detail on the model, on the console itself is some of the very best that we have seen in this game. Hunter’s face is incredible, capturing the character perfectly. As much as I want helmeted, the unhelmeted are the characters so I think I’m going to try and get their helmets onto the bases, as if they’ve taken them off; a happy medium. The pose is pure Hunter and I’m glad they’ve provided a bit extra to make the base really pop. One thing I have noticed is that there are a lot of mould lines on this sprue, more than I ever have with a Shatterpointsprue. This might just be mine but just be mindful of it as you might need to take extra care cleaning up the pieces.
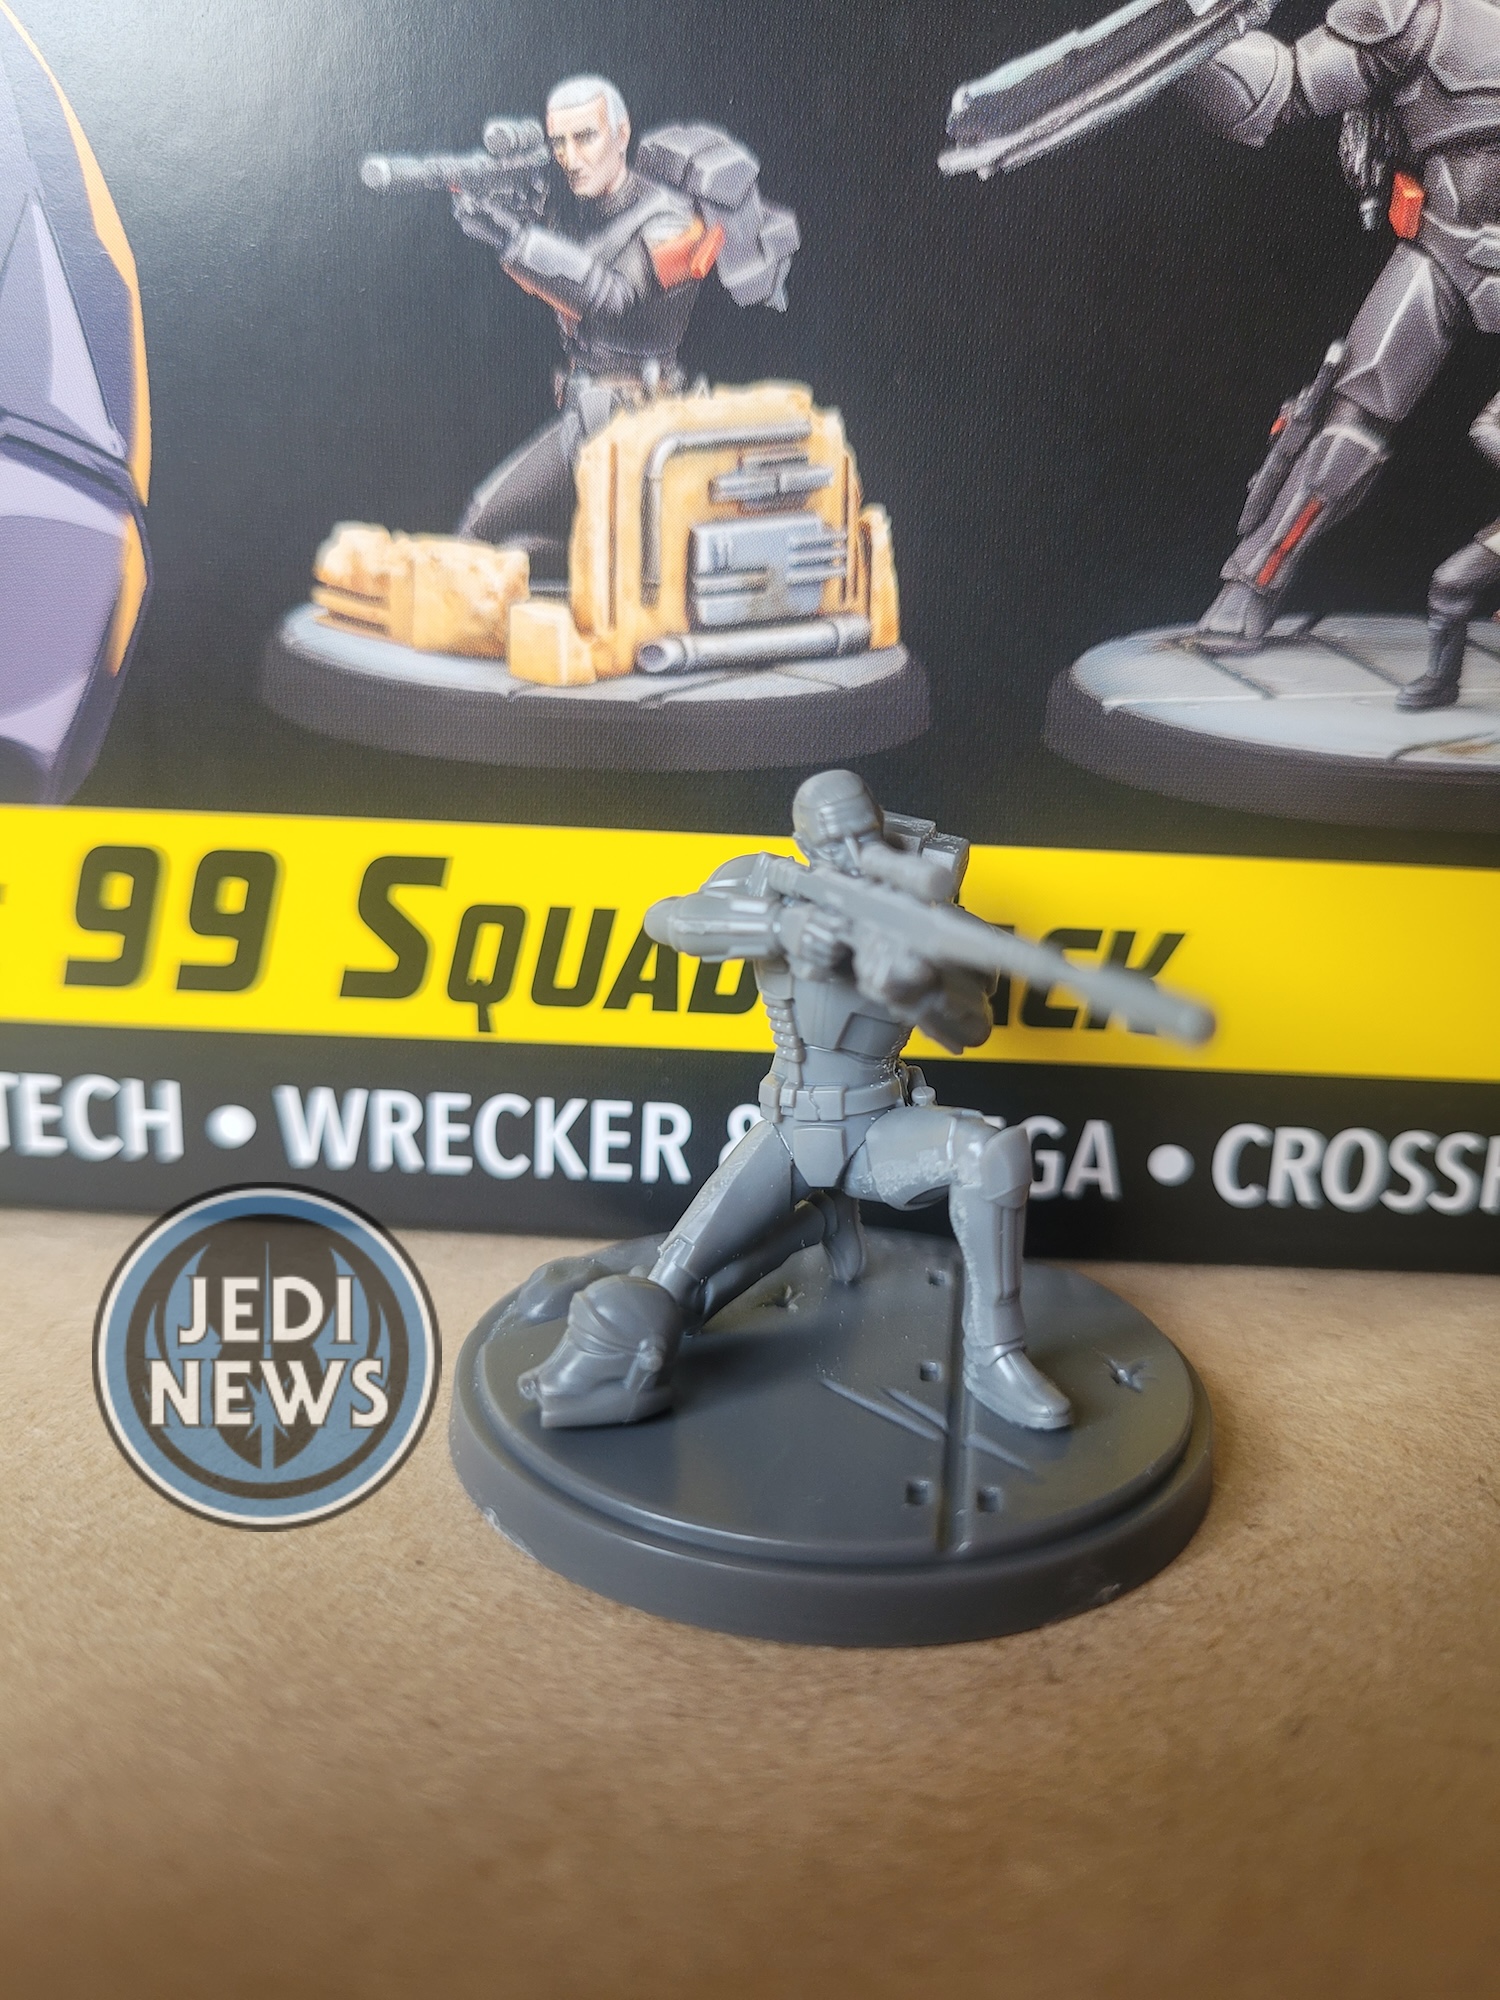
Up next is Crosshair. Crosshair’s parts are in the smaller of the sprues. The build starts easy enough. When I got to step two, the small holster Crosshair has (part B06) doesn’t quite fit easily into the slot, there’s quite some give. This makes it a little difficult to work out how it should sit. I moved onto step three without glueing this on and found it far easier to do once the leg was attached to the body. There is an alternate build with the rifle, you can have it with or without a scope. I decided without it as I’m having Crosshair unhelmeted. I also changed the instruction order a bit. You are supposed to add the arms and then the rifle. The rifle and right-hand form perfectly together so I joined these two first as I didn’t want this to look wonky in case anything was off. I then glued the left arm into place and then finally put the right arm, with the rifle on. I found this made a lot more sense and less likely to cause me many issues. I did all this before attaching the backpack in step four. The rest shouldn’t cause any trouble. As I glued the unmasked head in, I did realise this is one time where leaving the rifle off might have helped with my painting and I can see why there’s the option to place the rifle in after the arms. Oh well, guess we shall have to see how good at painting I really am! The pose for Crosshair is excellent and again there’s more terrain to make the base more interesting. That said, I’ve actually left the terrain off for this piece, as I didn’t think it matched the feel I was going for, particularly with having the helmet next to him. Crosshair’s eyes are spot on for lining up the shot, he looks incredible.
Next up is Tech, who is also on the smaller sprue. He is straightforward to put together and I have to say this is possibly the one that gave me the most pause in terms of helmet. The helmet is a lot more interesting than most clones and although I could put it on the floor like I’d done with Hunter and Crosshair, Tech is too calm, too collected to throw his helmet off. For this one, I decided the helmet was how I most remembered the character, so the helmet it was! That’s not to say the face isn’t well designed again, it is, but there’s something about the helmet that I just wanted to have it on the body. The detail on Tech’s model is nothing short of phenomenal. There is so much here to soak in. It really is a testament to the modeller how much they’ve been able to get onto such a small model.
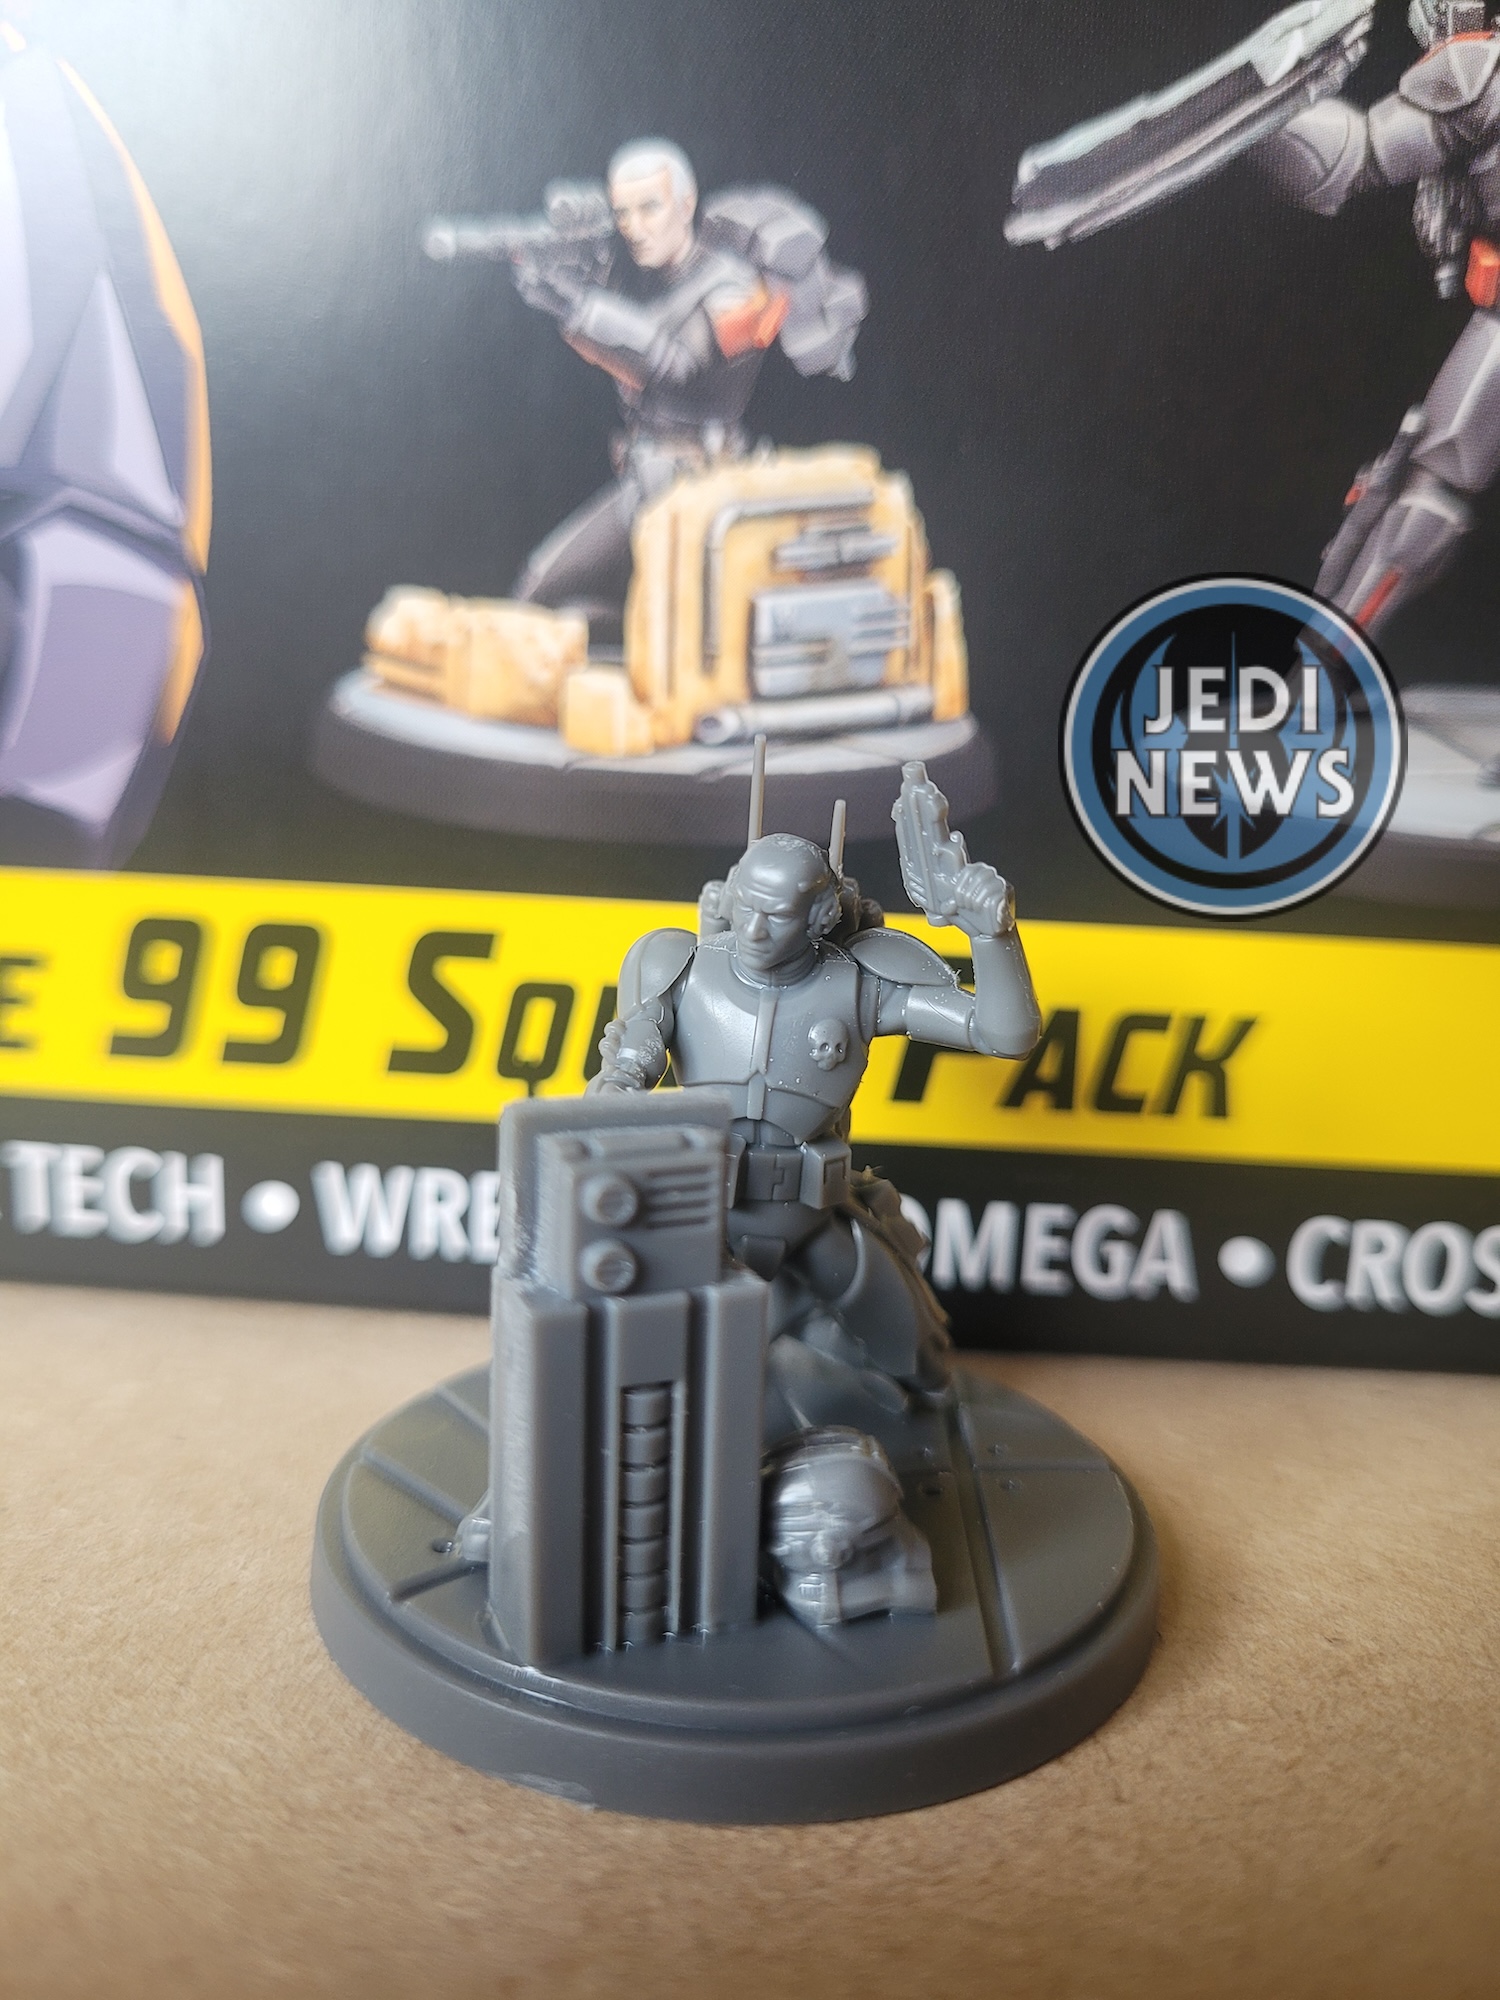
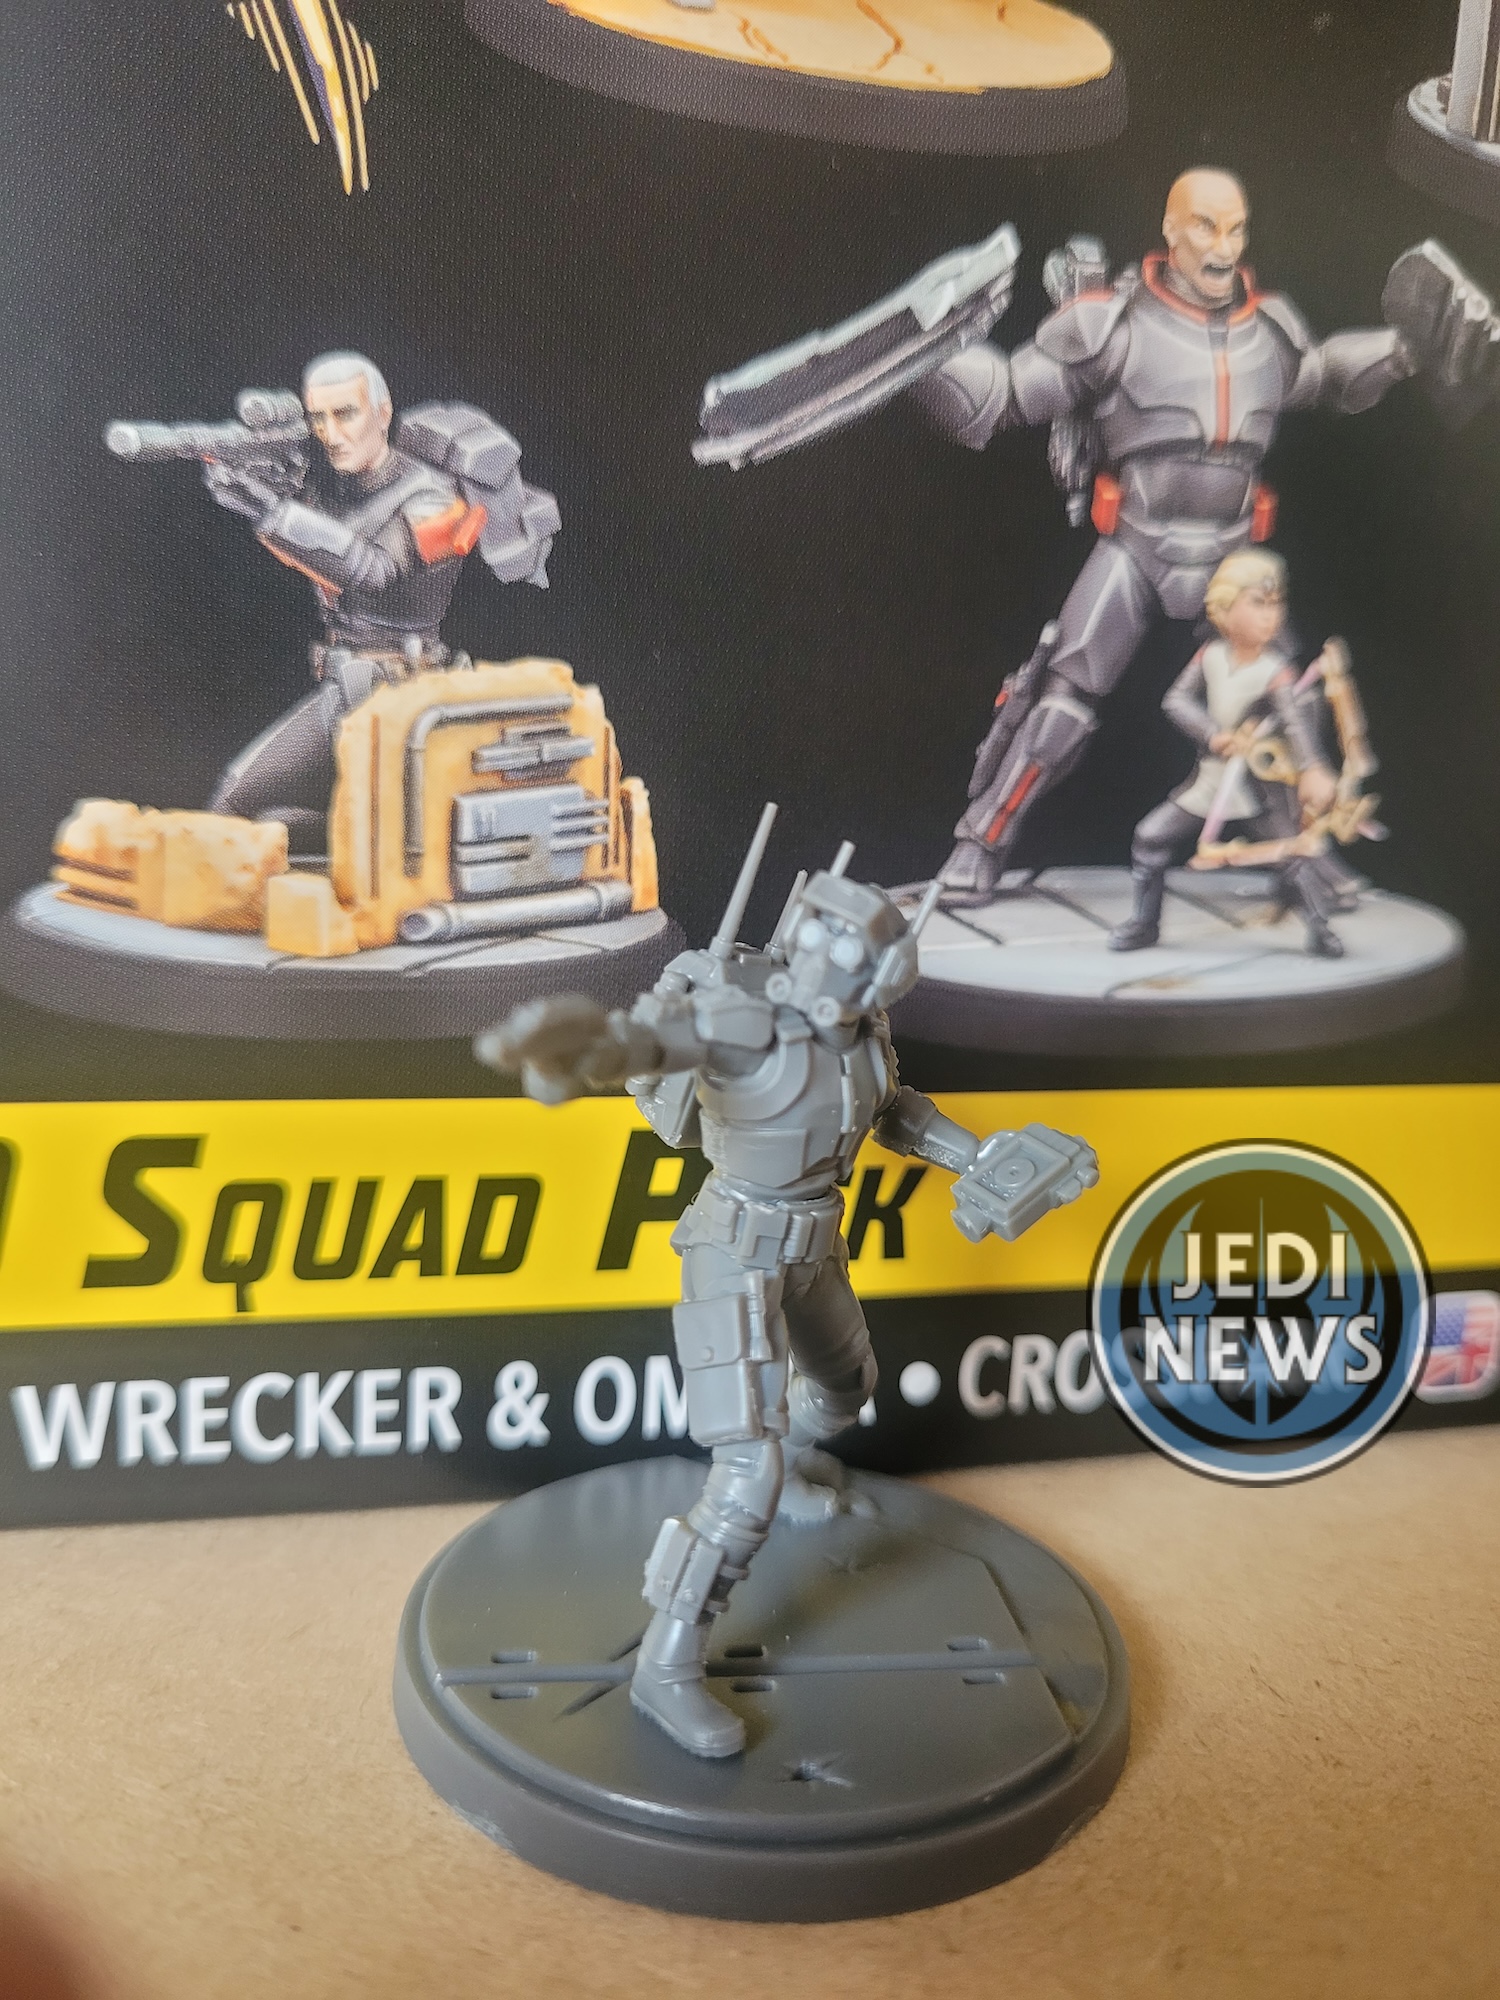
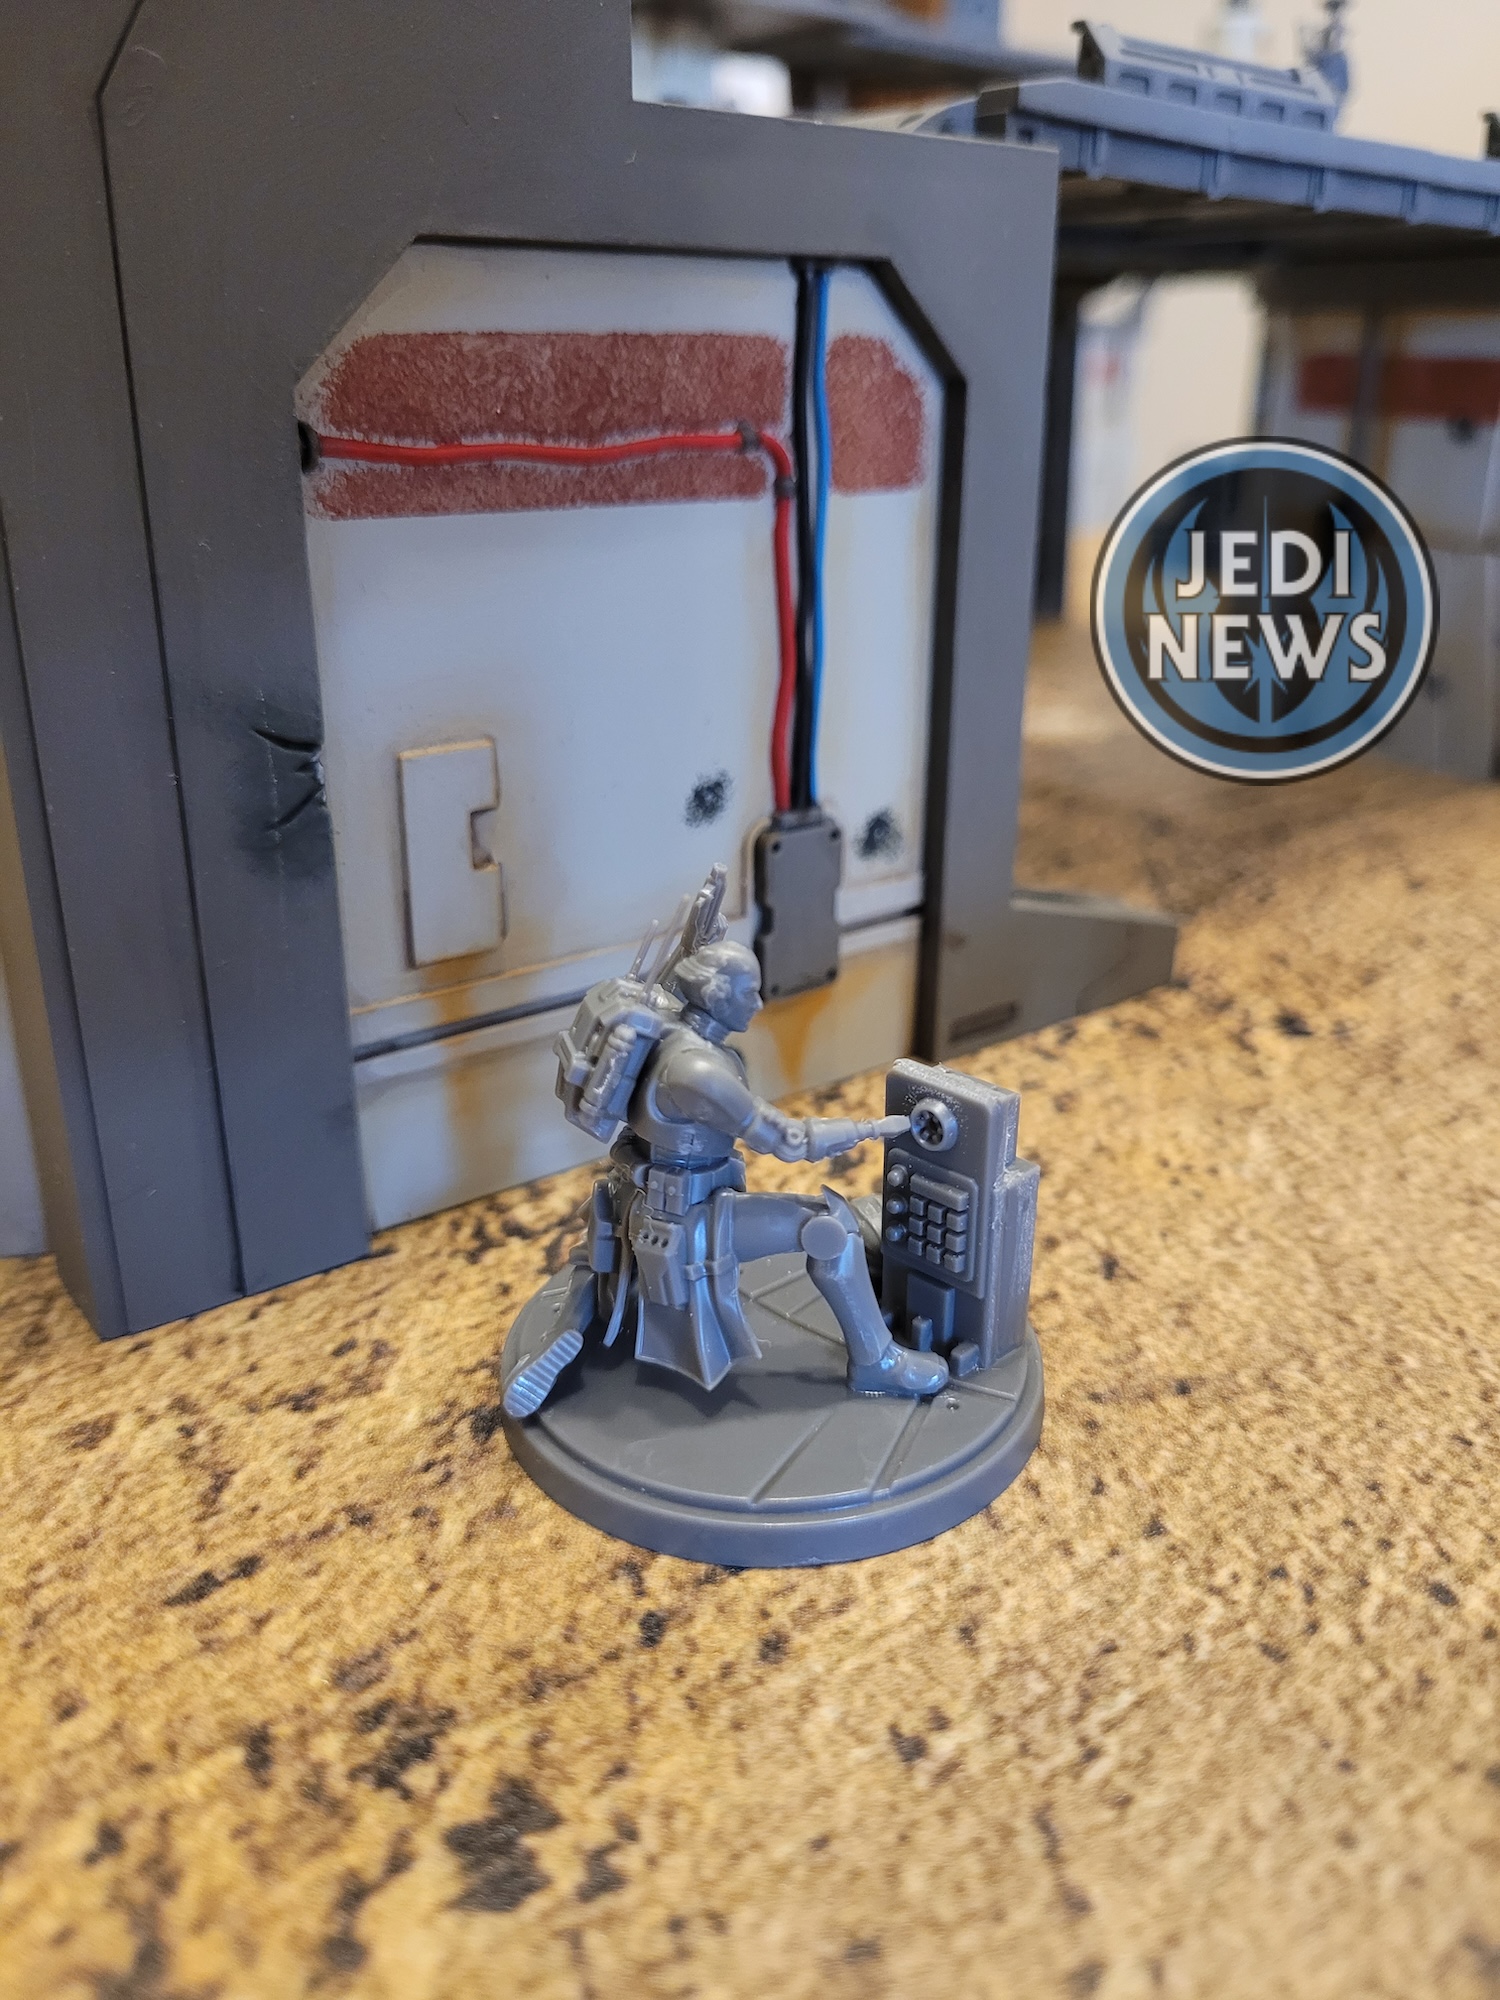
Echo is up and appears to be the simplest of all the builds. For the first step, place the lower part (D02) on before the top (D01). They should go on either way, but I found it much easier doing it this way. The rest of the build itself is fine until you get to actually placing Echo on the base. It took me a while to get the pose just right. His foot had to ever slightly hang over the base, and he’s coming at the computer terminal at an angle. Get it right though, and it’s an incredible pose and I do really like having the terminal there.
Finally it’s Wrecker and Omega. Just a friendly reminder, they need to go onto the wider base! Wrecker is straightforward, but you can’t help but notice his size, the guy is huge compared to the other clones. The sculptor has clearly been able to use this to their advantage as the detail on him is stunning. The joins for the arms are solid and I do like that it’s going to take a lot of pressure to have those arms fall off by mistake. When you move onto building Omega – having just done a large Wrecker – there is an obvious size difference. I looked at the body parts that are smaller than Wrecker’s leg and thought this is going to be tough! With Omega, be careful clipping out the head. There is the neck and then a peg. The peg almost looks like part of the sprue rather than the head, I almost cut it off before realising my mistake. Put the left arm before the right, it makes things easier. When the two are completed, they look incredible, straight out of the tv show. The detail, even on little Omega, is incredible. You can’t get away from the size of Wrecker. The fact he’s had to go onto a bigger base, says it all.

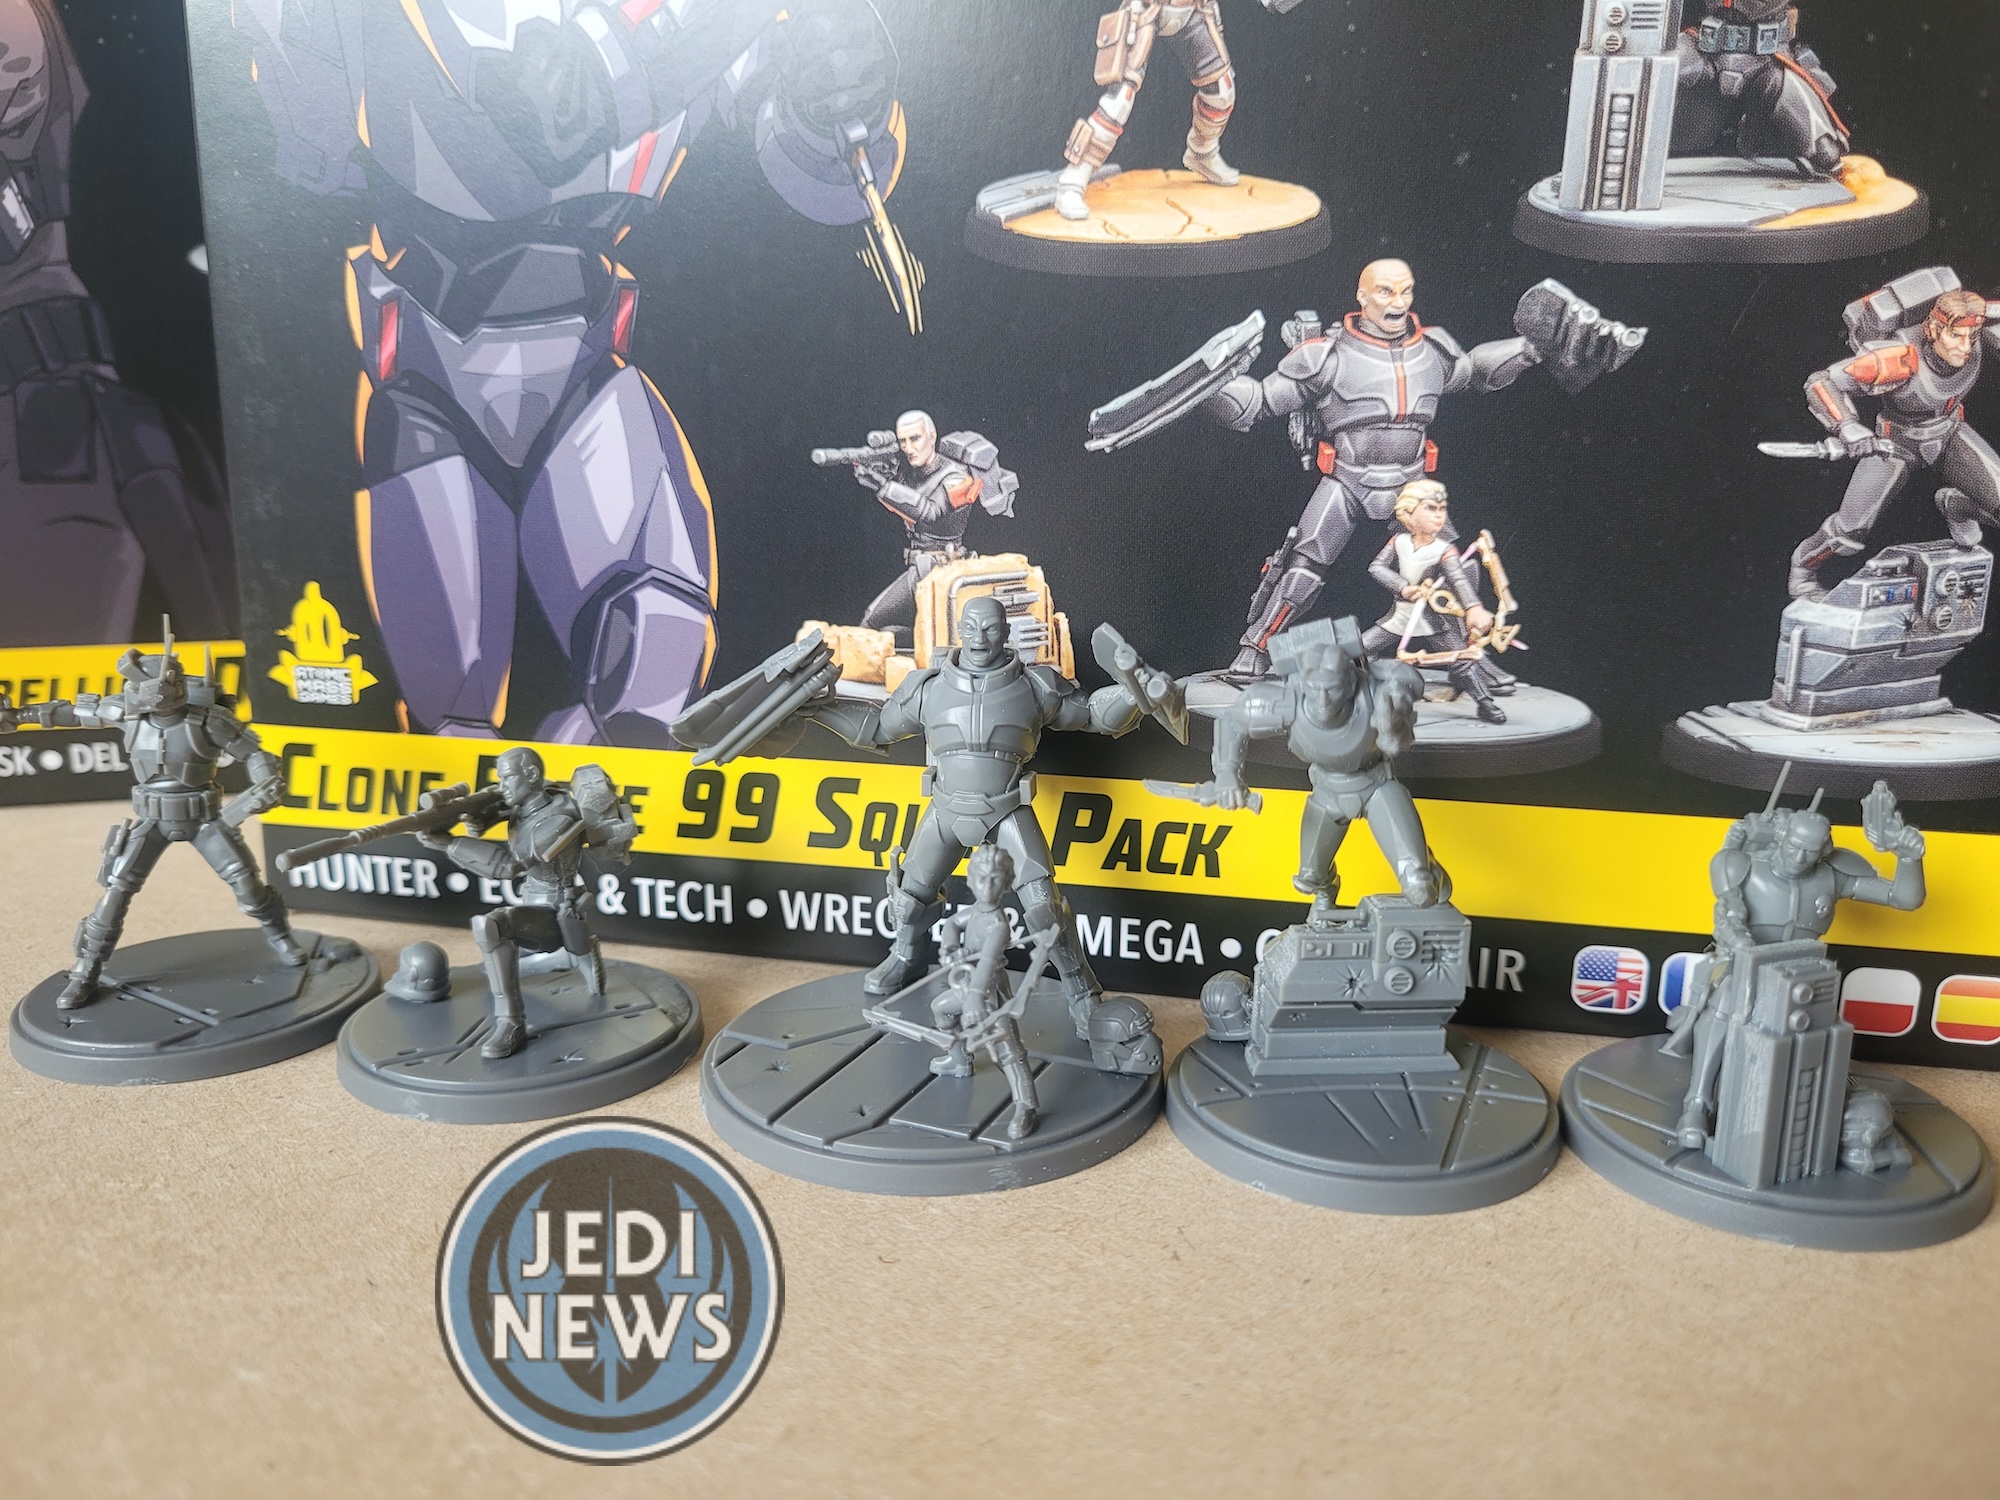
As a squad, I feel like I’m watching The Bad Batch. No detail has been missed here and the likenesses are some of the very best that we’ve seen in the game. The extra detail to the bases give them that extra touch that I think will draw a lot of people to this squad. Yet looks can only get you so far, what do their cards look like? Let’s start with the primary, Hunter. He gives you eight sending points and three force, almost standard for the game at the moment. The two sides of his stance card are ‘Knife Fighter’ and ‘Huntsman’, the latter focused slightly more on ranged, the former melee. In terms of damage, ‘Huntsman’ can do a maximum of eight damage on the track, although with ranged this can be made up to nine and on the flip side it’s one less on both counts Hunter isn’t too fussed about conditions except strained. Also, on the track he’ll shove, reposition and heal. I feel this is very in keeping with the character that we see on the show. He leaves his enemies bleeding and then moves on. The tactic that he starts his activation with is ‘We Prefer Going to Them’. This sees another clone trooper unit dash, if they’re Bad Batch, they can move. It’s simple and very similar to how the crew of The Ghost work. It rewards you for using the Bad Batch together, but it doesn’t penalise you too much if you just stick with clones. It’s a happy middle ground. Hunter only has one ability that costs a force – ‘Striking Distance’ – which allows him to dash and then make a five dice attack. He then has ‘Enhanced Tracker’ ability that means when an enemy primary moves, Hunter can dash toward that unit. The fact that this ability doesn’t cost anything I think is incredible and certainly will help Hunter take primaries out (if you want him to). ‘It’s Hard to Compete with A Jedi’ allows Hunter to reroll two failures and if he has exposed, all failures. Again, at no cost, I think this is a great ability to have. Finally, his identity ability allows any clone on an attack to change one failure dice roll to a hit. If they’re Bad Batch, you can change it to a hit or an expertise. If you are running a full clone force, that is immensely powerful, a benefit with no cost that applies to all clones. Just from the cards, Hunter seems insanely powerful. Yes, if you use him with the Bad Batch there are some perks but even in a normal clone force, Hunter is an incredible asset, one I’m looking forward to trying out!
The squad pack gives you the option of two secondaries to use in the squad or have the other in your other squad. Wrecker and Omega are one of the secondaries, Crosshair is the other. Let’s look at the former first. This four point cost secondary, unlike many, has two sides on its stance card. The one side is ‘Tuning Out Distractions and the flip side is ‘Boom!’. The latter can do a maximum of six damage or can do a little less and give you a heap of movement. ‘Tuning Out Distractions’ also does six damage on the track, but with expertise you could add another two. This side gives out more conditions as well as the ability to heal. At the start of their activation, they have the tactic ‘Bulldoze’ which allows the unit to dash. If it ends within one of an enemy, it can shove them. Very thematic and very helpful to push an enemy off an objective. ‘Hahahaha, yeah!’ costs two force and as an action, Wrecker and Omega can make a ranged attack. That’s a lot of force to use, yet the benefits, used at the right time, could be immensely powerful. Then they have a one force ability, ‘I Wasn’t Sneaking…’. You get to choose an objective within three that you don’t control but an enemy is contesting. You roll five attack dice and for every hit and crit, that unit suffers a damage. If you happen to wound them that way, you get an additional momentum token. When I initially saw this, I thought that could be tricky, but when you use ‘Bulldoze’ and with the sheer number of shoves on their stance card, I actually think this could work very well and might be fairly easy to set up. Finally, there is ‘The Muscle Of The Batch’. While they are not wounded, Wrecker and Omega give Bad Batch members within three, steadfast, and clone troopers and scoundrels protection. Useful, but again, the Bad Batch keyword isn’t essential for making this unit work. These guys sound like a lot of fun, my only slight concern is the amount of force they might use to make them effective.


The other secondary you can take (again at four points cost) is Crosshair. He only has one side to his stance card unlike the other secondary, but it can put out a maximum of eight damage – possibly nine – and heal up to three. You can decide not to do that much damage and instead shove your opponent up to three times. Crosshair seems very hard hitting, and so he should! His tactic is ‘Trick Shot’, which allows Crosshair, as long as he’s not engaged’ to choose an enemy in line of sight. That unit suffers a damage and loses all hunker tokens. With unlimited range, this suits the character of Crosshair perfectly as well as possibly being able to finish those annoying units that only have one wound left (I’m sure we have all been there before!). He has one force cost ability which is ‘Find the Shot’. It allows Crosshair to climb and if he does, he immediately focuses. ‘Relax, I’ll Handle This’, allows Crosshair when performing a ranged attack to – instead of resolving a heal – remove a condition from a friendly unit engaged with the unit being attacked. This is an amazing ability that doesn’t cost any force. It really shows that you want Crosshair well out of the way, supporting the rest of the unit. Finally, he has sharpshooter two and targets can’t benefit from cover. I find it interesting that the card makes no use of the Bad Batch keyword, which is certainly in keeping with the loner aspect of this character. I think as a secondary, Crosshair is a strong choice for any clone force. Interestingly, and again in character, he’s the only one of the Bad Batch not to have the Scoundrel key word.
That leaves us with the four-point cost supporting unit: Echo and Tech. They only do four damage, possibly five with expertise and are either about the healing or the shoving: a theme I’m noticing with this squad. They have two active abilities that can be activated from their combat tree and each cost a force. The first, ‘Fight Smarter, Not Harder’, allows you to choose an objective within three that your opponent controls. You then remove one of your own hunker tokens to remove the control token of that objective. I can already hear the frustration of the opposition! The second one ‘Keep A Low Profile’, allows each character in the unit to dash and if they do, gain a hunker token (which are certainly going to come in useful!). The other two abilities do not cost the unit anything. ‘Forward Planning’ allows any primary or secondary unit within four starting its activation to remove one condition. Coupled with Crosshair’s ability and the squad shouldn’t have to worry too much about conditions. ‘The Brains of The Batch’ means that if the unit has a hunker token, they gain a dice to attack and defense rolls. Very helpful but with their first ability, means that you will have to be careful when to sacrifice that hunker token. Again, this pair don’t utilise the Bad Batch keyword in their abilities, meaning they’re useful in any clone squad, come to think of it, in a scoundrel squad too.

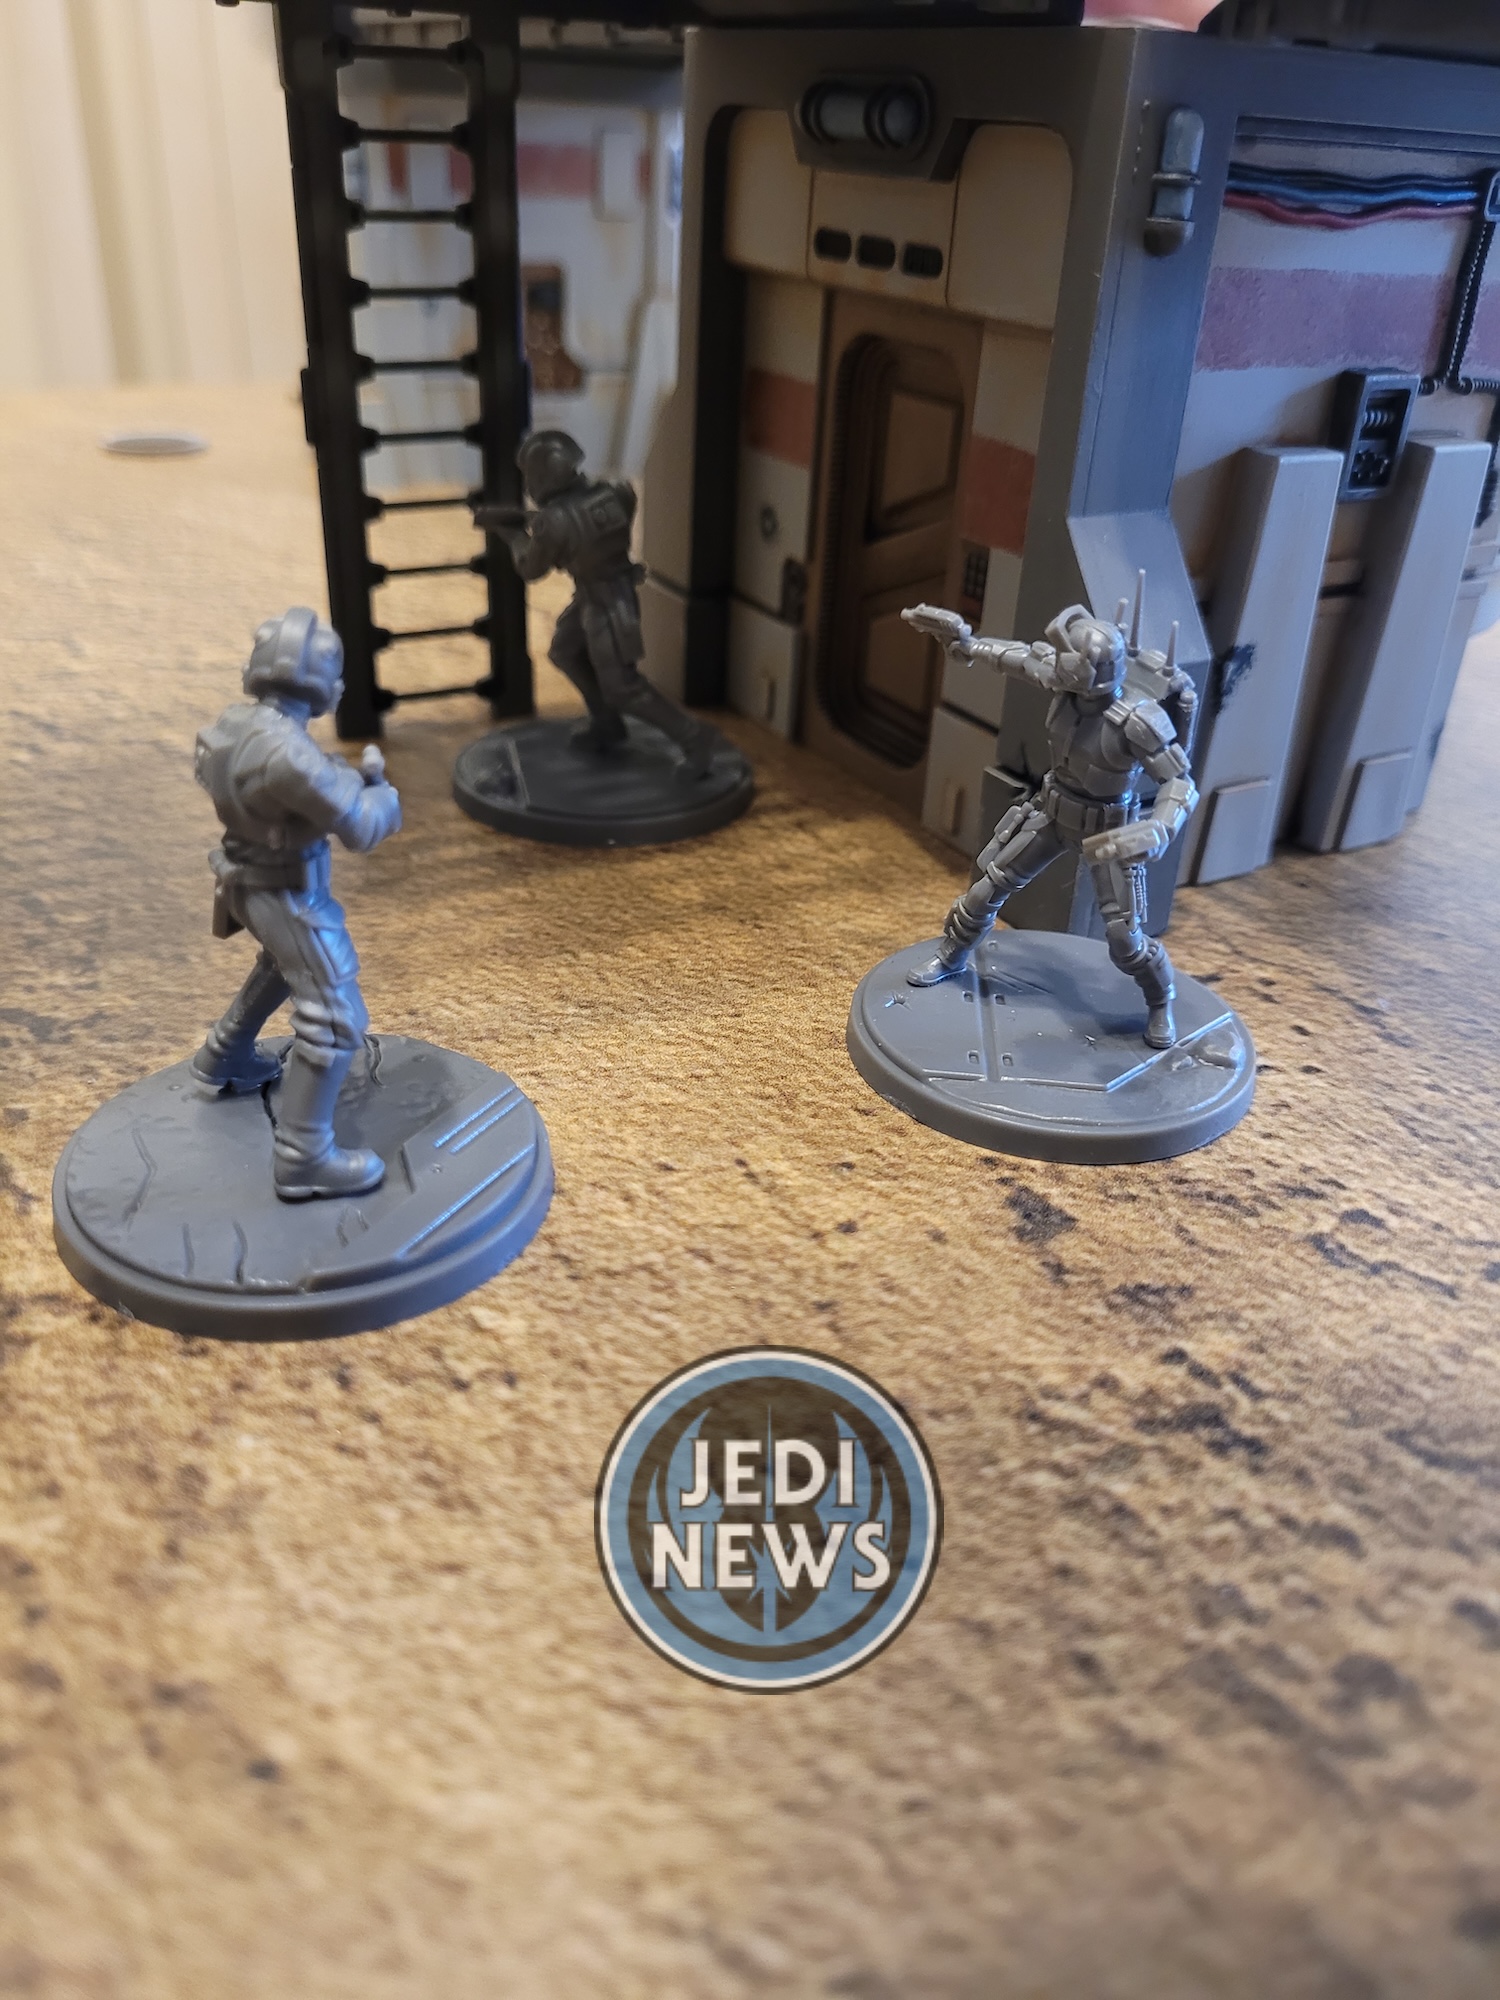
I am seriously impressed with the abilities of these clones. They look good, really good. They seem very powerful and used rightly, are going to really annoy your opponent. Now saying that from looking at cards is one thing, actually on the tabletop is something else. So how do they perform? Well, I couldn’t face leaving any of them behind so I threw Crosshair into my second squad to see how this team would work altogether. Let’s start with the shining star in all of this, Hunter’s ‘Leader of the Batch’ identity ability. This came up every single round with the clones I were using. The fact there is no range meant I could do what I liked with Hunter and the clones could still use it. I was also running Republic Commandos, and they were able to use it on their attacks. But it really shone when using it with the rest of the Bad Batch. Being able to choose between an expertise or a damage was crucial, particularly as my opponent kept rolling so many good defense rolls. Being able to choose the expertise, to climb up that, which usually gave me criticals and flat damage, meant I was causing some serious damage. In an almost full clone force, Hunter’s ability was incredible, and he really should be a no brainer for clone players.
The other unit that really shone out were Tech and Echo. They were able to do some damage but spreading them around the battlefield allowed my primaries and secondaries to remove a condition. My opponent looked in shock as this kept coming up (like “Leader of the Batch’). At one point he was rather pleased with himself that he’d put strain on a unit, only to have it removed moments later. Keeping them out of the fight and as their card suggests, as a supporting unit, worked great. I had them close to Hunter (but not too close, almost casual, you might say), so they were able to deal the last bits of damage to units that Hunter hadn’t quite finished off.
Hunter’s ability to move towards primaries was very good, as it allowed him to move very fluidly across the board. You do have to be careful that you don’t get pulled away from the rest of your units, as Echo and Tech provide such a useful ability, you don’t want them too far away.
Wrecker and Omega. They’re very good at protecting the rest of your squad and while I kept everyone close at hand, things went really well. At one point I decided to move them away to deal with an objective. It was technically the right thing to do but then my opponent moved Vader in to attack Hunter and… well… let’s just say that didn’t go to plan! While the units all have some really good abilities, they all work off one another. You need to keep these guys fairly close together in order to show them at their best.


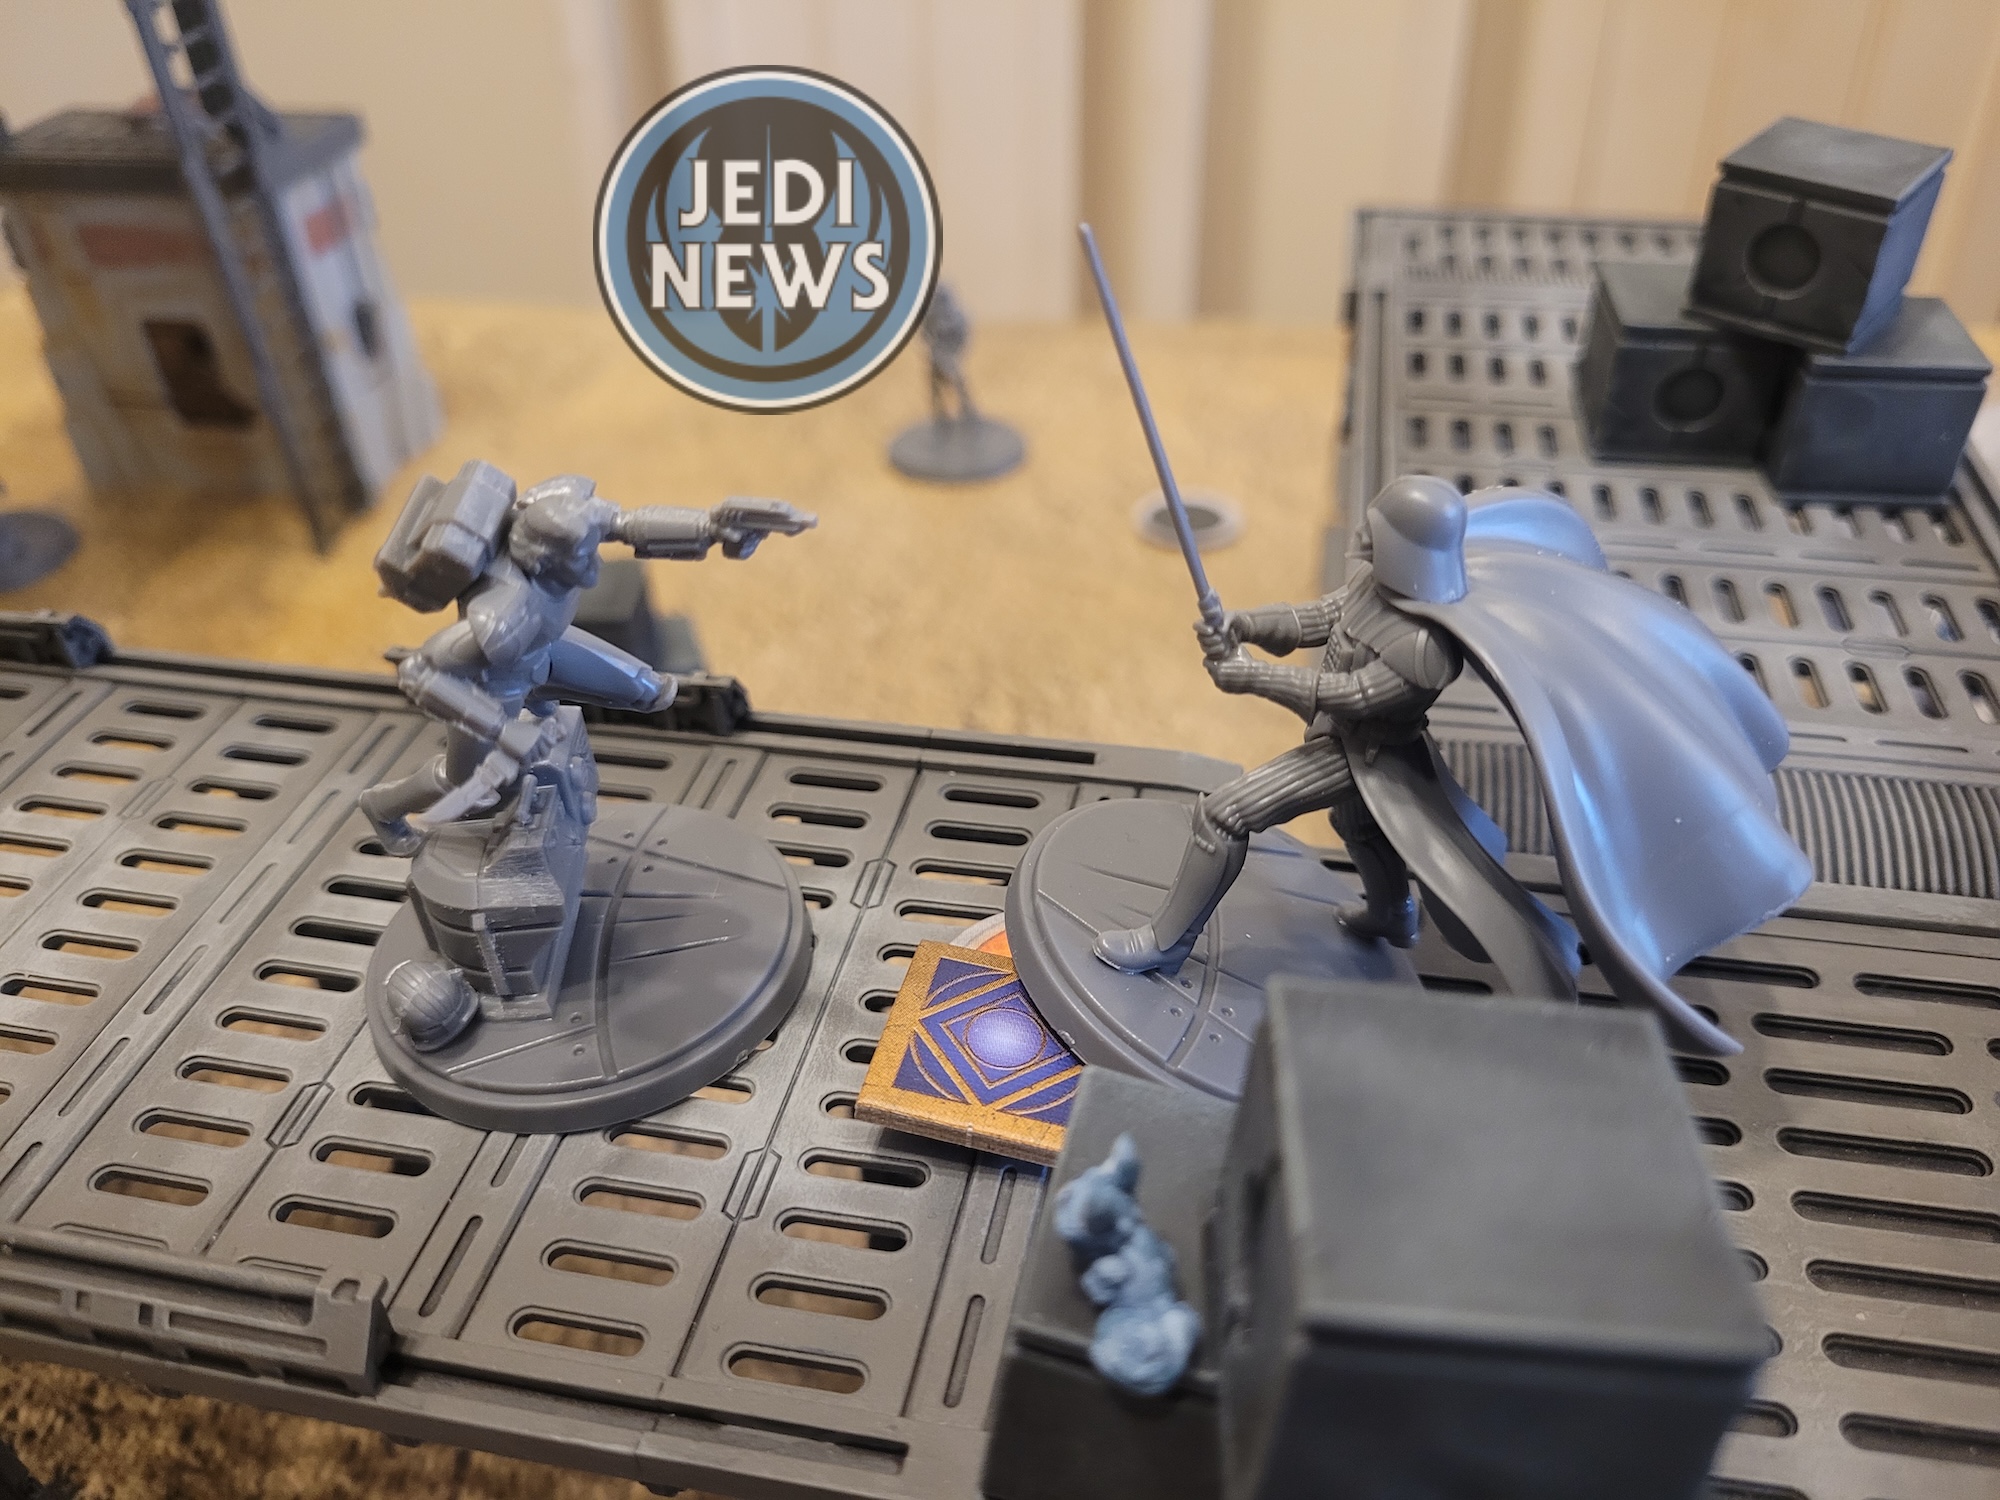
Crosshair was also incredible. Using the other abilities of the team, I was able to move him into position, ready to strike out when he activated with his ability. I kept him out of the way, then moved in for the kill. Sharpshooter two does incredible damage and coupled with ‘Leader of the Batch’ from Hunter and your opponent doesn’t stand a chance. The fact that out of everyone, he could go into another squad and still work well, felt so thematic to the show. He wasn’t completely alone, he still had Hunter’s ability, but he was apart from the group.
There is no simpler way to say that most players are going to want this box. If you like the Bad Batch, you’ll want this box. If you are a clone player, you’ll want this box. If you just want cool looking miniatures, you’ll want this box. This is an incredible squad pack and is up there as one of my favorites. The miniatures themselves are stunning. They look like the team and the fact you can have them helmeted/unhelmeted is great. Then add the awesome bits of terrain for the bases and these are some of the bets miniatures Atomic Mass have done to date. The unit themselves is incredible and gives a huge boost to clone players. Hunter is essential in clone lists or should be. With the other units in this squad almost as strong, I think we will be seeing the whole Bad Batch at a lot of tournaments. I combined mine with Luminara and the Commandos and they all did me proud. The synergies between them all was superb, I just need another clone primary and then we’re really talking! This is an exceptional box from Atomic Mass that I can’t recommend highly enough.