After visiting Guy Cowen at Archive X paints and seeing the stunning work he was able to achieve with his range of paints based on ILMs original colour palette from the 1970’s, I was keen to see how they would translate to the Shatterpoint miniatures. I’m not going to lie; I was up a fair few nights merely thinking how I was going to tackle this project. Archive X were designed for studio scale models. These sorts of colours were actually used by ILM for the original movies. That meant the painting techniques that were used were very different to what I use for miniature gaming models now. I use dry brushing, washes, and highlighting to paint my models. In comparison, studio models use misting and don’t worry too much about washes or highlights at that scale. Instead, they use light generated for the shot to show the depth and are big enough to give off natural highlights.
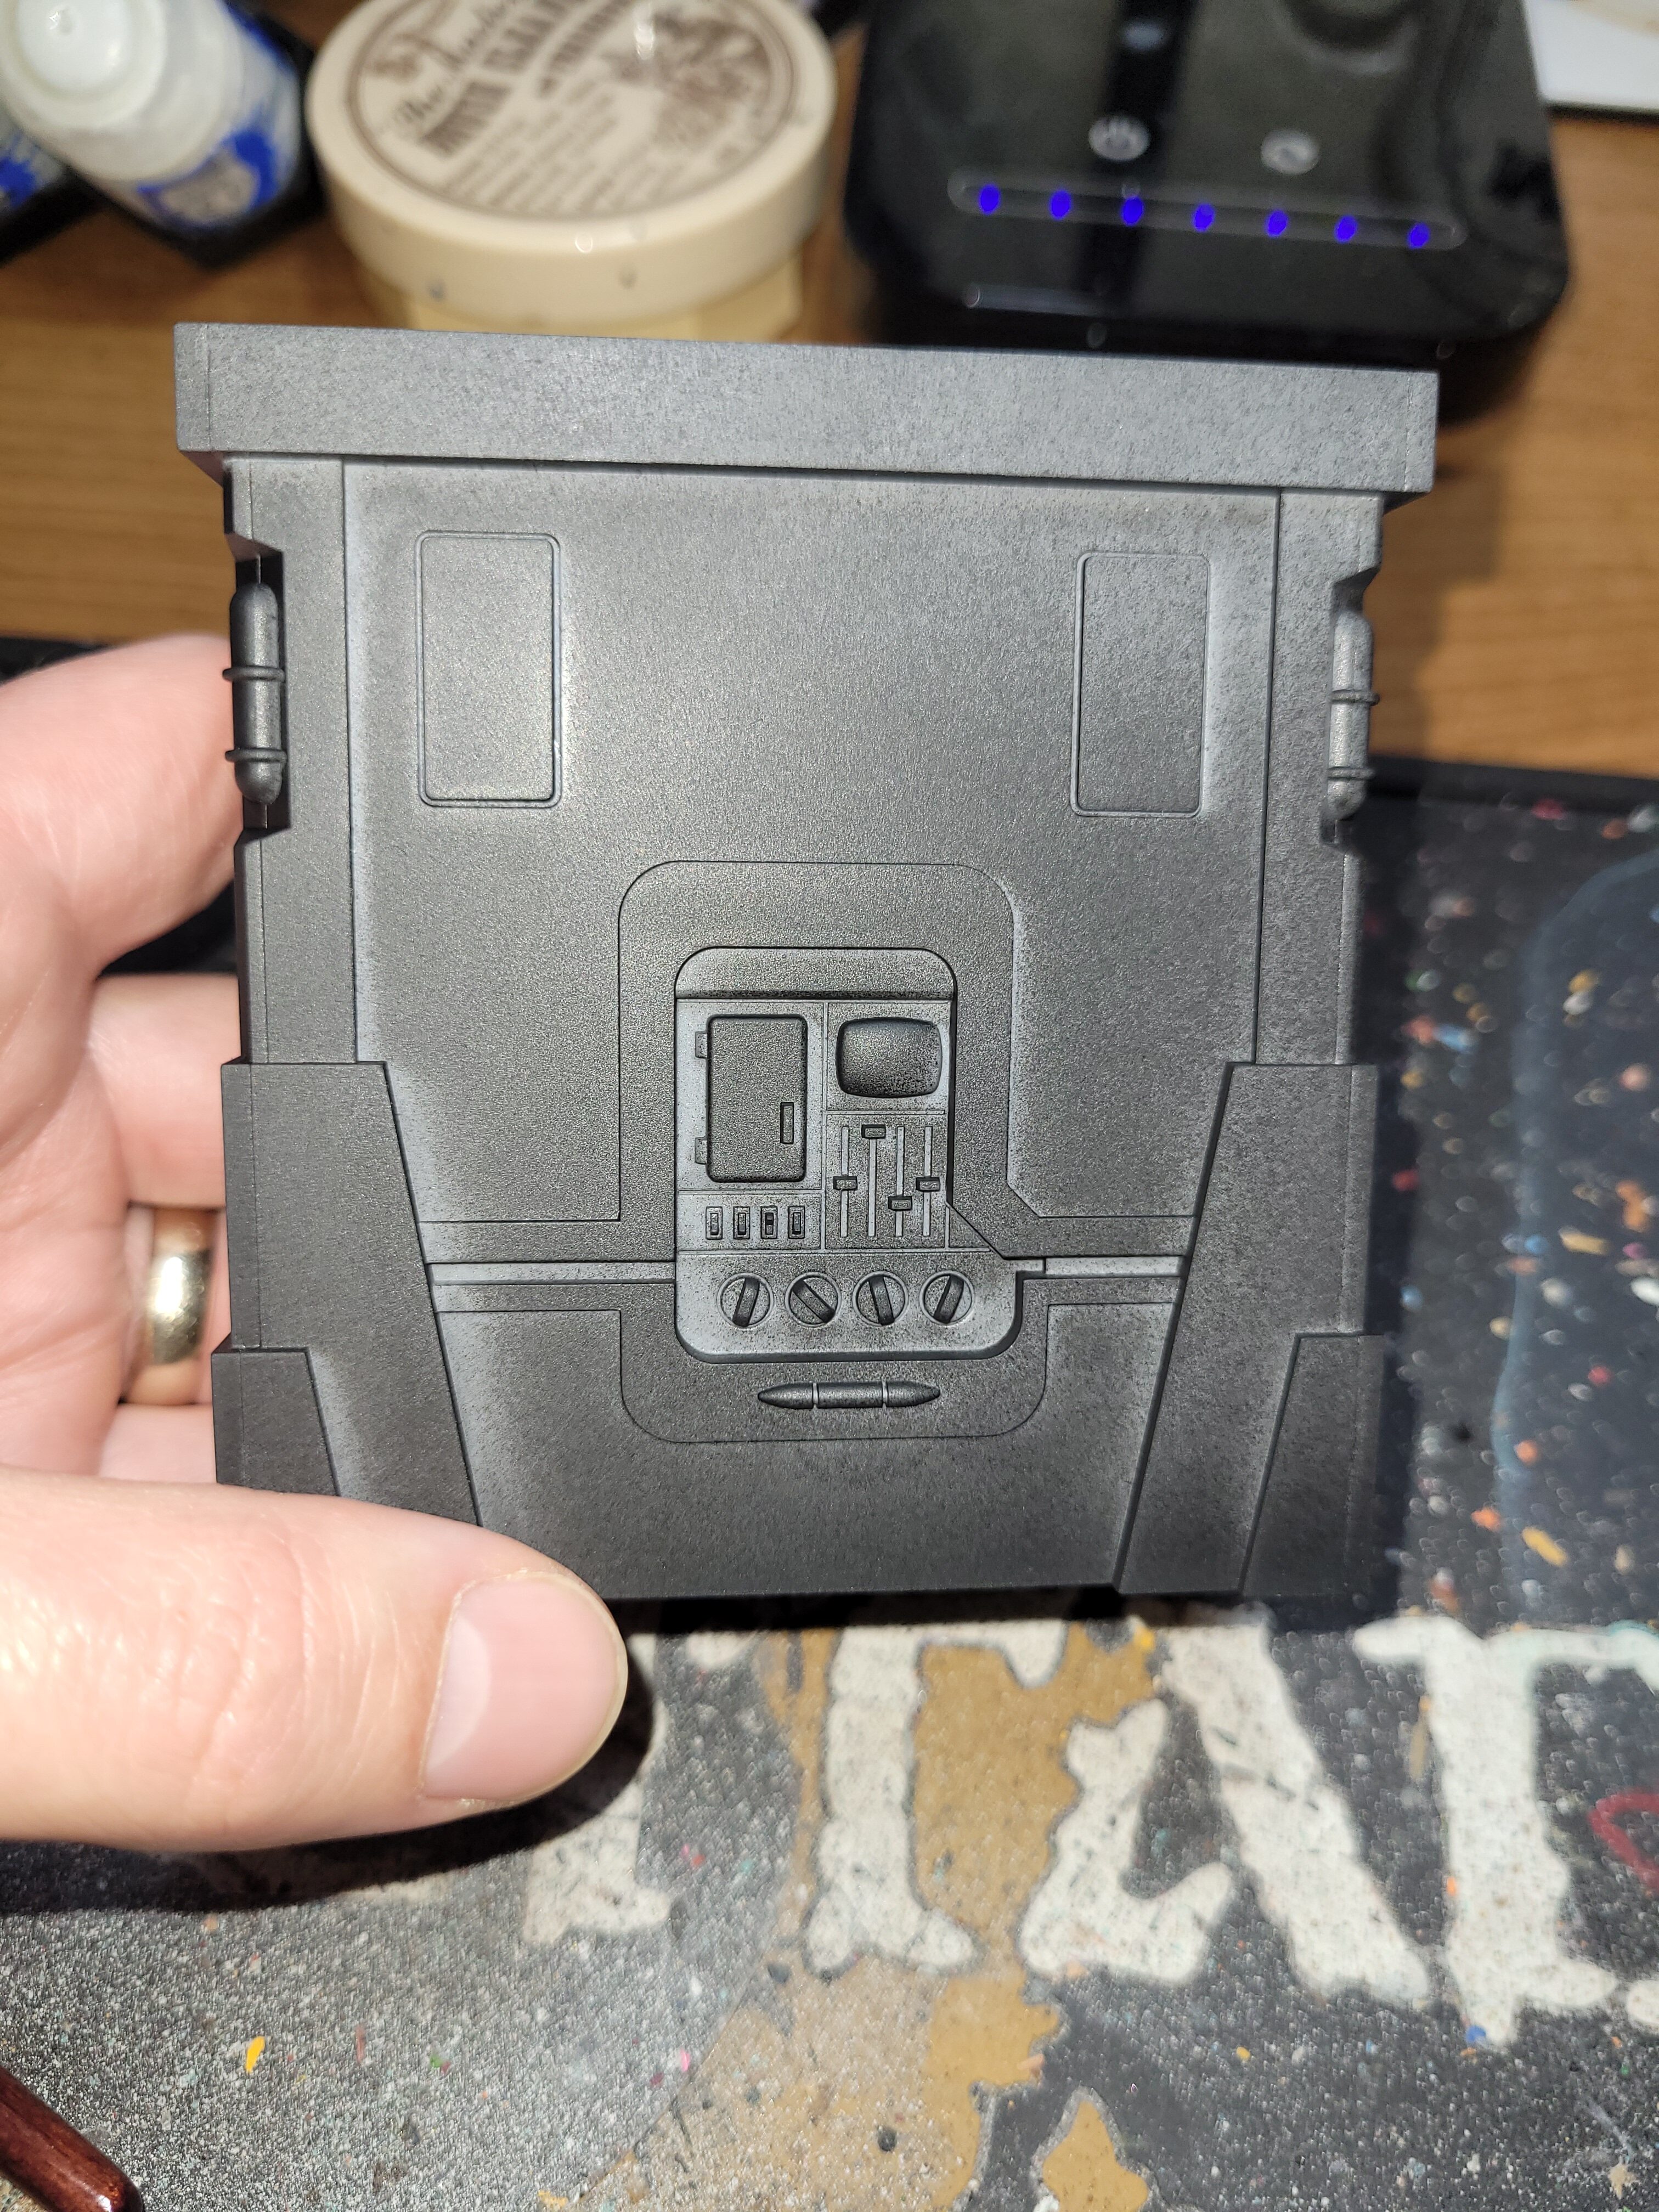
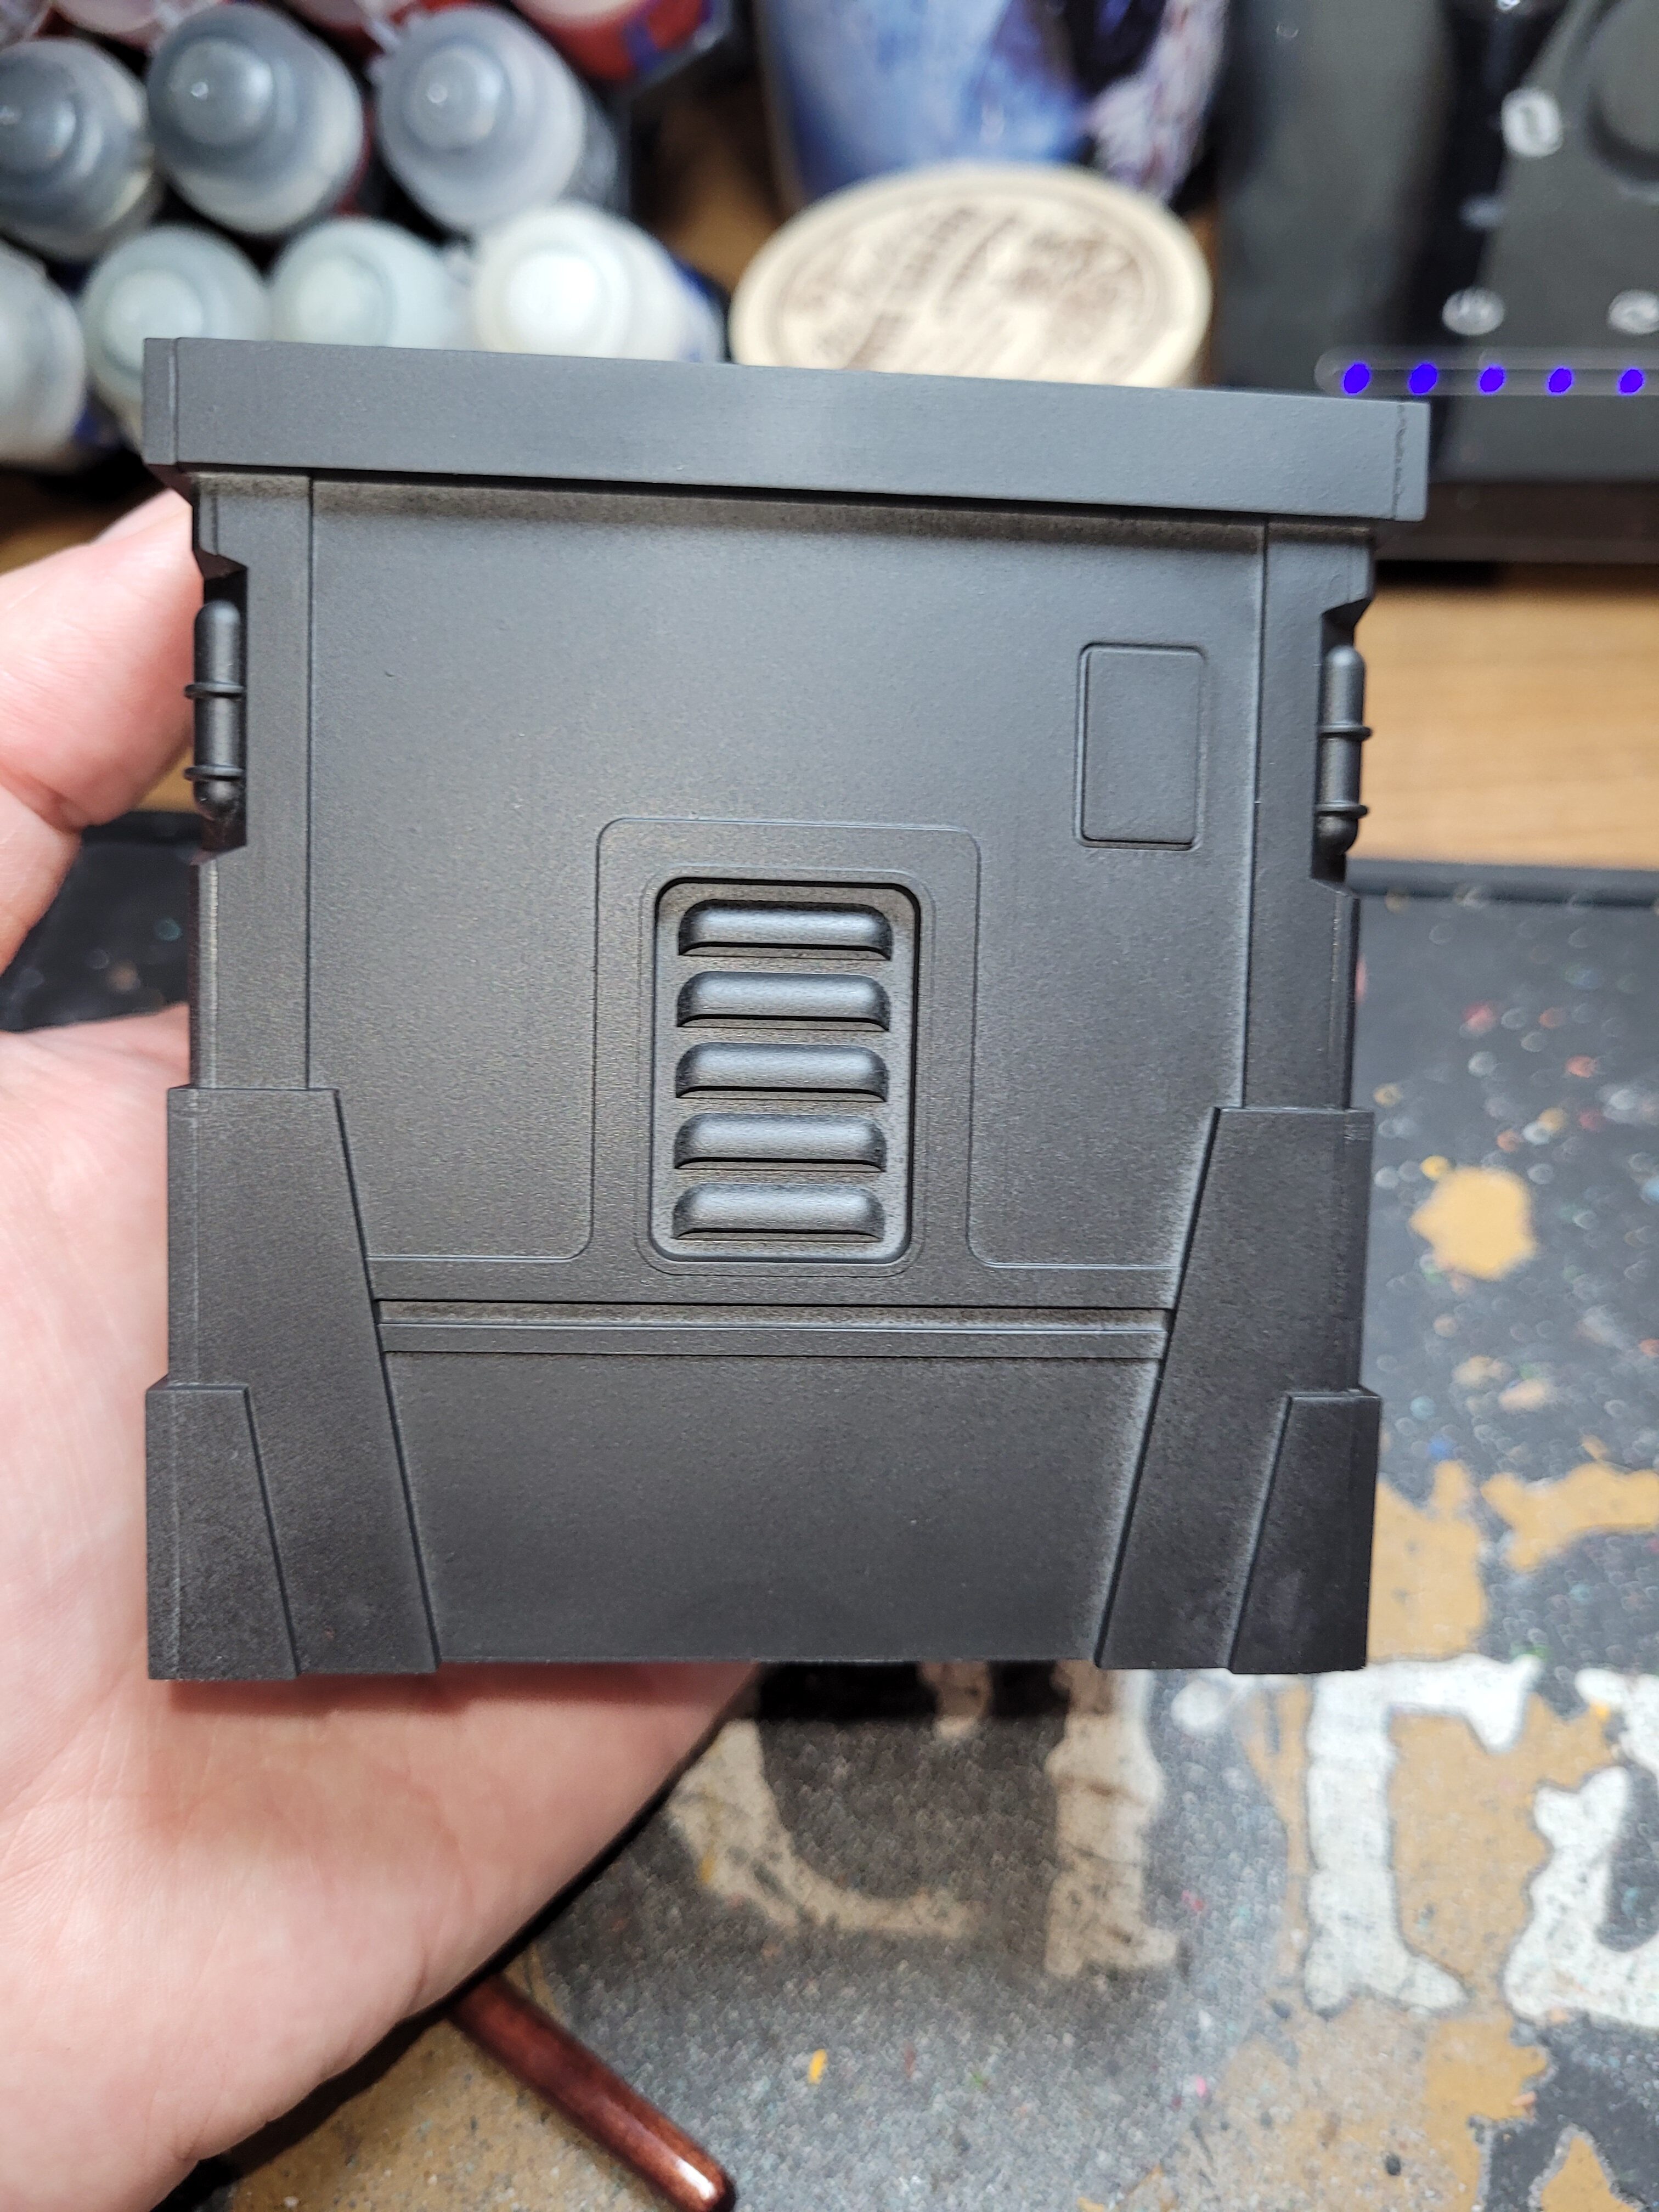
The more I thought about it, the more I realised I was combining two different hobbies. Two different worlds together. This was both exciting and terrifying at the same time. I wanted that look that I had seen at the Archive X studio, that Guy had referred to as “It just looks Star Wars”. I wanted to play on a board that evoked that feel. I wanted to stare at the terrain like I had stared at the studio scale Y-wing. Yet to make the terrain stand out, to make it come alive, I knew I needed the techniques that I would use normally. In doing so, would I lose the Star Wars feel? There was only one way I was going to find out.
As with all thing’s miniatures, the first thing I did was a base coat of black. I always prefer black because it gives a darker tone to the colours I use. Now, I will say that I started with just a single piece of terrain and quite a simple one. I didn’t know what was going to work, nor how these paints would come out. Starting with a single piece allowed me to figure out the recipe that I could then replicate on my other pieces and save a lot of repainting if something didn’t come out just right.
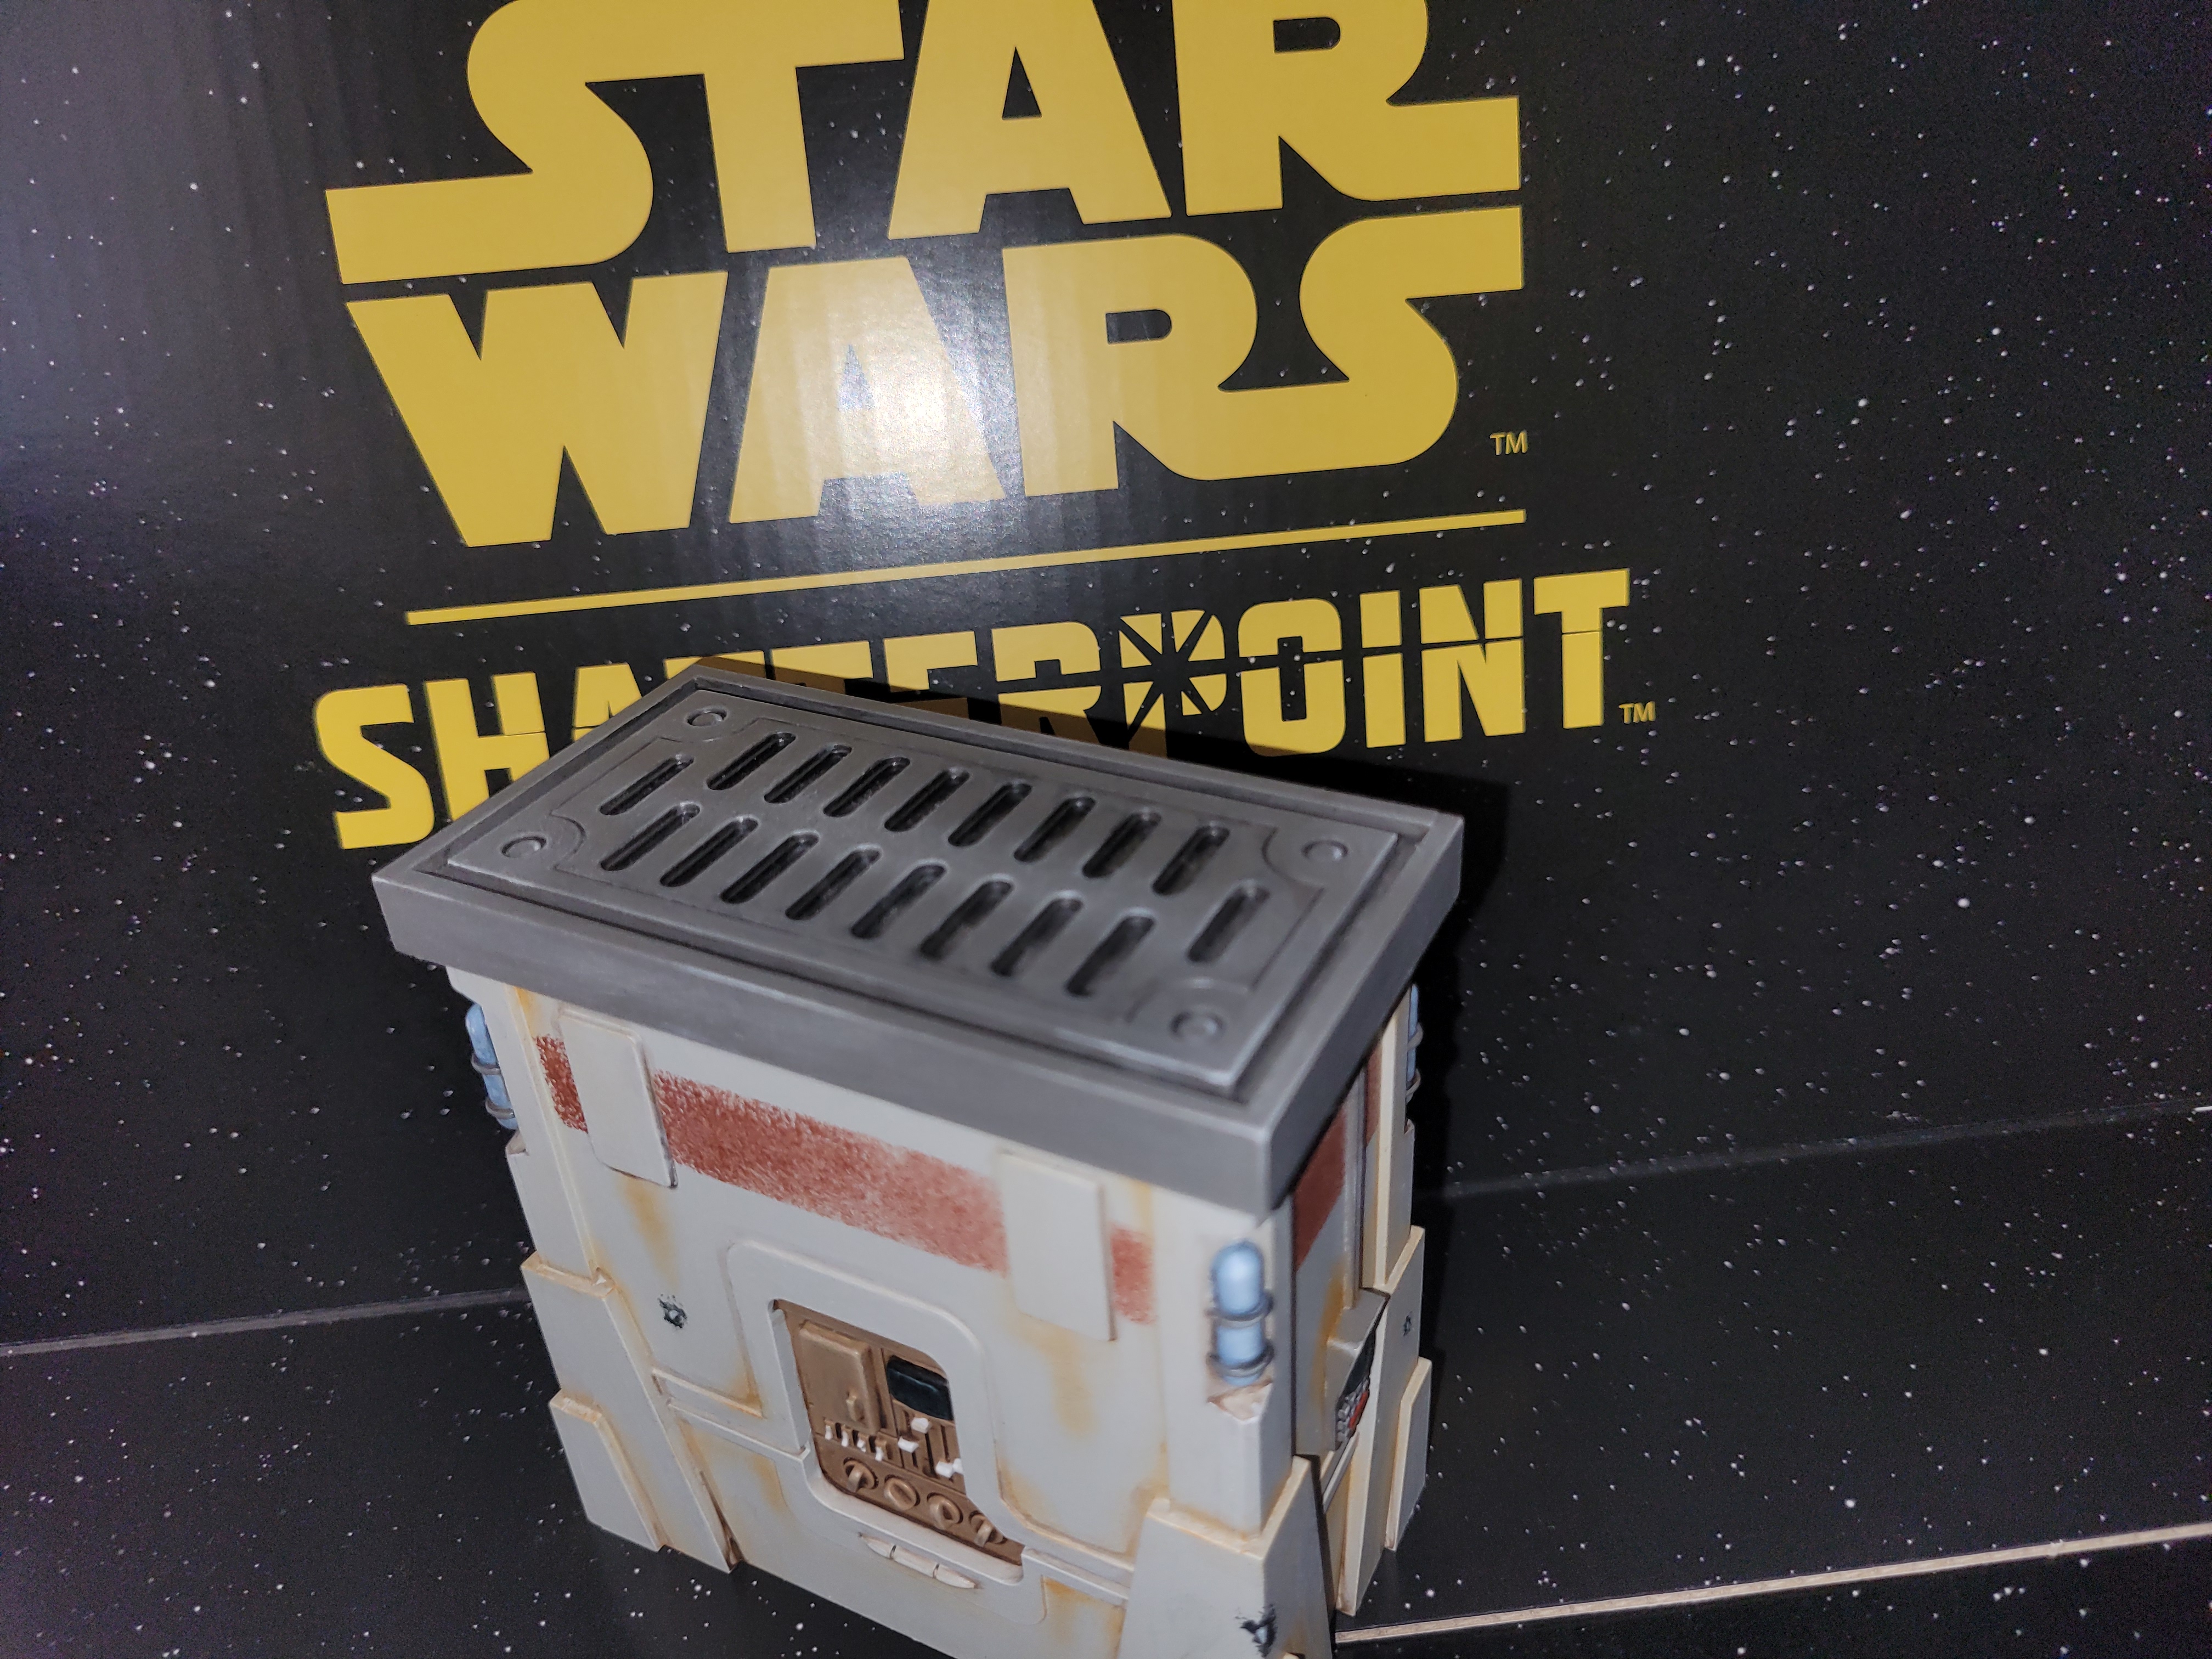
After the base coat, I knew I wanted the buildings to have a colour similar to the Millennium Falcon. Having spoken to Guy, he recommended light grime. There is a darker version, which is more accurate, but as the years have passed, most fans swear that light grime is the correct colour. With the washes and worn effects I’d be applying, let alone it being my first foray into using these paints and colours, light grime seemed as good a place to start as any.
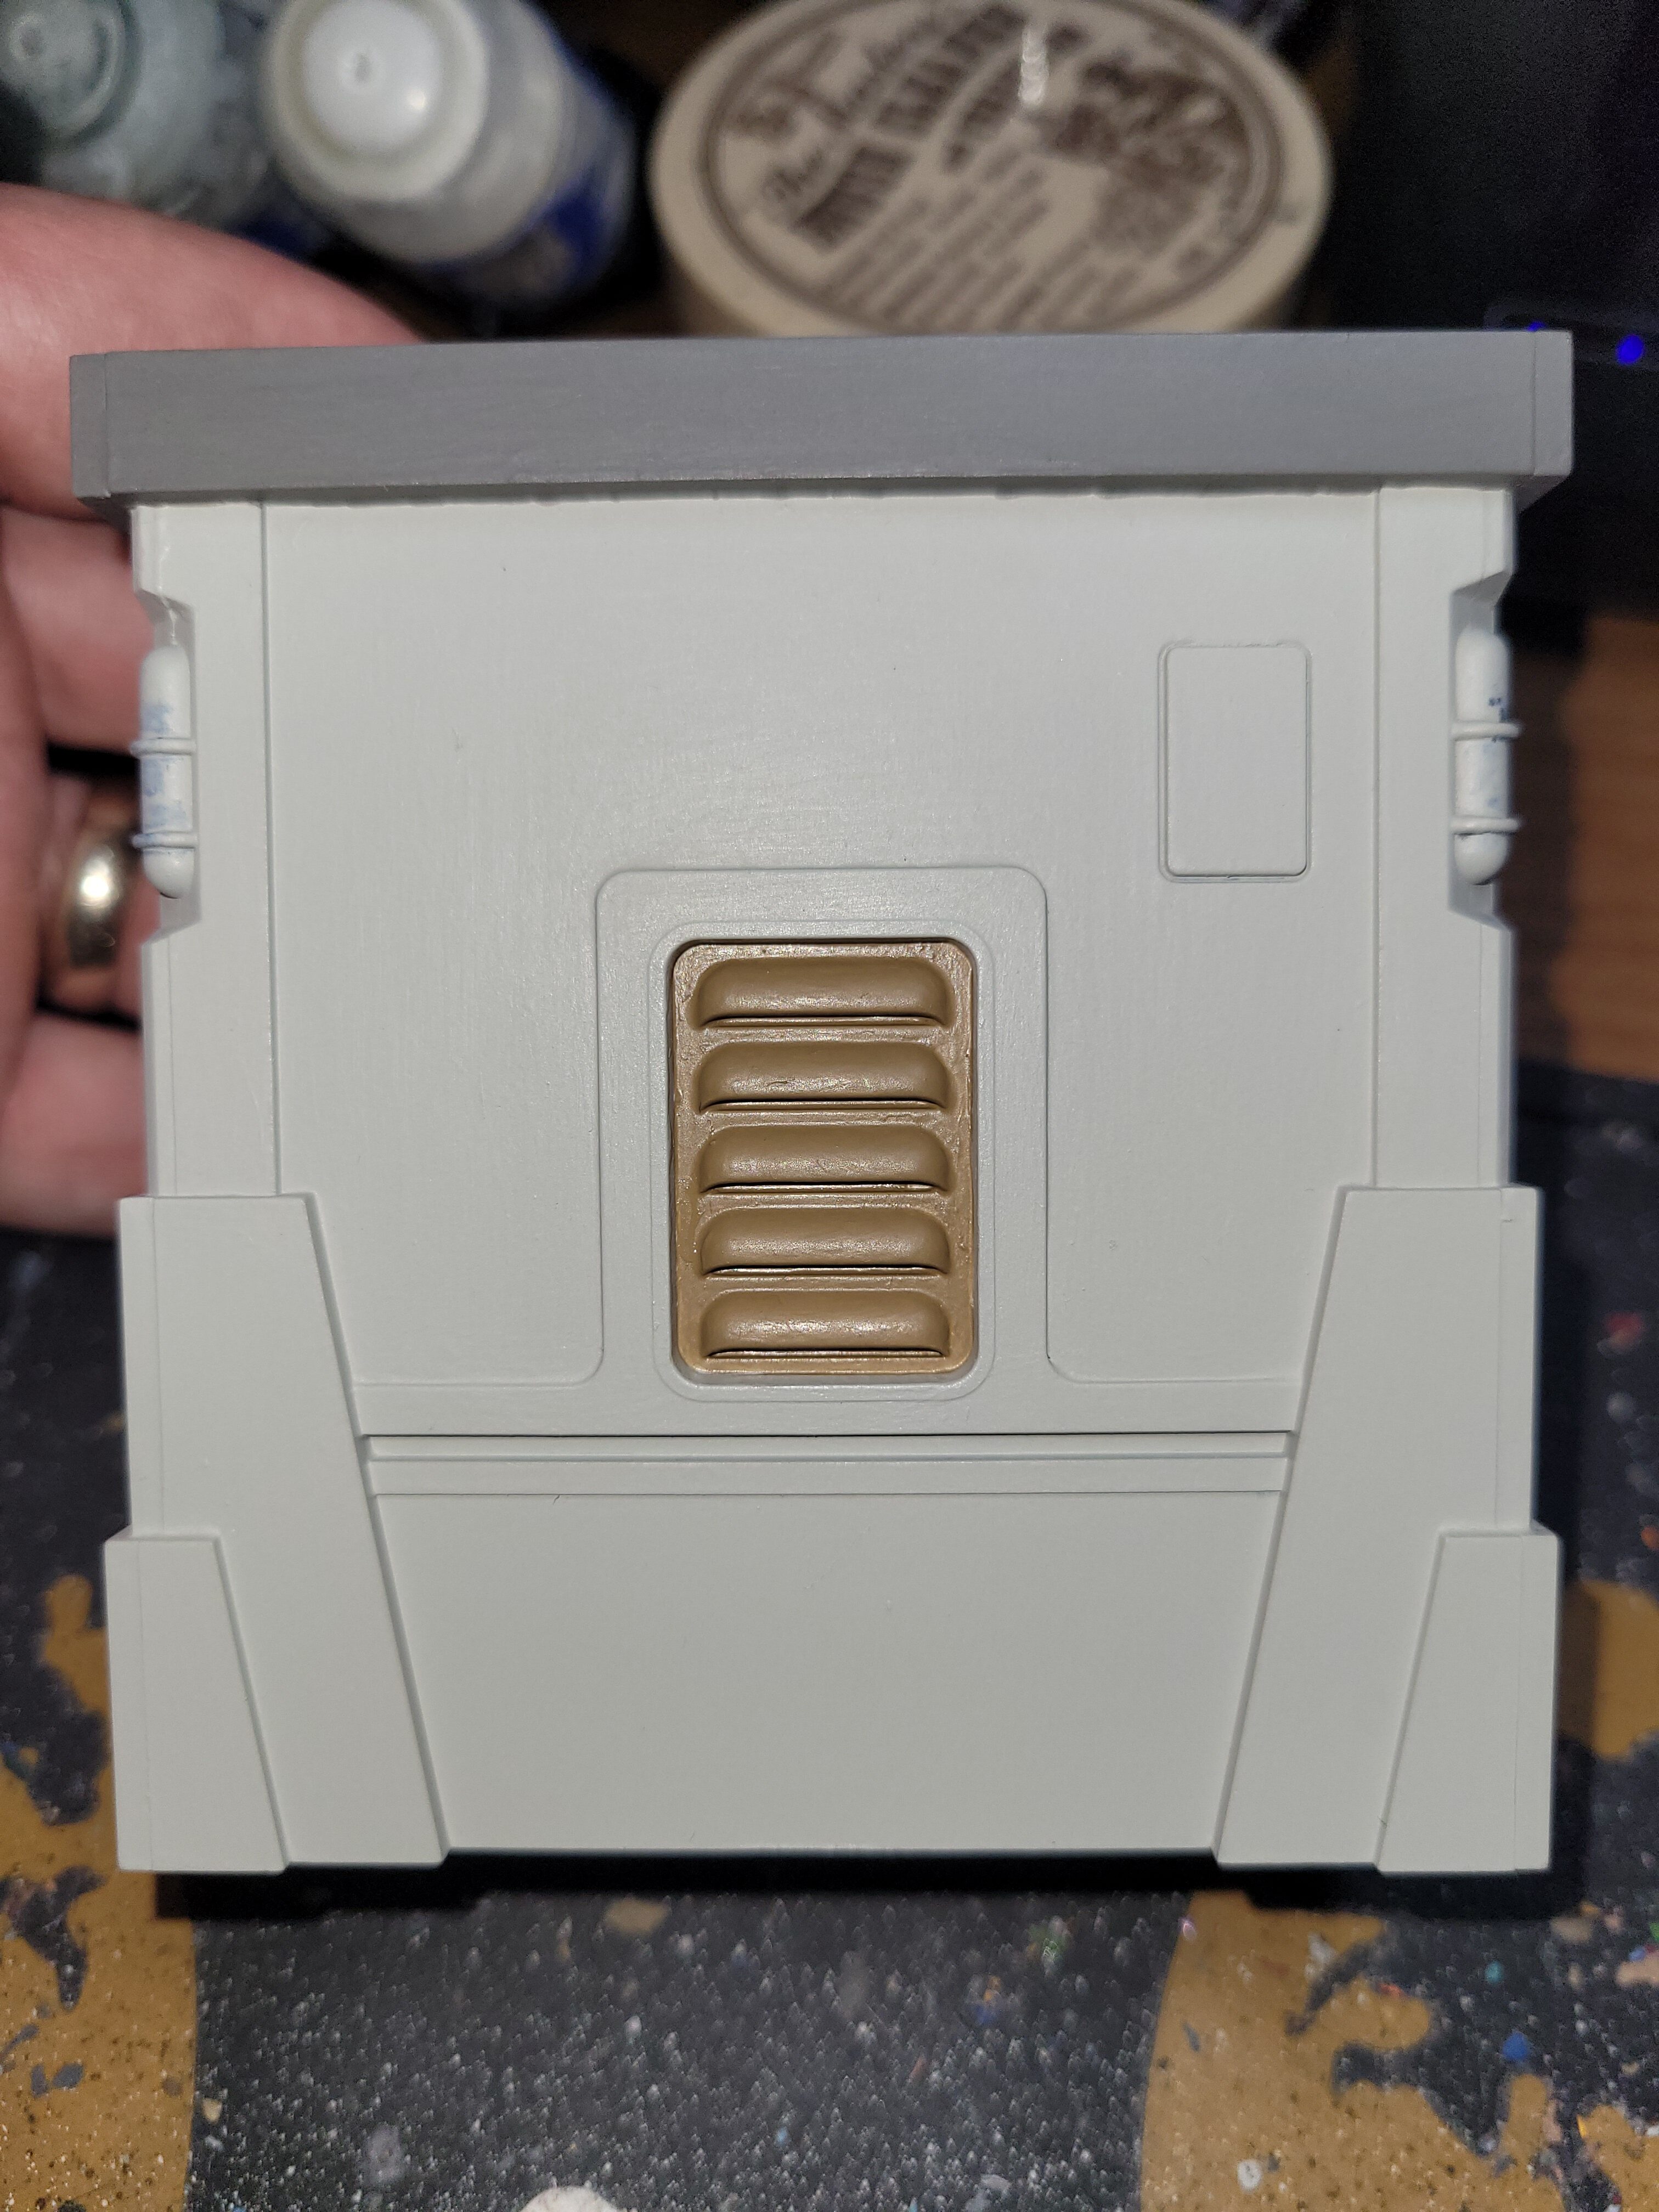
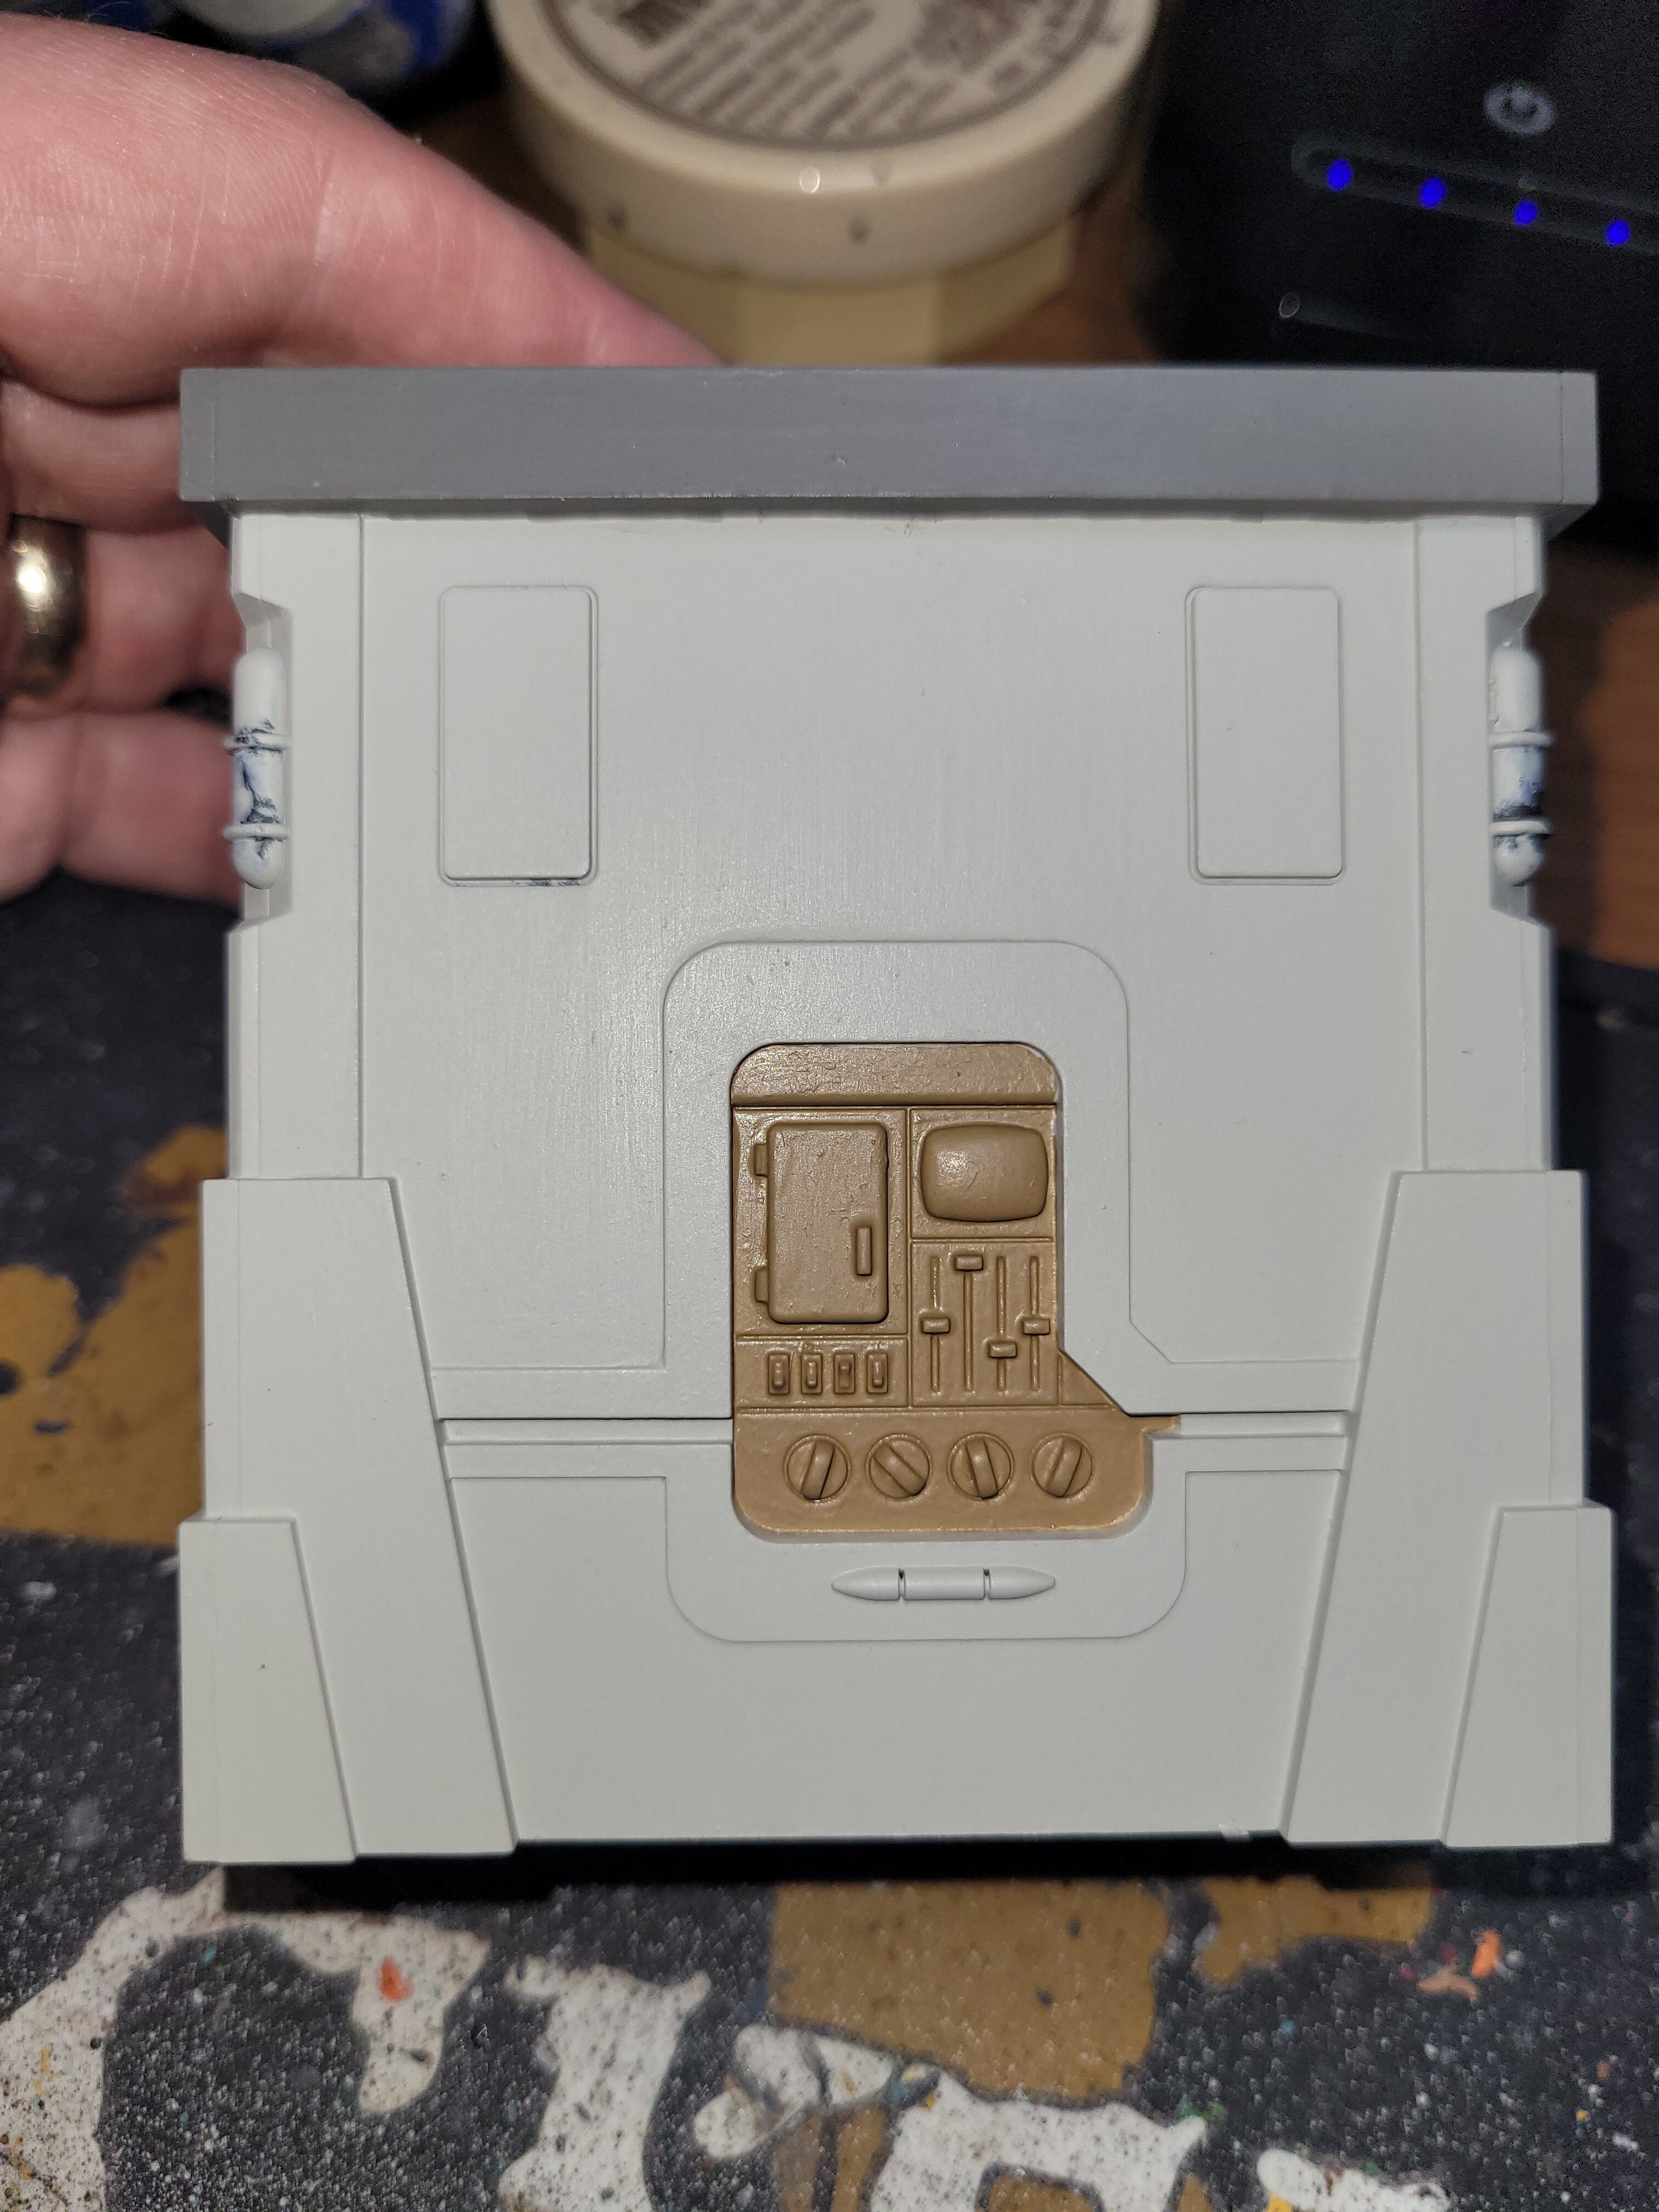
The first thing I noticed with the paint was how little I needed – a little goes a really long way. The coverage is incredible. Bear in mind I was putting an almost white colour onto black and after two coats, it was covered. Also, it’s thick. So, if like me and you are using a brush, you are most definitely going to want to thin this down straight out of the bottle. The other thing that really stuck out was the drying time. Guy had mentioned this to me, that he likes his paint to dry quickly so he can mask the next area he wants to do – as for him painting studio scale models, this takes up the bulk of his time. I was painting the smallest building, and even watered-down, I was able to put a coat on, go around the rest of the building and by the time I came back to where I started, it was completely dry. To say I was impressed would be an understatement.
Having painted the basecoat of light grime, I went straight onto painting the top with SP lark light grey. At first, I thought I might need a darker colour for what I wanted, but once I painted, I just stared. The colour is like nothing I had seen before. It was grey with hints of green and seemed reminiscent of The Empire Strikes Back when Luke says, “There’s something familiar about this place.” There was something so familiar about this colour and the way it matched with the light grime. It made me think, actually let’s leave it as it is and see how it goes. Then I stared and stared some more again. That Star Wars feel, even after two base coats, was screaming at me. Surely this must be my imagination.
After this I took some of the earth paint and started to apply it to some recesses. I knew instantly where I knew this particular colour from: the speeder bikes from Endor. I was really enjoying myself with this colour palette. One thing I did find (and Guy had advised me to do) was to keep a damp cloth nearby to wipe the top of the bottles once I’d poured some paint out. This was to remove any paint left on there. Although the dried paint will peel off if you don’t, it just makes life a bit easier (and quicker) when you get the paint back out. After adding this colour I knew I needed to start picking out a few details. Apart from the off lights, everything I used was from the Archive X range. Everything was really taking shape!
Now I knew it was the part I had been dreading. Now was the time to use miniature painting techniques, like washing, which aren’t done with studio scale models. Would this ruin what I’d already done with my base coats?
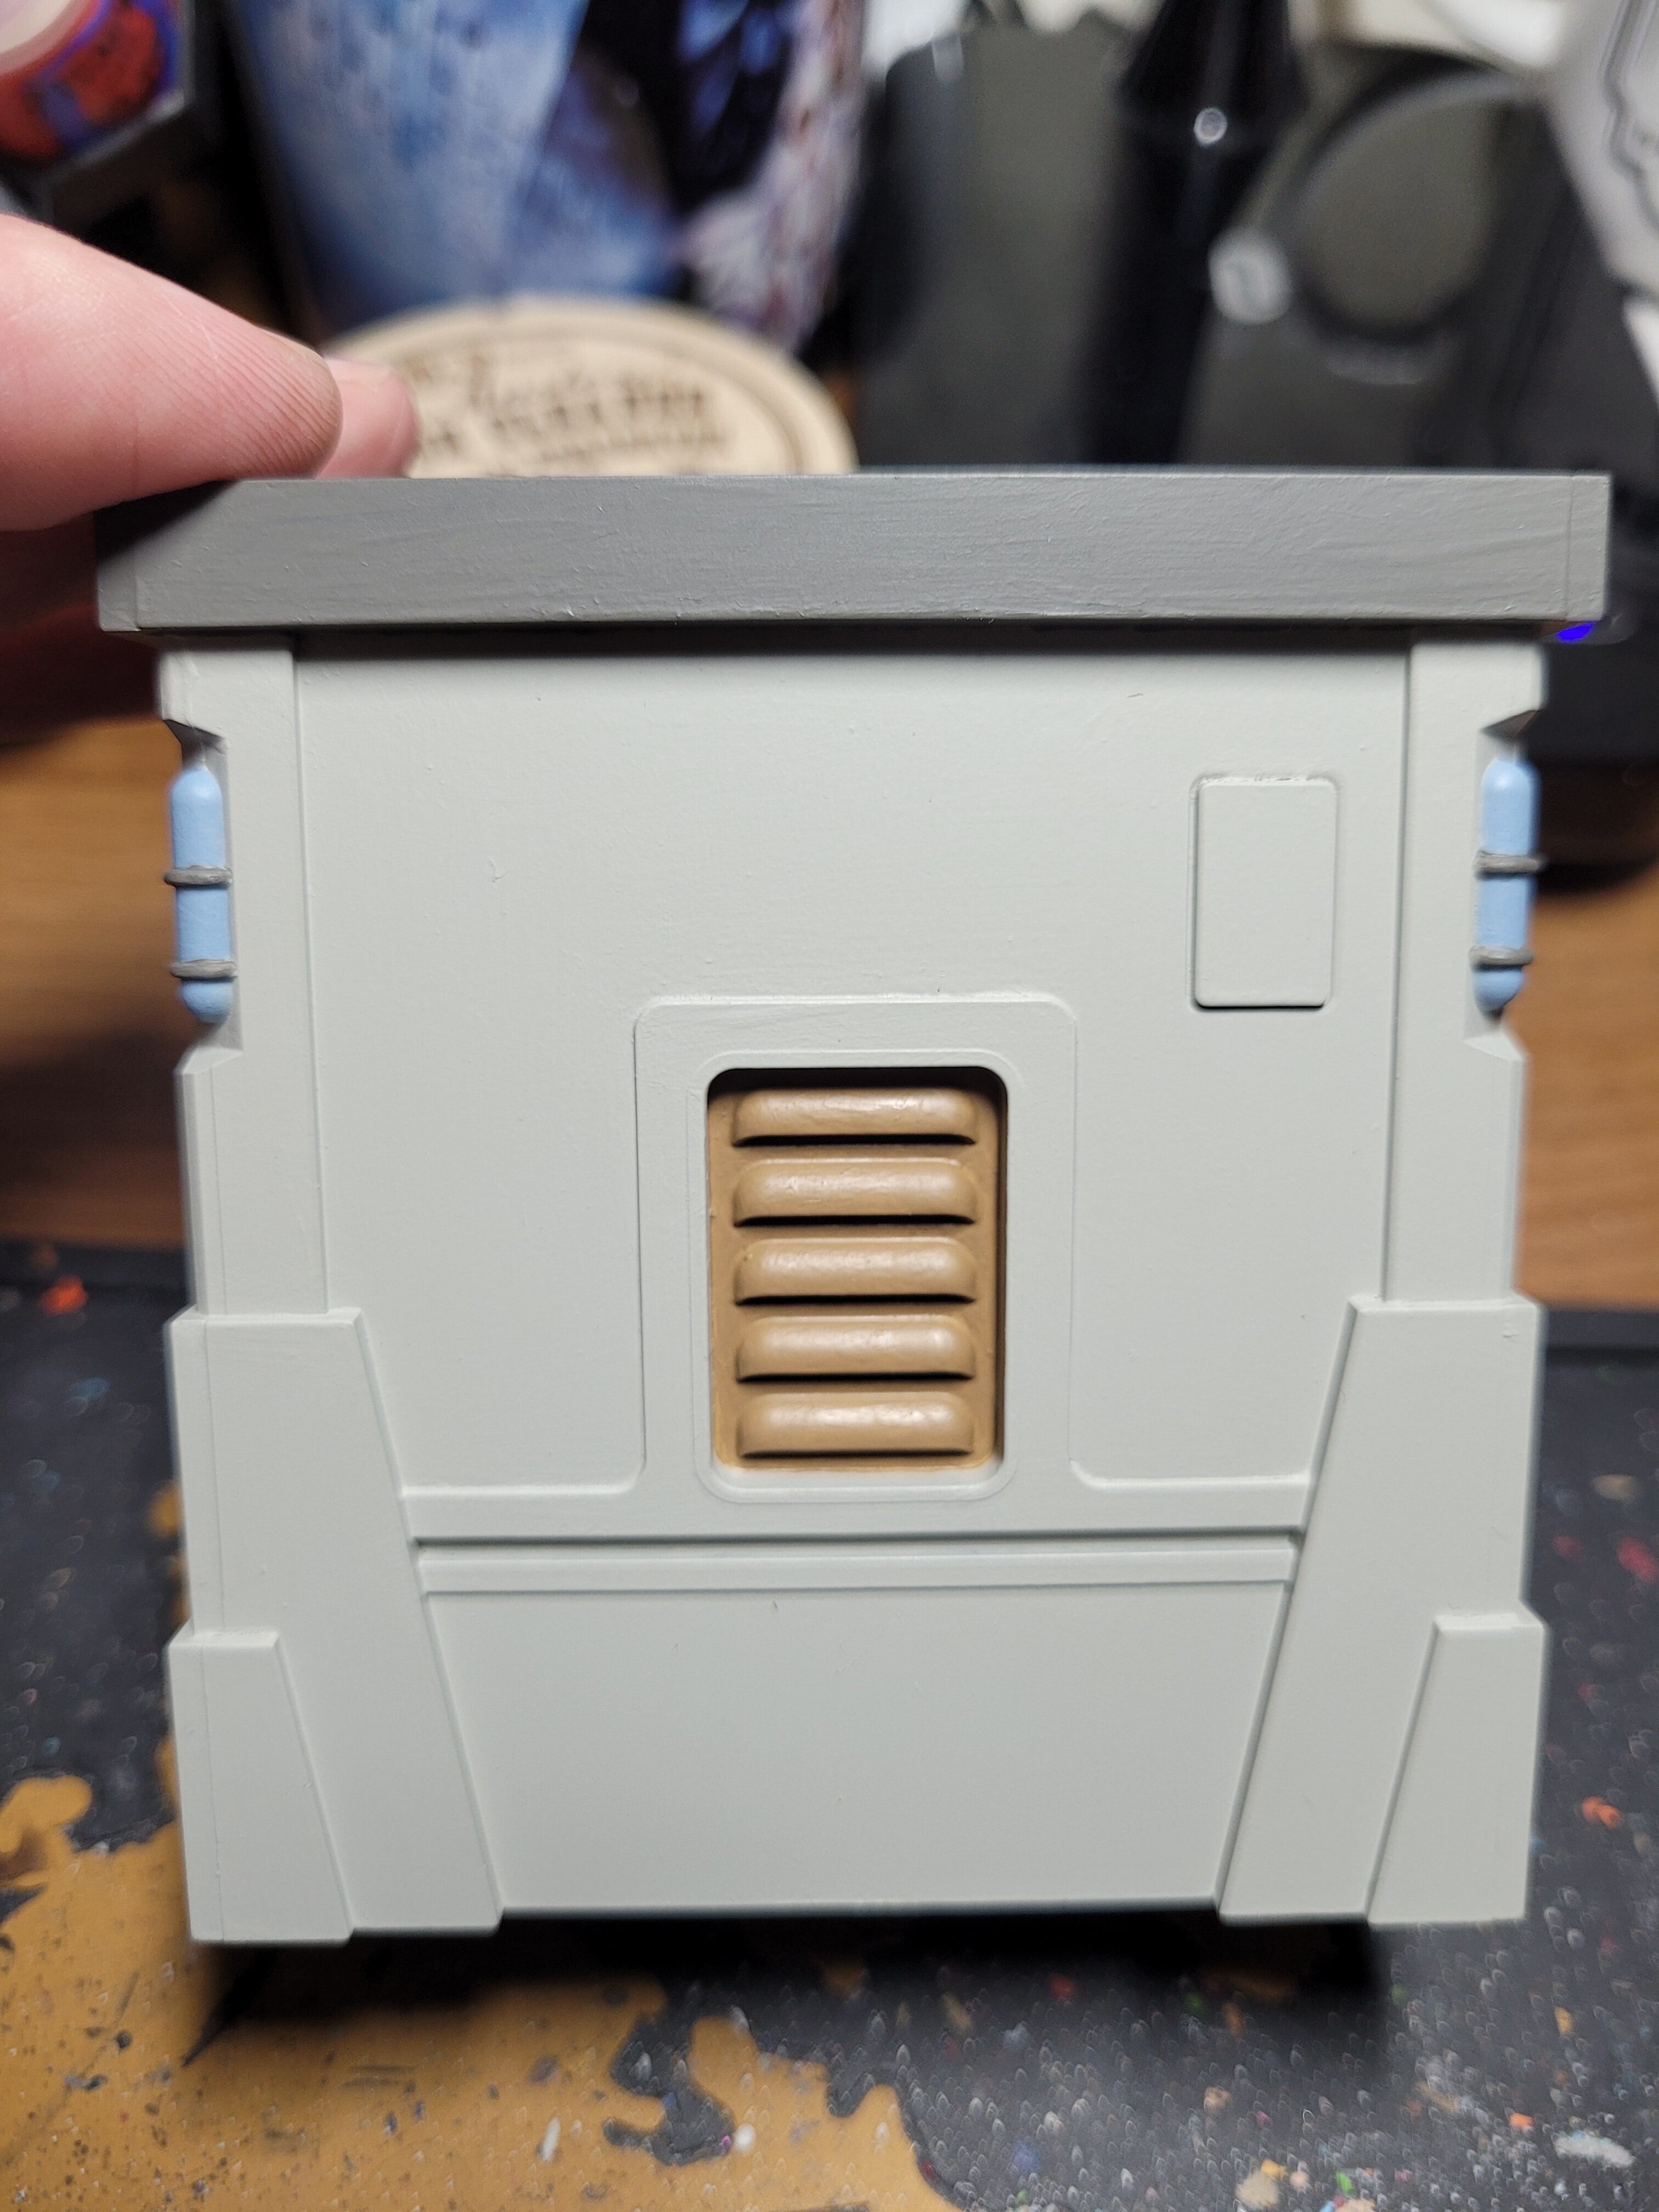
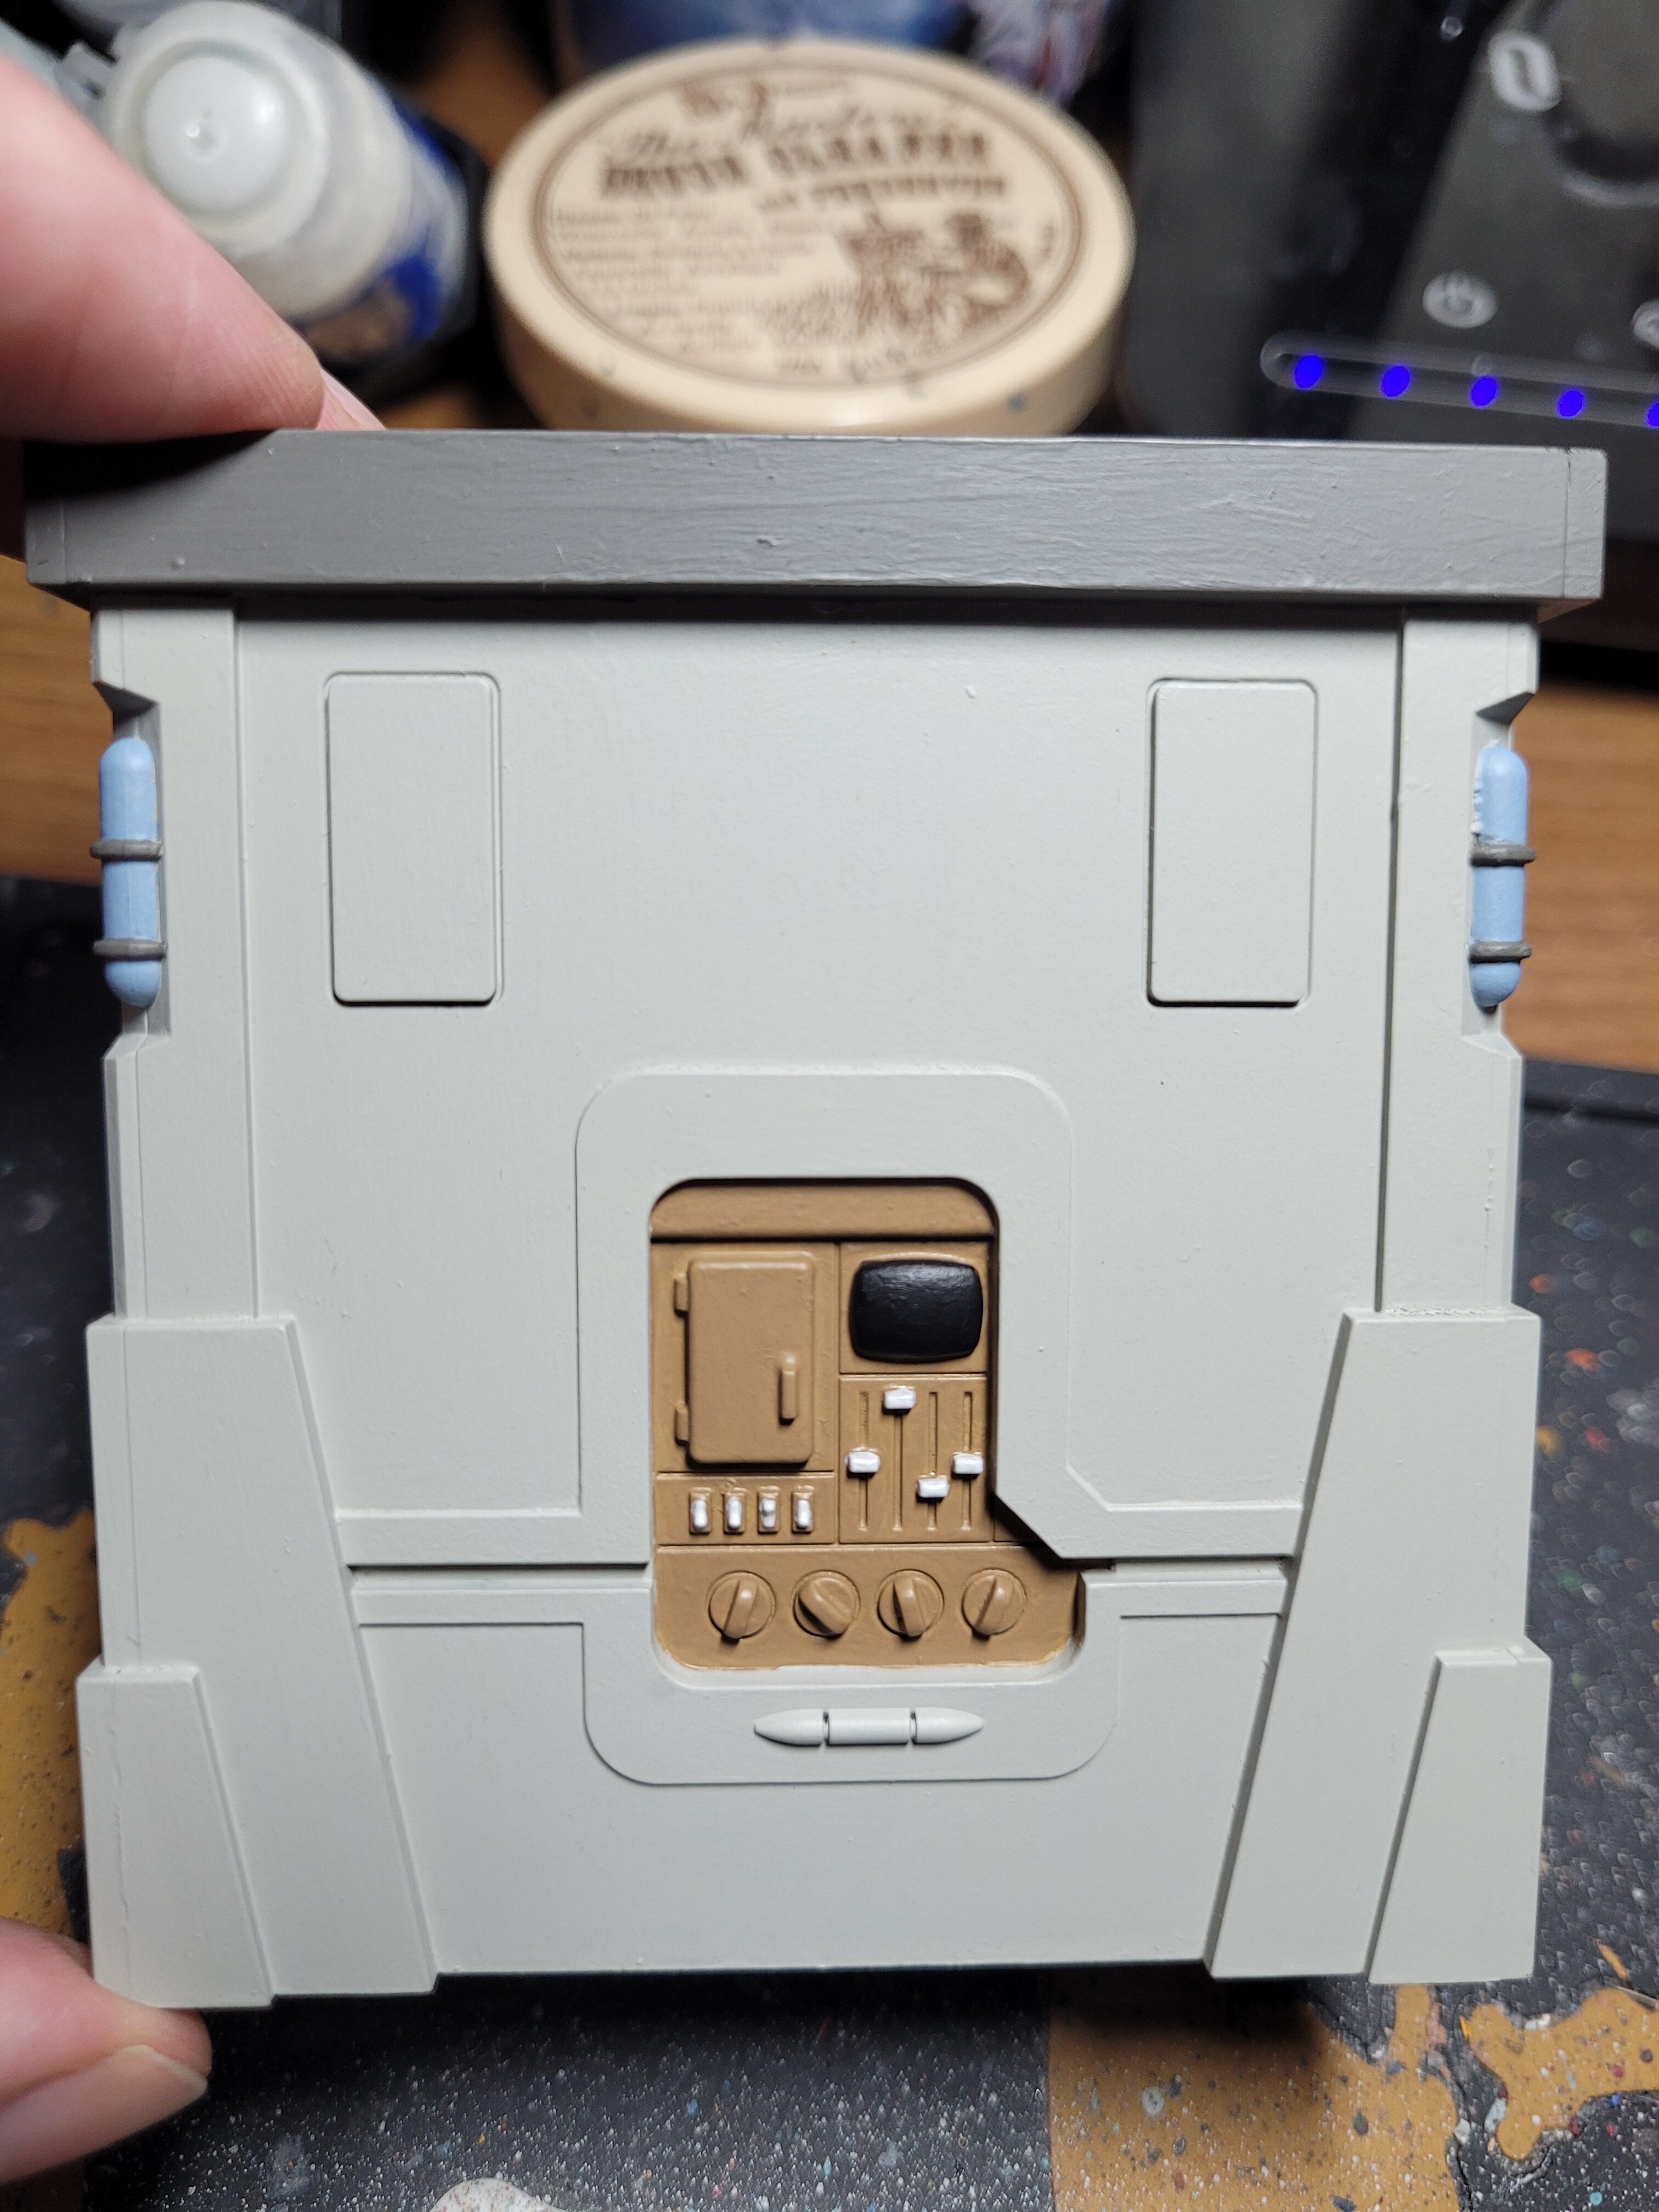
The answer was simply no! With the washes applied, I went over touching up the base paint where the wash had accidentally gone. I did this by watering the Archive X paint right down as Guy had mentioned about misting and layering the paint up on his studio models. I’m so glad I did. With the pigment being so high in the paint, watering it down doesn’t harm the colour. What I had was a wonderful weathering effect that I could control simply by adding more watered layers on top. I was really happy with the depth this added to the model. I didn’t want too much depth, as the size of the terrain could carry some of this. Equally I didn’t want to not add anything! I suddenly found I could relax a lot more with the painting as I knew what I was doing.
With the washes applied, I was really happy with the visuals. The colour, the tone, everything about this screamed Star Wars to me in terms of colour. With a quick bit of highlighting, I was down to the very last stage of painting: the weathering. Weathering really adds realism to a model, whether it be studio or miniature. I’ve watched the Original Trilogy more times than I can count, so I grabbed reference material from all the Star Wars books I had accumulated over the course of the years. I was sure I knew how to do the weathering and I pulled out rust paint. With a little bit of dry brushing, building up the colour as I went, it added that incredible worn effect almost effortlessly. To say I was happy with it would be an understatement and it is a paint I know I will be pulling out again and again. With a few little bits of grimy black, I had finally finished my tester piece of terrain. Apart from the blue and the washes, everything was painted with Archive X paints.
I started out looking for some paint for Star Wars: Shatterpoint, and what I found was a whole other world. But my goal had still been the same – I wanted the Star Wars feel for my Shatterpoint miniatures. So, what did I think of the paints?
Let’s start with the obvious. There is a certain amount of nostalgia with these paints that you simply can’t get away from. To know that you are using the same colour palette as ILM did all those years ago, that people still use in the movie industry now, it feels like you’re standing on the shoulders of giants. There is a sense of awe and wonderment when you start thinking about it and how the two different worlds can now be combined.
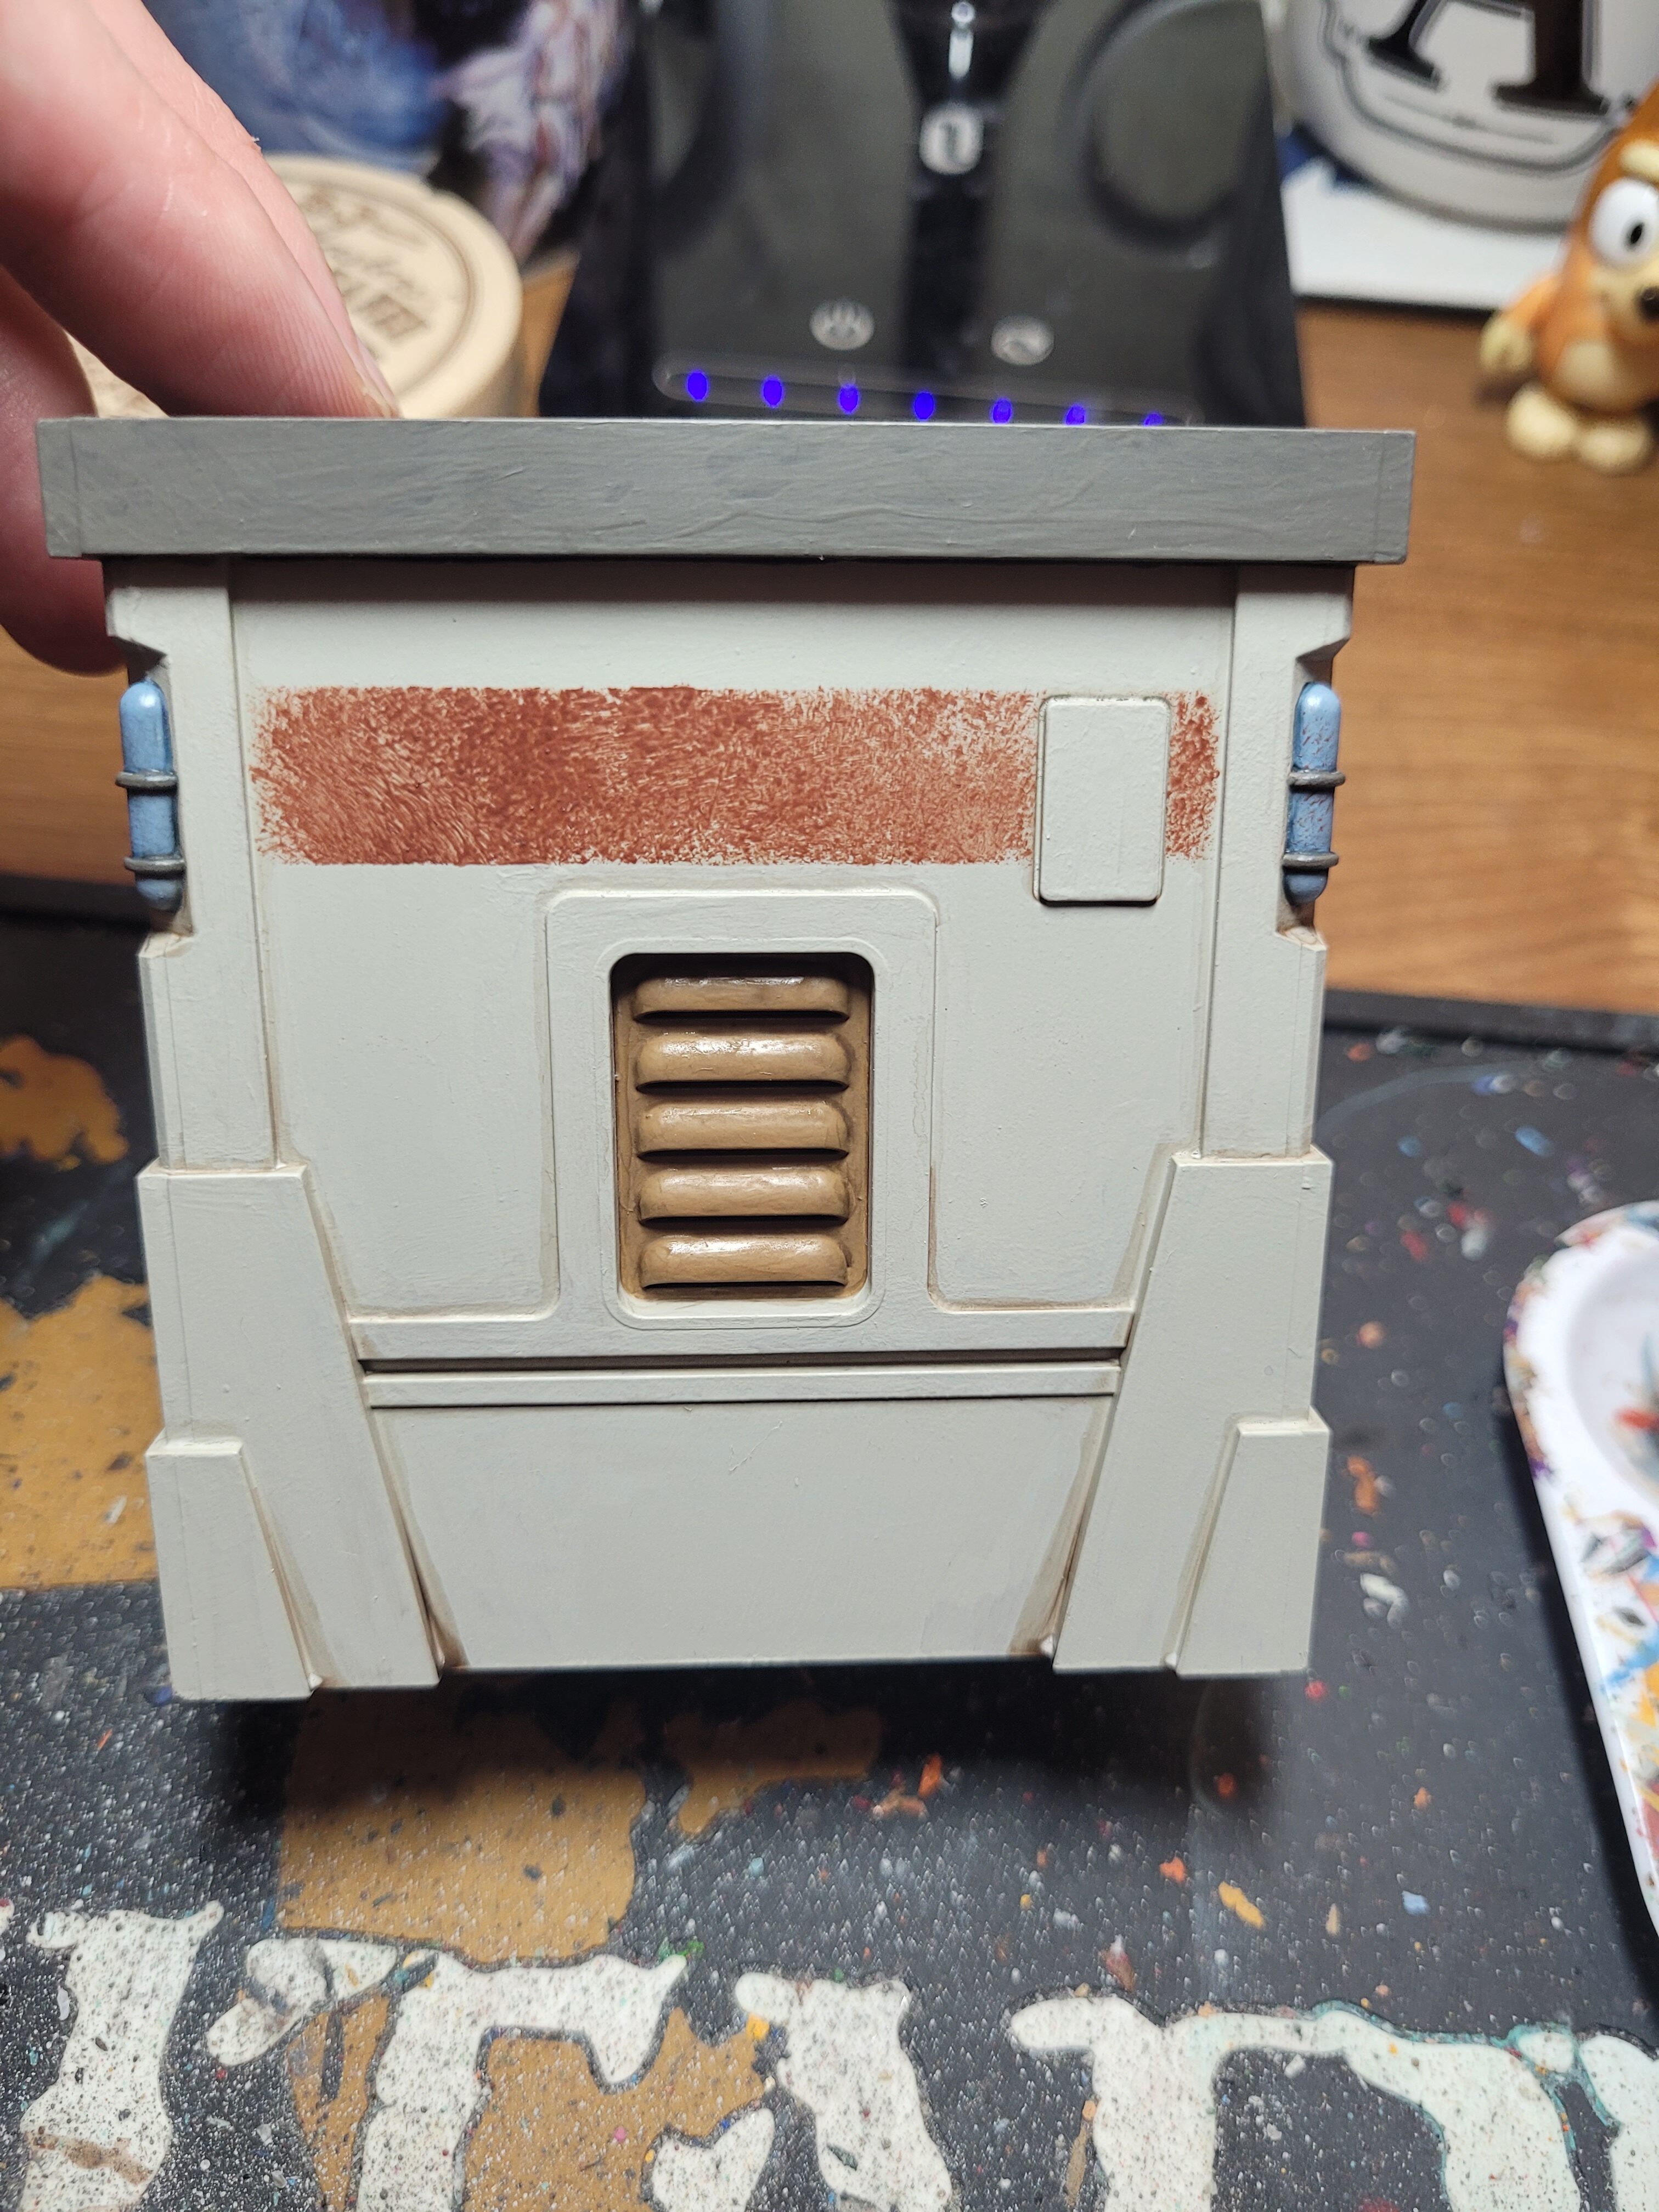
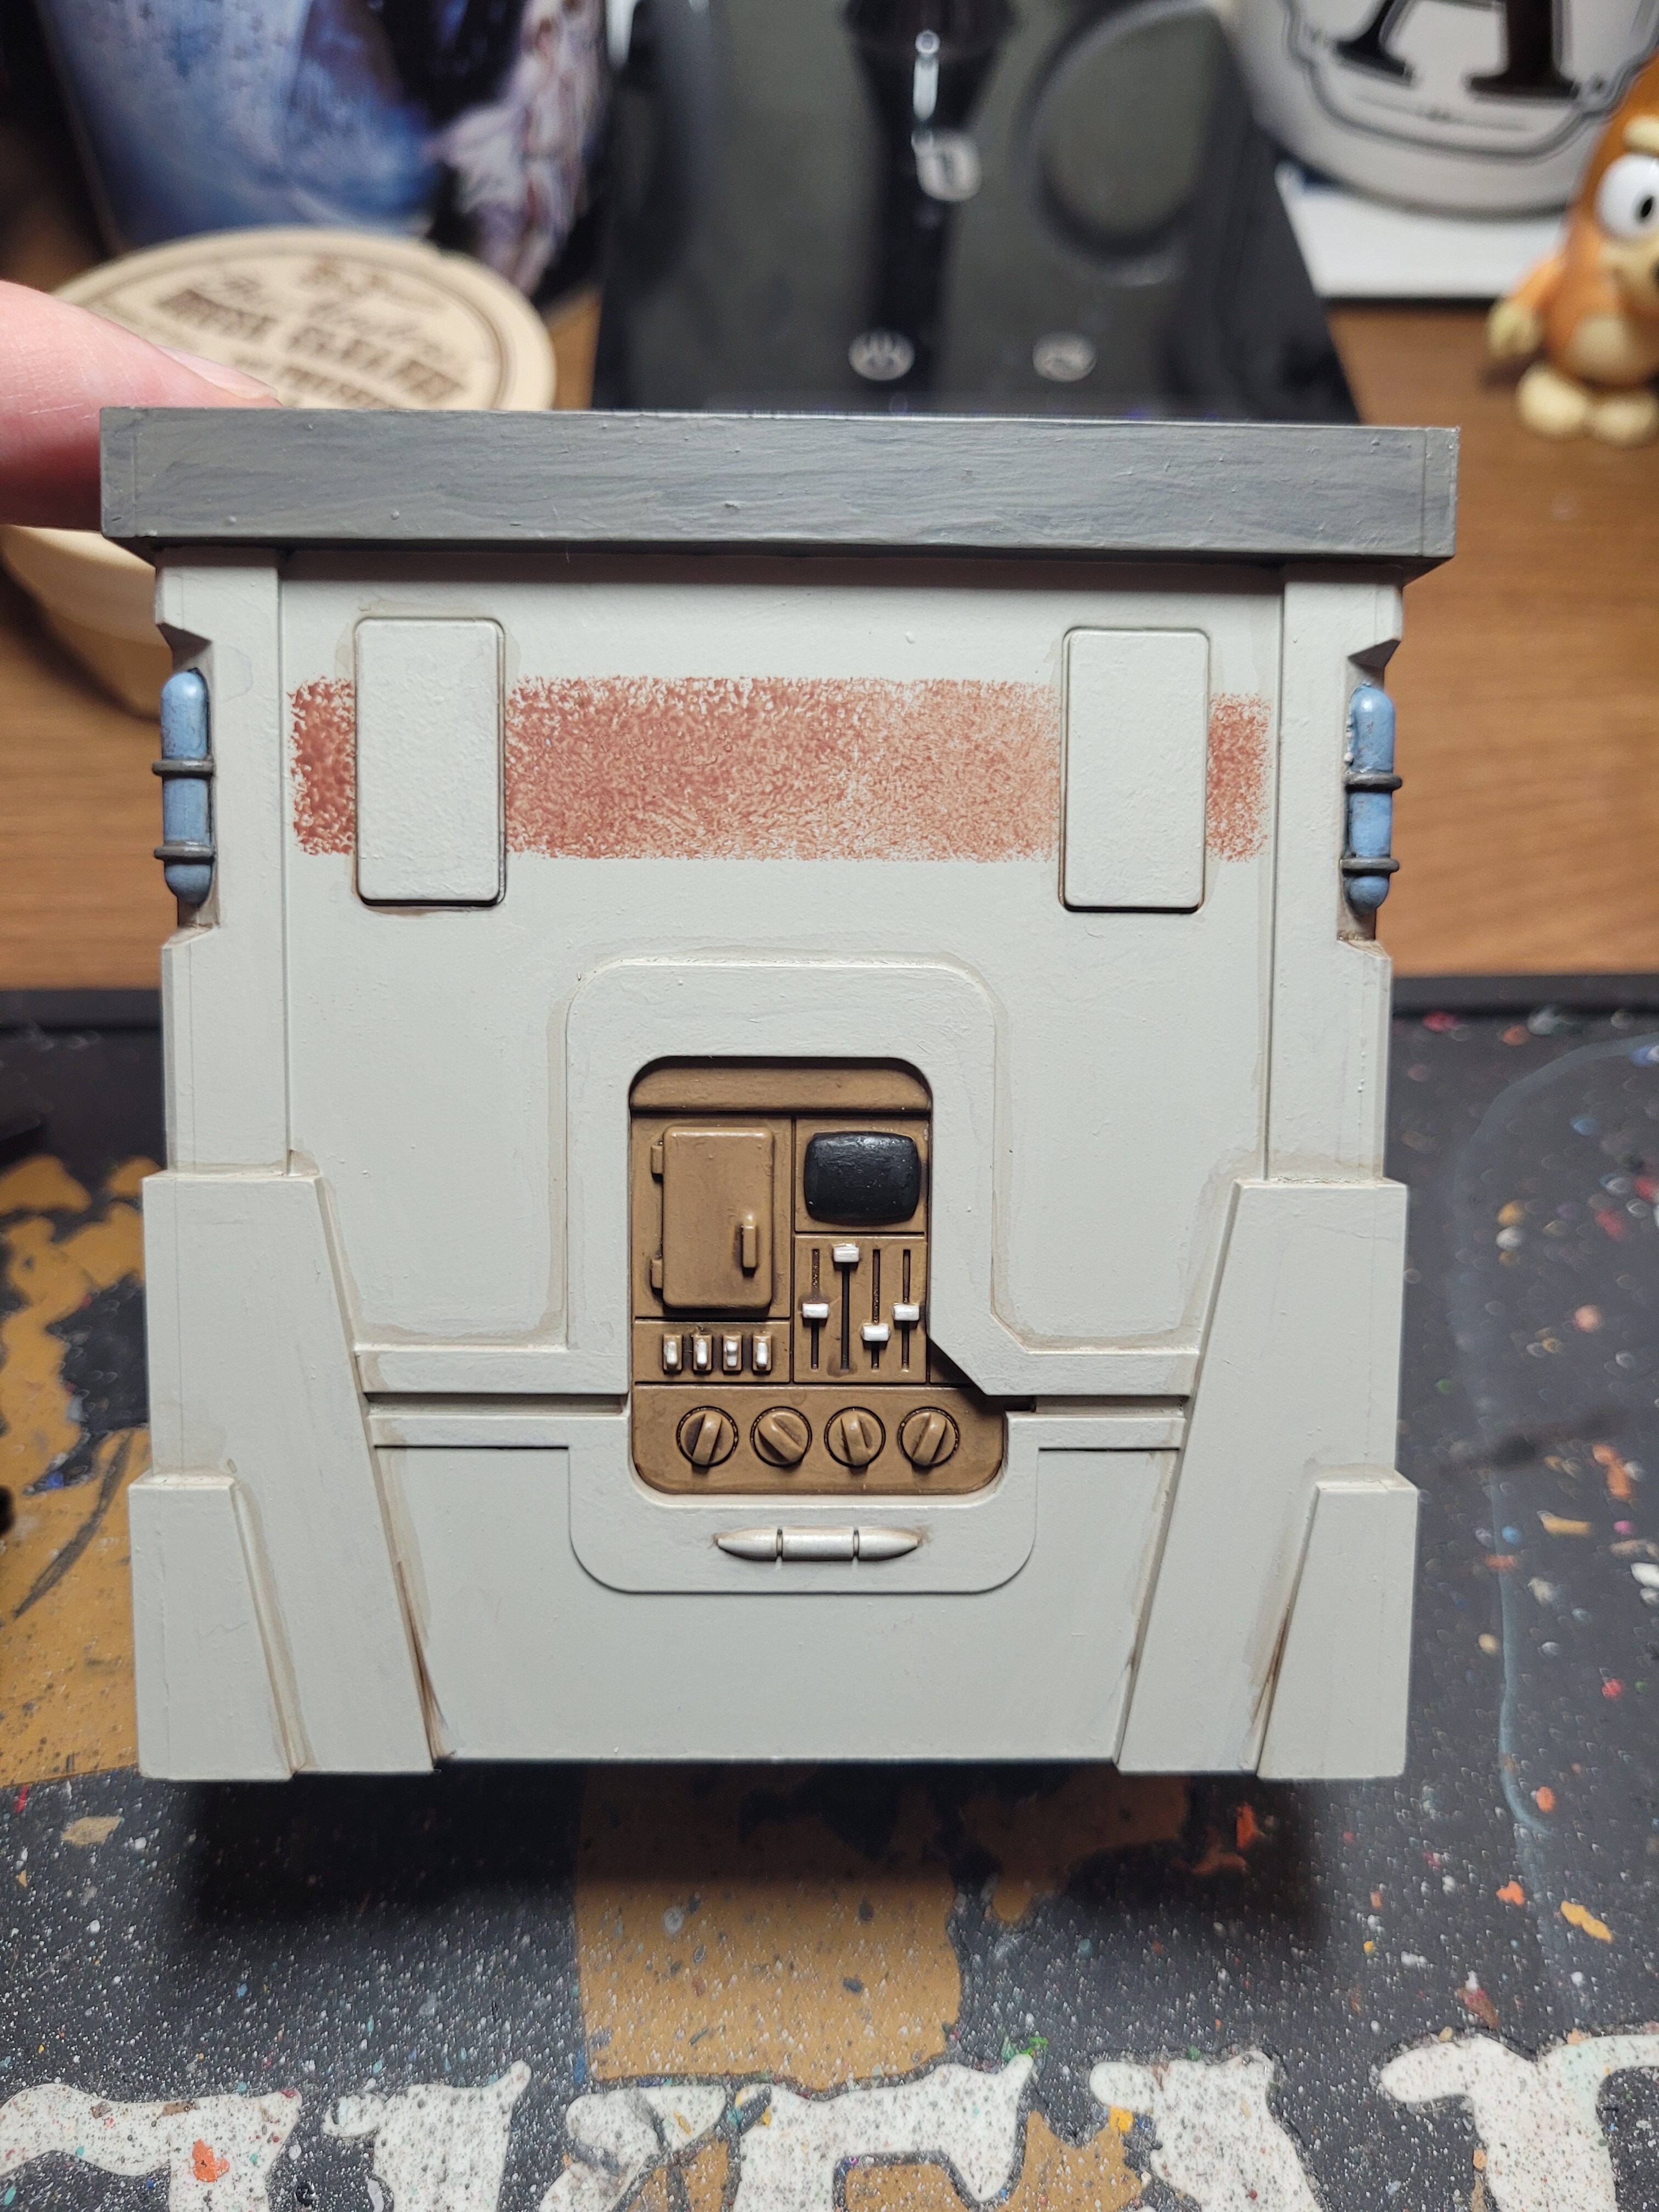
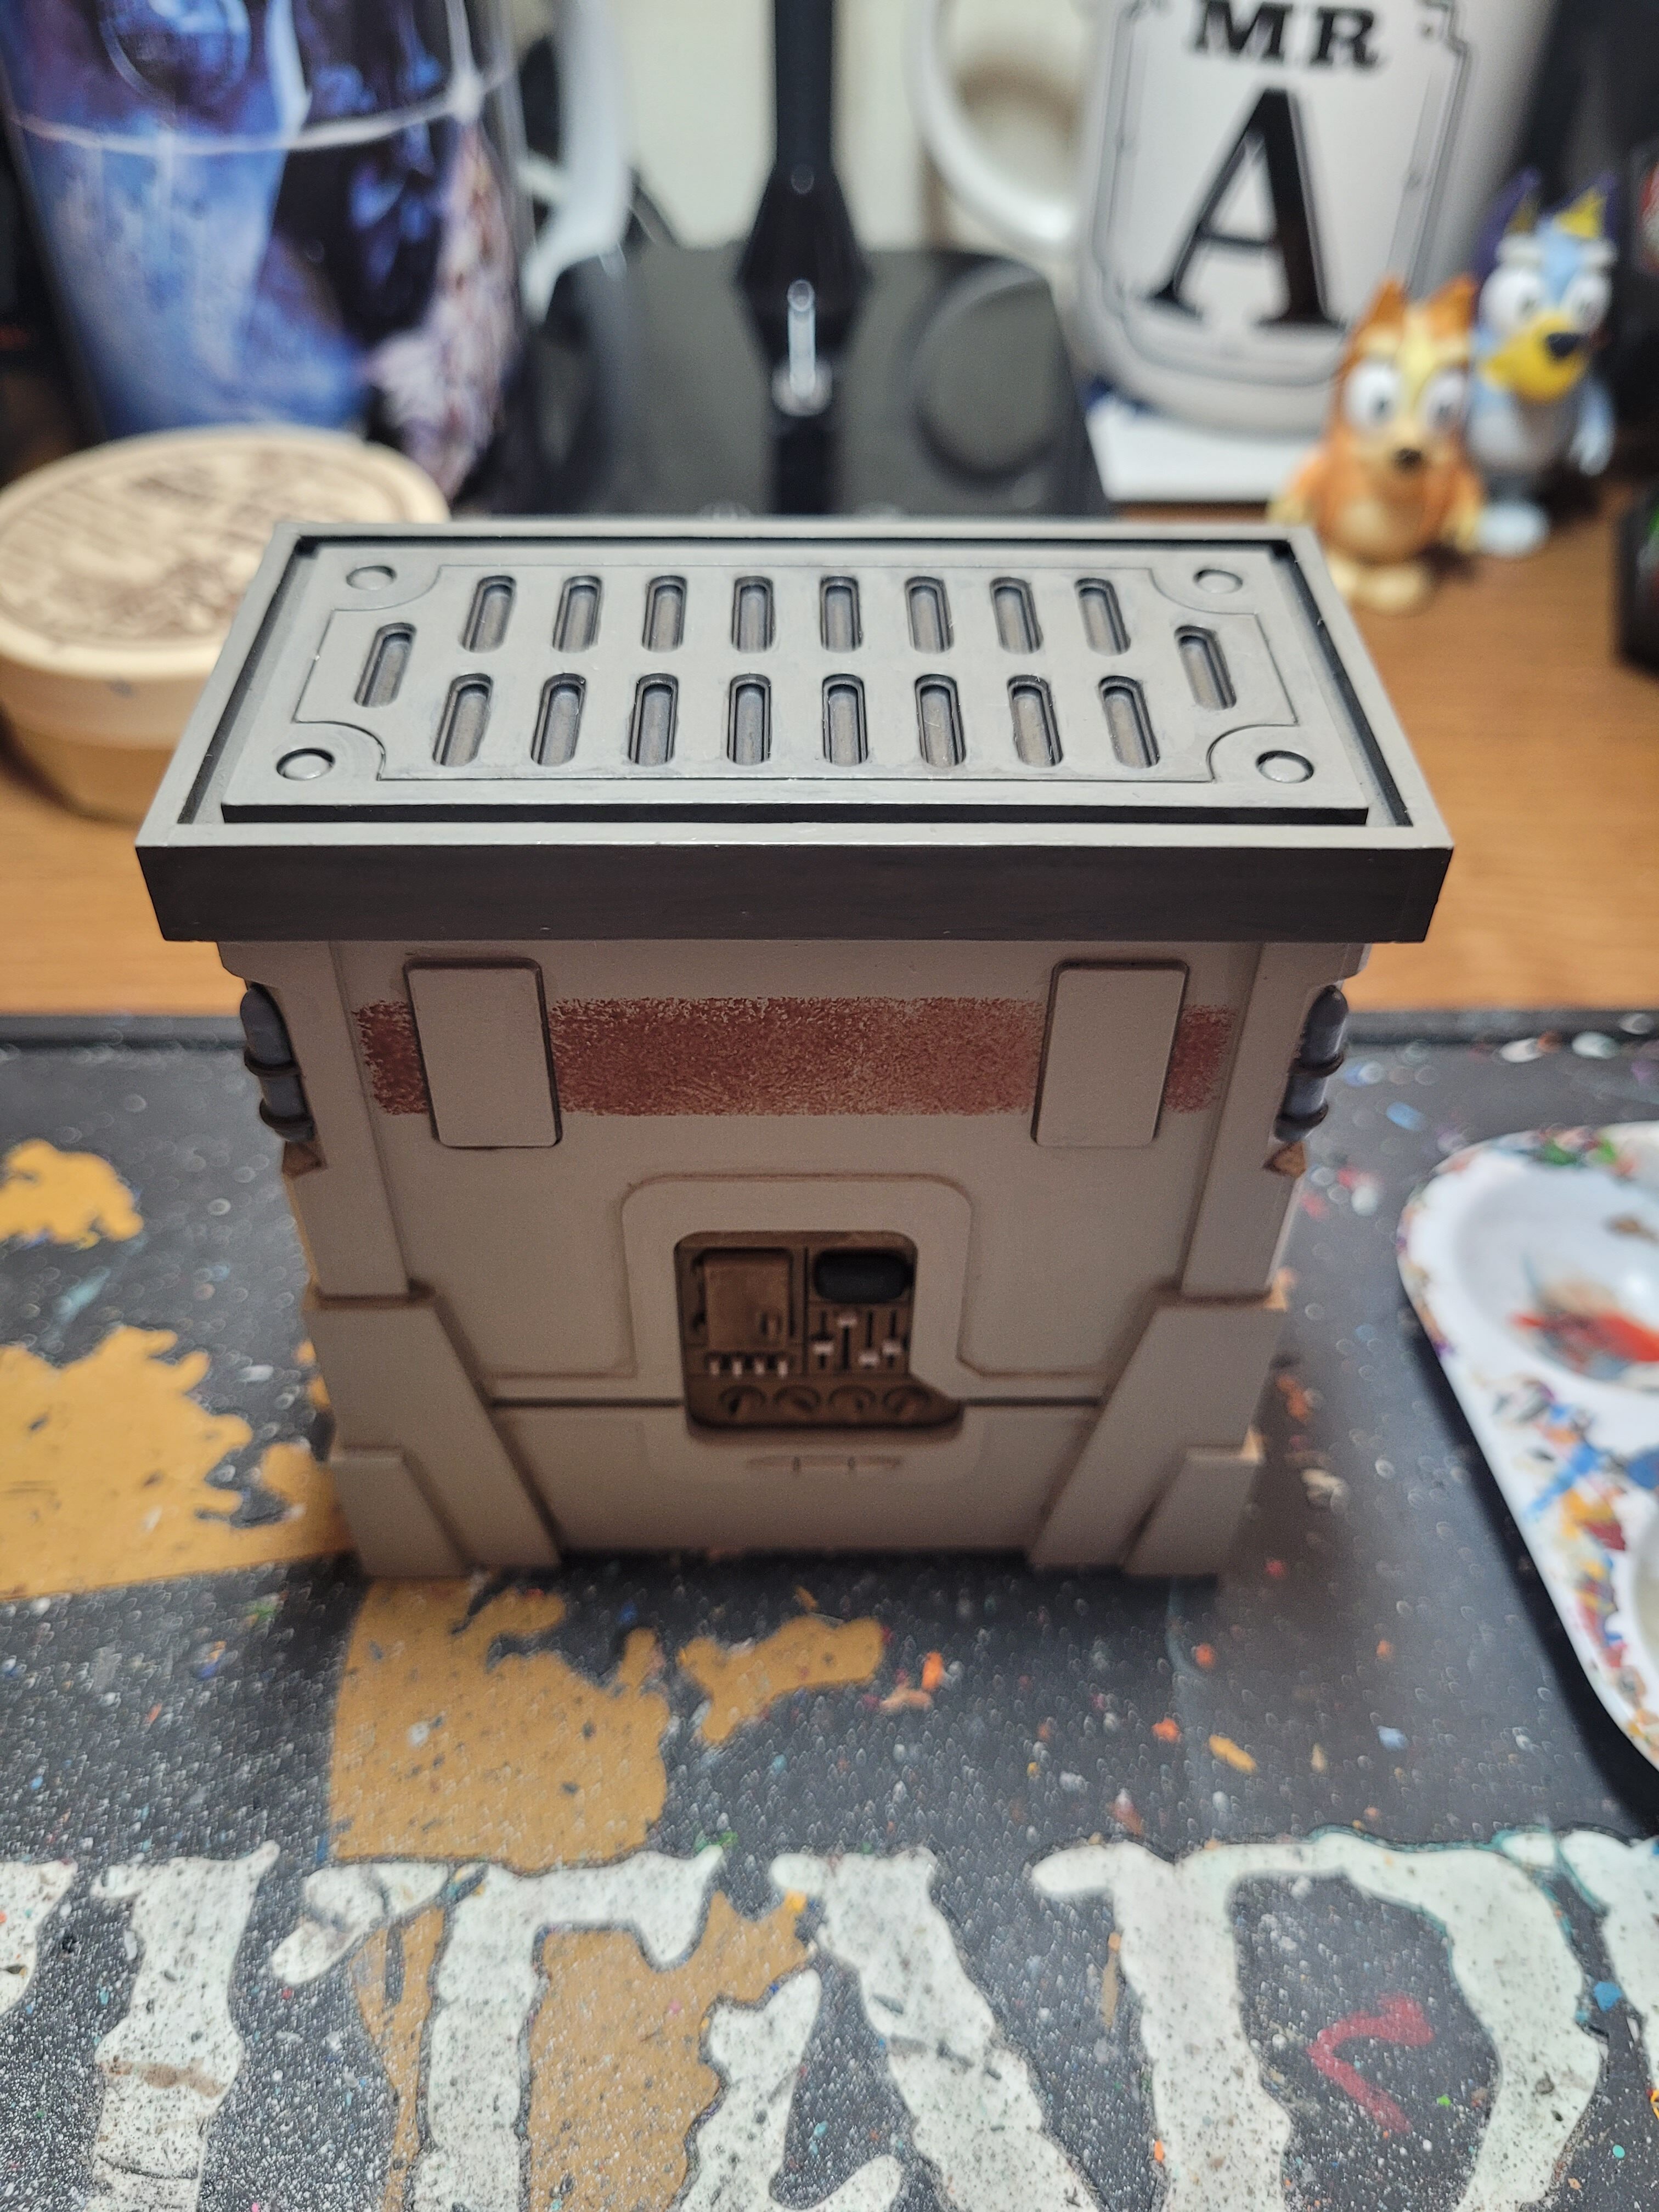
However, nostalgia can only go so far. When you actually start using the colours, you know you are using colours from the films. You can see it with your eyes, and I’m not convinced the photos do it absolute justice. When you start applying the colours, you know that you’ve seen it before. The earth colour was immediately recognisable to the speeder bikes. As Guy said, you can’t really explain it, it’s just Star Wars. It’s part of its DNA. When you start applying the colours, they work so well together, they combine so well and look just right. This isn’t simply nostalgia – this is part of the fabric of the saga. Even mixing the colours when I was highlighting, there is still that sense of familiarity. This is precisely what I wanted for my terrain. I wanted that feeling that you can’t get from any old paint, or even find a way to mix it. The combination of different colours is like none I’ve seen before. There is a reason the movie industry is coming back to these. They are unique.
All the above is what I was looking for and I’d be happy with just that. Yet the paint itself is a delight. The higher pigment in the paint, the faster drying time, it makes painting a lot easier. The fact that it has such good coverage means a small amount goes an awful long way. I’m not sure yet which paints I’ll use on the actual characters (that’ll involve a lot more playing with the colours), but for terrain this has instantly become my go to. Having once painted a full 2 x 2 foot Warhammer board with three storey buildings, I know my life would have been so much easier if I’d used Archive X. This should be standard for terrain painting, let alone for Star Wars: Shatterpoint.
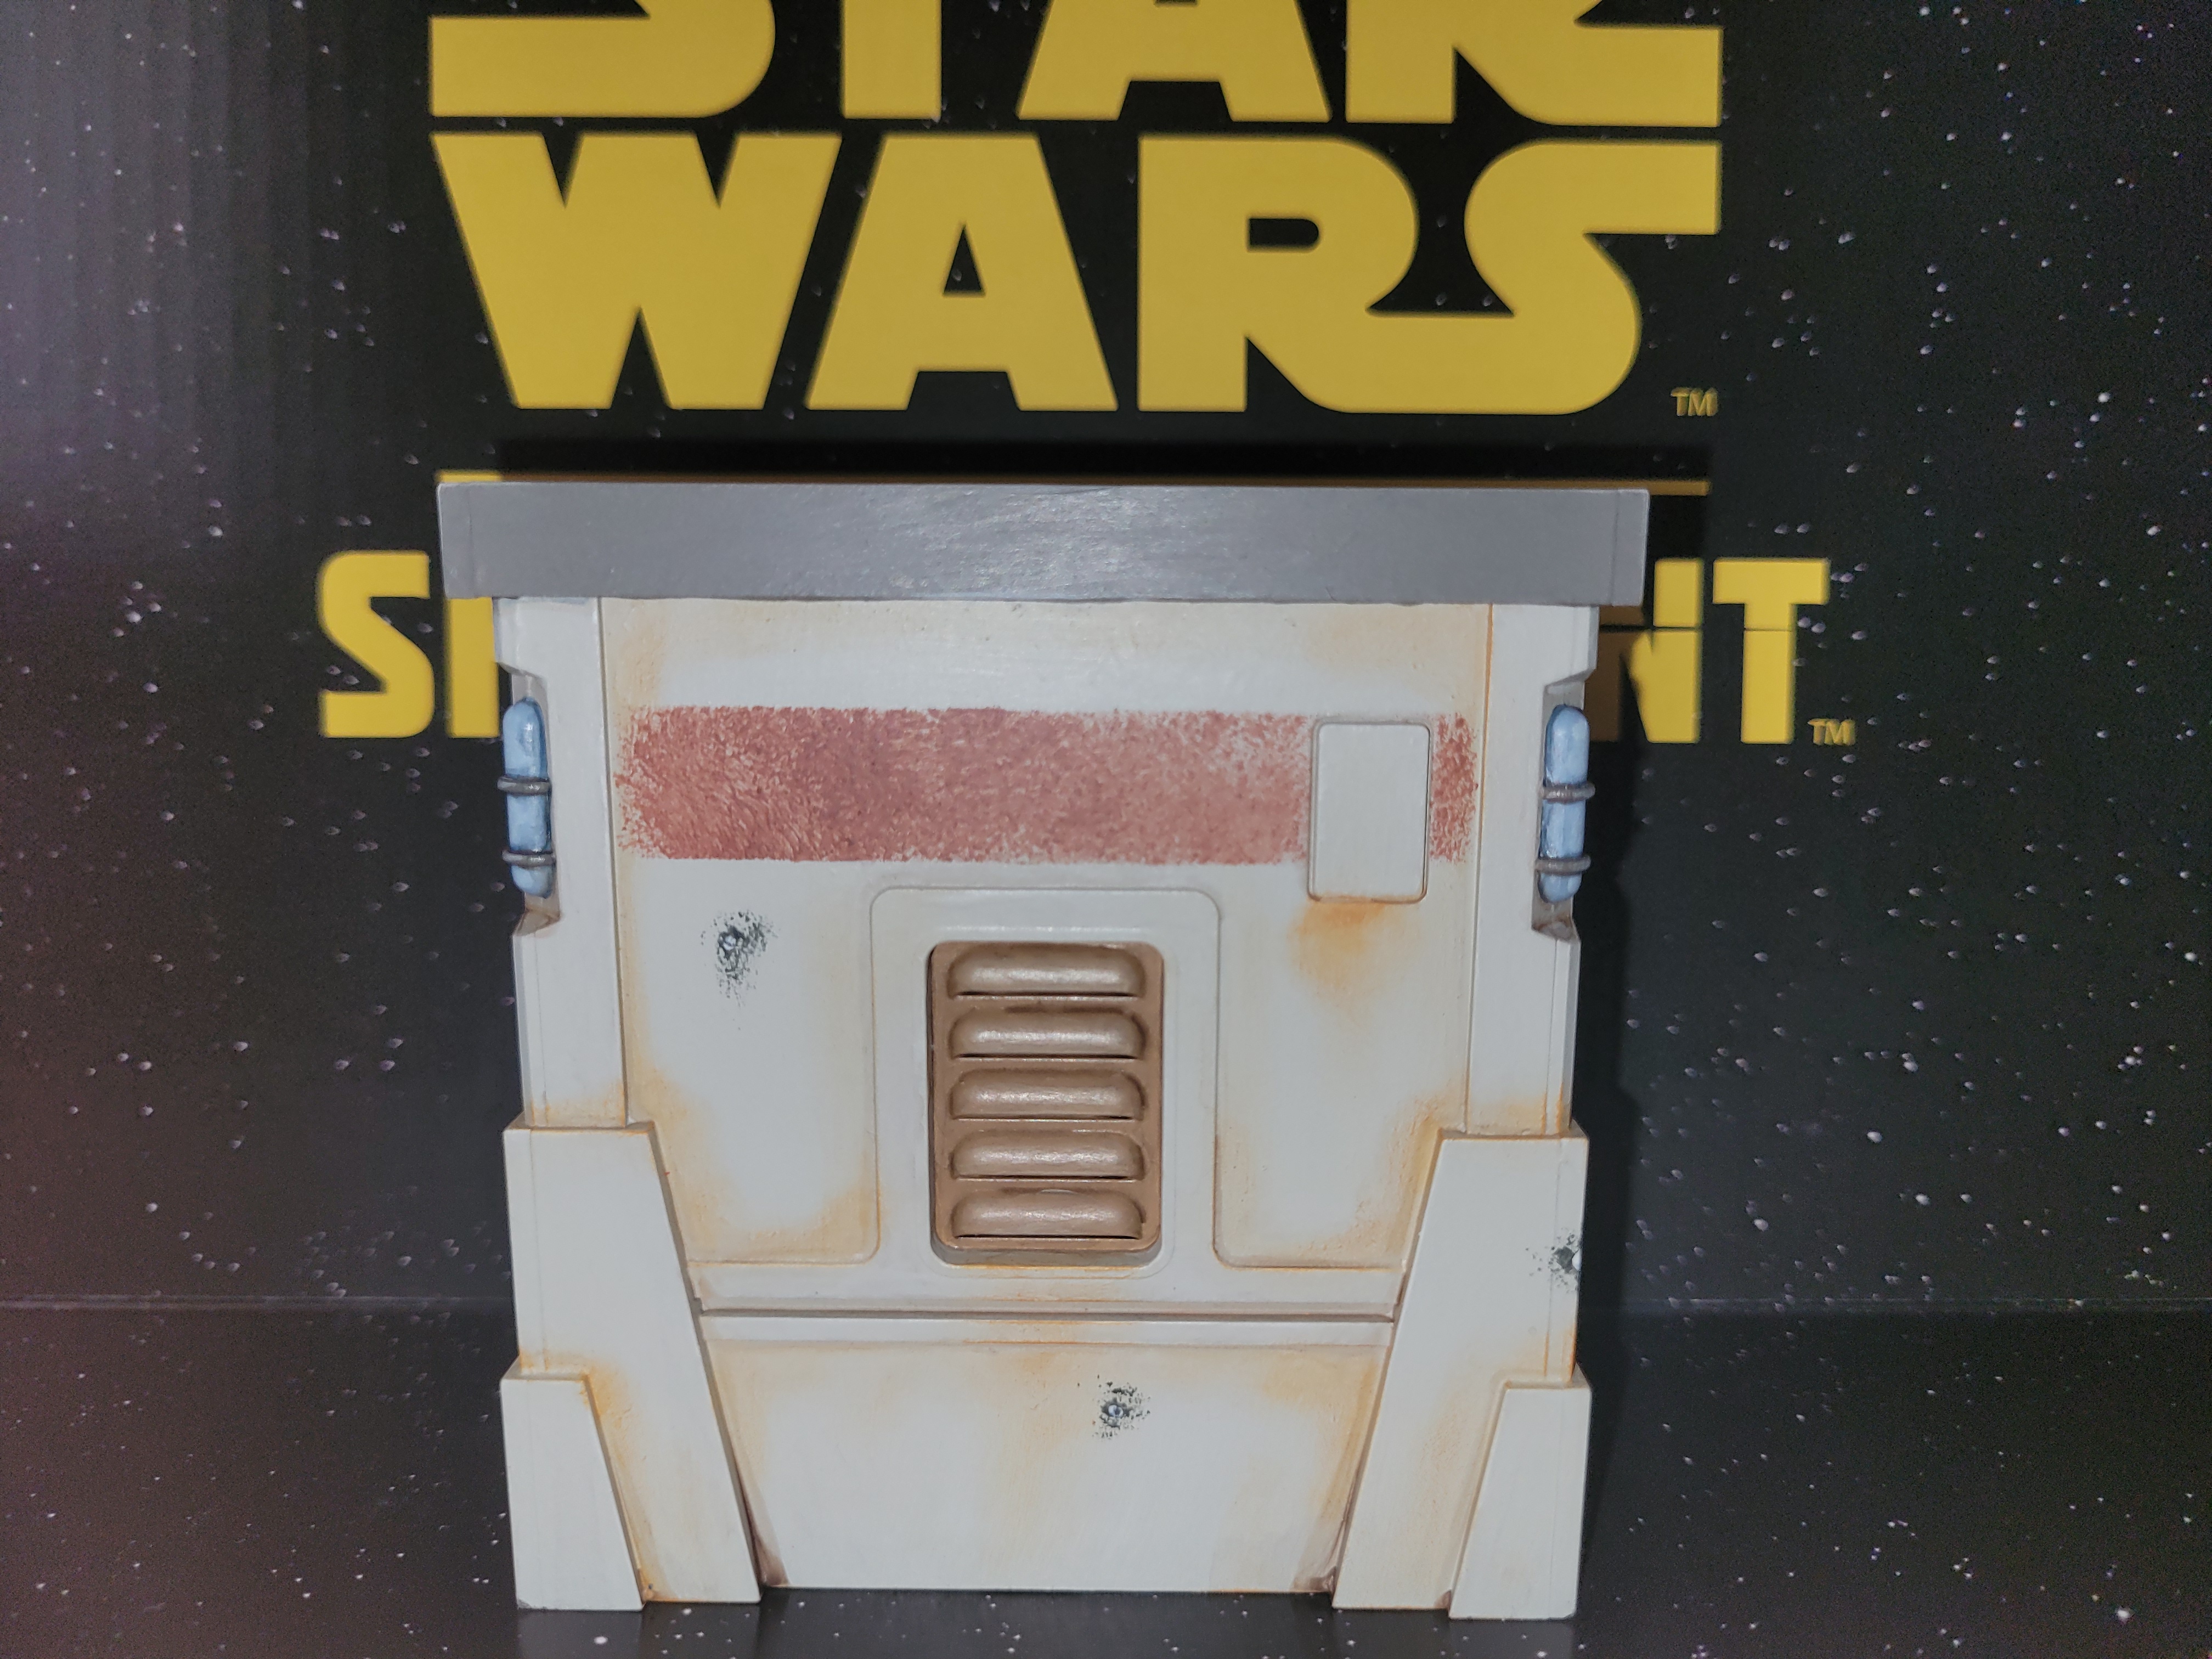
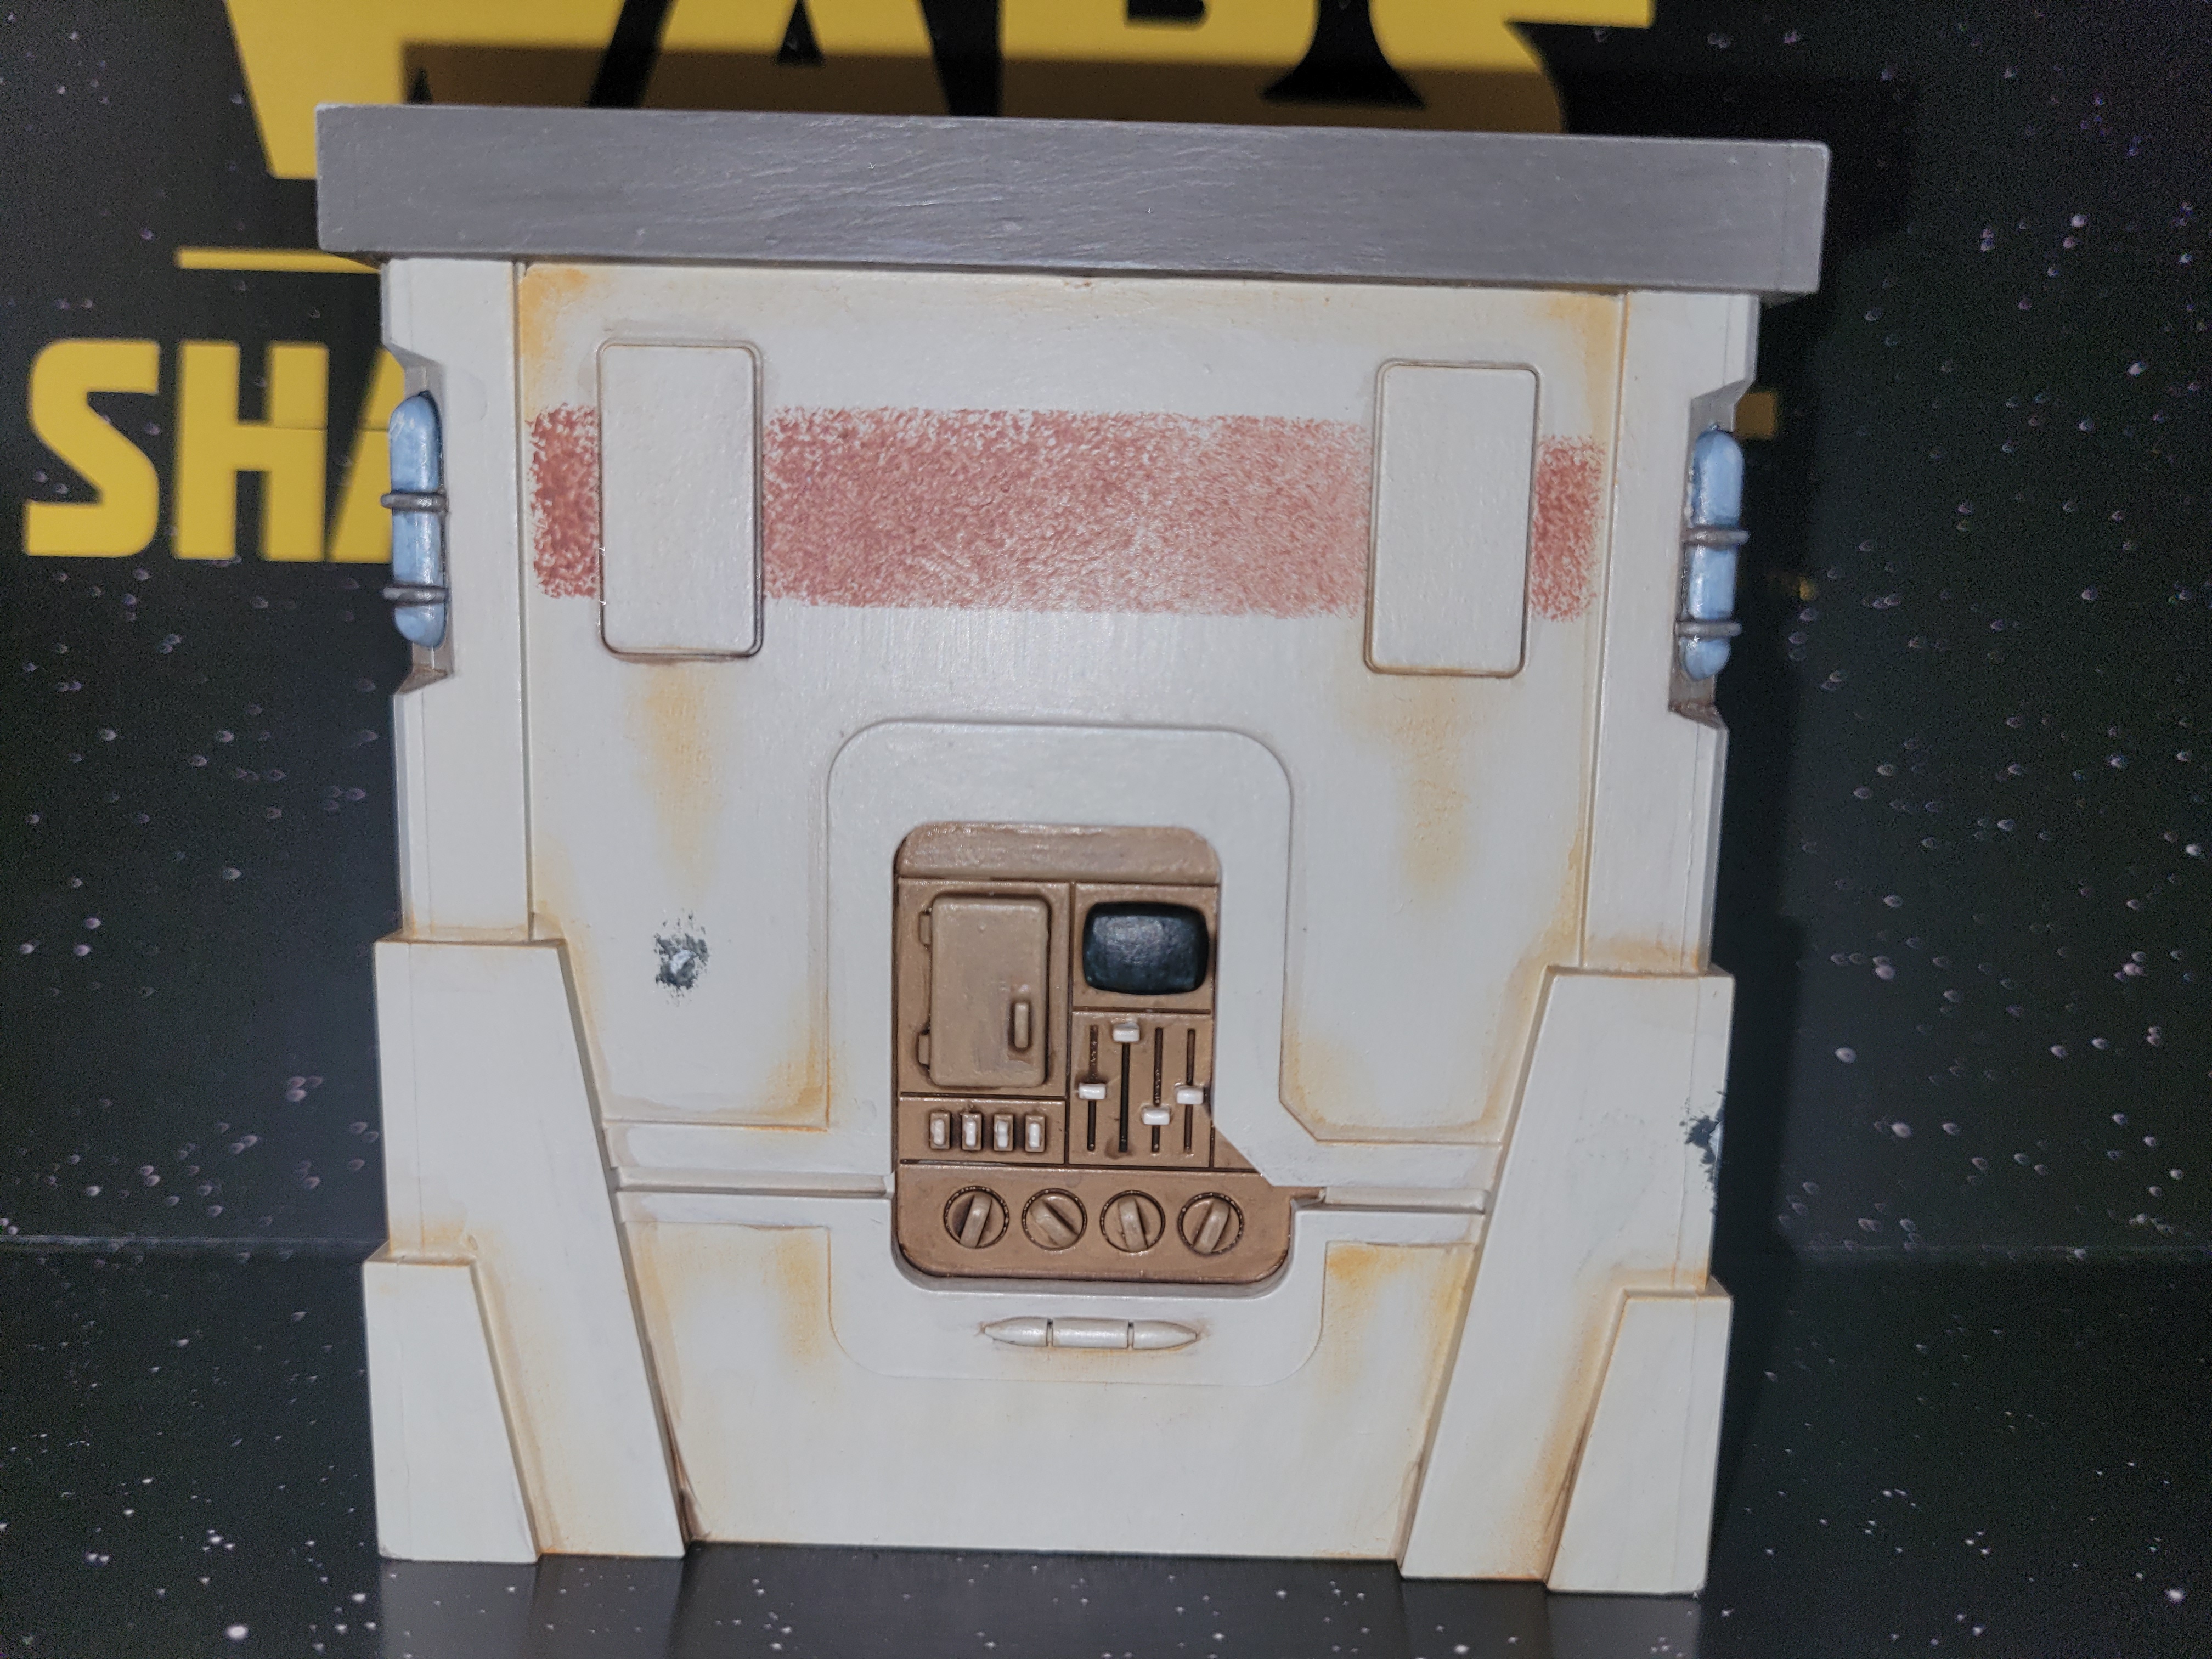
The final thing I want to comment on is the price. At £9 a bottle, this isn’t cheap compared to other brands. But when you break it down, I actually think it works out cheaper than a lot of others. Each bottle contains 30 ml while Games Workshop paints come in 12 ml bottles. Not only that, but you get a ball bearing inside the bottle, which with some companies doesn’t come as standard. This allows the paint to mix much more effectively when you shake it before painting. Then when you factor in that this paint will actually go a lot further than most other paints, then this presents tremendous value for money. If, like me, you are planning on using it for terrain, you’ll be grateful for the bigger bottle size.
If you can’t tell, I’ve fallen in love with these paints, from both a fan point of view as well as a painter. Not only are they a piece of history for the franchise that we love, but they are also well-designed paints that will aid greatly in painting terrain. If you want that Star Wars feel for your games, for your terrain, making them look instantly like they belong in a galaxy far, far away, this is without doubt the paint you are looking for. I’ve already ordered more paints so I can test away and see what other colours are out there… and I’ve started painting the rest of my terrain… and I might have started looking at 1:24 scale models to have a go at home with… and… I might have started down a very long rabbit hole!