At Jedi News HQ a tremor could be felt in the Force this week. Sorry did I say the Force? I meant the floor – a tremor in the floor! The core set for Star Wars: Shatterpoint by Atomic Mass Games has finally arrived, and it is a beast. Full of miniatures, terrain, dice, movement templates, rules, cards, tokens, and even display stands to show off your figures! It is a lot to take in, particularly if you’re new to the hobby and taking your first steps into the larger world of miniatures gaming.
 Of course, we want to review the game itself to see how it plays – the pros, the cons, and what the miniatures are like. But before we can do any of that, we actually need to unbox everything, assemble the models, set up the buildings, sort out the movement tools, and really organise everything included before even getting to the rules. Instead of bypassing all of this, we thought we would guide you if you were unsure of where to begin. Hopefully this can provide you with some tips for how to best perform these next steps and highlight any struggles we may have had so you don’t!
This article is very much about advice and tips. After this we will be playing the game (a lot!) and will provide you with an in-depth review of the game! So, let’s begin:
1. Opening the box
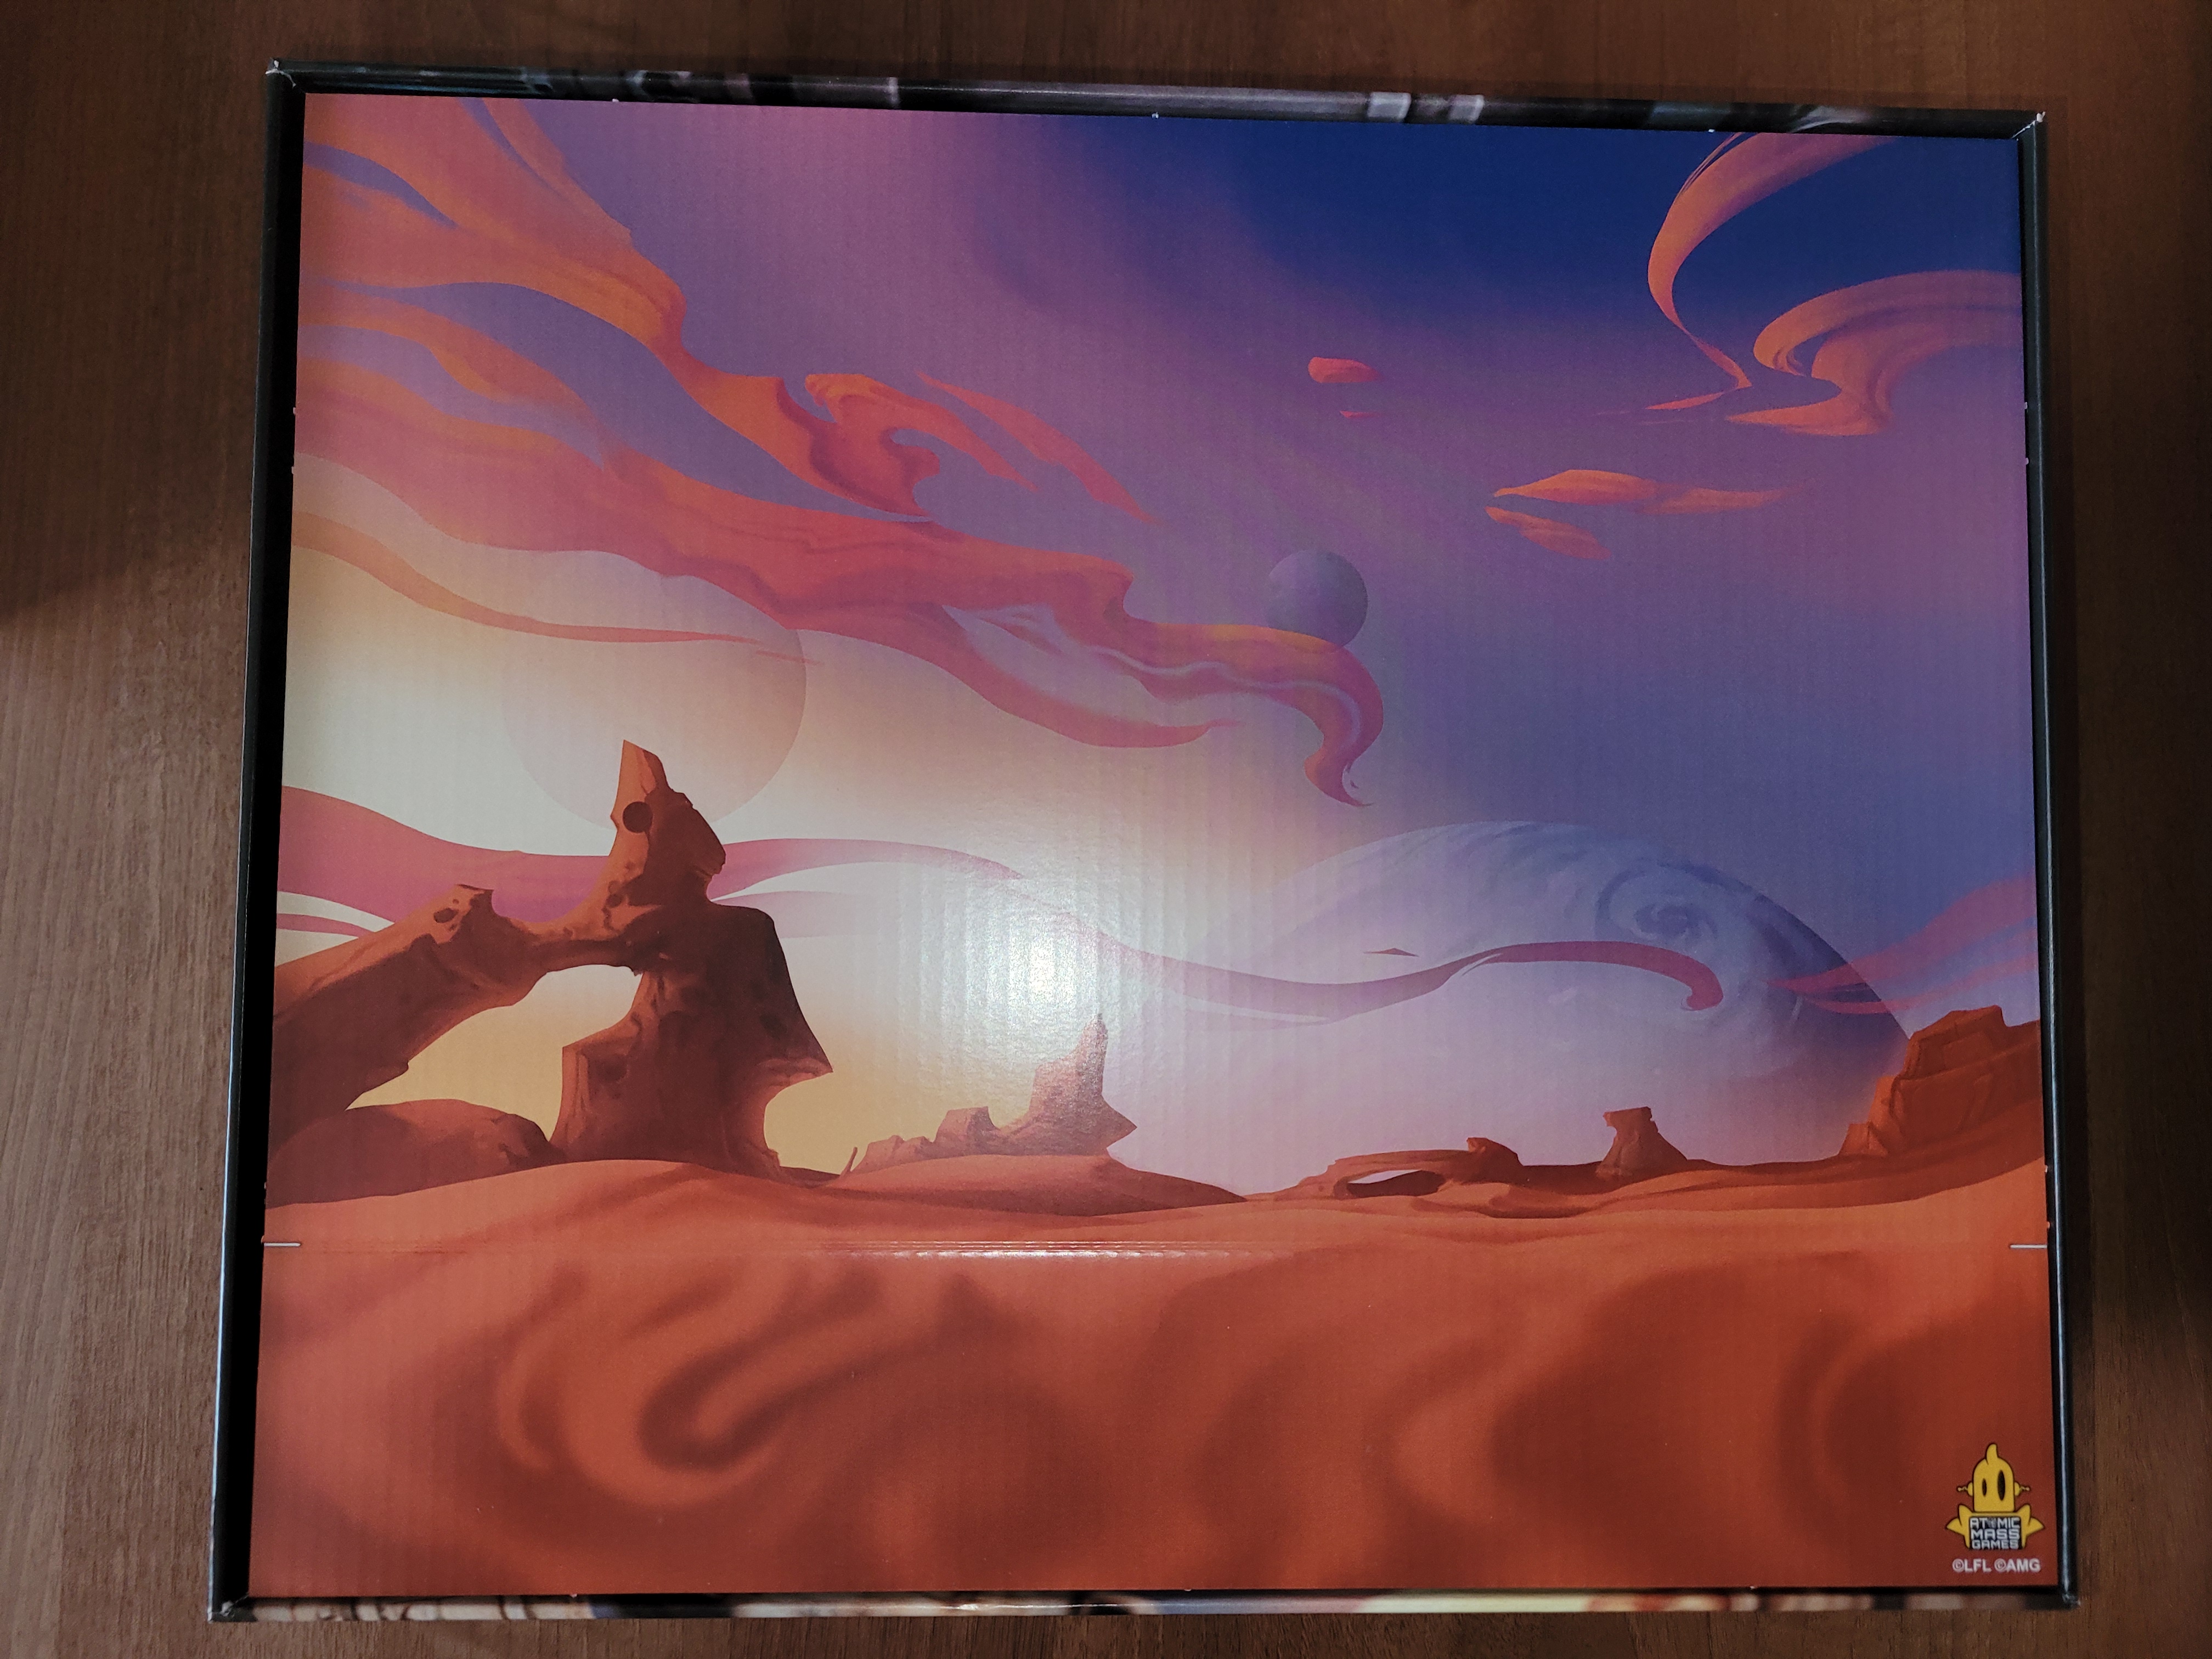
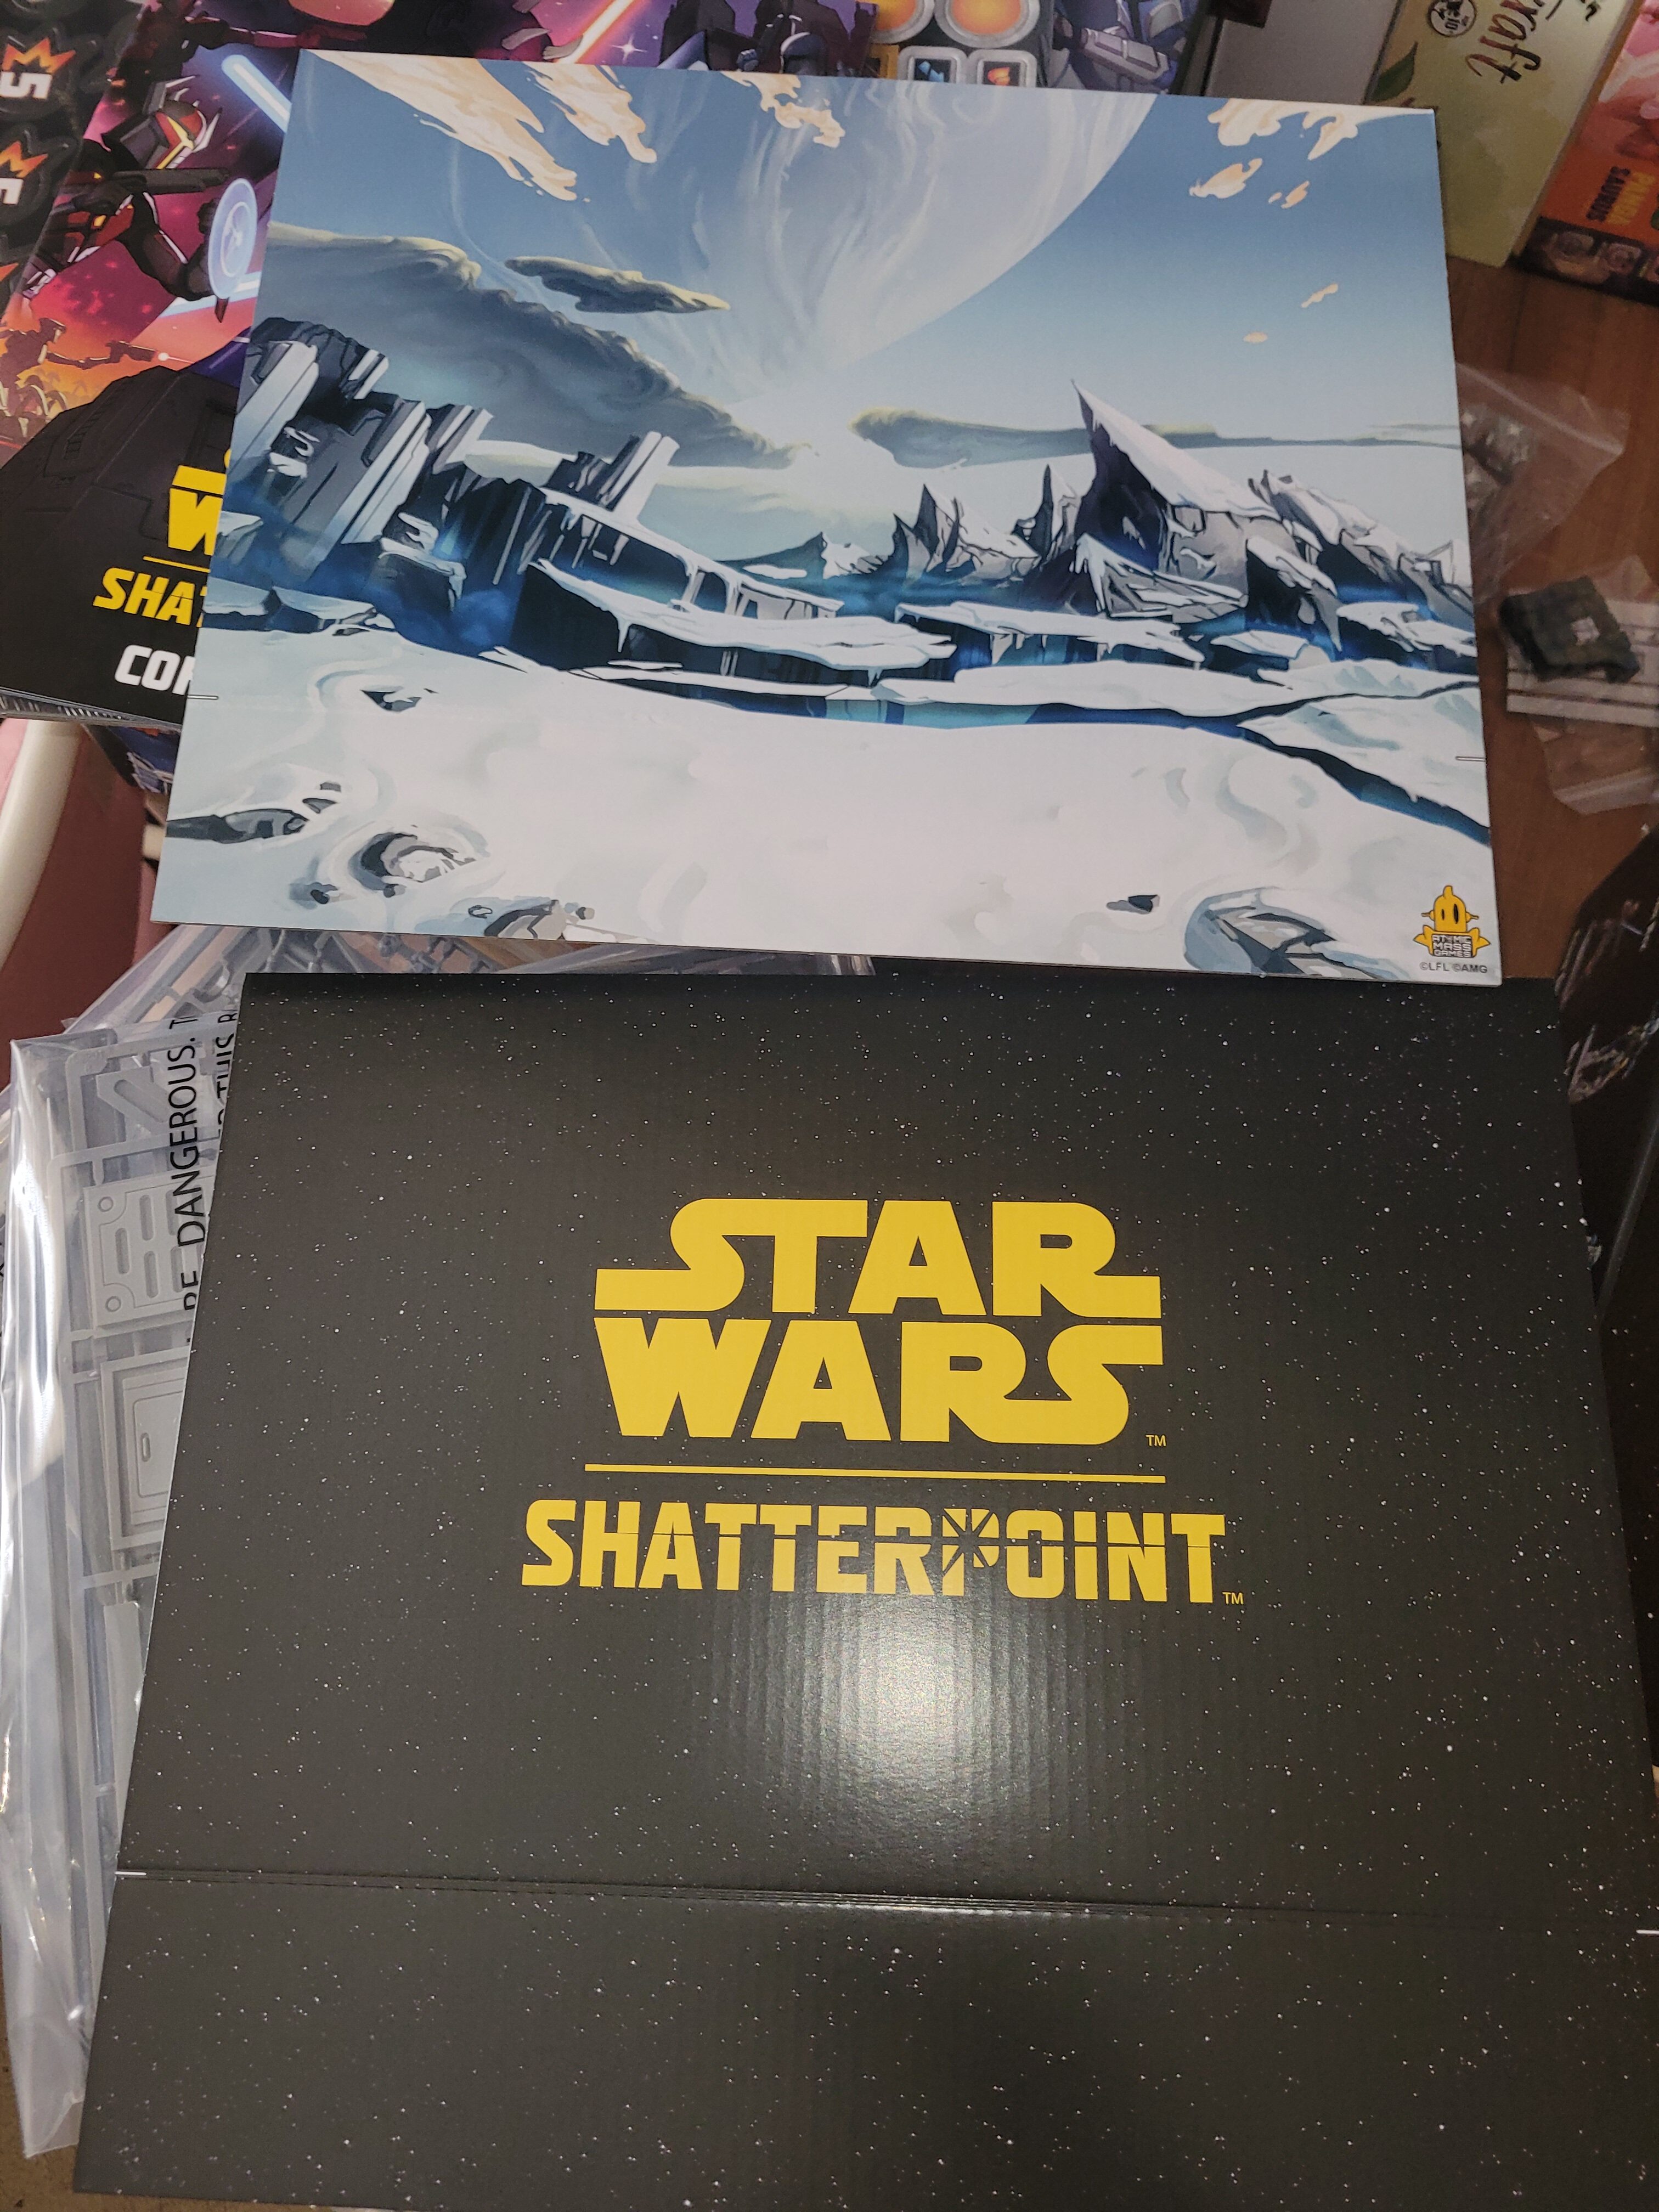
I can’t help but be reminded of people’s description of when they first saw A New Hope. There was a little ship and then a big ship came over our heads and just kept going and going and going. It’s really how I would describe the box because it seems never ending! As you open it there are two double-sided background drops for taking photos of your miniatures. I have to say, as someone who is frequently taking pictures of their miniatures, this is a huge benefit and a very welcome one. There is a guide to taking shots on one side and then there are three backdrops to use: a starfield, a desert style landscape, and an ice planet. Without even playing the game, the larger style of miniatures really stand out and I love that Atomic Mass Games have thought about this to allow people to display these so well.
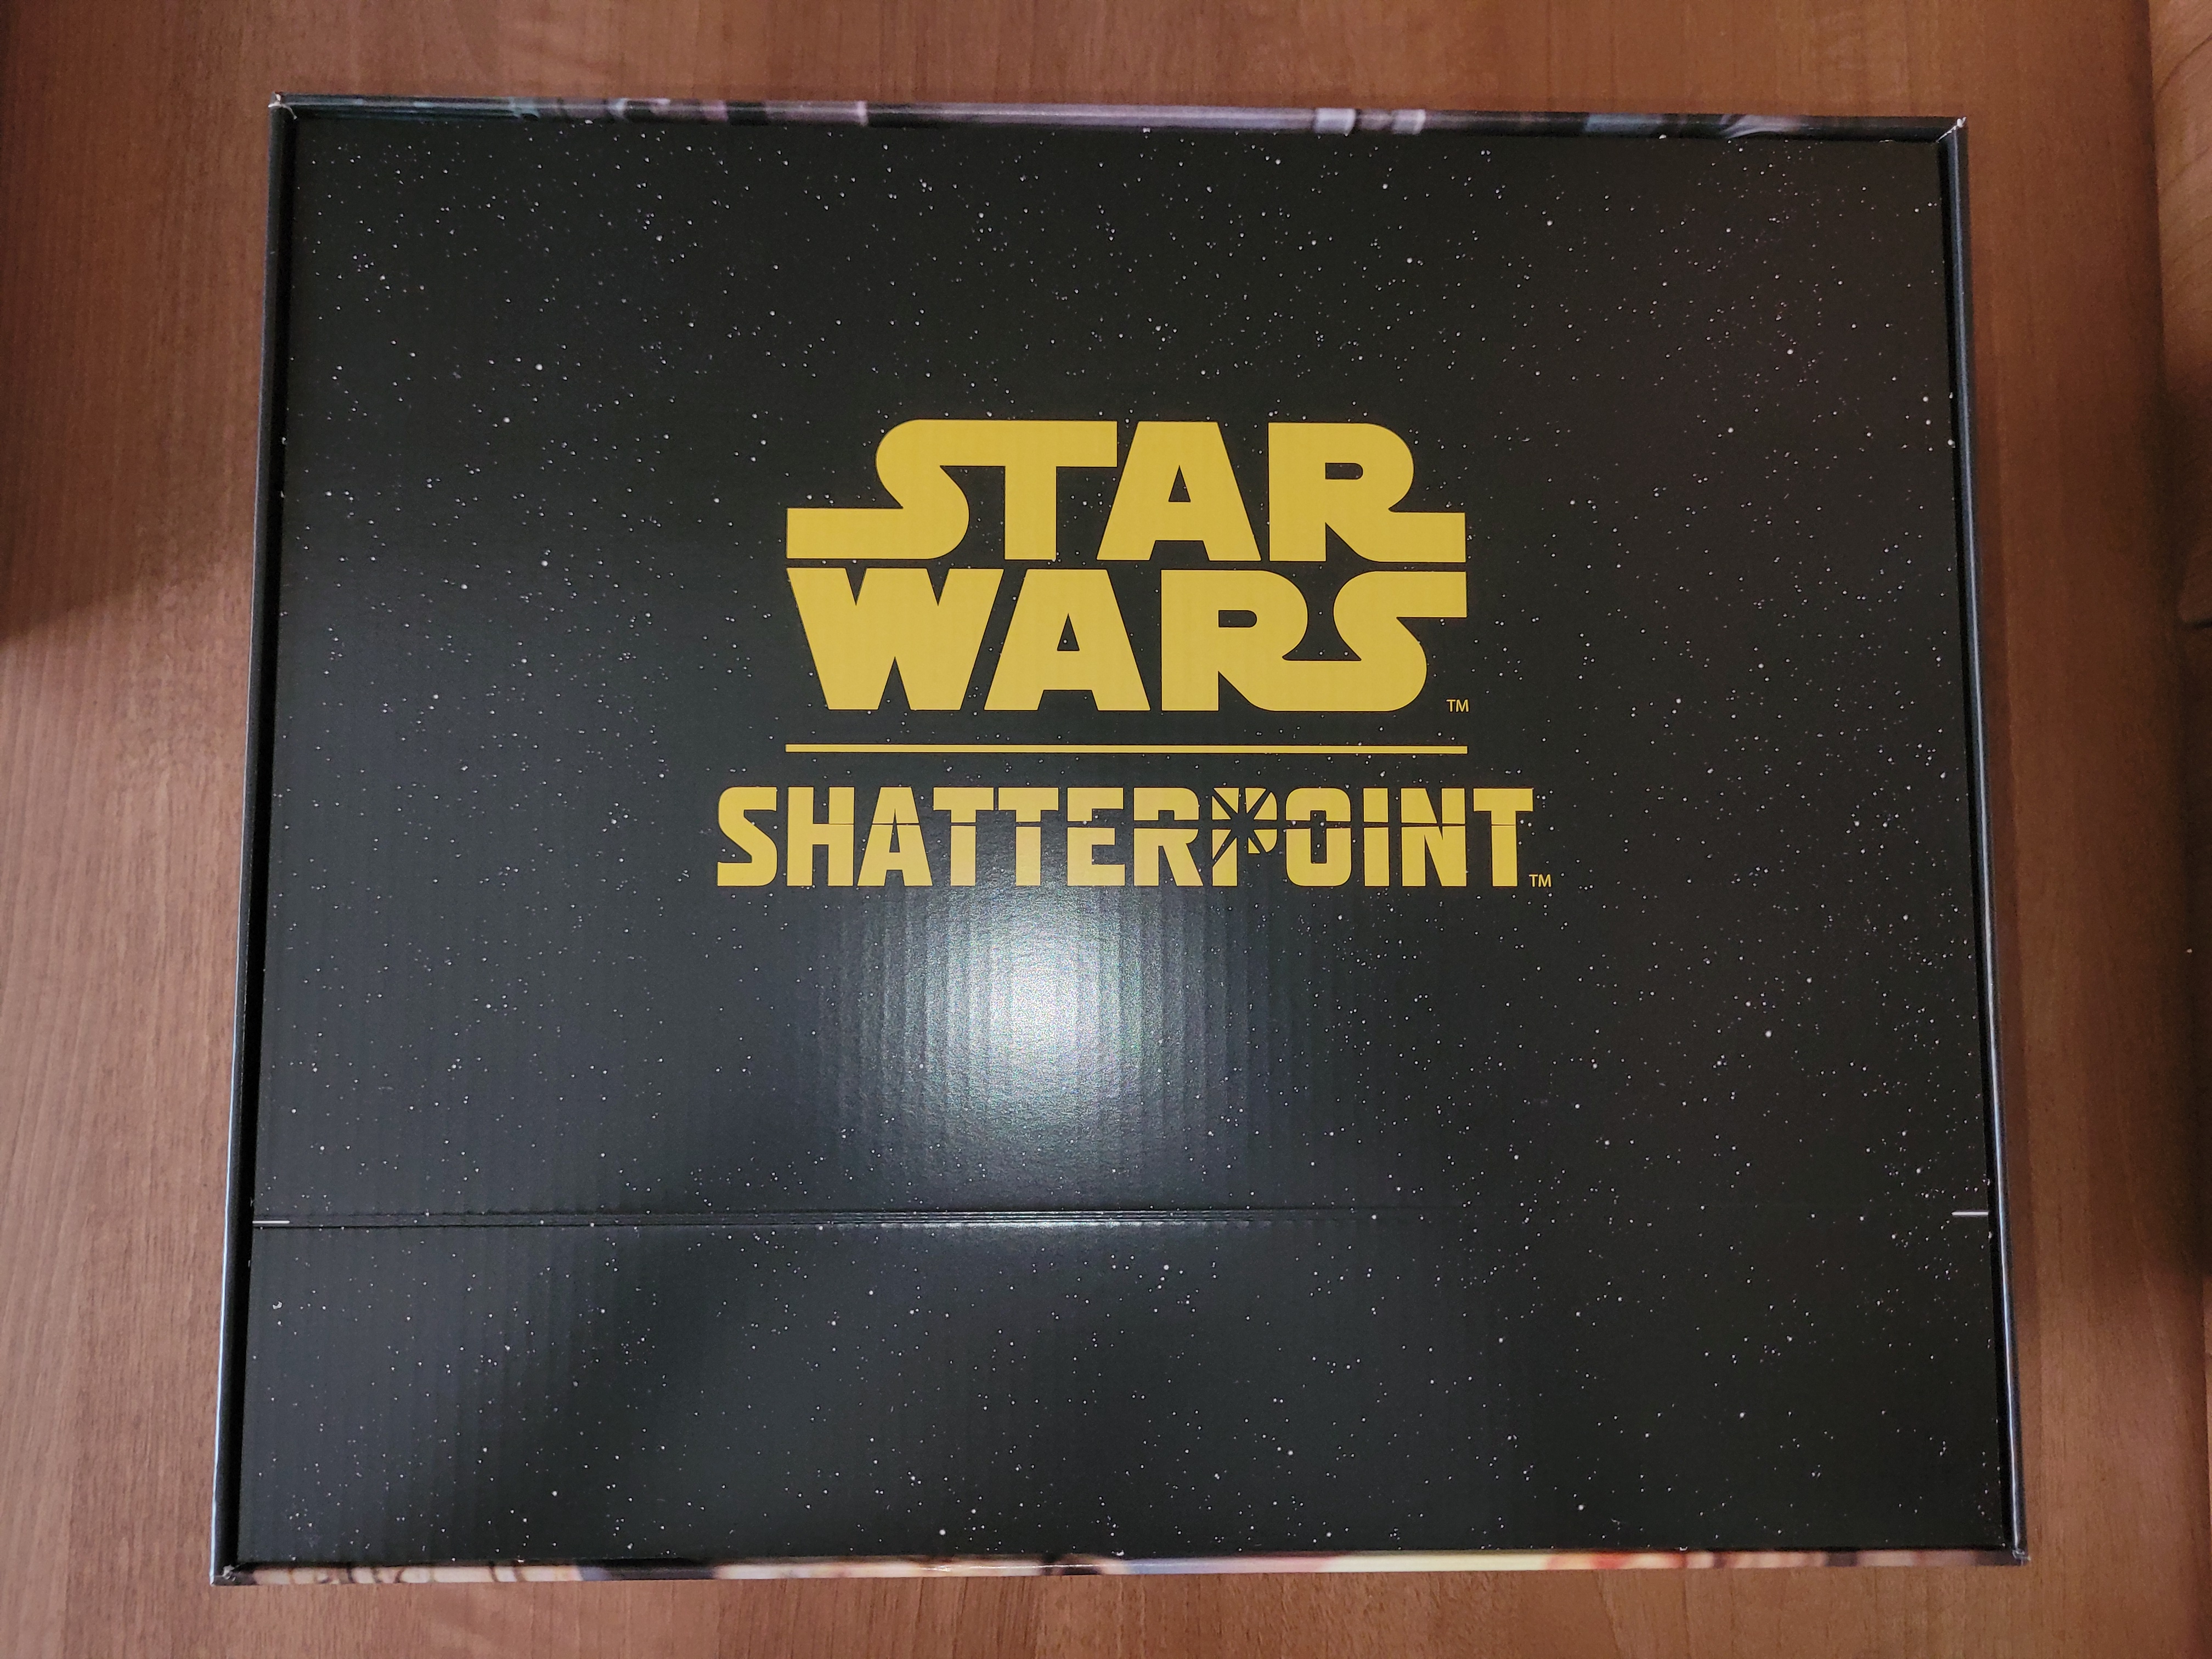
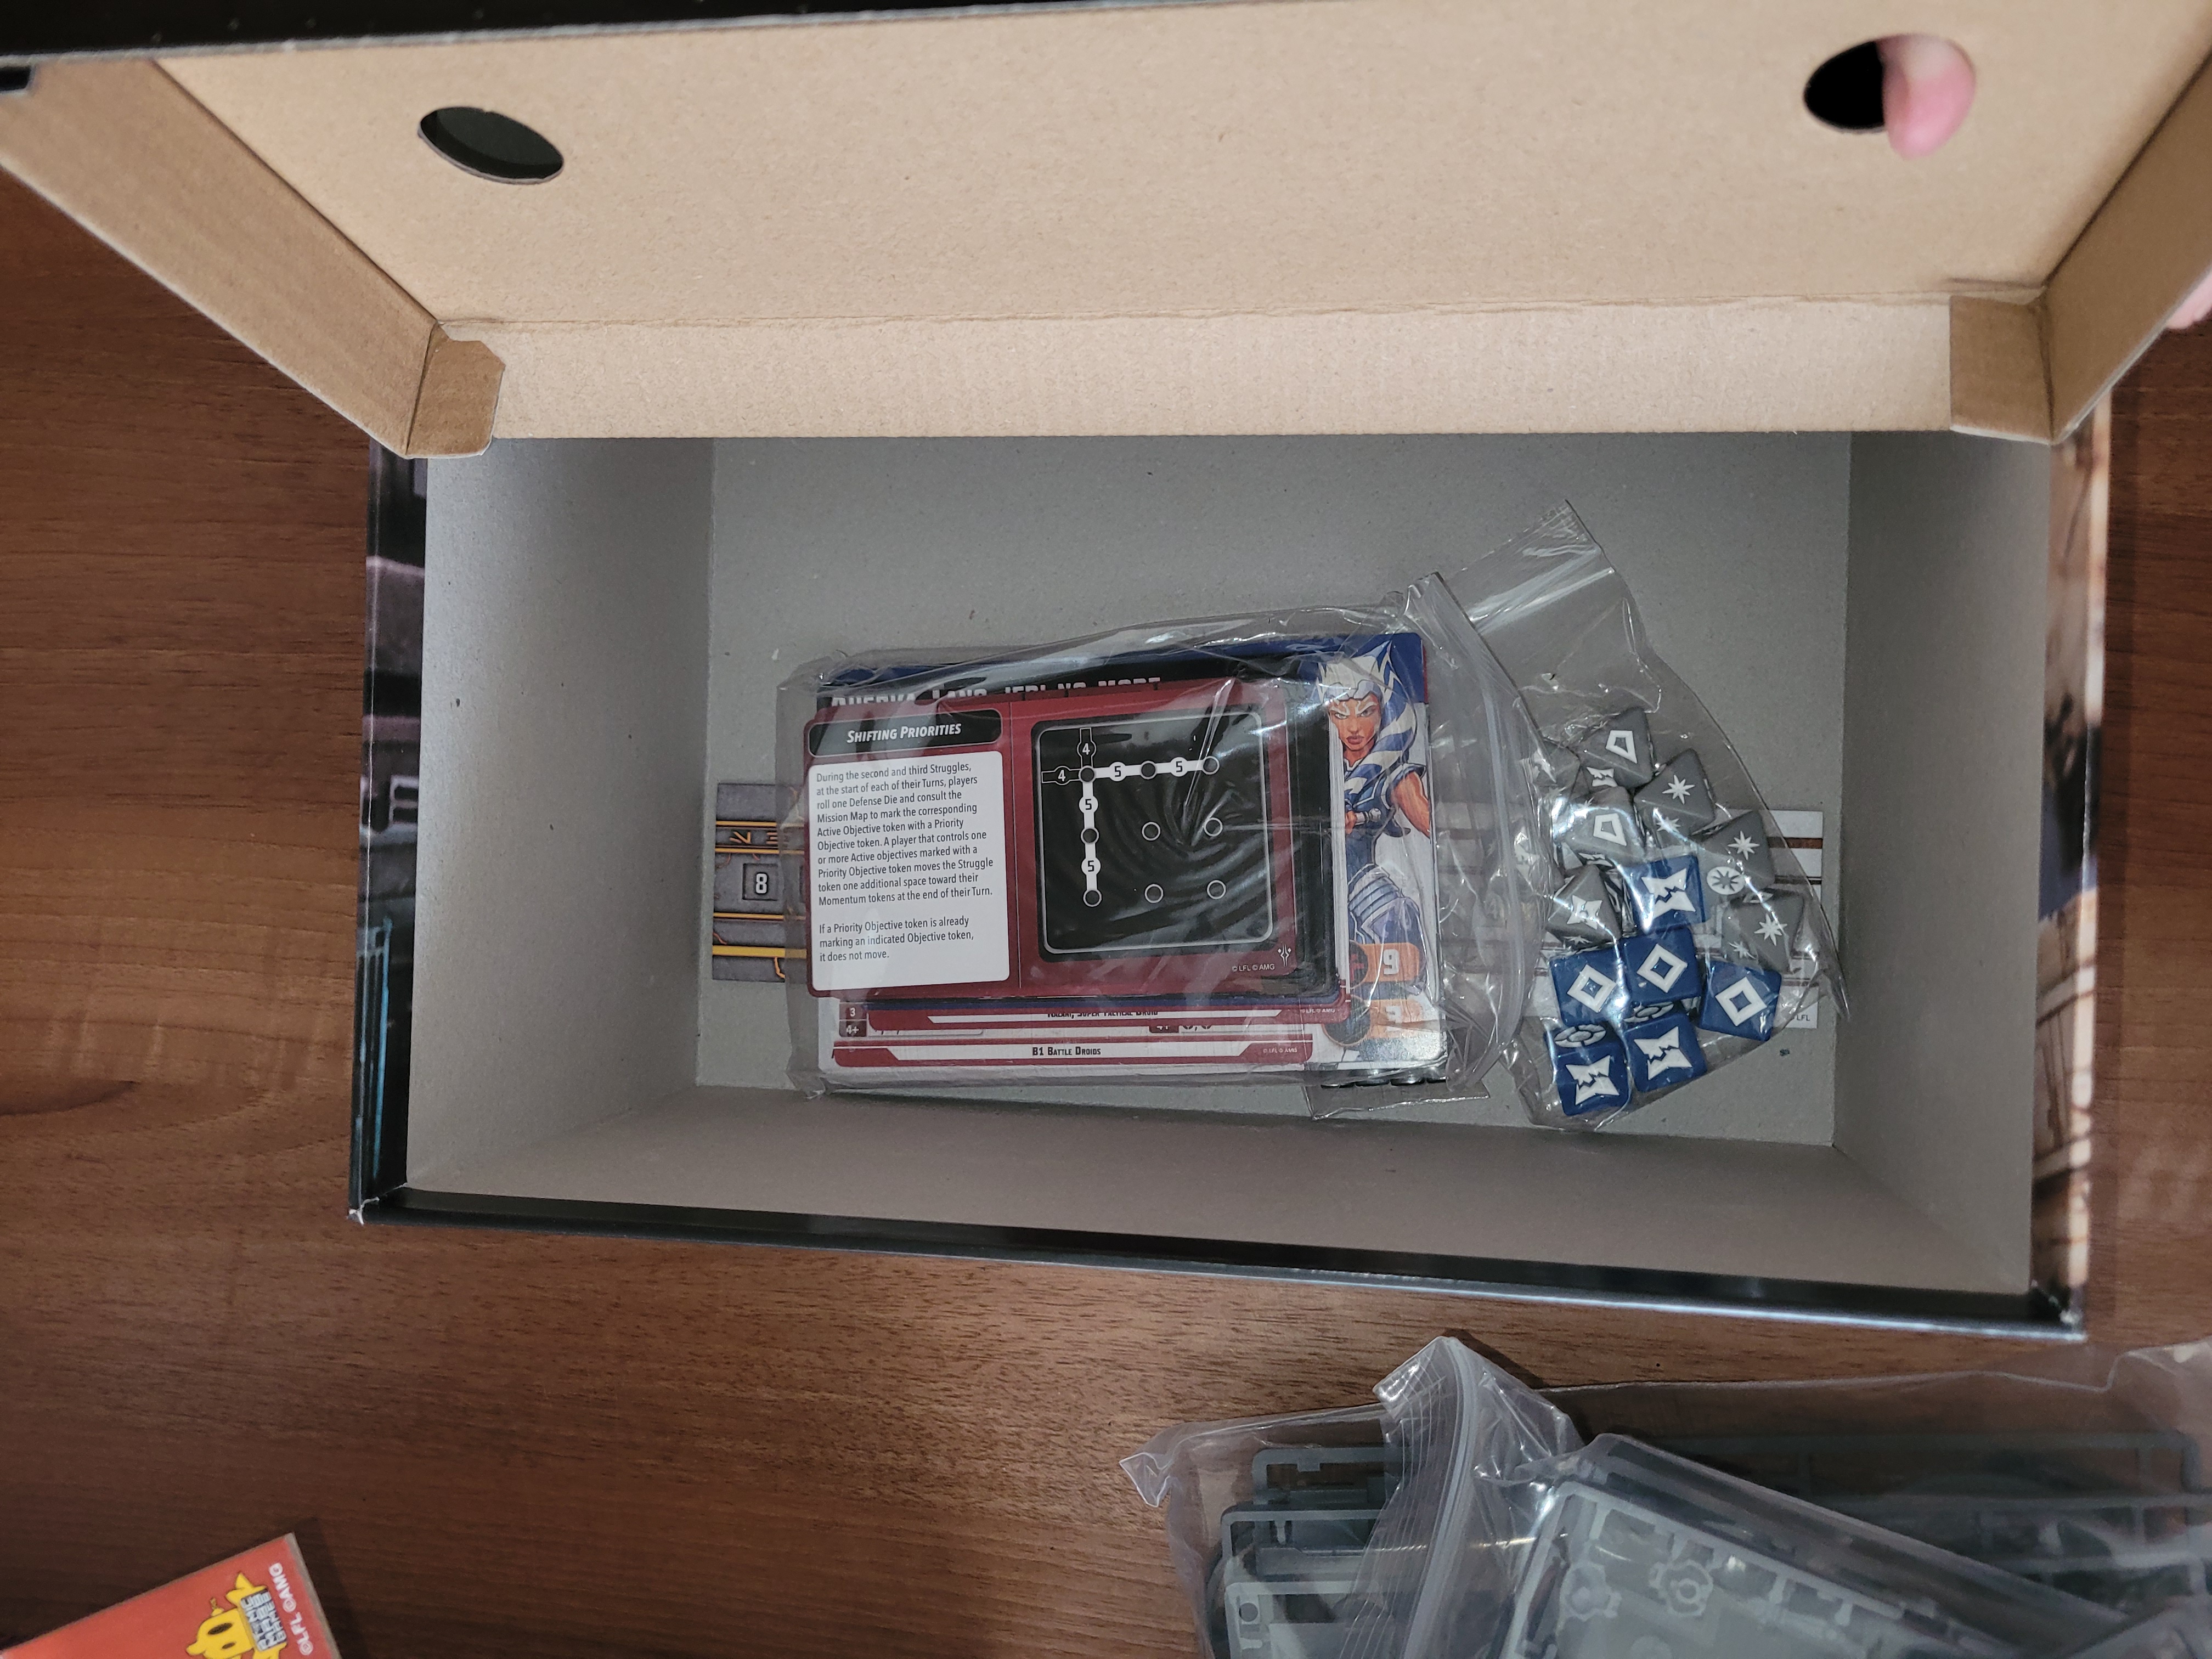
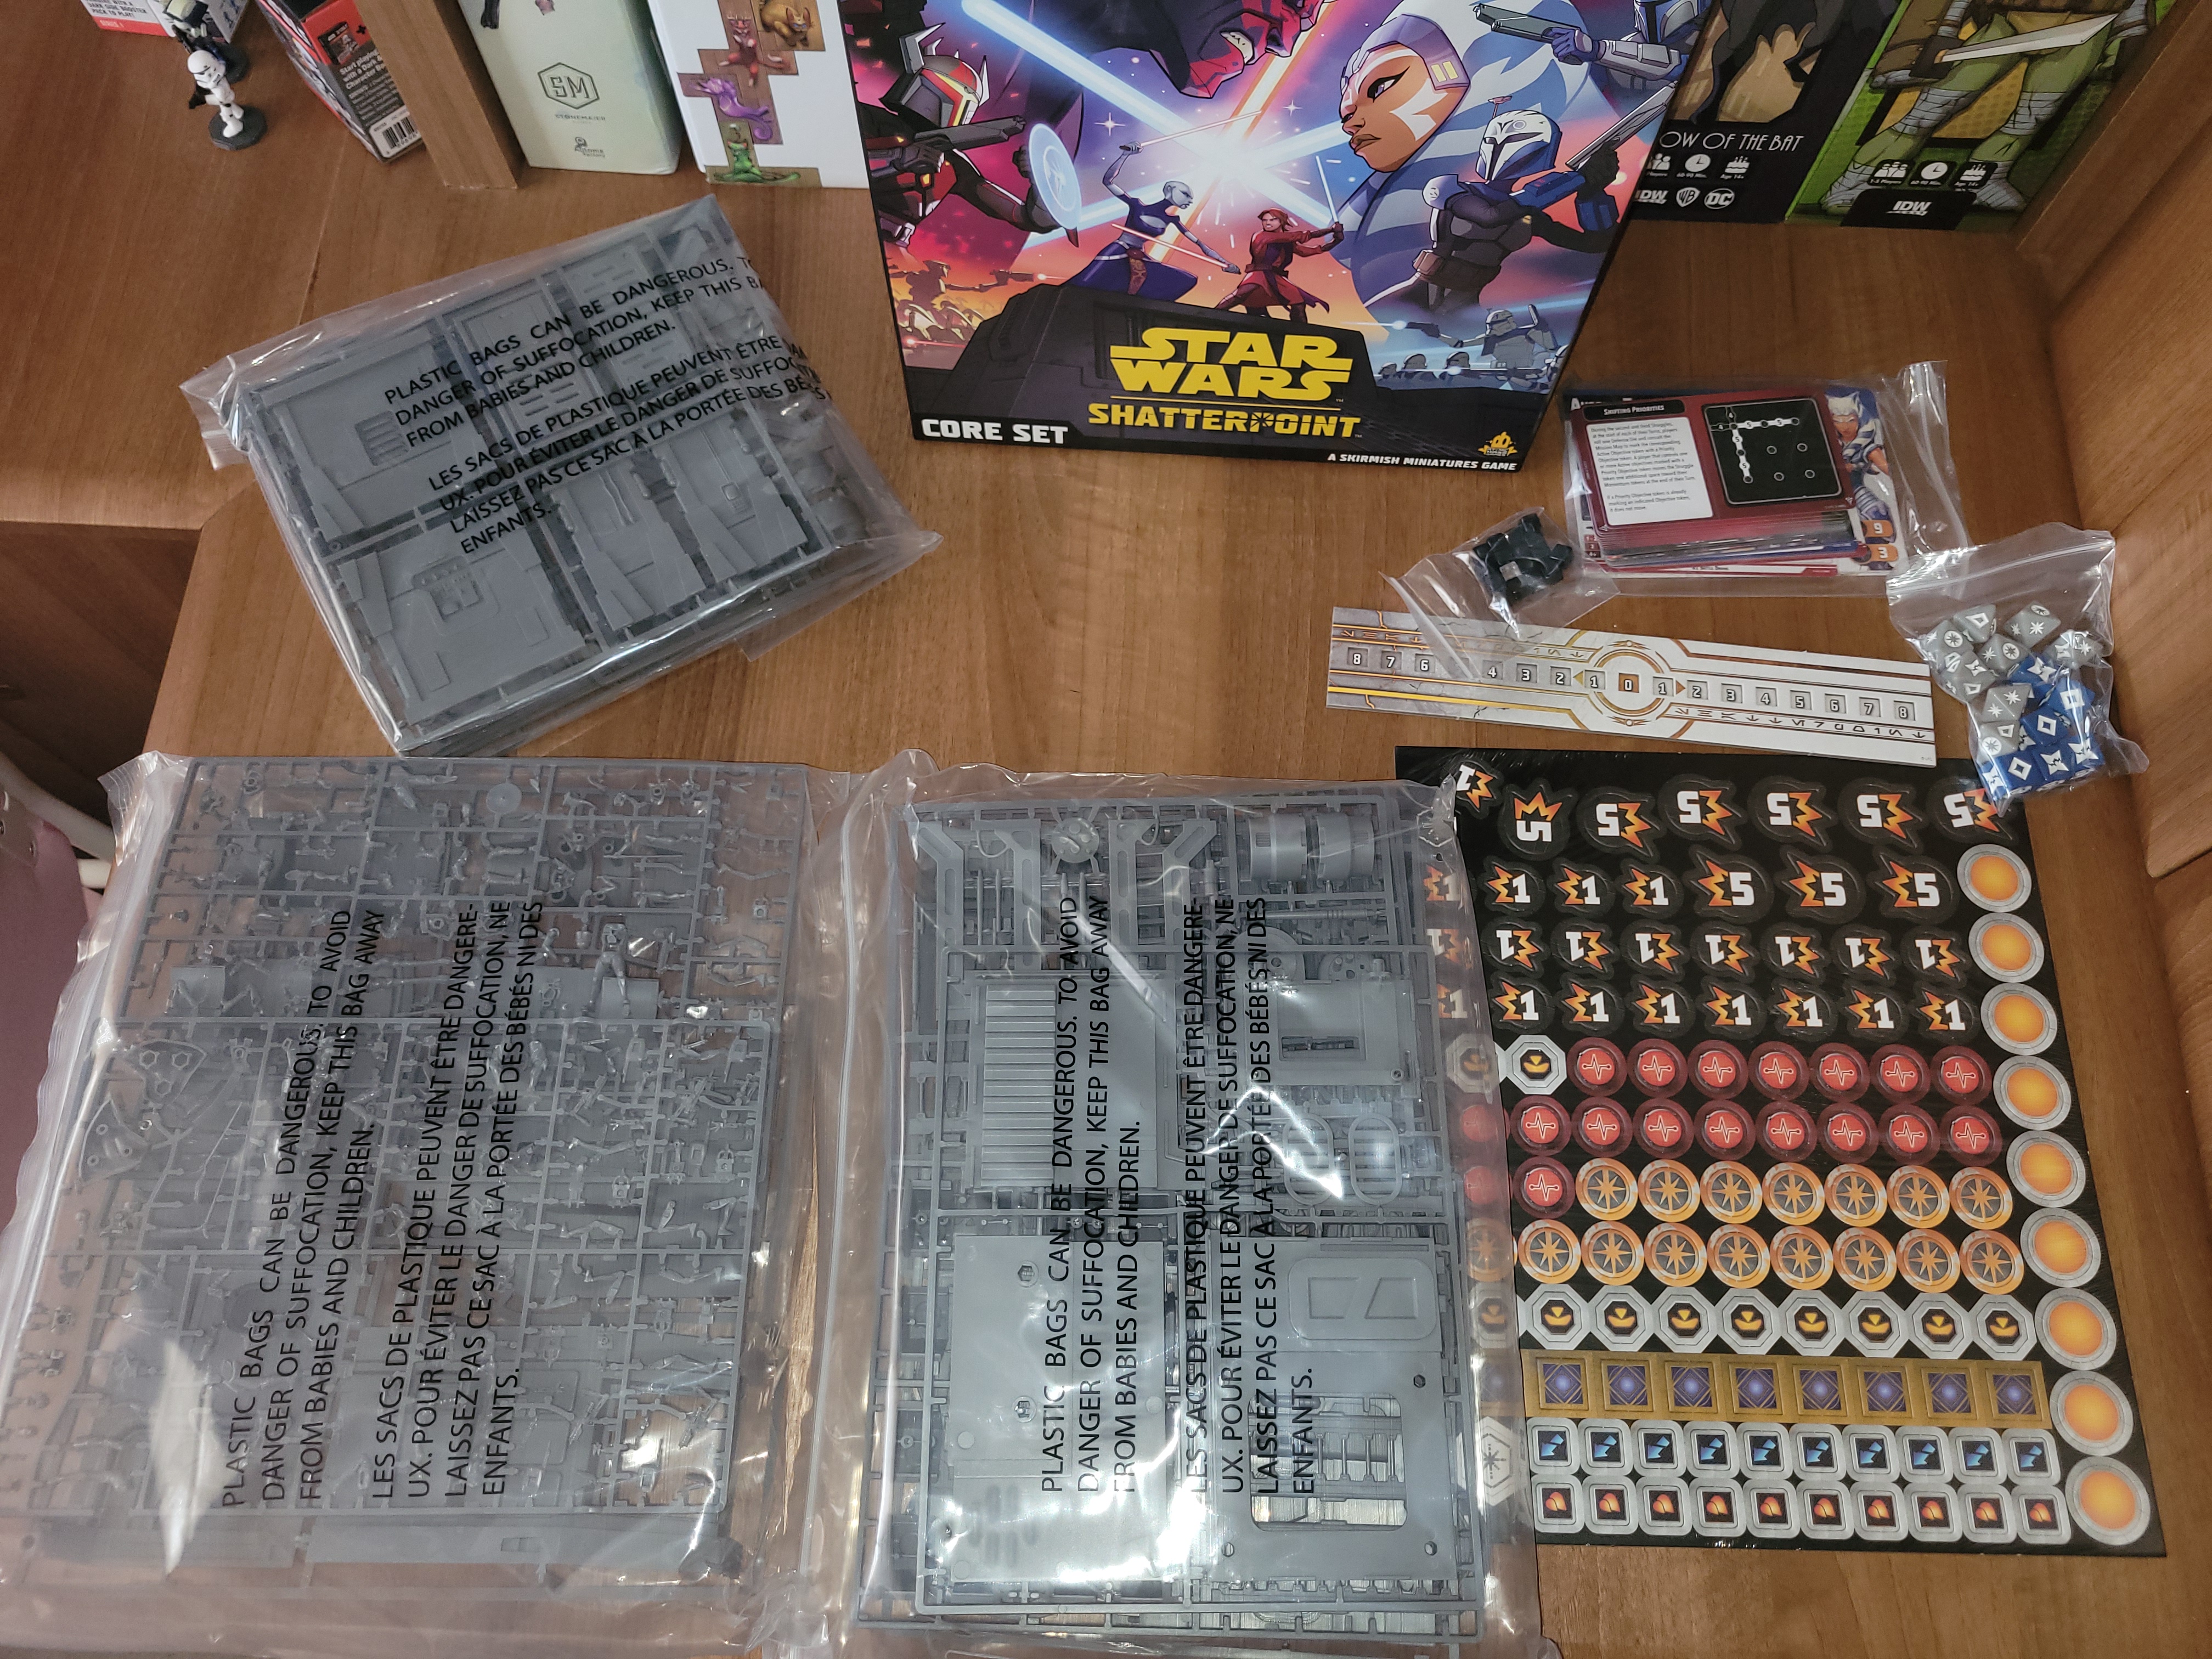
As you pass this layer, we have the core rulebook, tokens, and another cardboard divider. Lift this up and there are humongous bags filled to the brim with miniatures and terrain until you eventually get to the very bottom and yet another cardboard divider. There is a slight rise to one side of this, under which can be found all the cards, plastic cubes, and dice. It’s a very impressive selection and can also seem a little daunting as to where to begin with it all.
2. Tokens
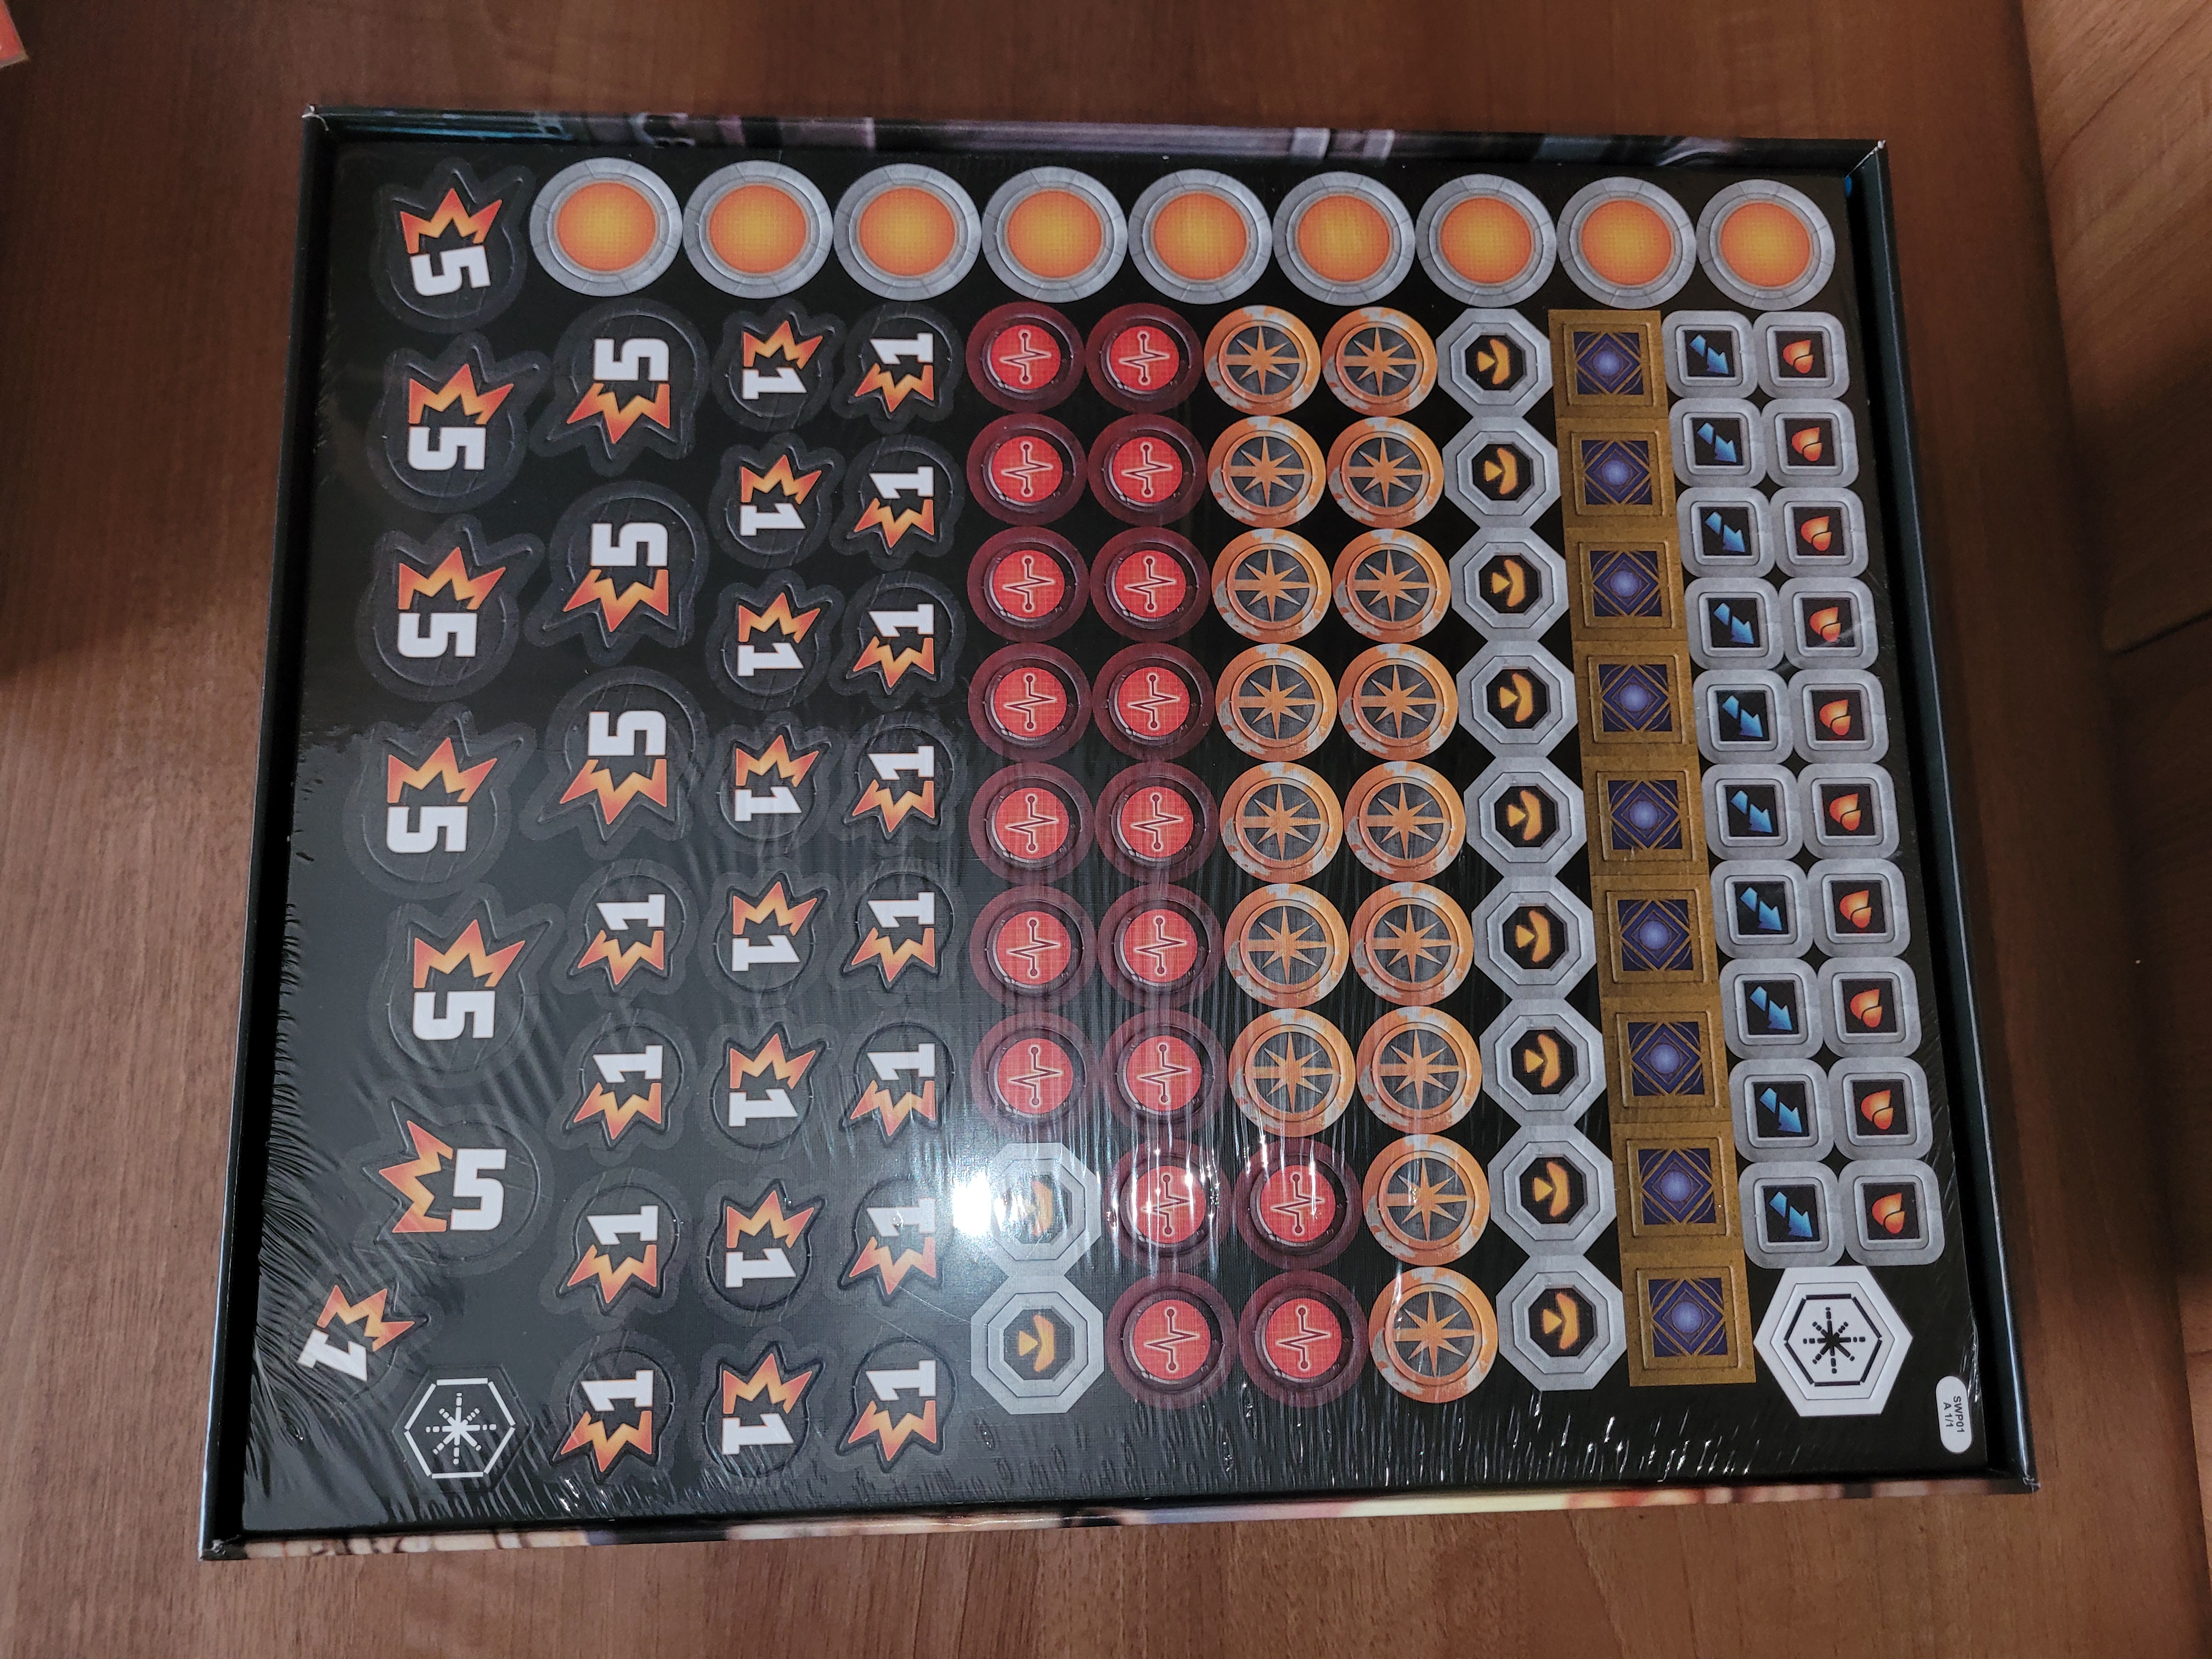
So, the easiest place to start is all the tokens. They need to be opened, carefully punched out and then organised. Now, you can just have them loose, or even sorted out into plastic bags. However, with a miniature skirmish game, there is already a huge table presence and space is going to be at a premium. Also, you’re not going to want to be hunting through bags in the middle of a game to get a damage counter or a hunker down token. The best and most cost-effective method I have found is a small box organiser that can be found in the UK at The Range or Wilkinsons (aka Wilkos) for £3 or £4. They are traditionally used as craft boxes or even for screws, but for tokens they are a lifesaver.
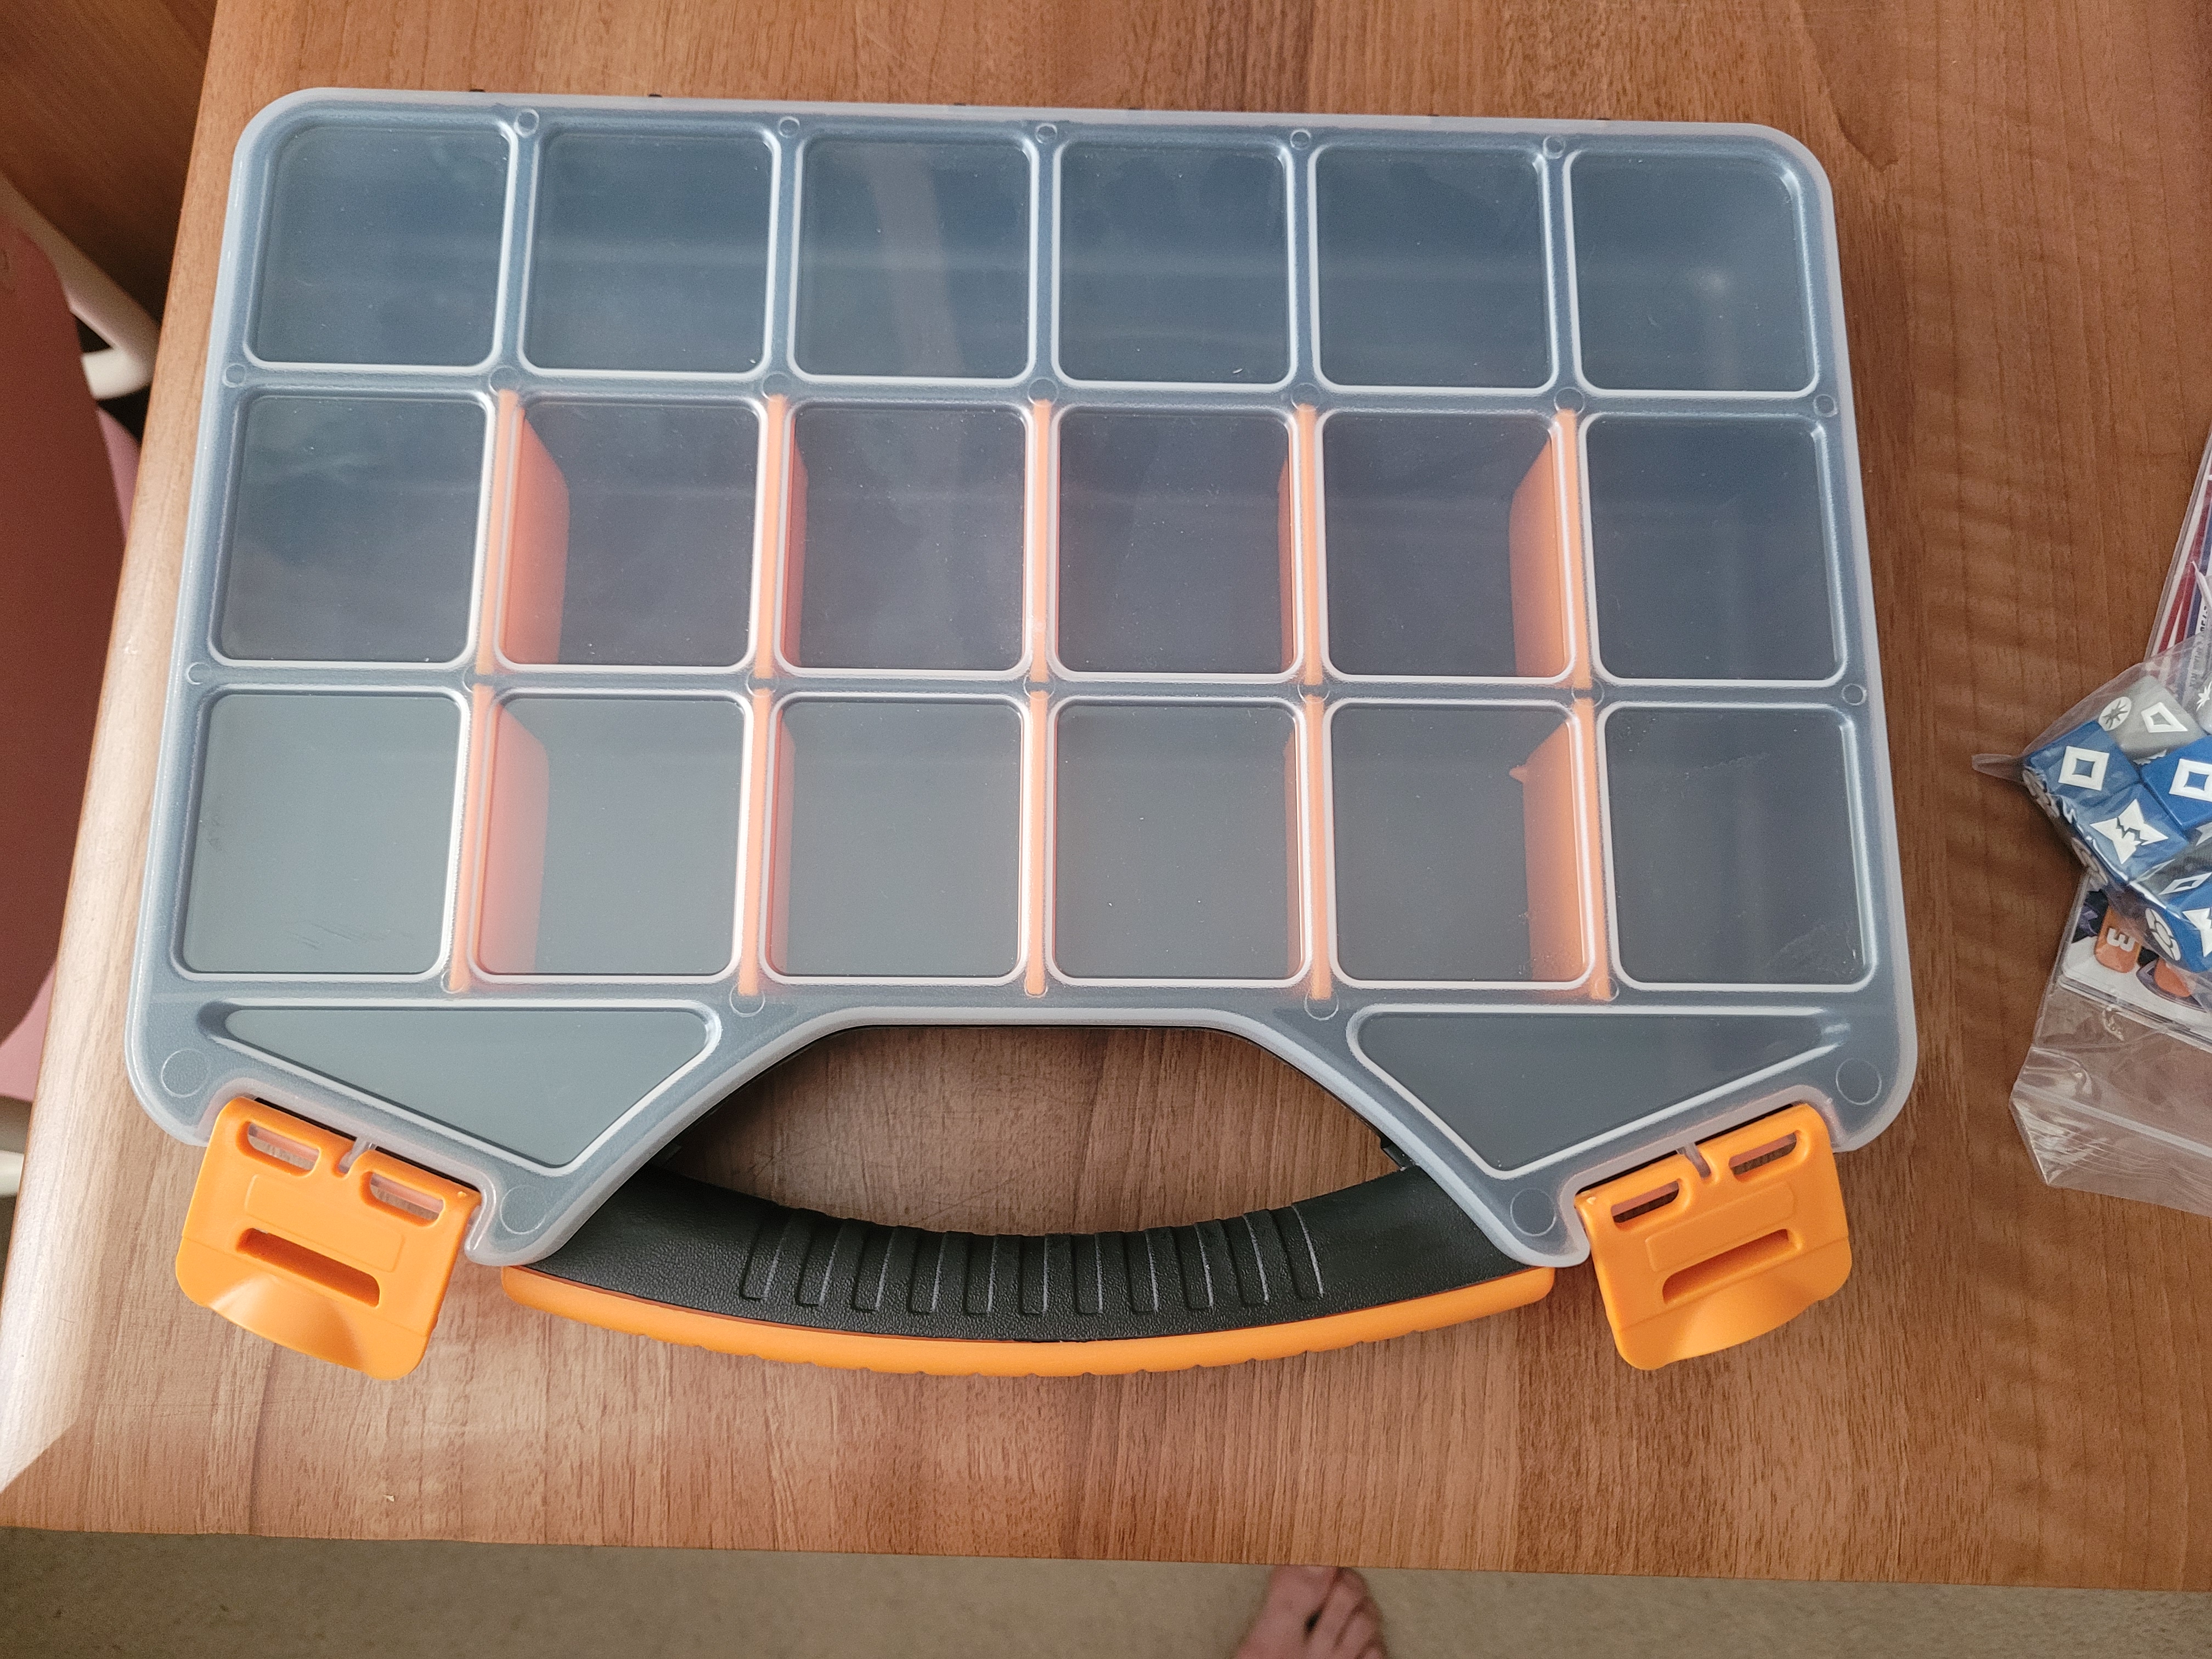
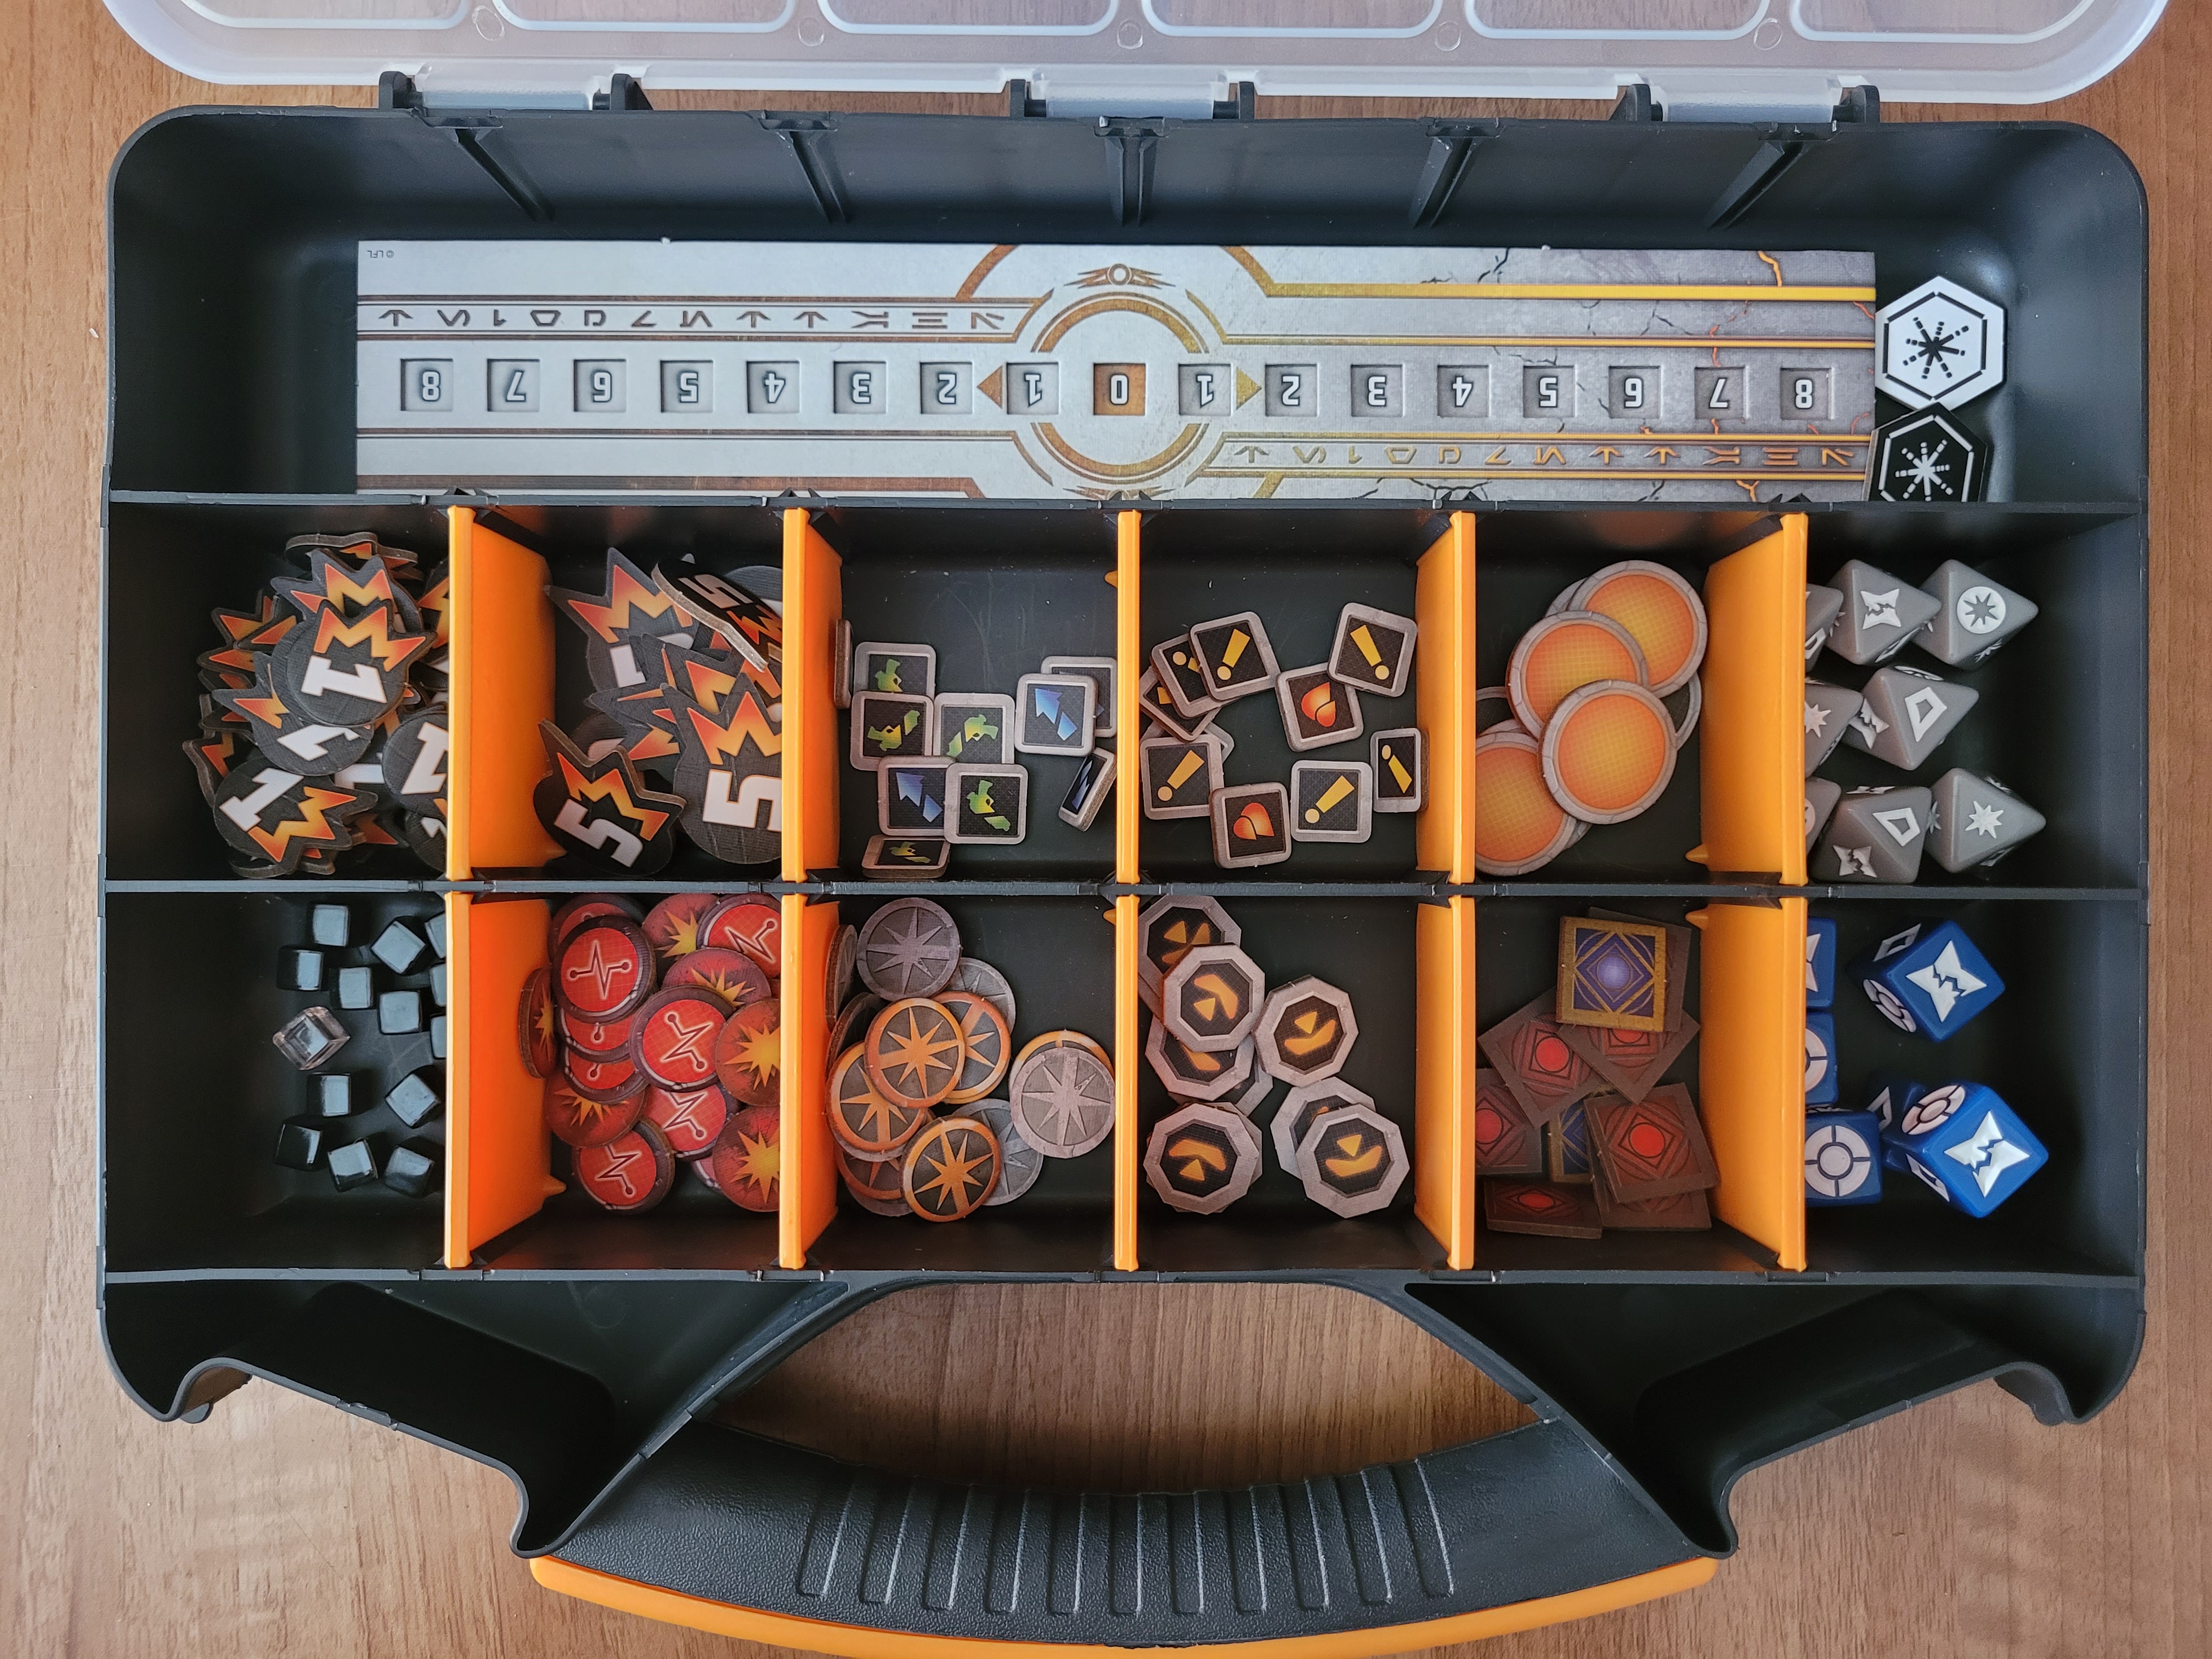
As you can see, a small organiser will fit all the fiddly bits that can easily get lost whilst playing. It makes setting up and playing so much easier!
3. Cards
There are two card sizes in the box: tarot and 6×4. Whether you want to sleeve cards or not very much depends on your preferences, how often you use the cards, and just how careful you are handling the cards. I for one am someone who sleeves everything, so much so that my friends always make jokes about the amount I must spend. Having spent money on a game, I don’t want to damage some of the key components by not sleeving. Sleeving does what it says, you place each card into a transparent plastic sleeve, thus protecting it from the wear and tear cards undergo while playing a game.
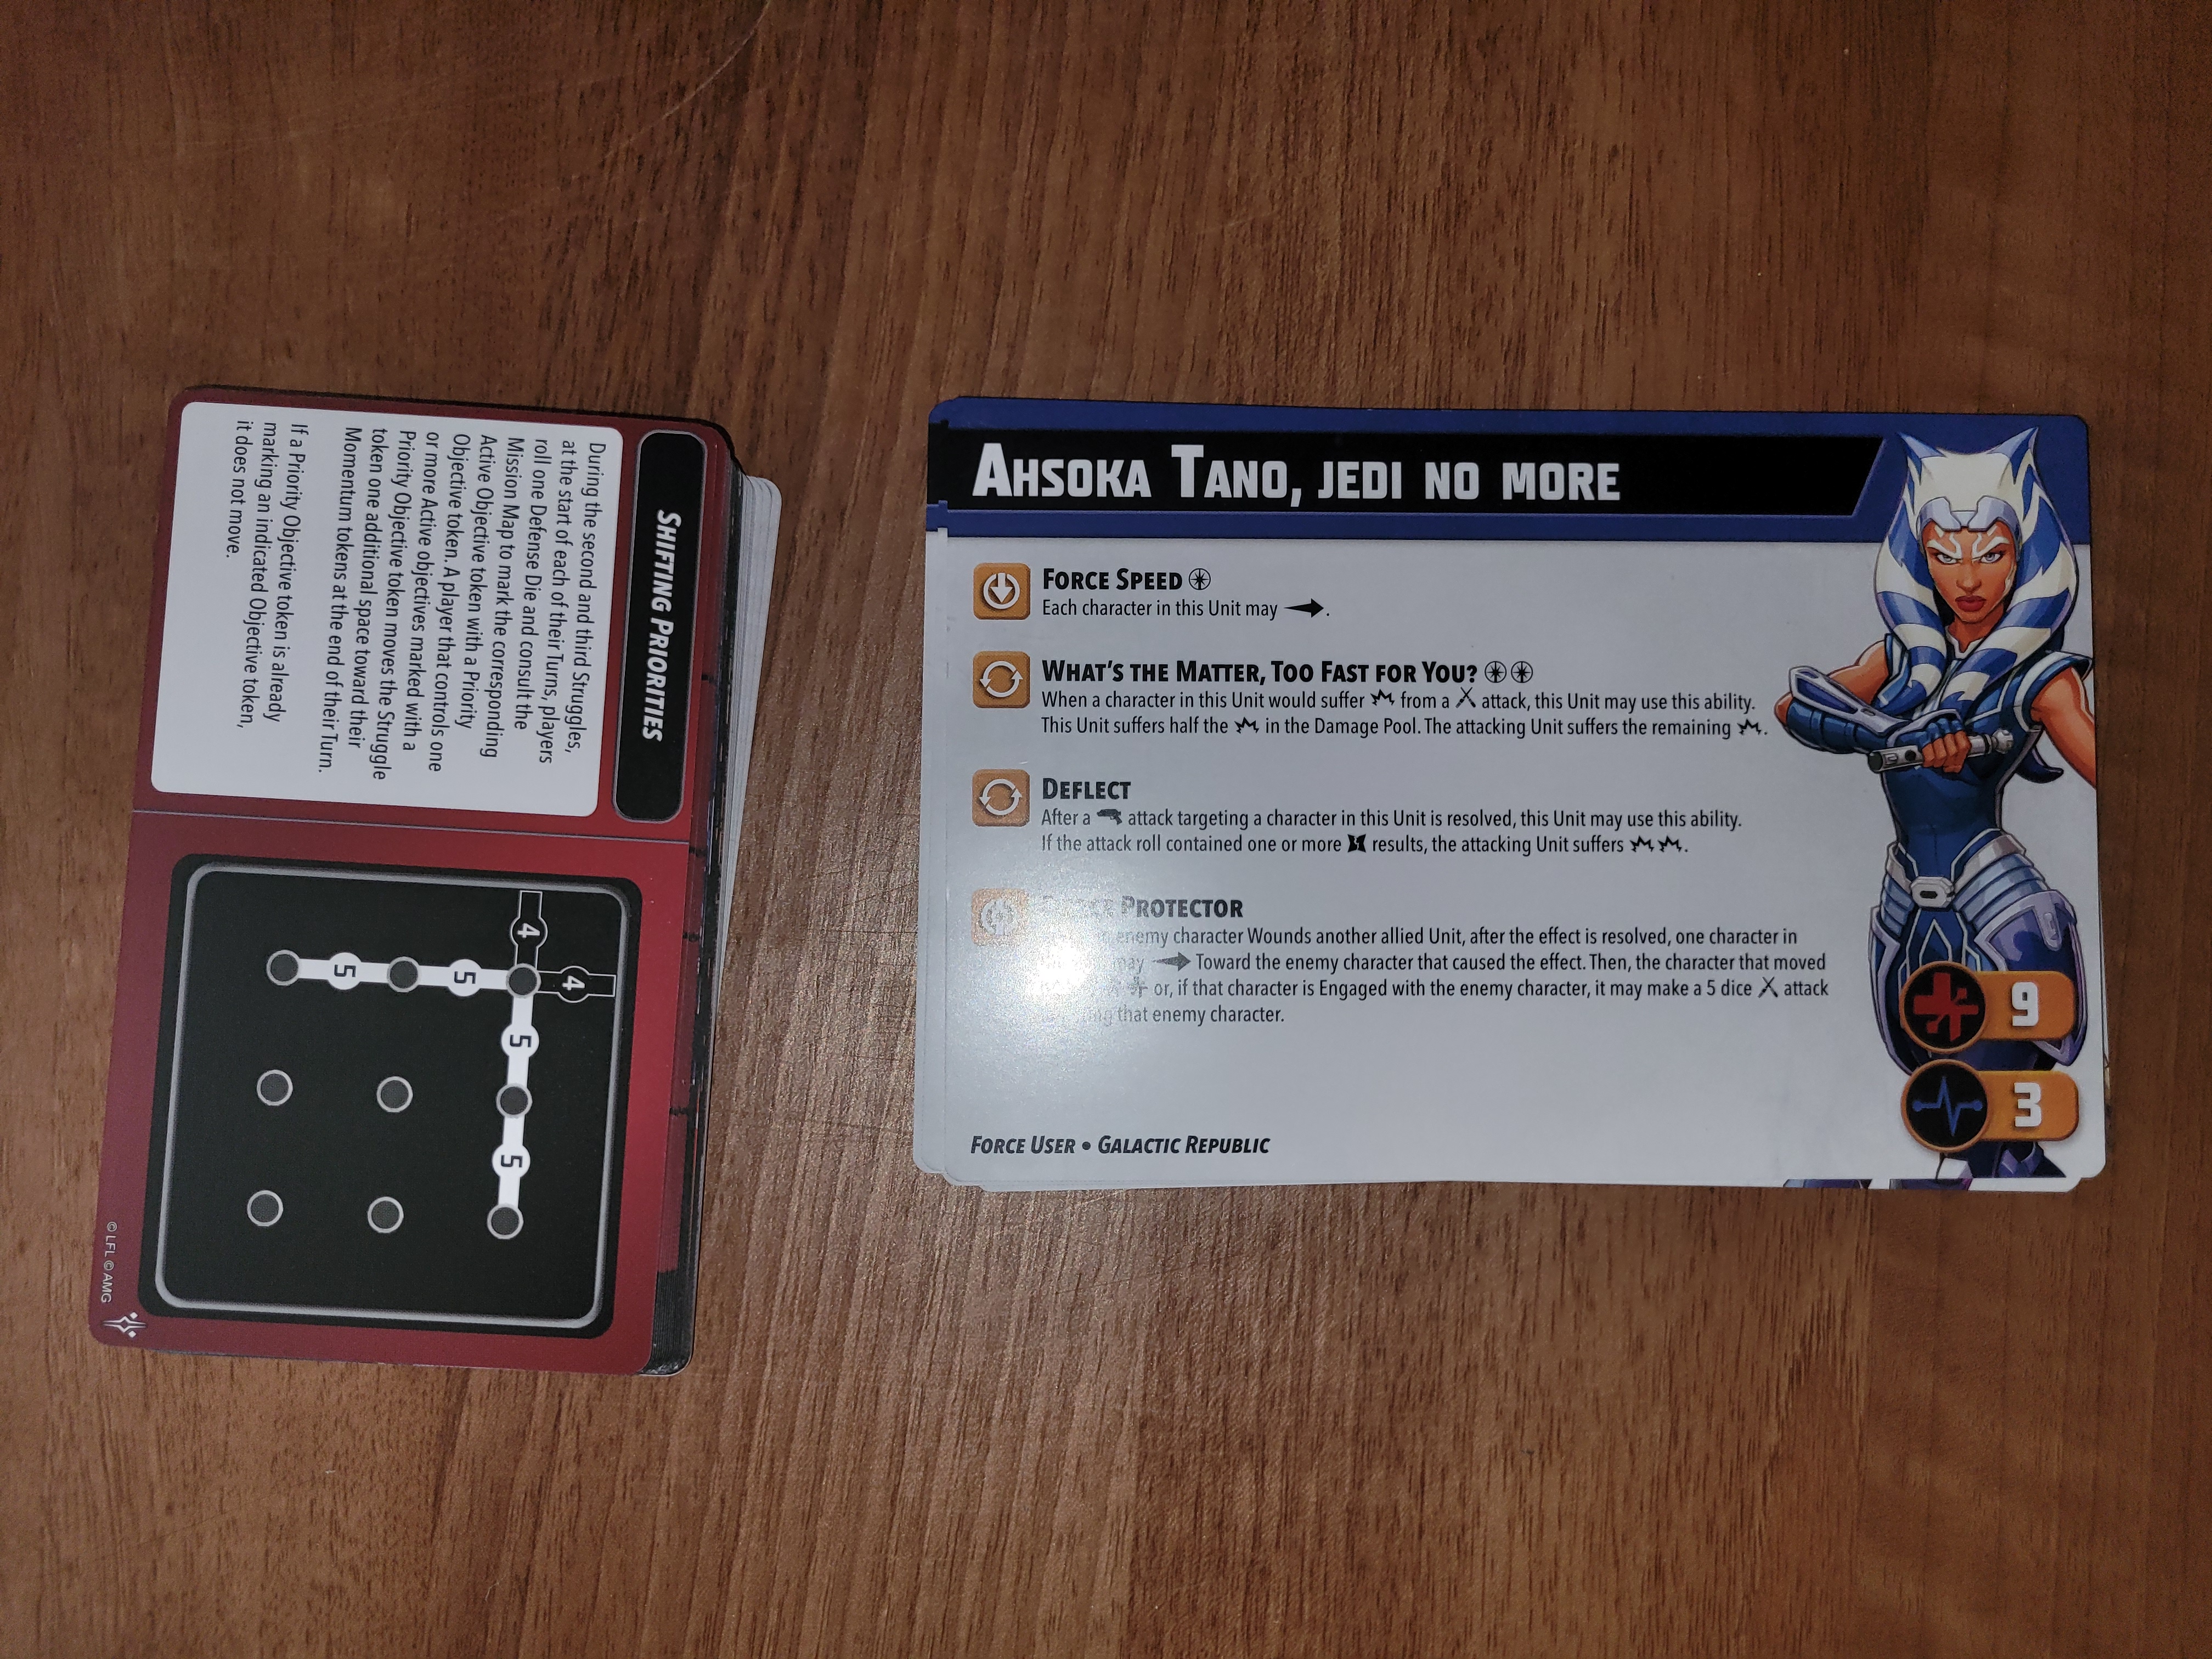
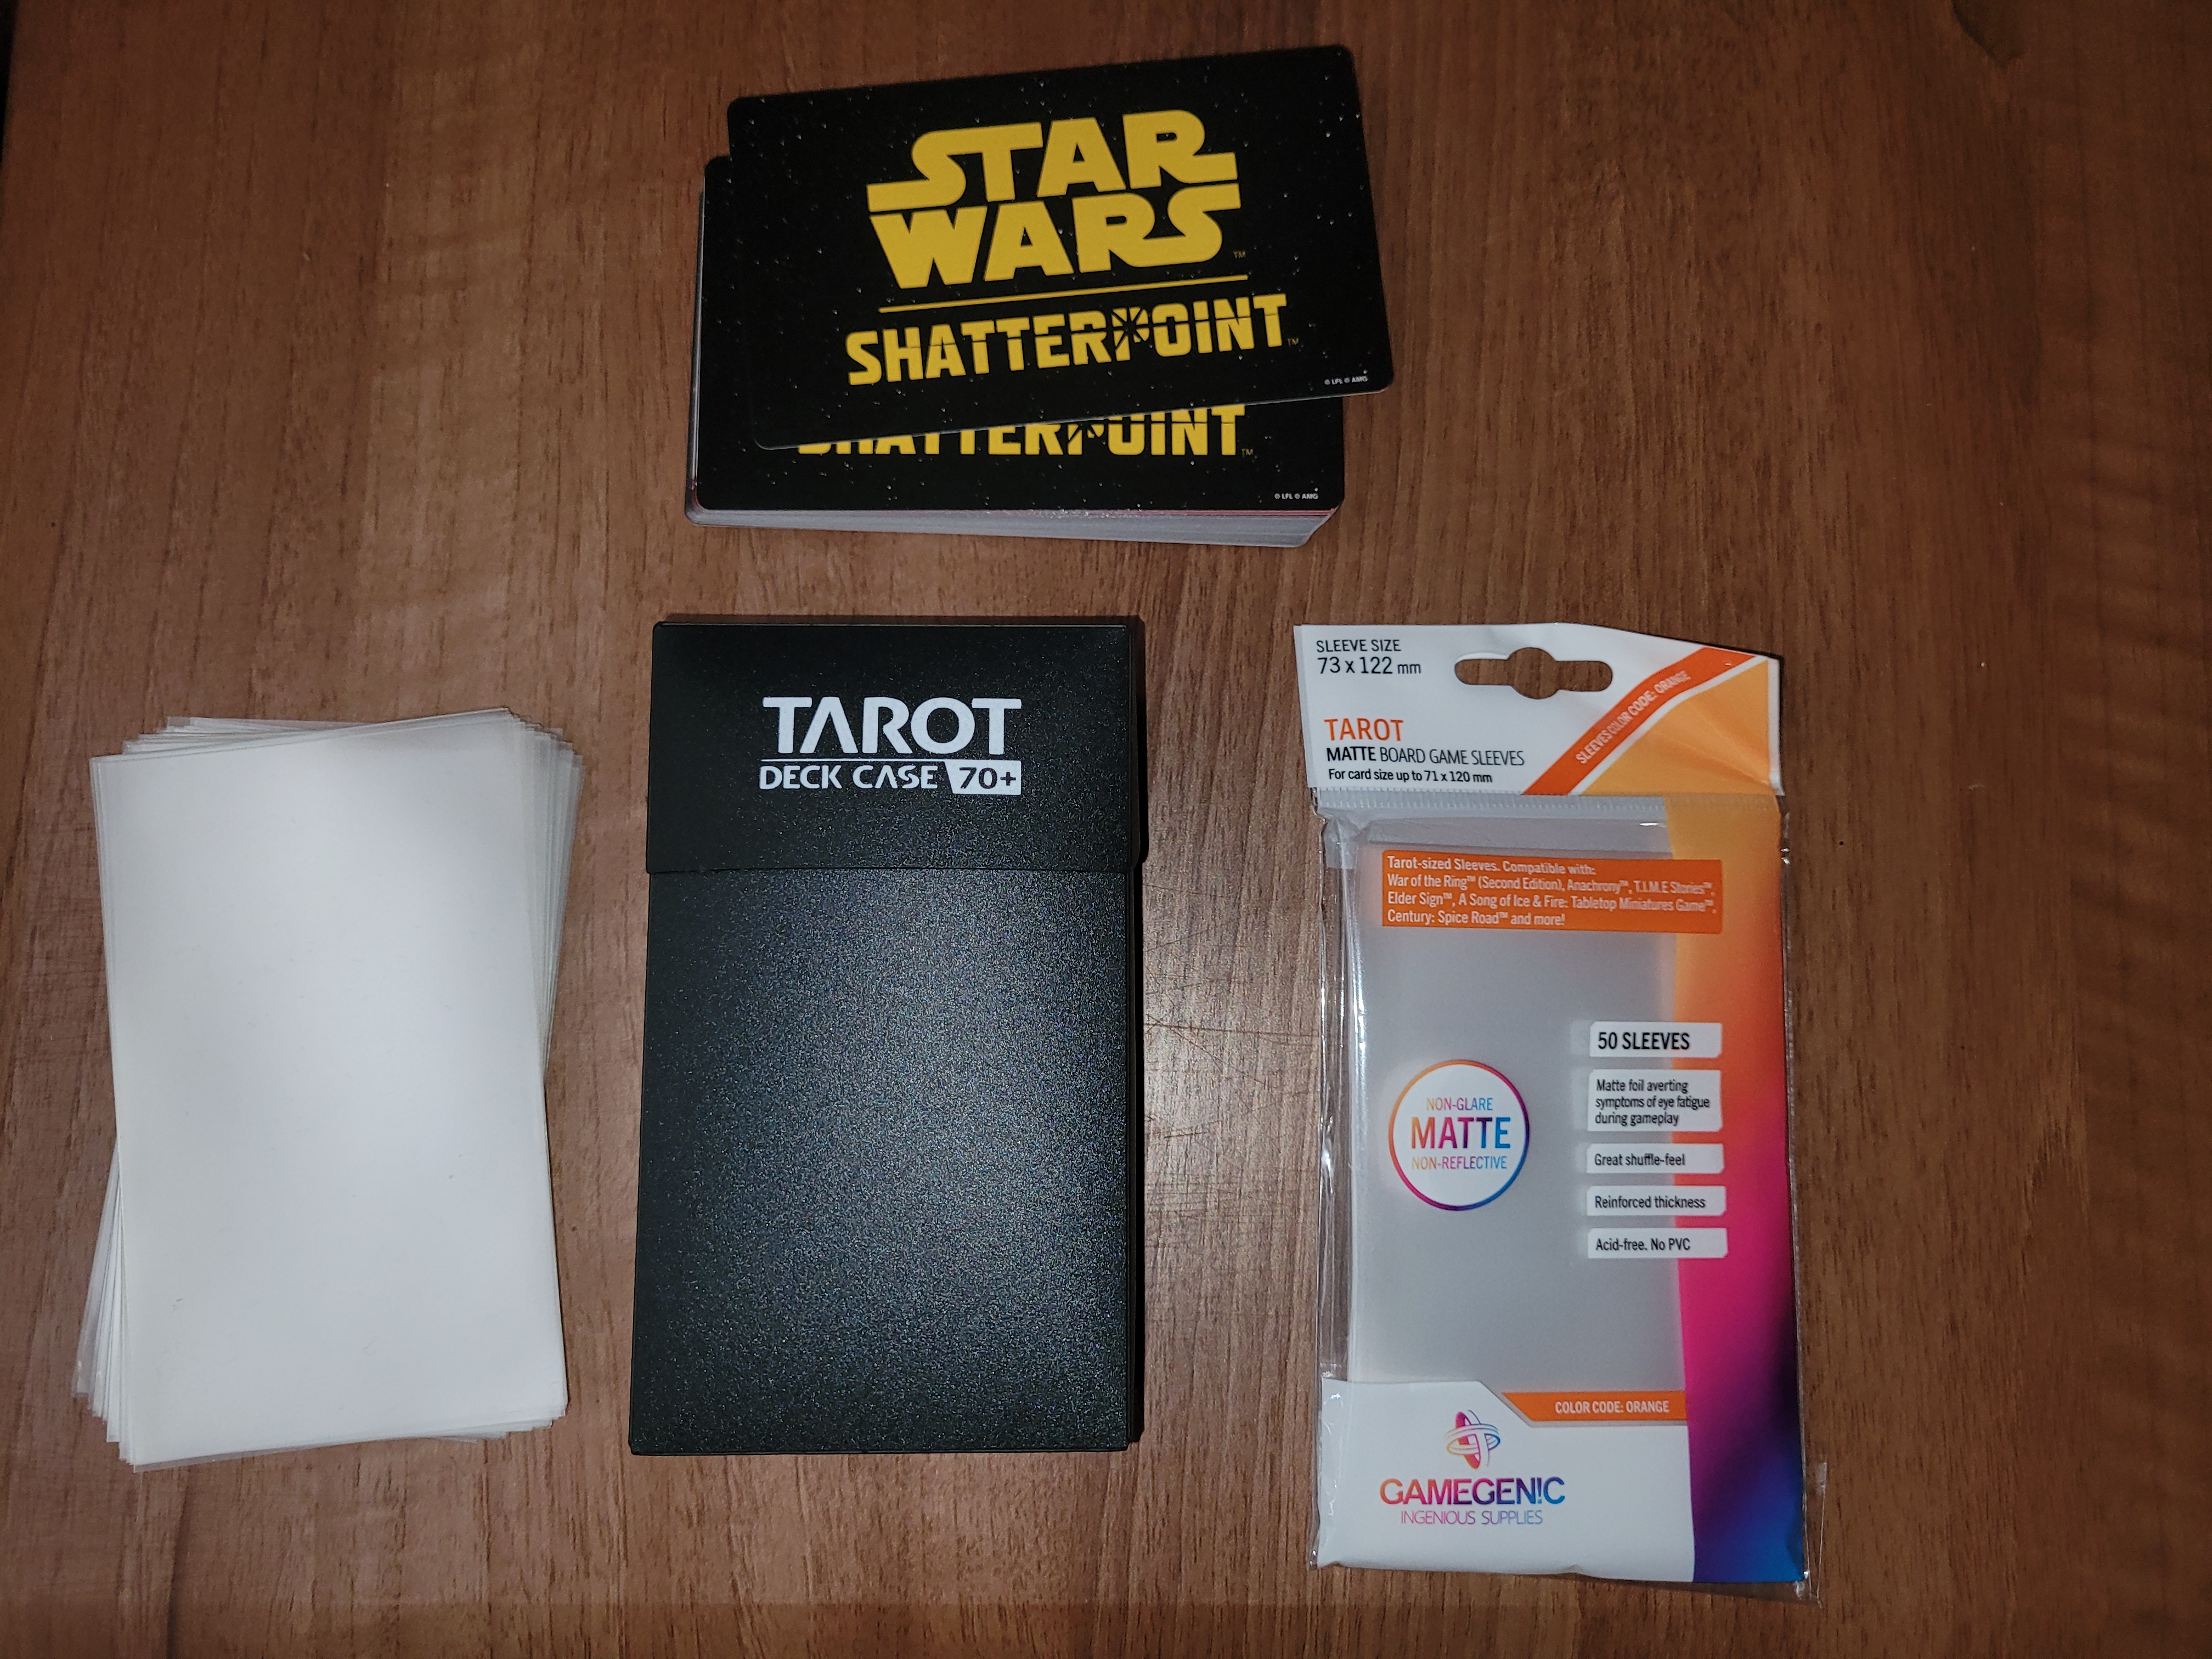
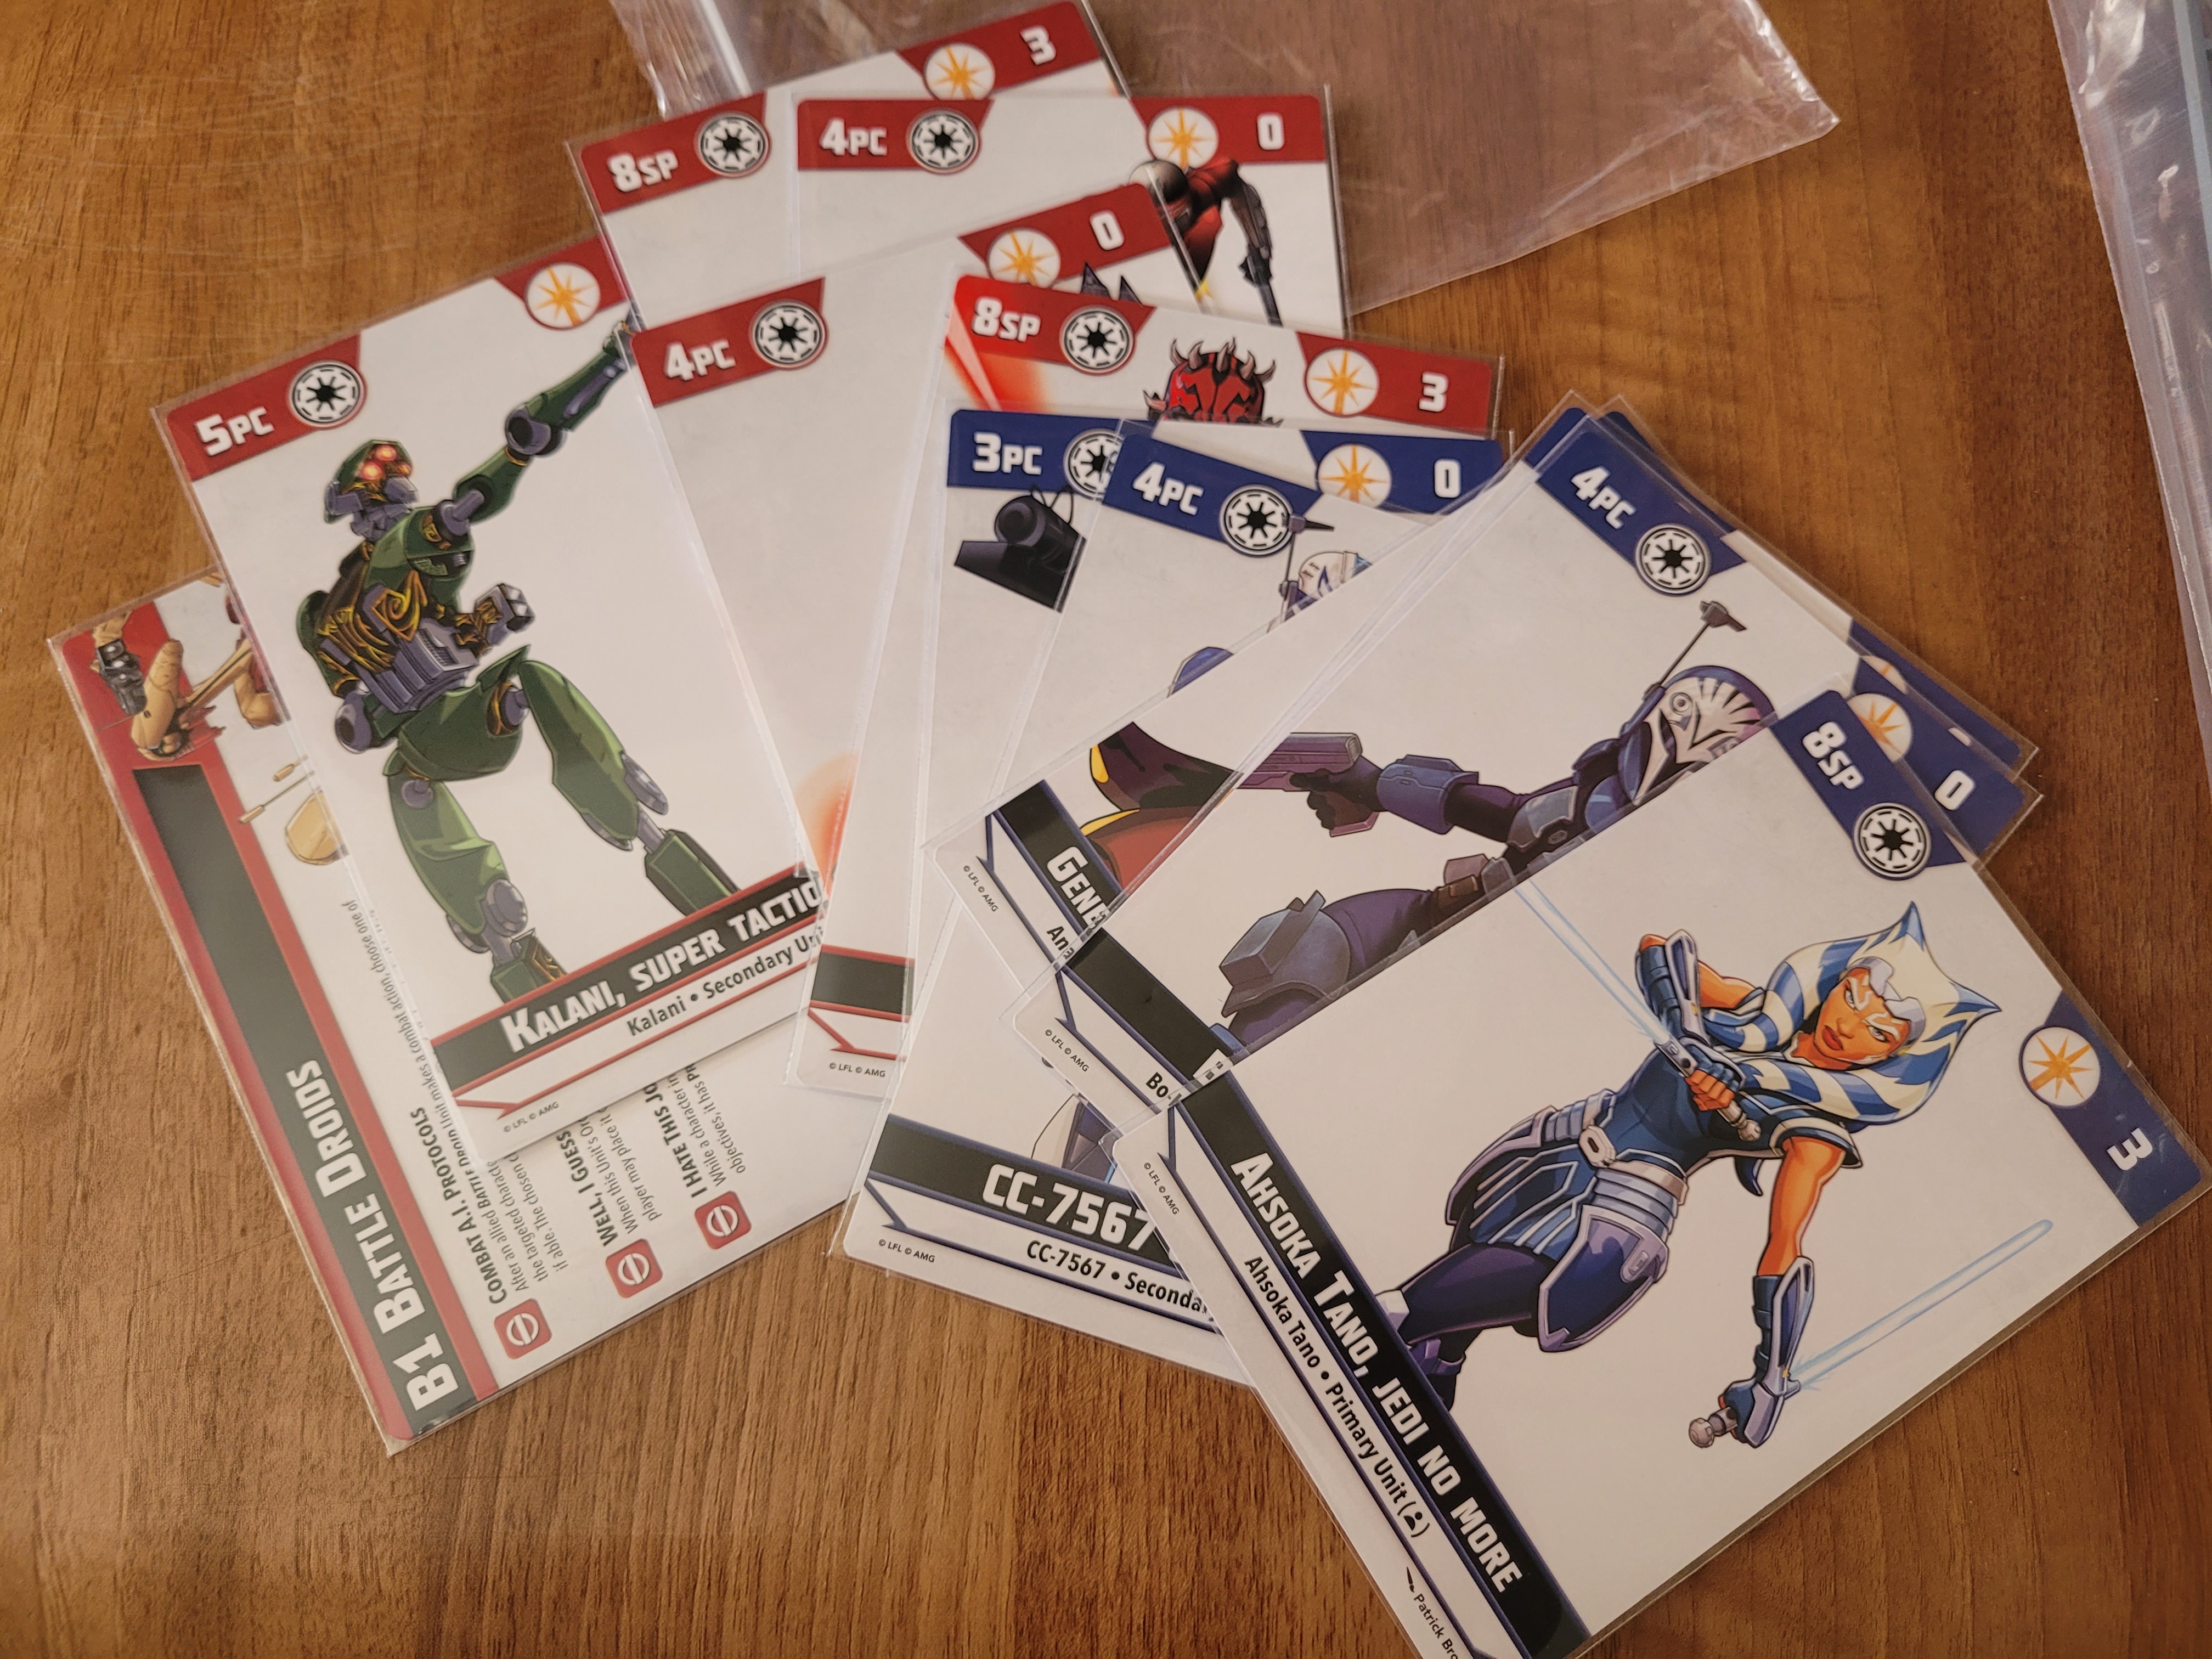
There are vast numbers of companies that make sleeves with different thicknesses, backgrounds, etc. For me, my favourite is Gamegenic matte sleeves, that add some thickness to the plastic and have a great feel to them for shuffling. They do tarot sized sleeves, and you’ll only need one pack to sleeve all the tarot cards in this core box. For the 6×4 cards, there are a lot less options and for this I’ve had to go with a non-matte version. Ultra Pro do these and there are some sellers in the UK on eBay that sell them for other Atomic Mass board games. This is not essential, but with such incredible artwork and the combat trees probably getting a lot of use, I’ve decided to sleeve them all. I also had a handy card box for the tarot cards, so they went straight in there for safekeeping. The 6×4 cards have been sleeved and placed back into the plastic bag.
4. Miniatures
Once all that has been sorted, we finally get round to the miniatures themselves! The plastic can be split into three different sections: the character miniatures, the terrain, and the tools for the game.
Once you’ve split the plastic sprues (a sprue is the plastic framework that holds the miniatures and you must cut it away from the models themselves) into these three piles, it’s the assembly of the miniatures first.
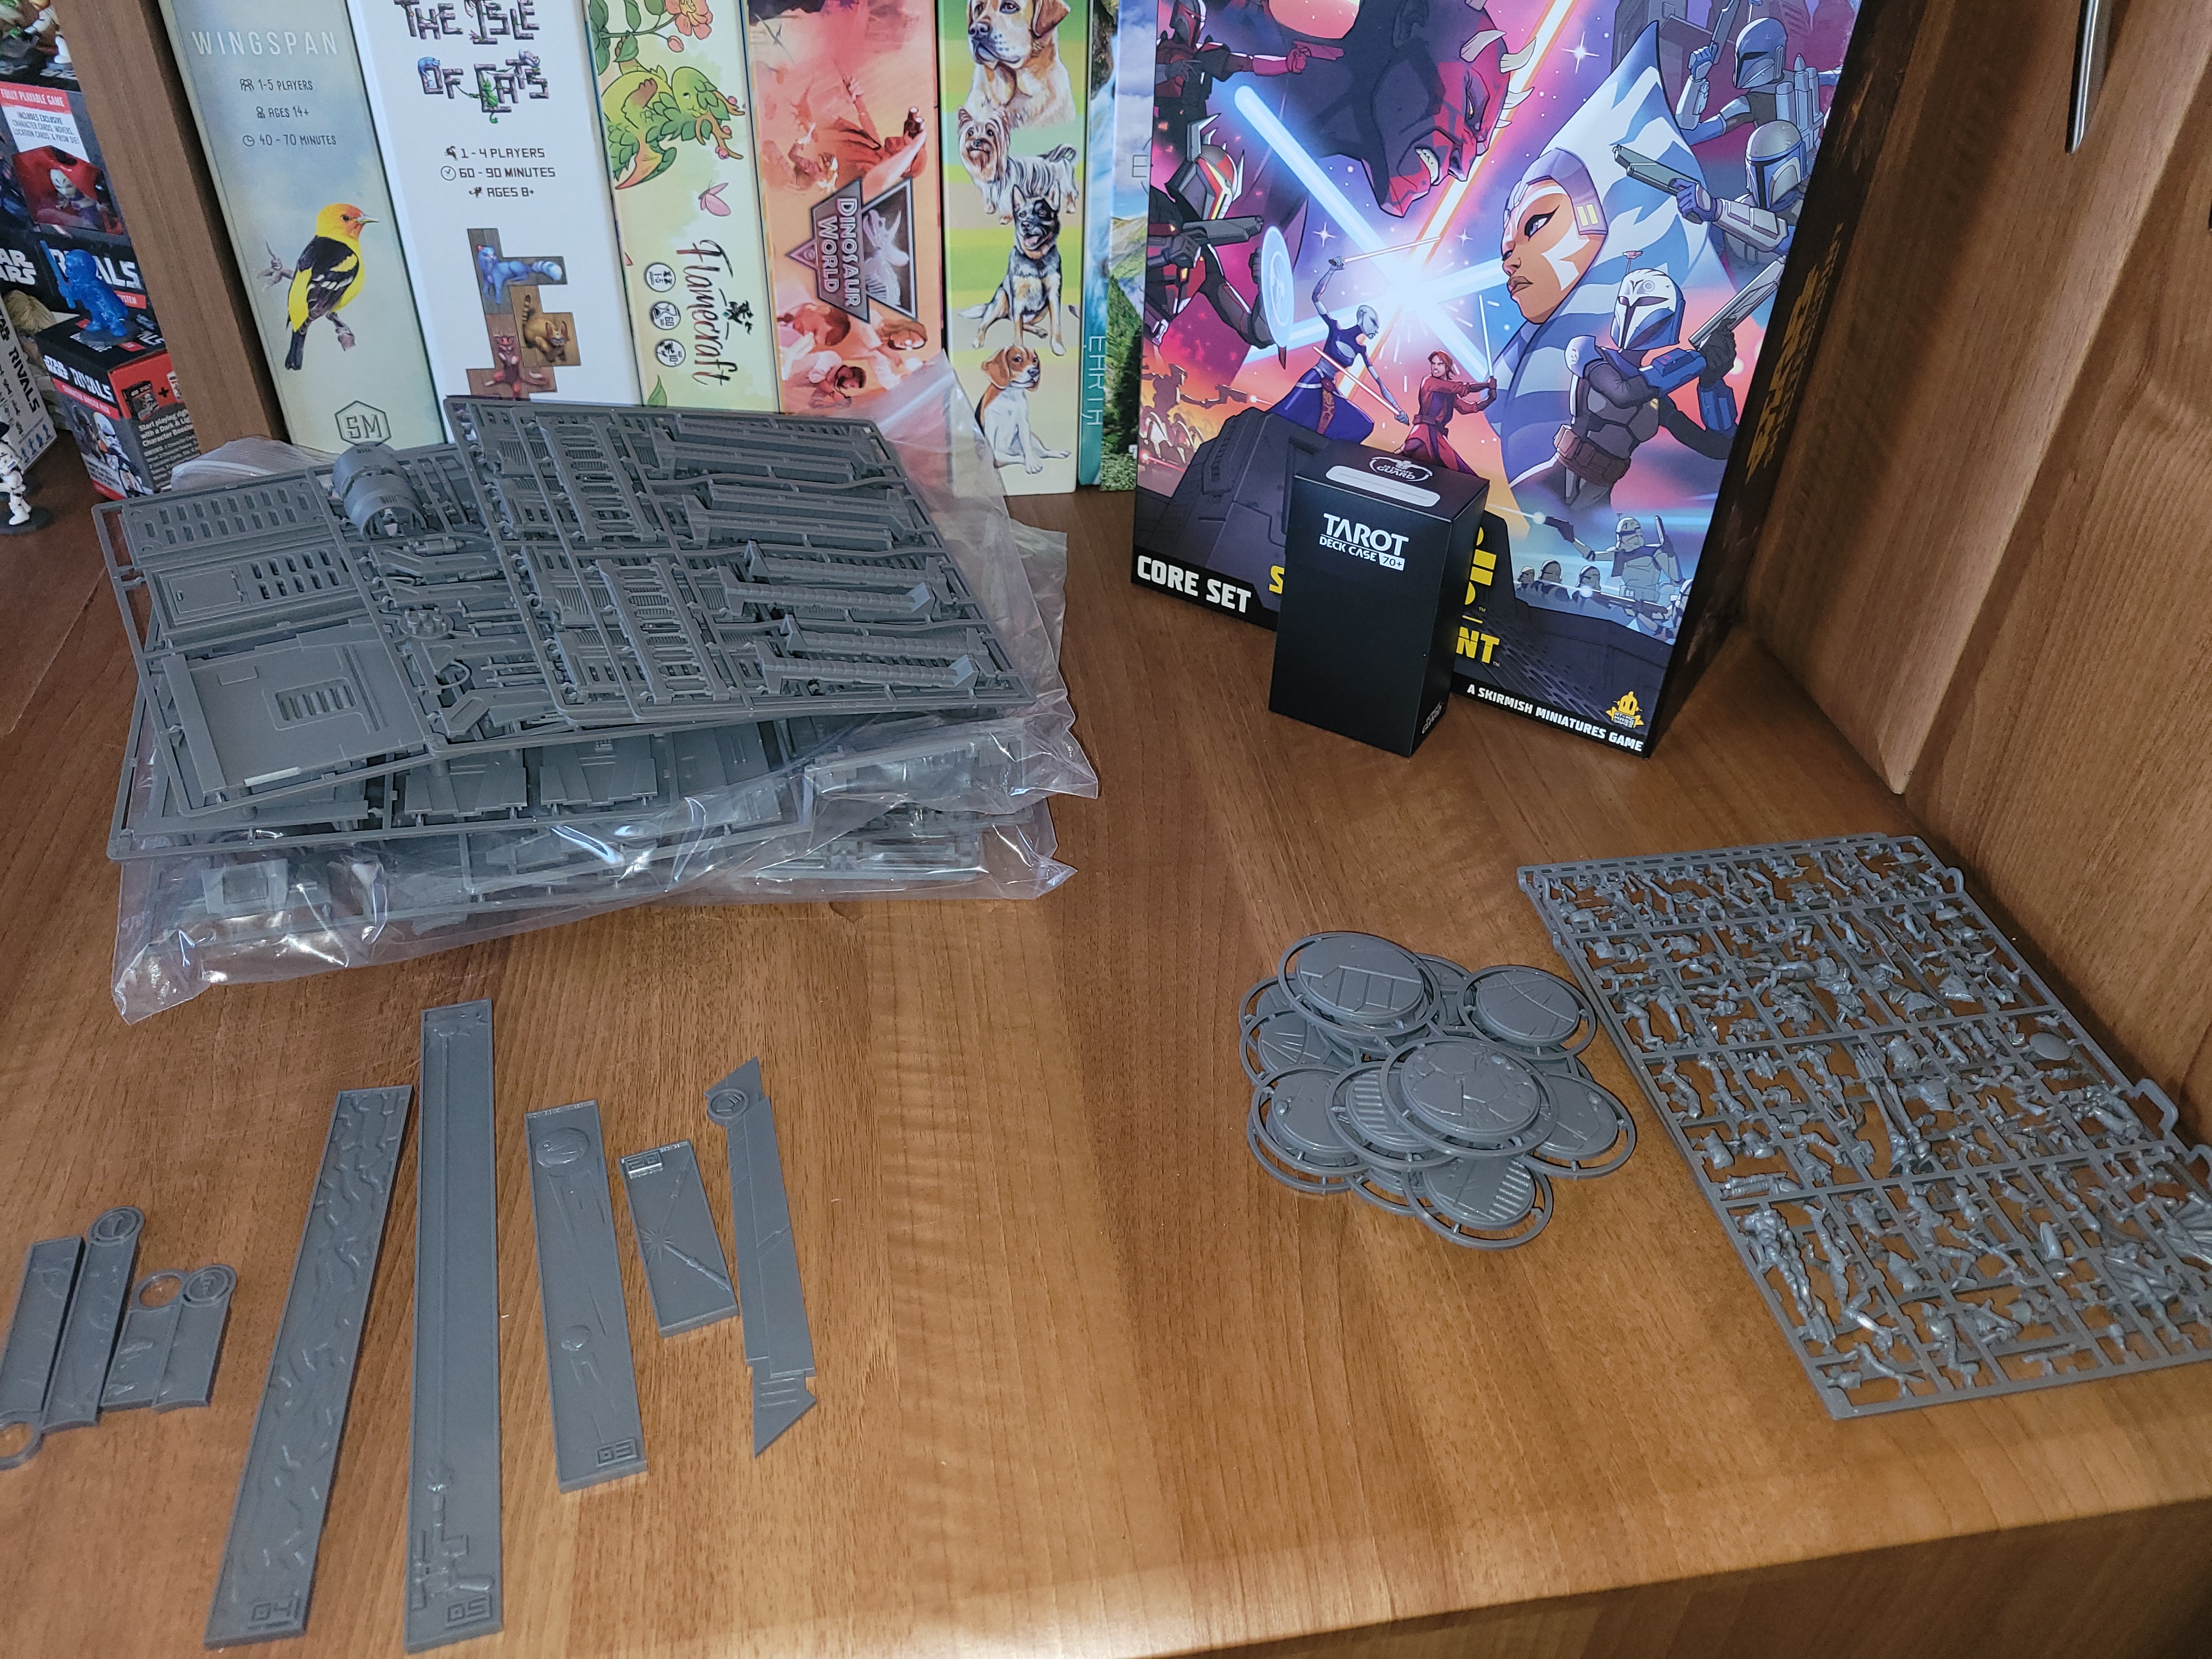
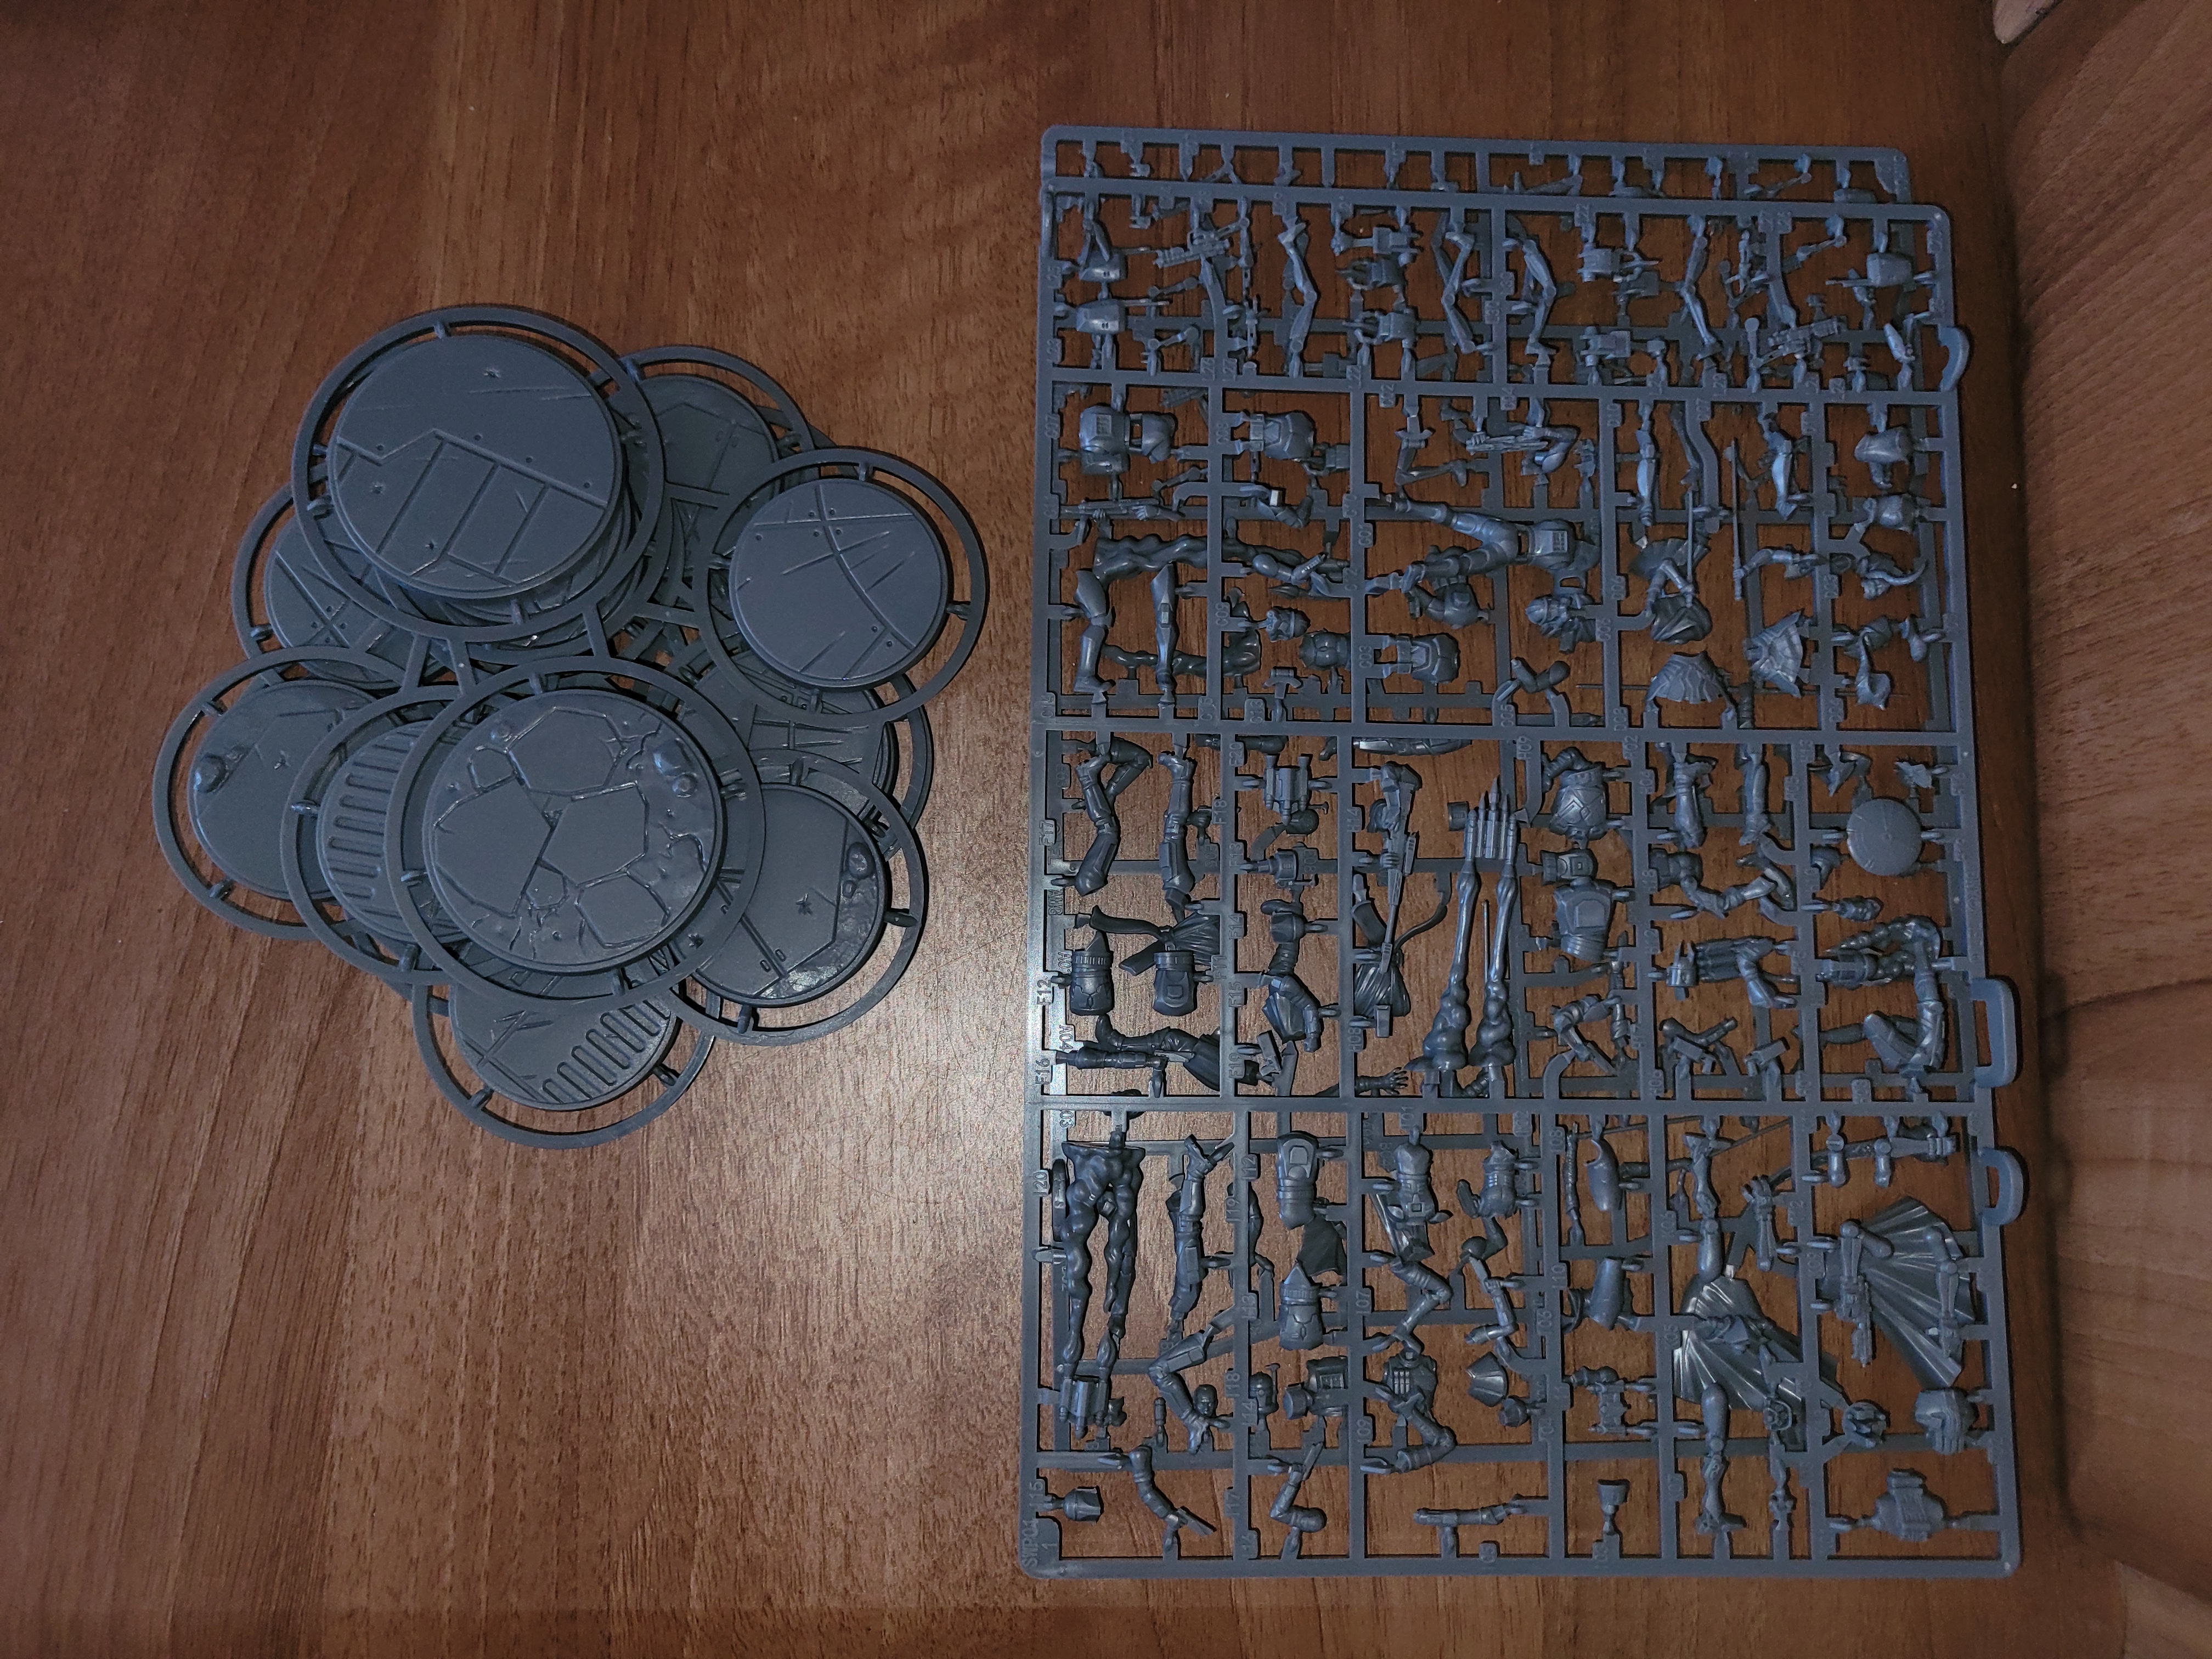
In Marvel: Crisis Protocol, Atomic Mass Games introduced digital assembly instructions online as opposed to paper ones in the box. This has been partly successful and in a core set like this, it makes such a difference to the amount of paper that is used. I appreciate a company that thinks about the environmental impact of their products. It also means that if mistakes are found in the instructions, they can be corrected quickly and easily online. Now, I say partly successful, as the expansions for their Marvel game at the moment have a big piece of paper with a QR code, telling you where to find the instructions, not really reducing the paper used. Hopefully we will see that change with Shatterpoint so the code is either on the box or there’s an assumption fans will know where to go. In case you’re not sure, here is the link you need. And you will absolutely need this link, so save it somewhere!
The 4 essential things you will need for this part are: clippers, a hobby knife, glue, and a file(s). Clippers are fairly easy to find, although I recently received a precision pair of Citadel clippers. They are an investment, but they give the best cut I have ever had, allowing me to cut models off the sprue with greater precision. Once you’ve clipped each numbered piece that you need for the step in the instructions, check if there’s any sprue left and use the hobby knife to remove it. You may find that there are mould lines. If there are, use the file gently to remove these as they will become quite prominent when (and if) you paint the model.
Finally, it’s gluing the pieces together. I spoke in my introductory guide which glues to use, and you will find that different types will have different benefits. The one thing to remember is to keep any type of plastic glue away from your fingers. Unlike super glue, it doesn’t really do you any physical harm, but if, when you’re pushing pieces together, some gets on your fingers and you then touch the model, you can damage the details. Plastic glue works by creating a chemical reaction with the two pieces of plastic. Therefore, any on your finger will cause an almost melting effect on pieces of plastic it touches. It sounds scarier than it is, and most plastic glue is very easy to use once you’ve tried it a few times. Also, for pieces that are a tight fit and you have to hold together, you’ll want to keep the pressure on them for a good few minutes before removing your fingers to make sure the plastic has set completely.
Another thing to remember is that different characters will have different posing options, which will impact what pieces are glued together. Do you want your character’s face visible or wearing a helmet? Are they wielding a blaster or a shield? Make sure you carefully think about these poses before clipping pieces and adding glue. It may sound obvious, but it’s been known to happen, when someone assembles pieces before going ‘oh but I wanted the other pose.’ Atomic Mass Games has thankfully put these different options in very clear yellow to help indicate which pose is which, and help you decide what each of your miniatures will look like.
 So, what were the issues in assembly that I found? Well, I want to mention the first model in the instructions: Anakin Skywalker. It is the perfect first build for beginners, simple enough to show you the basics before moving onto more complex models. When using the clippers for lightsaber’s, I always cut the sprue connected to the blade before the hilt. By doing this it will be less likely to break.
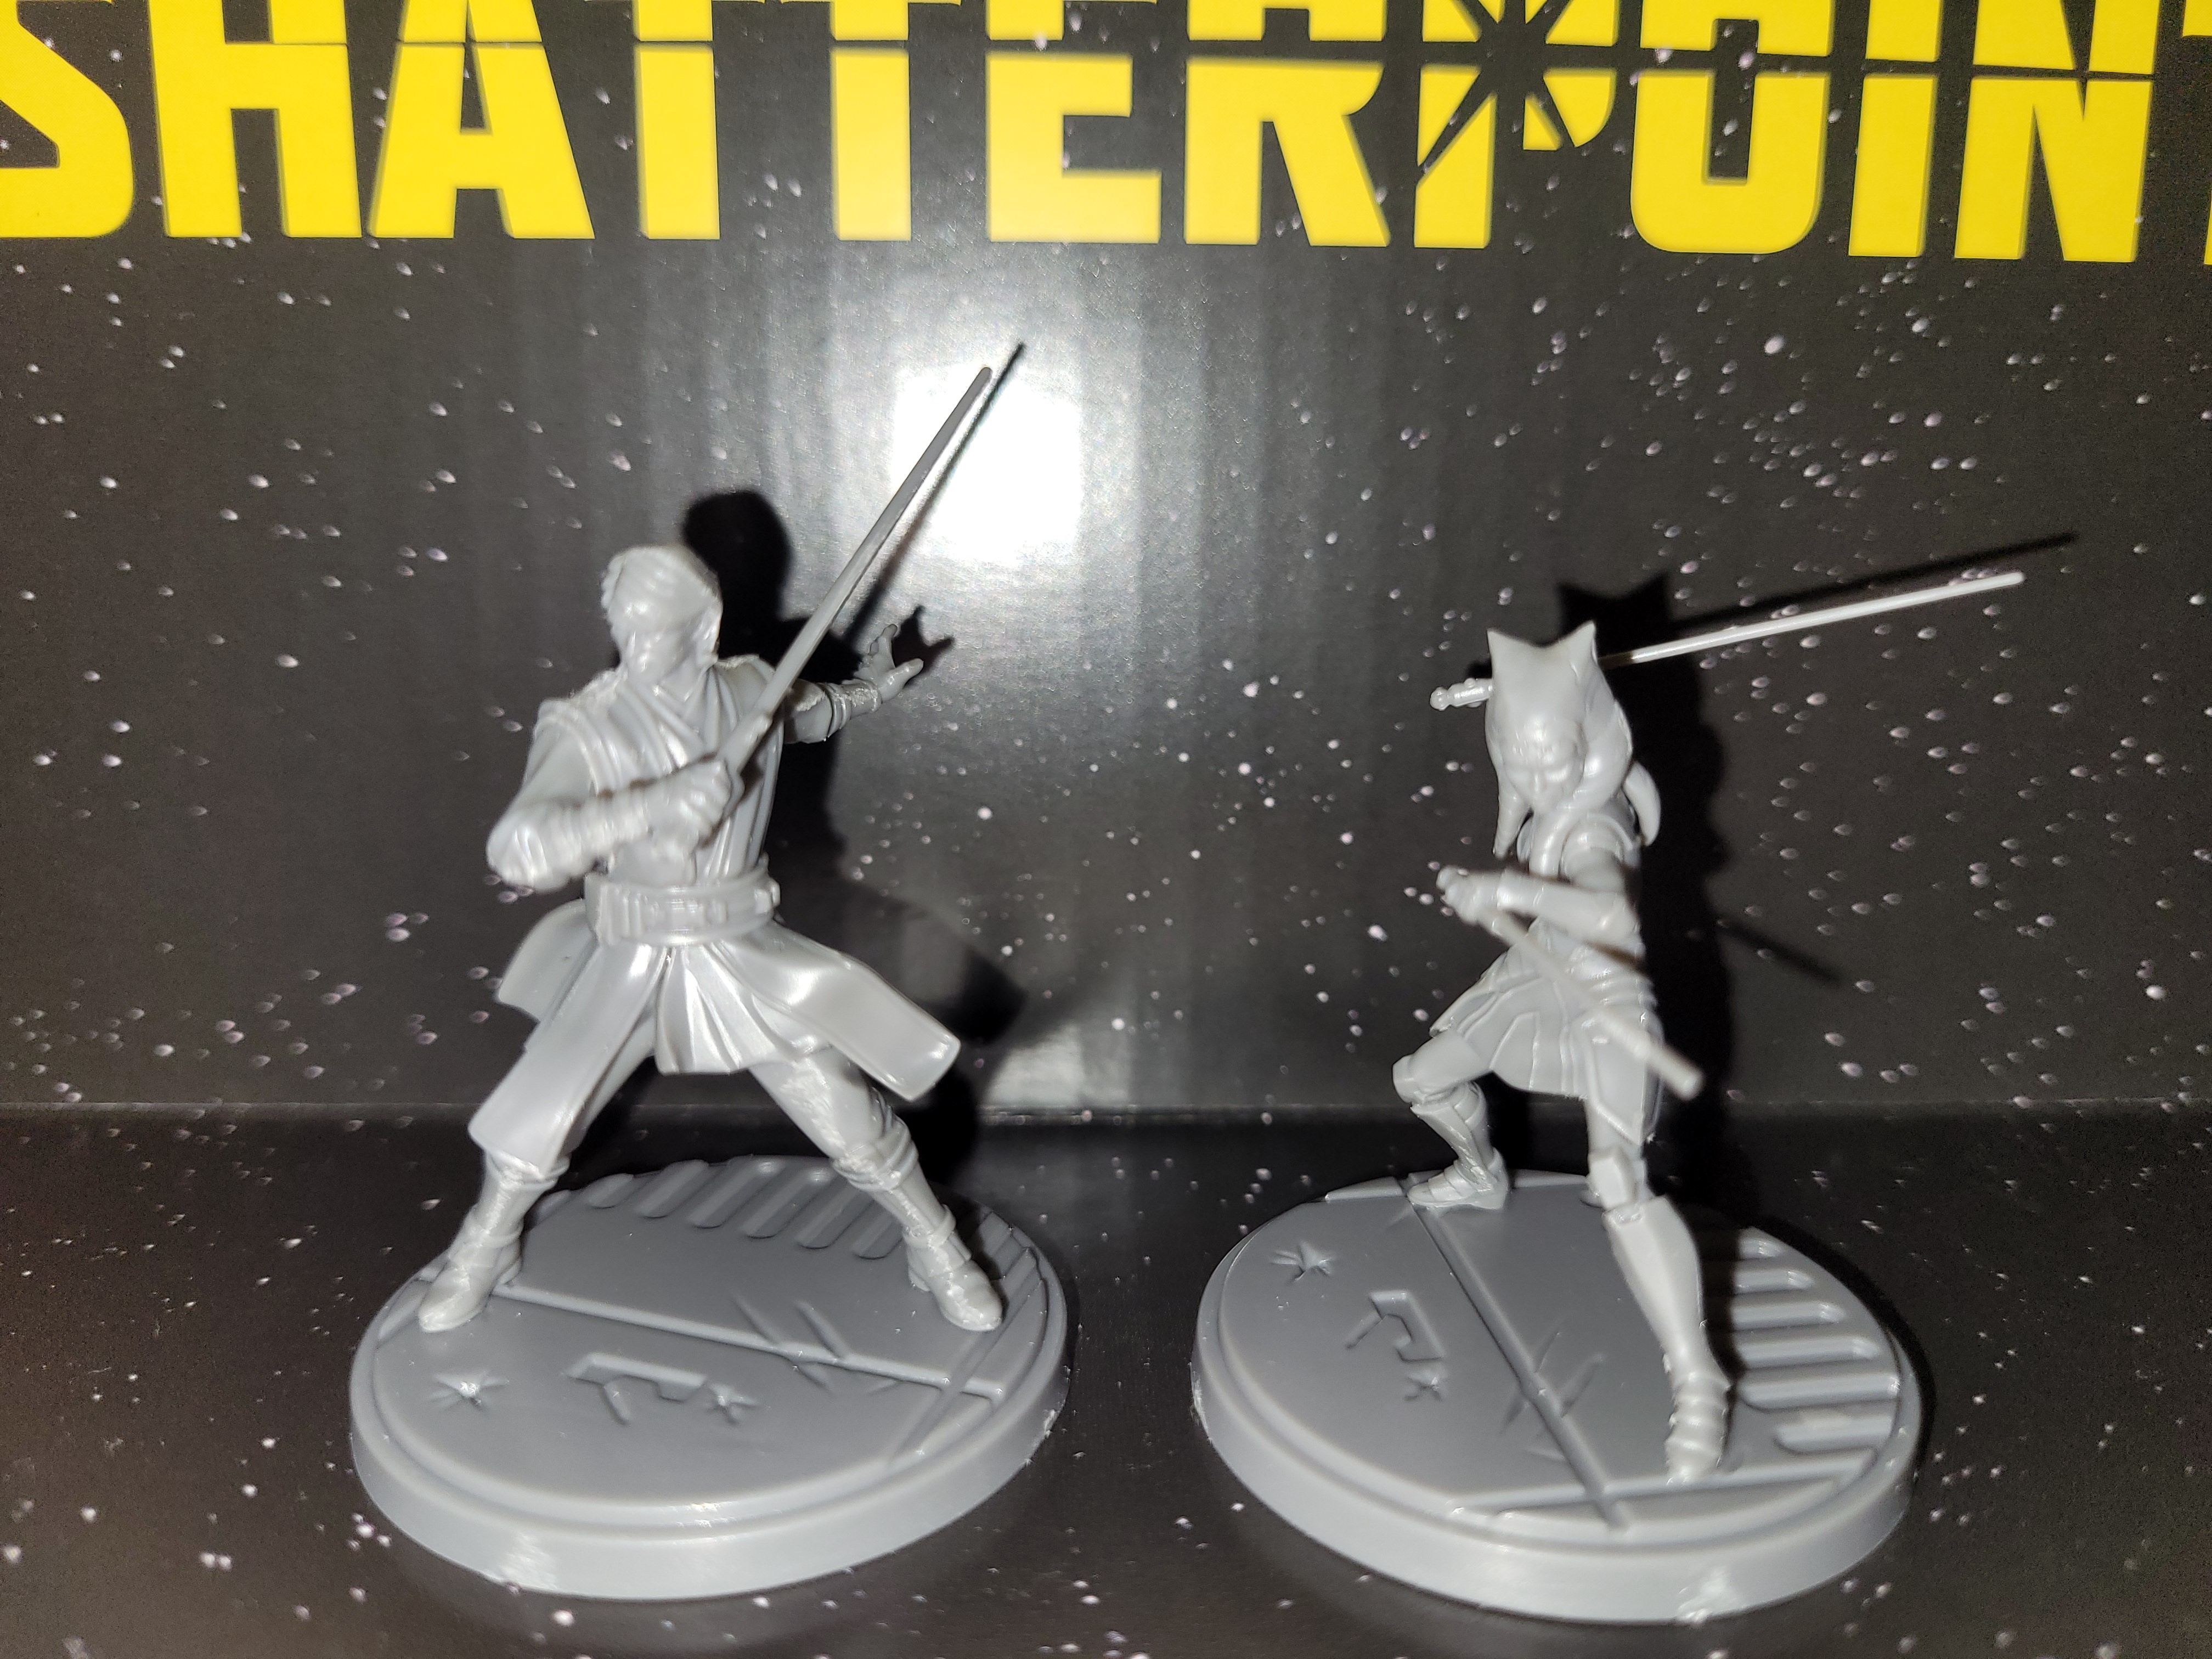
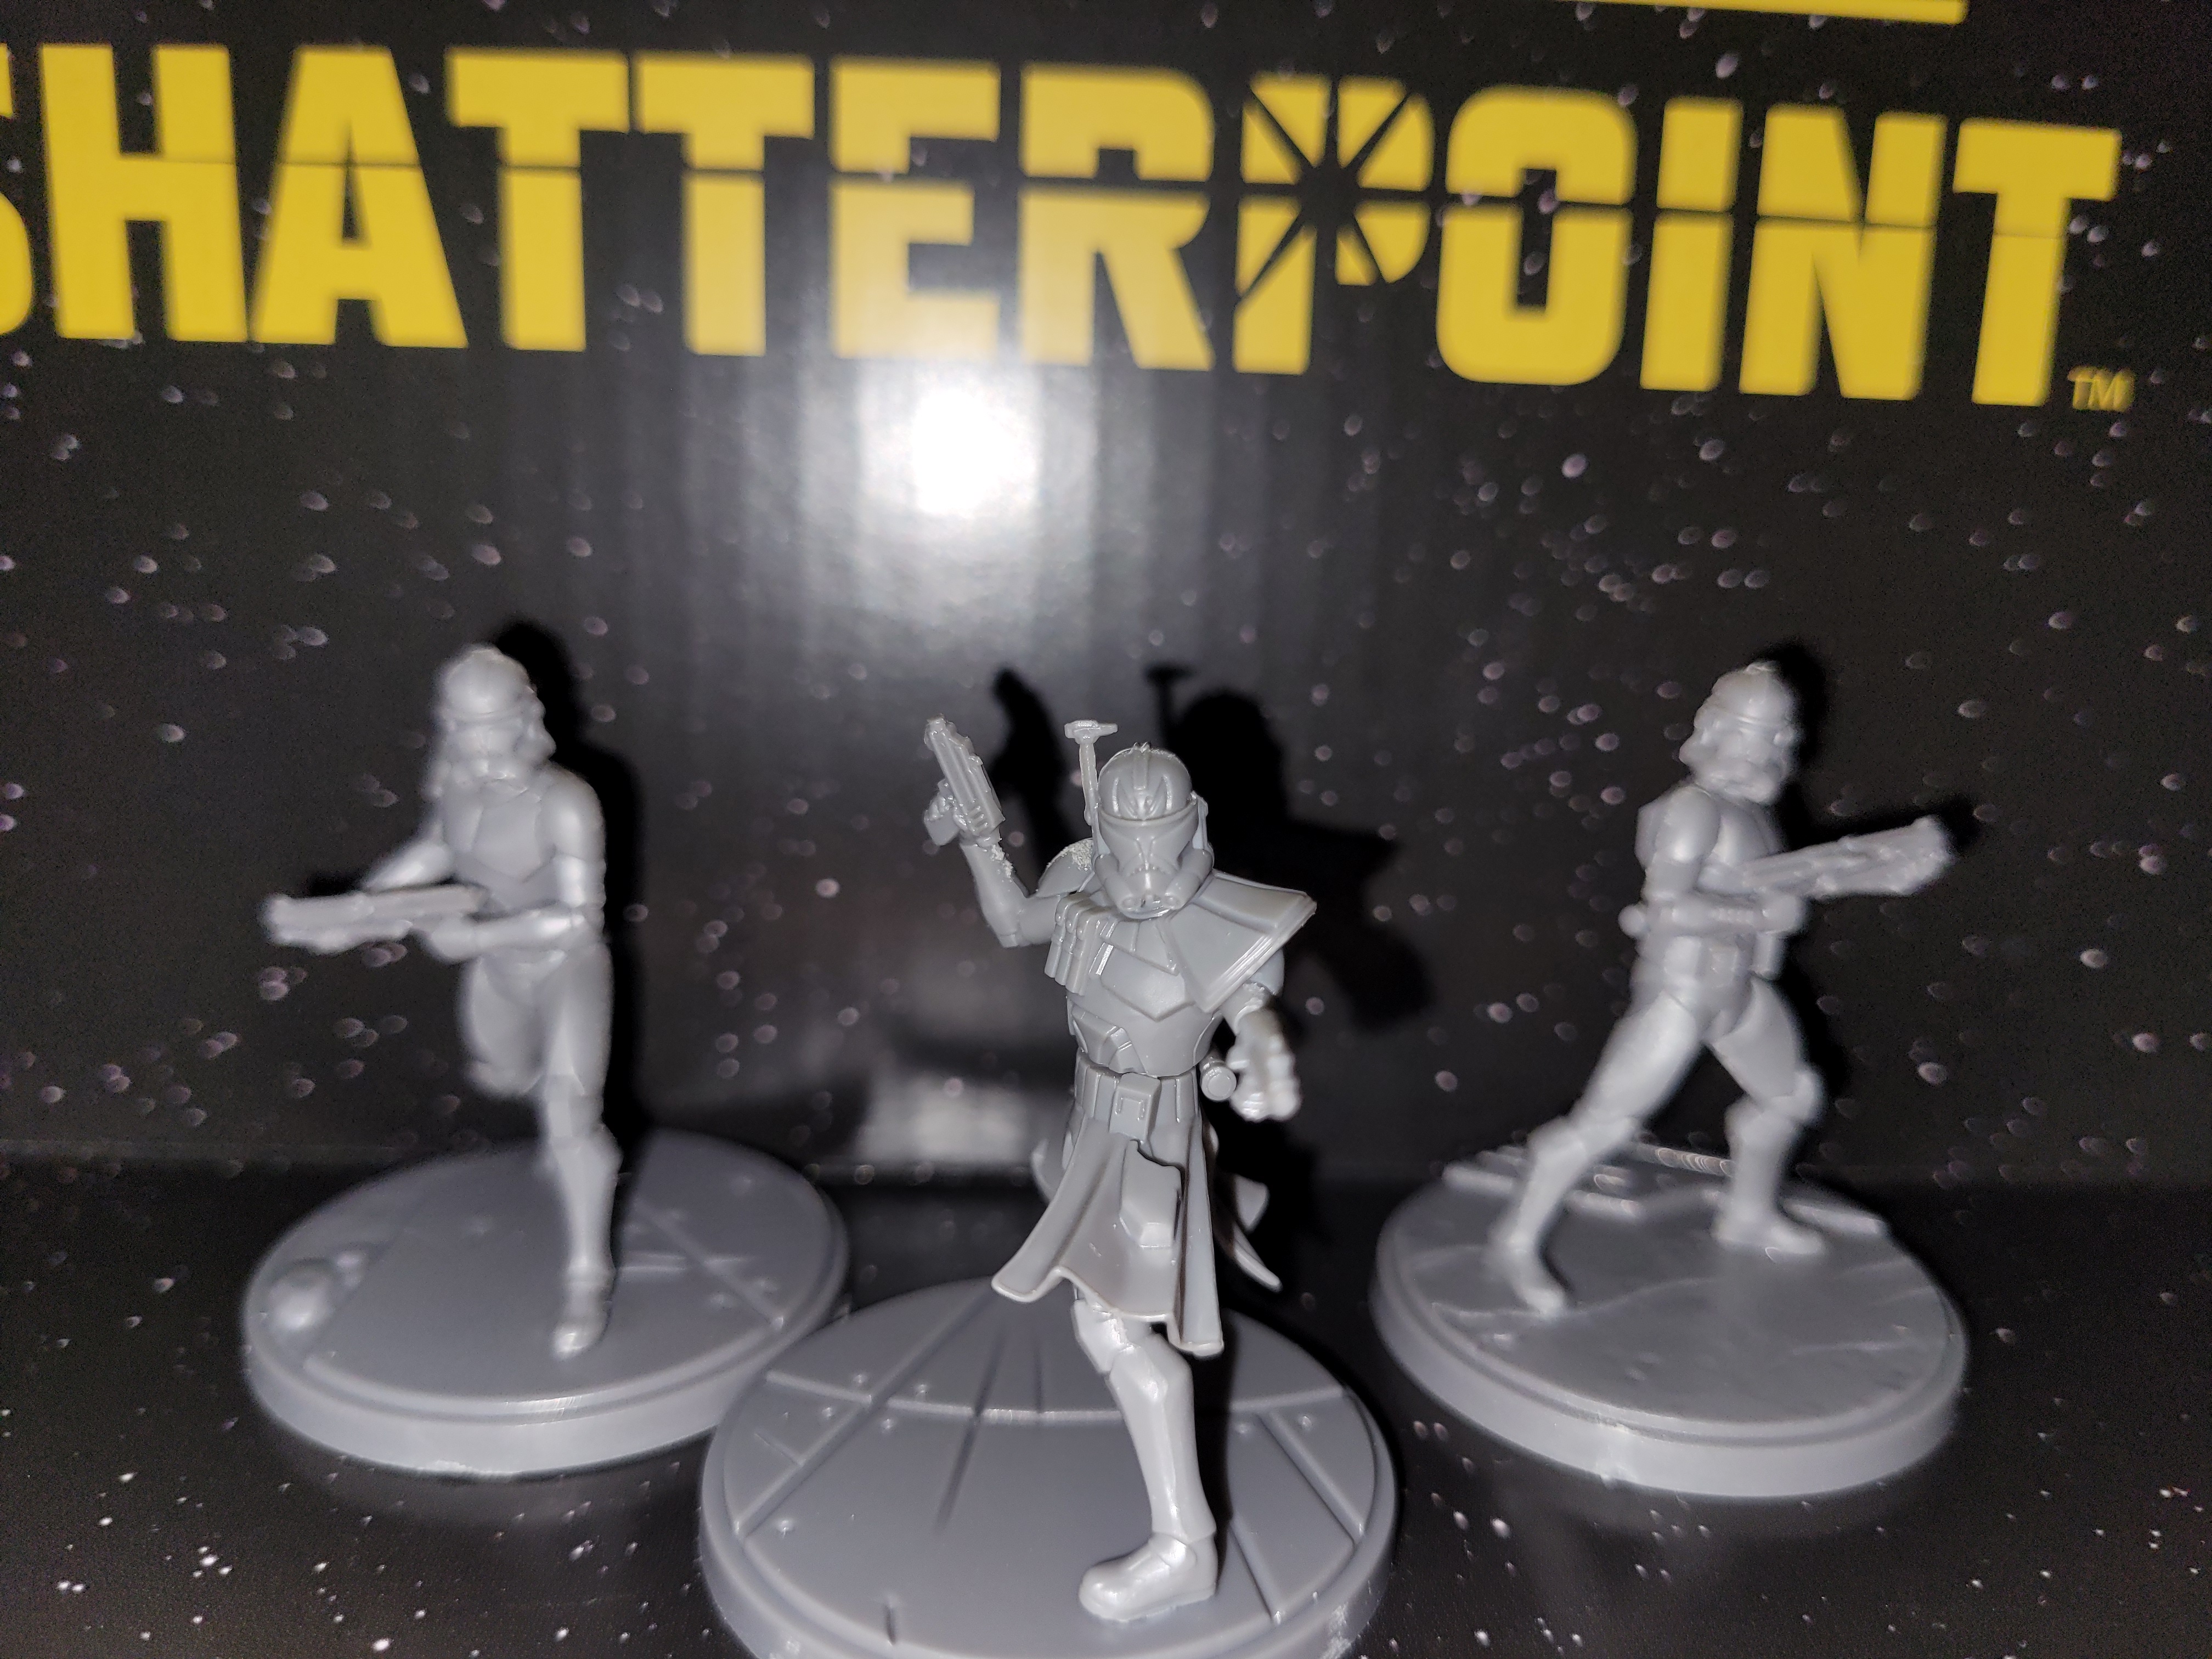
With Captain Rex, make sure you put the left arm in first before the pauldron and finally the head, as you will struggle to fit the pieces in otherwise. And I have to say, that final piece, the canister on his back, is a bit of a nightmare. Trying to line it up while having glue in the join can take some work. There is little disagreement in the hobby community that the models Atomic Mass Games produce are excellent, but my goodness, they can be fiddly.
If you are deciding to construct Gar Saxon with his blaster and shield, to make painting easy, I wouldn’t glue the shield on. It can be placed onto the miniature very easily for spraying and playing but then taken off so you can get to the arm underneath. Once painted, then it can be glued on.
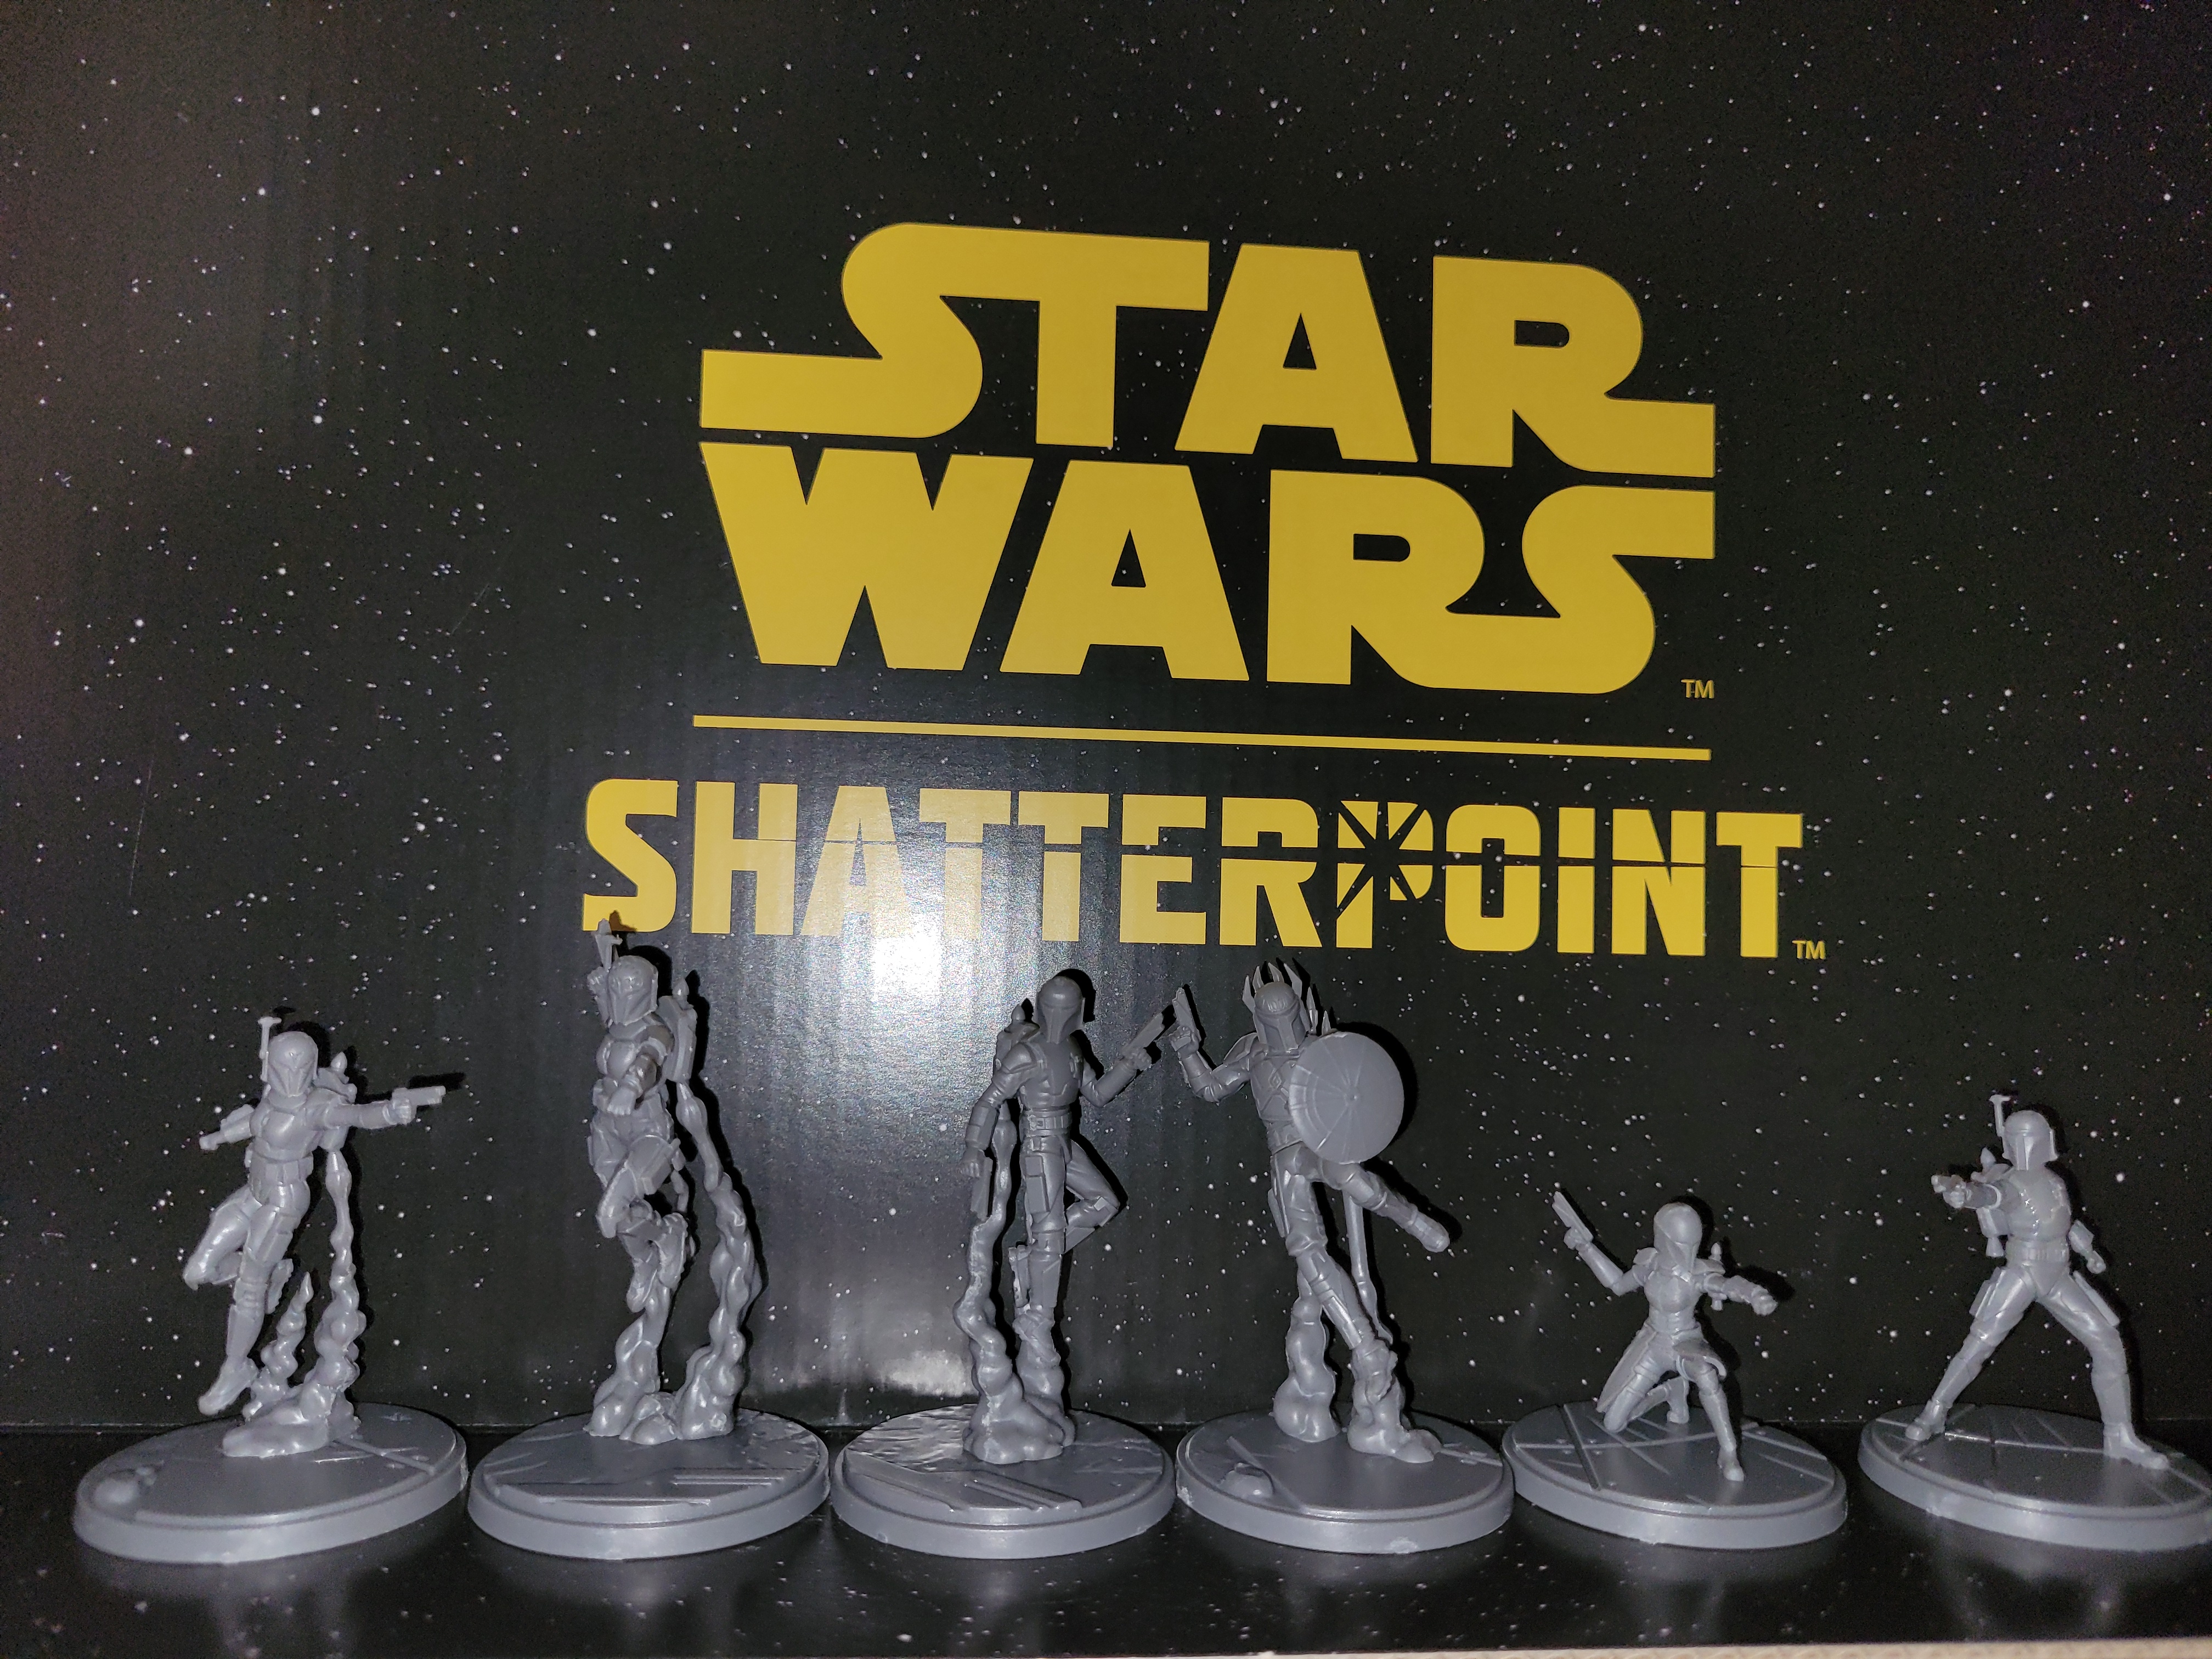
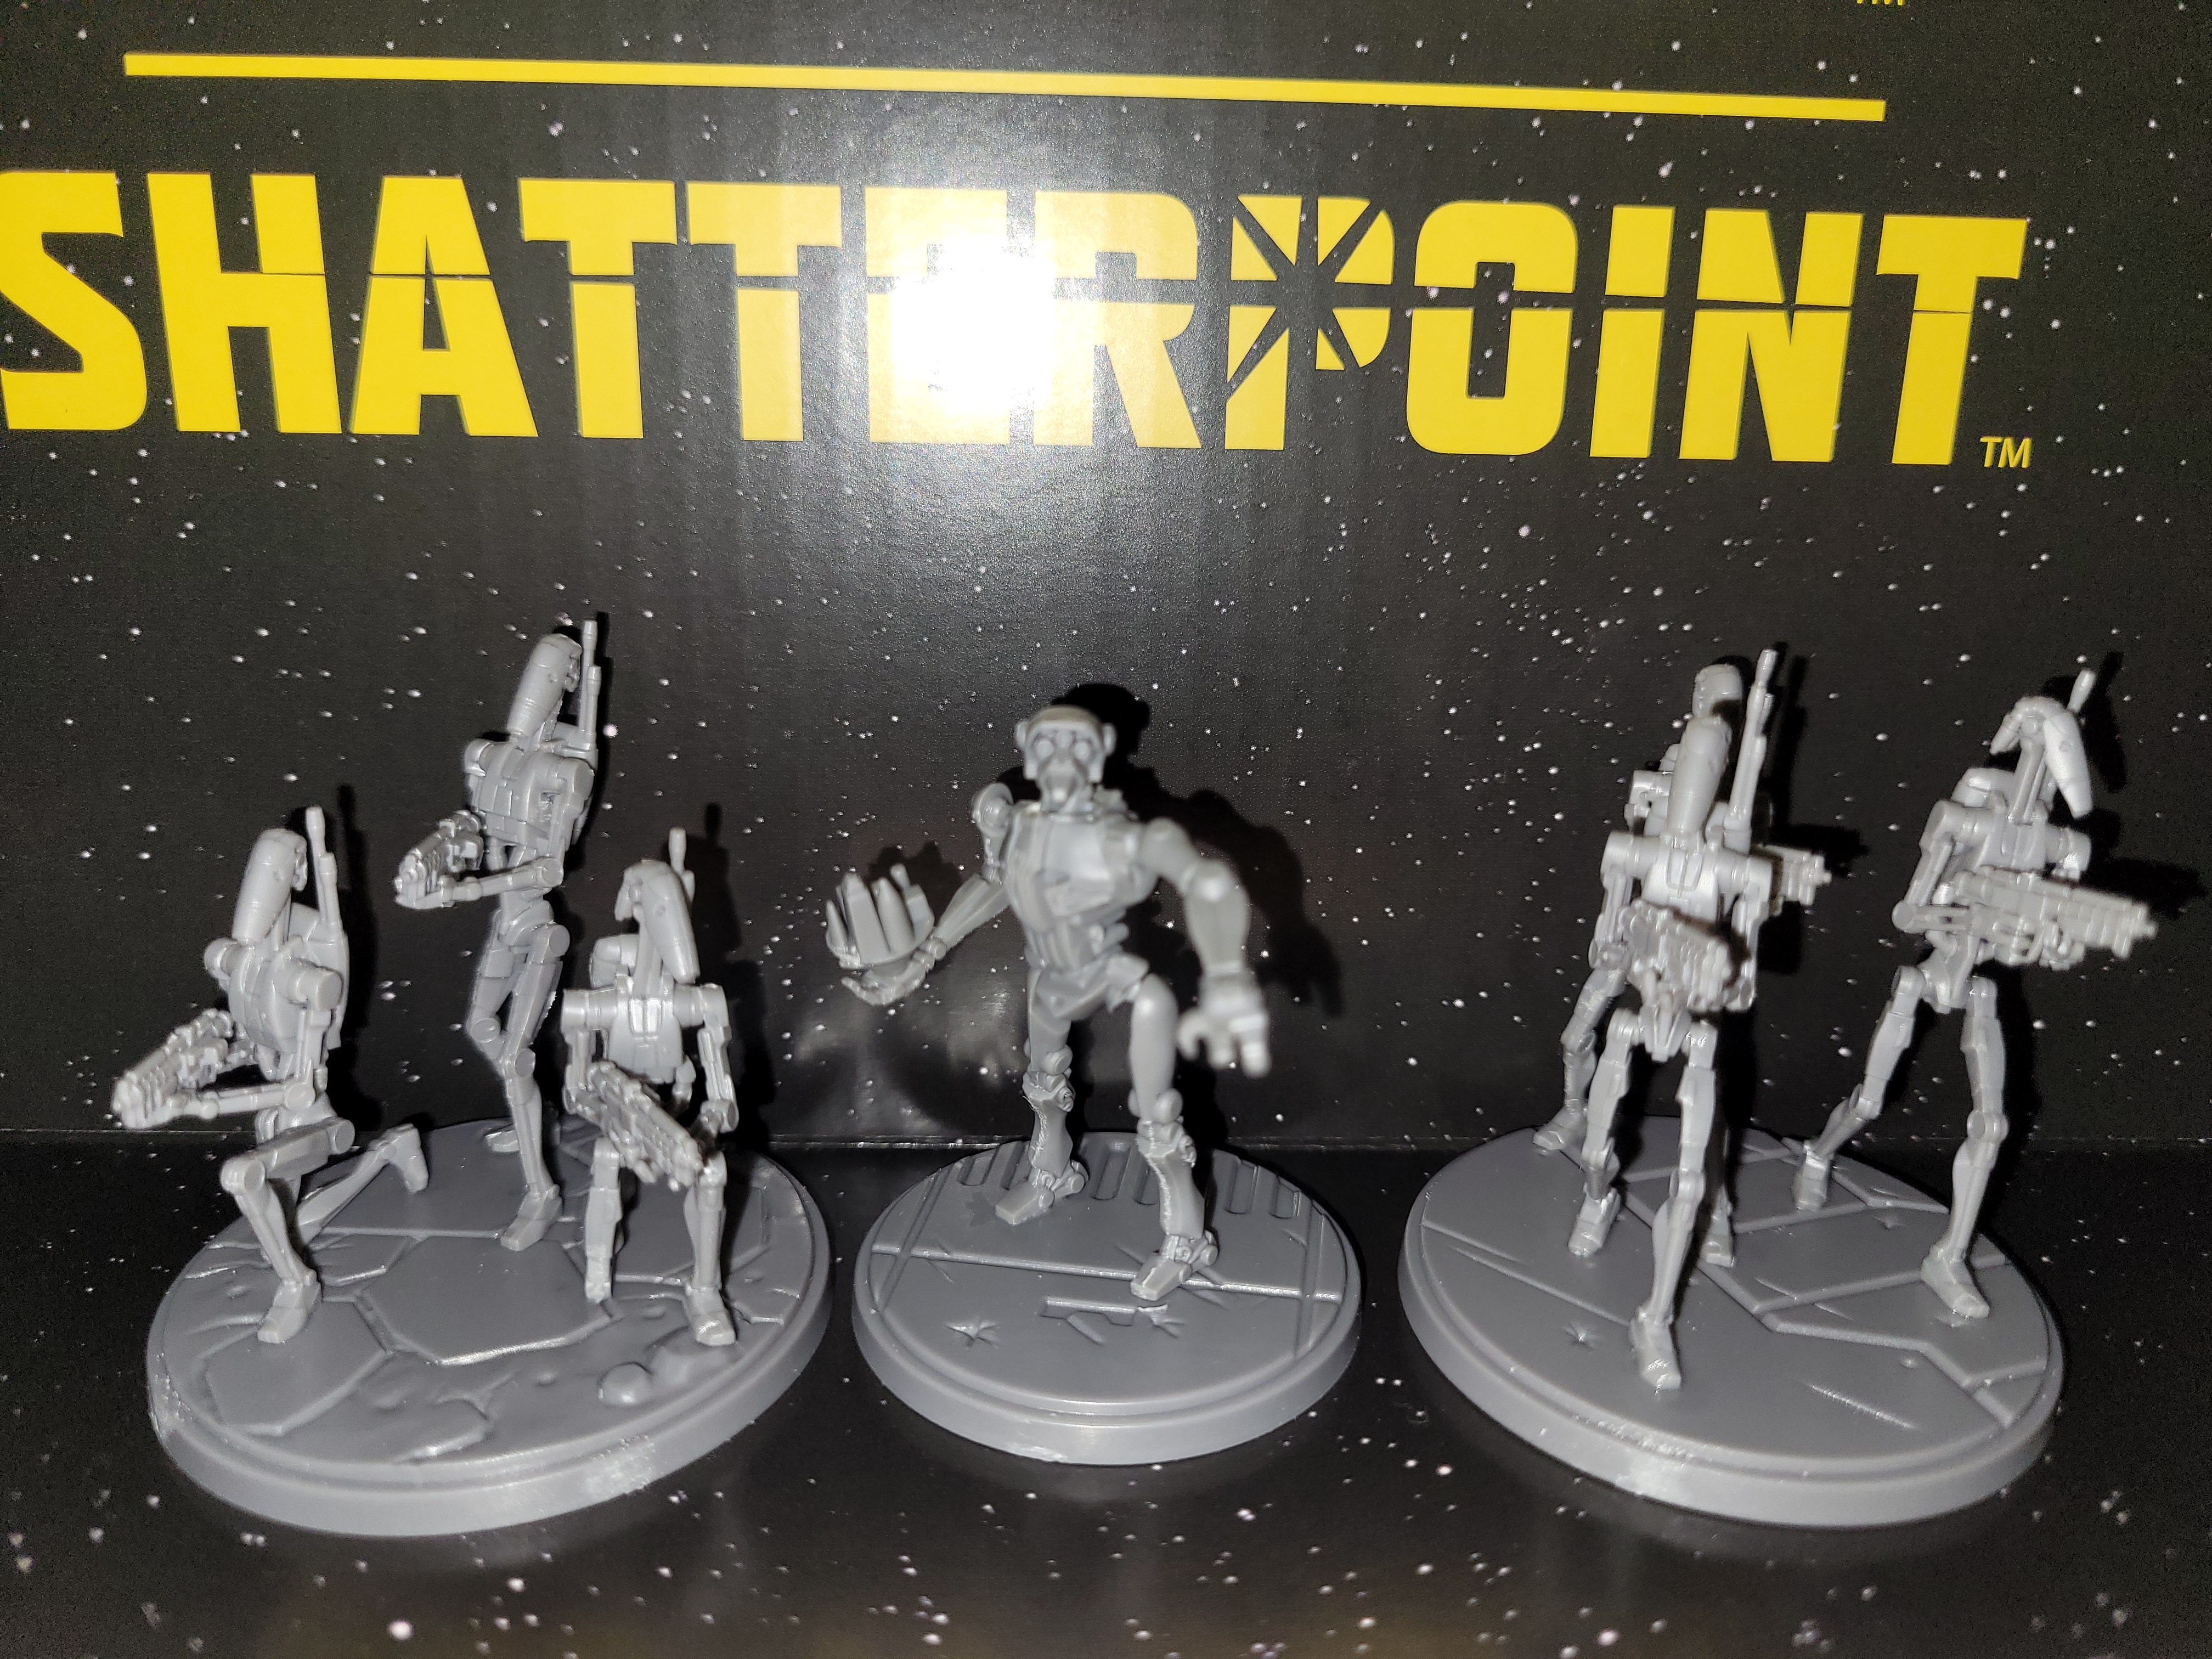
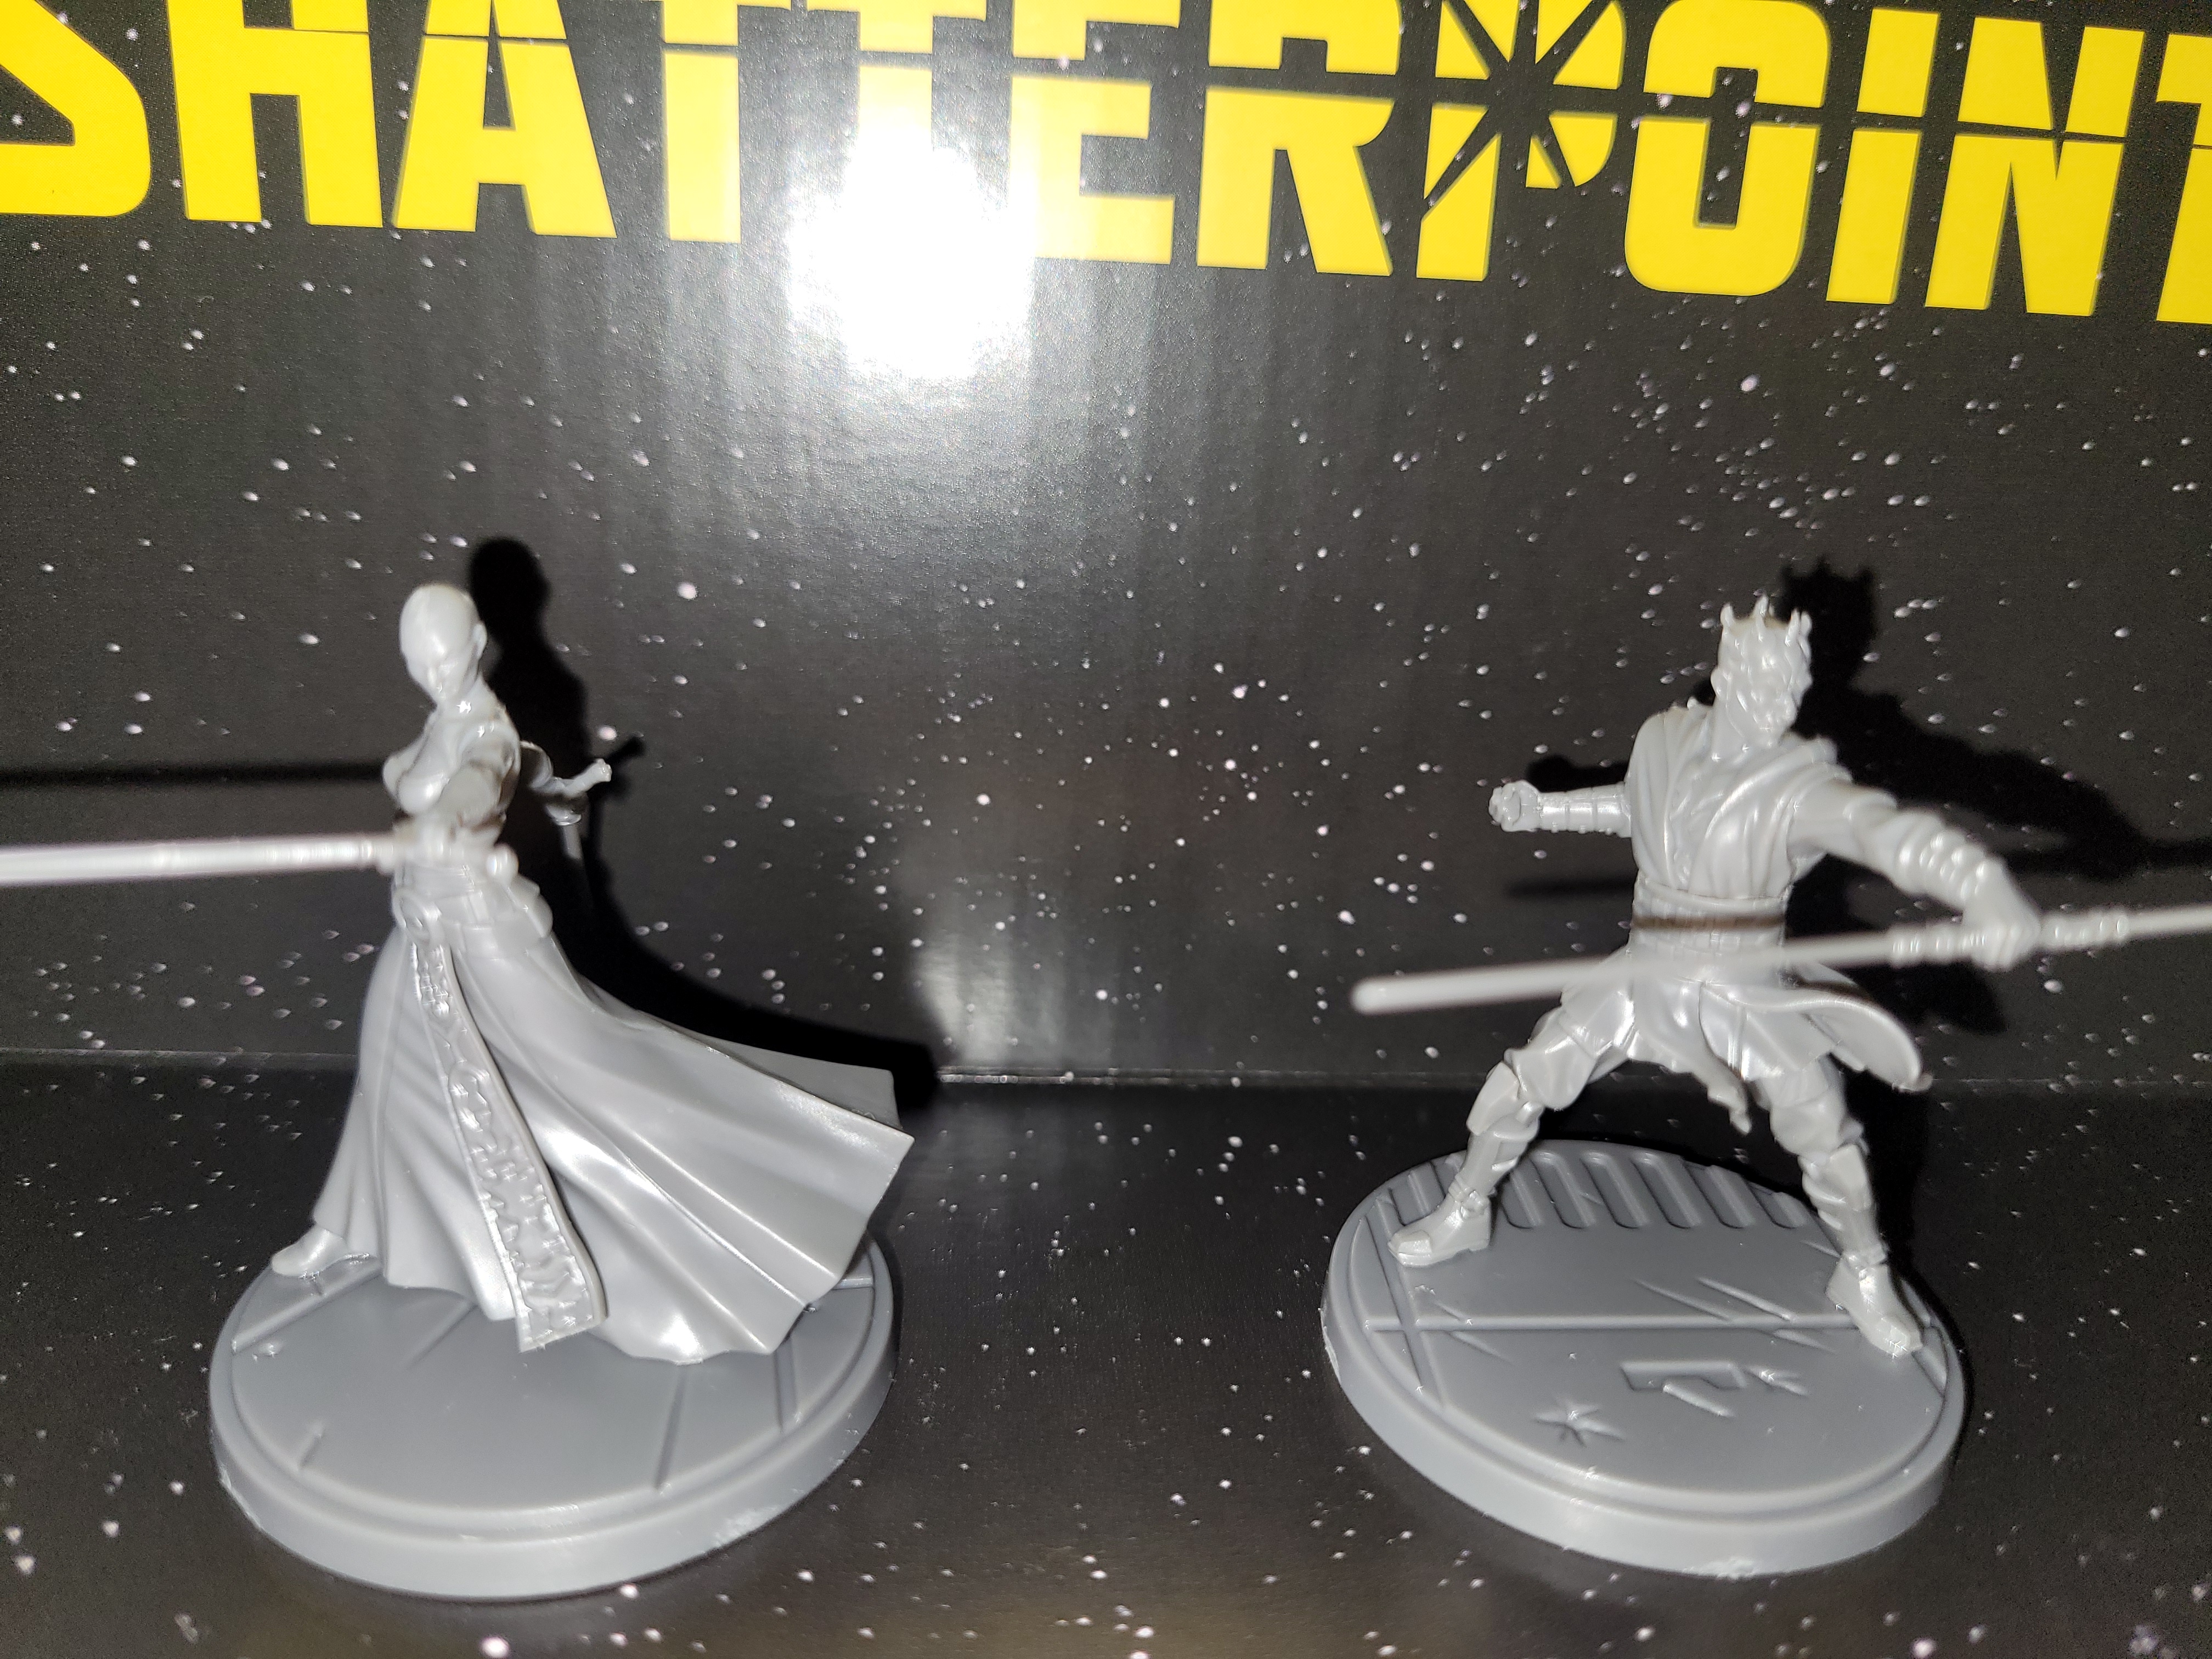
As a set goes, the construction of the models was fairly straightforward. Everything was going very well right up to the droids. I entered this part of the build with some nervousness, as a few of my friends wished me good luck (followed by an under the breath “You’re gonna need it”). Starting with Kalani, the pieces are more awkward due to their thinner size. What I would suggest with this particular miniature, is to glue the neck support straight onto the body and leave the head until you have finished assembling the rest of the model. That way you can choose what he is looking at. Also, I want to note that there are two options here on paper, yet you can have the map arm and his outstretched hand (perhaps guiding the droids) or the blaster with his arm behind him. It just allows for a bit more variation of the units.
“Easy? You call that easy?” The battle droids are… well…. They will test you after having such a fairly easy build. Some parts to them are fine, but the arms are a challenge, lining them up right and most importantly, gluing them without getting glue everywhere. The arms are in three parts and the only way I managed not to have a complete meltdown with it was to always glue the right arm first. There’s enough of a stretch with the other two pieces that if lined up, the other arm should be able to fit no matter the angle. The next part is the most important: let the glue dry. I don’t mean touch dry; I mean properly dry, so the arm isn’t going anywhere. Once that has happened it is far easier to put the two pieces by themselves on, lining them up correctly with a stable arm. Admittedly, you won’t want to see a battle droid for the next few months after completing two sets of them! Also, the instructions tell you to have two bases of droids the same. For me, I wanted them to look different, so I placed the two kneeling droids together and had a base of all standing up droids. You don’t have to, but for me visually, it makes it far easier to tell the two units apart.
So, what about the miniatures? What are they like? Atomic Mass Games went for a slightly larger scale to the miniatures compared to something like Star Wars Legion, and my goodness, it pays off. Yes, there are some fiddly bits, but these are some of the most detailed miniatures I have seen, and they look beautiful. I can appreciate why they wanted to give you backdrops to take photos of these because you can’t help but stare at them. Even unpainted I’m impressed and I’m itching to get around to adding paint to them. This is an expensive core set, but you can see why when you start building these models and why Atomic Mass Games went for the larger scale.
Before I move onto terrain I want to talk about storage of the models. Once you’ve built the miniatures you will see that they need some care, even before they’re painted. Again, this comes down to preference. There are foam trays that you can buy, with companies making trays that will fit inside of the core box or the company’s own bags and boxes. These companies include Feldherr and Battlefoam. These are great solutions but can also be a bit pricey. Since playing Marvel: Crisis Protocol, a much cheaper and effective solution I have found is magnets (I know I’m sounding very strange!).
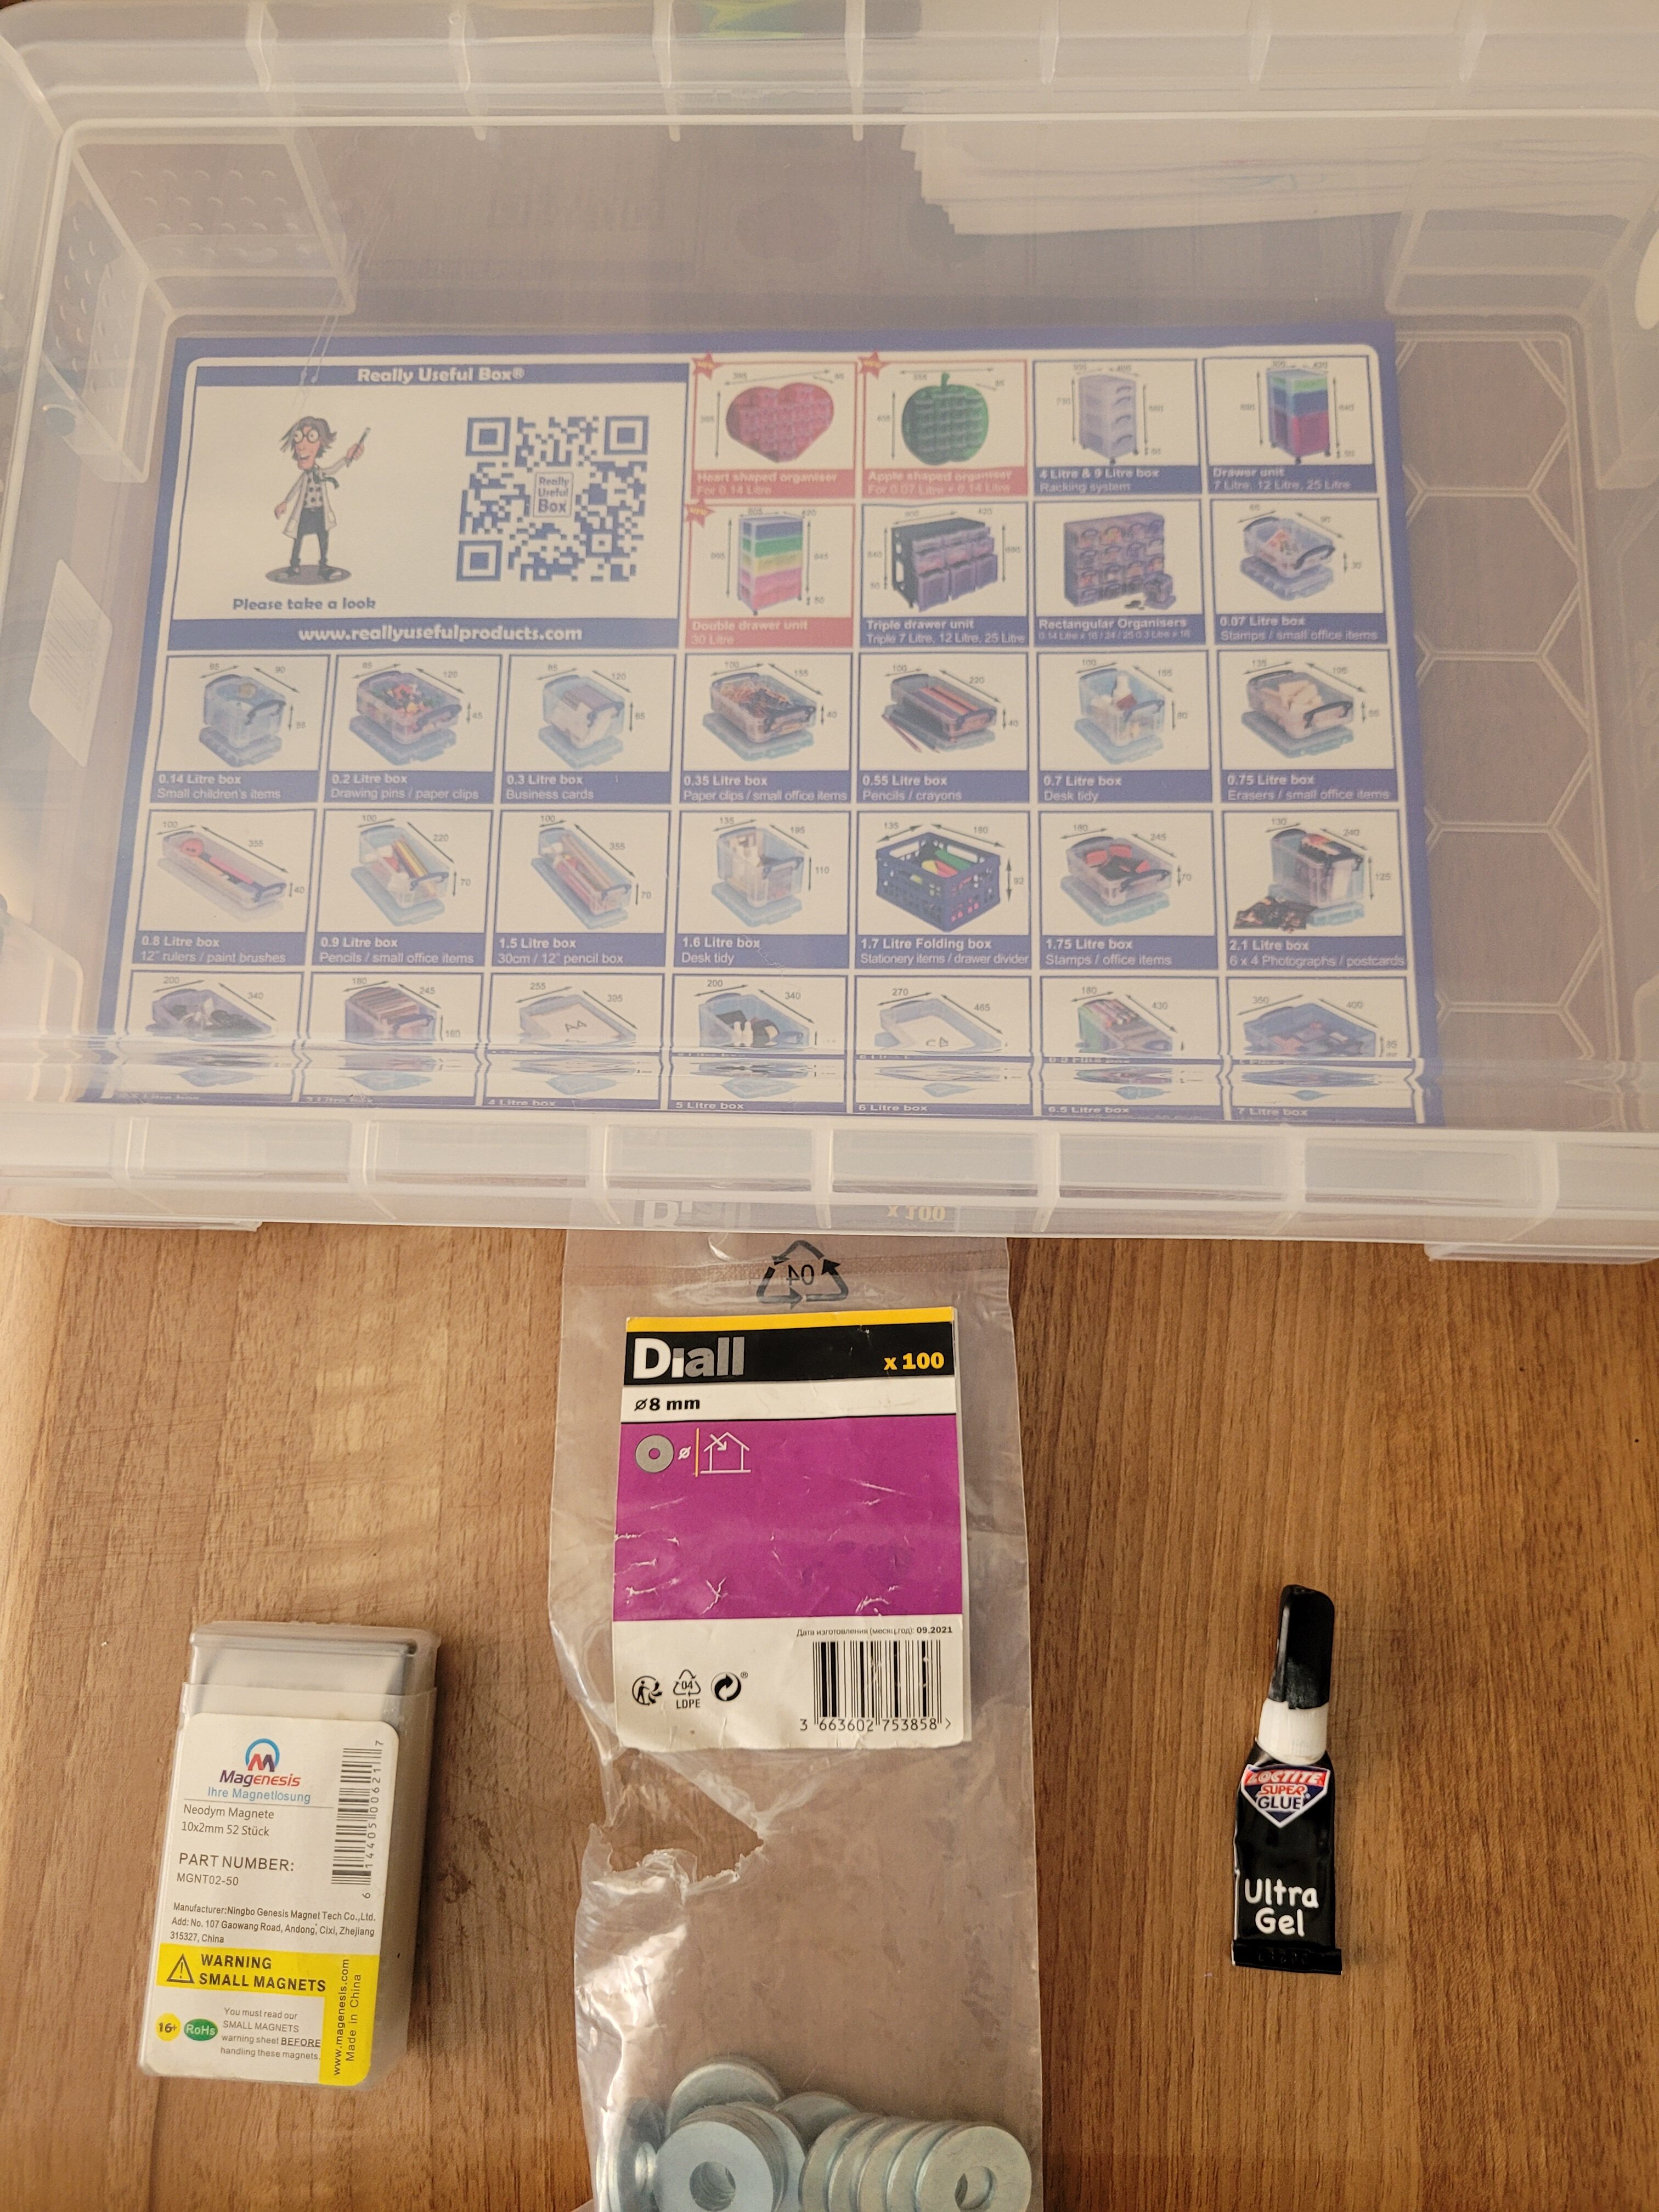
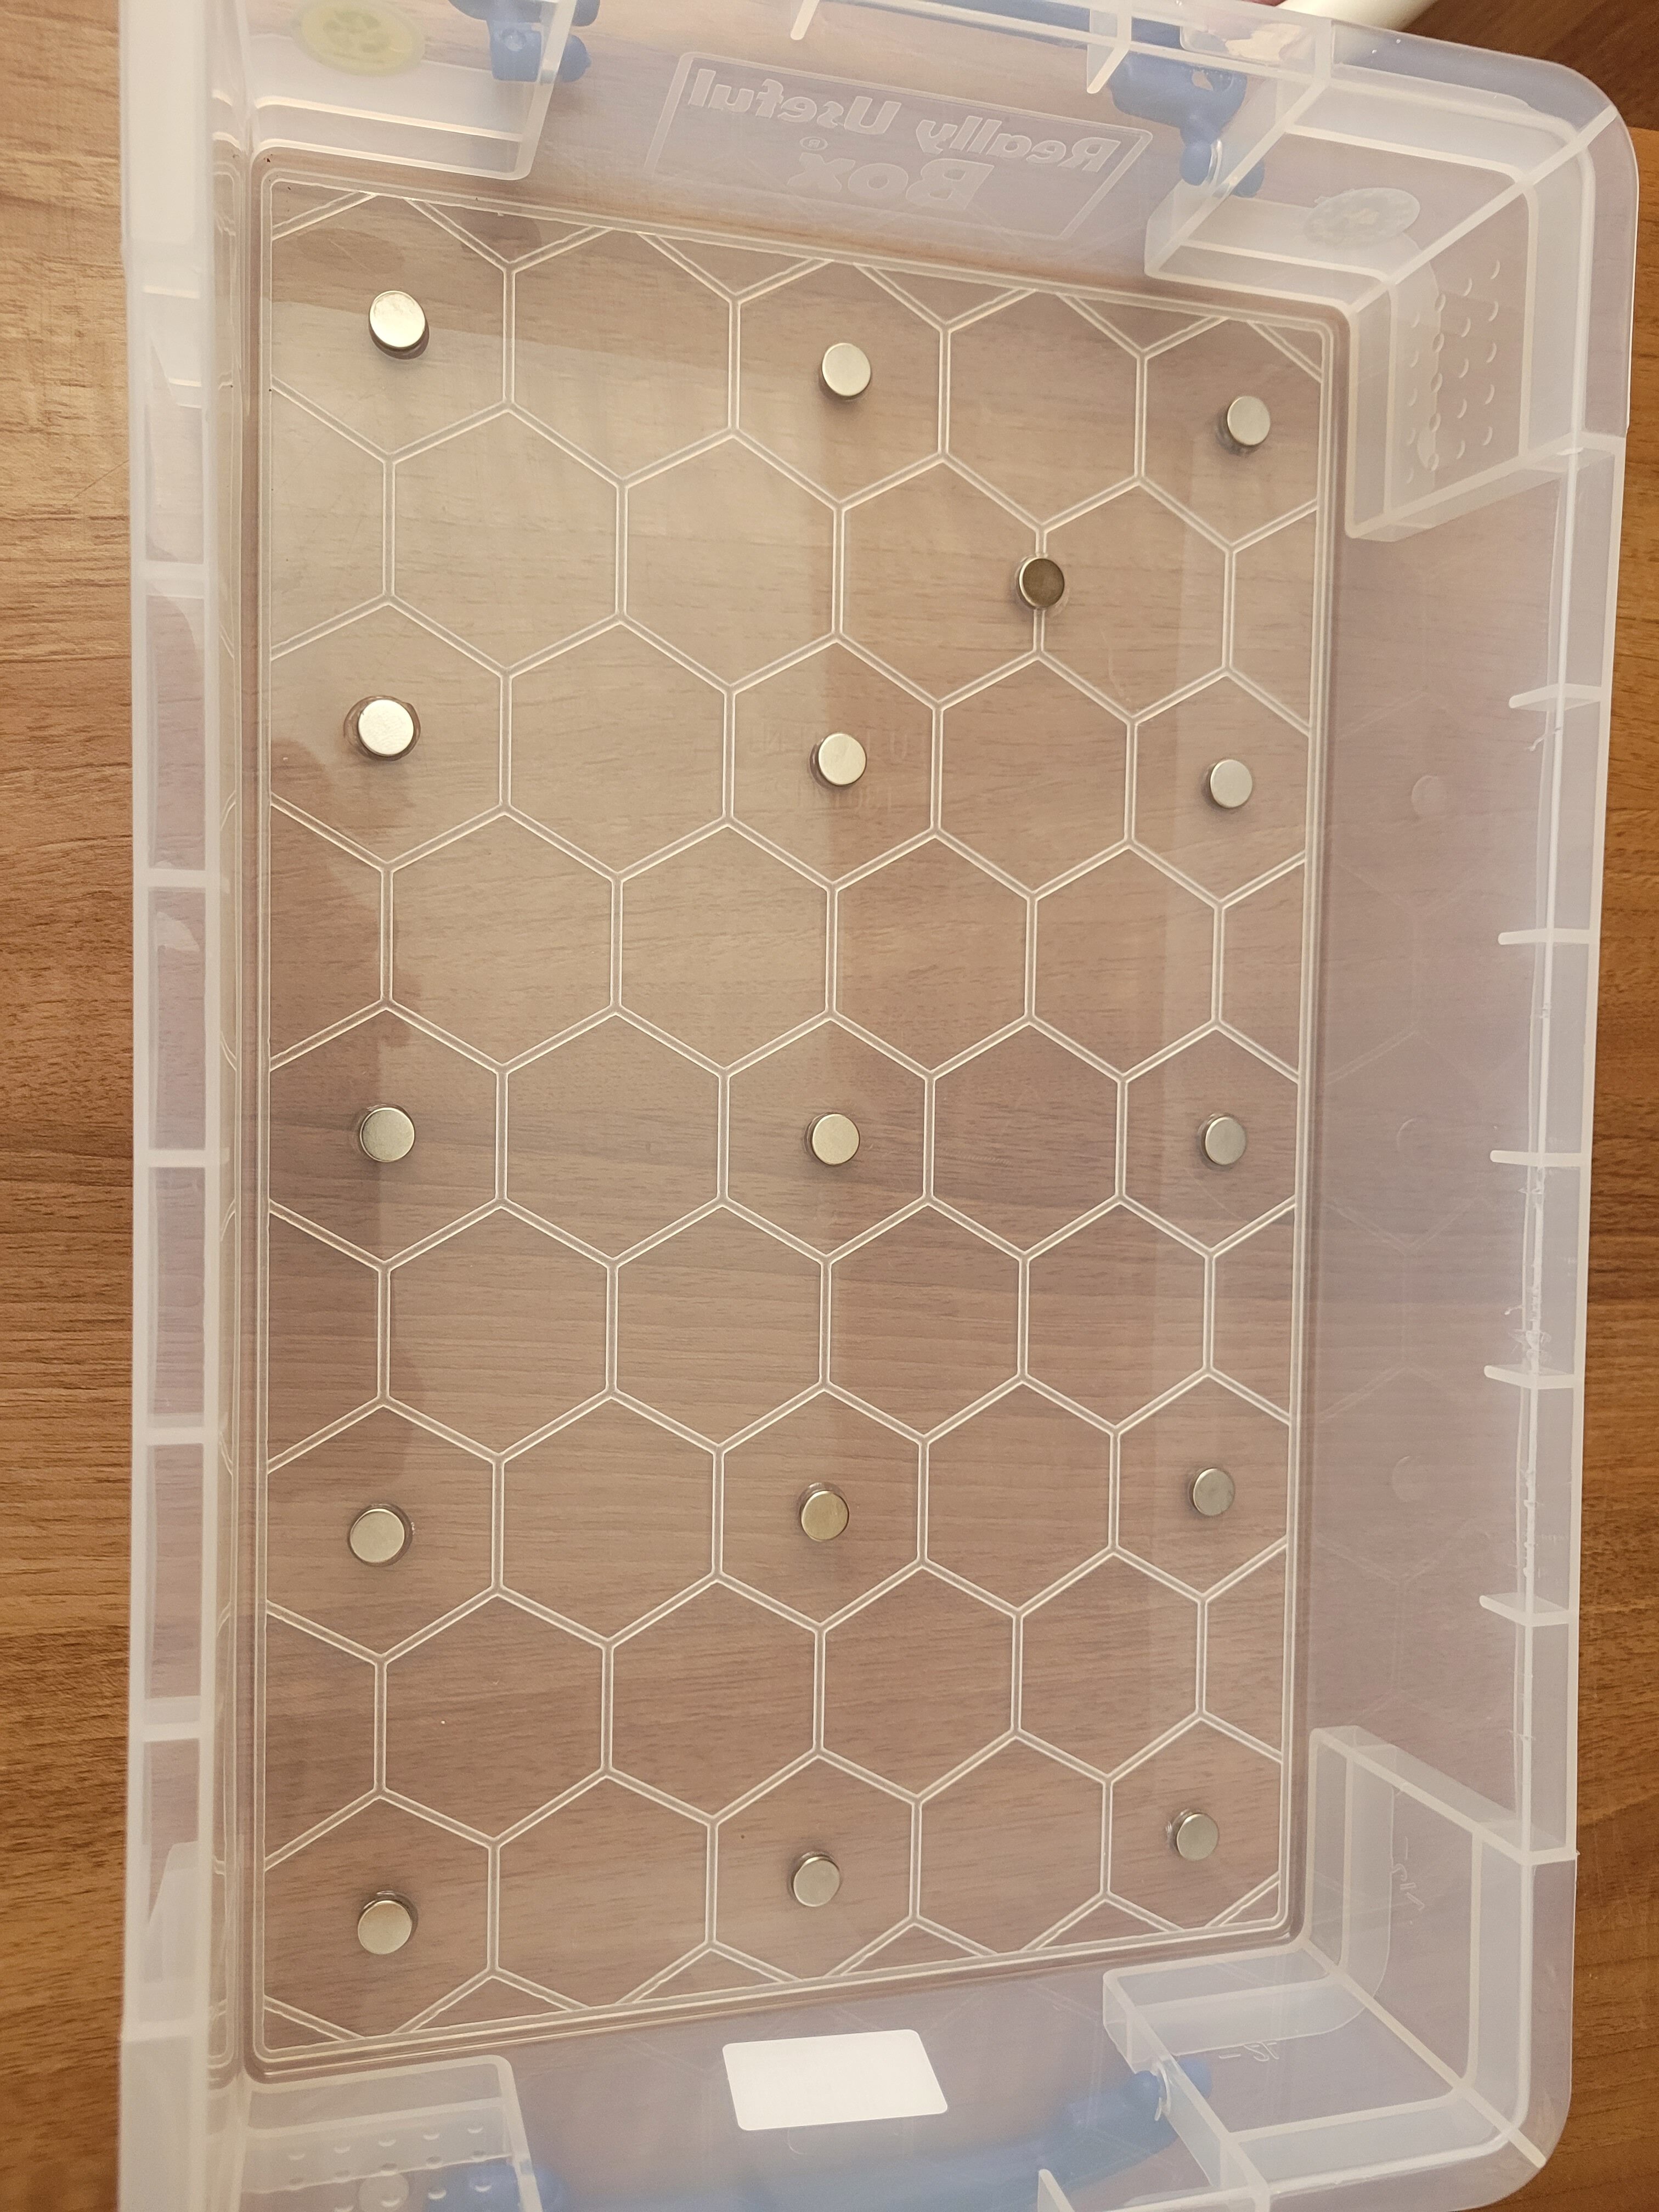
On the base of my miniatures, I superglue an 8mm washer (which can be purchased from most DIY stores). Then I get a Really Useful case, which are readily available from many online and high street sources, and can also be found at Amazon UK and Amazon US, and superglue small magnets into it. The figures then attach to the magnets for storage and transport with no movement that would cause parts to snap or break. Again, the magnets are readily available from many online and high street sources, and can also be found at Amazon UK and Amazon US. It’s a very affordable way of creating your own storage solution and everything can be found at local shops.
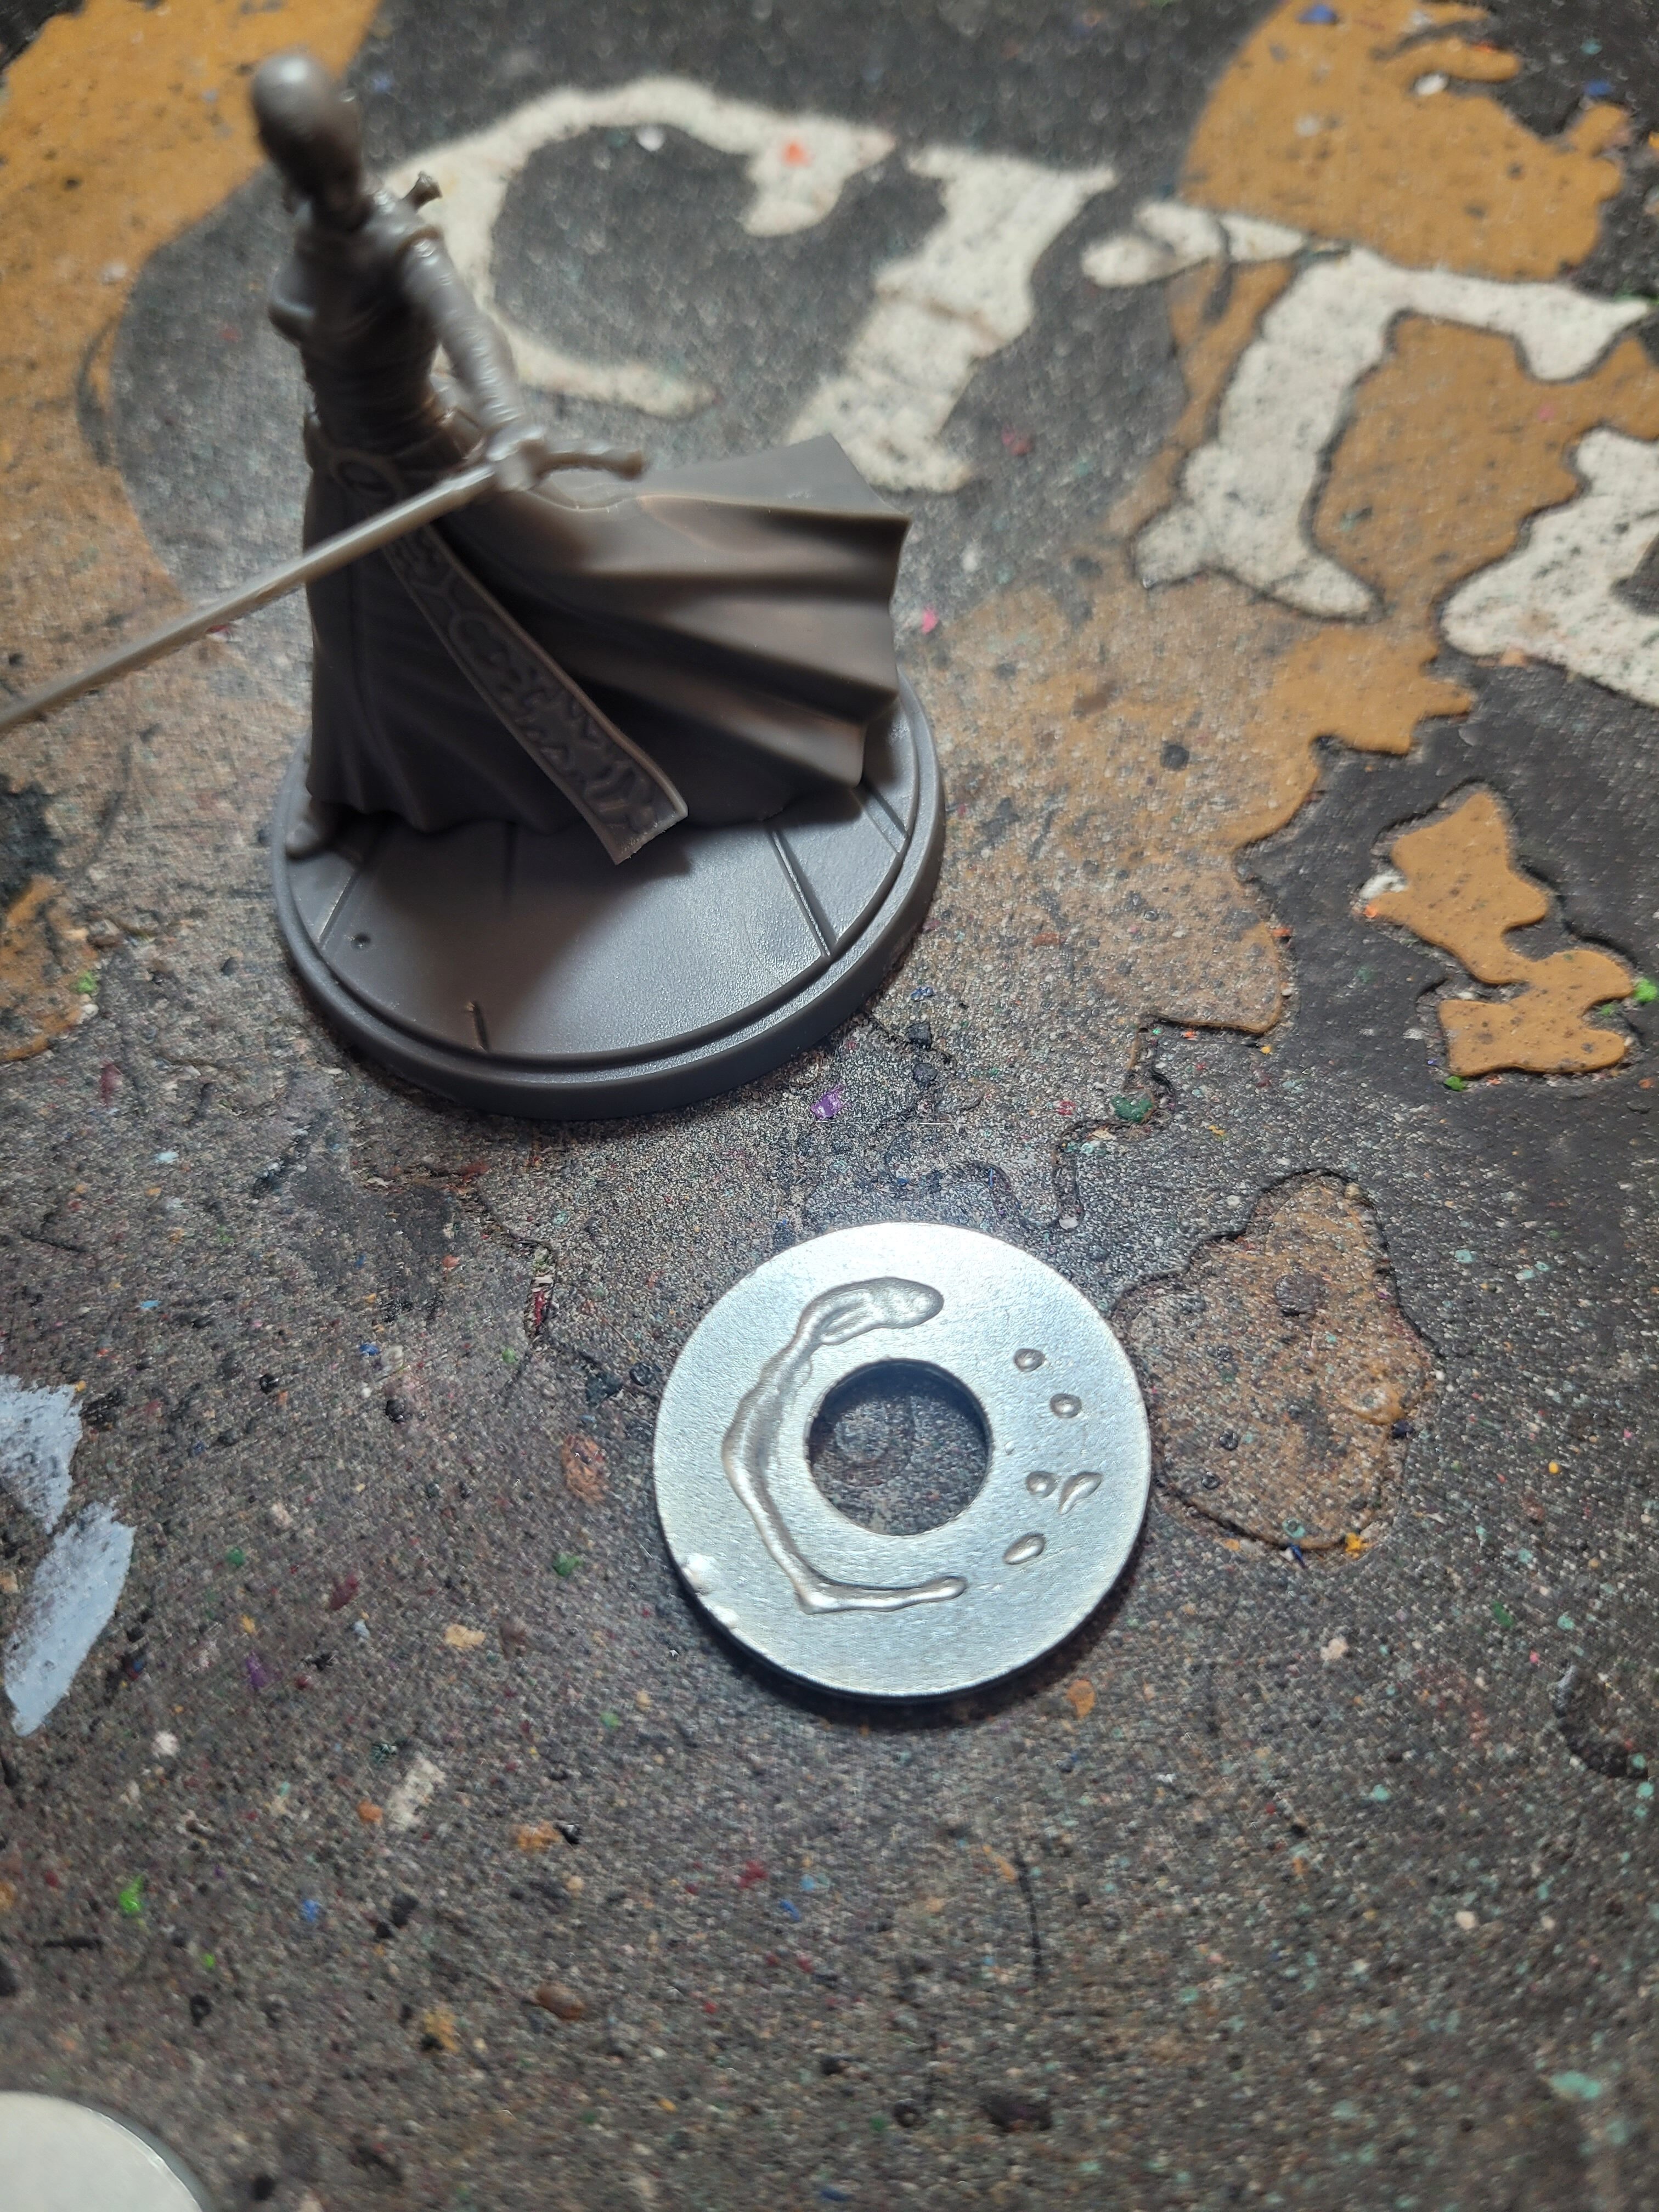
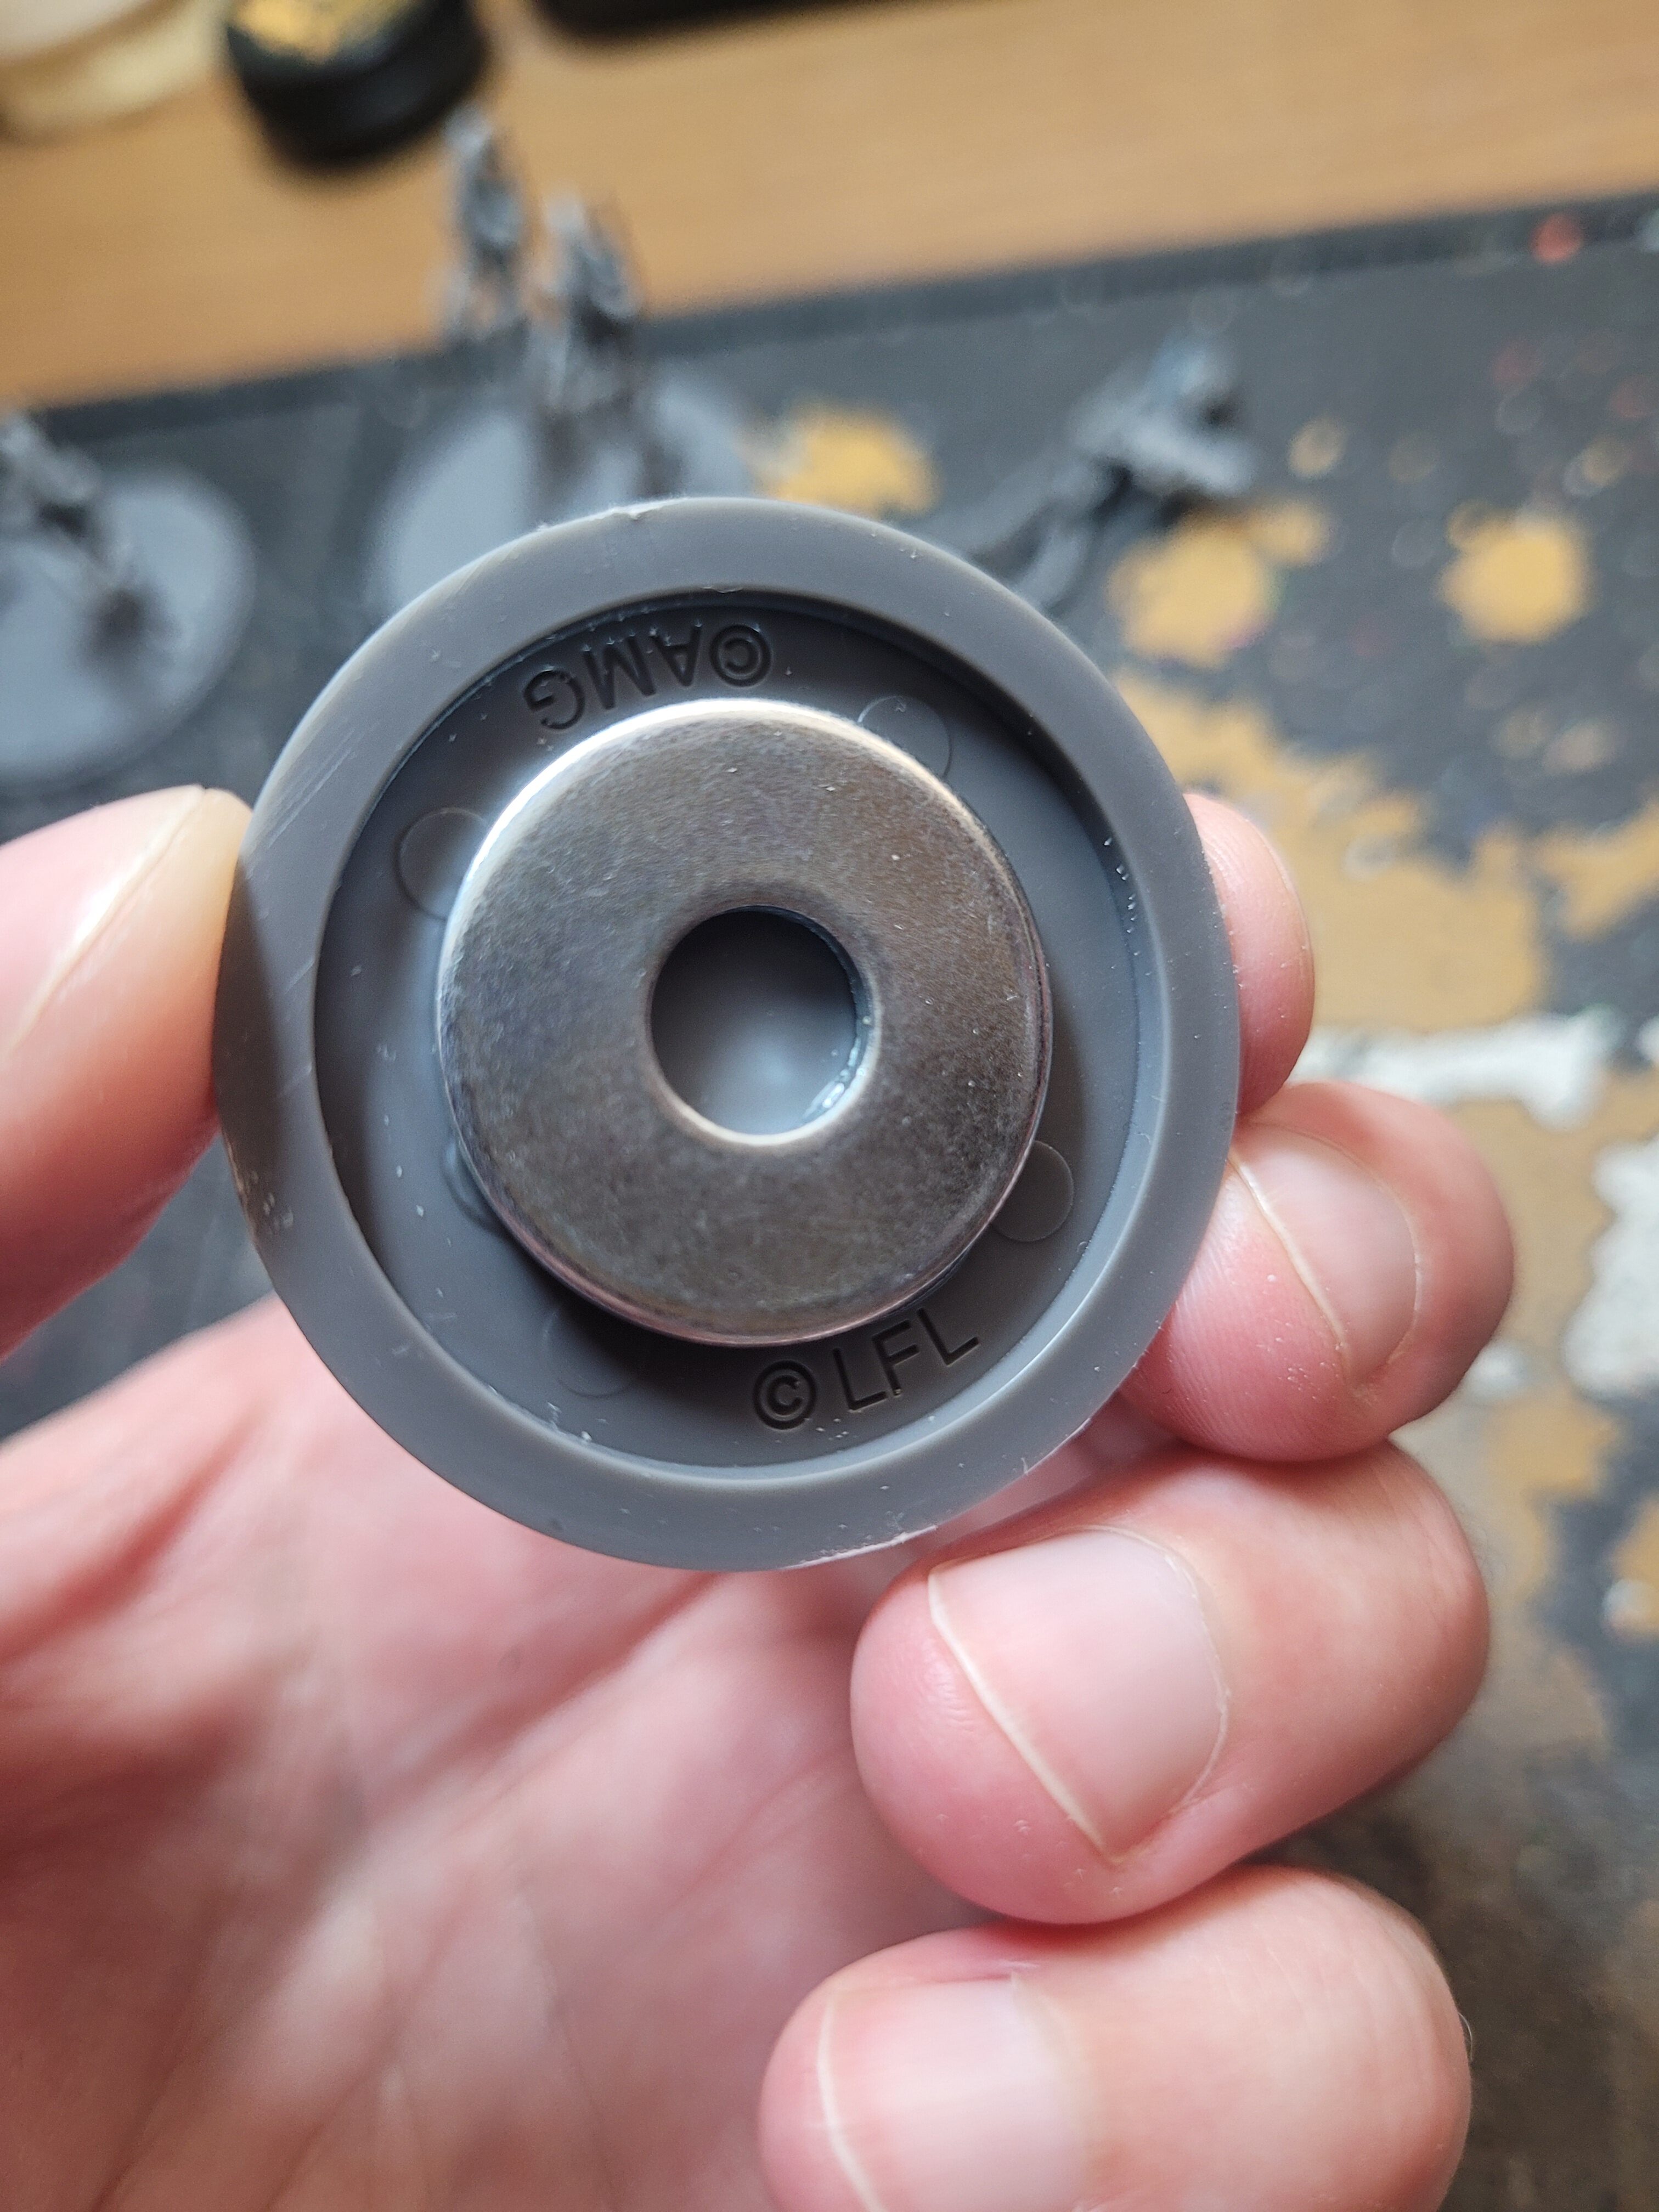
As you can see, I can hold it upside down without risk of the miniatures falling out!
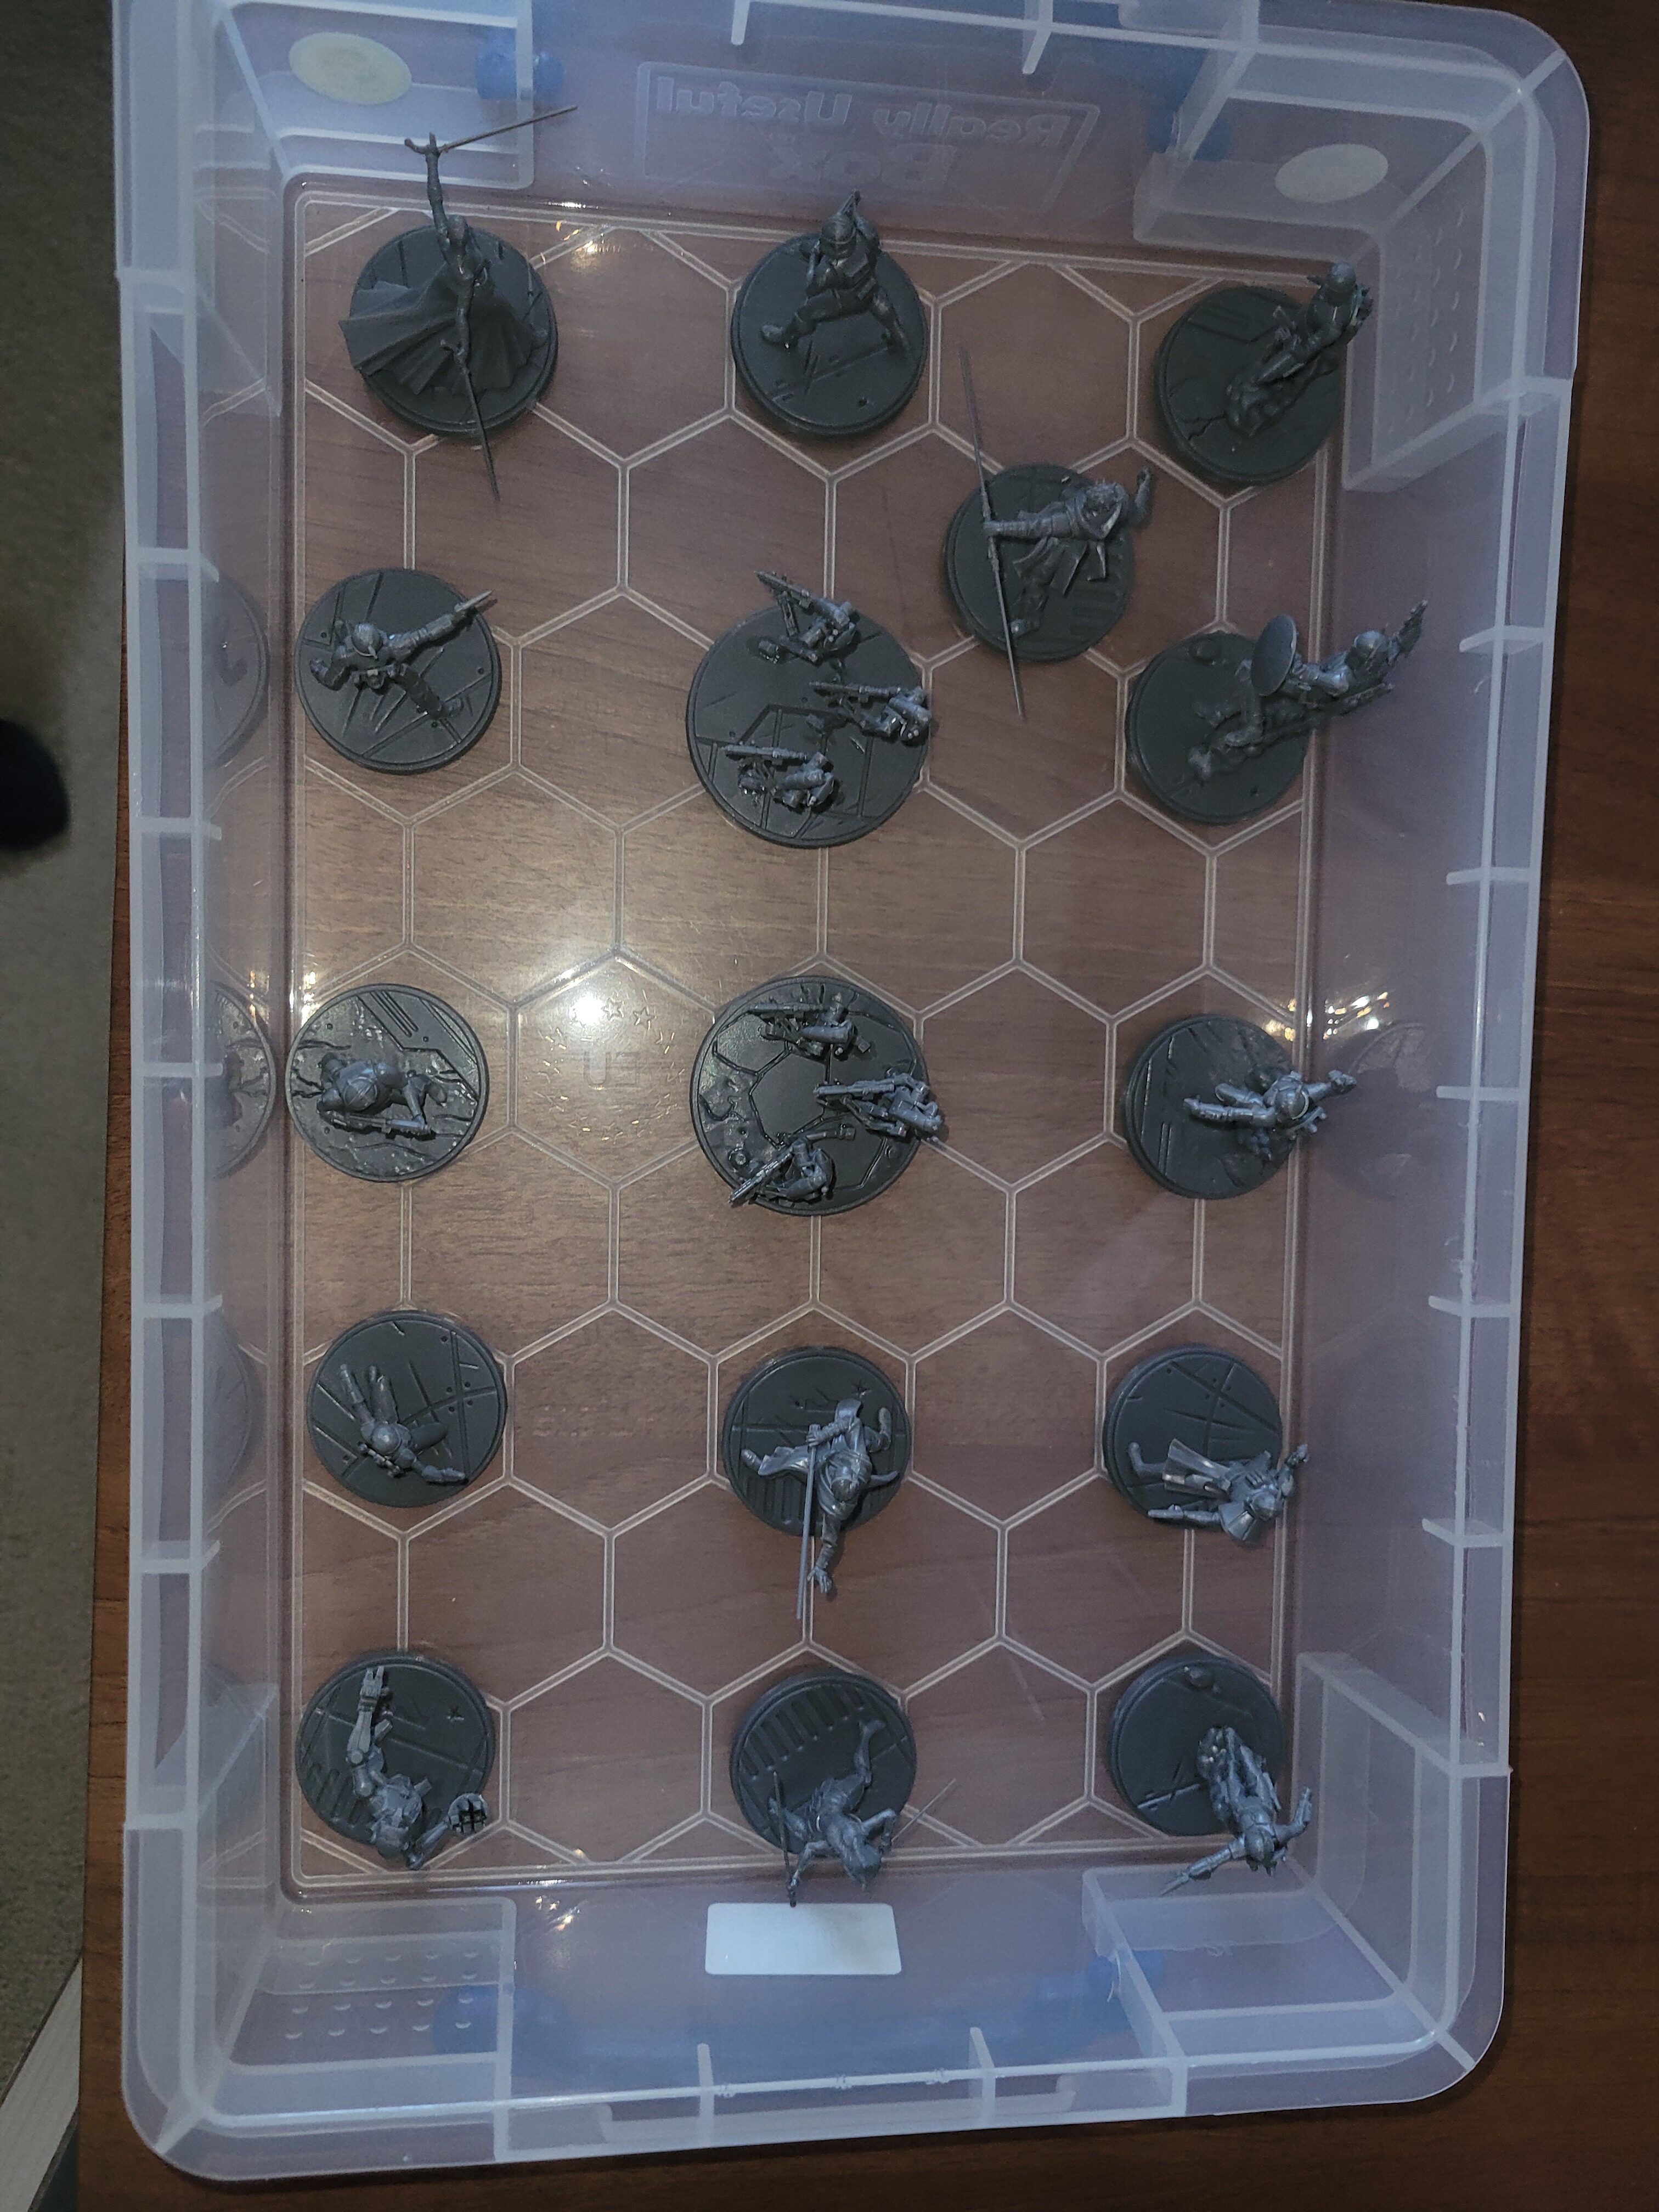
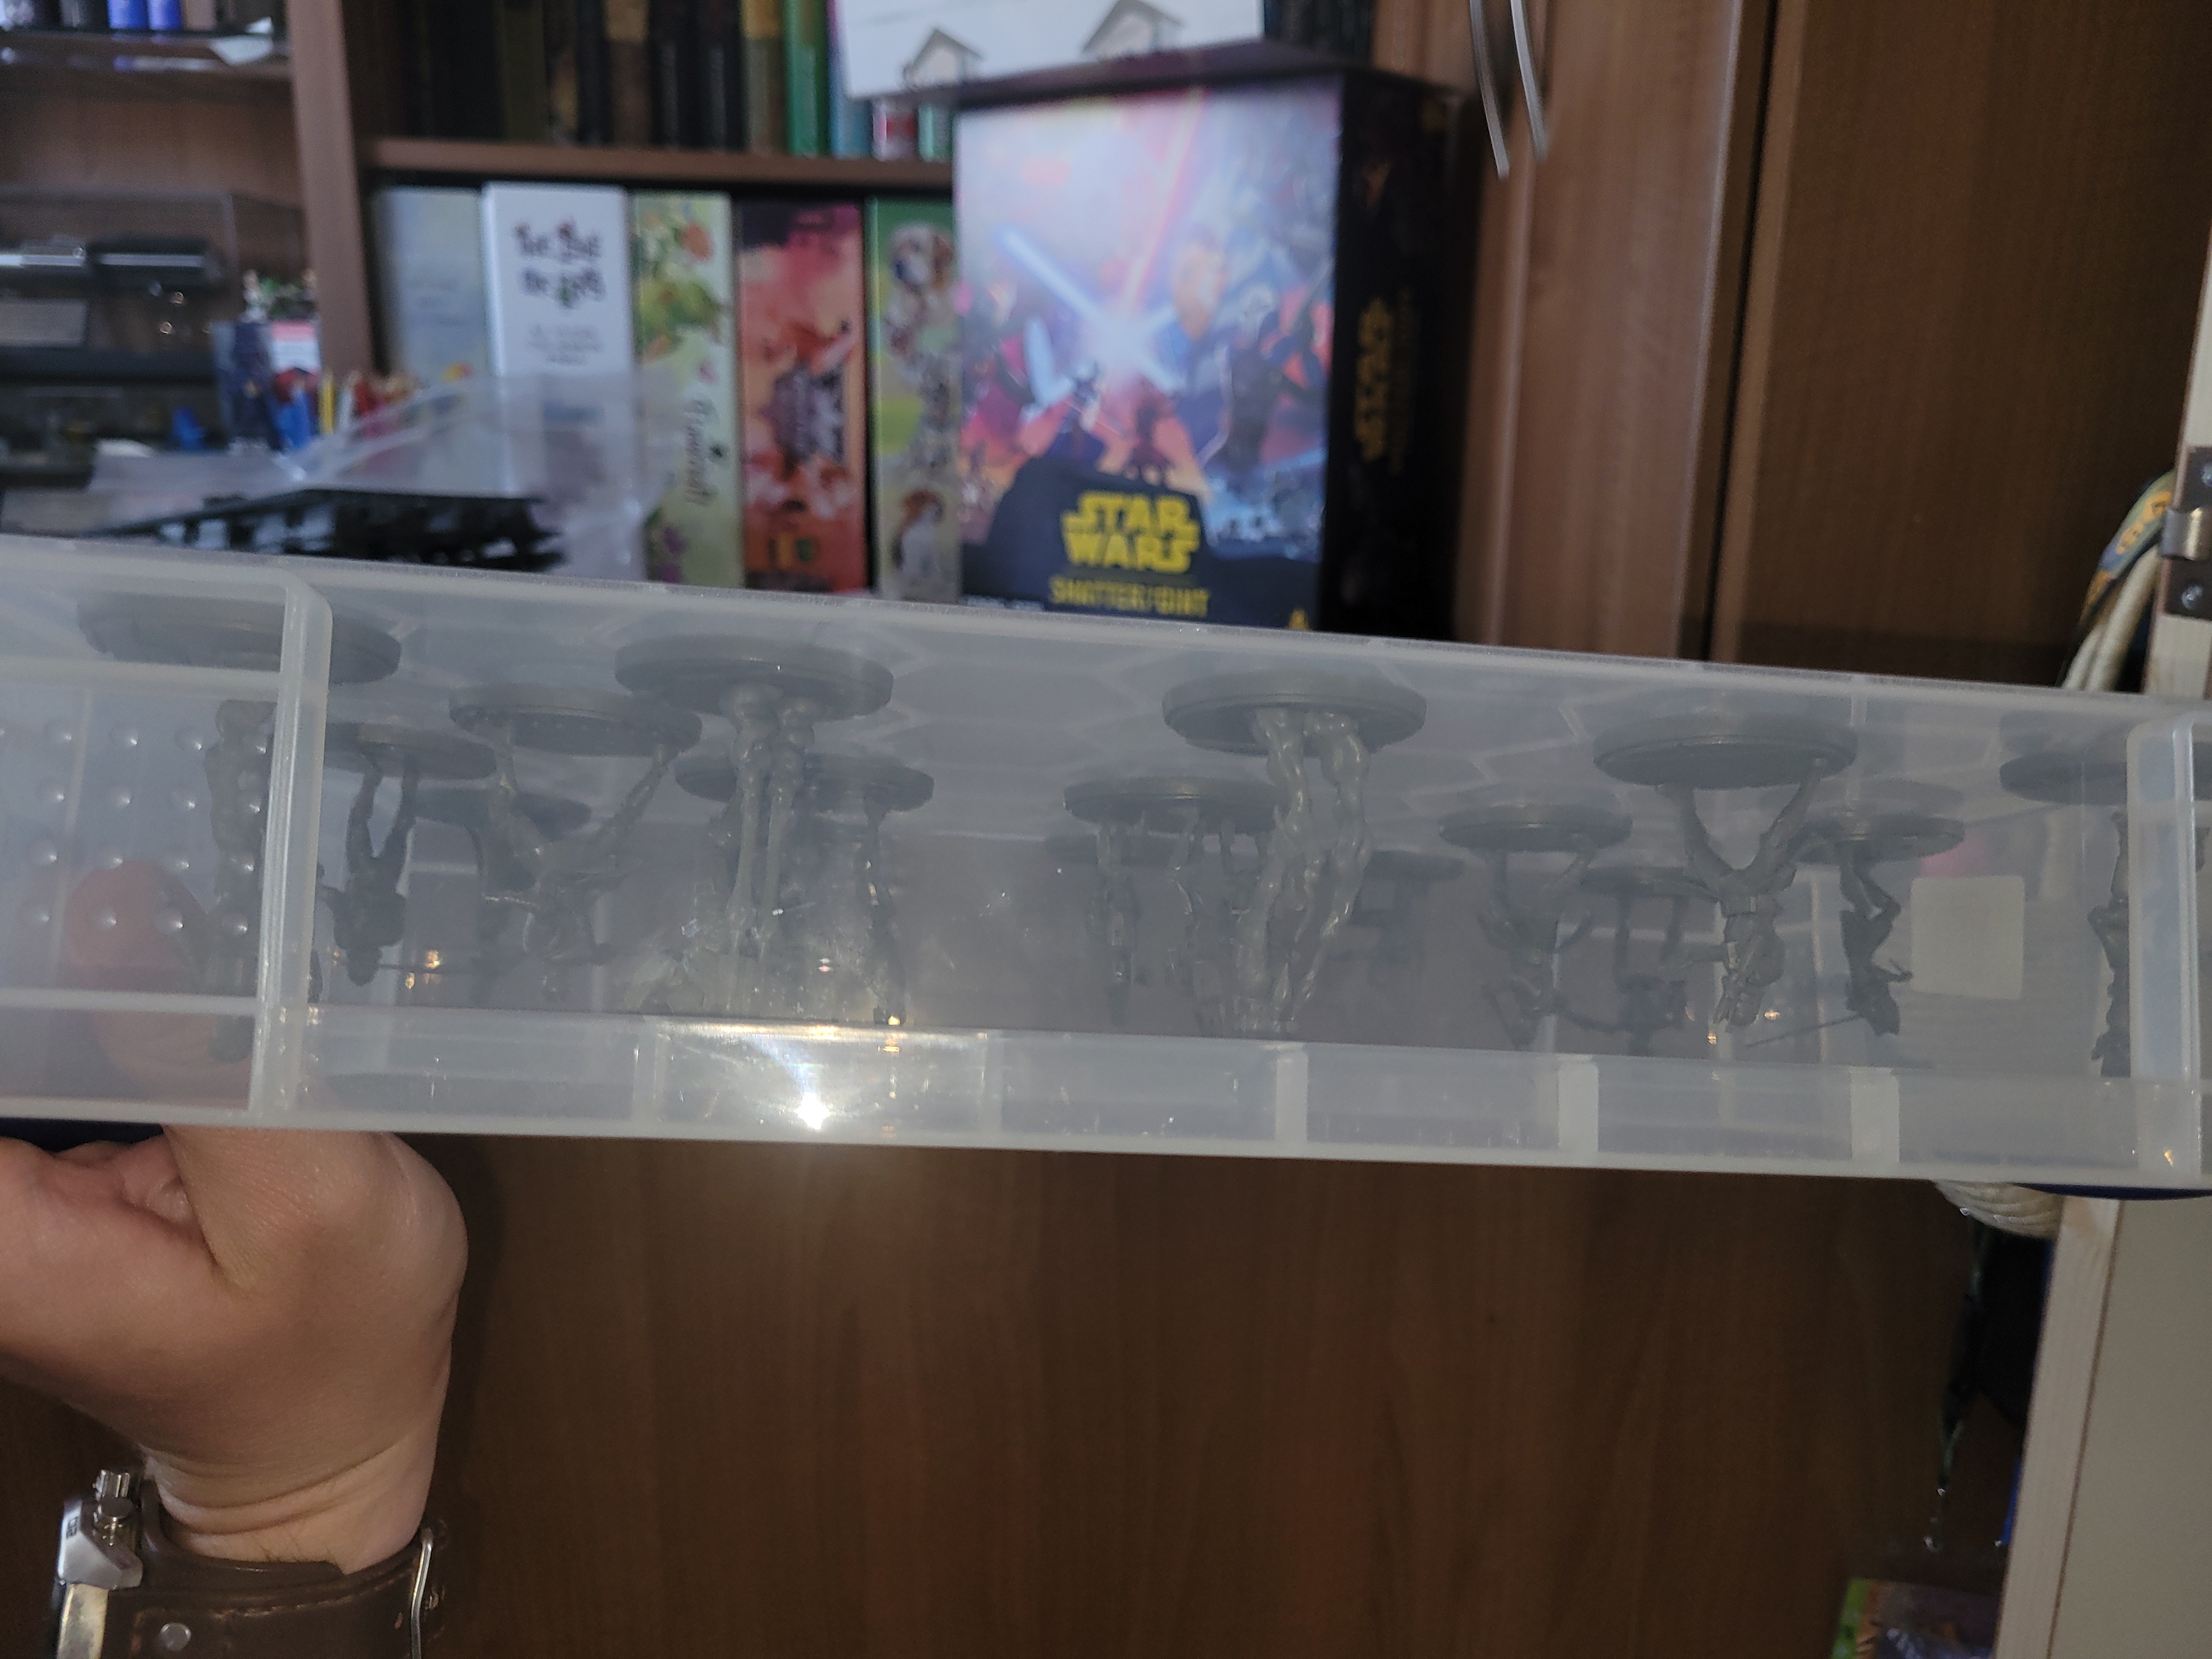
And breakages? What should you do? In most cases some glue will fix the problem, but I do want to mention the blades of the lightsaber’s. These are very thin, and rightfully so. If you have the unfortunate mishap of a blade snapping it will be extremely difficult to glue back on. As a solution, needles would be your best option. A metal threading needle can be first sanded down (it will allow paint to stick better to it) before using a lighter to heat up one end of the needle. When the end is hot, carefully place the hot top on the lightsaber hilt and gently push. The heat will warm the plastic enough for you to push the needle in a few millimetres before it cools down, giving you a replacement blade.
5. Terrain
Next is the terrain – follow the same instructions and tools for the models. You will be using more glue and so it may take a little longer for the buildings to set. Because of this, I always keep some elastic bands nearby that I can use to keep the building pieces together while the glue dries. It means I can either move onto other pieces or have a coffee while I wait!
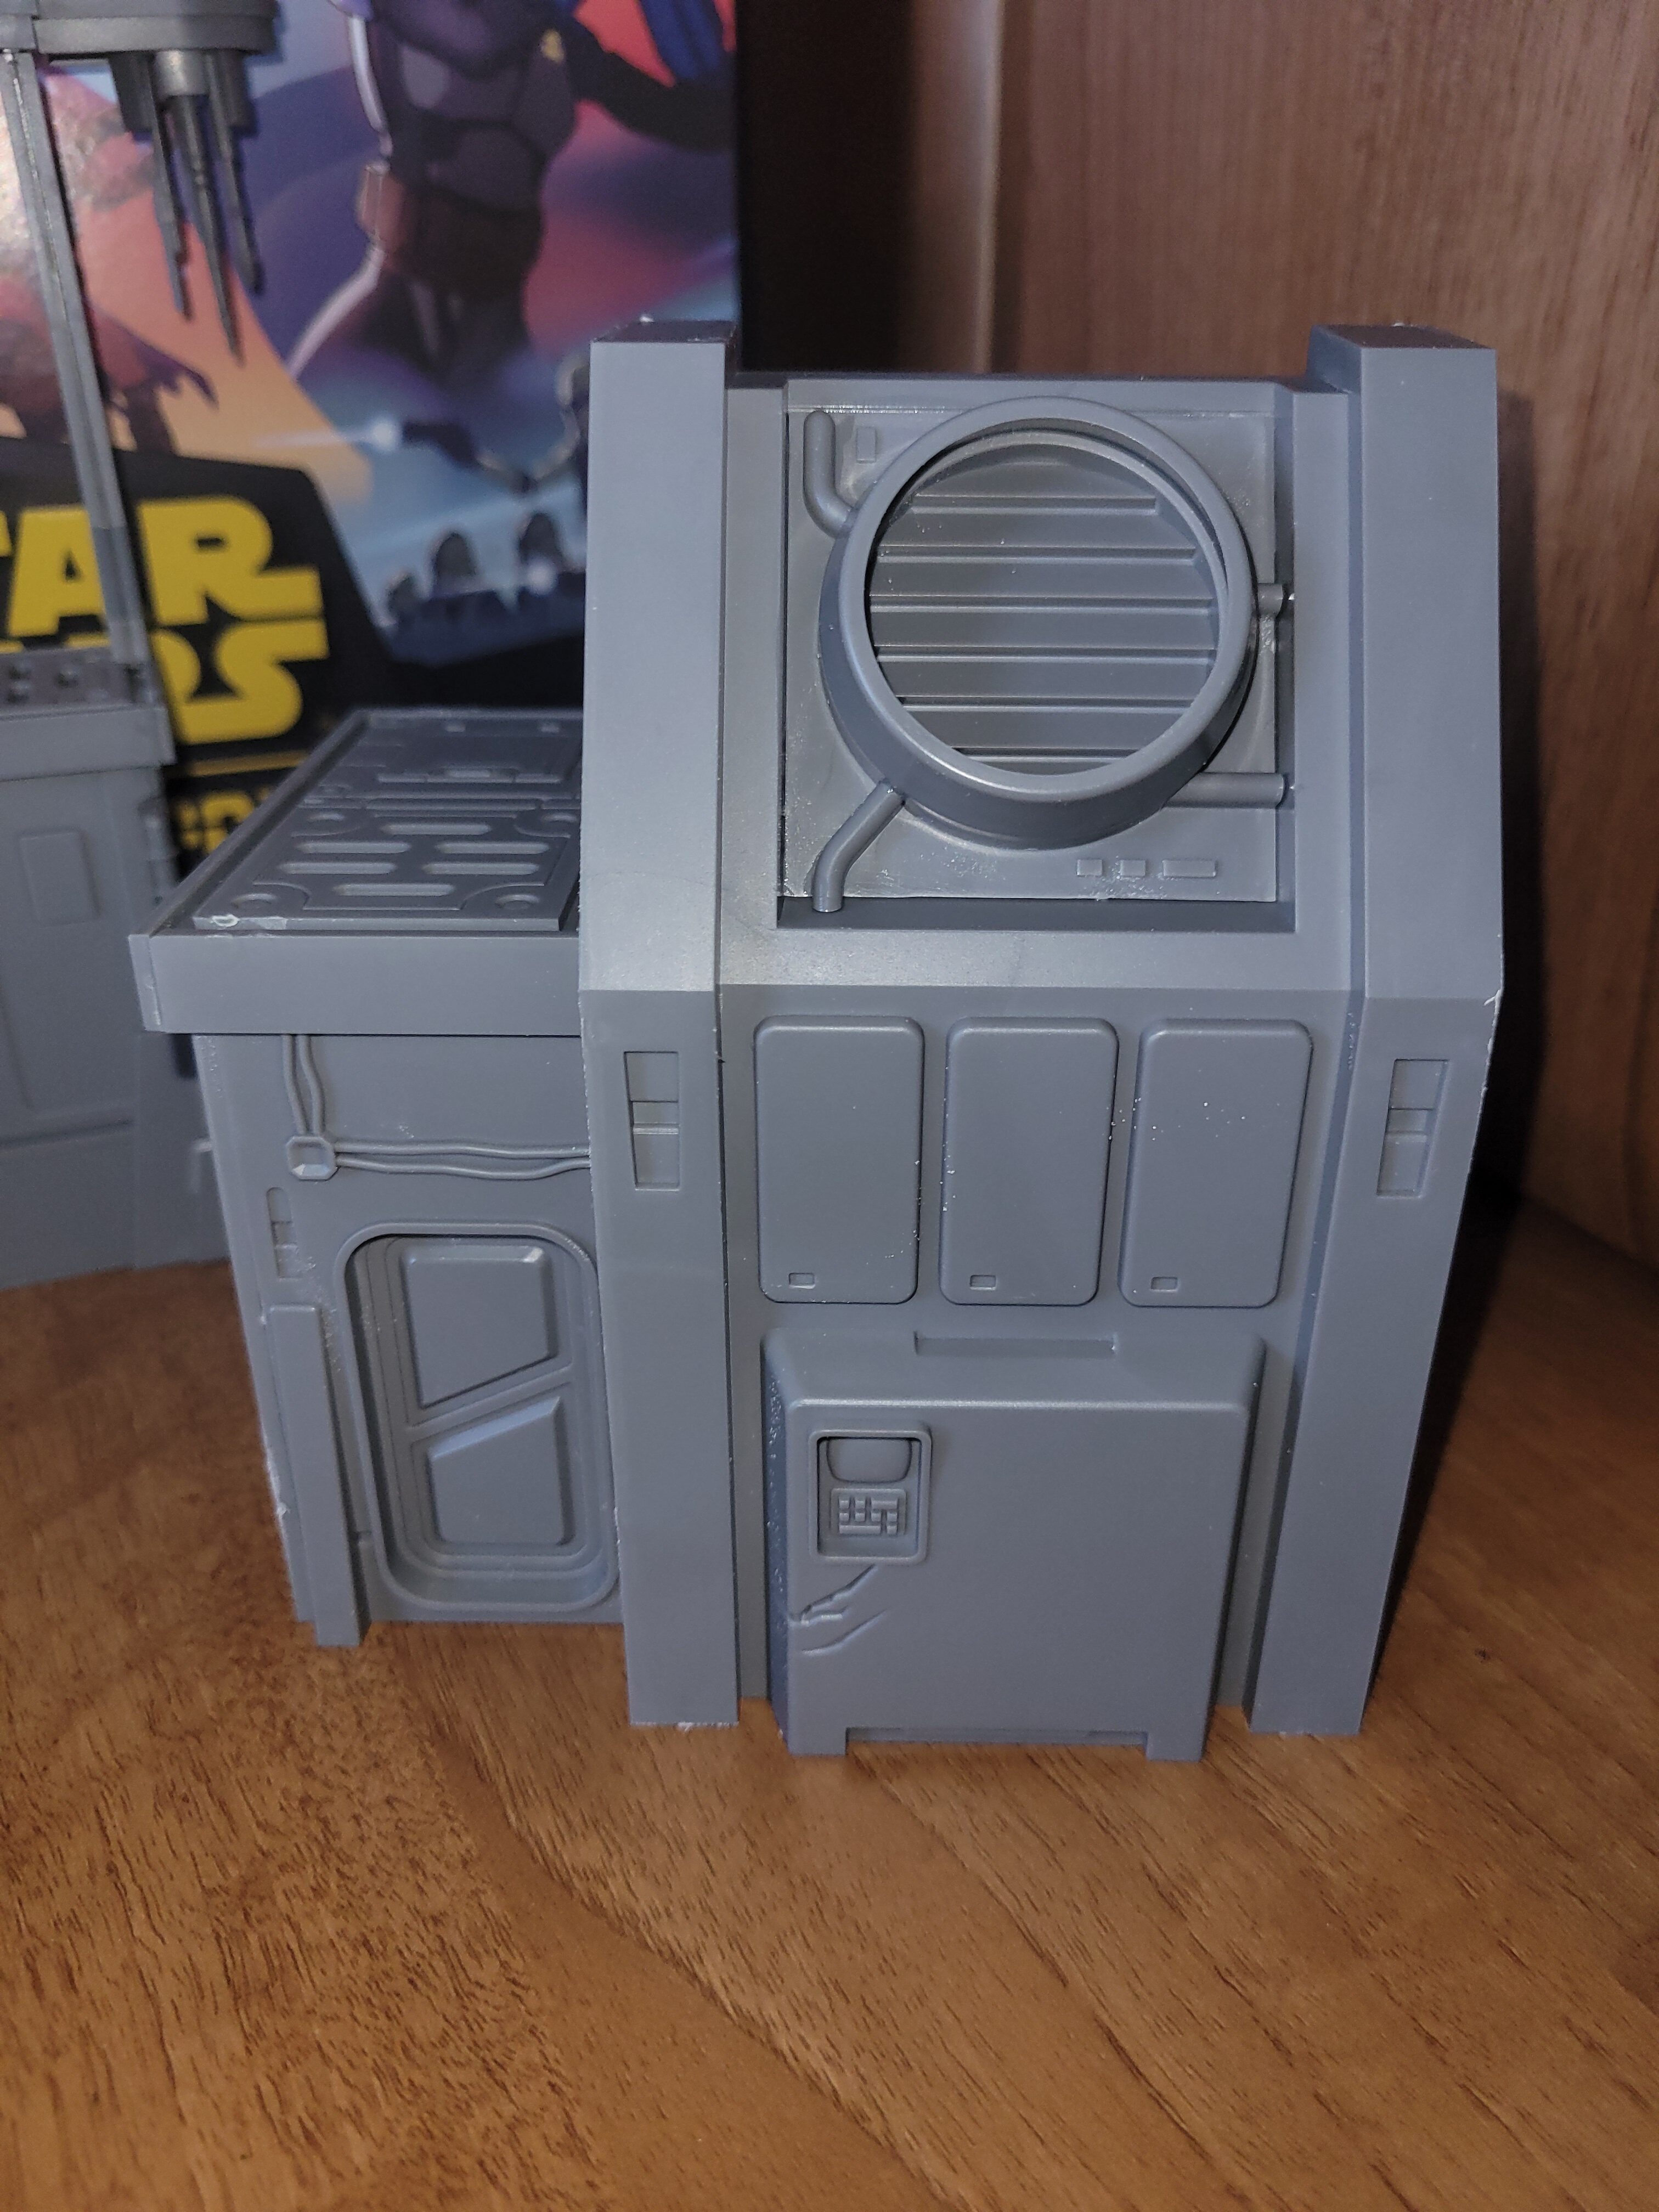
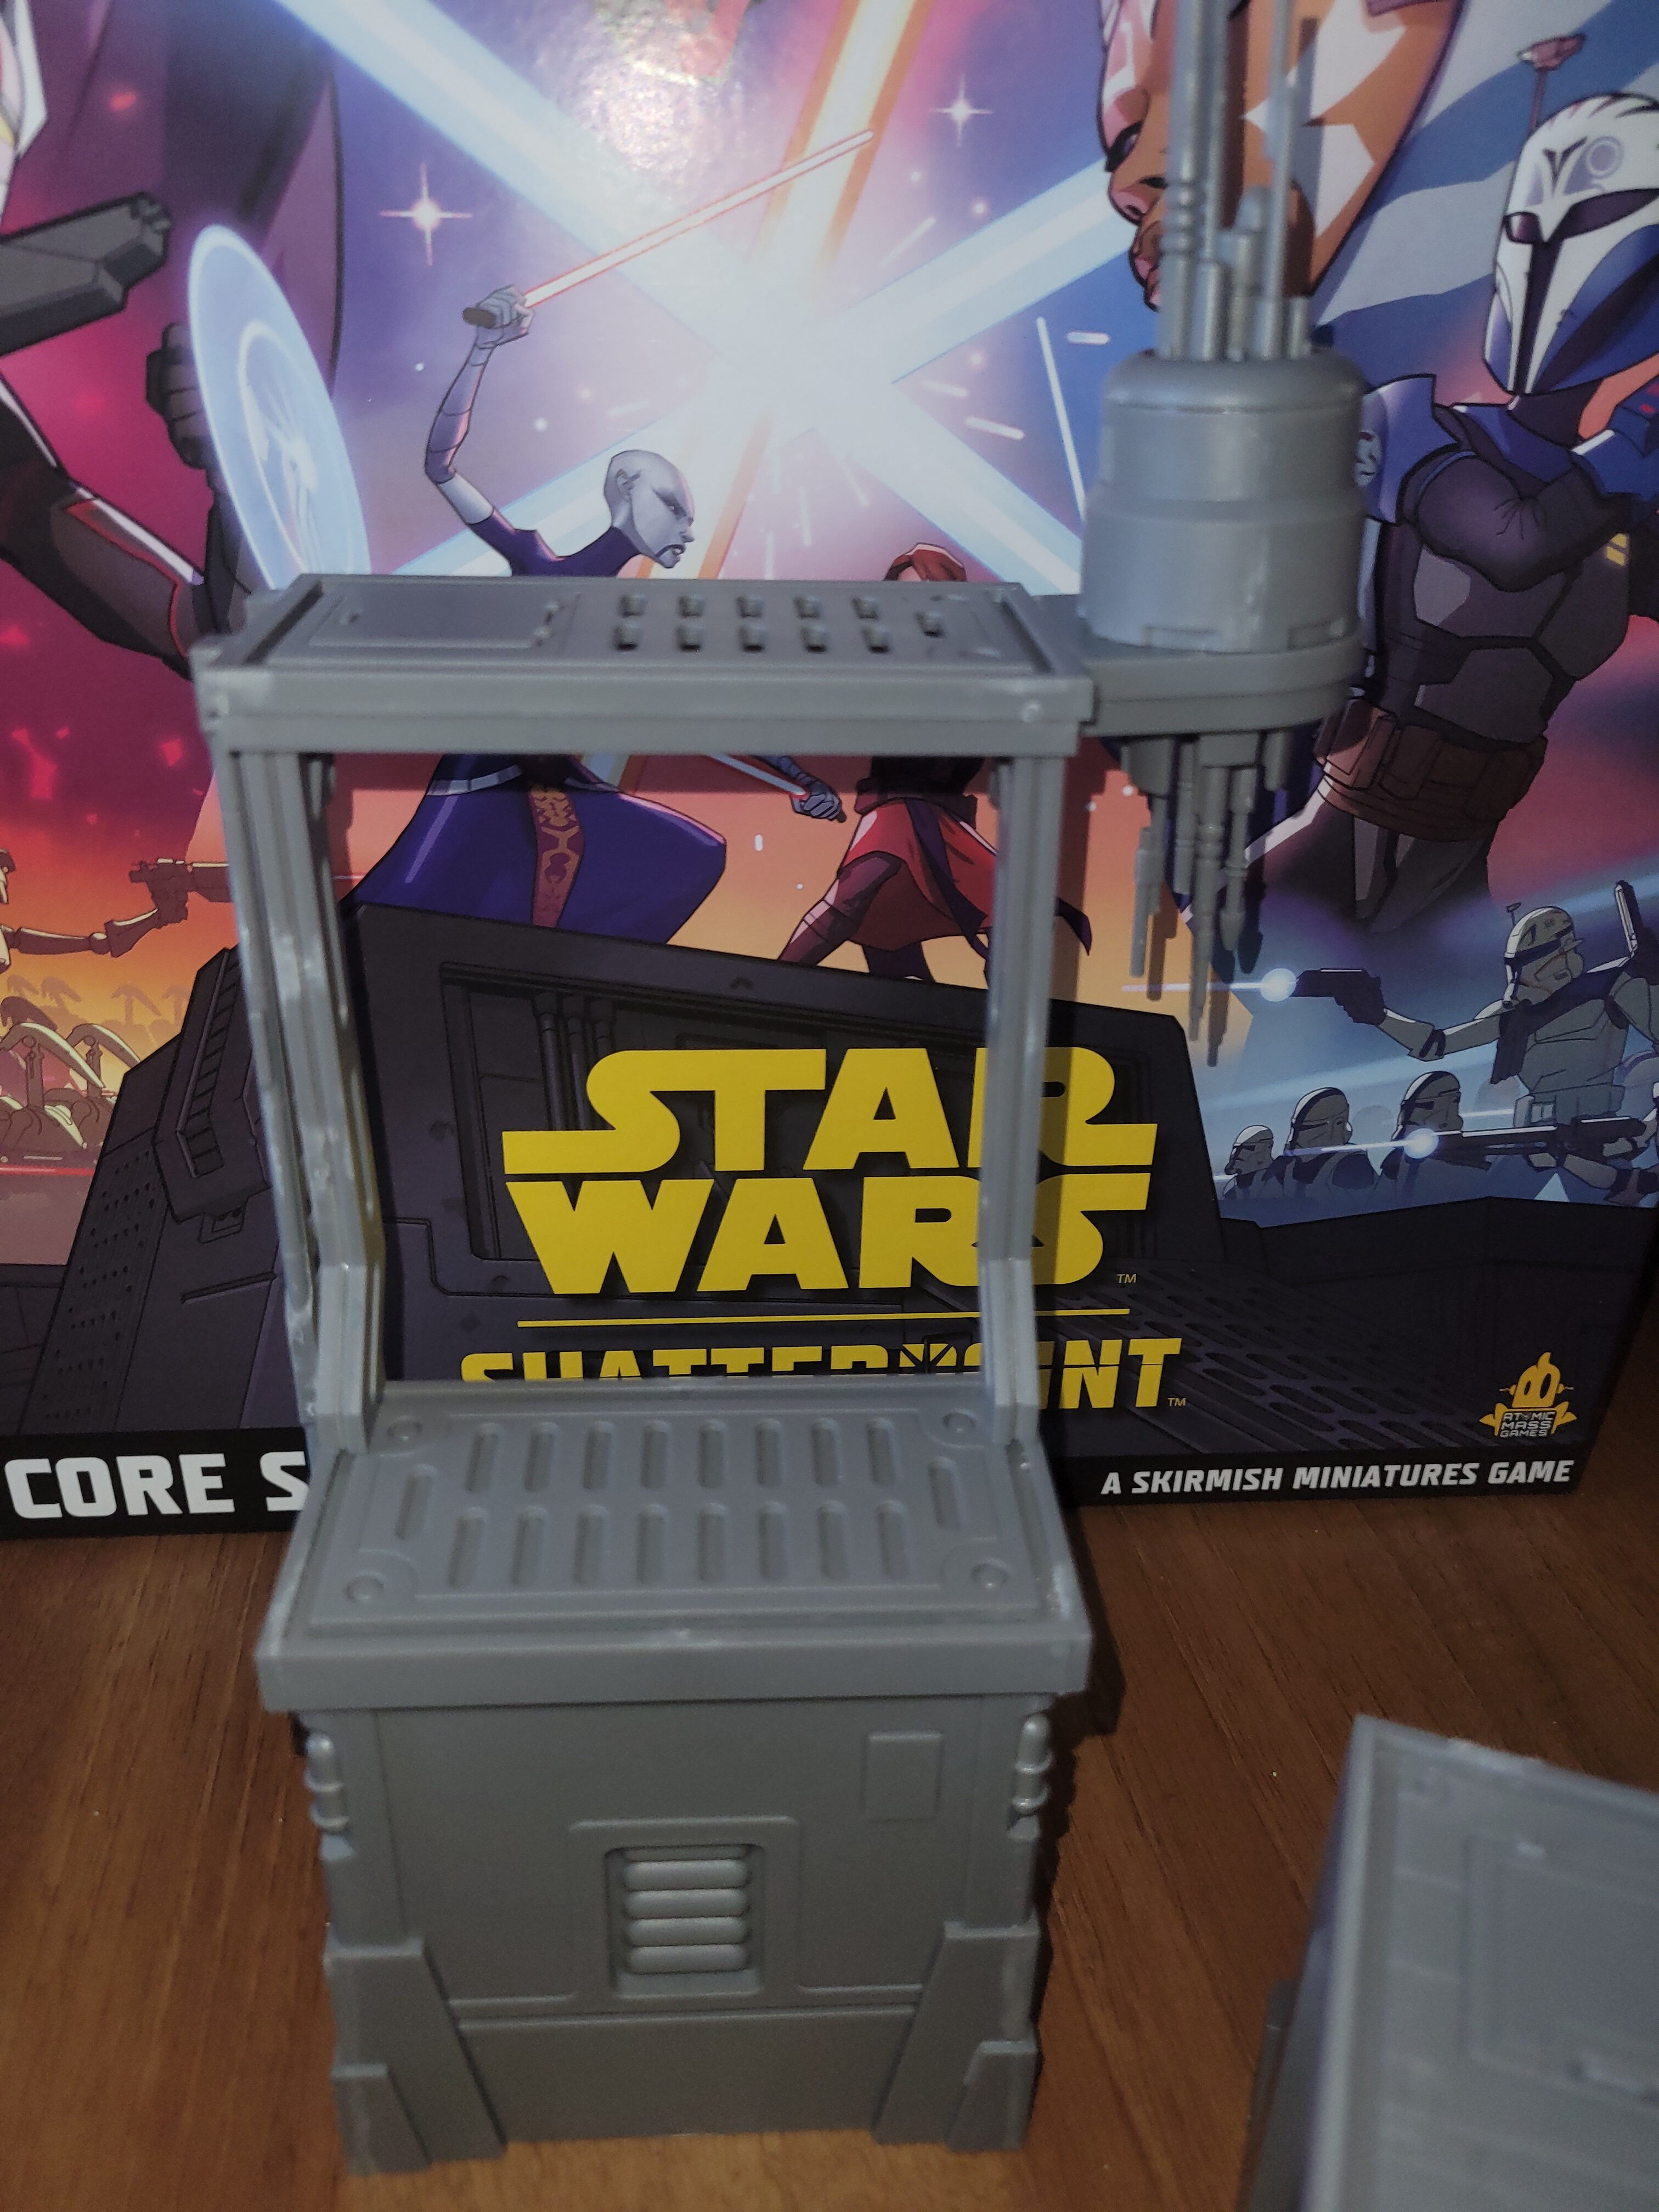
The buildings are relatively simple to build, particularly after the droids, yet I do want to mention a few things. I noticed while building the first tower, it may seem like you want to push all the pieces together, particularly the first two on the instructions – don’t! Take the two side pieces out of the sprue and then push the first two until they join. I found there was about a 2-millimetre gap on the inside where the first two pieces don’t perfectly fit together.
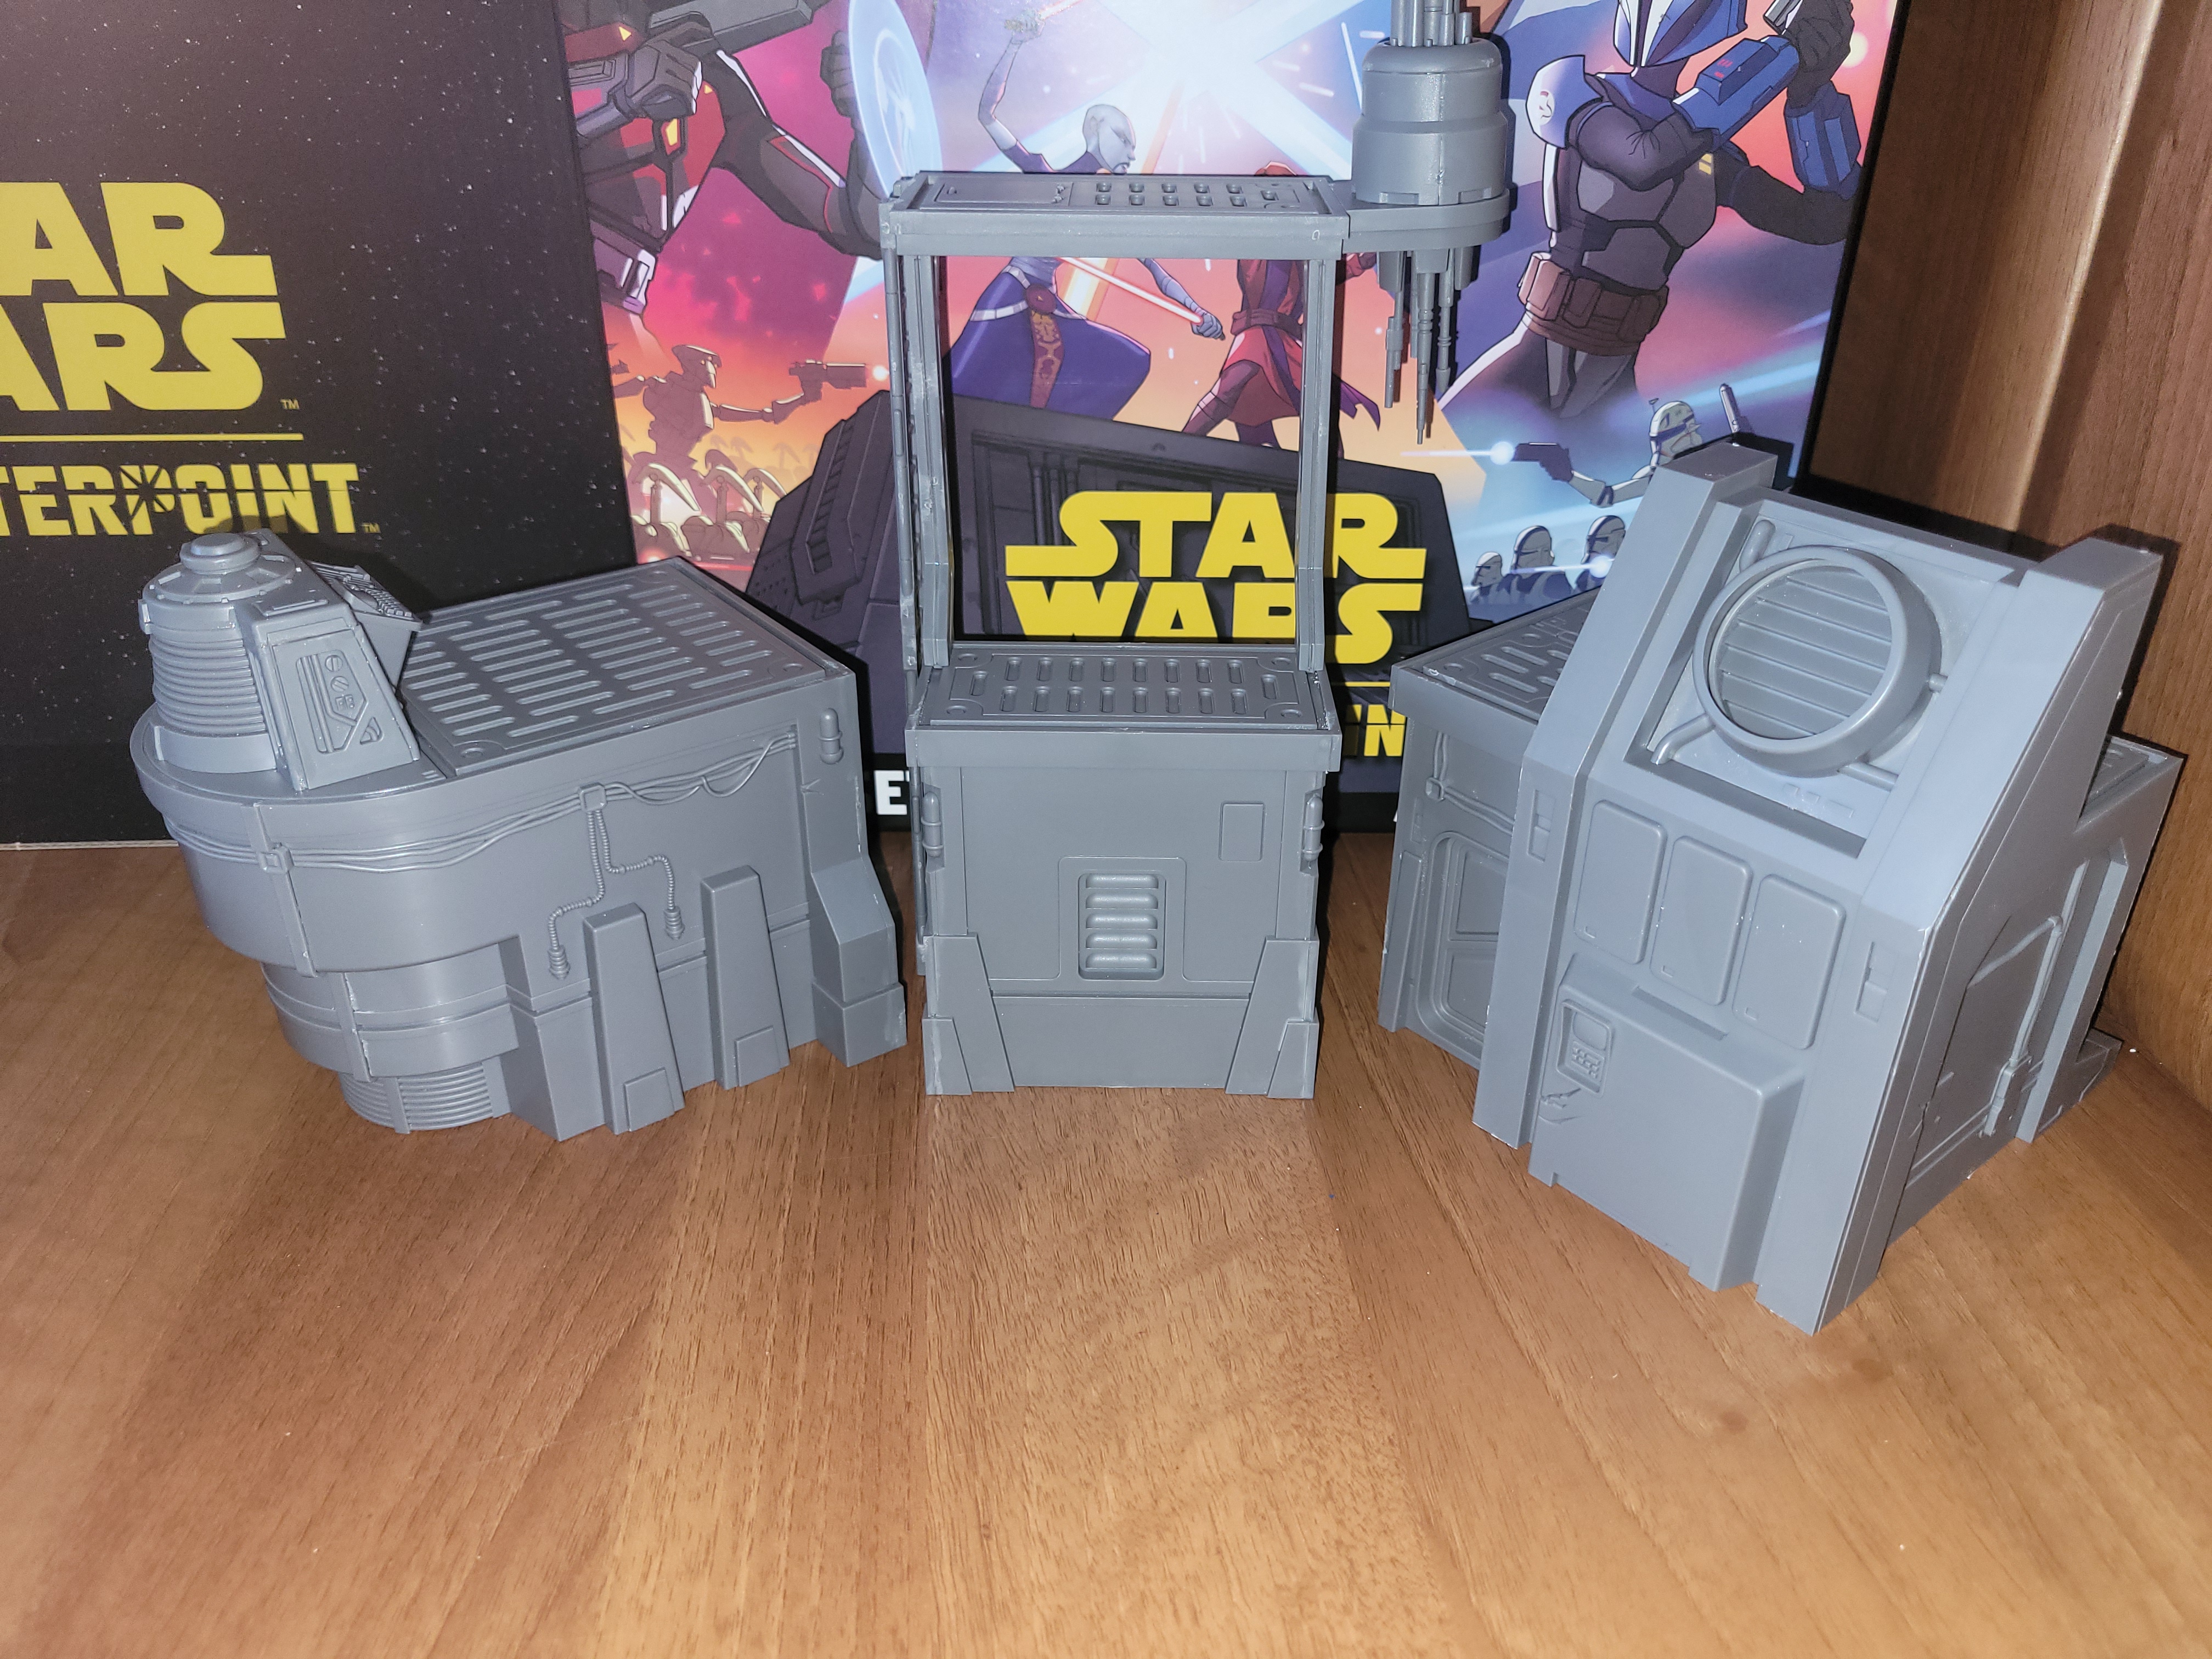
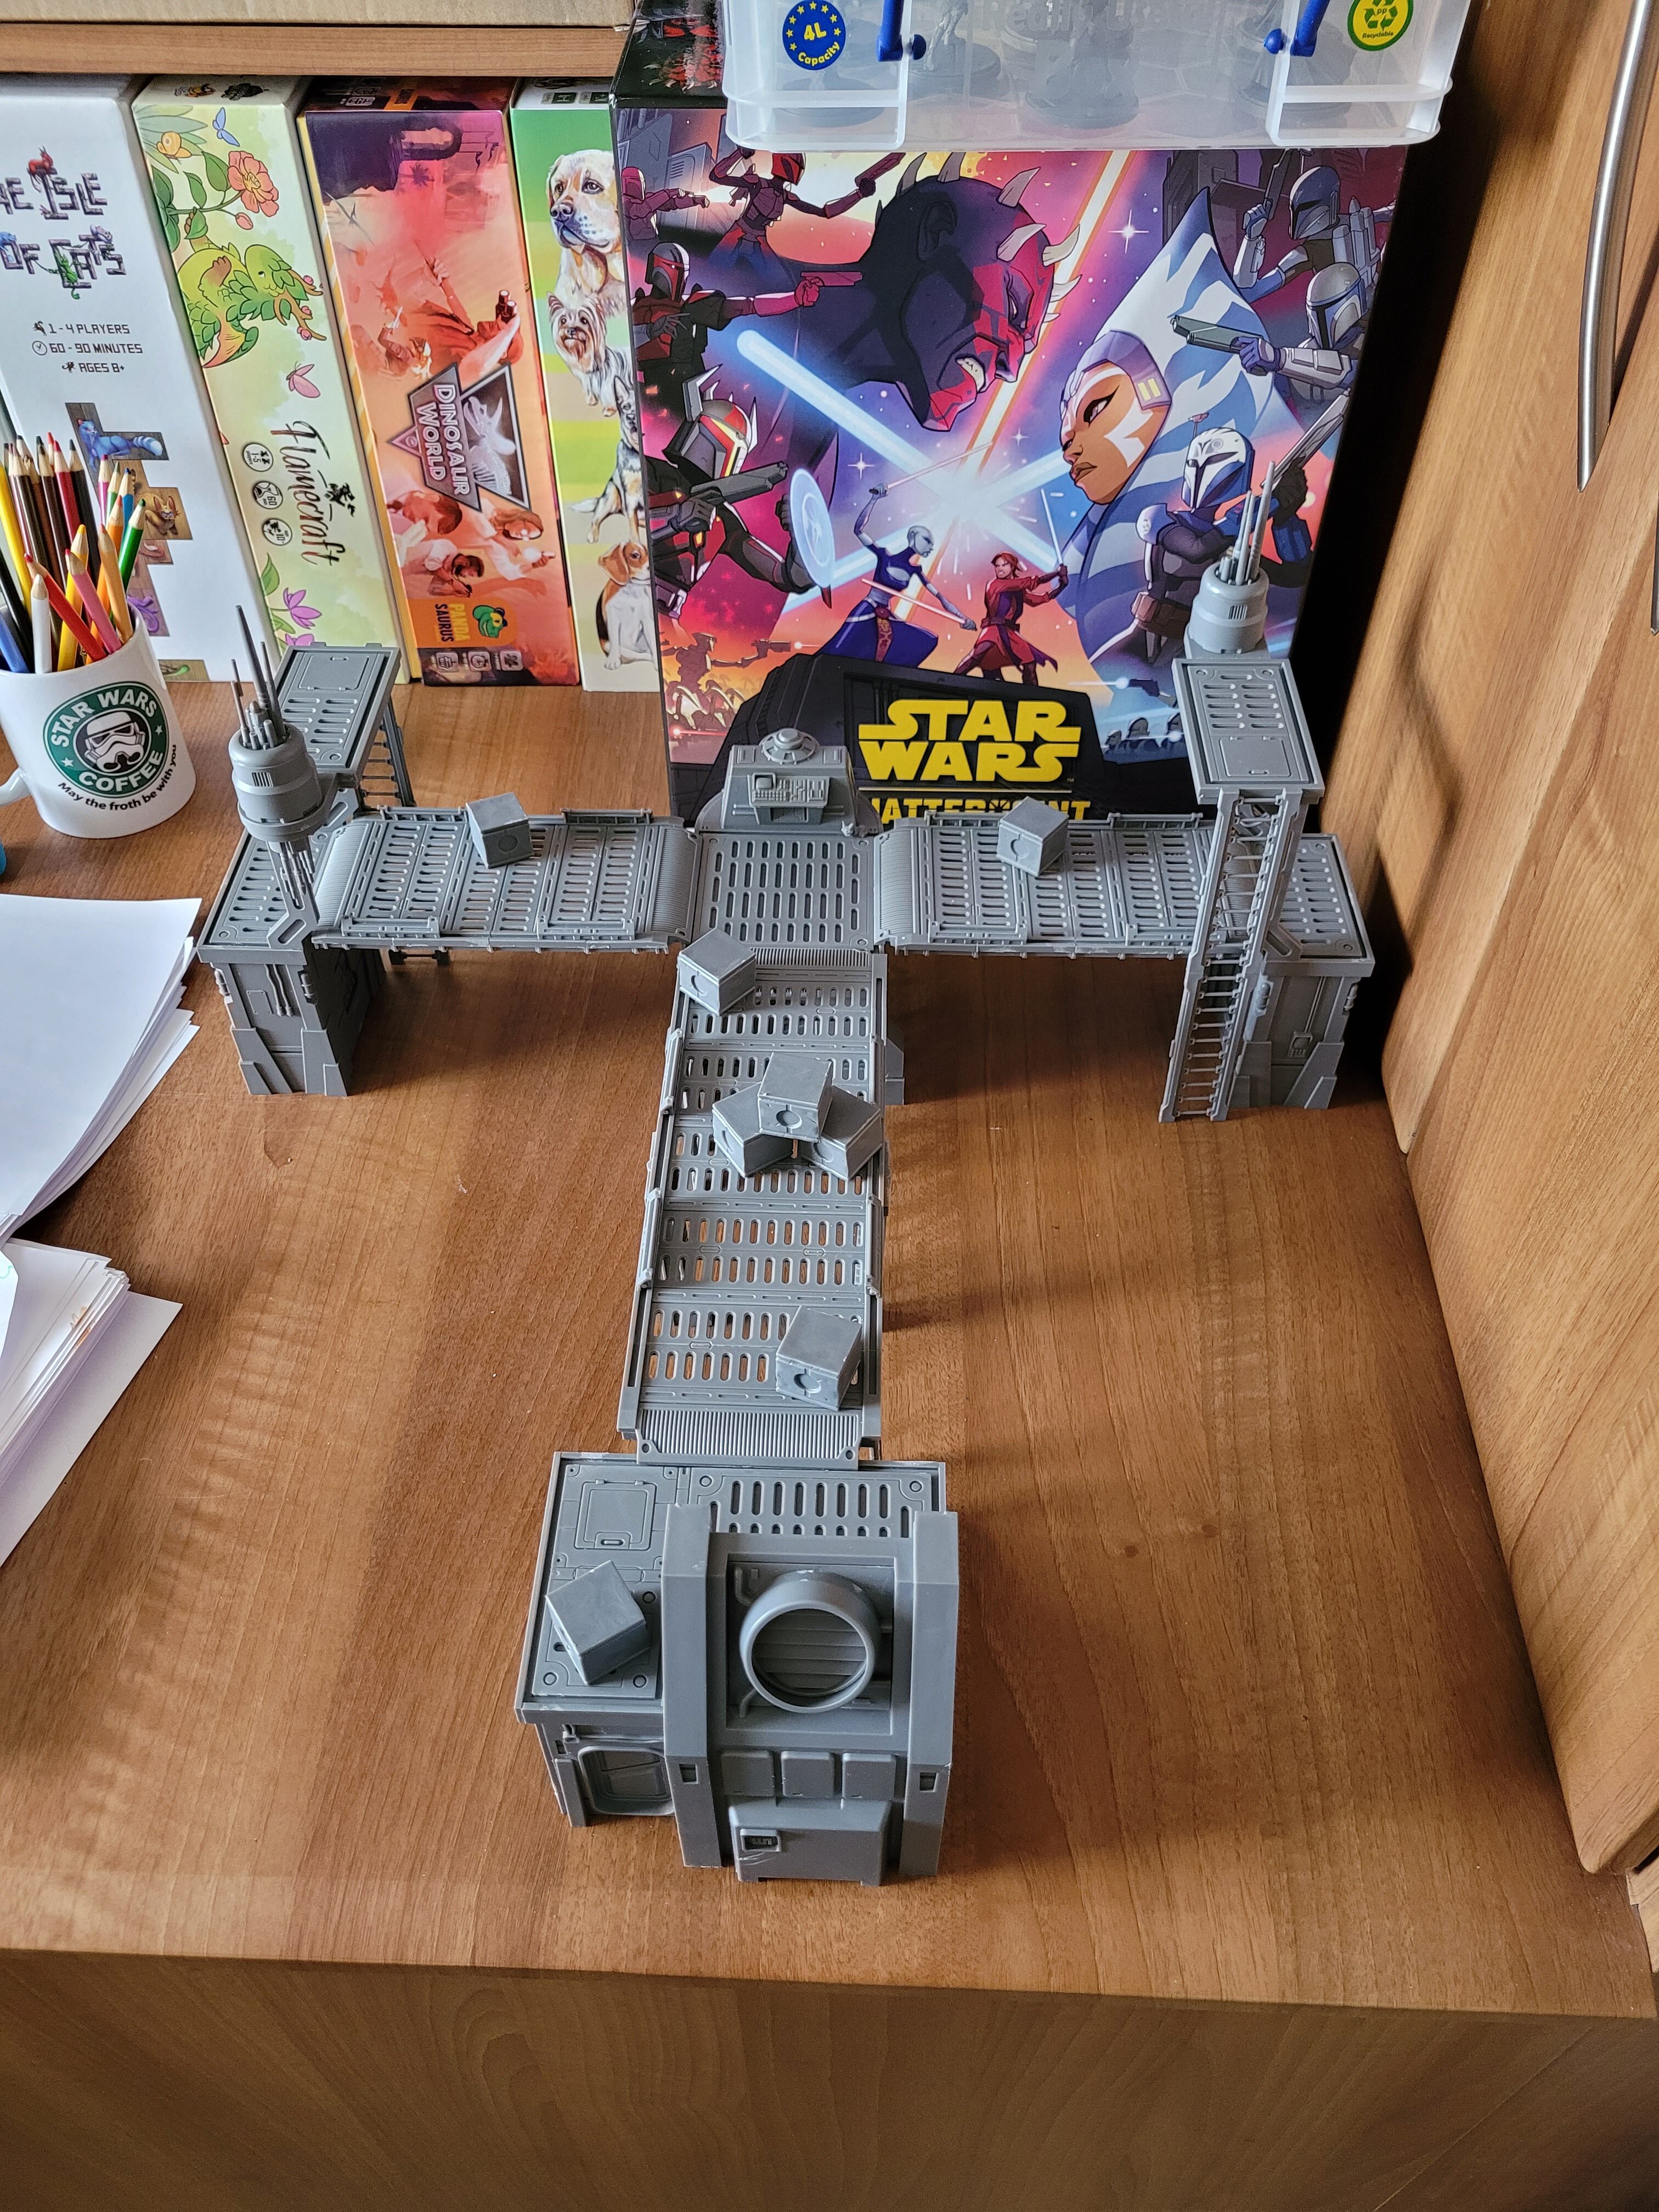
There is a lot of terrain in this set, from buildings to walkways to ladders to crates. For my review of the game in its entirety I will show you how I’ve laid it all out to make the battlefield. Suffice to say, I’m very impressed. The terrain is a tremendous size and there’s plenty of it to fill your play area, it really will bring your table to life.
6. Movement tools
The final part of the plastic elements are the movement tools. Now you may be thinking this is just a quick snapping of the pieces together and off you go. Why leave this easy part till the end? A lot of players, including myself, like to paint the ranger rulers and movement tools to give some individuality. Because of this, it’s far easier to undercoat the pieces before putting them together. When your models and terrain are done, while you undercoat them (typically with a spray undercoat of white, grey, or black) you can undercoat the movement tools together before snap fitting the pieces. These can then be painted when you have time between games.
 And there you have it. Everything from your core box should be ready to play your first game. Now we have our copy ready I shall be playing several games with my son, Charlie, to get a feel for the game and the next part of these articles – a game play review – will be following very soon! If you have any questions, please let us know on our social media feeds and I’ll be more than happy to answer and give advice!
Happy building!