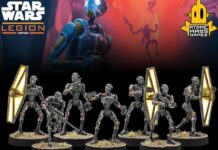
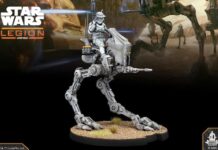
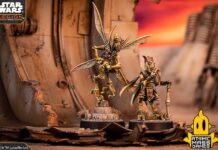
Waging battles across the fiery lava flows of Mustafar, or dogfights against TIE Fighters in the twinkling expanse of space, there are plenty of conflicts in Star Wars that have inspired games. These expand over the realms of both digital media and traditional board games – in particular miniatures. After all, who doesn’t want to build their own Clone Trooper legion or droid army? One of the latest entries into the galaxy of Star Wars miniatures games is Star Wars: Shatterpoint by Asmodee. Featuring characters from across all areas of the saga, including the animated shows, it’s pitting a multitude of different factions against each other.
Star Wars: Shatterpoint could also be an entry point for many fans into the wide world of miniatures. So, resident gaming expert, Mark Alders, is here to share his advice and tips on where to begin, what tools you will need, and how to make your own Star Wars miniatures armies.


Where do I start with miniatures? Core sets or expansions?
That all depends on what you know about miniature gaming, what you have lying around and what your friends also have. If you have never done miniature gaming before, then absolutely the core set! It has everything you need to start playing, four squads (two for each player), the terrain, the dice, measuring tools and the rulebook. The scenery is essential in this game, but you may have some from other games you’re happy to use, which might mean that you don’t need the core set. You could buy two of the separate squad sets that are available. However, you will still need dice and measuring tools (available separately) unless you can share a friend’s set. The core set may seem like a lot of money, in fact it was one of the most expensive core sets I have seen recently, yet it does come with everything that anyone could need and when you add up the cost of buying everything separately, it does present very good value for money.
Do miniatures come pre-built, or do I need to build them?
The miniatures need to be built. In some ways this is great as you can customise them to how you want. If there are annoying depths difficult to reach with a brush, then you can keep those pieces separate until you’ve painted them. However, it does mean this isn’t a buy the game and play out of the box. Equally, there are some very fiddly models. We’re still awaiting our copy of the game here at Jedi News, but as soon as we do, we’ll try and do an article to help beginners through these builds.
It also means that you will need clippers and plastic glue to join everything together. You can get Citadel Plastic Glue from Games Workshop, although the more I’ve assembled Marvel Crisis Protocol miniatures (that can be as fiddly as these) I’ve started to move to Ammo Extra Thin Cement.
How do I prepare a miniature for painting?
This sort of carries on from the last question. Once you’ve built the models you can just play with them unpainted…but where is the fun in that. After you’ve assembled your troops, you may need to file any mould lines which will show up very clearly if you’re painting. For this you will need a modelling file. Once that is done, you need to base your models, ideally with a base spray can. The best colours to use are black, white, or grey. Everyone has their personal preferences, although I usually go with black as I like quite a dark pallet with my models to let the highlights show. If I’m painting something with very bright colours, I’ll usually use white.
What kinds of brushes will I need?
Modelling brushes suitable for acrylic paint. The old saying of “you get what you pay for” is very true with brushes. They can cost just a few pounds and go up to and over £10 a brush. If you’re just starting out, you can get a three pack of brushes from Hobby Craft for a few pounds, which will start you off in the right direction. If you’re looking for something better, then I can’t recommend Rosemary & Co’s 33 series, which I’ve been using for several years. The other thing to really invest in is a paint brush cleaner. I bought a tub of cleaner three years ago and I haven’t even used a third of it yet, but it keeps my brushes looking fantastic for longer.
Which paint brands do you recommend? How many paints do I need to buy?
Talk to different painters and you get different answers on both accounts. I have always used Citadel paints from Games Workshop because as a child, they were the only company with paints that you could buy locally. Nowadays there are lots and it depends on the level you want to go to. Vallejo makes fantastic paints as well but for both of these, depending on the amount of paints you’re getting, you can spend a small fortune. At my after-school club for my class, they have been using Army Painter paints that are a lot more affordable.
In terms of the amount of paints, that depends on the level you want to go. You will need a base coat of all the colours and I can’t recommend Nuln Oil and Agrax Earthsahade washes from Citadel enough to then add depth to your models. You may then want to highlight, so you will need a white (if you want to go with the cheap option) or lighter tones of the base coat you have brought. As you can see, the number of paints you need can go up very quickly!


Do I use water with the paints, or do I need specific thinners?
Water is absolutely fine as long as you’re just thinning them down to paint. If you want to create your own washes or glazes, then you need a specific medium that most companies now sell. It’s so, so important to always water your paints down so you don’t lose the detail. ‘Two thin coats’ is a phrase you will hear often and if you get into the hobby, the phrase and the man who is most famous for it, (Duncan) you will probably get to learn a lot about.
What type of painting techniques do I need to learn?
If you’re just starting out, then just learn to get the paint on in the right places. Once you’ve done that then it’s adding the aforementioned washes onto those areas to bring depth to them. The washes go into the crevices and darken them. Nuln Oil is black and can be used on just about anything. If you are using brighter colours like red or yellow, or want a dirty look, then use Agrax Earthshade. This will give you models that look great as they are. After that it would be highlighting.
Are reference photos a good idea?
I never paint without them! I always do a bit of research first. I look at the box, asking myself do I like that art? If not, then what source material photos can I use to get the look I want? Finally, I look at what other painters have done and see if any of those have ideas. It’s always good to have references to guide you. There are many of us that post our miniatures on Instagram and Facebook to help inspire. I know I’ll be placing Shatterpoint photos up as soon as they’re here and painted (you can find me @spookedhippie on Instagram if you want to follow my painting).
Do I glue a miniature onto its stand before or after painting?
It depends on what you’re doing with the base, but I would always recommend doing it first. It means the model bonds to the base, making it sturdier and then if any glue seeps out of the feet, it won’t ruin your paint work. Also, it means you can play with them if you haven’t got round to painting them!
How can I achieve different textures when painting?
There are many techniques depending on the specific texture. One of the most common ones is dry-brushing and is great for painting bases or doing very quick highlights. With anything like that, YouTube is a great place, and I can’t recommend Sorastros (I even got to meet him at UKGE this year) as an incredible fountain of knowledge. He paints miniatures and talks through his techniques so you can actually see how he achieved the magic that he does on his models. He will also be doing guides for Shatterpoint as well, which makes life even easier.


Wait, I have to paint the terrain too? How can I stop this from being overwhelming?
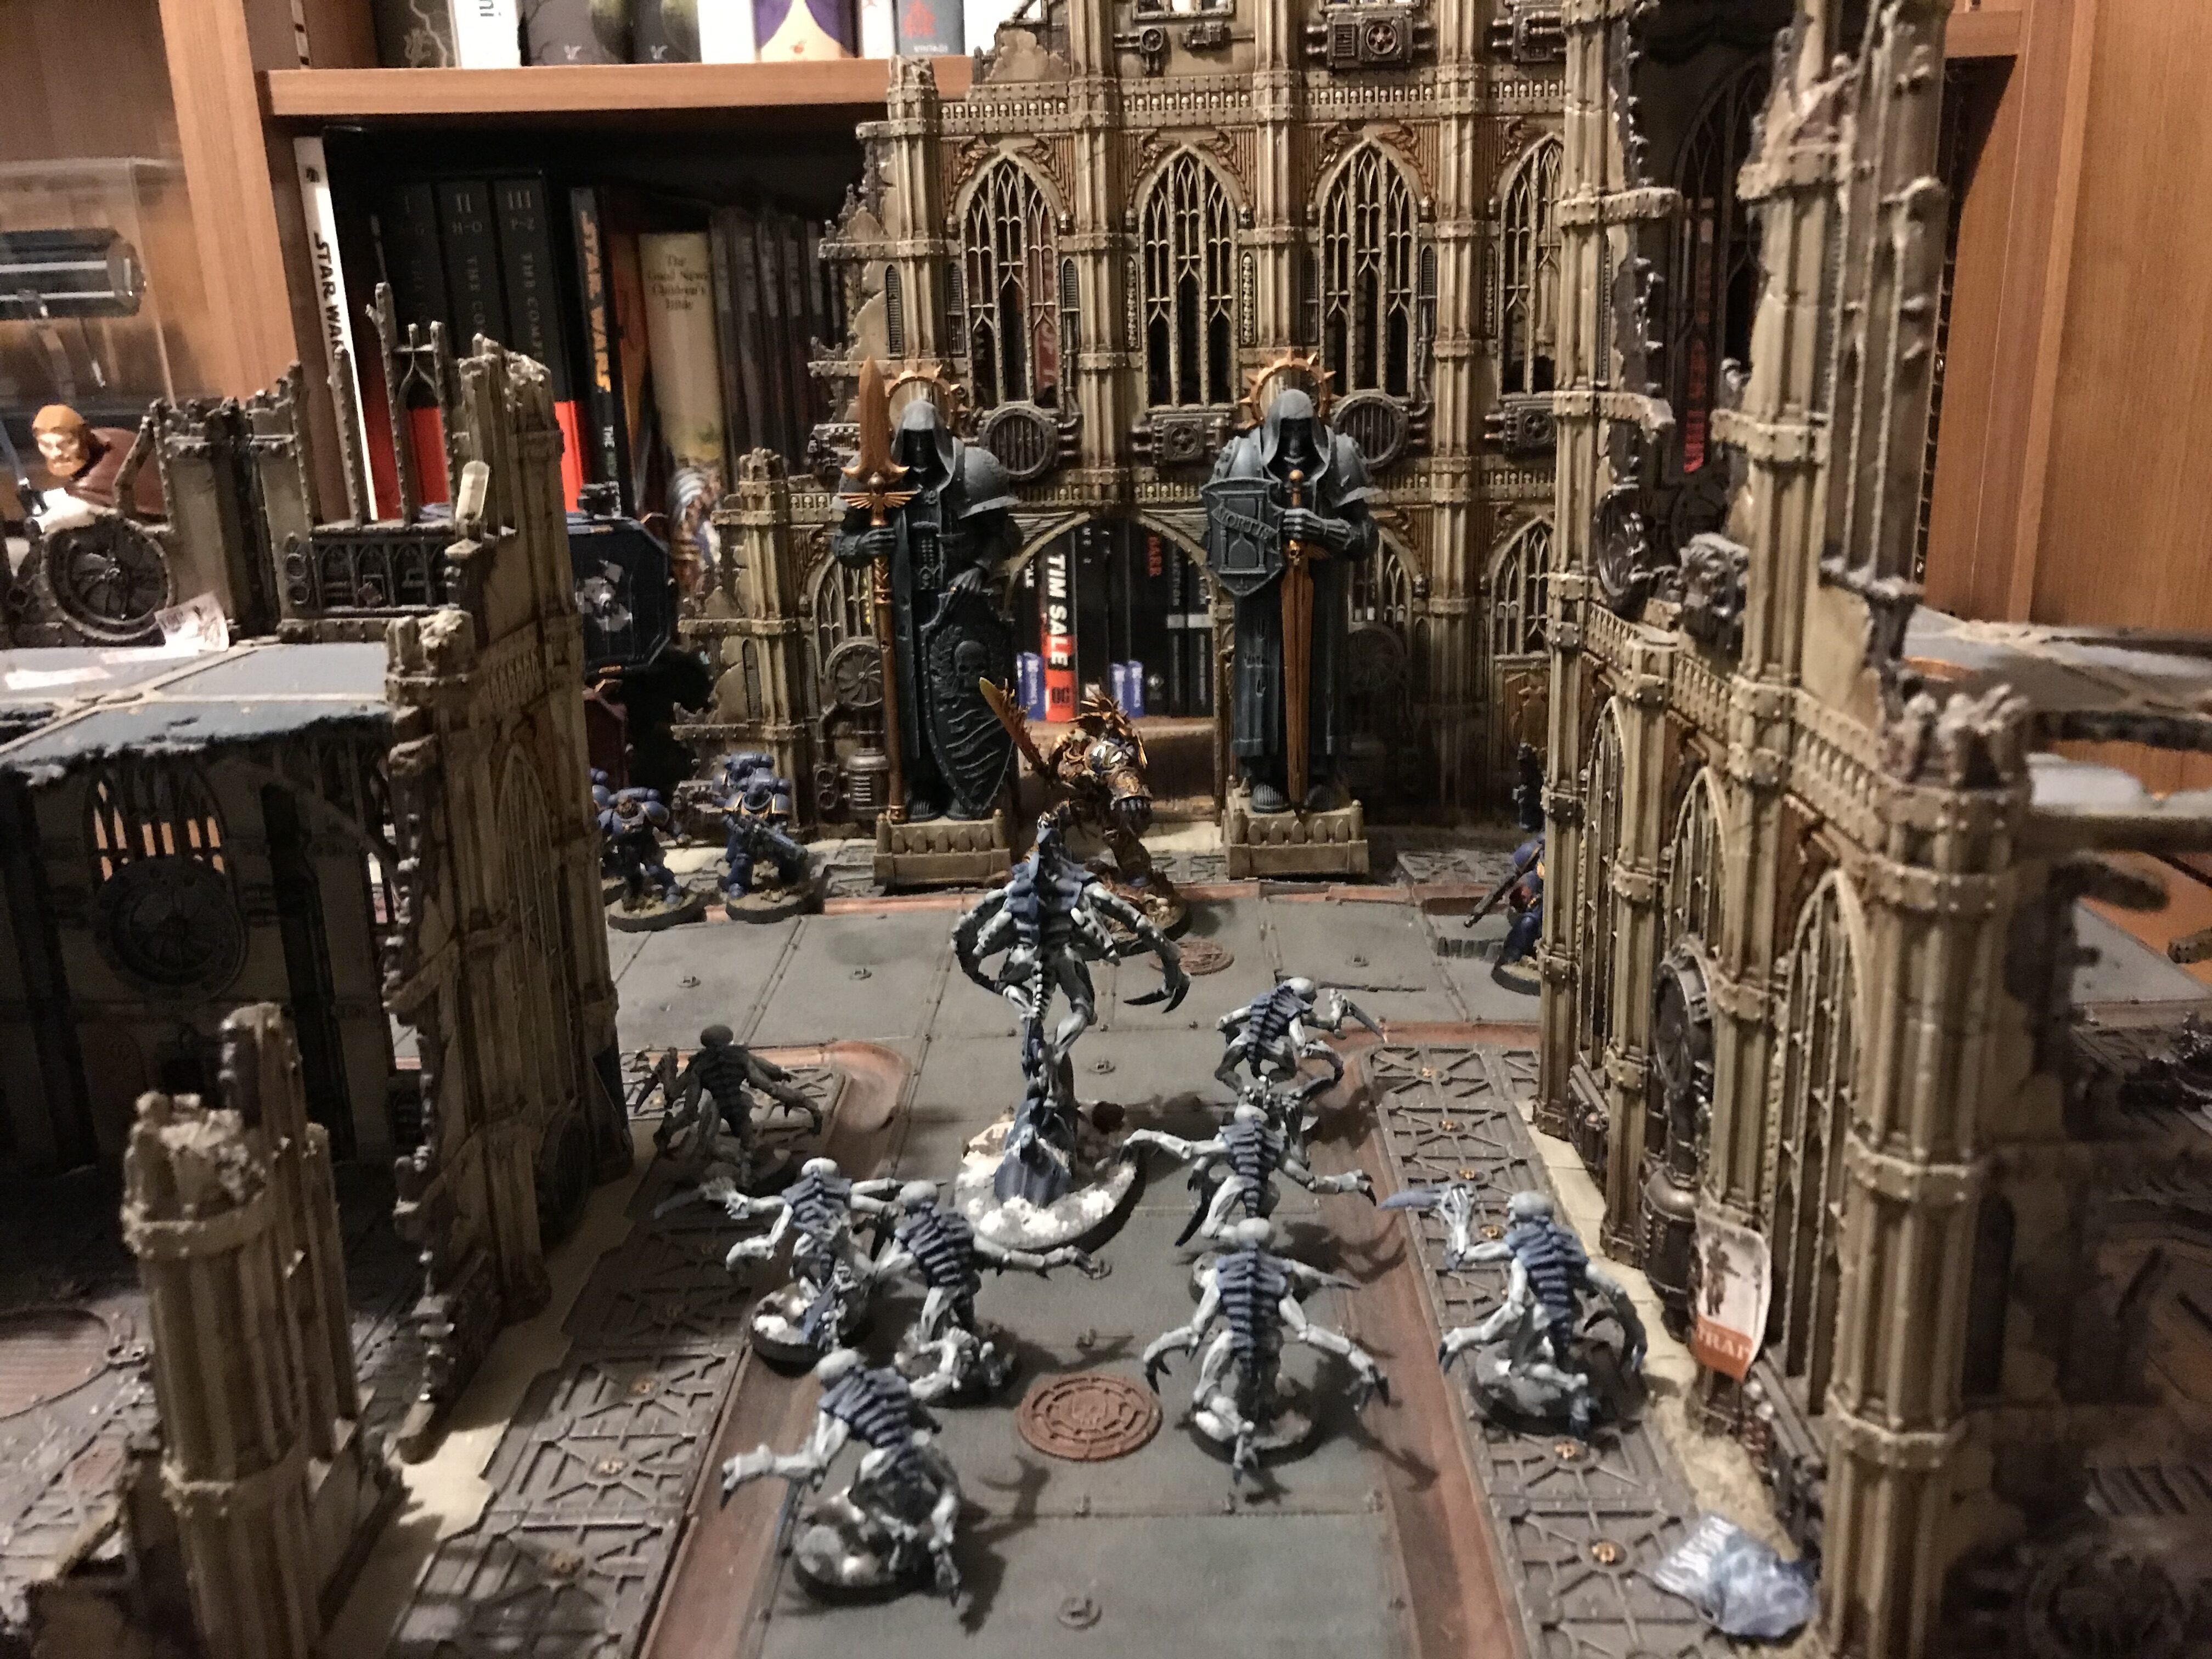
And there’s a lot of terrain. My son and I have played a lot of Kill Team and Marvel Crisis Protocol. For Kill Team, I created a whole 2×2 board with three layers of buildings, sculpted roads – the works! It took me three months of hard work. It was amazing and my son loved it, but unless you have lots of time (and wouldn’t rather be playing) it can be a huge pressure. For Crisis Protocol, which we’ve been playing for two years, I’ve just sprayed them all black and when I have some spare time, I’ll get to them. We don’t mind and at least with a base coat they don’t stand out too much. With the Shatterpoint terrain, you could simply buy a metallic spray, place a wash on and maybe pick out some buttons. For things like terrain, as with all of it, sometimes minimal can work. I’ve seen some fantastic projects that focus on this idea. Less colour but more time to play. Having that limitation can be used as a good inspiration for creating some very unique paint jobs.
Will I need to varnish the finished miniatures?
You technically don’t need to, but I would! If you’ve spent time painting them, you want to protect them as you are going to be moving them around a board. There are a range of varnishes but use a spray because it makes life a lot easier. Some people prefer gloss, which creates a very shiny look and gives maximum protection. I prefer matte and use ultra-matte sprays that give a little less protection but, for me, look better.
As you can see from these tips, you can put a lot of work and effort into miniatures, but it is really down to the finish you want. It’s perfectly fine to play with plain grey miniatures while you paint up the rest, or if you need a break from all the fiddly details. And if you have any further questions about techniques or supplies, then jump onto our social media and we’ll be happy to help you on your journey into becoming a Star Wars miniatures Jedi Master!