I have made one game board in my entire life, as in a board entirely glued, painted, little extras added. It took me months and at the end of it, my sons and I then moved away from the game. The board wasn’t needed, and I swore that I would never invest so much time on terrain again. I was wrong. Star Wars: Shatterpoint suckered me in, massively. The scale and the well-designed buildings were just too alluring to not do something with. To date, every single piece of terrain I have for the game has been painted and it does indeed look glorious. Playing games with it on the tabletop just makes the experience even more immersive.
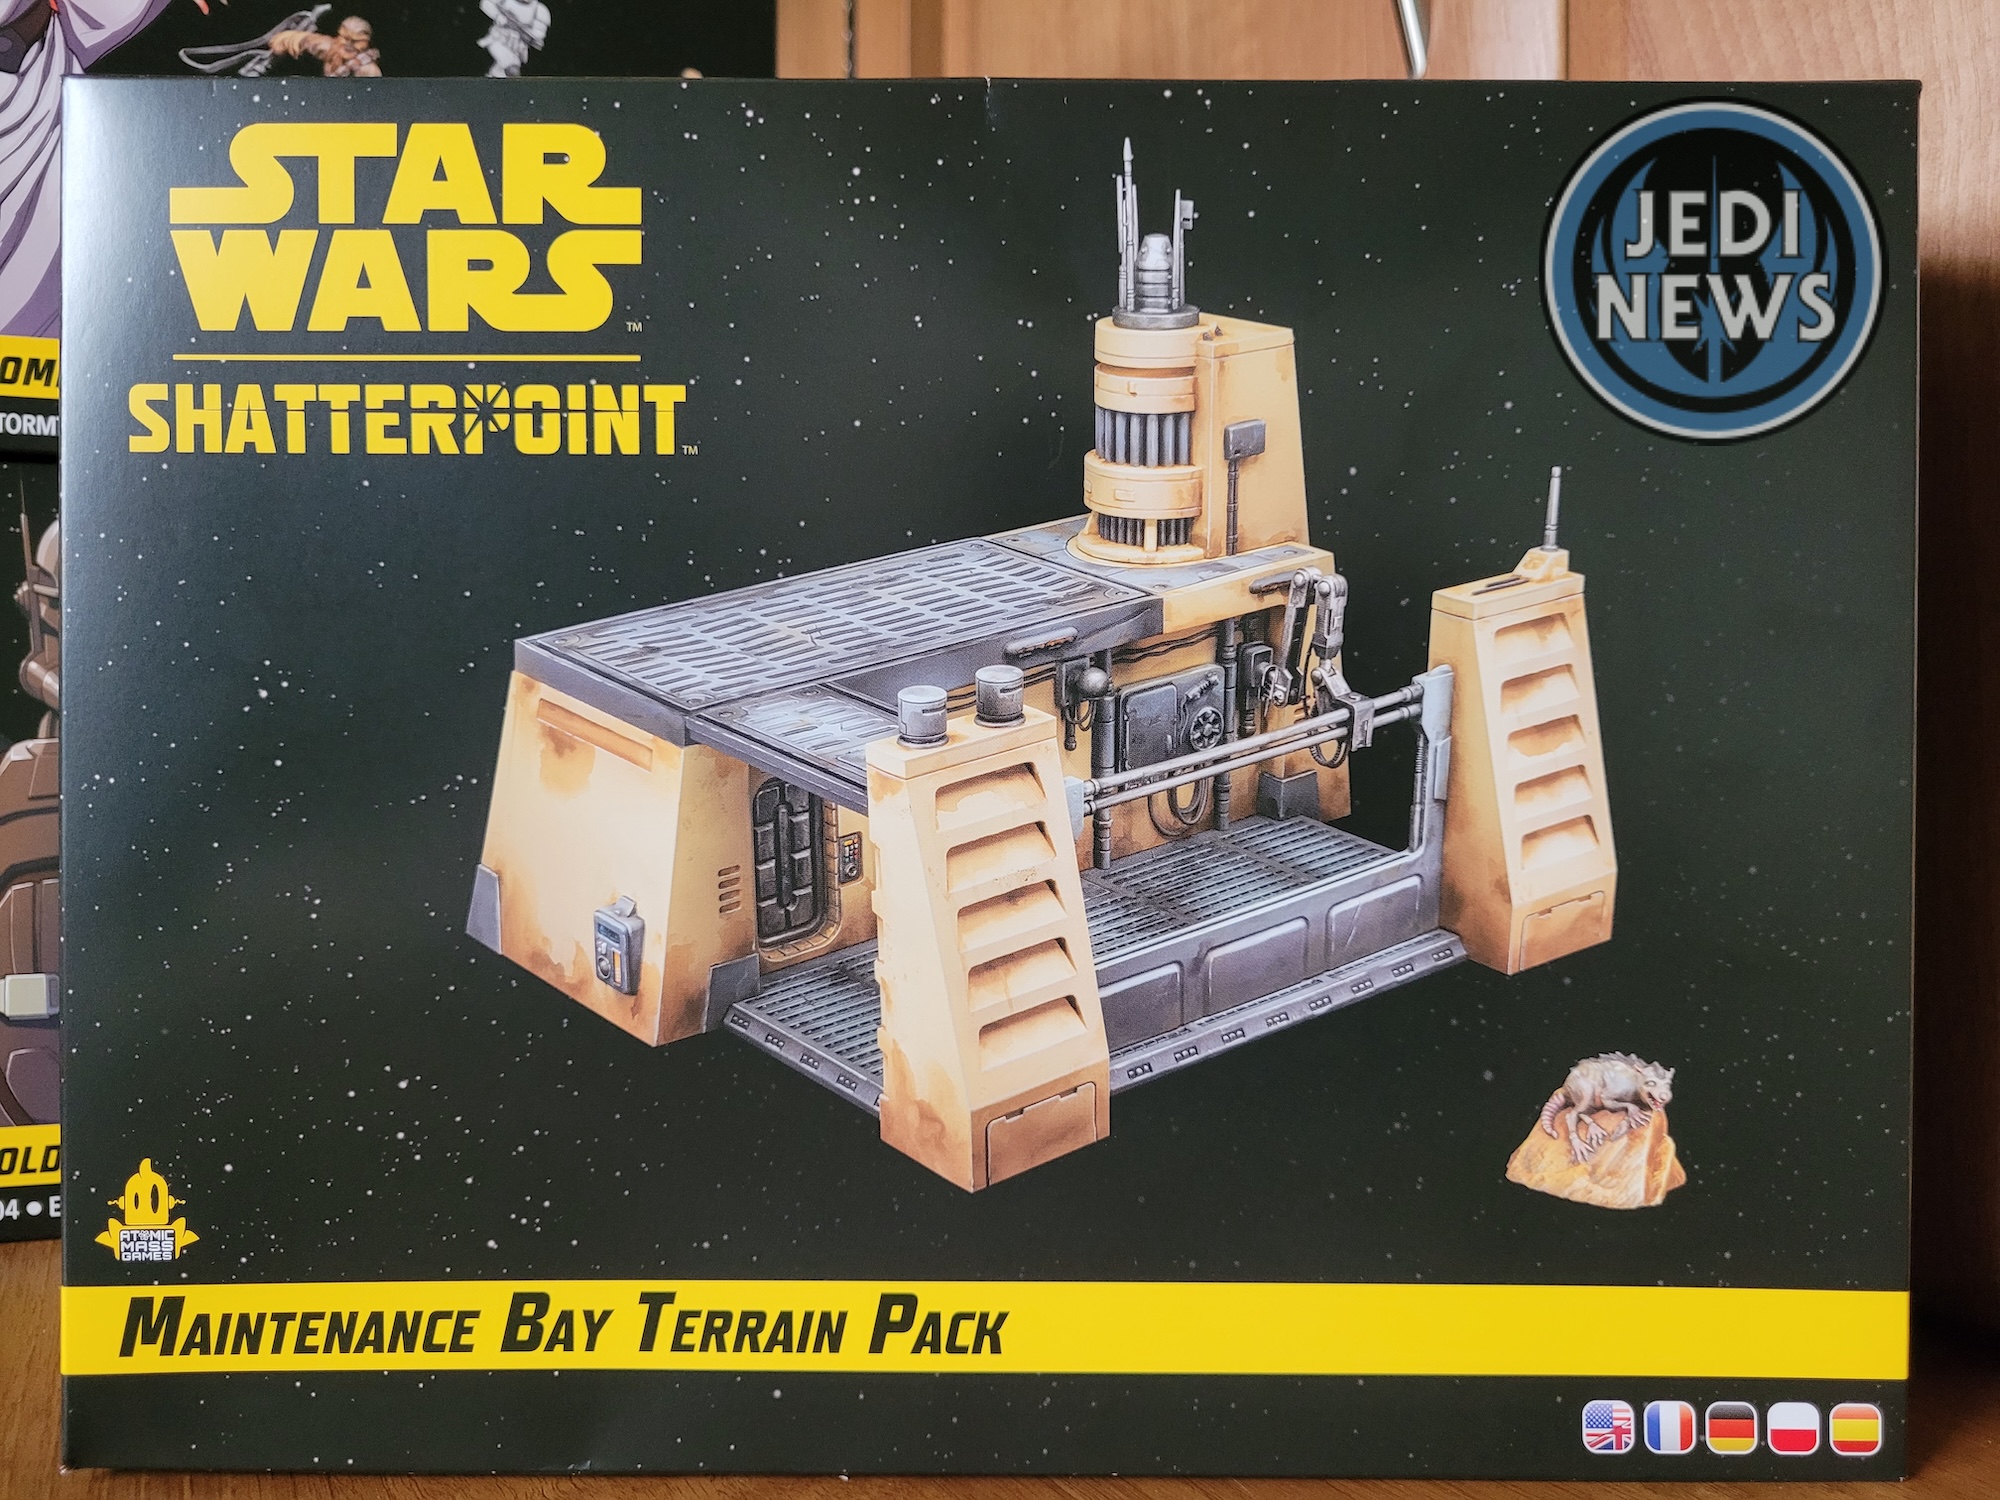

Then Atomic Mass Games announced that they are going to release even more terrain; I’m looking at my board thinking do I really need more? Then the images of the Maintenance Bay Terrain Pack are shown, something that fits in with the current terrain but is very, very different to what has so far been released. Well thank you Atomic Mass Games, I guess not all my terrain will be painted now!
In all seriousness, this set looks to be a fantastic addition. It is sizable, but in a different way to the other sets as it has a huge area it takes up on the ground, rather than up in the air. The fact it is fully compatible with the other sets makes it even better and I can’t wait to see how I can alter the look of my board to accommodate this set. While it isn’t going to bring any new rules with it, it might just affect game play, particularly if the bay itself is housing an objective.
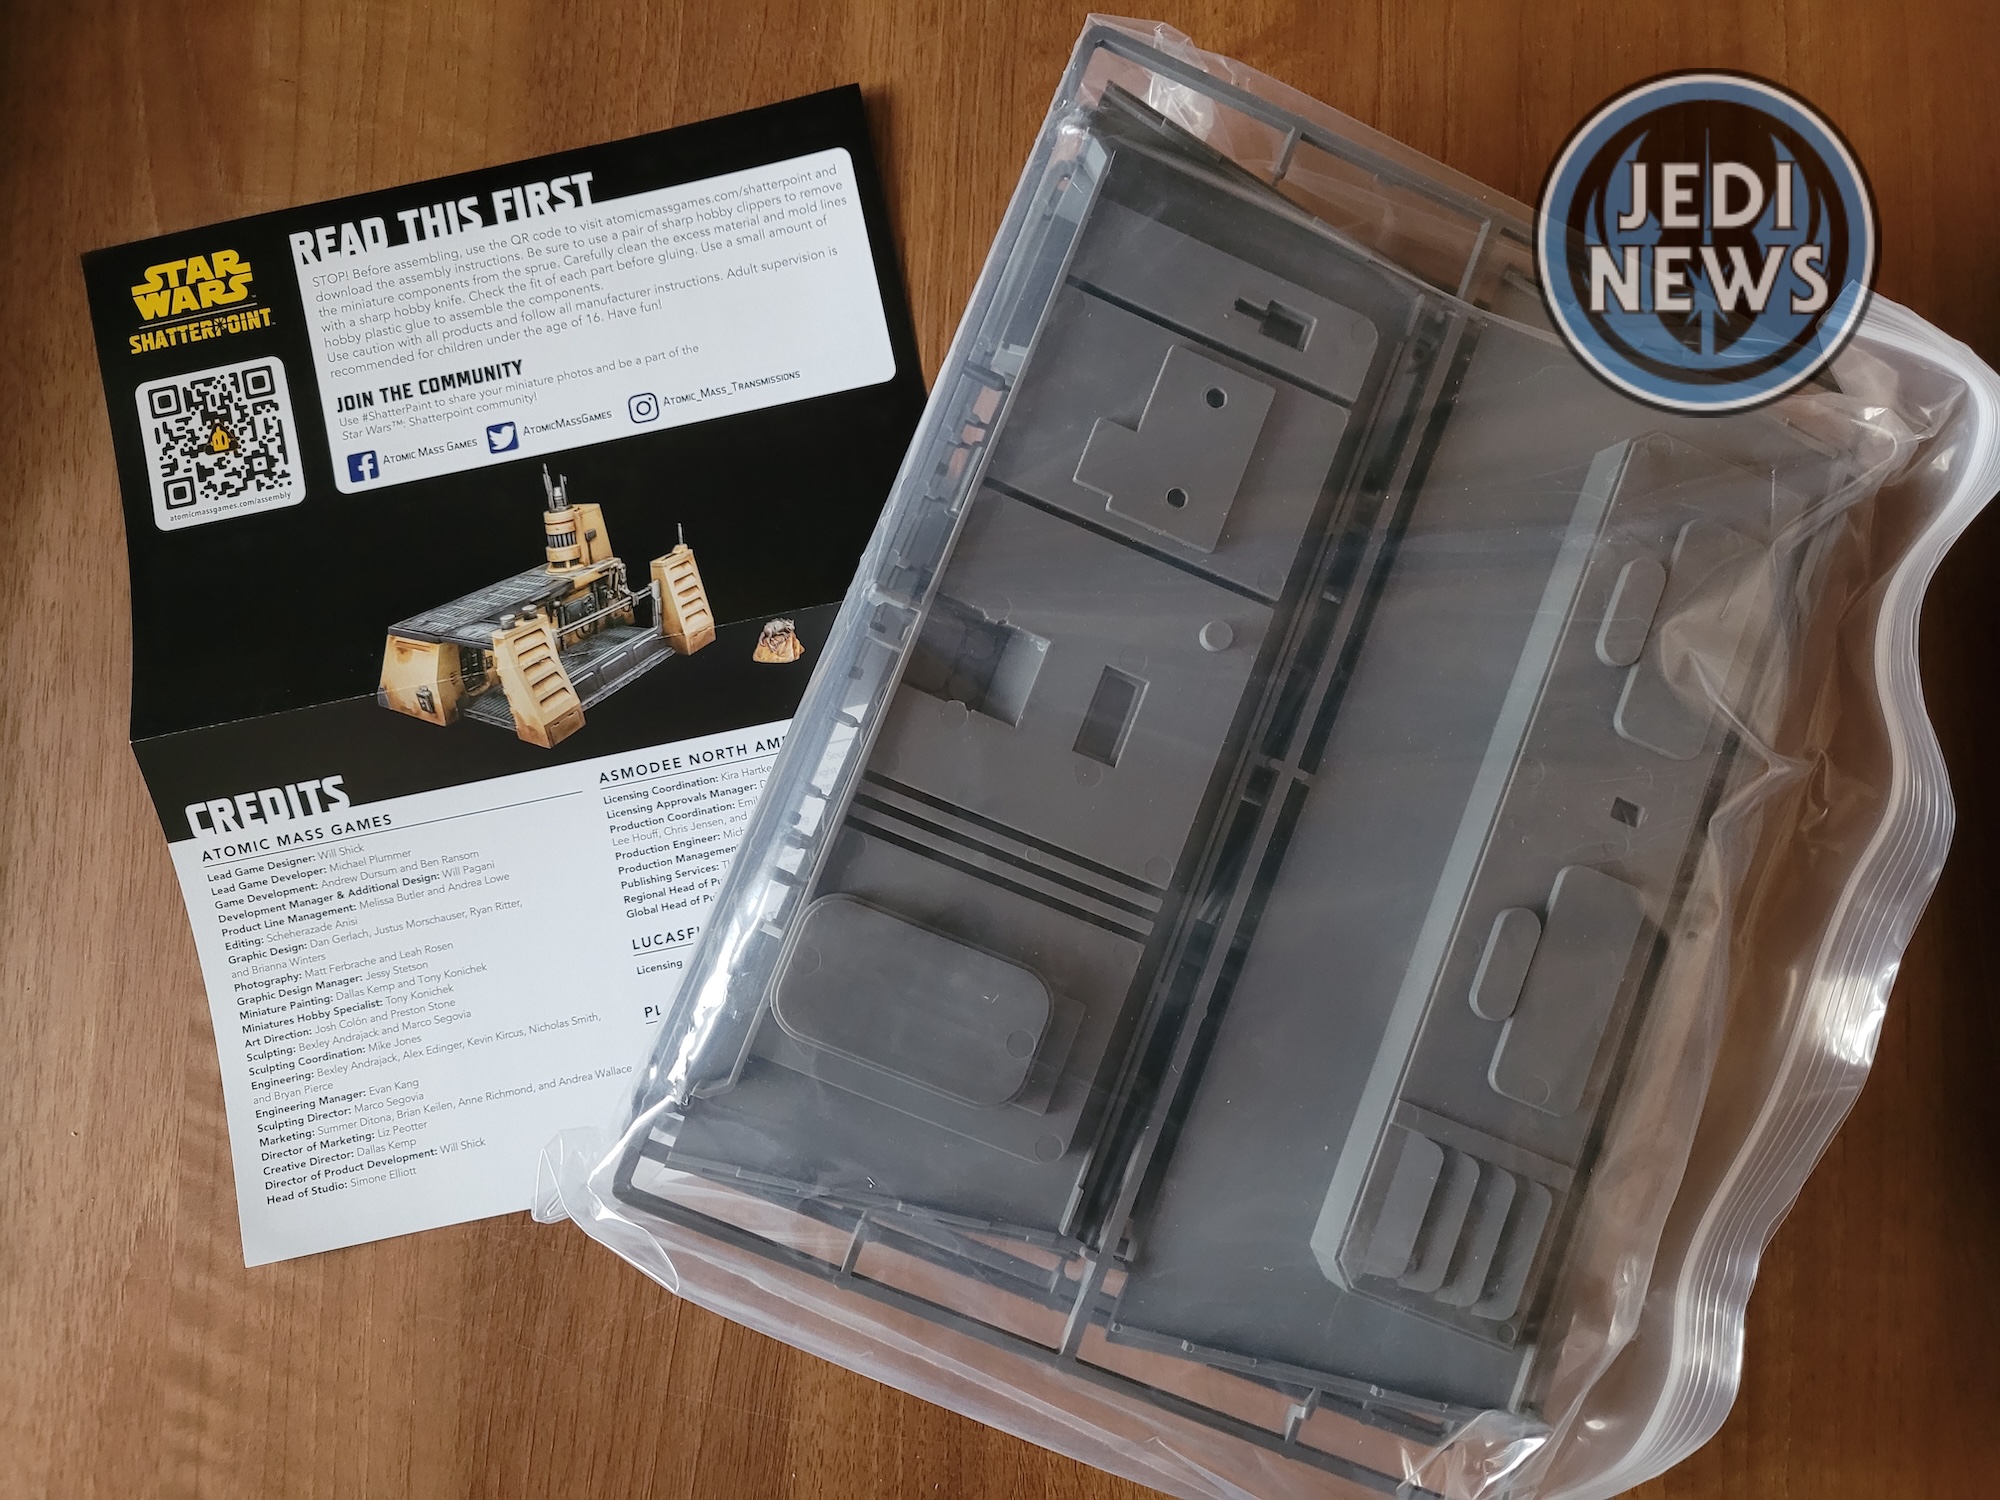
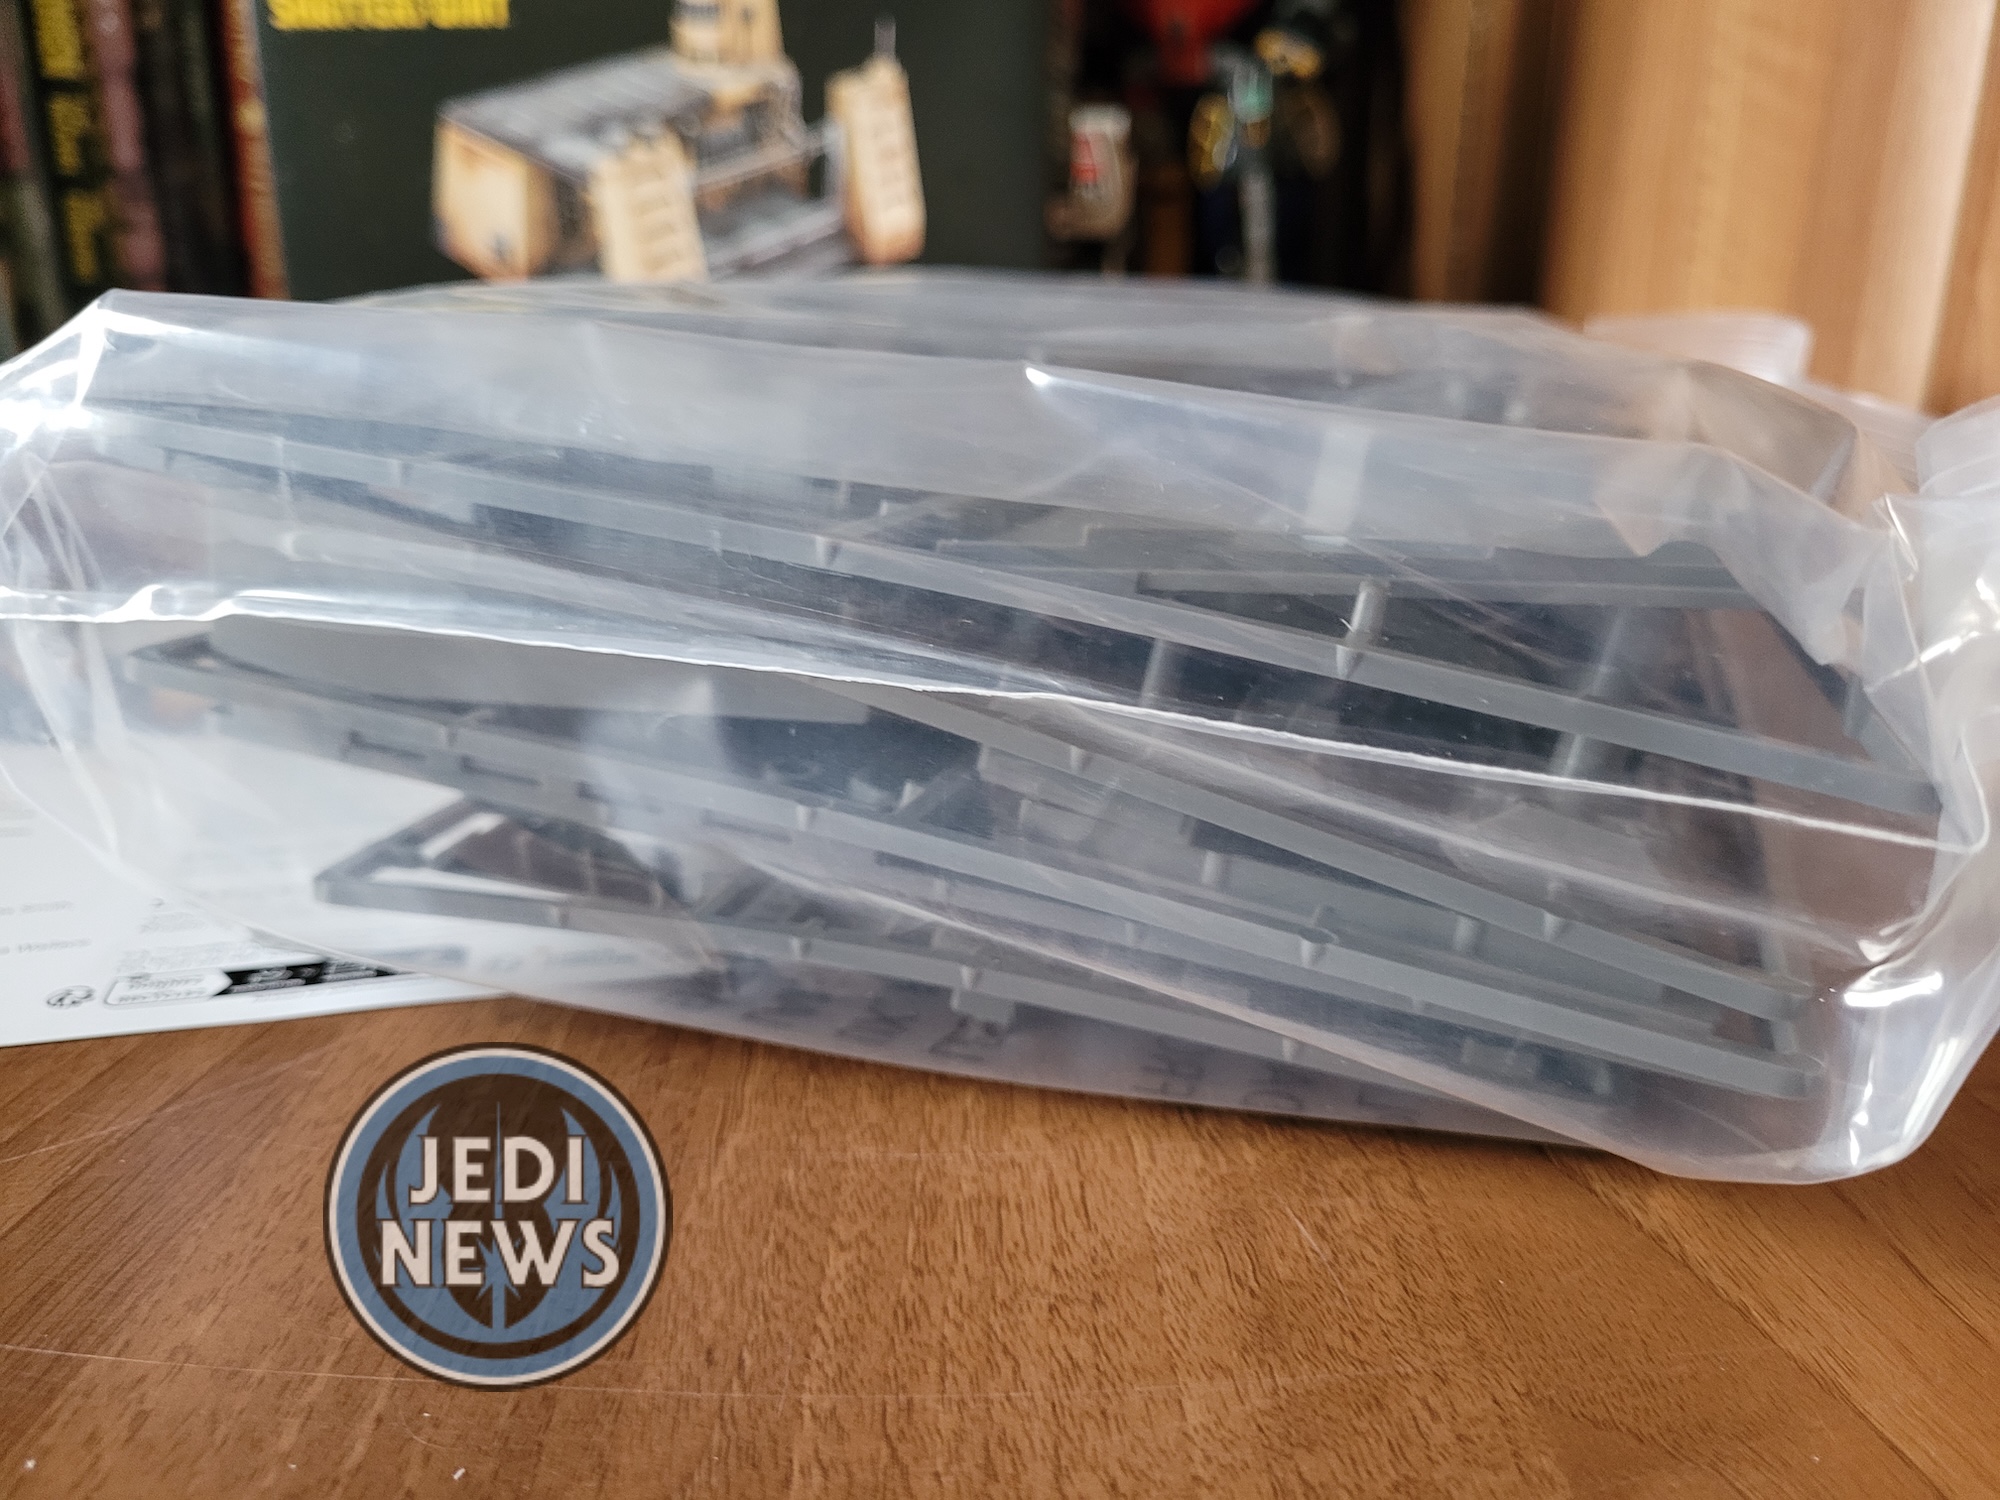
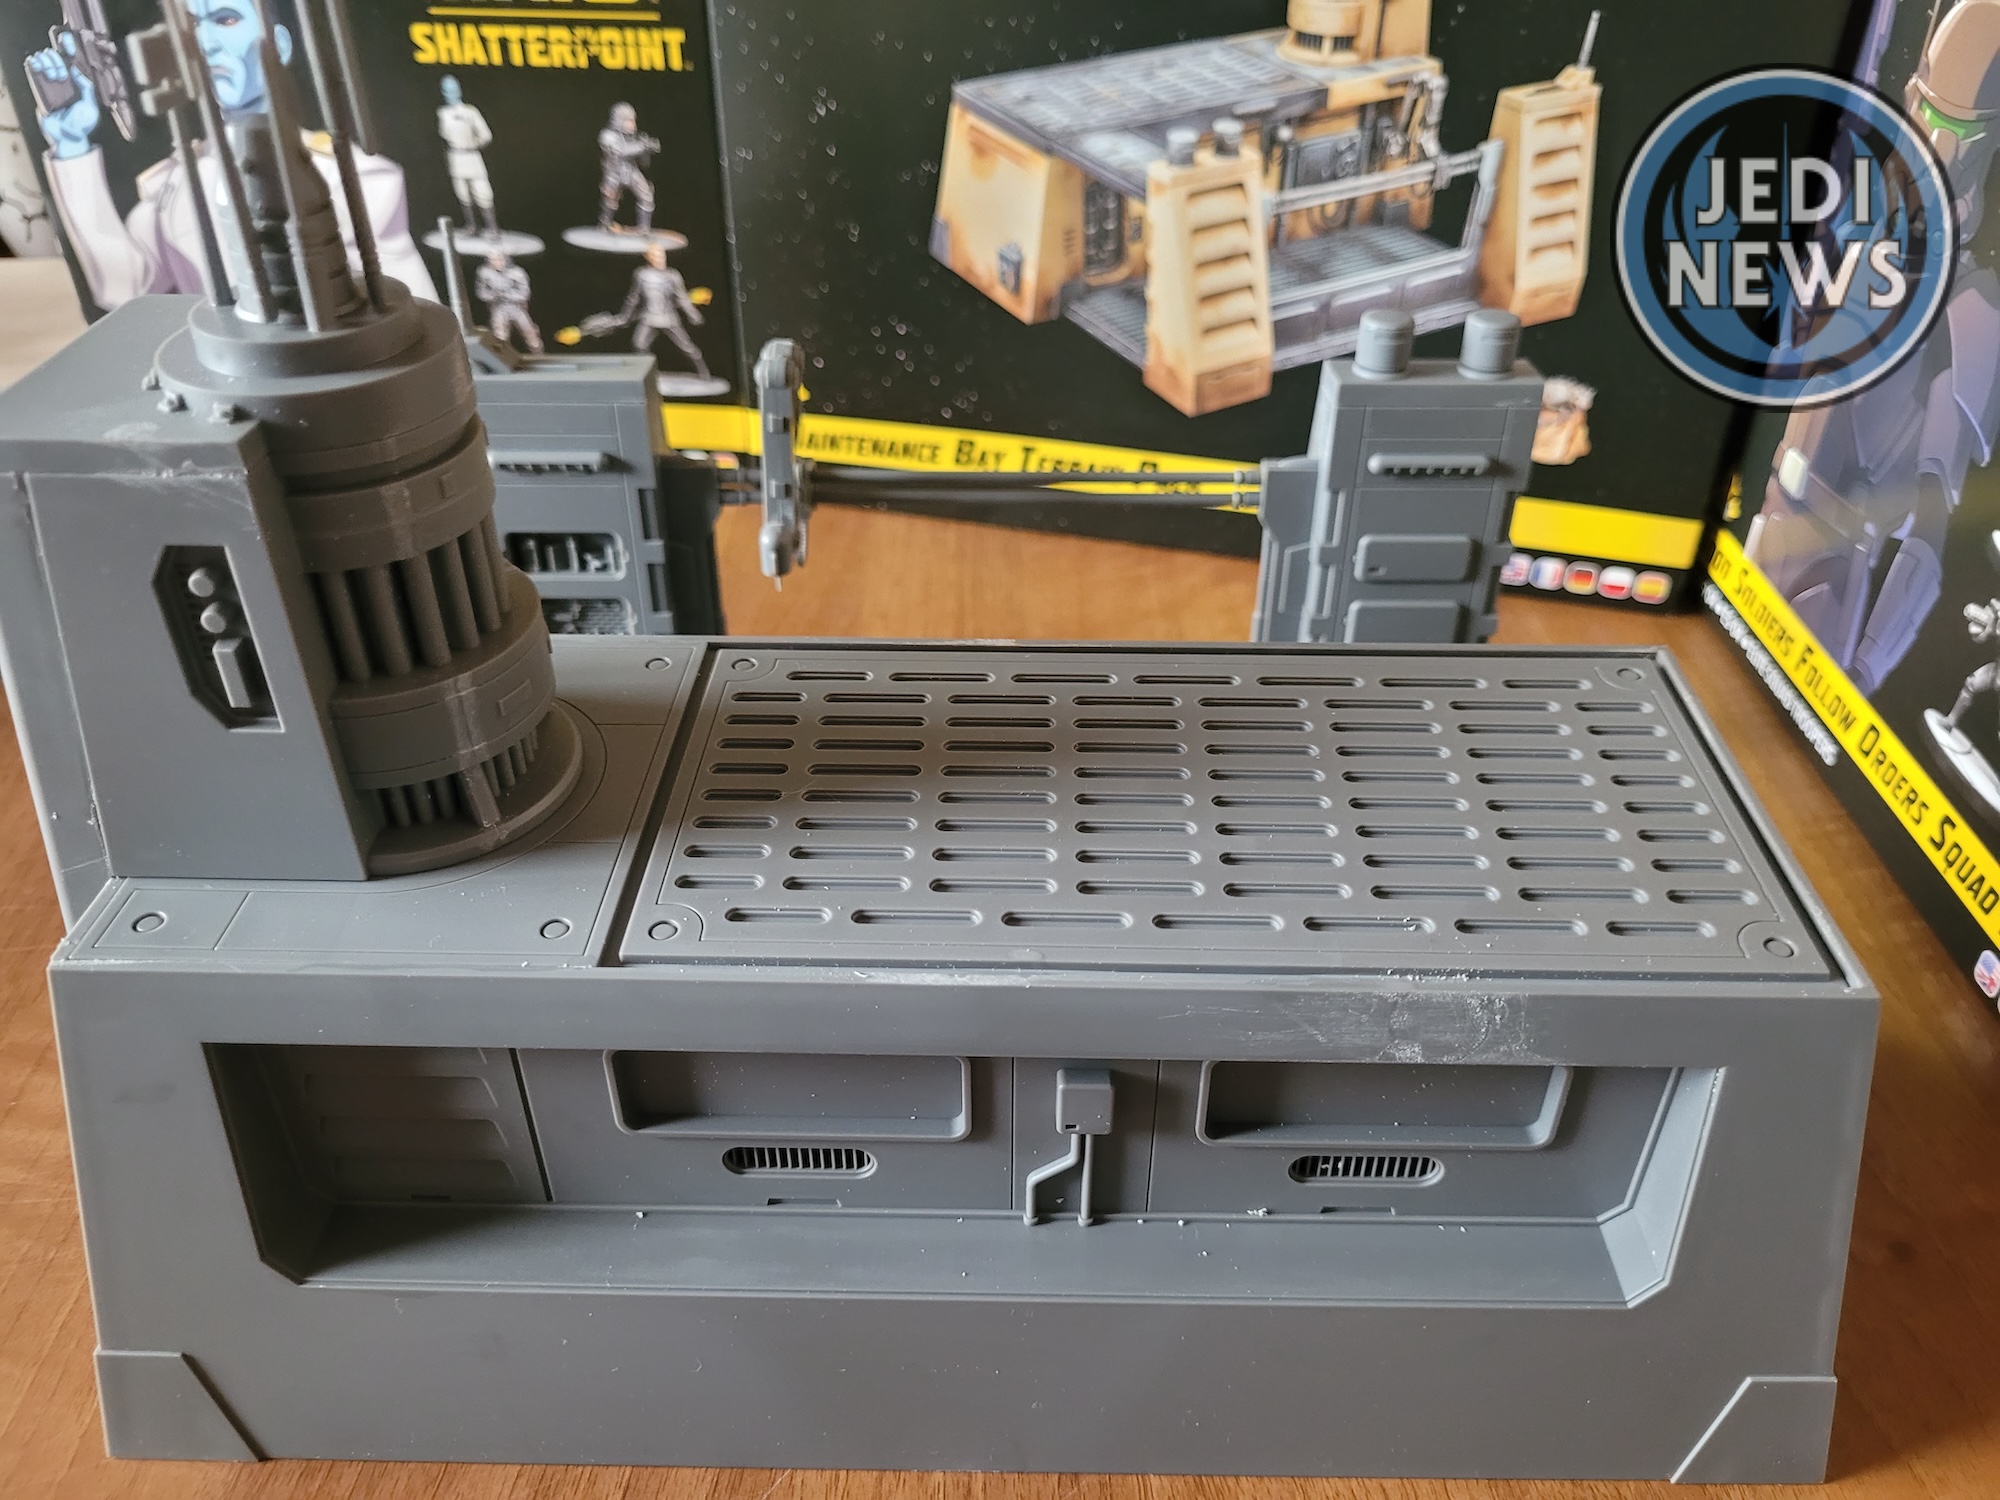
Opening the box, which is rather sizable itself, there is a lot of sprues and the standard leaflet to send you to the instructions. Well let’s get straight in and see what the build is like. The first part is assembling a spherical orb. While simple enough to put together, I did find there was quite some give in the join. I had to be very carefully lining it up to make sure it was correct, rather than leaving it to the joins themselves. Rather than go straight to step two, I let the orb dry and moved onto getting everything ready for step three. This is where you will see the first wall of the bay and it really brings home the scale and size of this piece of terrain. This is definitely going to vie for the centrepiece of your tabletop! With the extra details added to the wall, it’s time to bring the walls together. Part A06 I didn’t worry about glueing straightaway. I used it so when glueing the three walls together, I knew they were lined up correctly. I’ll glue the roof properly once all the walls are together and I know that everything fits.

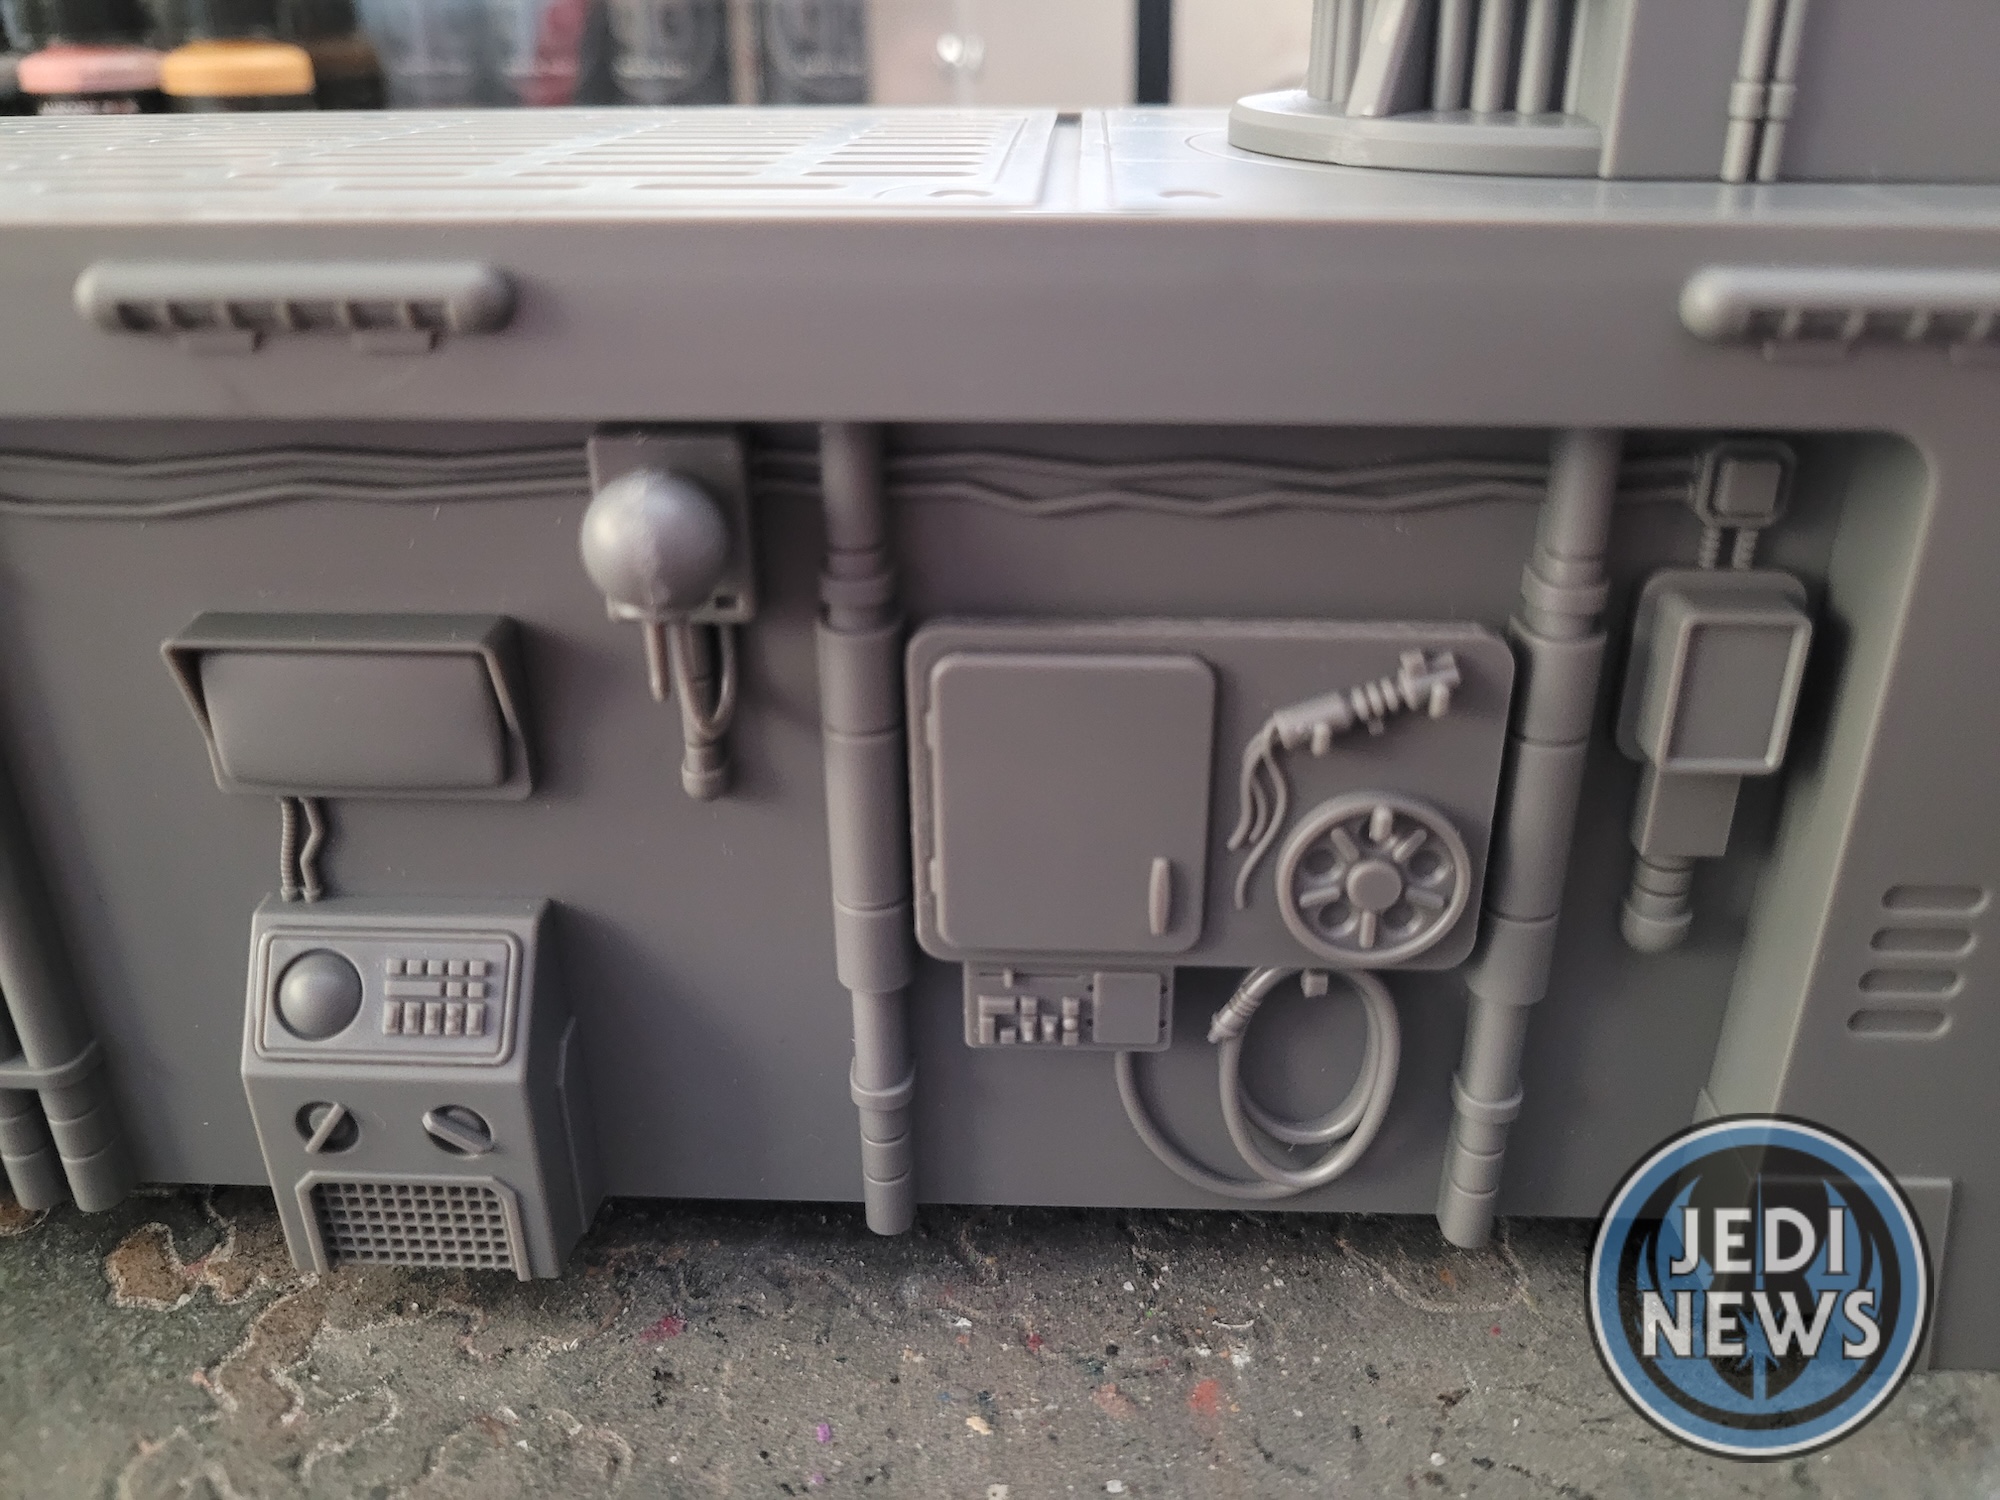
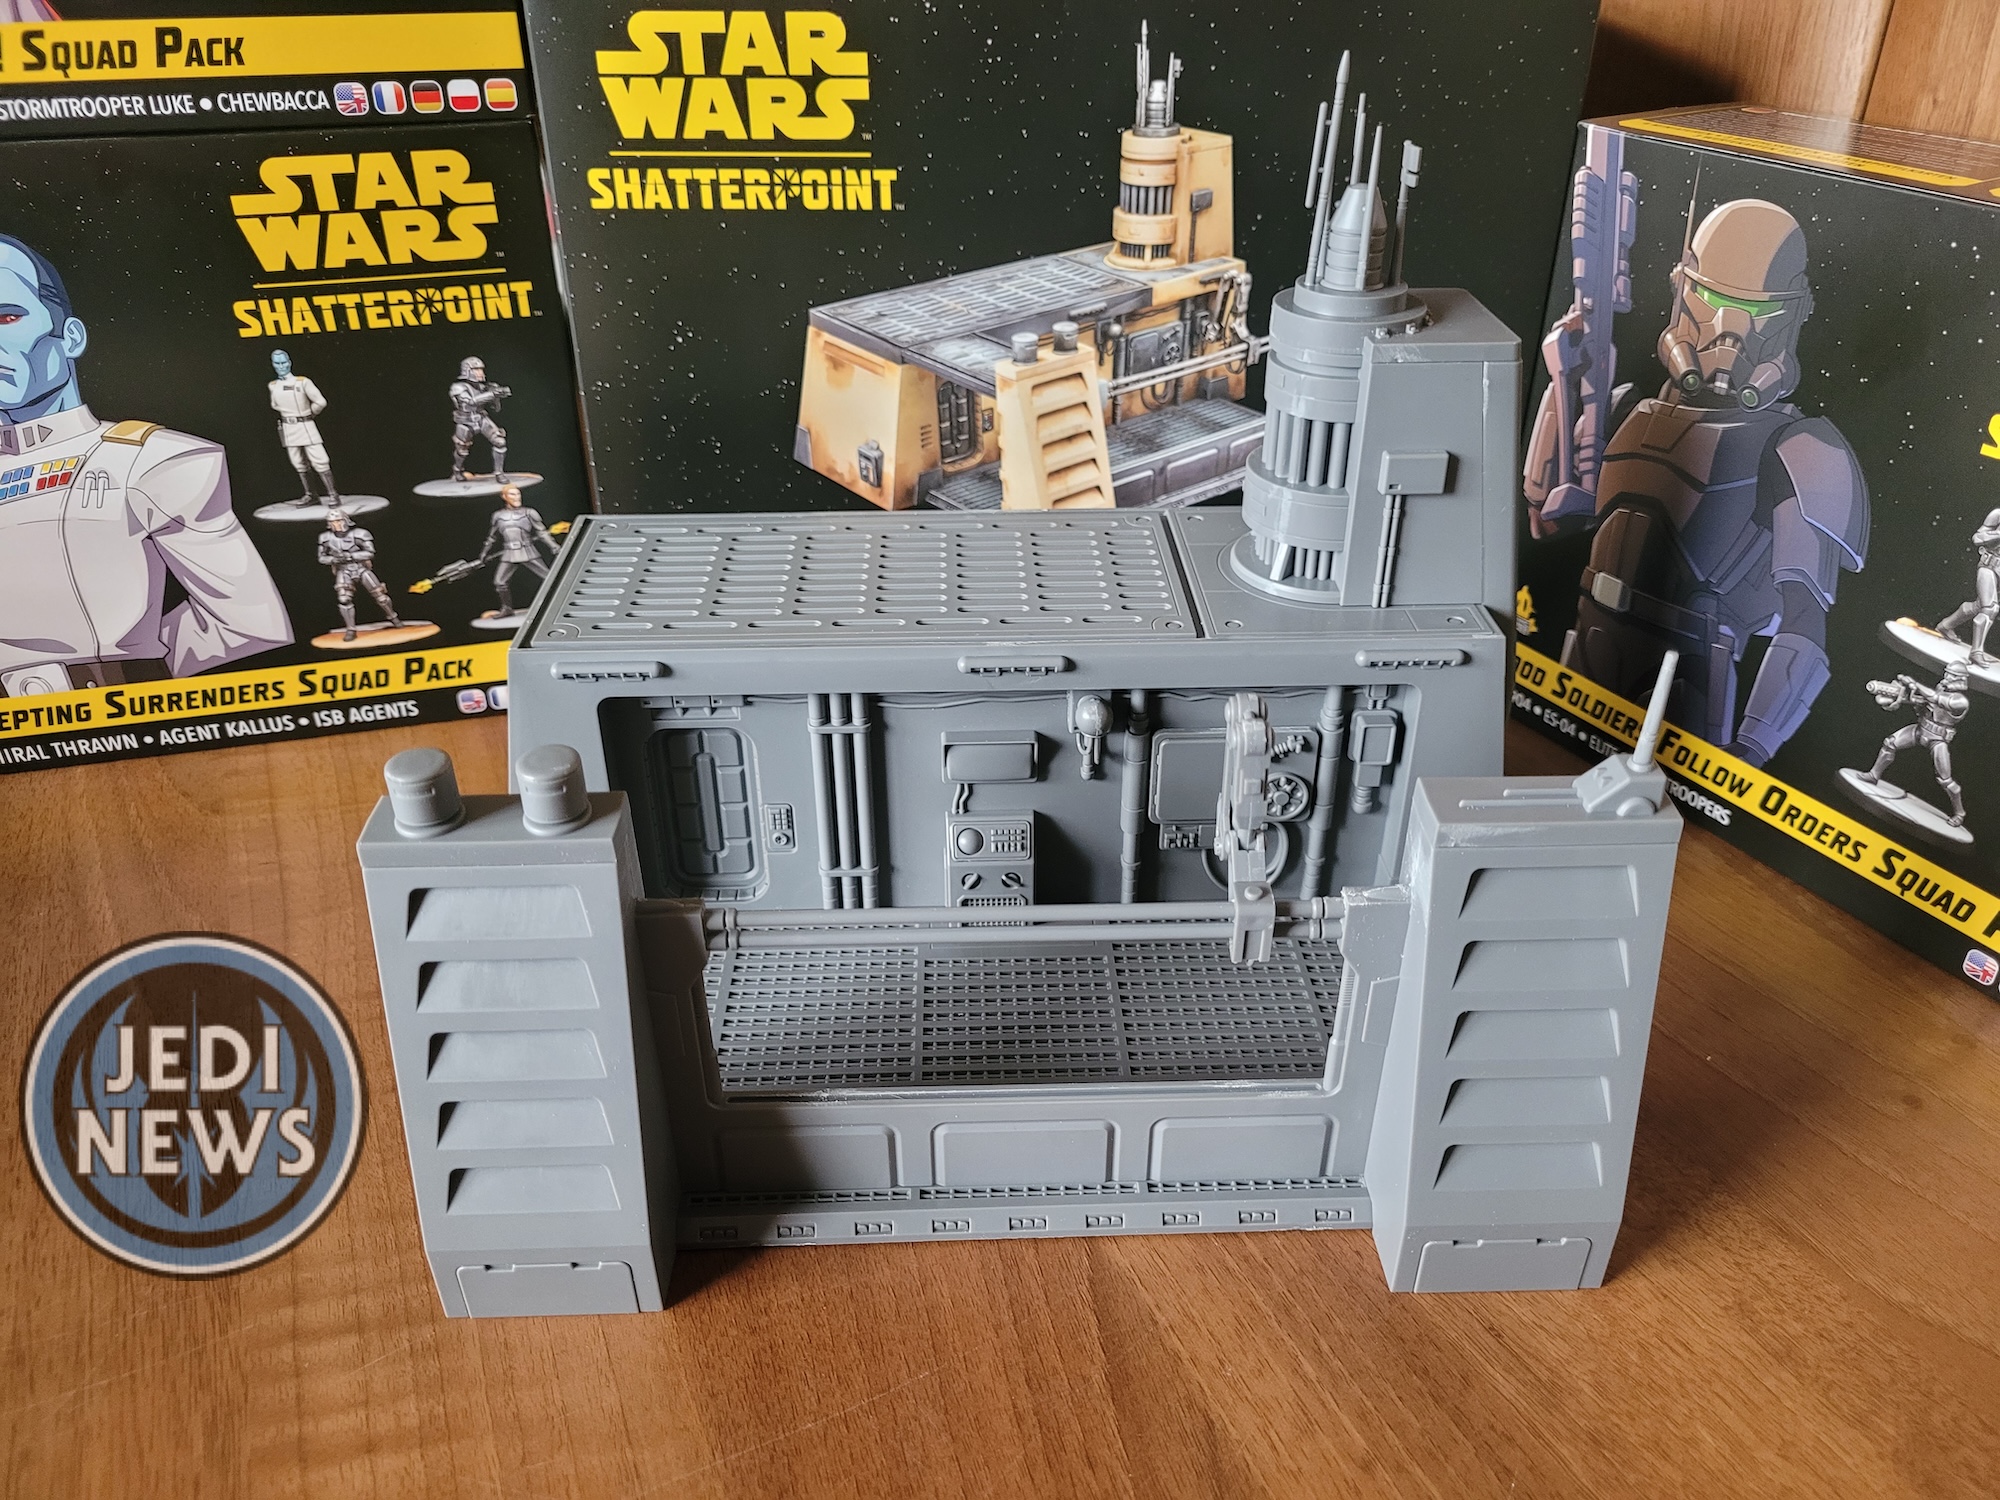
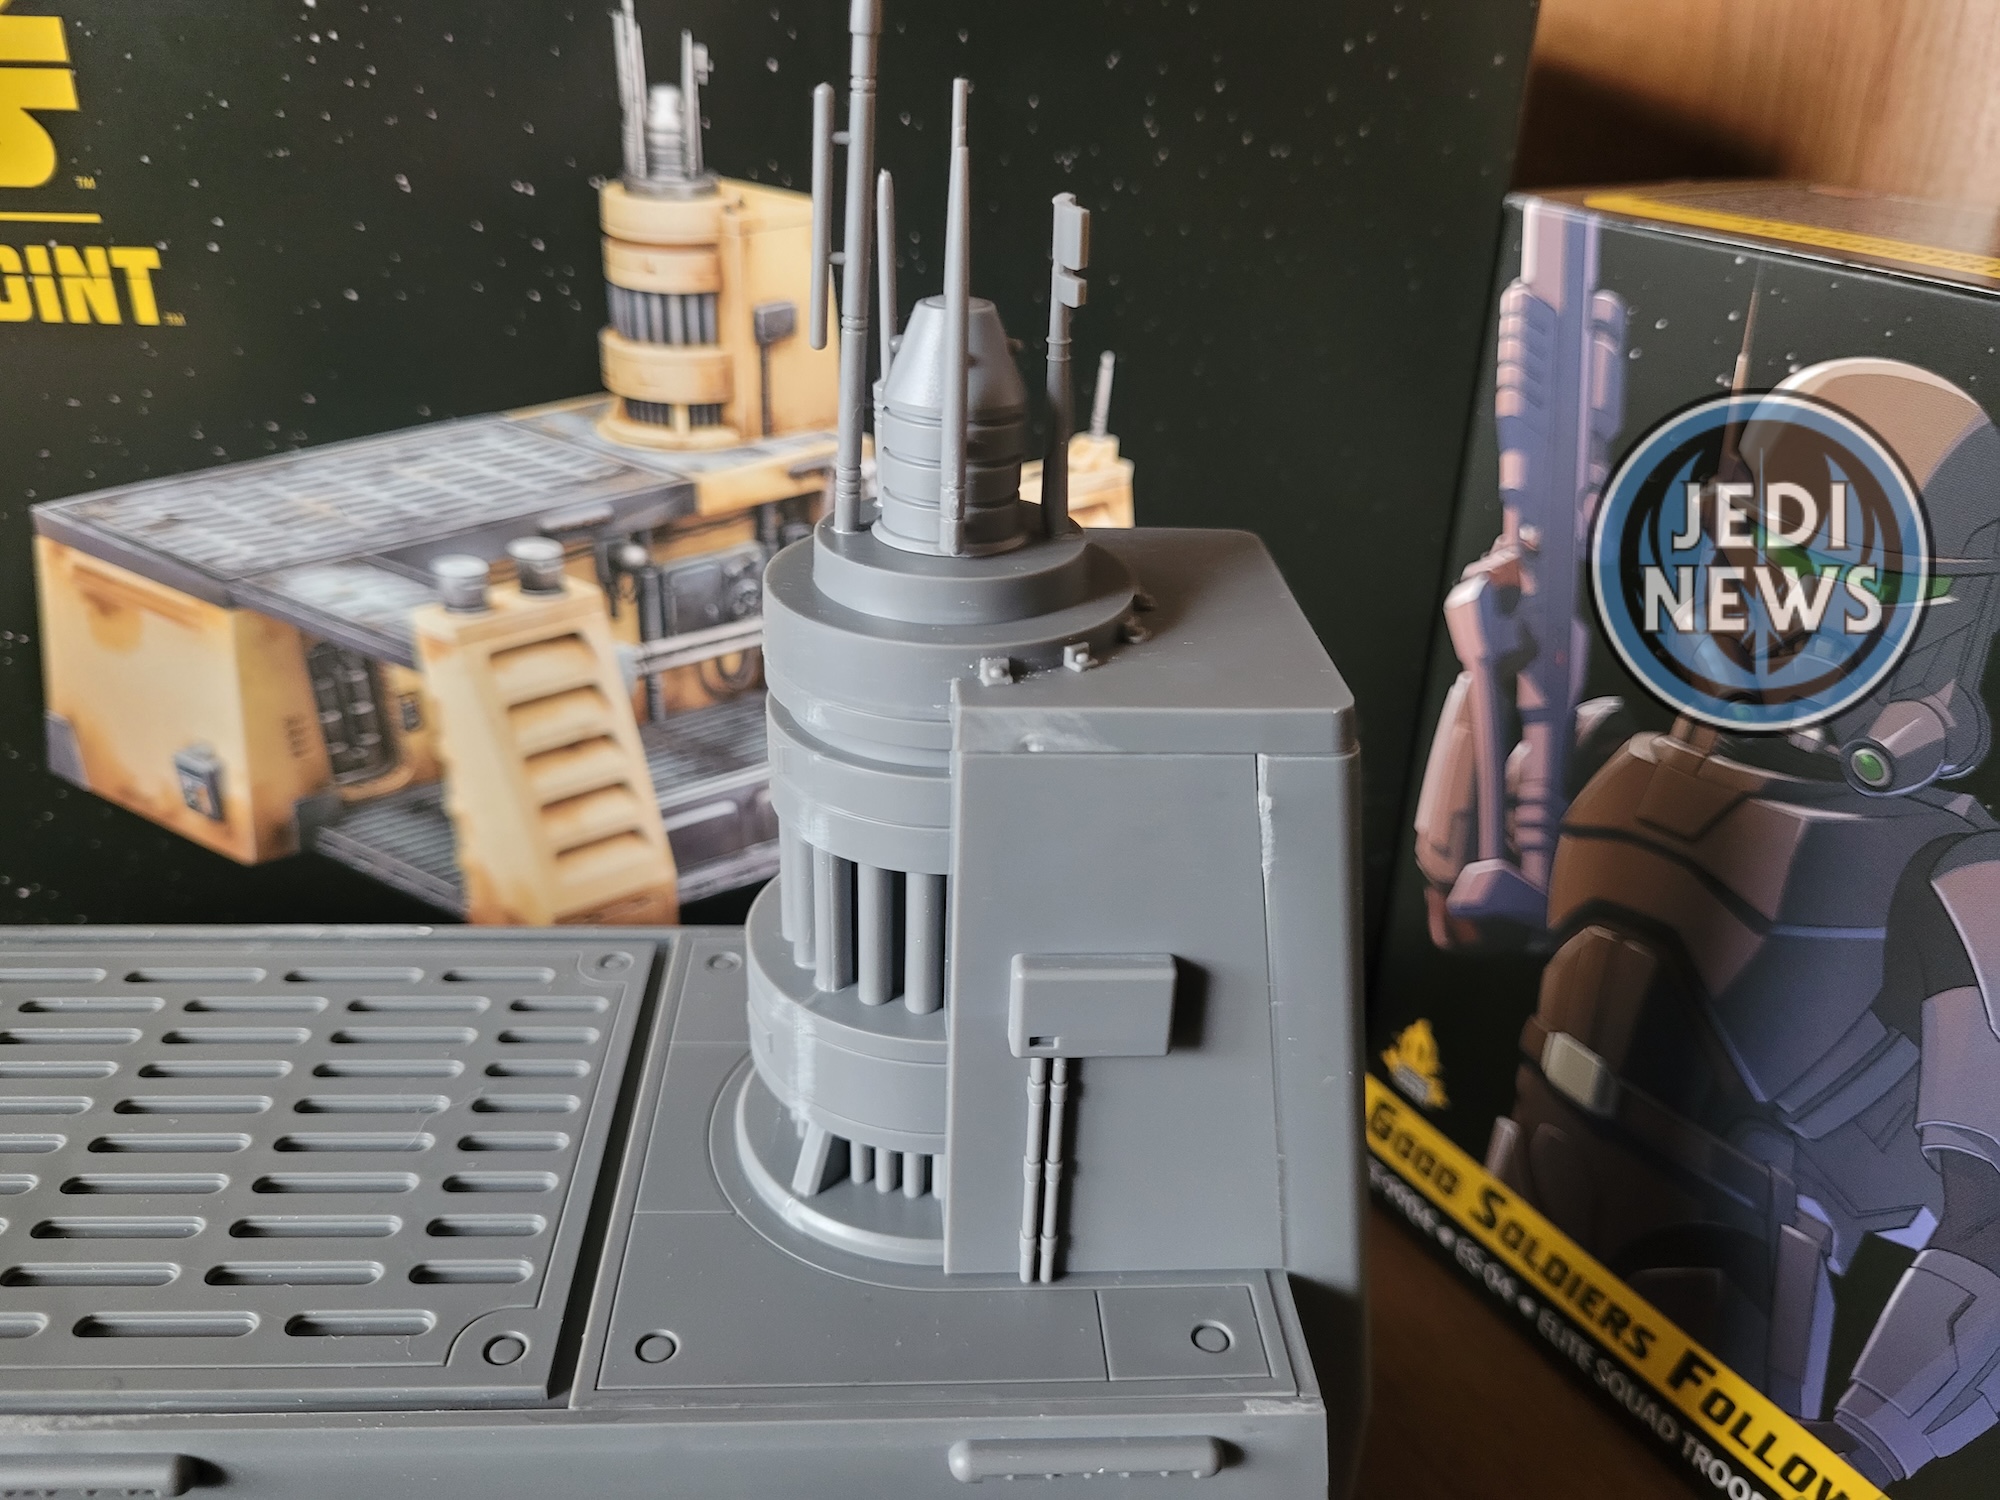
Onto starting on the tower, while there is a join for pieces A09 and A07, don’t push them in the whole way, you won’t be able to fit the third piece. Before glueing, I would have piece A10 to hand to go on top, to make sure everything lines up correctly. Adding the antennae is very simple as each of the three has a different shaped peg, meaning that you can’t get them wrong! With that done, it is easy to attack the tower to the structure and add on the last wall. You’ll feel everything click into place. With this done, I now glued the roof of the structure into place, confident everything was where it should be. Even at this stage, the detail on this model is incredible. With all the structure for Shatterpoint, they have had good detail, yet this seems to take it to another level, and this is without seeing the fully finished product!
Although the instructions then tell you to insert the base, there’s nothing to actually tell you exactly where to glue it. In fact, I’m not even sure if I want to glue it. This is clearly going to be a big structure. In terms of storage, this is going to be something that will require a lot of space. Depending on the rest of the build, not having the base attached may allow me to store it easier but also give me more options for using it on the tabletop. As it is, it’ll work brilliantly.
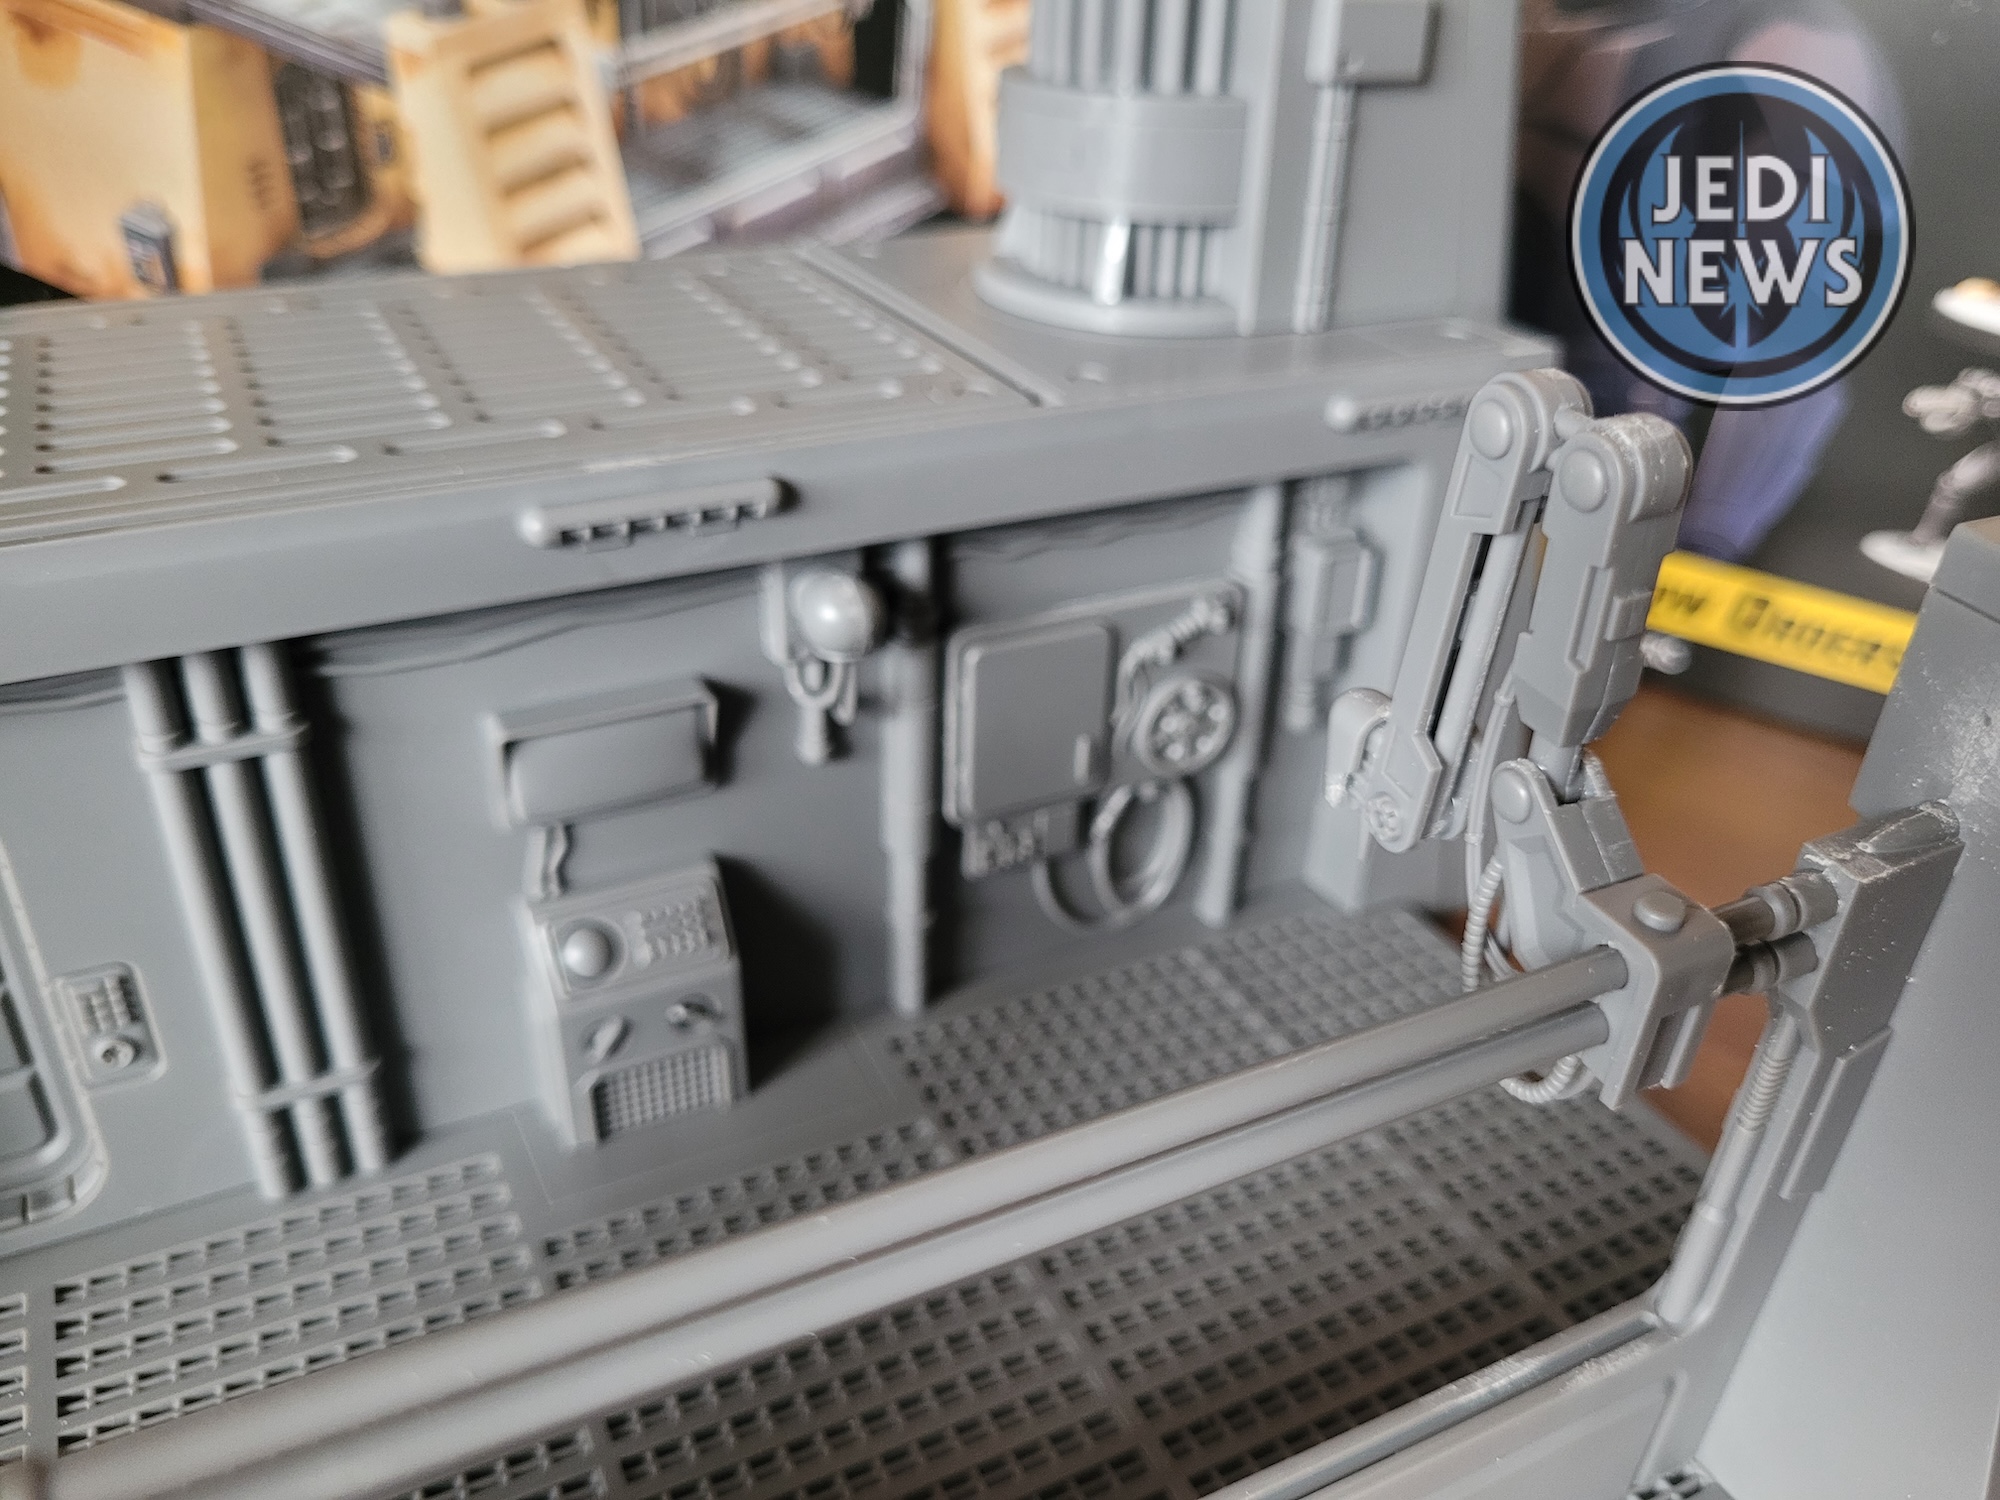
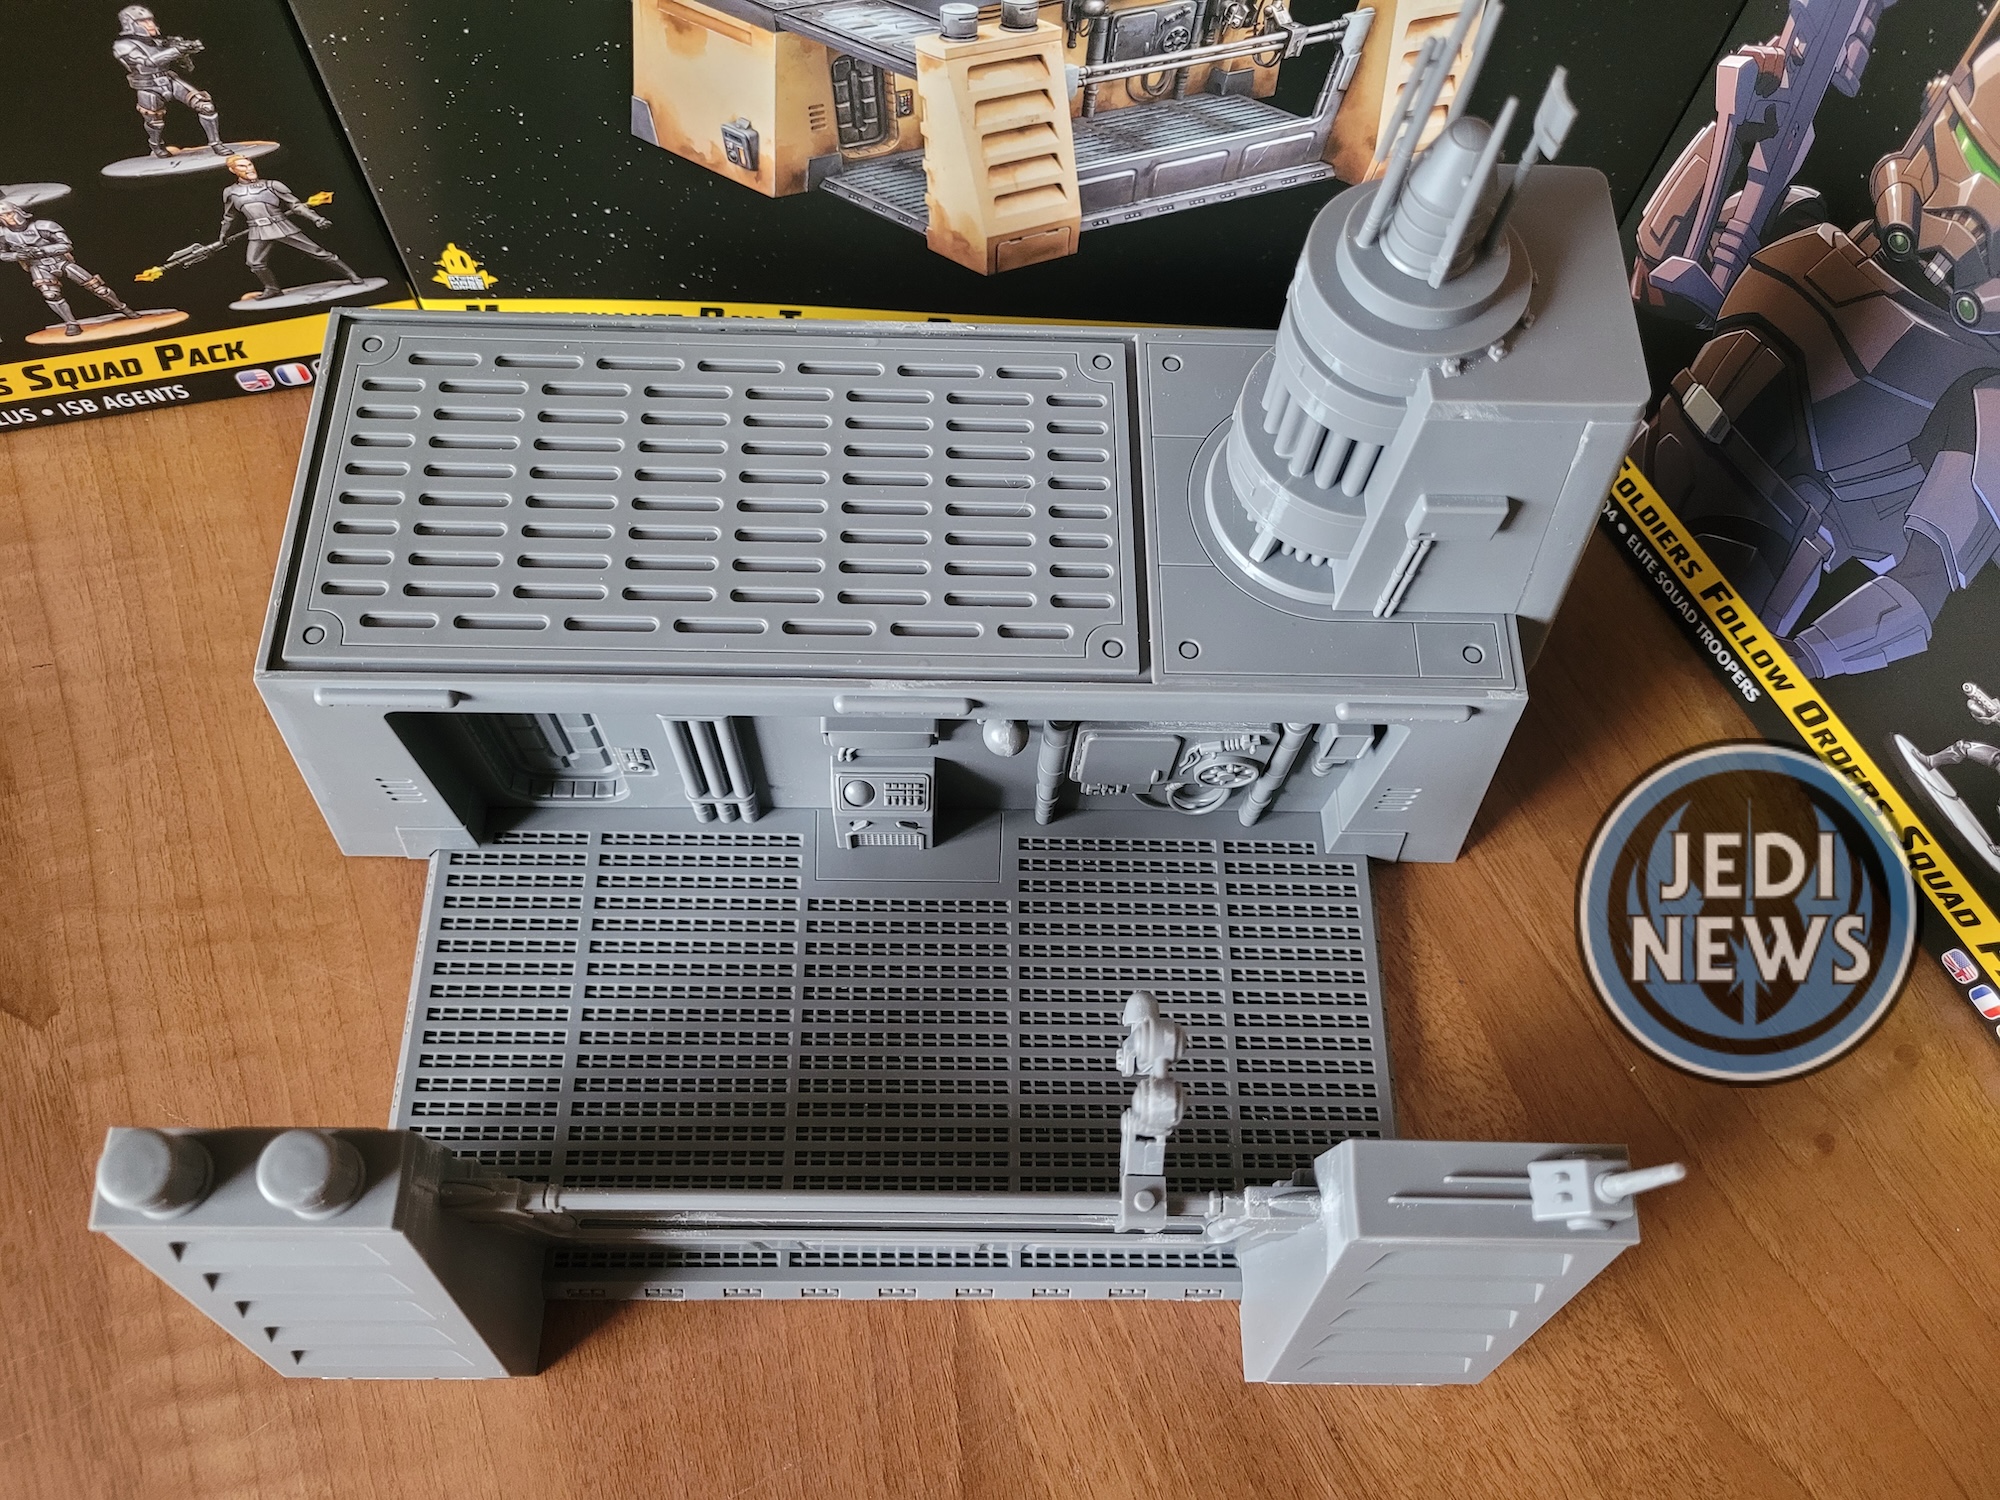
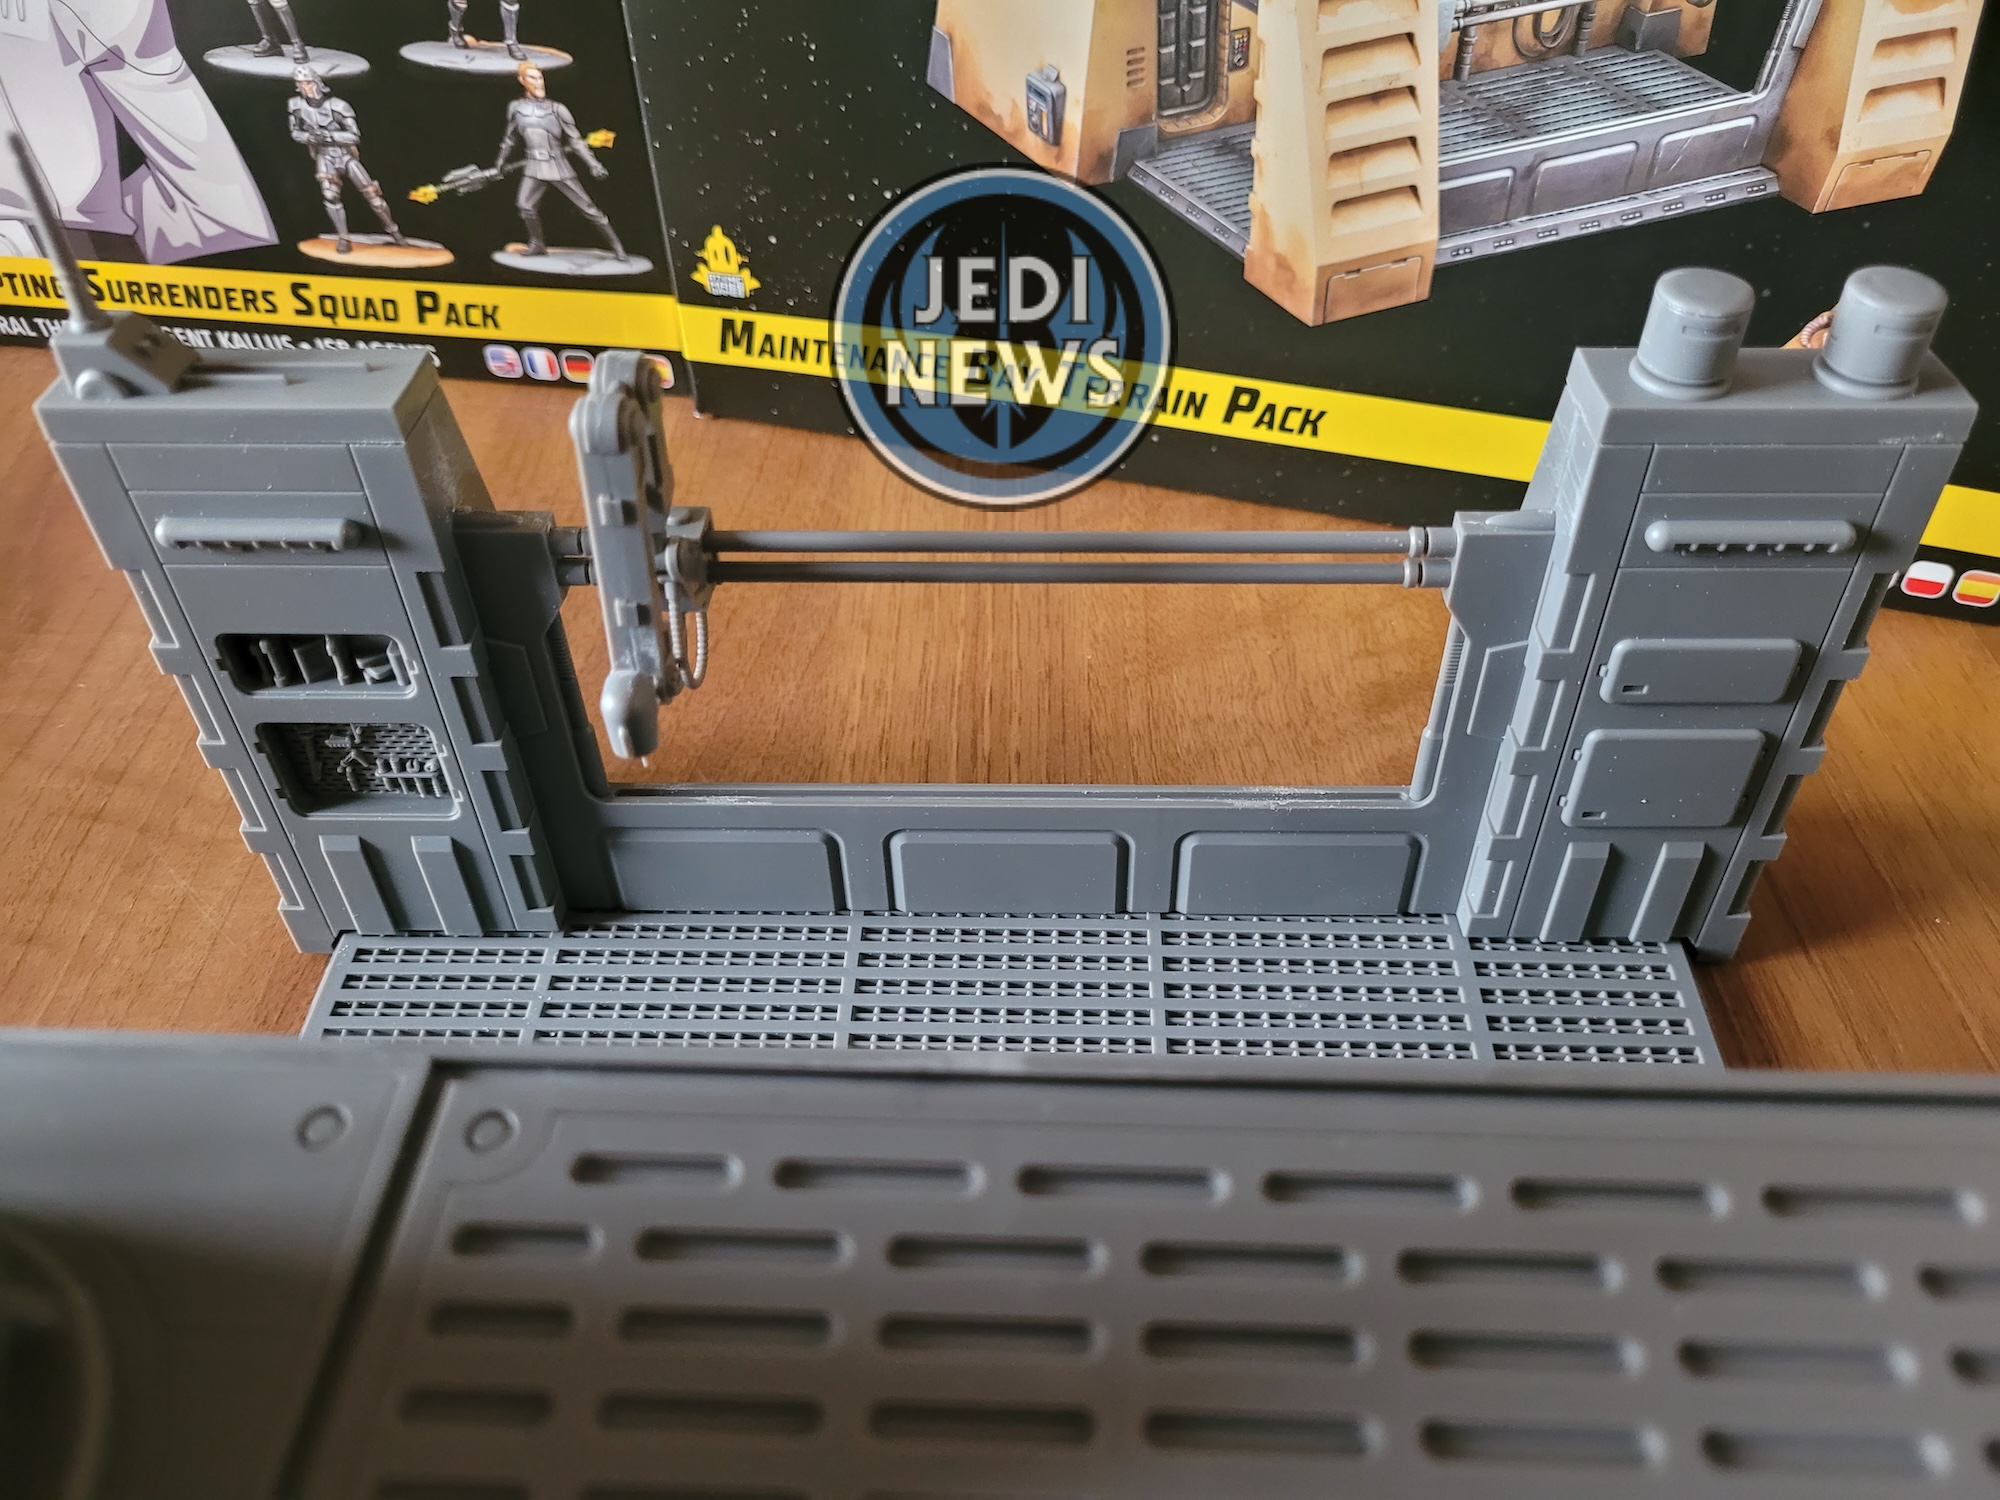
Carrying on to the ‘front’ part of the bay, the two big parts that join together are a lot flimsier than the building I’d just constructed. This isn’t a problem, but I don’t think I’d feel comfortable just having this part on the battlefield (if I can keep the different parts separate) whereas the main building could definitely work by itself. We also come to the first optional part of the build, the coverings. You can either have these on so they are much the opposite side, or you can have them off exposing the tools that are inside. The detail is amazing within the unit, and it seems such a shame to cover them up! So, for me, I decided to leave them off, yet I do appreciate that it is an easy variation you can include on your pieces. The next few steps, adding the tops to this part, really give it some support and help to keep everything together.
While the main structure is done, it is time to add a couple of little bits of detail. First is the mechanical arm. The first thing I would suggest for step 15, is to add A29 first and then put everything else together, it makes things far easier. Once that’s done, although it looks complicated, it’s fairly straightforward to put together. It looks incredible. It’s one of those things that just isn’t needed for the terrain but adds so much to it. It’s these details that I really appreciate with Shatterpoint, that allow the terrain and therefore your tabletop, to really come alive. When you do attach the arm to the bay with piece A32, I did find that the arm needed some filing to allow the thing to snap together correctly. If you glue it very carefully, you can have it so it can move up and down the bay, although when the thickness of paint goes on, I’m not so sure it’ll still manage it.
After this, it’s attaching the base and a couple of optional extras. Let’s start with the extras. There is a ladder you can add to the build, which for me was an instant yes in terms of gameplay. I like units to be able to get to higher levels and make full use of the terrain. The second is a bridge between the two different parts you’ve assembled. In terms of gameplay, I don’t think this adds too much extra. In terms of building, it does add some support between the two structures. However, if you want to store everything in three parts, which is becoming very obvious you can, you are not going to want to glue this on. I was really thinking I wanted a ‘complete’ structure but in the back of my find I was wondering where on earth am I going to store it. With how it has been constructed, the fact that I can store the pieces separately, the fact that I can add more variation to its use in games by either using all the pieces or just some of the pieces, seems very preferential to me. It won’t be for everyone but I’m very pleased Atomic Mass has thought about this and provided the option. Now, by doing that, it makes the ladder almost obsolete, as without the walkway, there’s nothing to climb onto. I guess that means I’m not adding the ladder! If I was going to have everything attached, I most certainly would be using the ladder and walkway.

Finally, we get to the last little piece of terrain, a womp rat on a rock. I love the creatures that they add to this game. However, with all of them I’ve ended up cutting them off and adding them to my buildings and crates. I don’t think this is going to be any different. I just need to figure out how. The womp rat is a bit more difficult than the other two creatures we’ve so far had for the game, as his legs and tail are both moulded to the rock. It will take some thought.
Overall, I am very happy with this piece of terrain. It is a humongous piece, in a different way to the towers we’ve so far had but no less impressive. The detail on the model is incredible, possibly the most detailed piece of terrain we have encountered so far. The fact that there is a way to store such a big focal point in pieces is perfect for those players who have a small space to keep such things, I know I for one am grateful for the thought. We don’t need more terrain for the game, but this piece shows why we certainly want more.