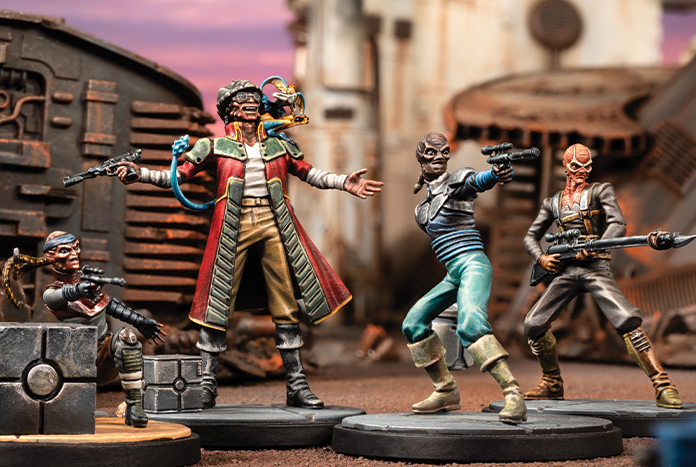
Who doesn’t love a good scoundrel? Shatterpoint has seen some real ruthless releases from Vader to Cad Bane, from General Grievous to The Inquisitors. They are the dark side (no pun intended) of the Star Wars universe. It’s why I’m so pleased, and rather surprised, that Atomic Mass have released the That’s Good Business Squad Pack featuring Hondo Ohnaka. Hondo can be seen throughout the Filoniverse and I always love when he pops up. My daughter is currently making her way through The Clone Wars, and she can never stop laughing when he’s on screen. To have him come to Shatterpoint is surely going to bring some light-hearted relief to the game, right?

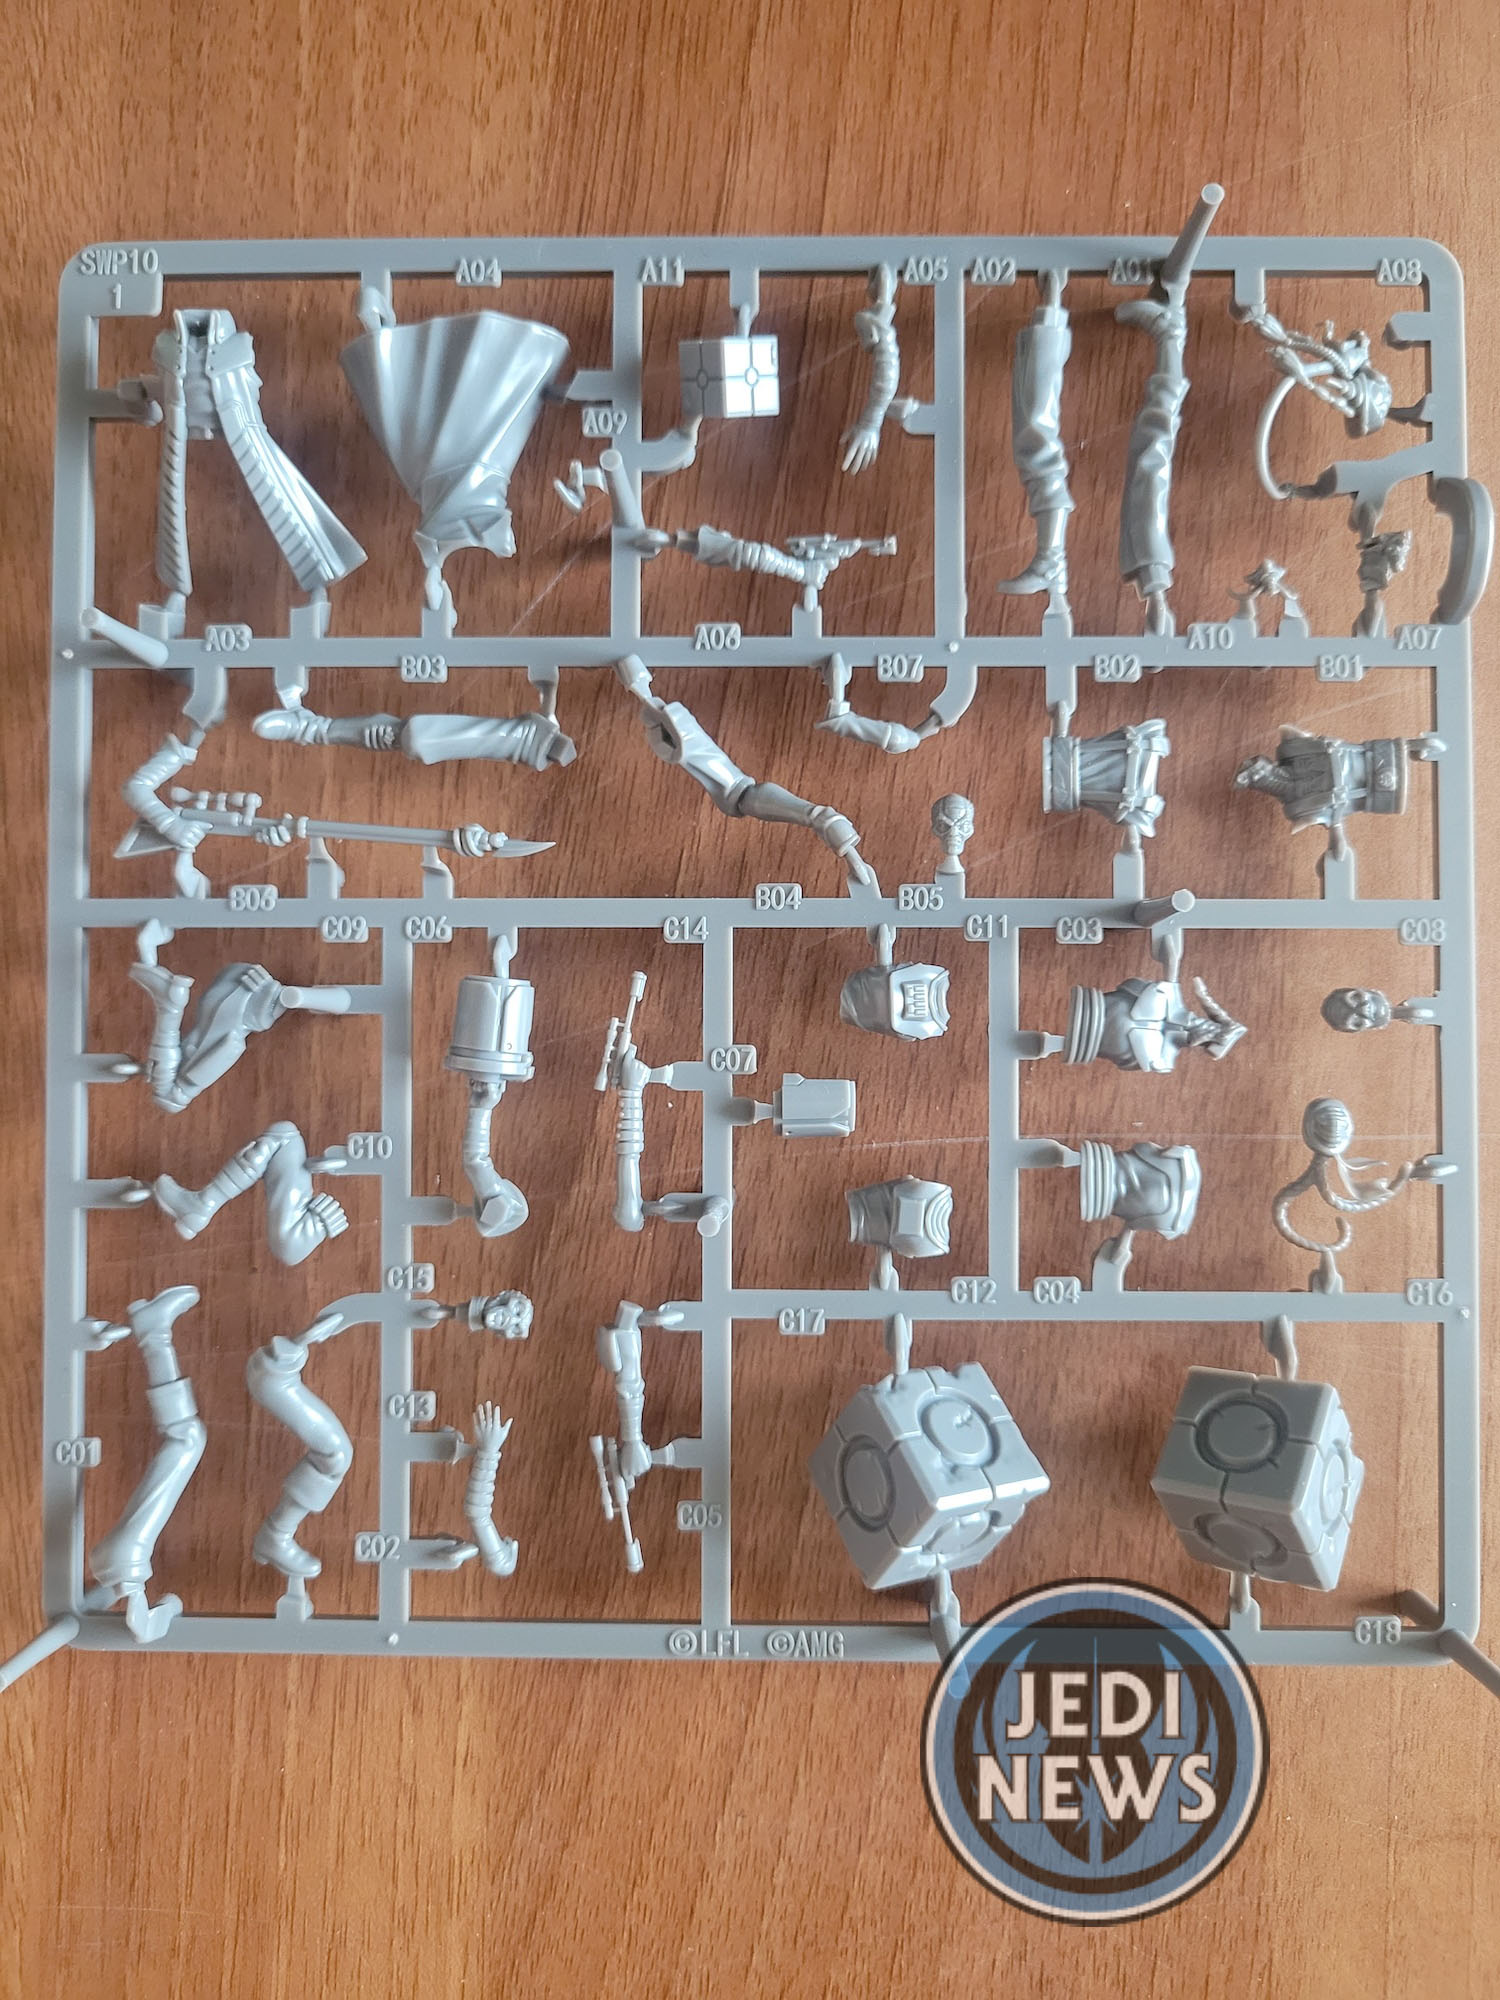
With Hondo is Gwarm – his second in command – and two Weequay pirates. As well as the reputation of the group themselves, it’s great to visually see different aliens entering the game, providing more diverse choices over droids and clones. Not that I mind either, but this will add some much welcome variety to the game. I think it also shows just how far Atomic Mass are willing to go with finding out characters for the game. I’m sure there are some who would have preferred a major character release rather than Hondo. However, for me, I love that they are delving into the galaxy that much already, giving us some very interesting and different choices so soon.
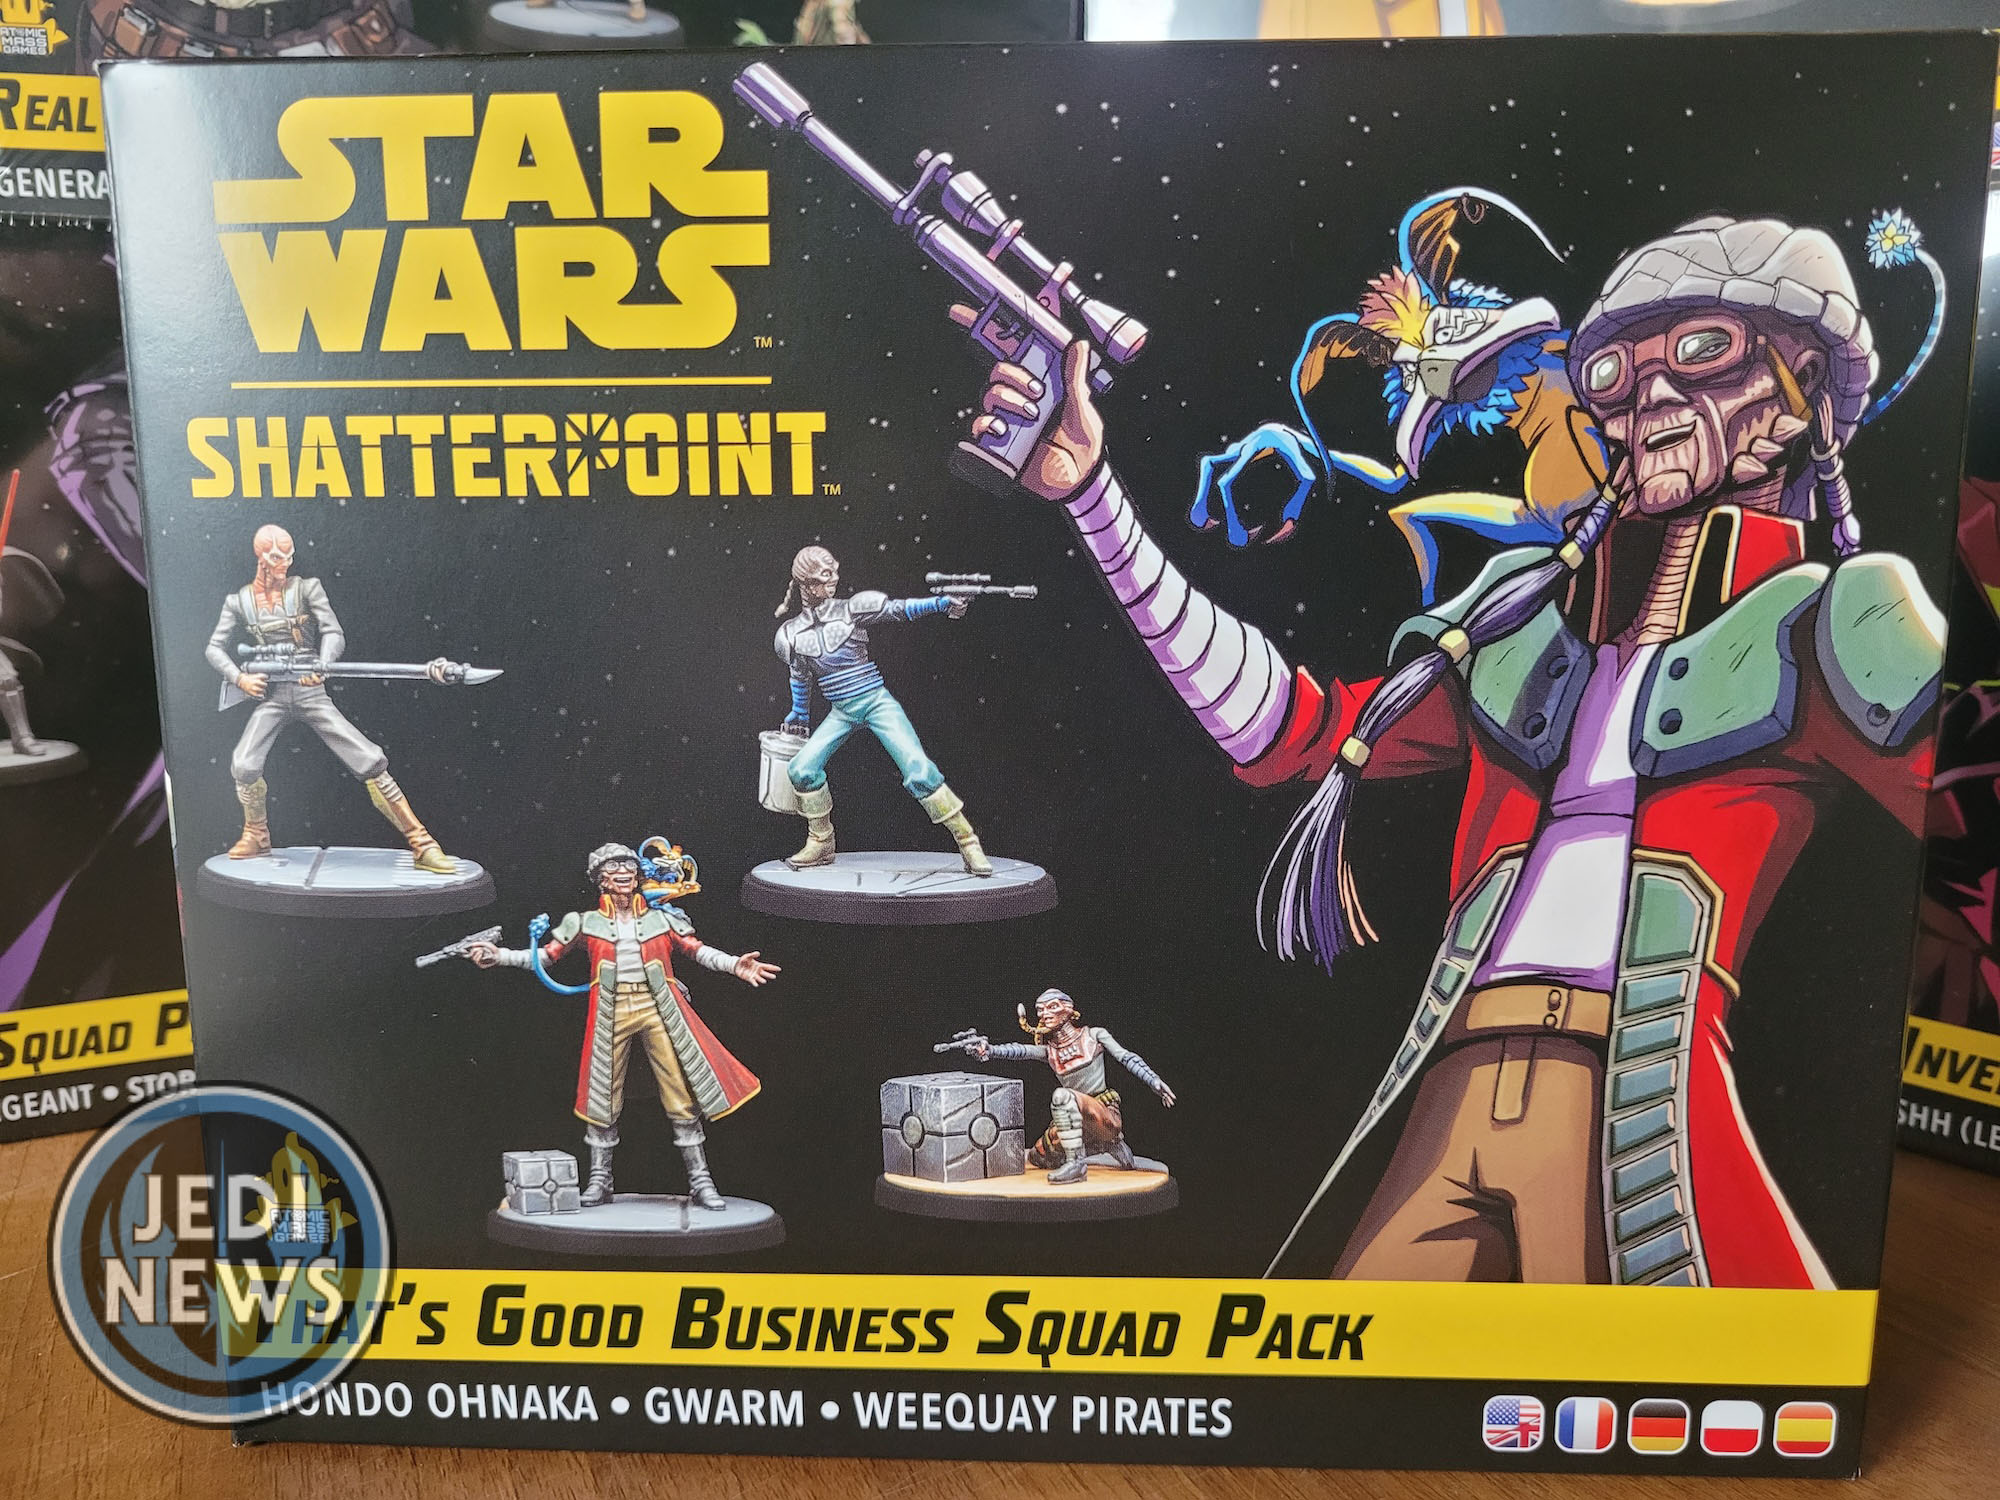
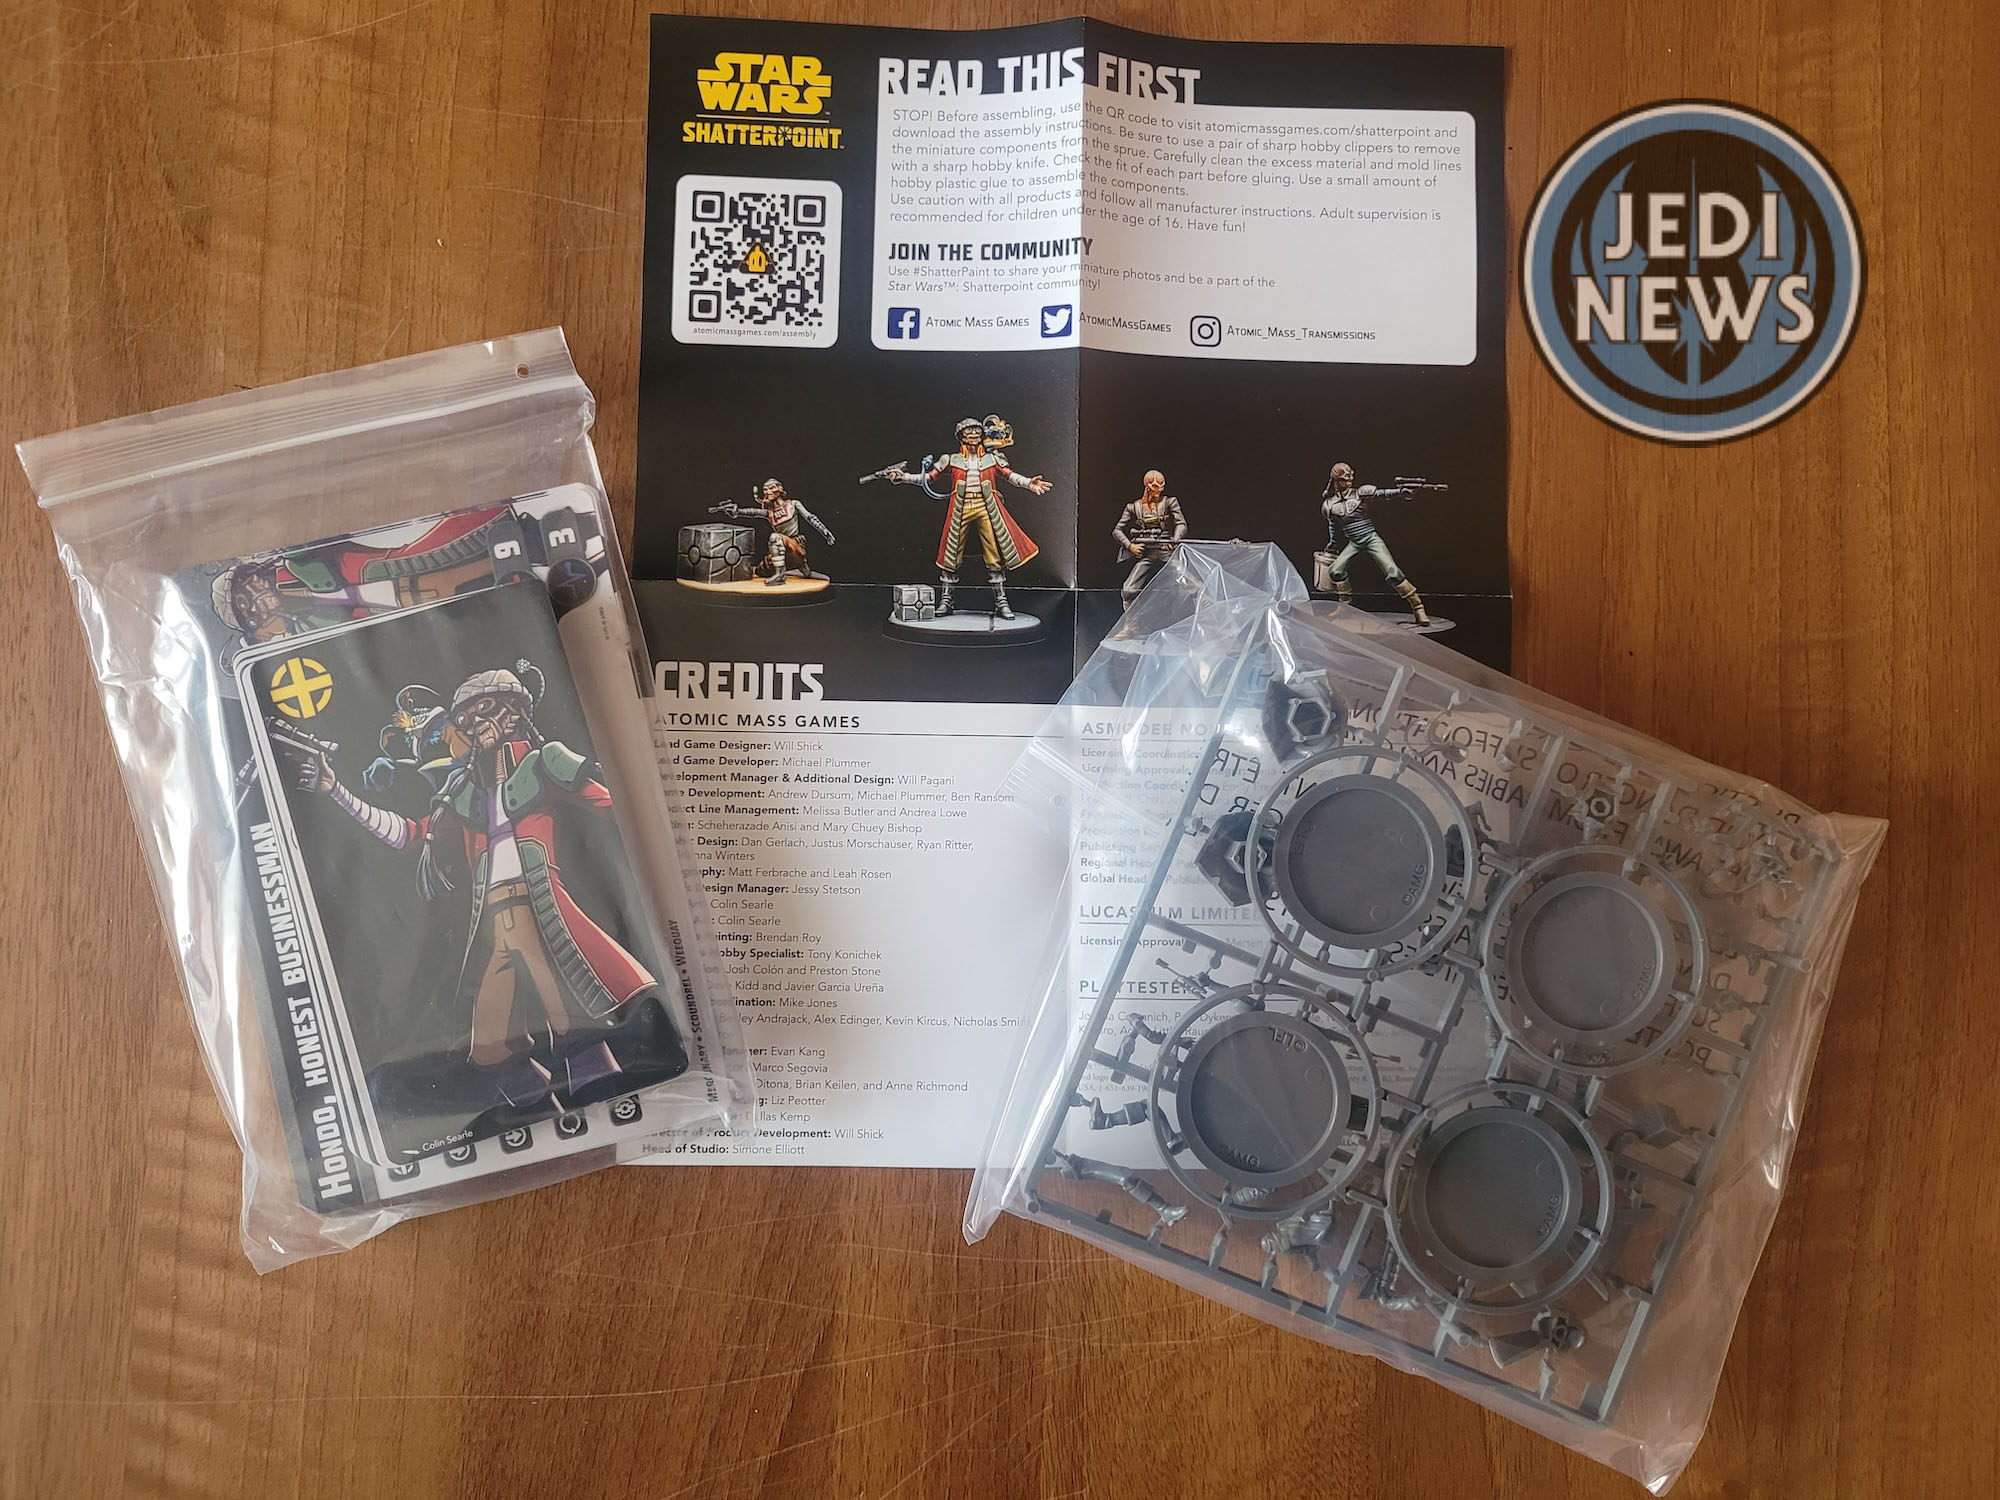
The box itself has the gorgeous artwork of Hondo on the front, the pose perfectly capturing the character as if he just stepped out of a Clone Wars episode. On opening the box, there is the usual all here: cards, leaflet, sprue and stands. Let’s dive straight into constructing this cool and unique squad.
First is the man himself, Hondo. The first three steps are straightforward until you get to the head. There are lots of thin pieces here which you will need to take your time with. Do not glue Hondo’s head together first, I did this and then tried to fit the leg to the monkey lizard. Oh, how I wish I had done it first. It is so small and finicky that it takes a lot of patience. Do it before Hondo’s head pieces are put together and you should find it much, much easier. The head isn’t quite as tricky but still not an easy piece to fit. After all of that stress, the rest is rather a relief! Now I can moan about the build, although with the change in order, a lot of that stress should vanish. The model itself is worth it though. The character of Hondo is caught beautifully, the motion of his arms just right. You can feel him shrugging his shoulders. The monkey lizard is part of his character and although annoying to construct, adds that little extra to the piece.

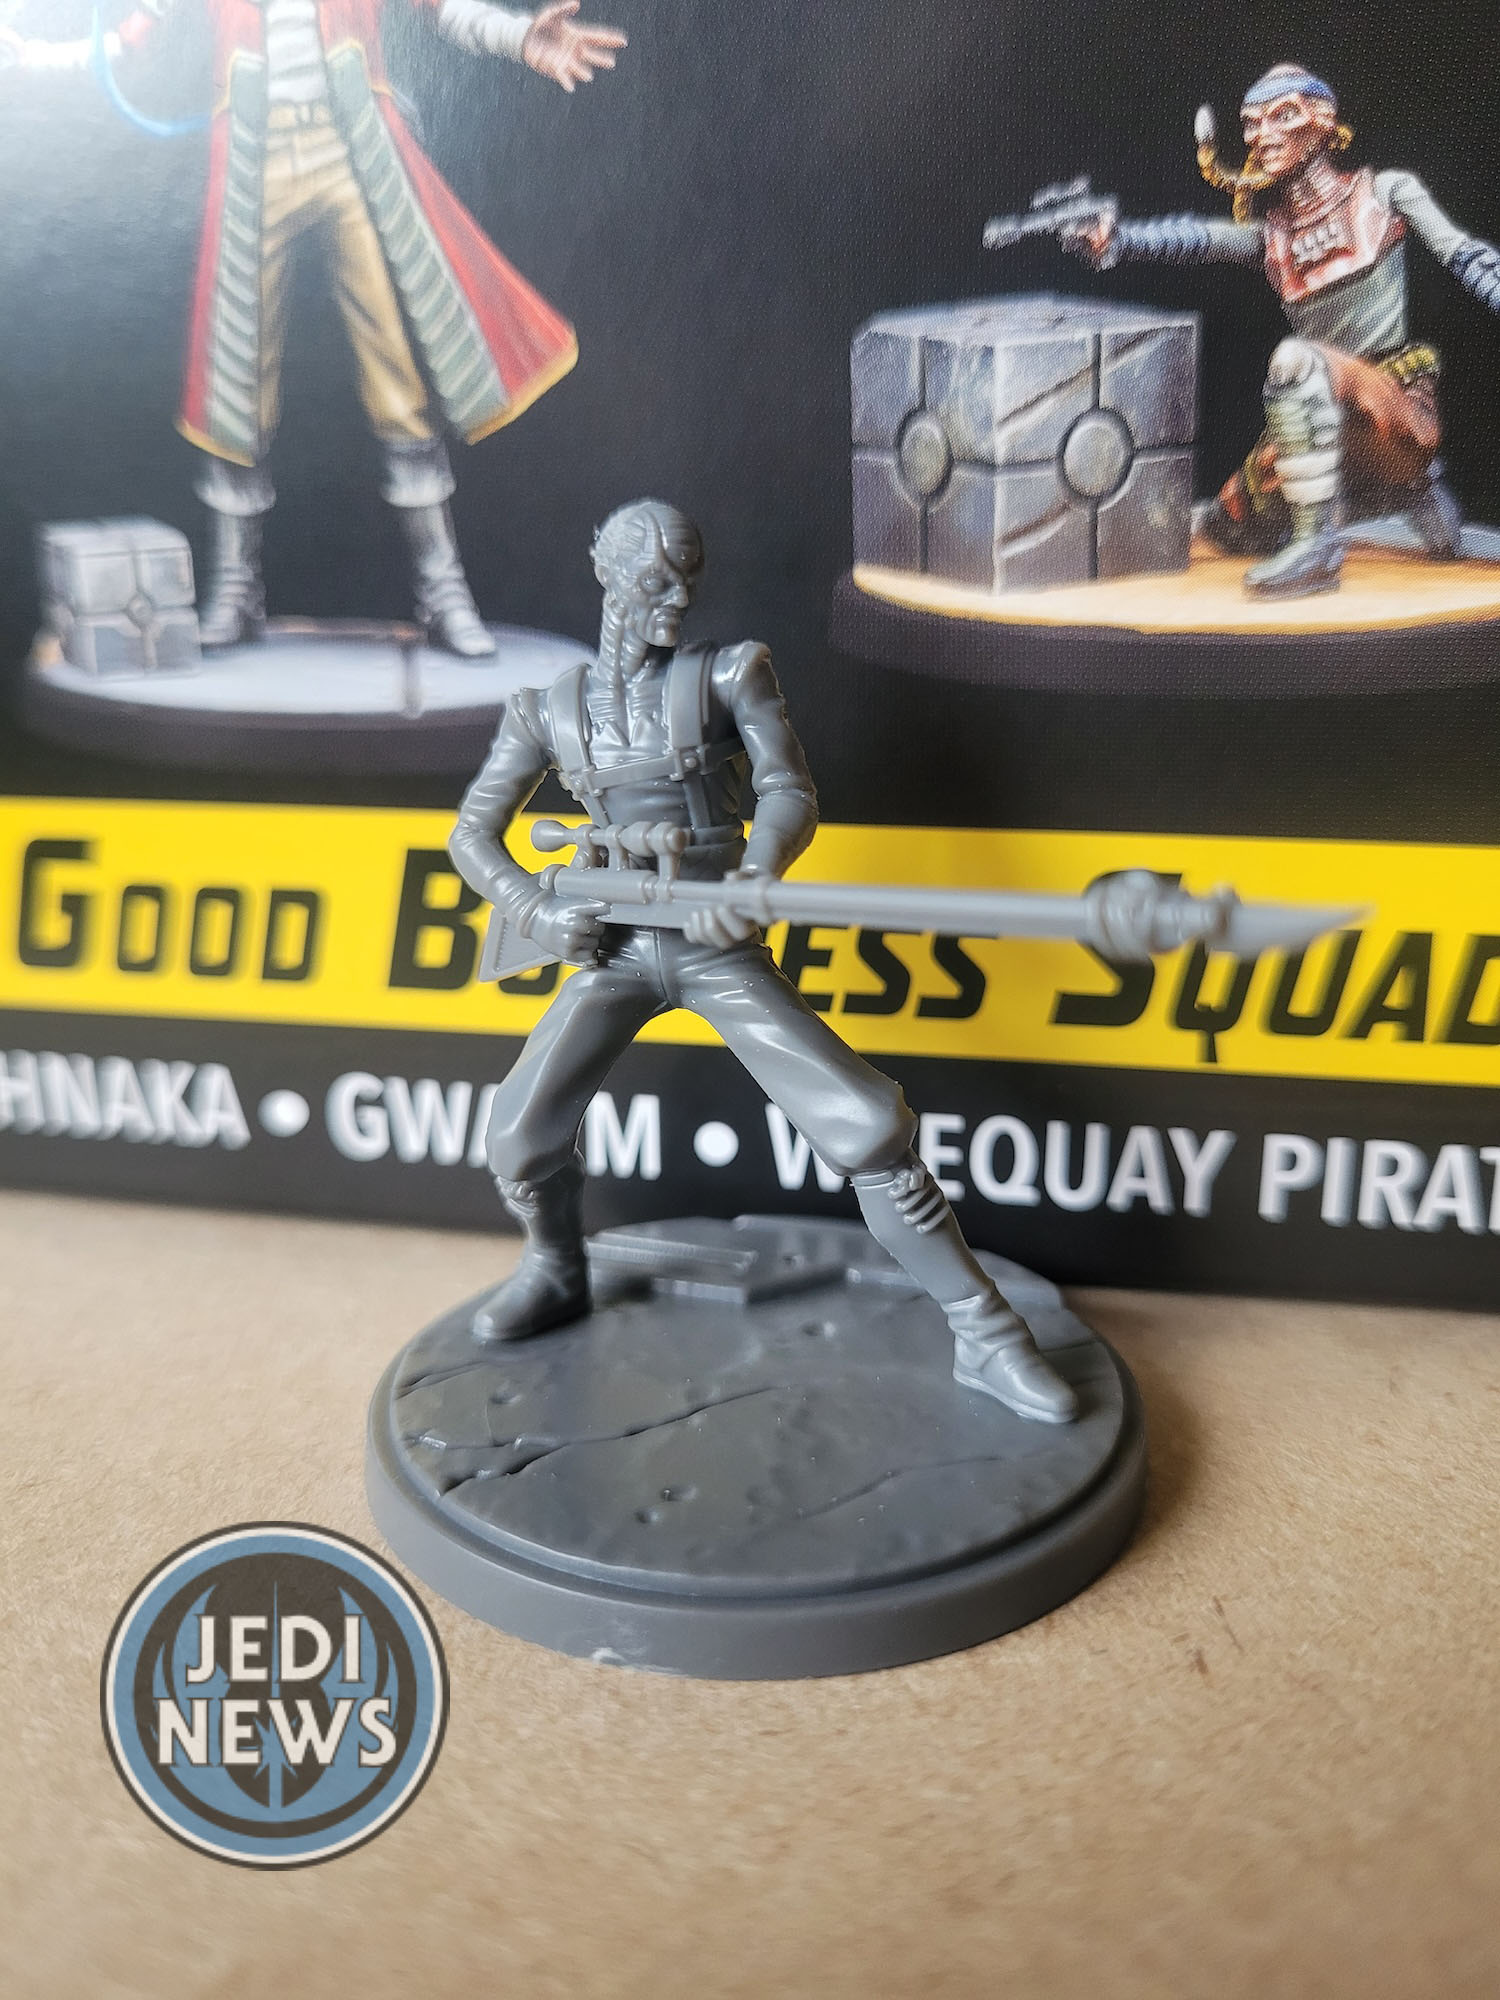
Next up is Gwarm. In comparison to Hondo, he is much easier to put together. When placing the arms together, place the right arm first, then the left and you should have no trouble. The detail on the head of Gwarm is superb, the ridges of the species are really well done.
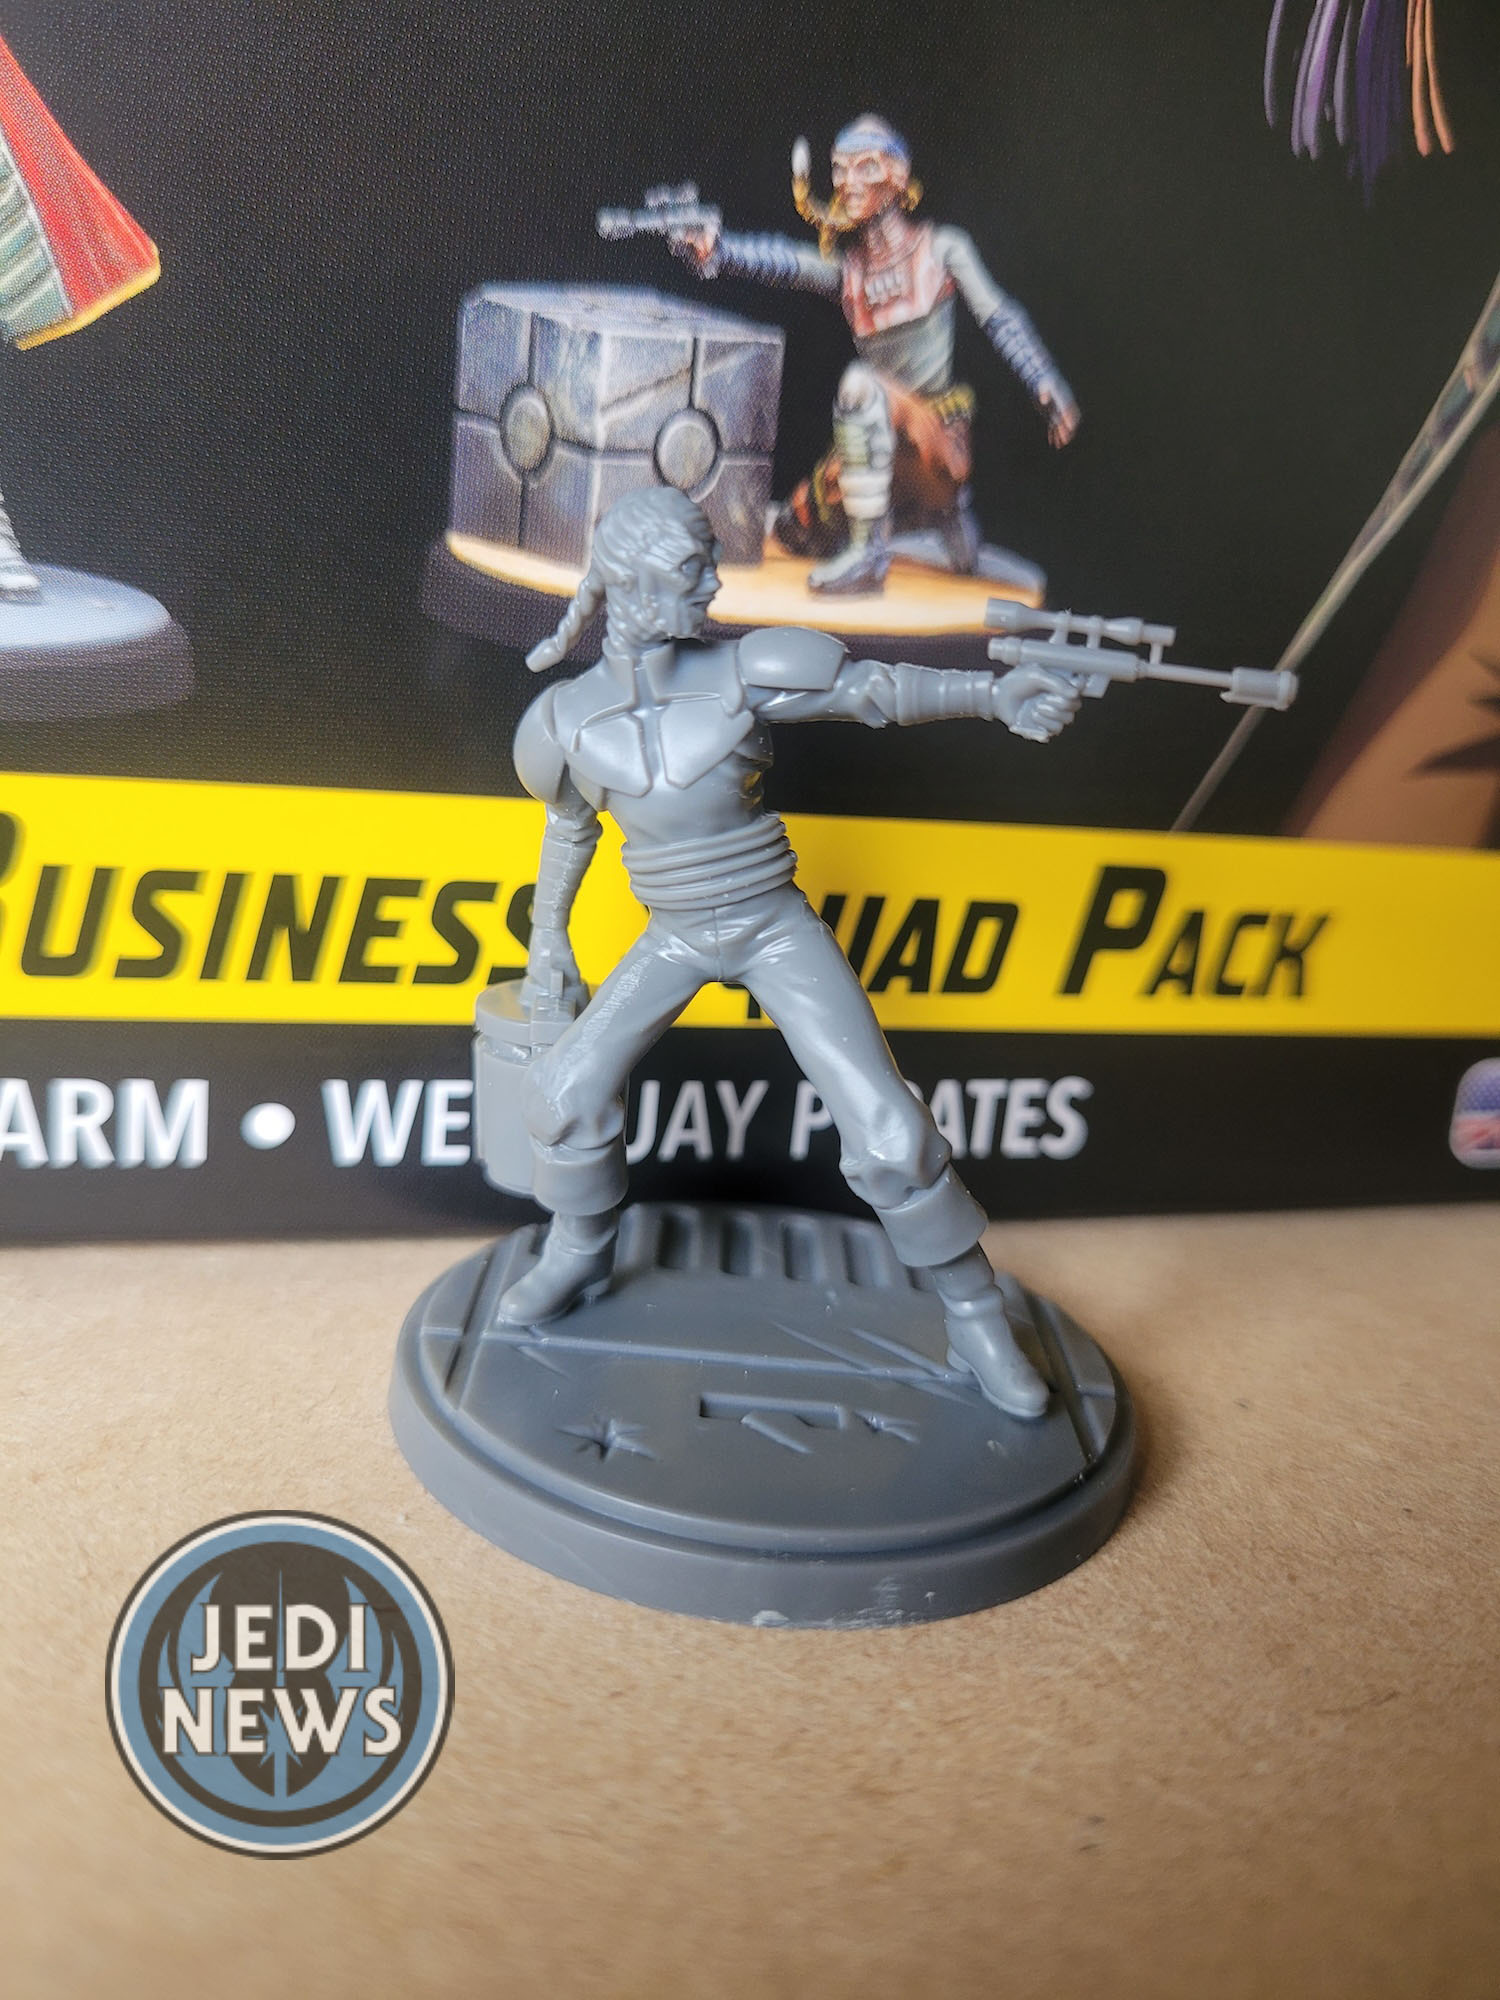


Finally, it’s the two Weequay pirates to finish off the squad. The first one is very simple to put together and shouldn’t cause any issue. The second Weequay should also cause no issue for the actual model. The crate however is another matter. This just would not fit together; I ended up cutting about three millimeters off each side of the inner joints. After this, the piece came together perfectly. What I really like about this piece is that the Weequay can either go as if hiding behind the crate like on the box, or it can be placed as if the Weequay is trying to hold onto the crate like in the instructions. What I will say is that both these models are fantastic. Both have so much motion to them, you can see they are in the middle of battle. As much as I like the Hondo model, it’s these two that for me, are the best of the set. They really create a narrative for the squad.
Onto their cards. Hondo is a two force, seven squad spender. That’s a lot less force than other primaries and only seven points to spend over the two squads. It’s going to be a hard sell to a lot of players. His tactic is the namesake of the box. It allows you to refresh a force for each active objective controlled by your opponent. Now having to force to spend with Hondo, I imagine three or four with the other squad you team up with, refreshing force is of huge importance. Obviously, you’ve got to be a bit weak in order to be able to make the most of it, but used right, your opponent might regret having so many objectives. Hondo then has three abilities that each cost a force. One allows Hondo and each character in a unit to dash, another that when an ally is wounded within four, this Hondo may move. But the one I really like is ‘What Have We Here?’. You choose an enemy within two and they gain pinned and strained. Then you can spend a force if that unit’s card is reserved to have it shuffled back into the order deck. That last one is amazing against squads that like to alter the order deck or have an advantage having the card in reserve. The final identity ability allows you to add dice to your roll for the amount of other allied units engaged, but in doing so they gain strain. It’s a payoff and one I’m not sure how often I would use. The two sides of Hondo’s stance card are ‘Clever Captain’ and ‘Pugnacious Pirate’. The former does a maximum of six damage but can also heal. The flip side can do seven damage and do a lot of shoving. Rolling seven dice on either side for ranged attack is nothing to be scoffed about.
Gwarm is a three-point cost secondary. He also has a tactic that allows a weequay unit within four to dash. Helpful, although I certainly want more weequays in Shatterpoint to be able to get even more benefit from it. For a force, Gwarm can heal a scoundrel. Not groundbreaking but very useful if you can use it at the right time. Again, the Weequay keyword comes out and if making a melee attack with a unit engaged with another Weequay unit, you add two dice. Now with only two other Weequay units in the game at the moment, this squad needs to stay together to make this ability useful. Gwarm also has sharpshooter two and enemies don’t benefit from cover. Now that means I want Gwarm up high sniping away, but I’m equally aware he needs to stay with the squad as well. This is certainly going to be an interesting unit to try and utilise correctly. At three cost, I want him to work. The main issue at the moment, is the fact all the Weequays currently are in this squad pack. His stance card can do a total of six damage just on the track, but it is possible, particularly with his long rifle, to add criticals.
Finally, it’s the supporting unit of the Weequay pirates. Costing four, they can do a maximum of six damage on the track. For a force, the unit can climb. If a character in the unit is contesting an objective, they gain steadfast, which can certainly be helpful to keep control of an objective. The last ability they have is the same as Gwarm, where they add two dice to a melee attack if there is another Weequay engaged. Clearly these and Gwarm need to go around together. They seem ok, but I don’t know if they are anything to rave about.
As a whole squad, there are some really nice abilities. There also seems to be some things that I think will hold this squad back. The lack of force, the lack of other Weequays in the game, let alone that there’s only seven points to spend with Hondo. As much as I like the look of the squad, I’m not sure how well they will perform on the table. I guess I better find out!
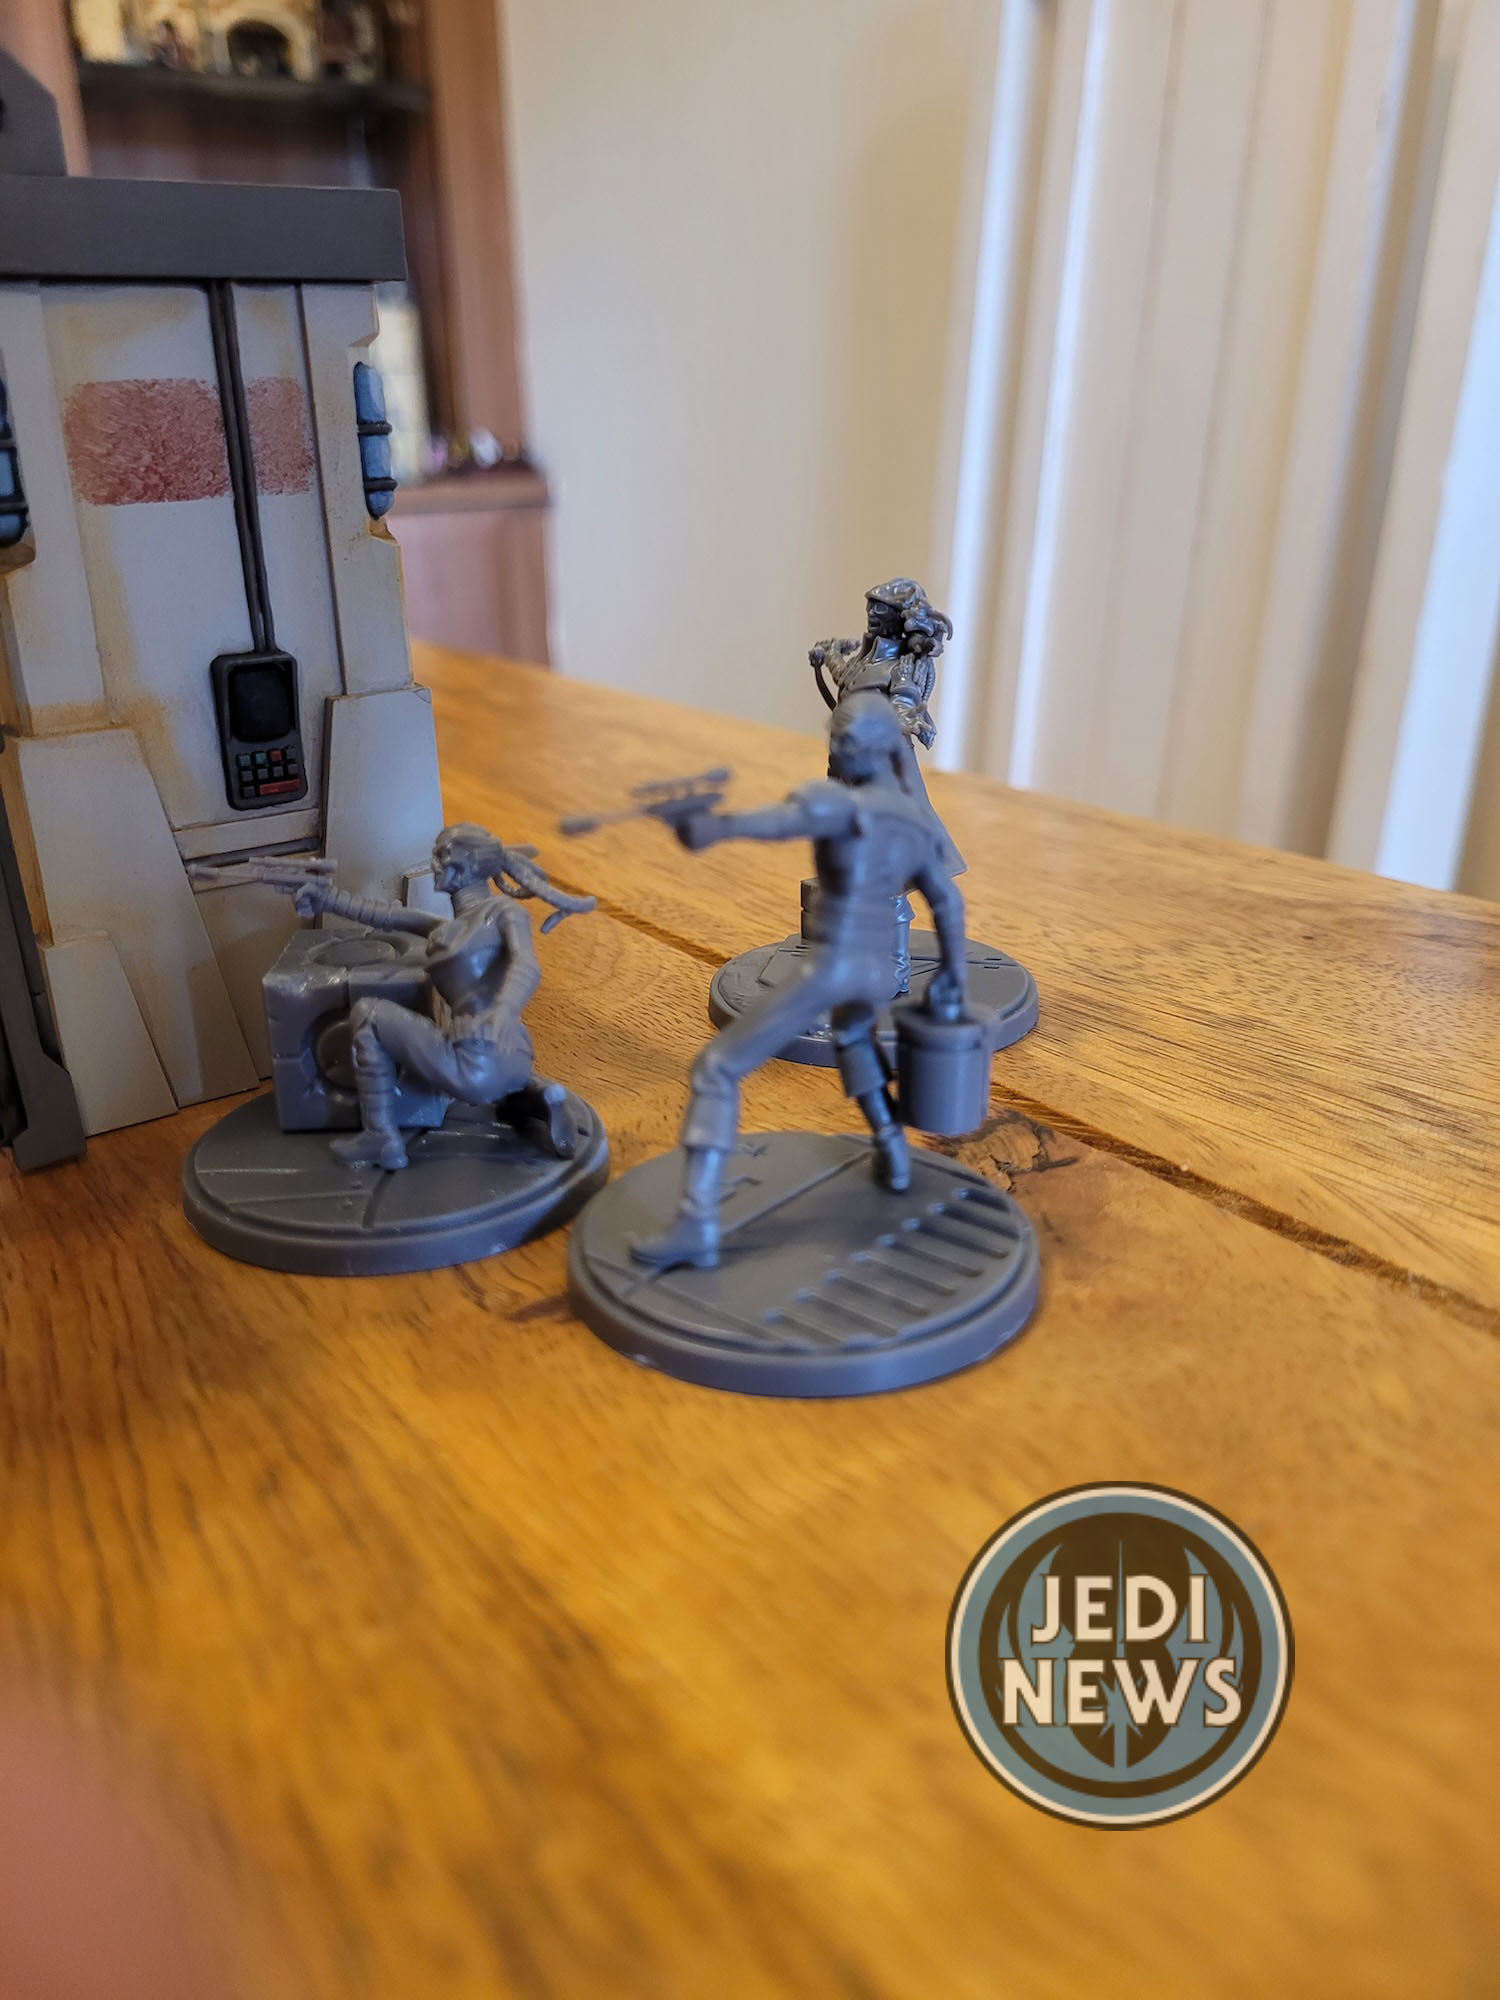
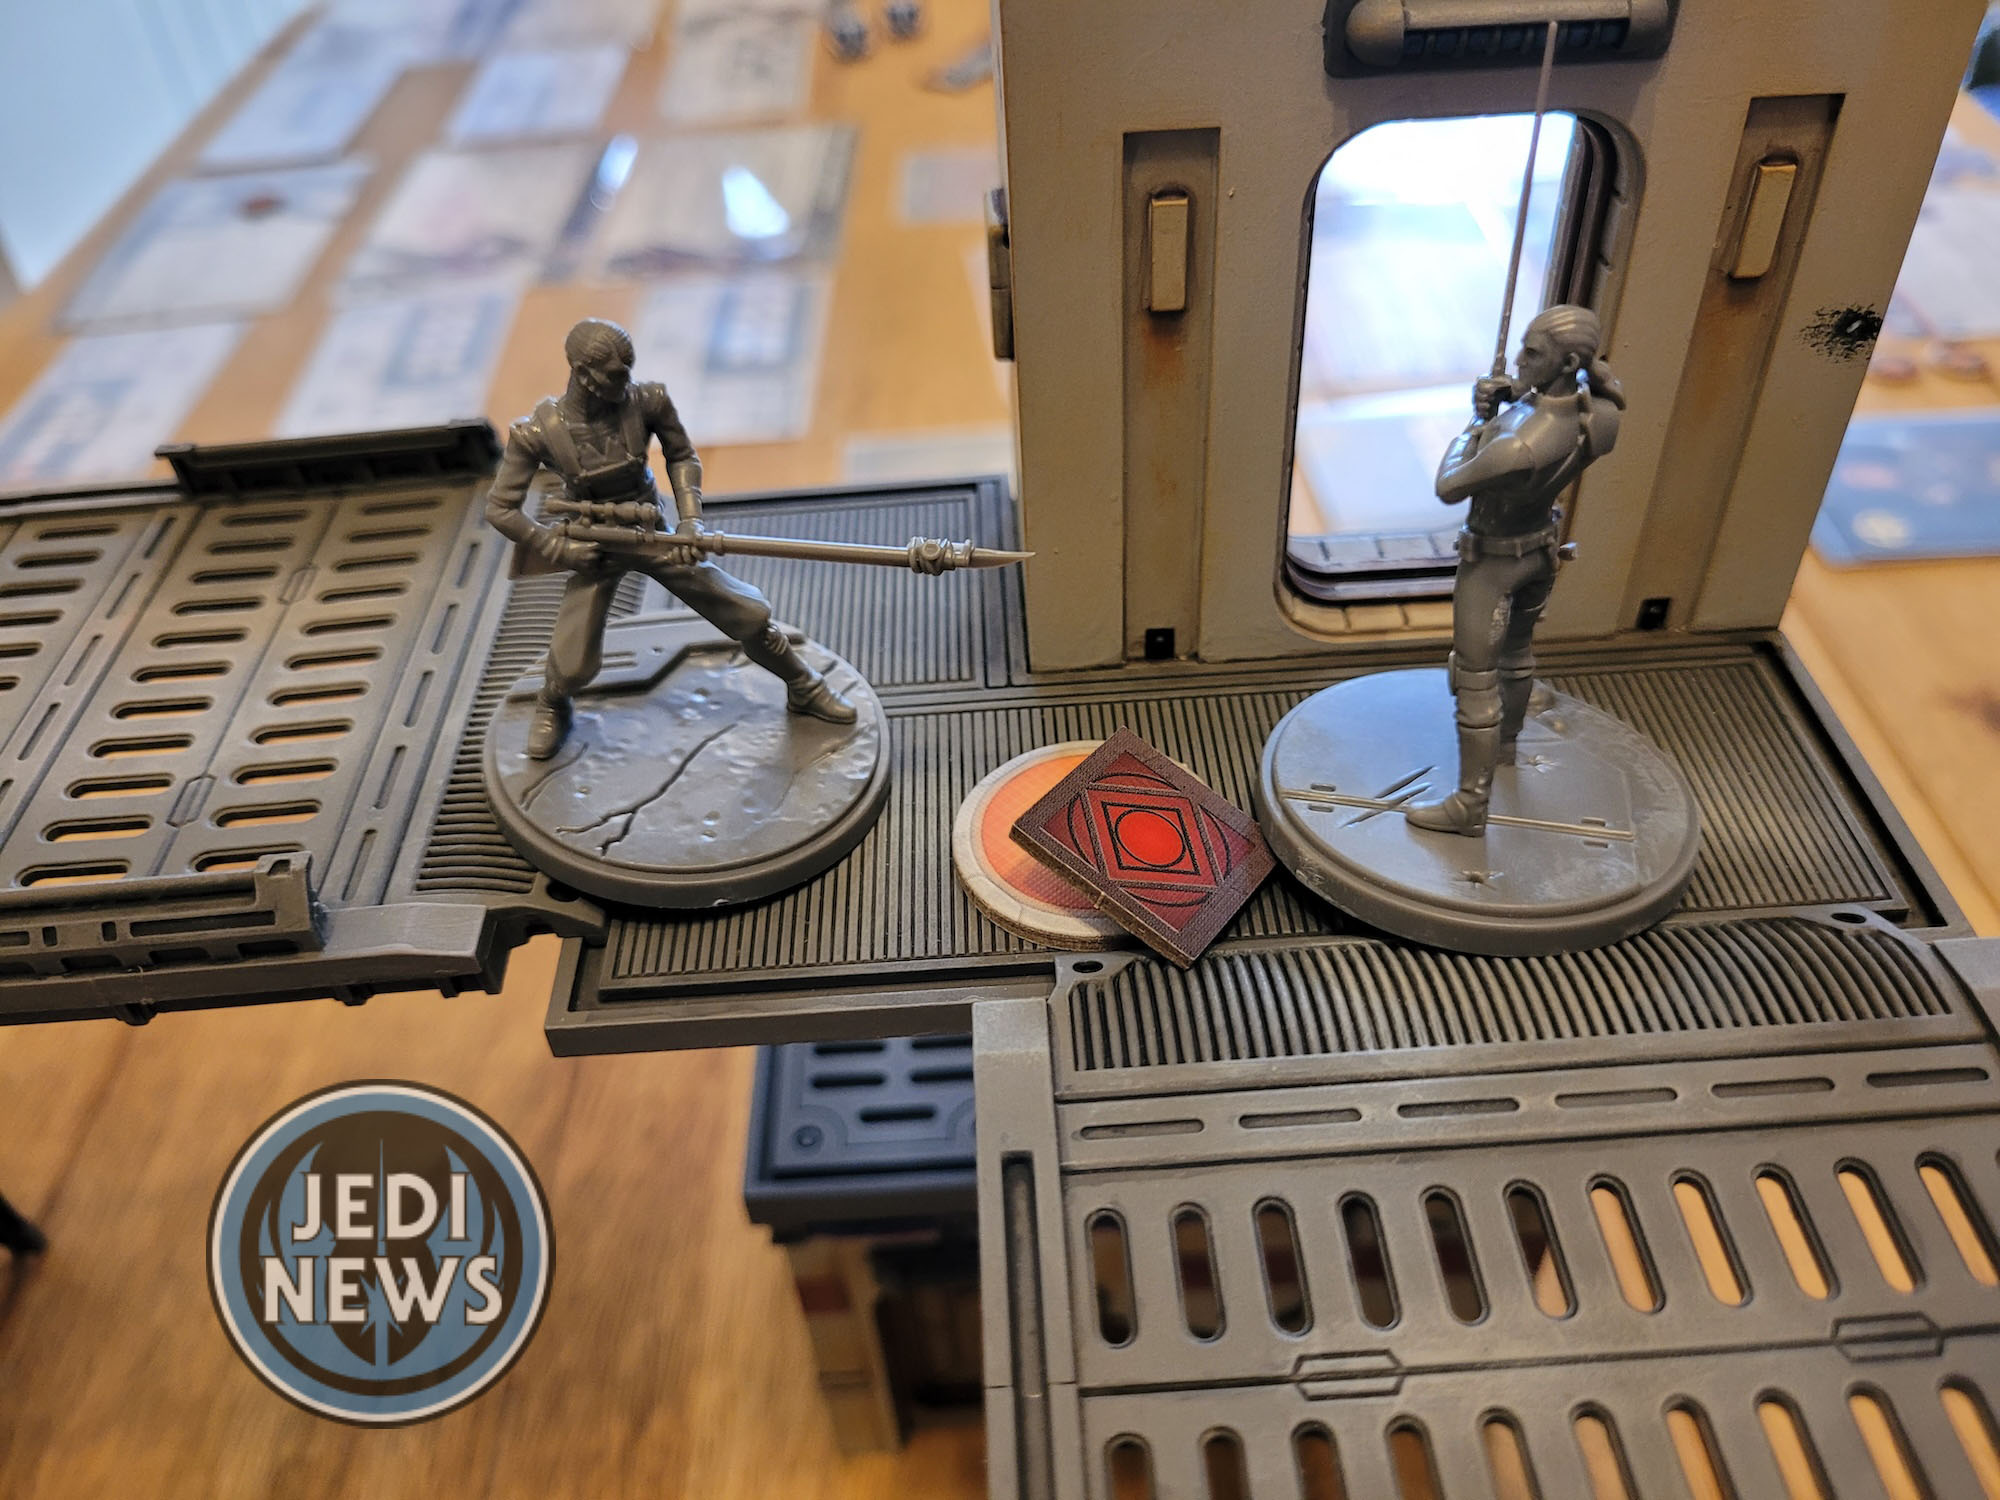

I purposely kept this squad together as much as I could. At one point, Gwarm was slightly in front and came upon the lightsaber of Kanan, that could have gone better. However, as soon as the weequay pirates moved in things completely shifted. ‘Pack Hunter’ is really where these units shine and why you are never going to want to keep them far apart. Adding two dice to attack rolls made a huge difference, so much so, that the supporting unit and secondary took Kanan comfortably down. It was incredible to watch. Perhaps what was the most entertaining was moving Hondo up after, almost gloating about the victory that he didn’t actually take part in. I don’t think I am ever going to tire of the cinematic quality of this game.
Hondo’s ability to refresh the force was actually crucial and he is certainly one you are going to want to bring out as late as possible. Which, with what I mentioned about him swooping in after the combat is done, feels very thematic to the character. Not that Hondo can’t do some serious damage, but it’s at the expense of his own troops.
While I’m not necessarily sure of Hondo as a primary, the secondary and supporting units in this set are fantastic, as long as you keep them together. That obviously has implications for getting objectives, but the two together can really pack a punch and take down some of the strongest primaries. I’m certainly thinking how they might work with different primaries, but that highlights the biggest flaw at the moment with this squad pack, other units. There just aren’t any other Weequay units to be able to use with these or switch out. It’s the flexibility of this squad pack, or lack thereof, that I think players are going to struggle with at the moment. I’m sure this will be rectified in the future, but for now, this is going to limit how much play this squad gets played.