



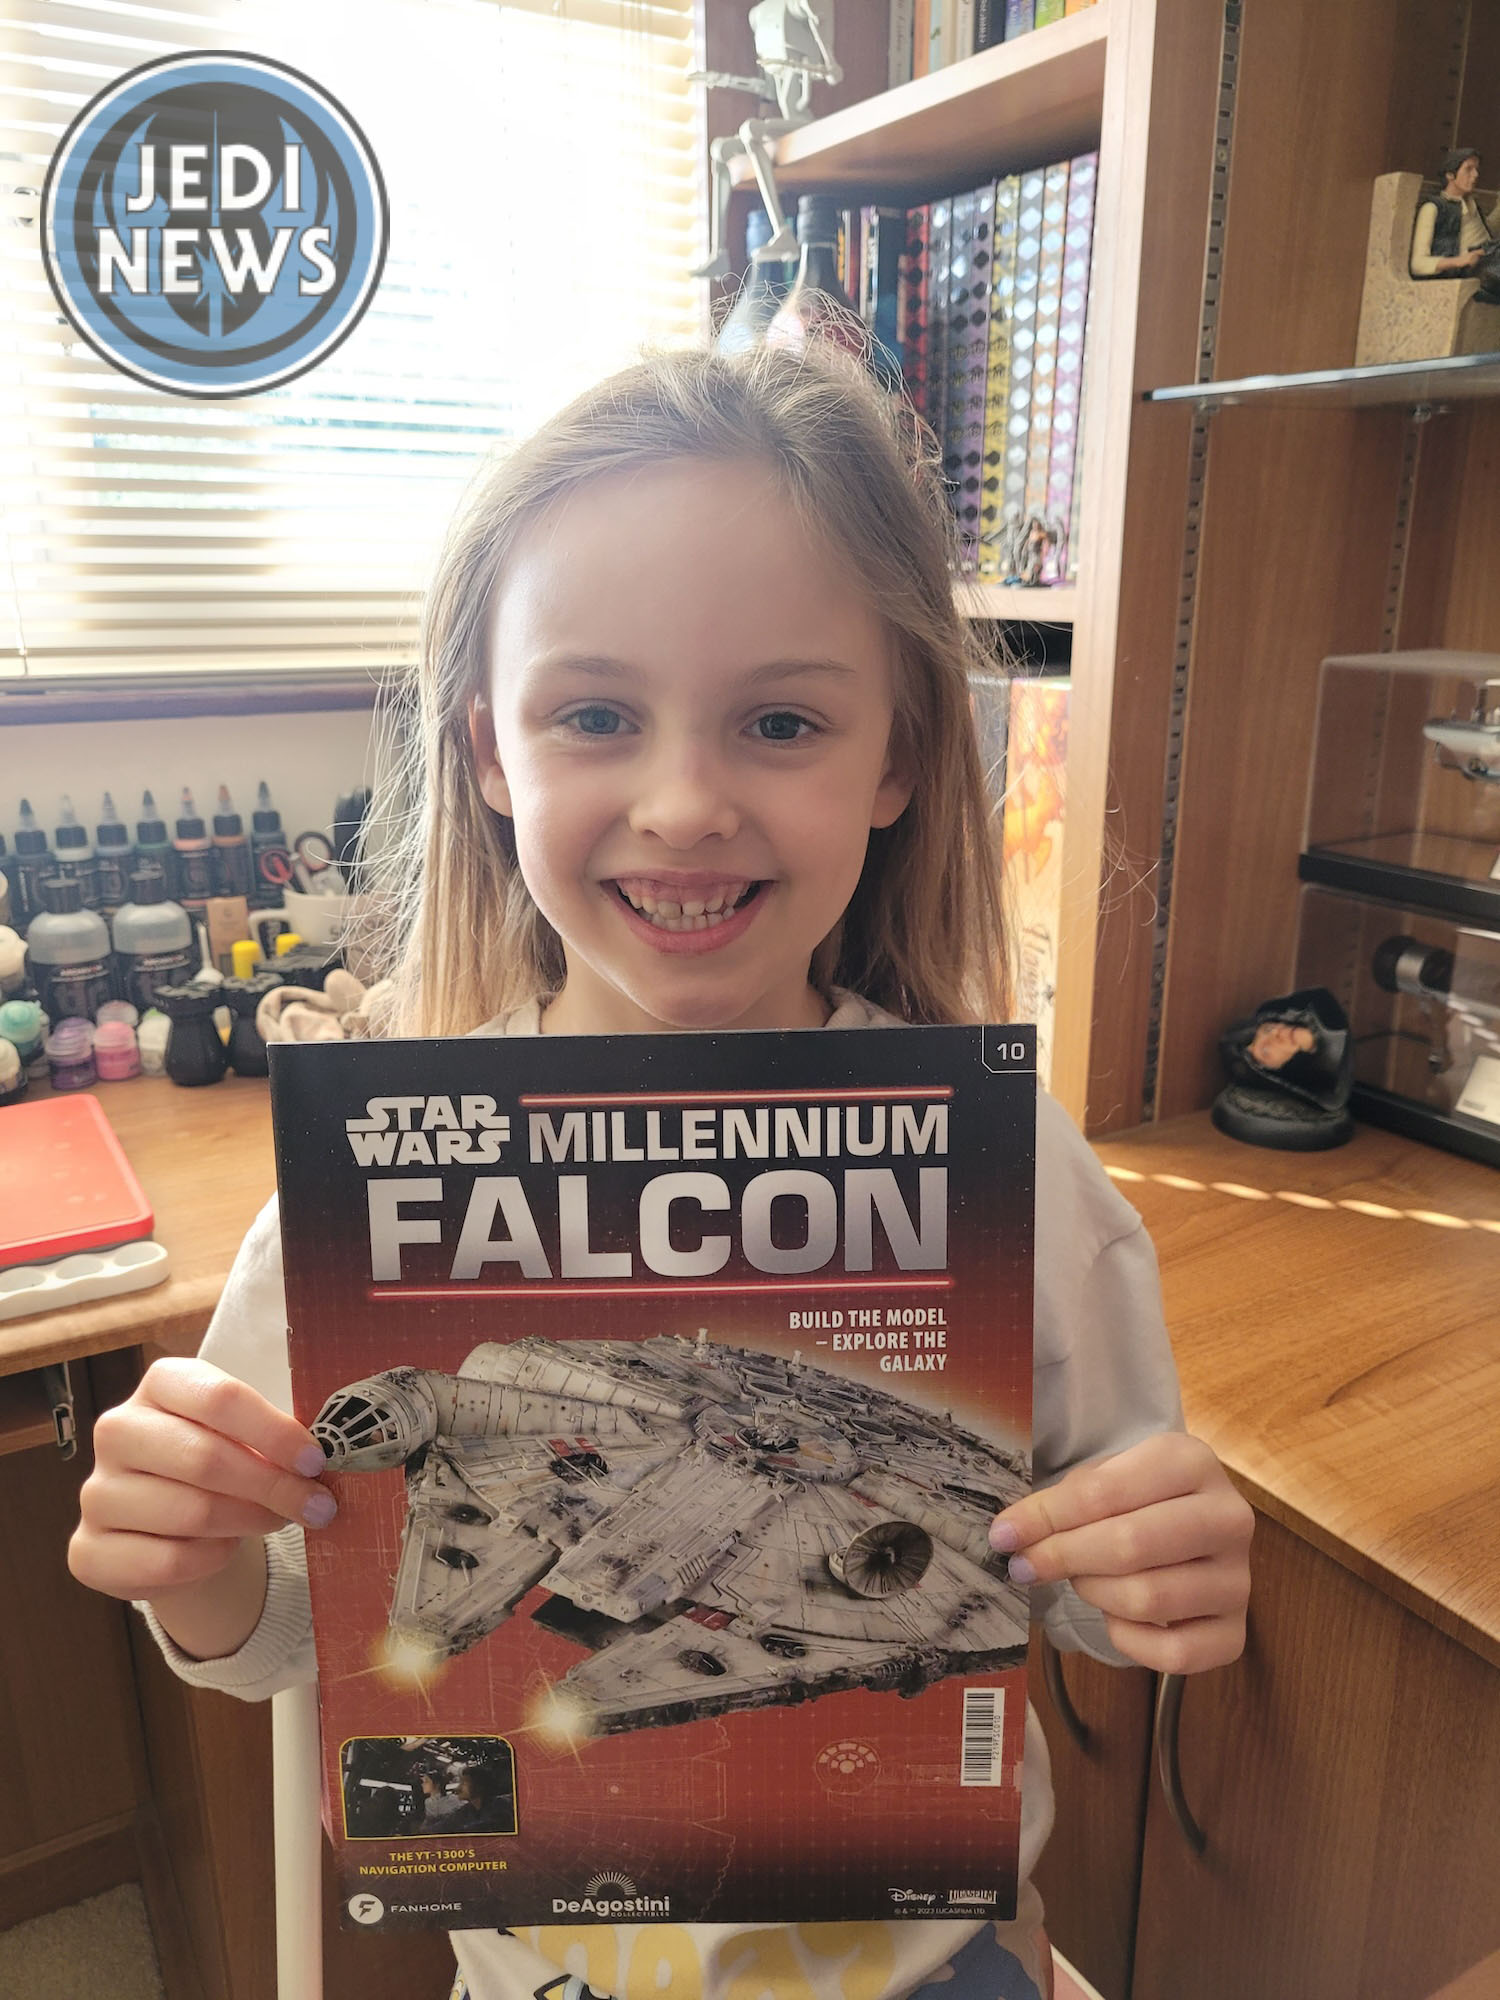
The last two issues of the Millennium Falcon had been the busiest I had so far come across. This isn’t a complaint but when you are trying to build a ‘piece of junk’ with your seven-year-old daughter, it’s best to know how to best space these issues out. I was starting to consider whether we needed to tackle one issue at a time; I’ll come back to that in a moment. Issue nine ended amazingly for my daughter (Ember) and myself. We had a cockpit that was now able to light up. My daughter was in amazement at it and more so, knowing that we had built it together.
Before I dive too much into these issues, I want to just mention work that I had done between reviews. I had added the light strips to the cockpit area, which was very straightforward. What I had noticed in issues 8 and 9, was the painting aspect. I wanted to start painting pieces and taking my time with it. The advantage of the inside of the ship, from a studio scale perspective, was that it wasn’t seen or even constructed (with the exception of a few areas, like the cockpit). This meant that the colour choices, the effects, were all down to me to get right and look as I wanted. The technical station I wasn’t happy with, so I ended up starting at numerous movie stills before repainting it. The main difference is the black, which I think adds a lot to the station. I also enrolled Ember to help me with the whole floor section of the cargo hold. We painted it and washed it, again, I was much happier with the final result. I’m planning on dry brushing the latter but will hold off until I see where all the pieces go in case I need to drybrush an entire section.
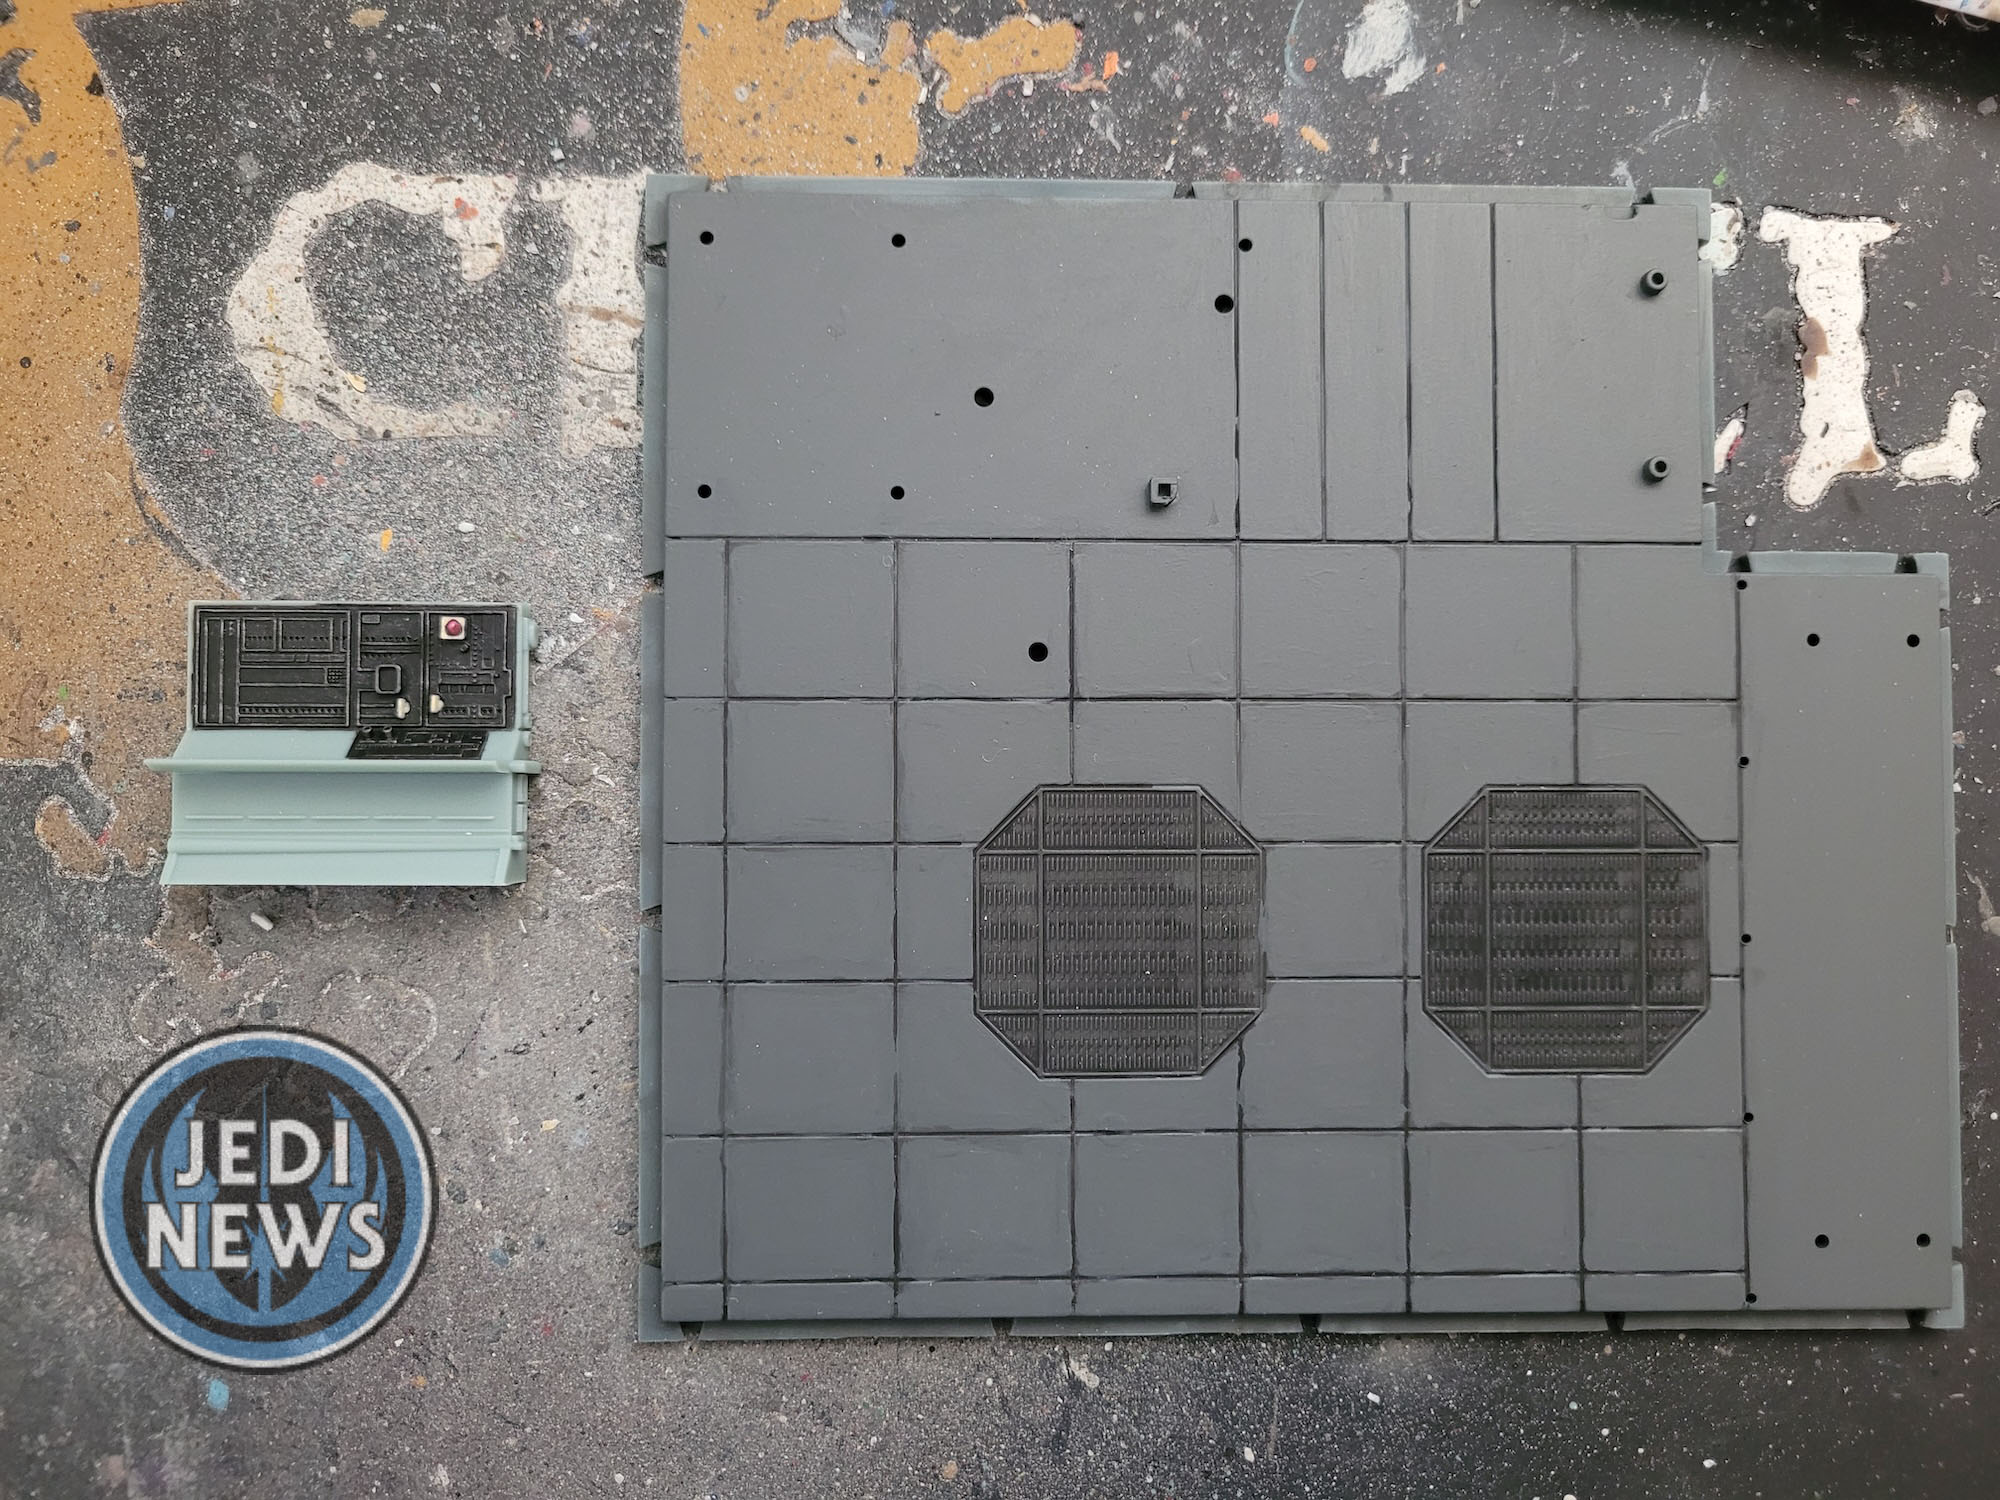
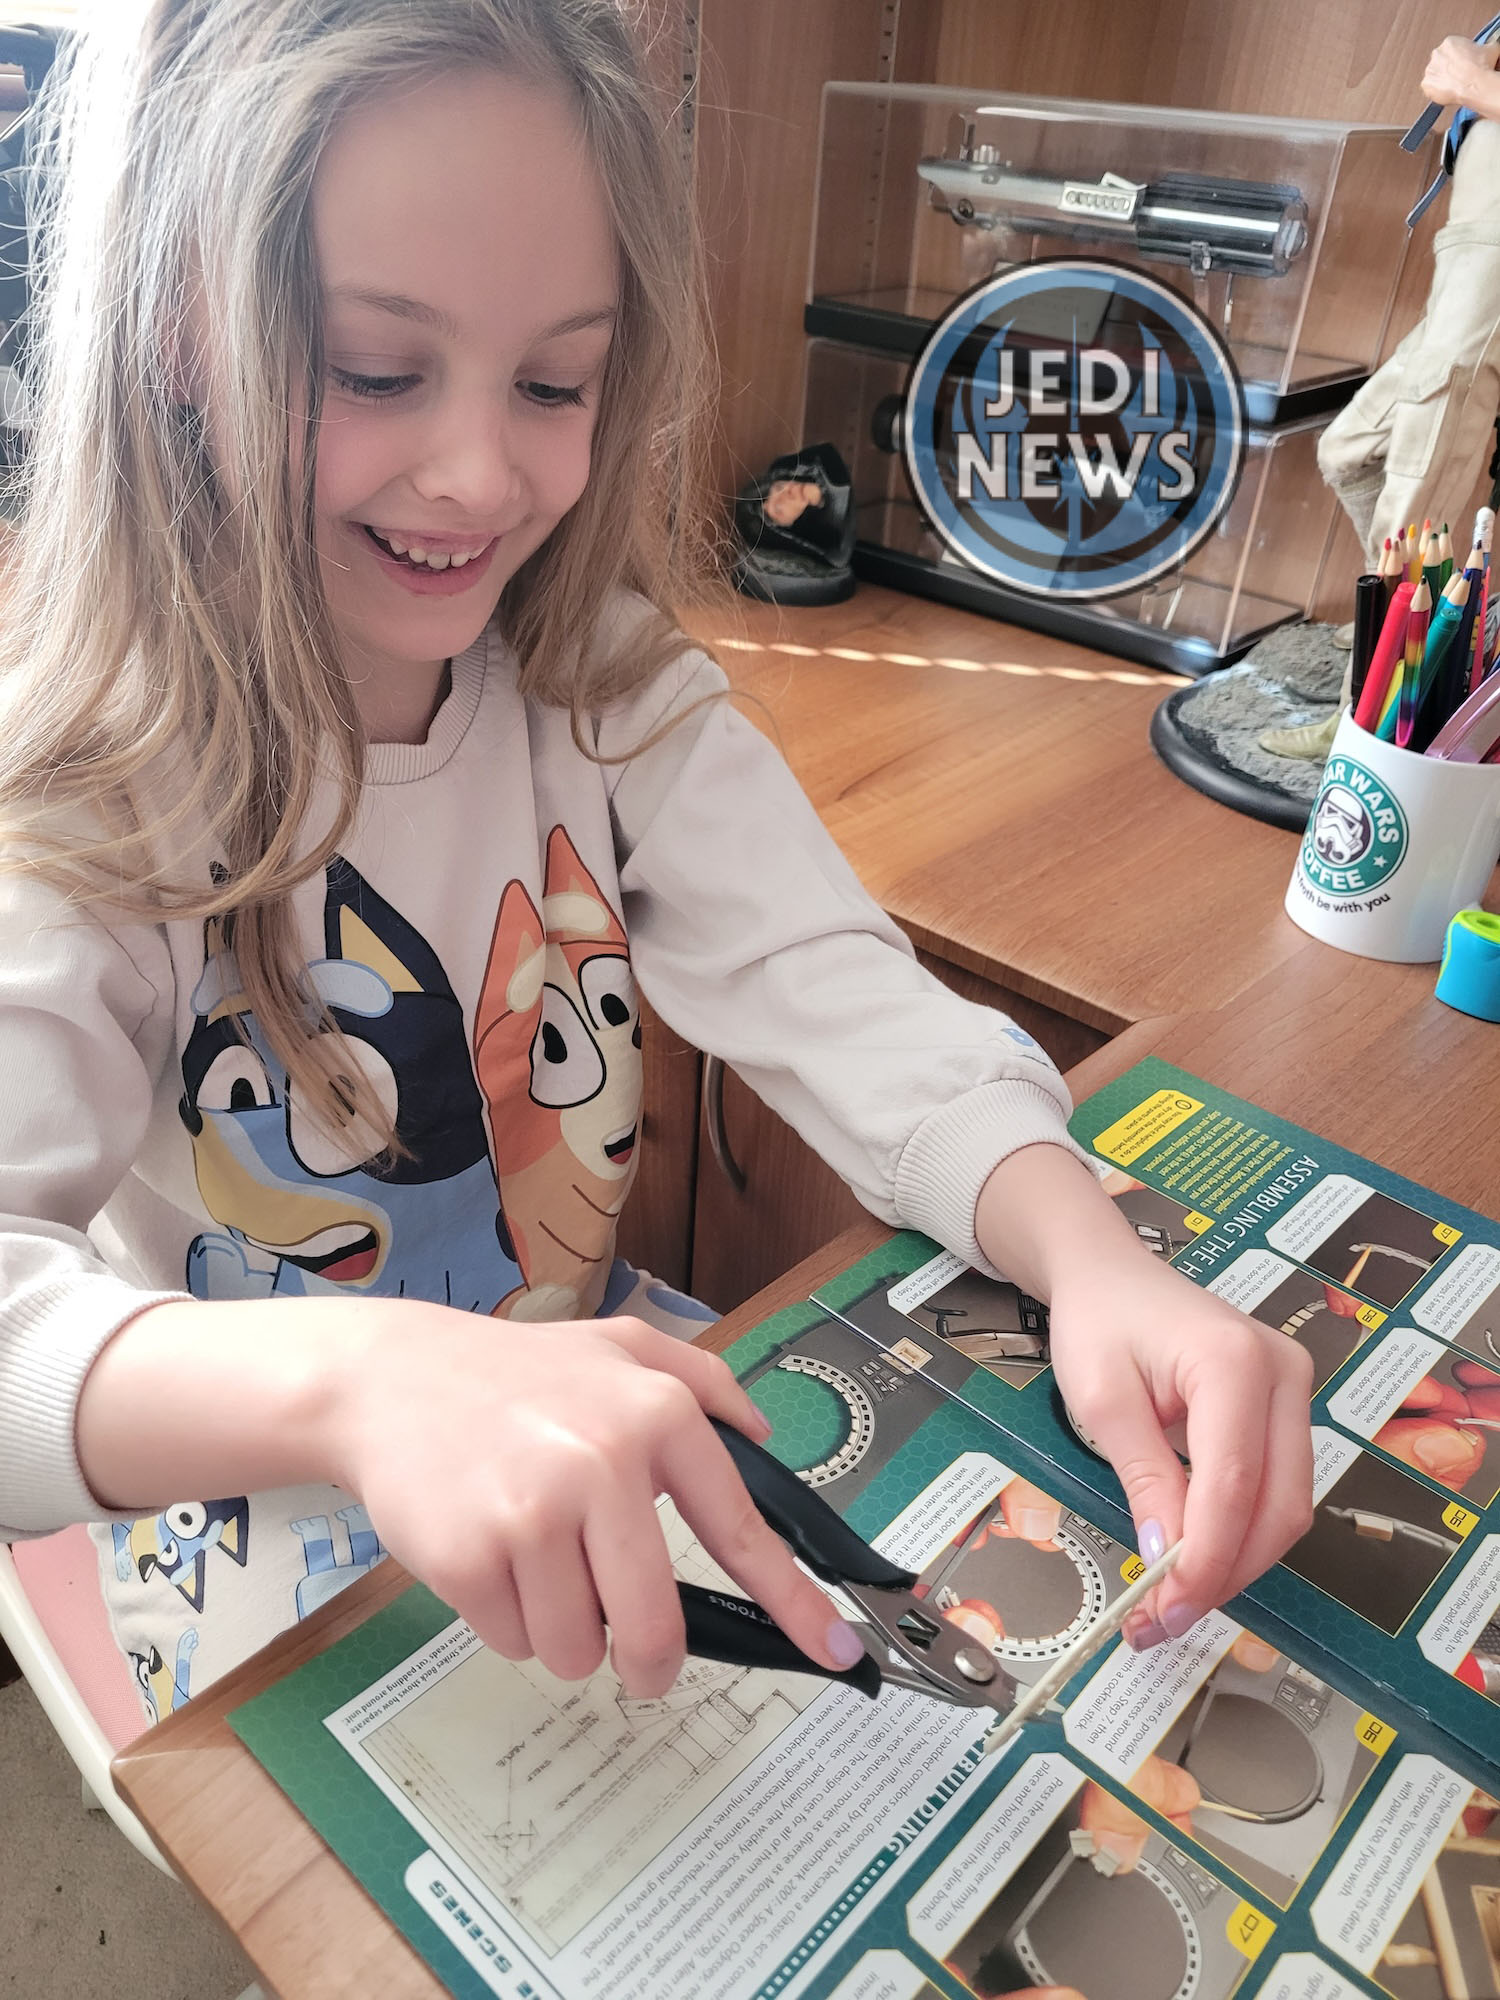
Seeing how these were looking, I knew that once Ember and I had finished future issues, I would need to go back and repaint different parts, at least while we were doing the internal parts. I haven’t touched the cockpit, and I don’t intend to. Although the colour of the seats is red and if you look at the internal shots of the Falcon the seats are clearly a beige colour, the studio scale model does have these colour seats. What I want from this project is a ship that closely matches the studio model that ILM created for the movies, not a ship that closely matches the internal shots. I’ve been seeing some great repaints to match the latter and I like it’s an option, but for me, I want my ILM version.
Onto the actual issues themselves. At the start I said I was very tempted to start doing just one issue a night with Ember. The last three issues have included a lot of things to do – with a lot of different skills. While this wouldn’t have taken me too long by myself, with Ember it’s a different story. She needed to learn each of these skills as we went and so the time it took for us to complete was longer. Not a bad thing at all but every time I came to say stop, Ember was adamant we would do a second issue (kids!). However, when I did my scouting through the next two issues, I saw that these were a bit calmer; we could handle the two! These two issues fit beautifully together, building up the cargo hold wall. There would be some clipping and filing, some painting (possibly) and some gluing. These were skills we had already learnt; this would allow me to reinforce those skills with Ember. From a teacher perspective (my day job), this was absolutely perfect for Ember’s learning.
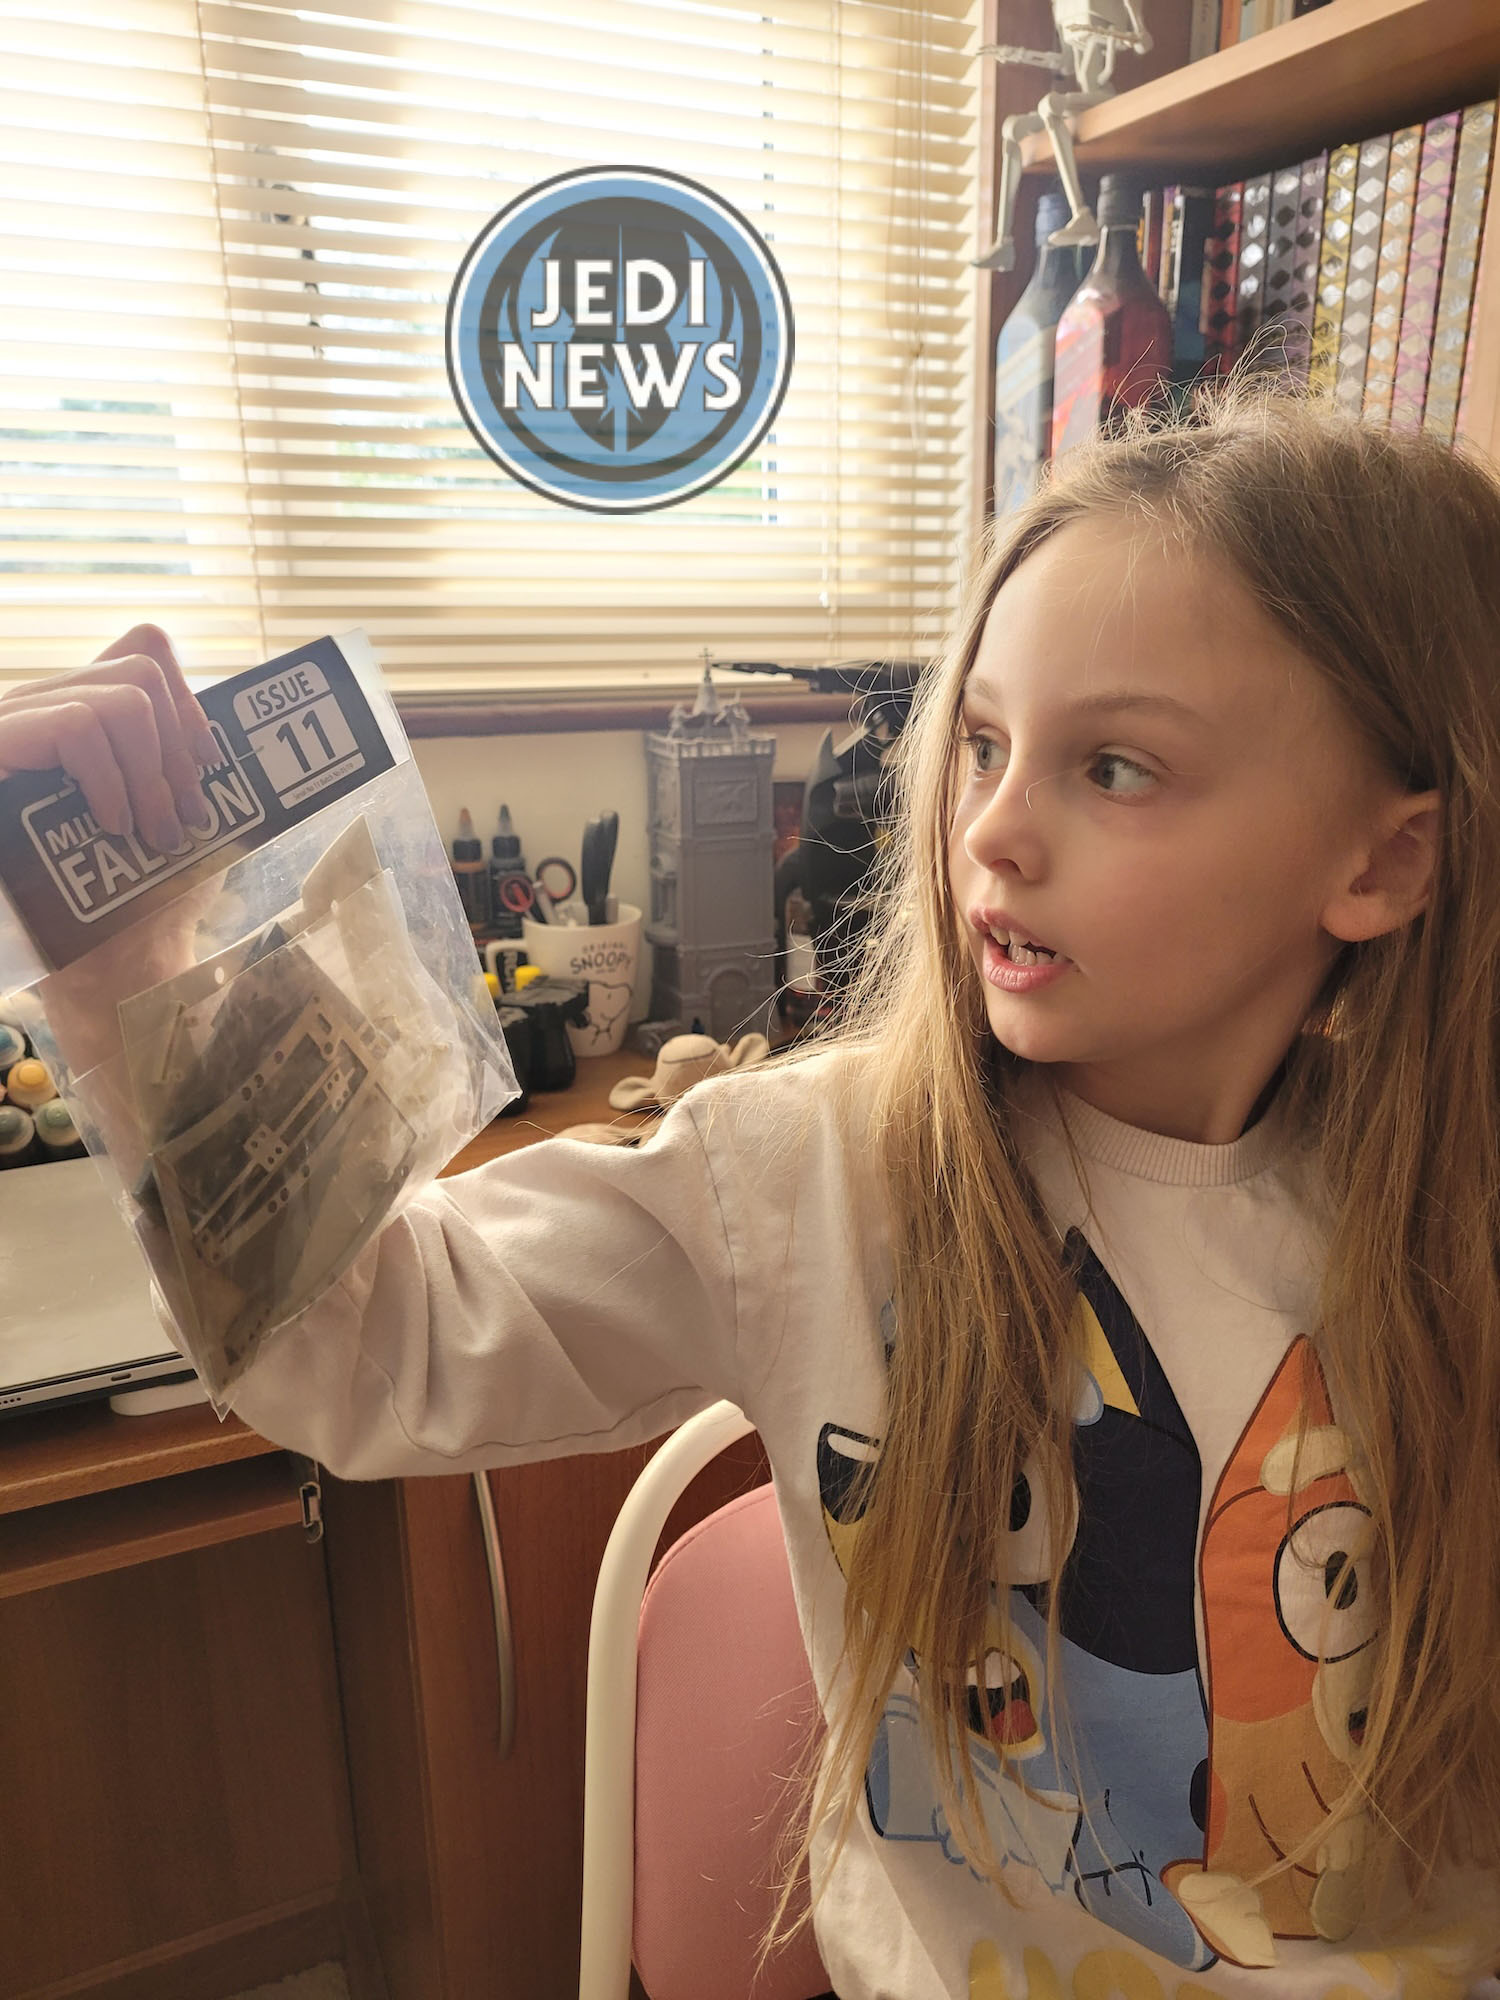

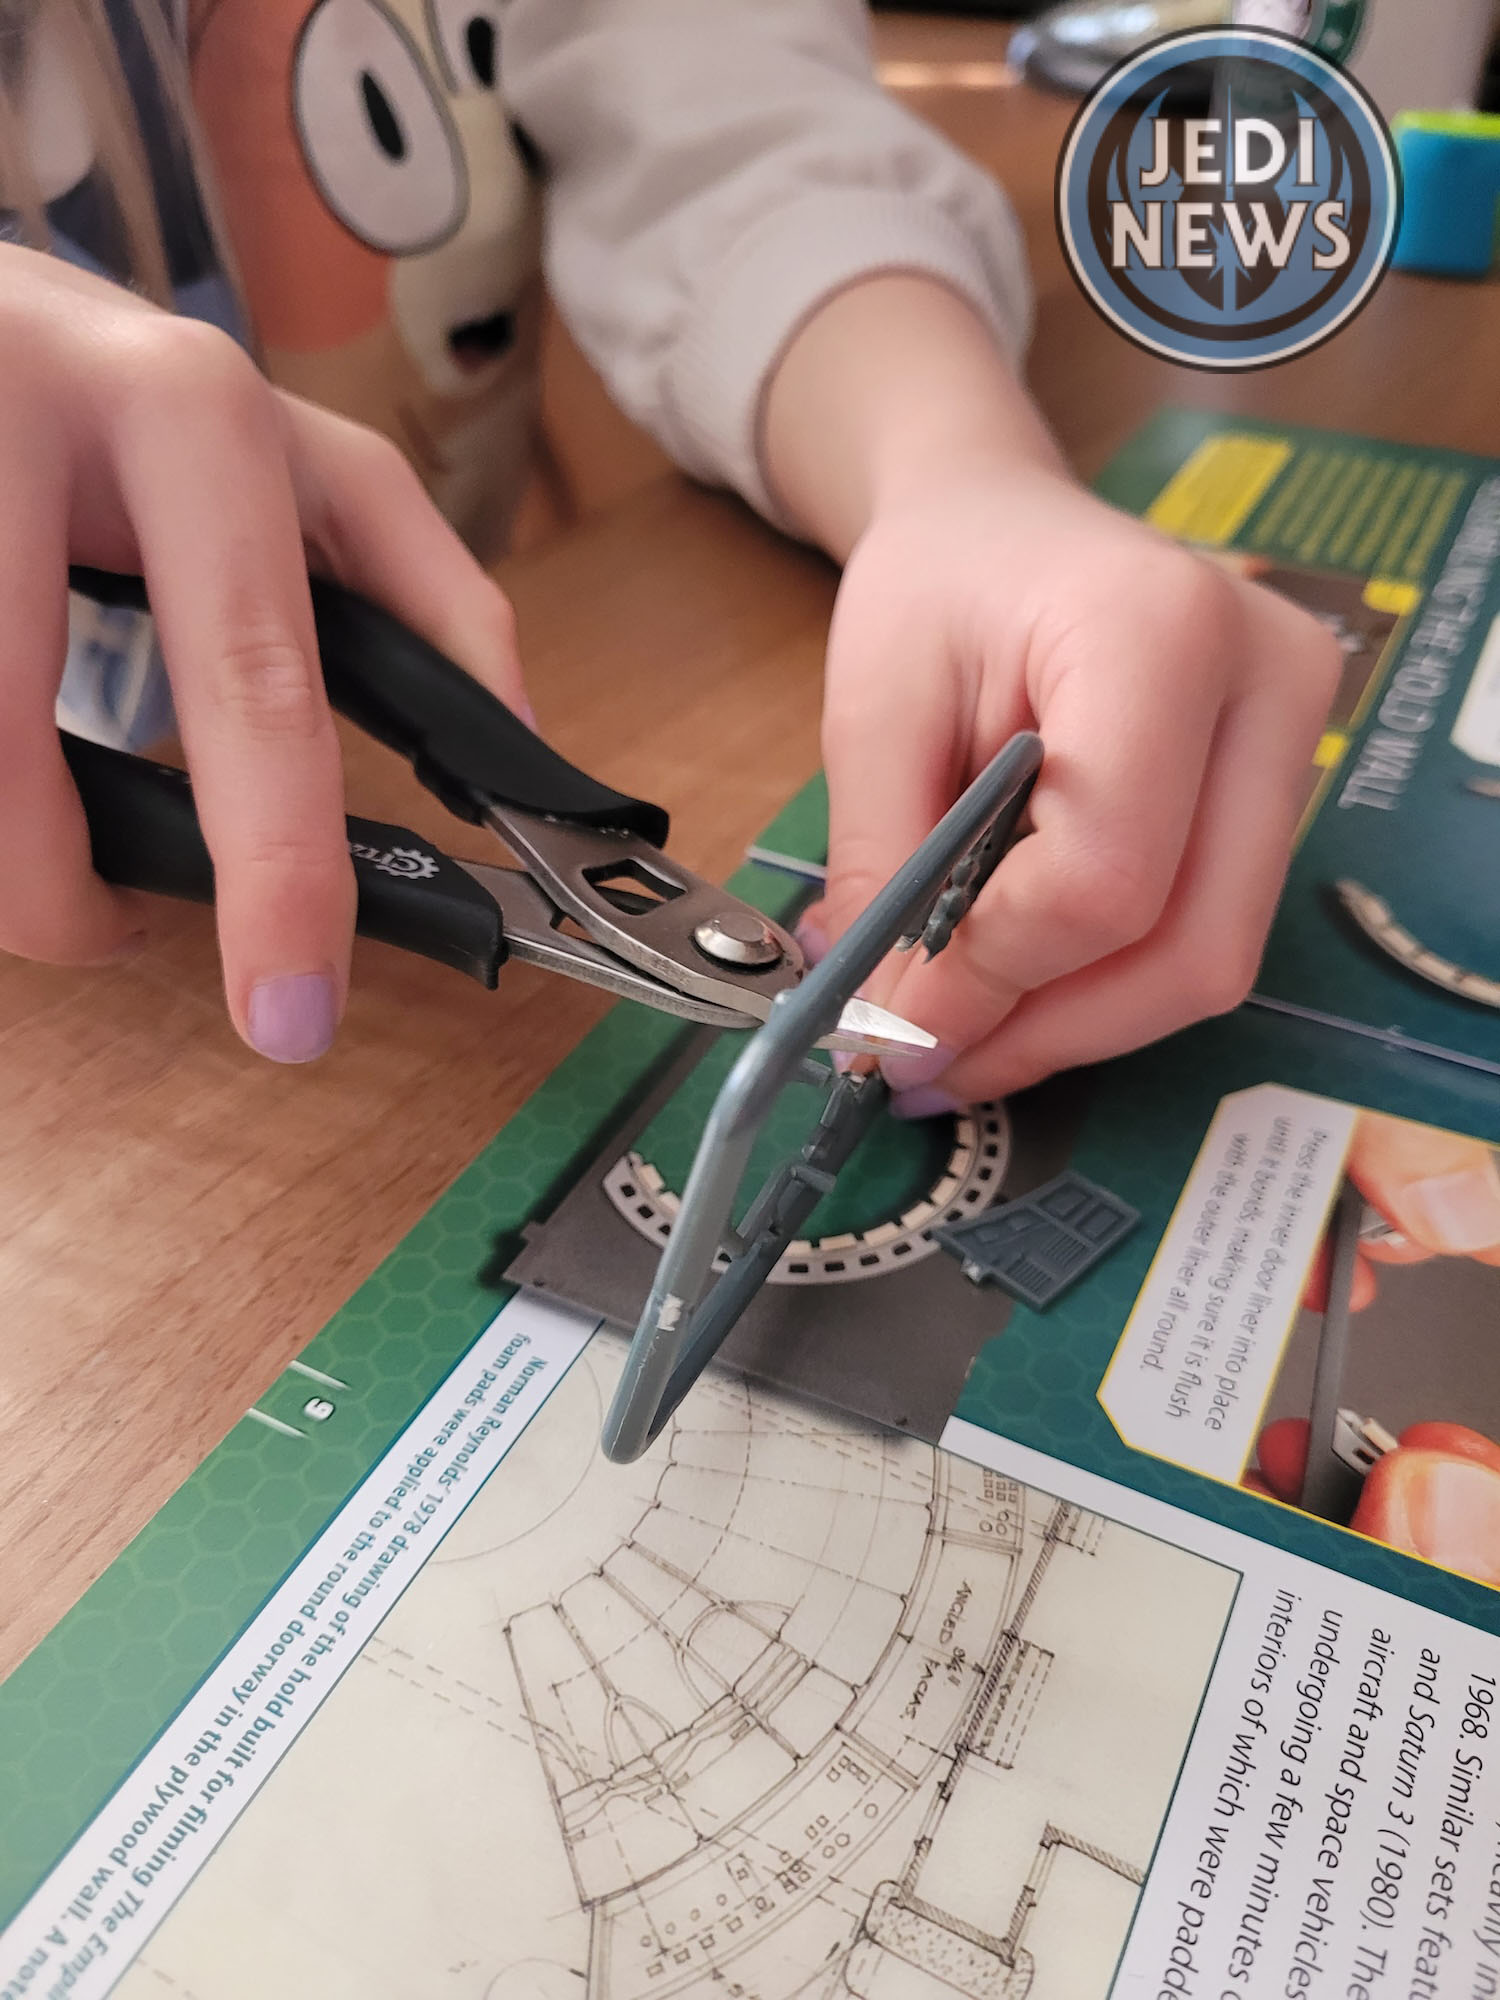
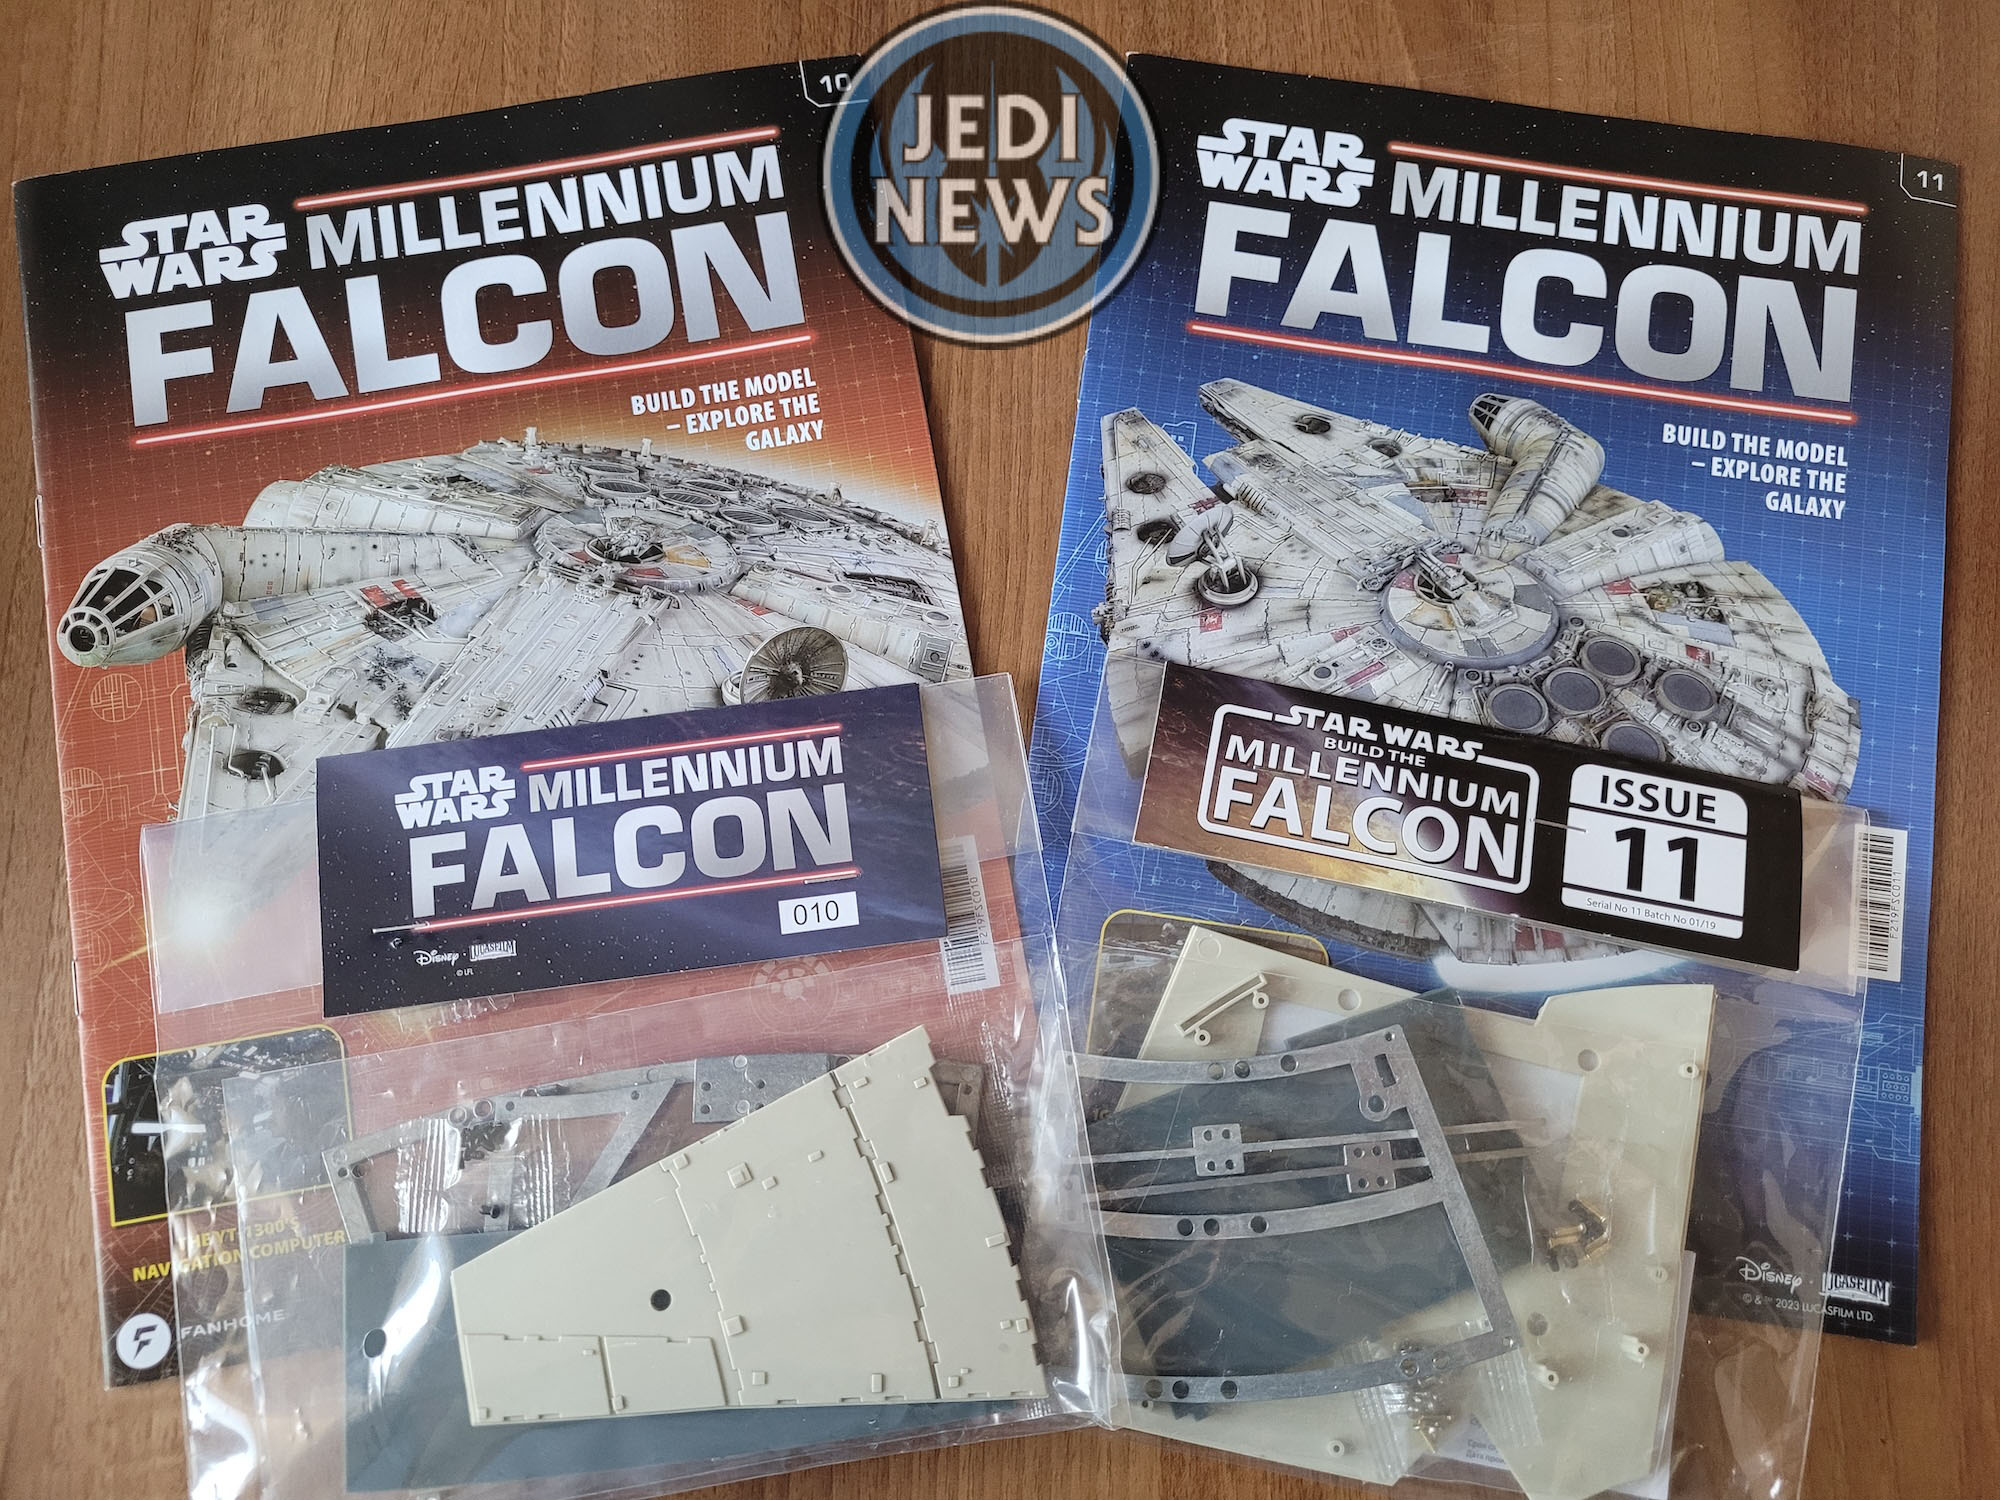
Issue ten was a breeze. The first part is lining the hold door. Ember had to clip out eighteen identical pieces from a sprue, file them and then we were ready to glue. Although the repetition for me would have been rather boring, for Ember it was perfect. We were able to talk about getting the slippers as close to the parts as possible which would help with filing. She loved it, being very careful to make sure the parts were filed to perfection. We then glued the pads onto the circular door. Ember is becoming very confident in using superglue. Again, it is very repetitive, but this was exactly what Ember needed. We talked about the amount of glue needed to be applied, where to place it and how to clip the pads into place.
Once this was complete, it was moving onto assembling the hold wall. There is a painting aspect to this, but I’m going to hold off on that. It’ll be the miniature painter in me that wants to see everything together so I can best judge what needs painting and to make sure all the colours are correct. We clipped out the pieces and brought everything together, assembling most of the hold wall. It was refreshing to have such a simple issue with no worries. I could see Ember was relaxed and so was I! The only interesting thing was that we hadn’t even opened the parts bag that came with issue ten! I’m sure the parts in the bag will get used up soon!
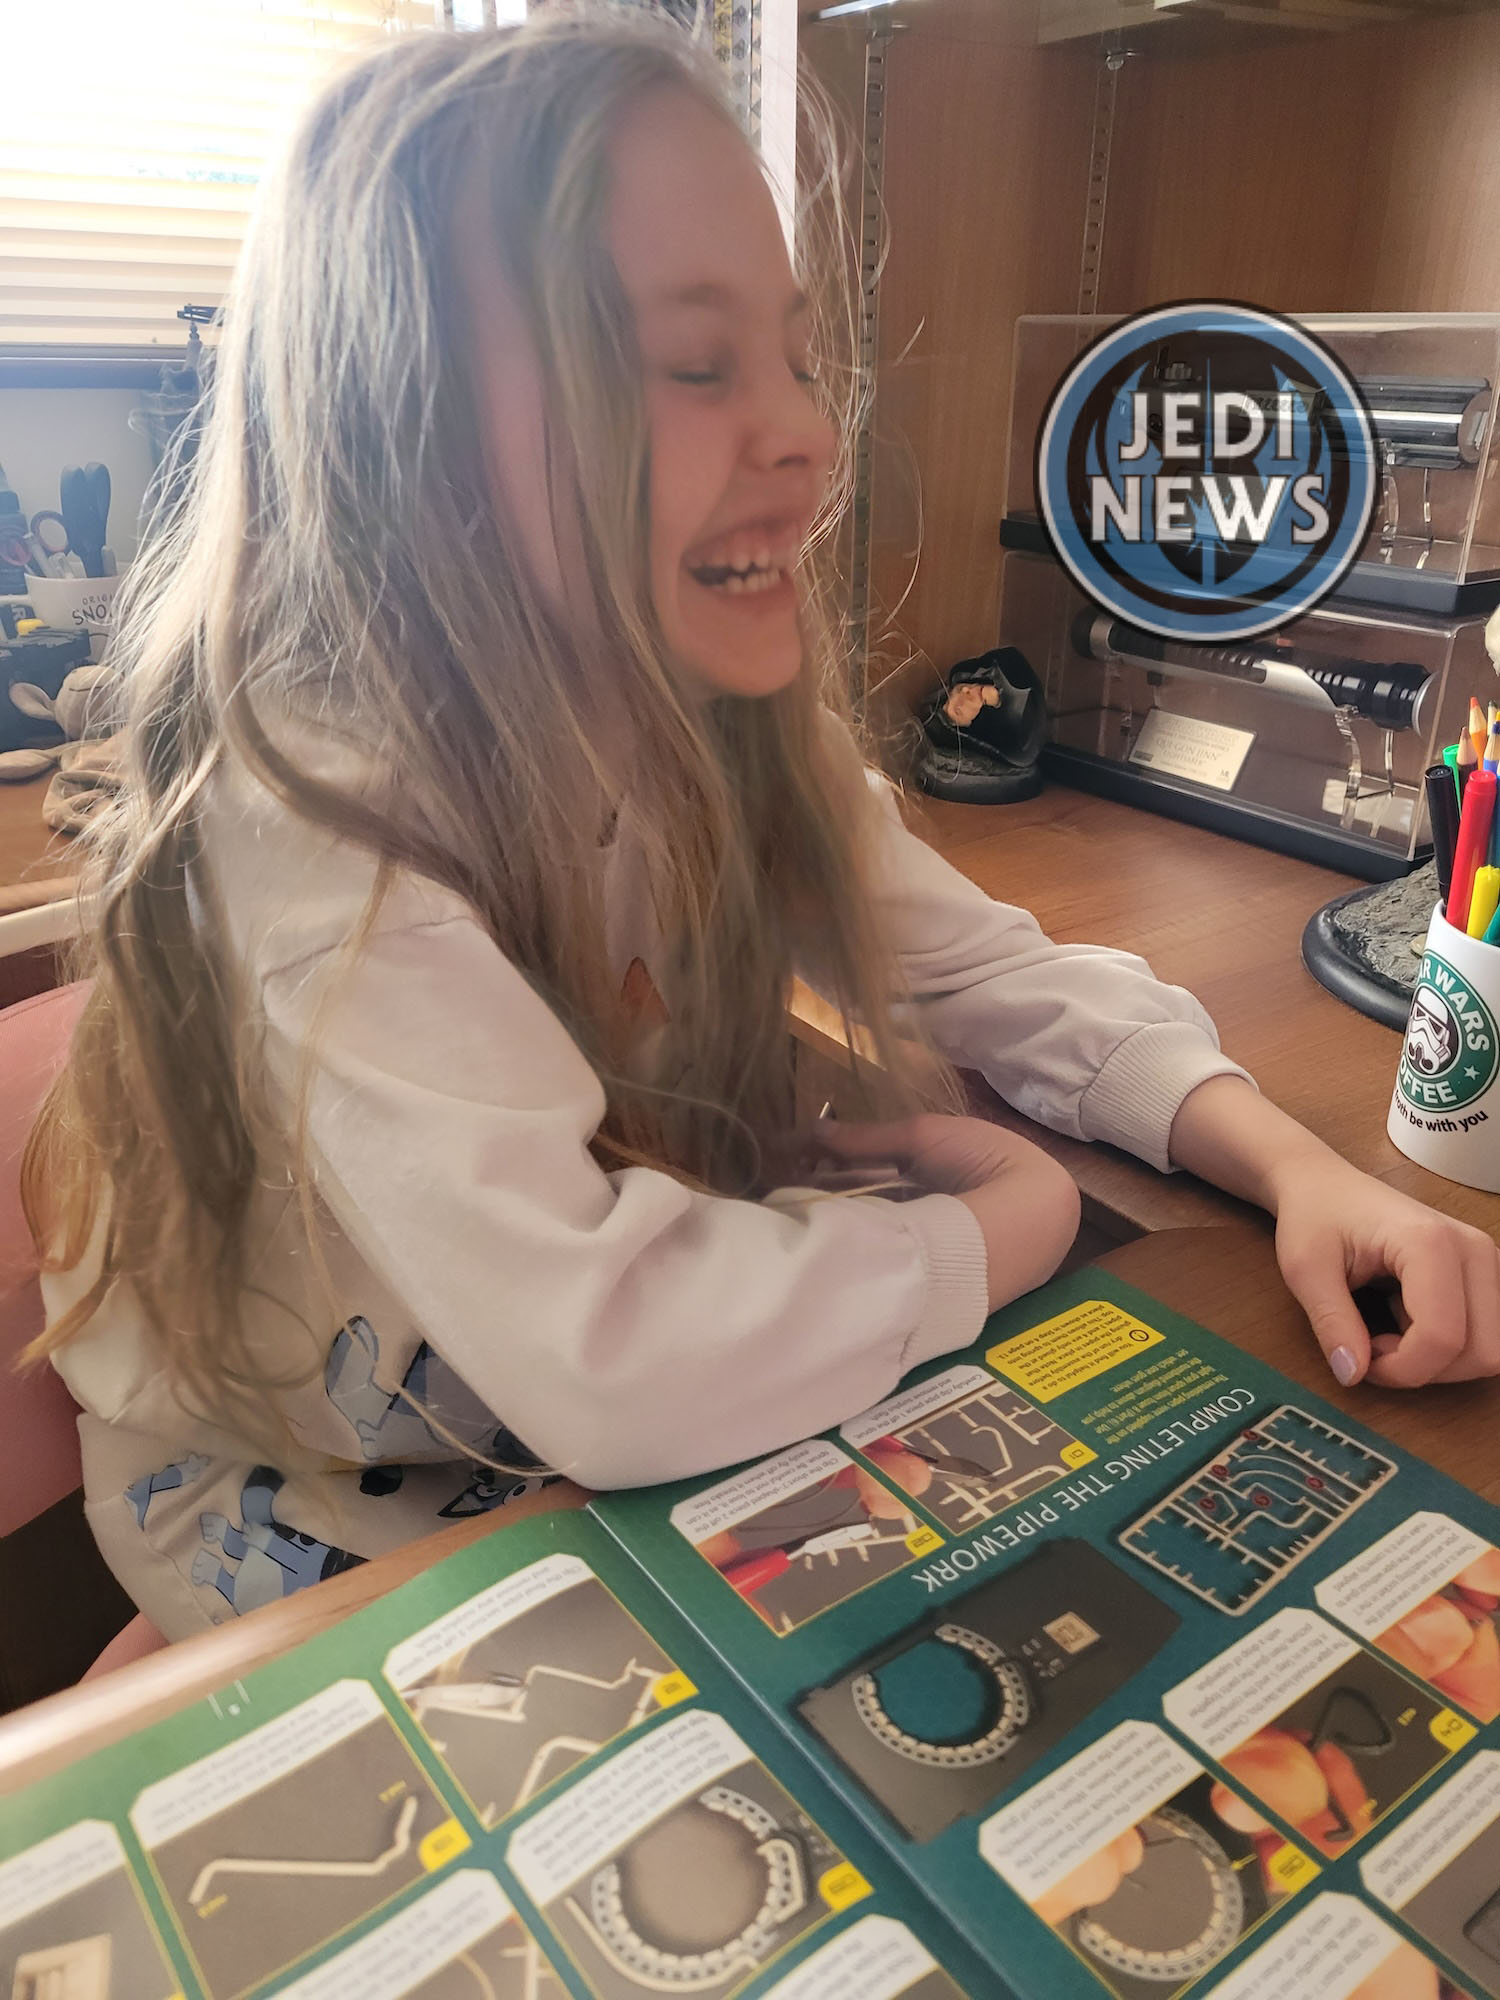
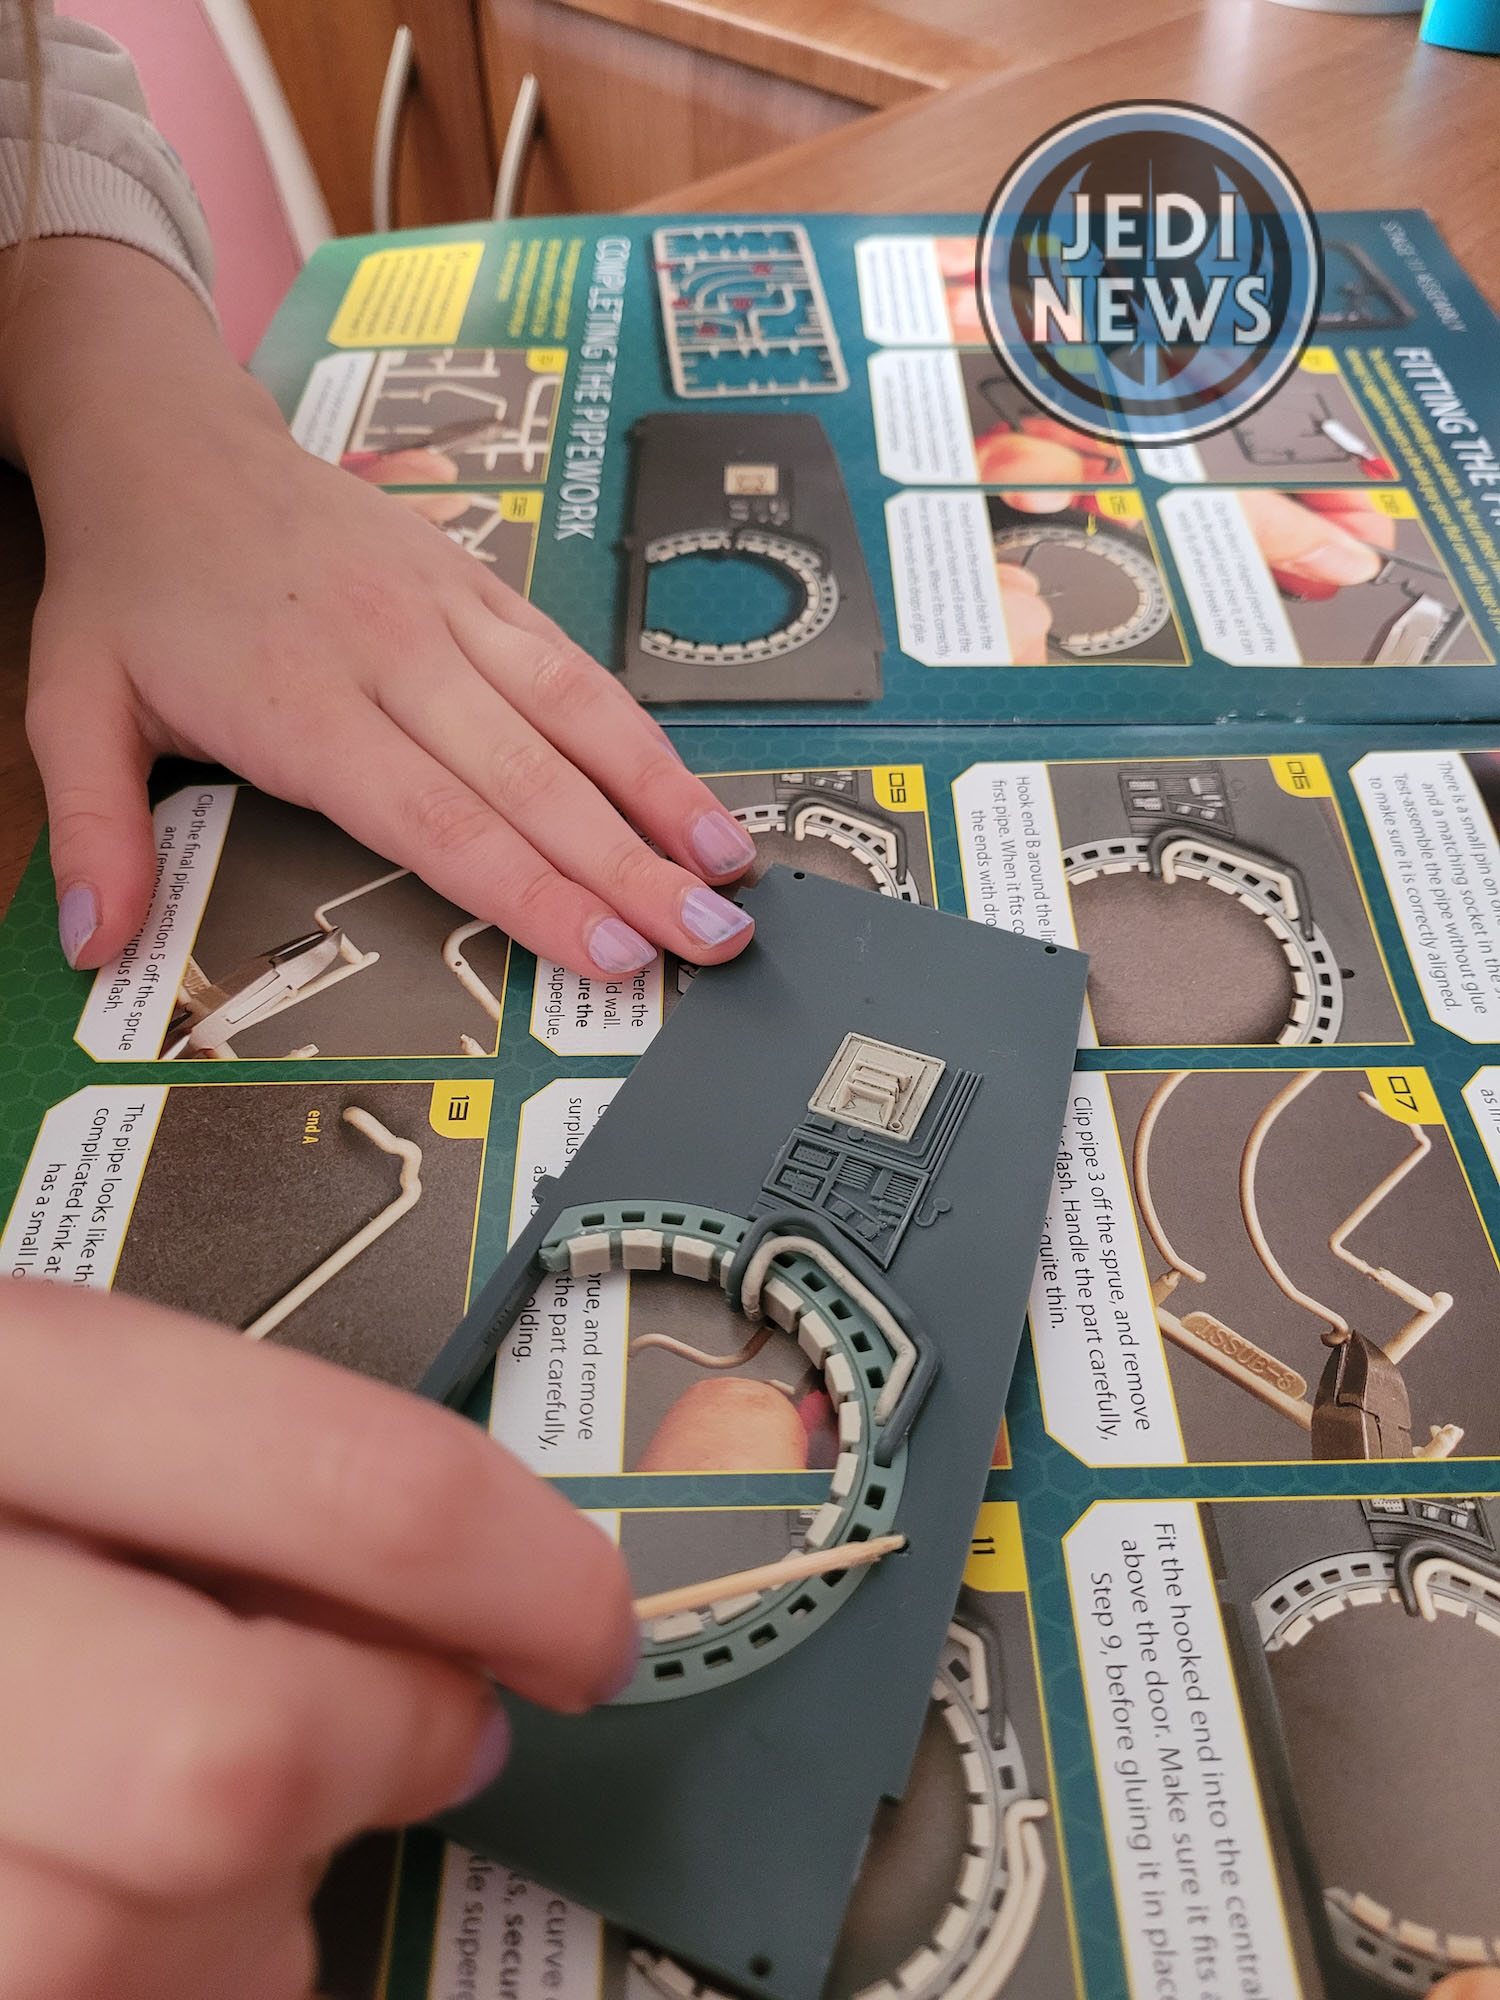
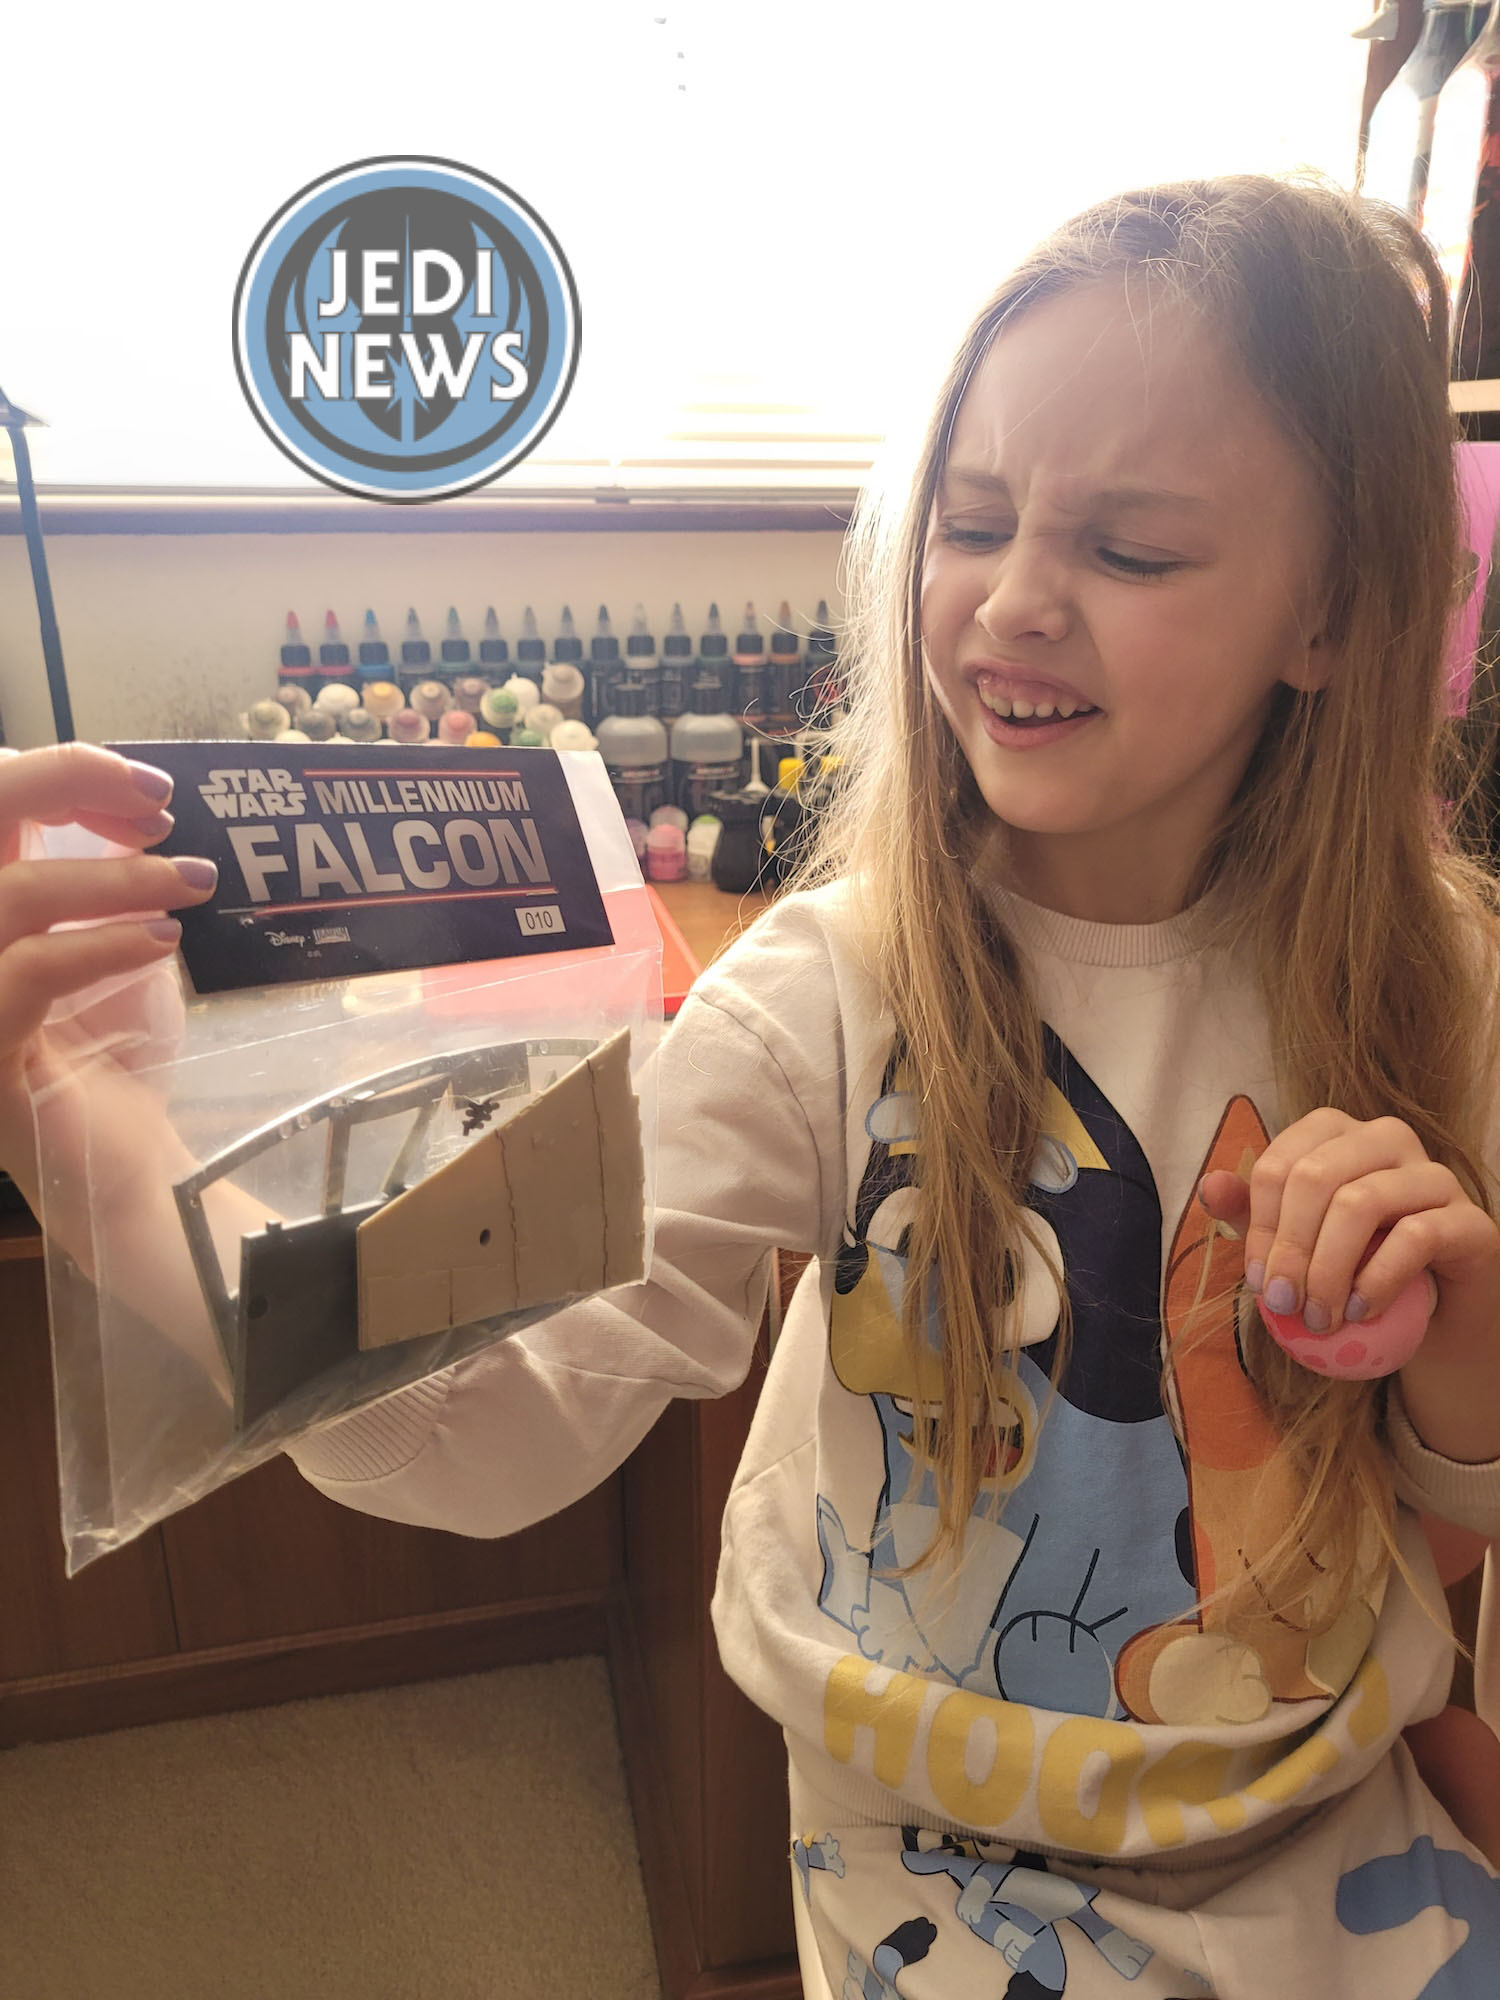
It was straight onto issue eleven. As I said, this flows beautifully on from issue ten, adding detail to the hold wall. The first part, fitting the first pipe, was relatively straight forward again. You will however notice Ember with a big grin. Let it be said, make sure you read the instructions before clipping pieces. Being an adult, as soon as I heard clip the small (read that, small) j shaped piece, I clipped the piece, and it went flying to the carpet… as Ember finished reading to be careful as it easily goes flying. Well Ember was in hysterics as I scrambled to find the part! Thankfully as it was grey this was a lot easier than my misplaced pieces two issues ago!
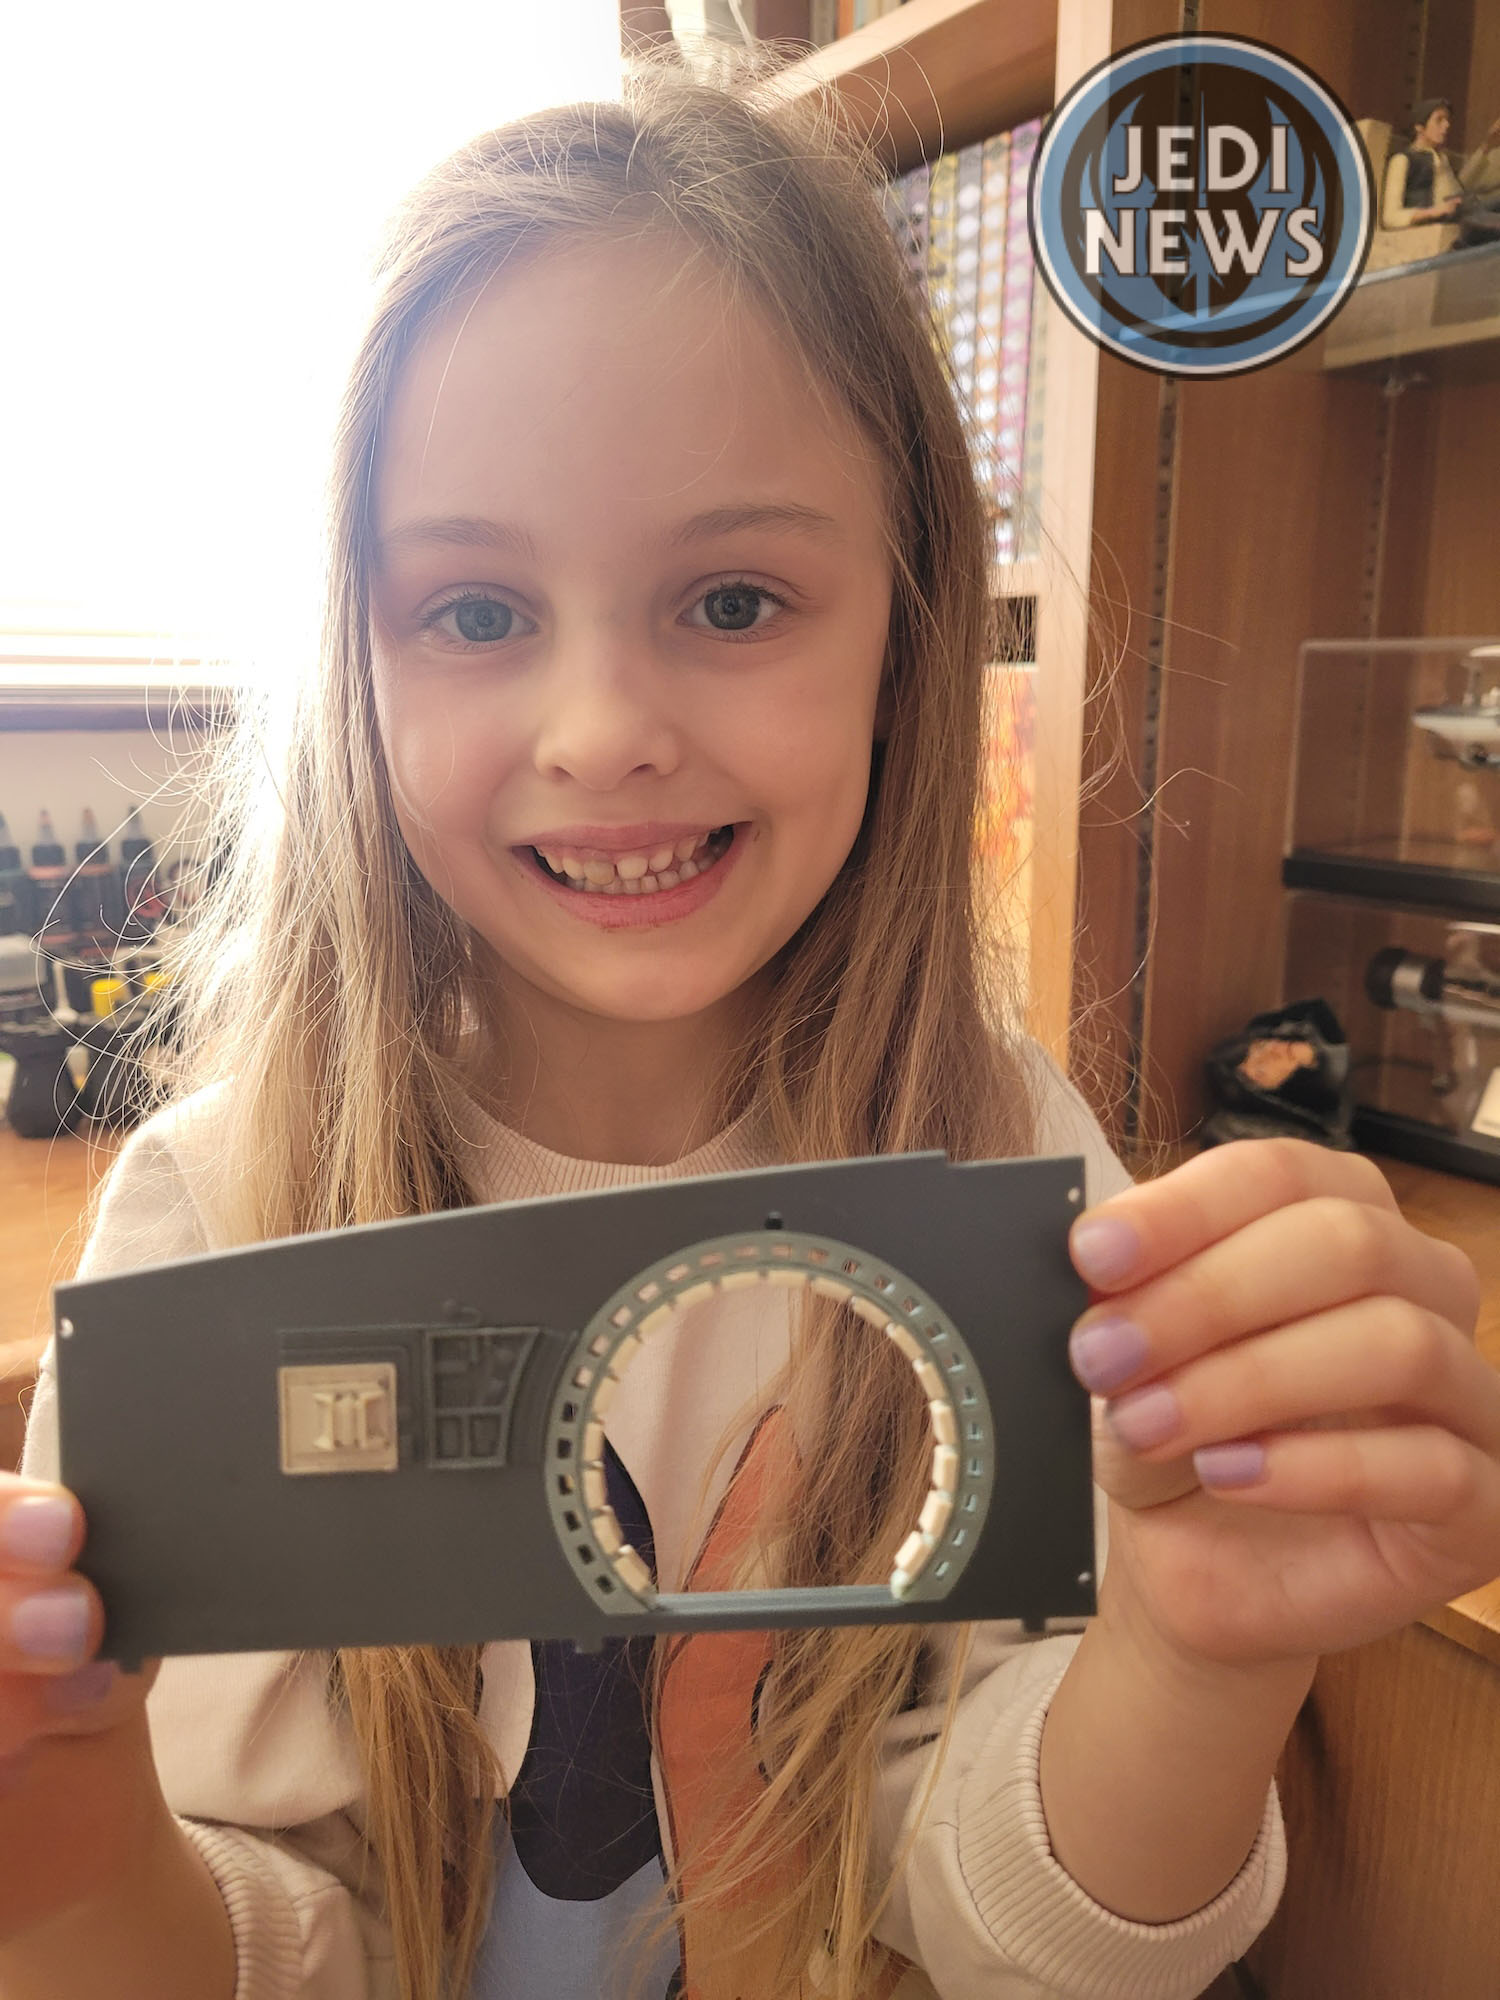
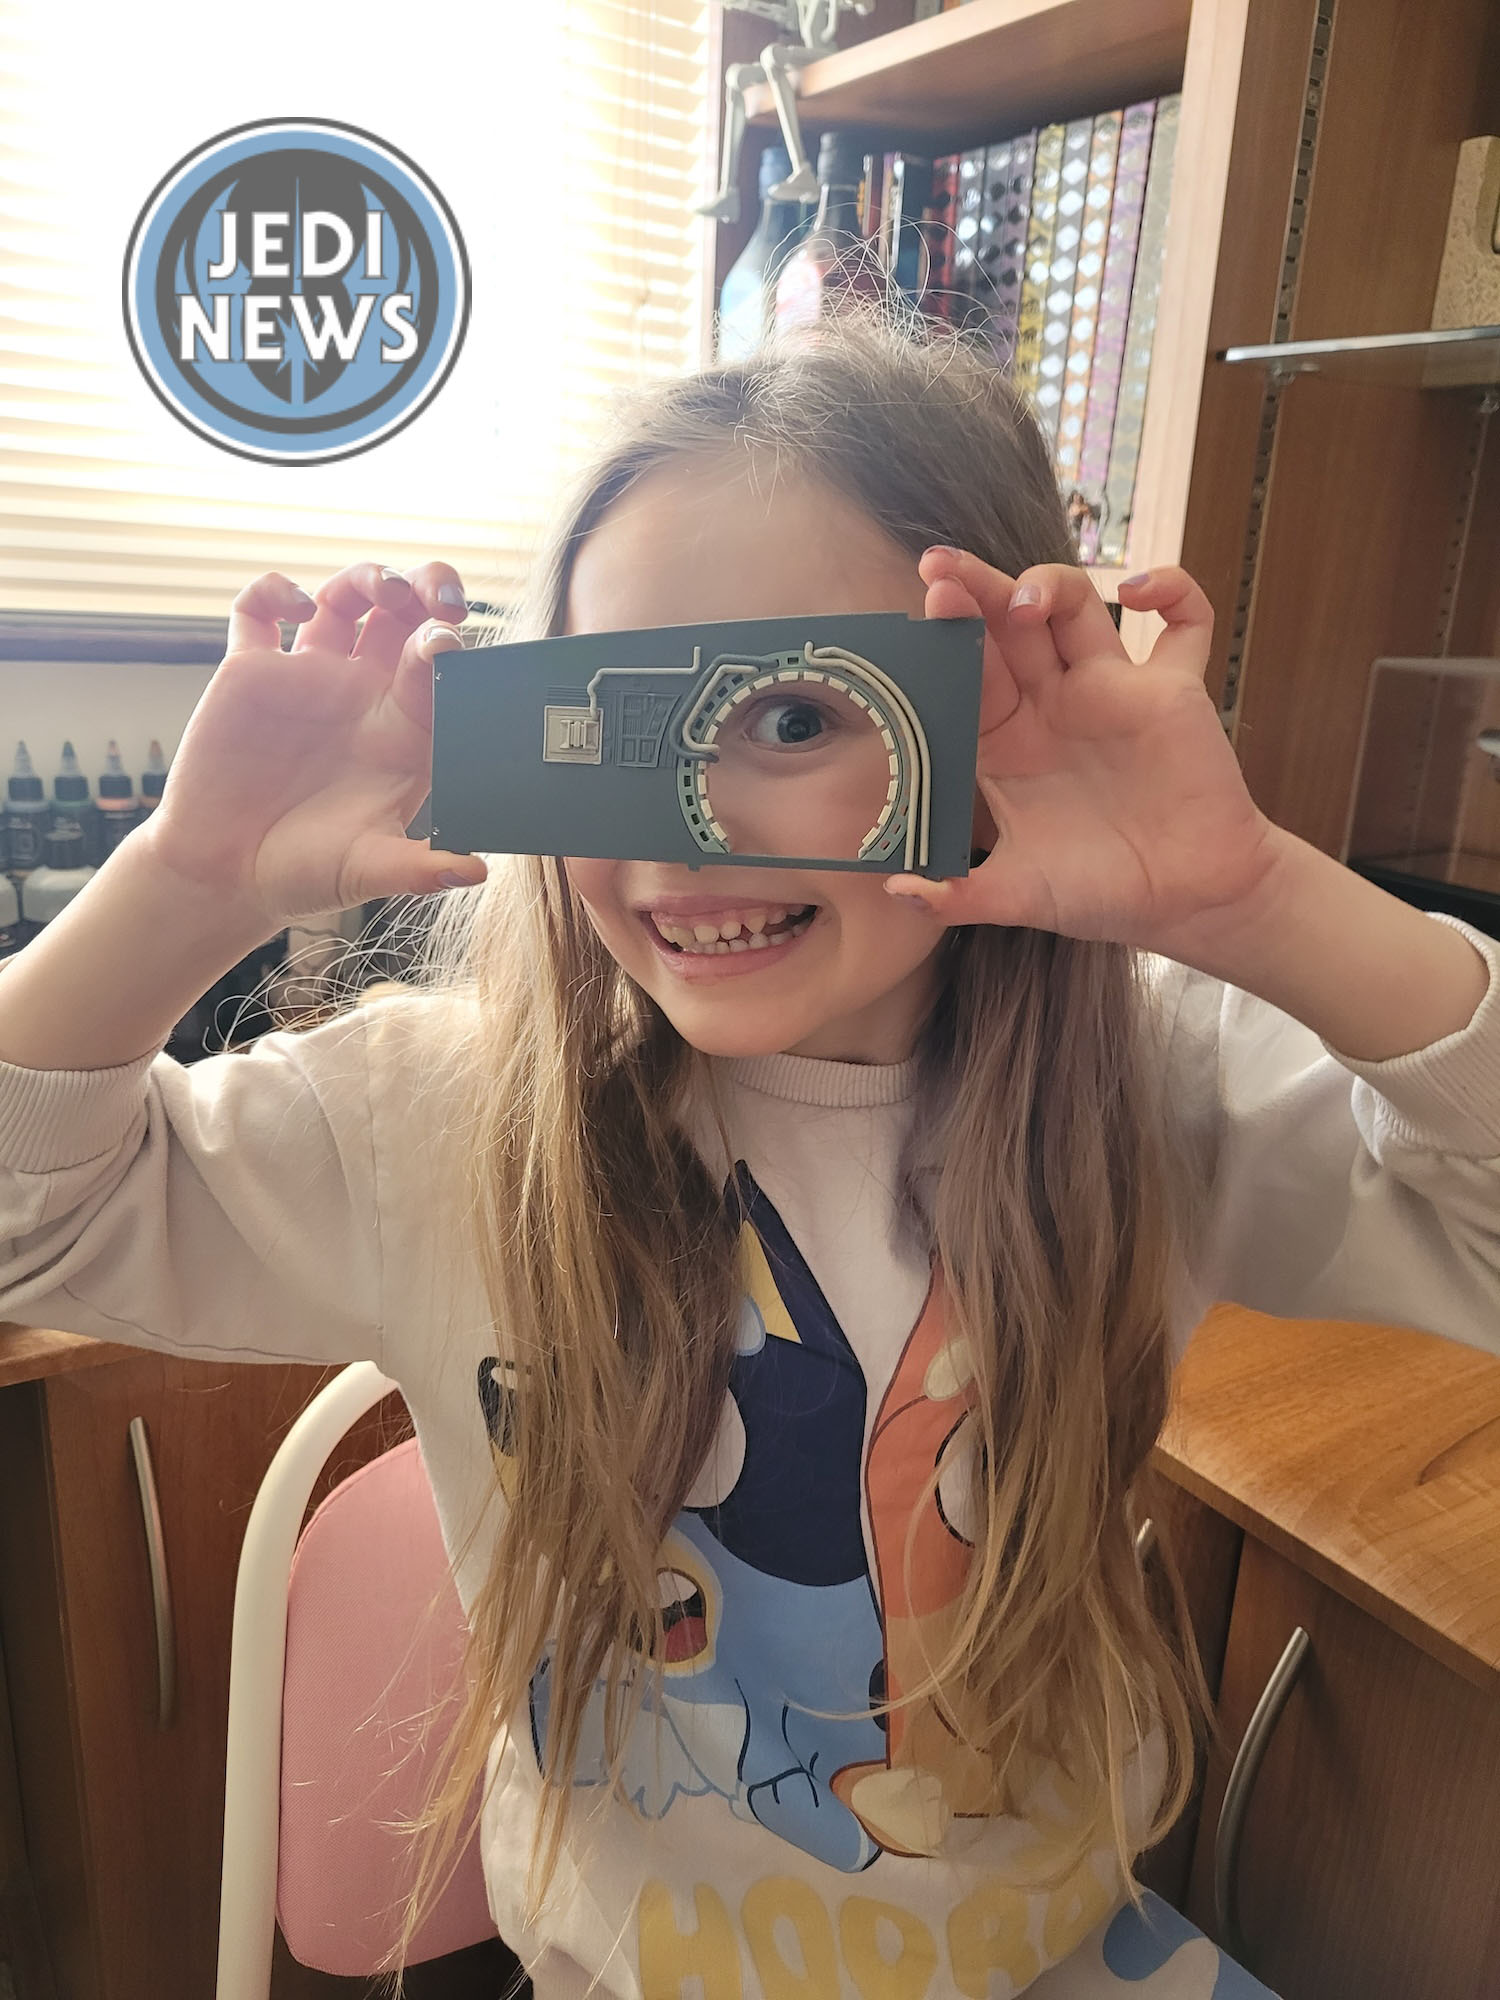
Then it was completing the pipework. This has a few fiddly bits and the pipework, being thin, was left for me to do. Ember was quite happy finding the different parts for me and glueing them onto the wall. This was a very quick finish but one – when combined with issue ten – made a pleasant break from the intense issues we’d just completed. The result of the finished (well mainly finished) wall gave Ember and me instant gratification. Although I have enjoyed having more to do, and Ember always wants to do more, the amount in these two issues has felt perfect when working with Ember. Not too long, revisiting skills and a piece that looks great even when not finished. We didn’t use any parts in the issue eleven bag, so I’m expecting issues will get heavier with the next delivery! For me, this has been perfect. Simple, relaxed yet still full of wonder. Here’s to the next delivery of issues!
