



My nine-year-old daughter and I had literally just finished issue ninety-two, adding the side panels to the Millennium Falcon. In the magazine it had said that the top half would be fitted in this instalment and my Ember did not want to wait! She was too excited, as was I, at seeing the Falcon finally come together. It wouldn’t be finished, it wouldn’t be complete but after almost three whole years, the two halves of the Falcon would be coming together and presenting us with an almost complete view of this iconic starship. Who was I to argue with a nine-year-old kid if she wanted to do it right away – heck, my inner child wanted to do it right away!
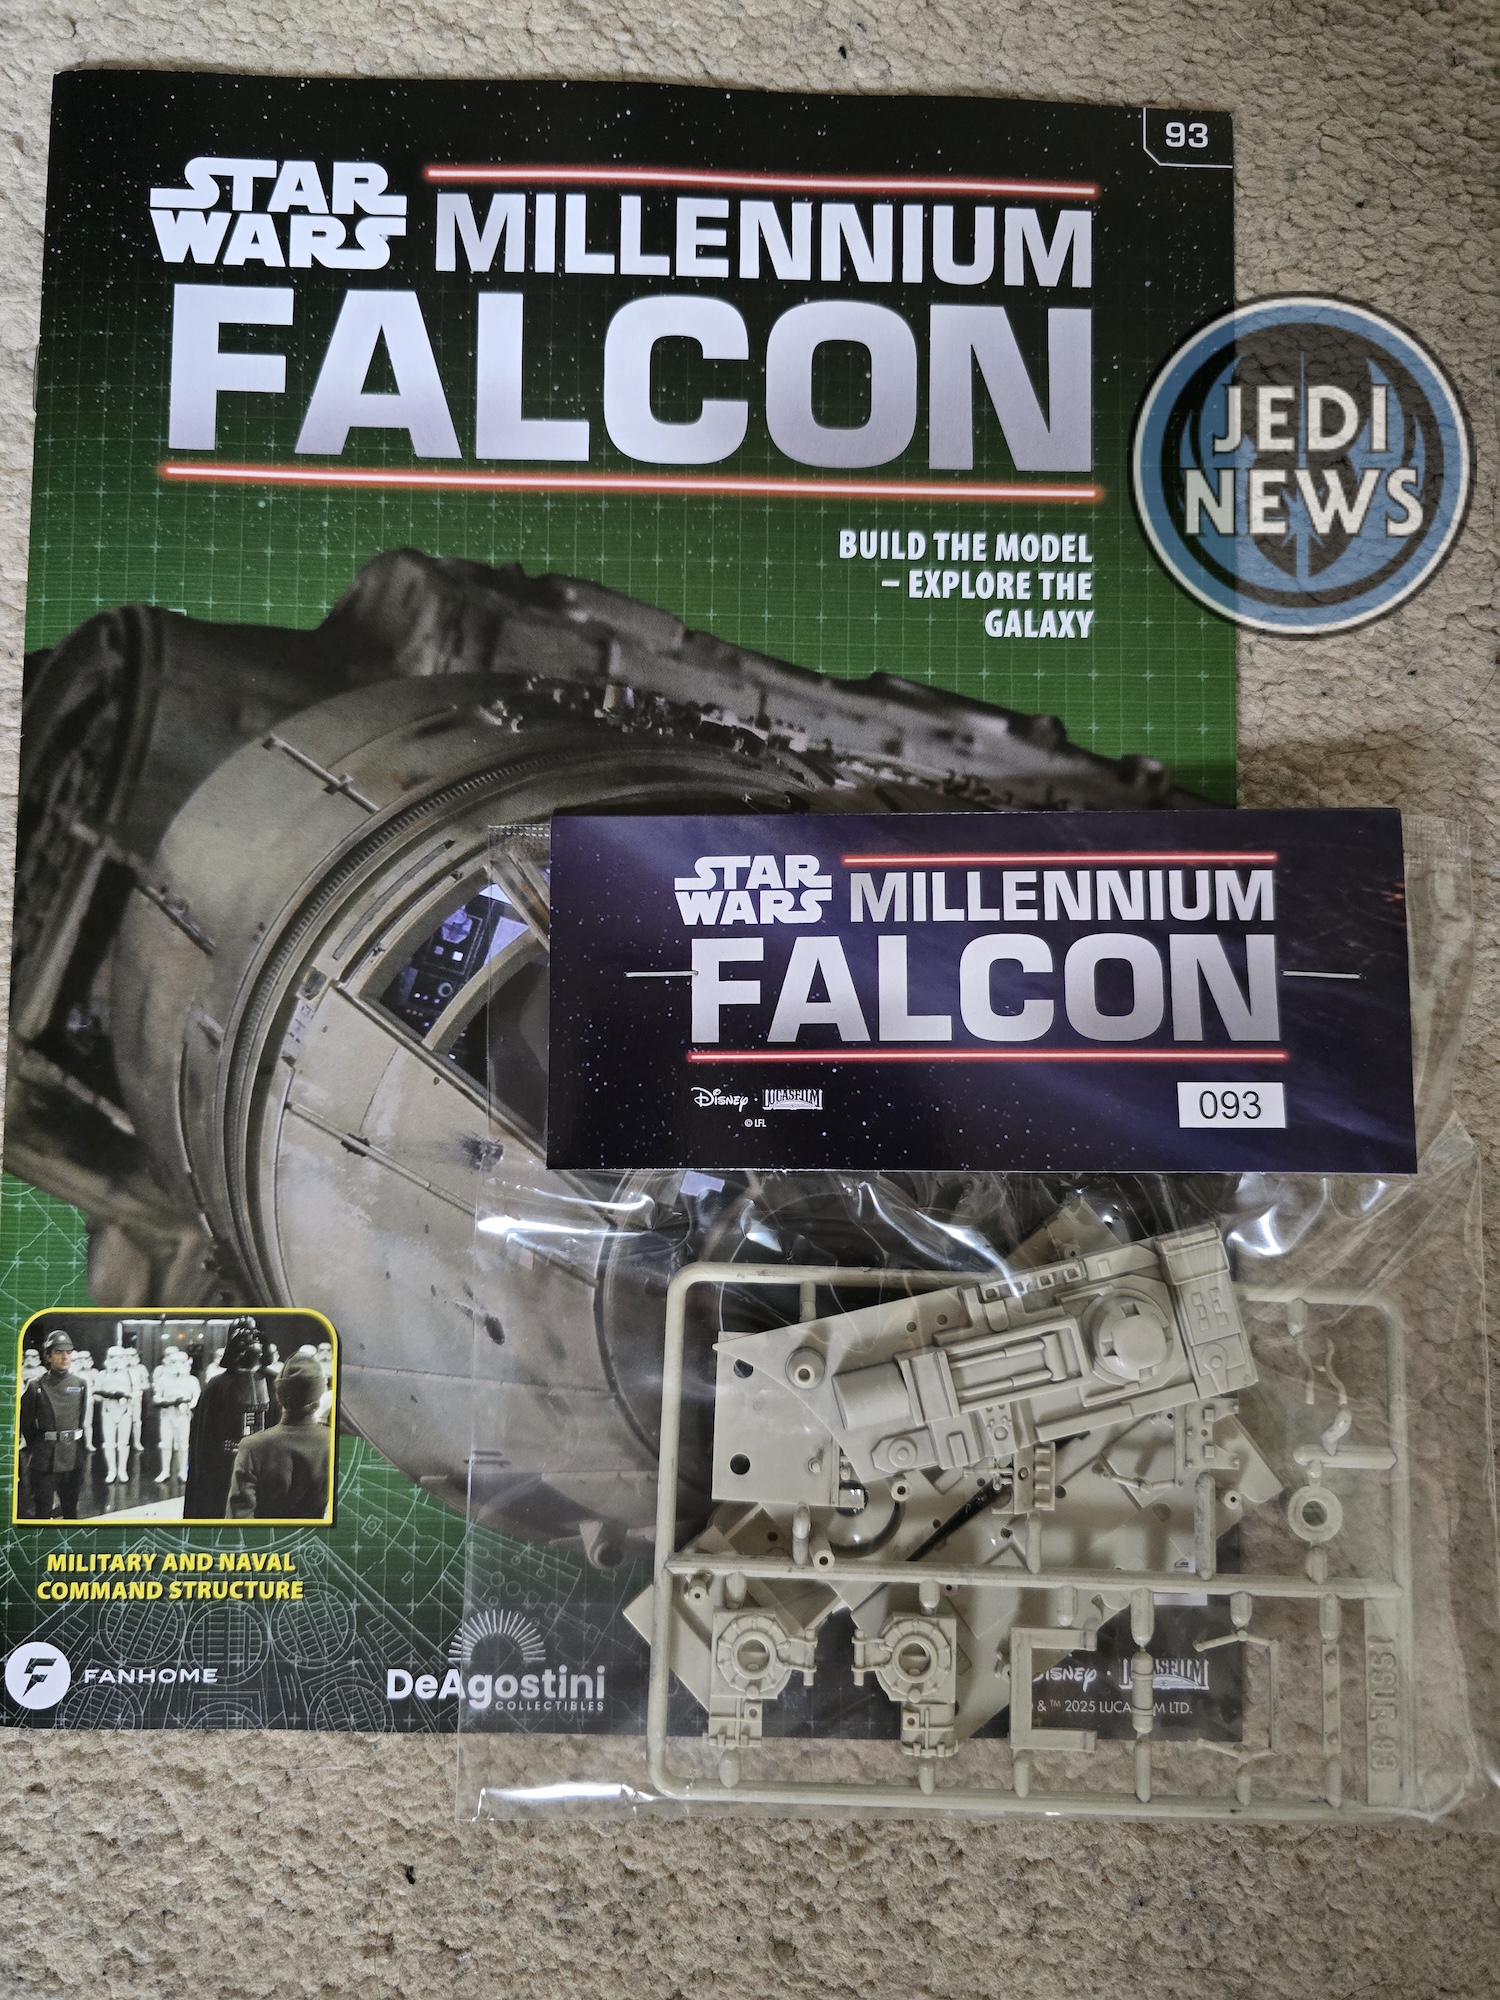
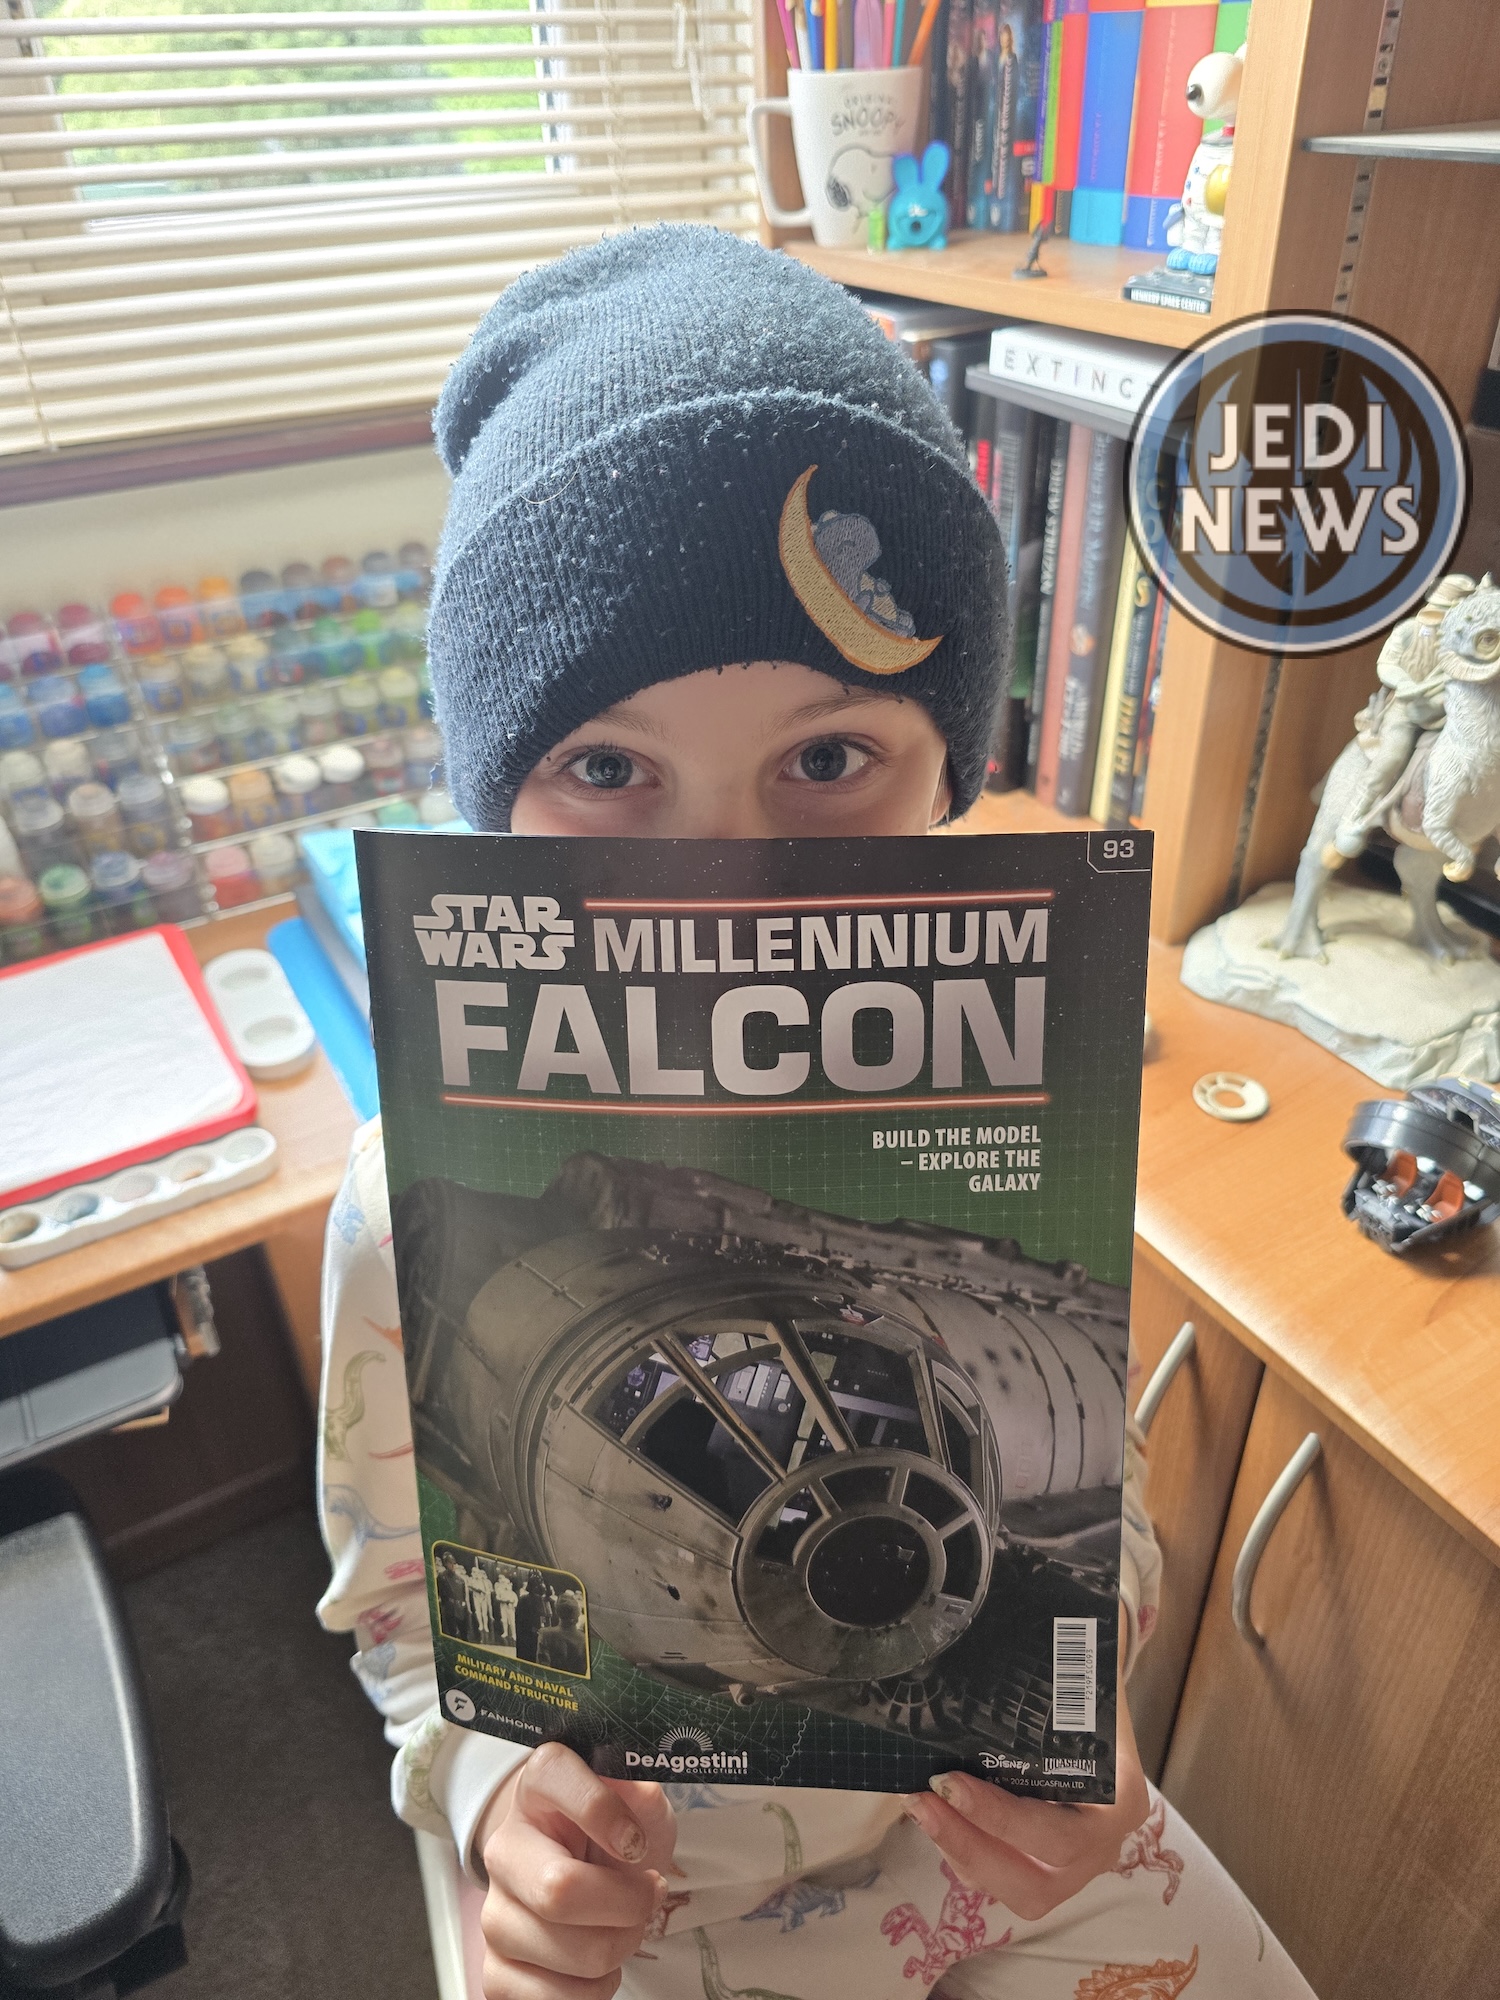
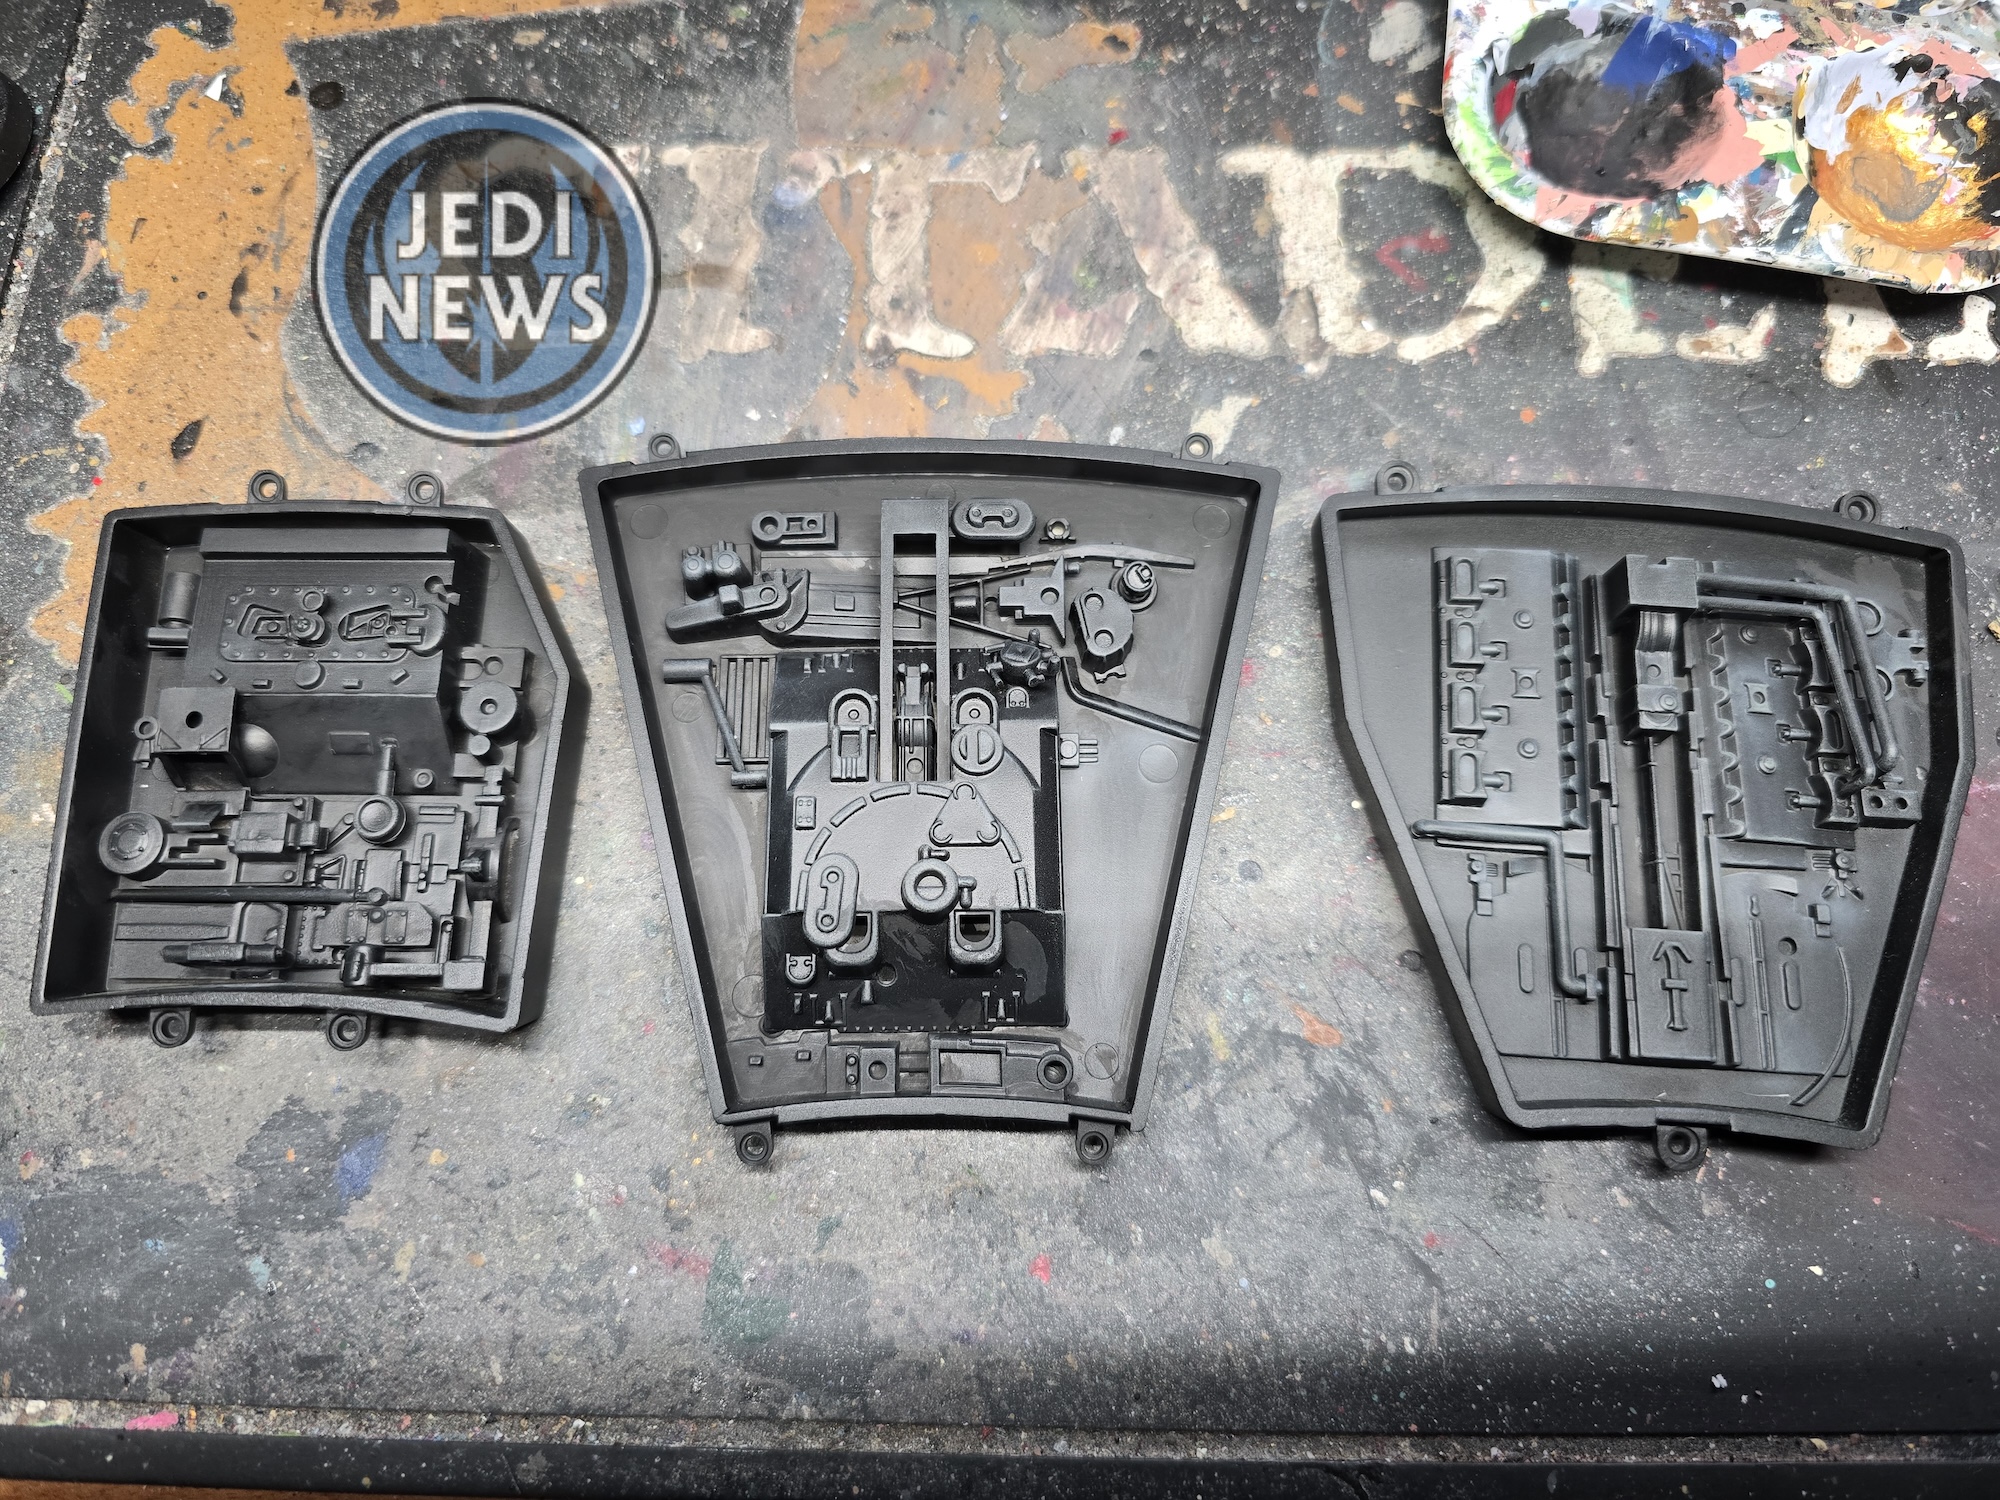
I scrambled for the magazine. Usually, I do some scouting of the instructions in case anything needed doing beforehand. Thankfully, this has not been the case for a lot of the recent issues, so I thought we wouldn’t have a problem here. A quick flick through showed me the instructions were actually at the start of the magazine, not at the usual end, almost as if Fanhome knew that we would be rushing onto this next part! Fitting upper hulls would be easy… Why were they black? The upper hulls we’d constructed thirty or so issues ago (over a year!) were in the instructions but black. Skimming down the page, they needed undercoating! Seriously?! The one time my daughter and I wanted to jump straight into the next magazine and there actually was prep work to do! I grabbed the recesses, grabbed my spray can, grabbed my shoes and quickly went outside and sprayed them black.
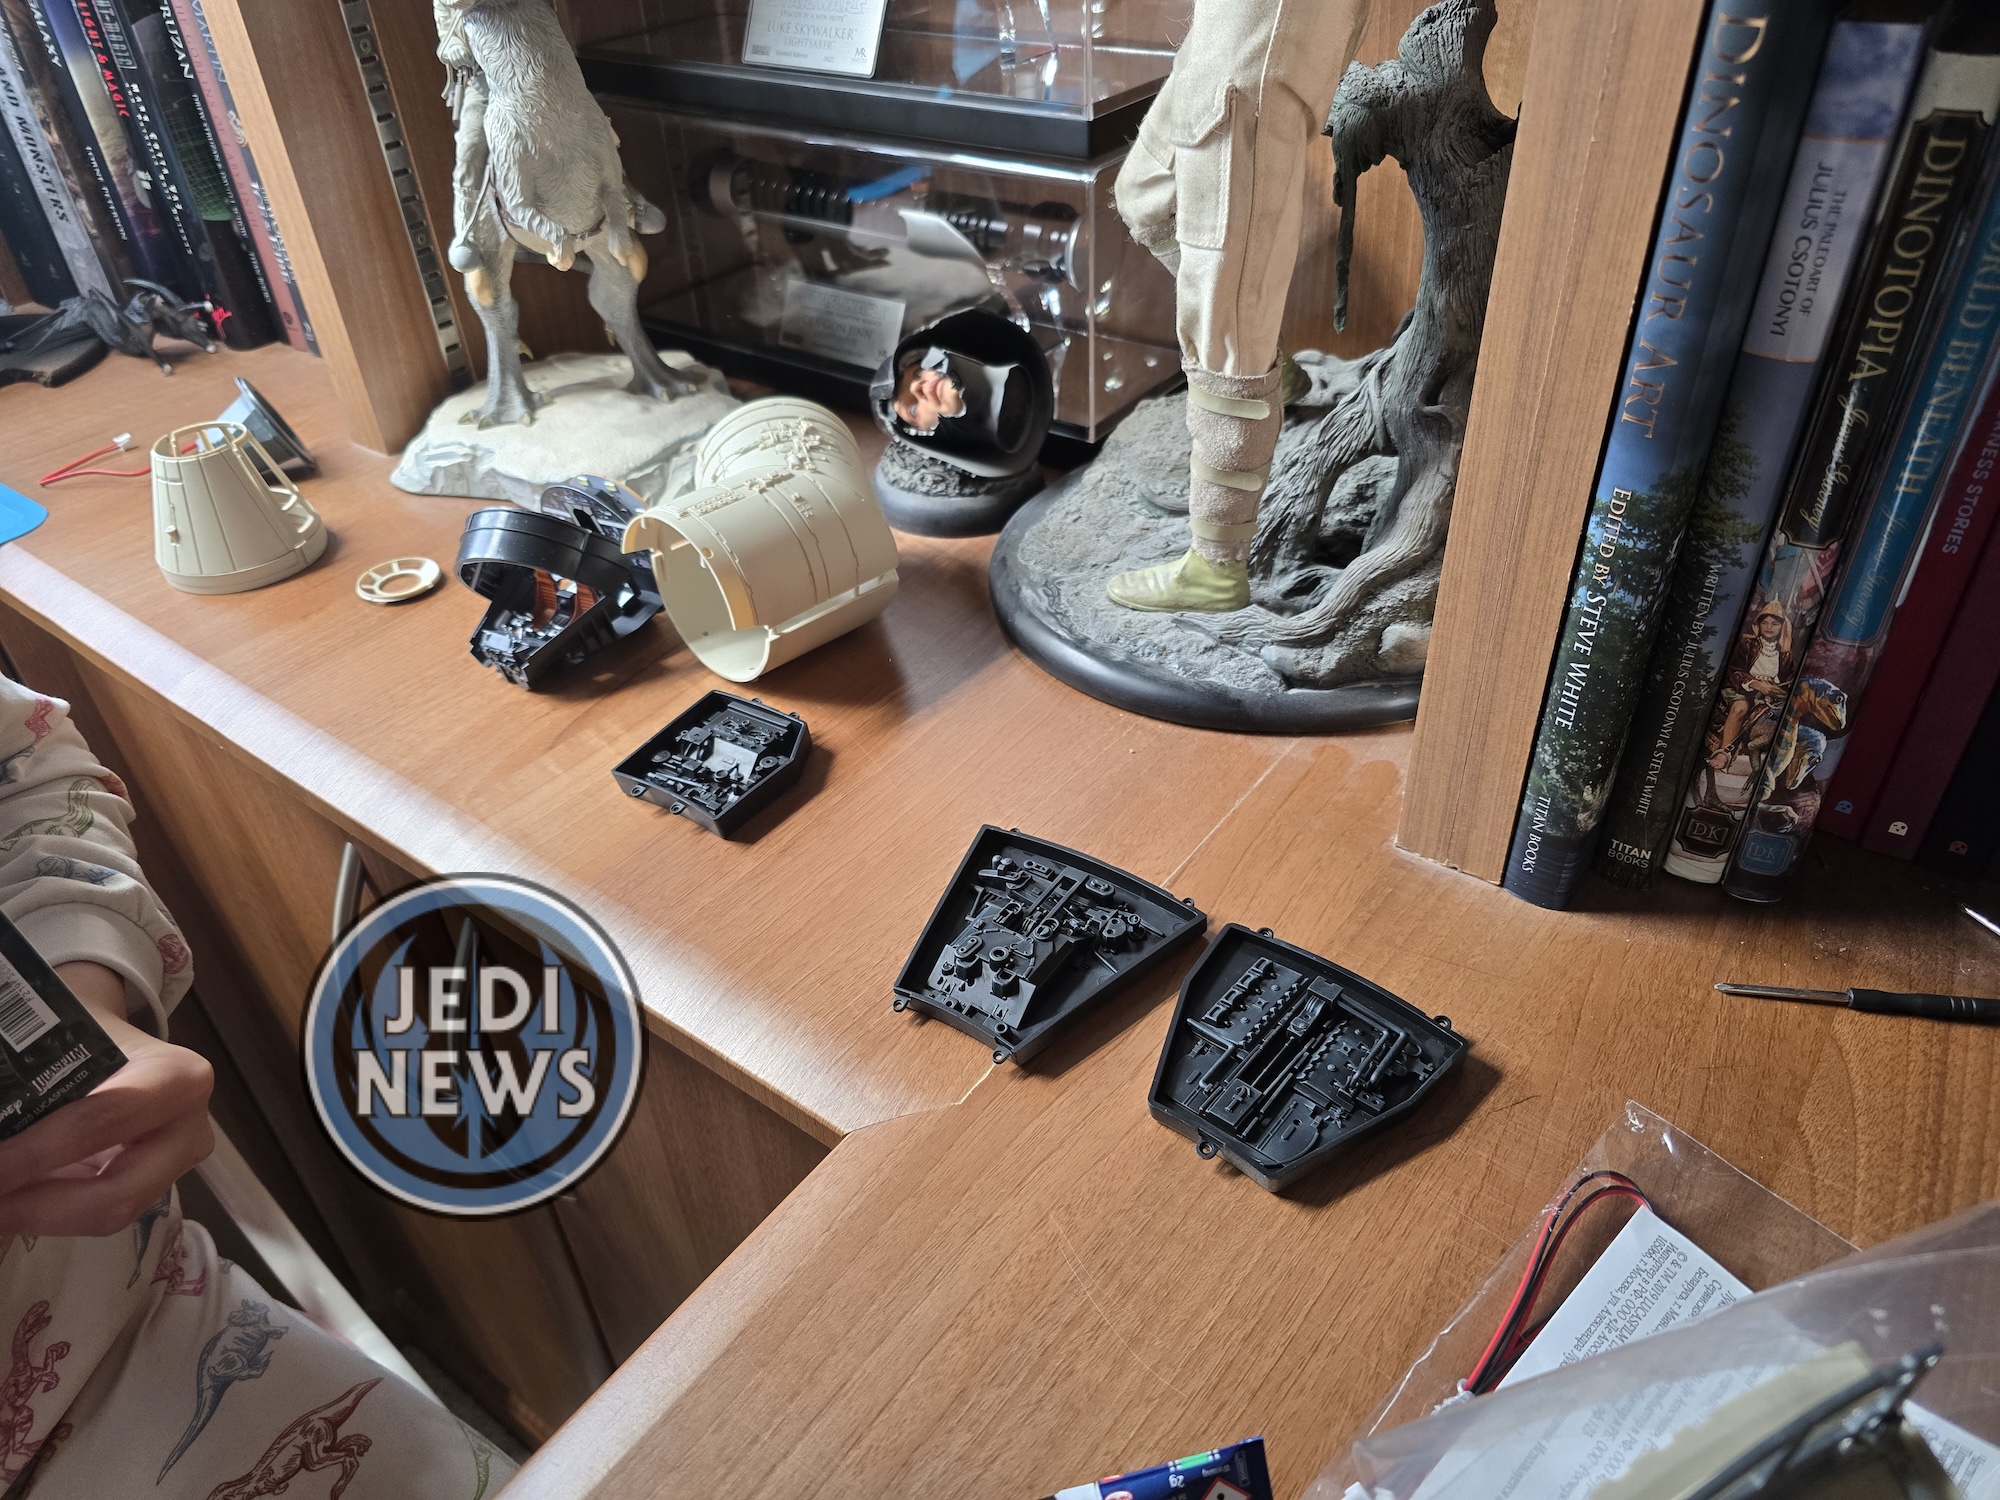
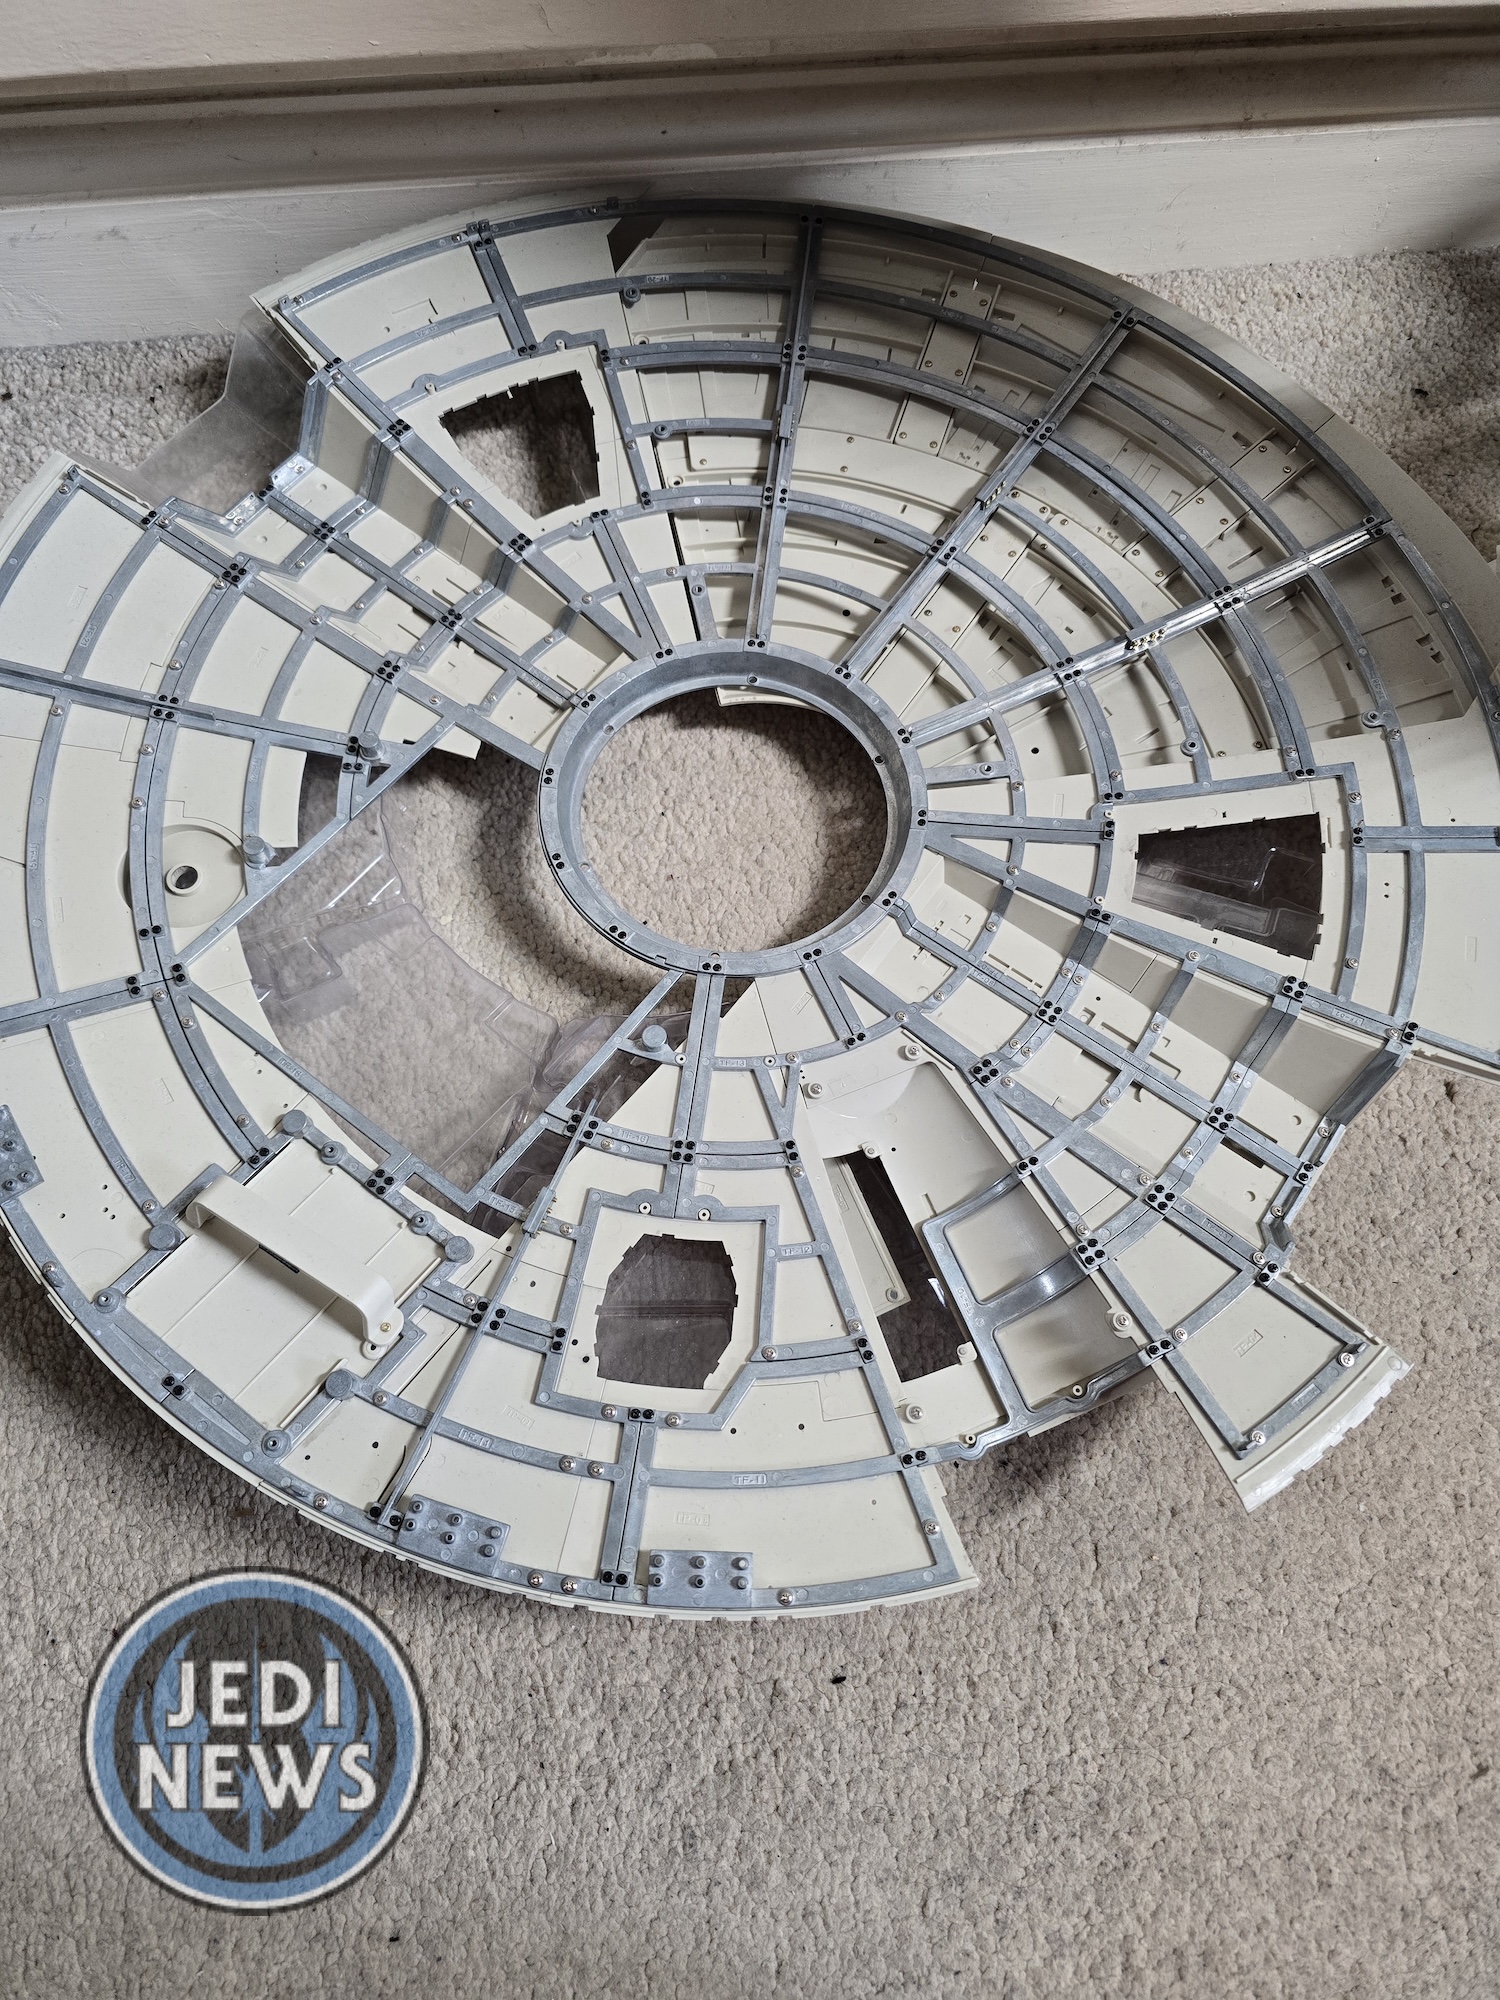
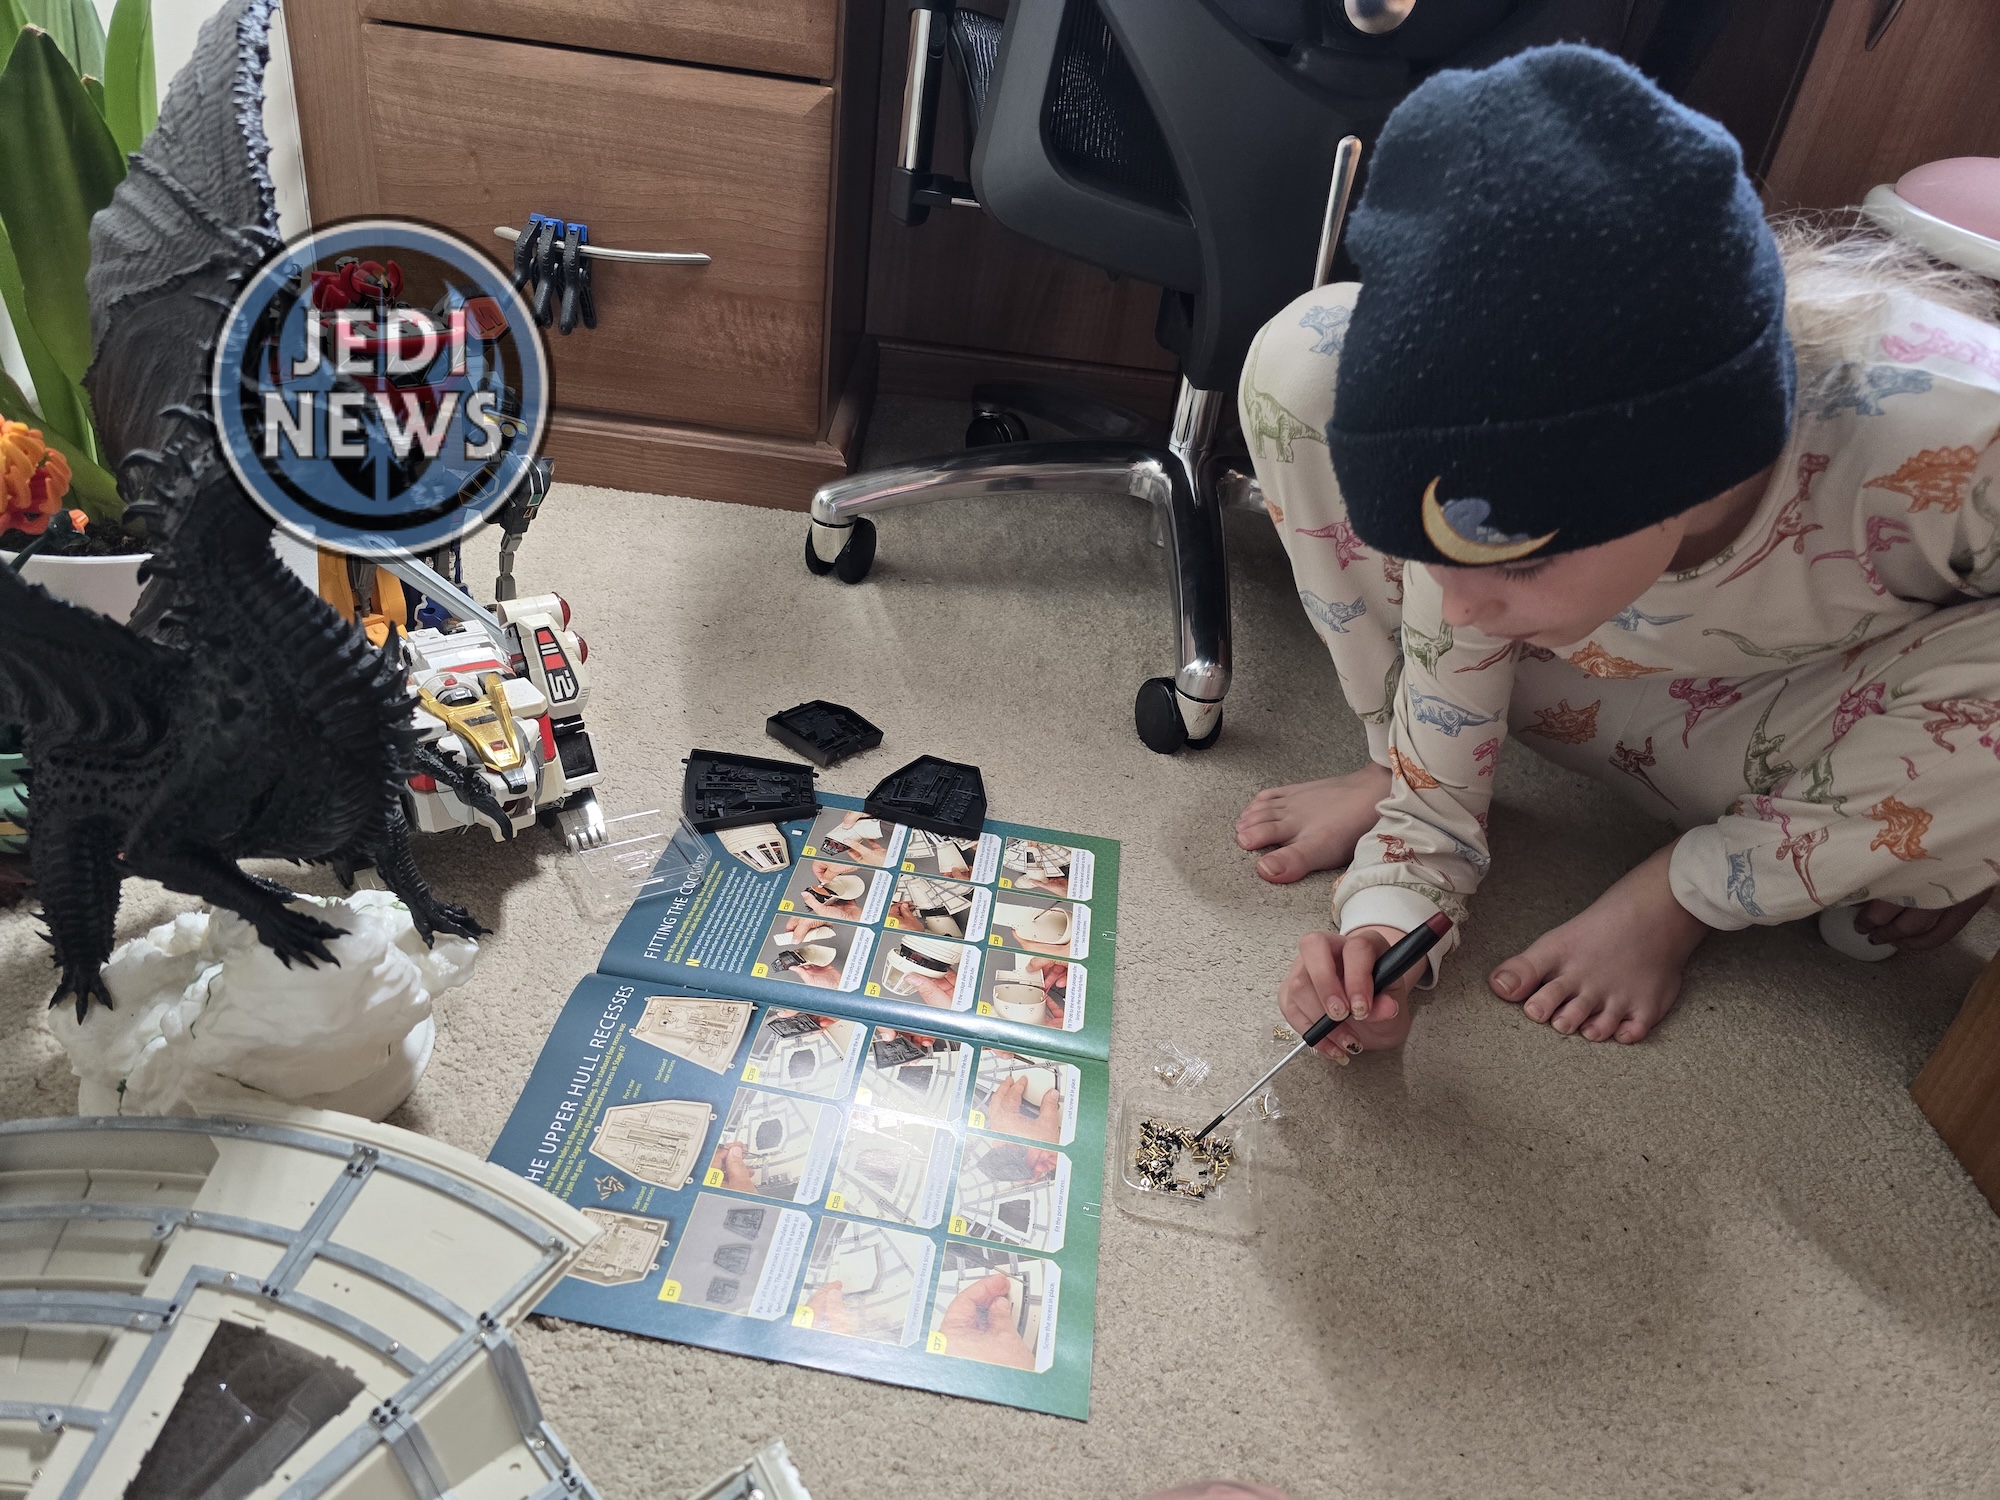
While the paint was literally drying, I went through the rest of the magazine to find the parts we would need. The cockpit (Oh yes, we were attaching the cockpit!), the dorsal gun well and double check in case I had missed anything. I think we had everything. As soon as the paint was dry, the recesses needed to be dry brushed. I did this – as I always have – with Archive X Dark Grey. I’m planning on repainting the whole Falcon when the project is complete – and I’ve had enough practice with my airbrush to feel confident tackling a model this size. But I still wanted the Falconas it was to look as amazing as possible, and this was a quick, easy step to help add that little bit of depth.
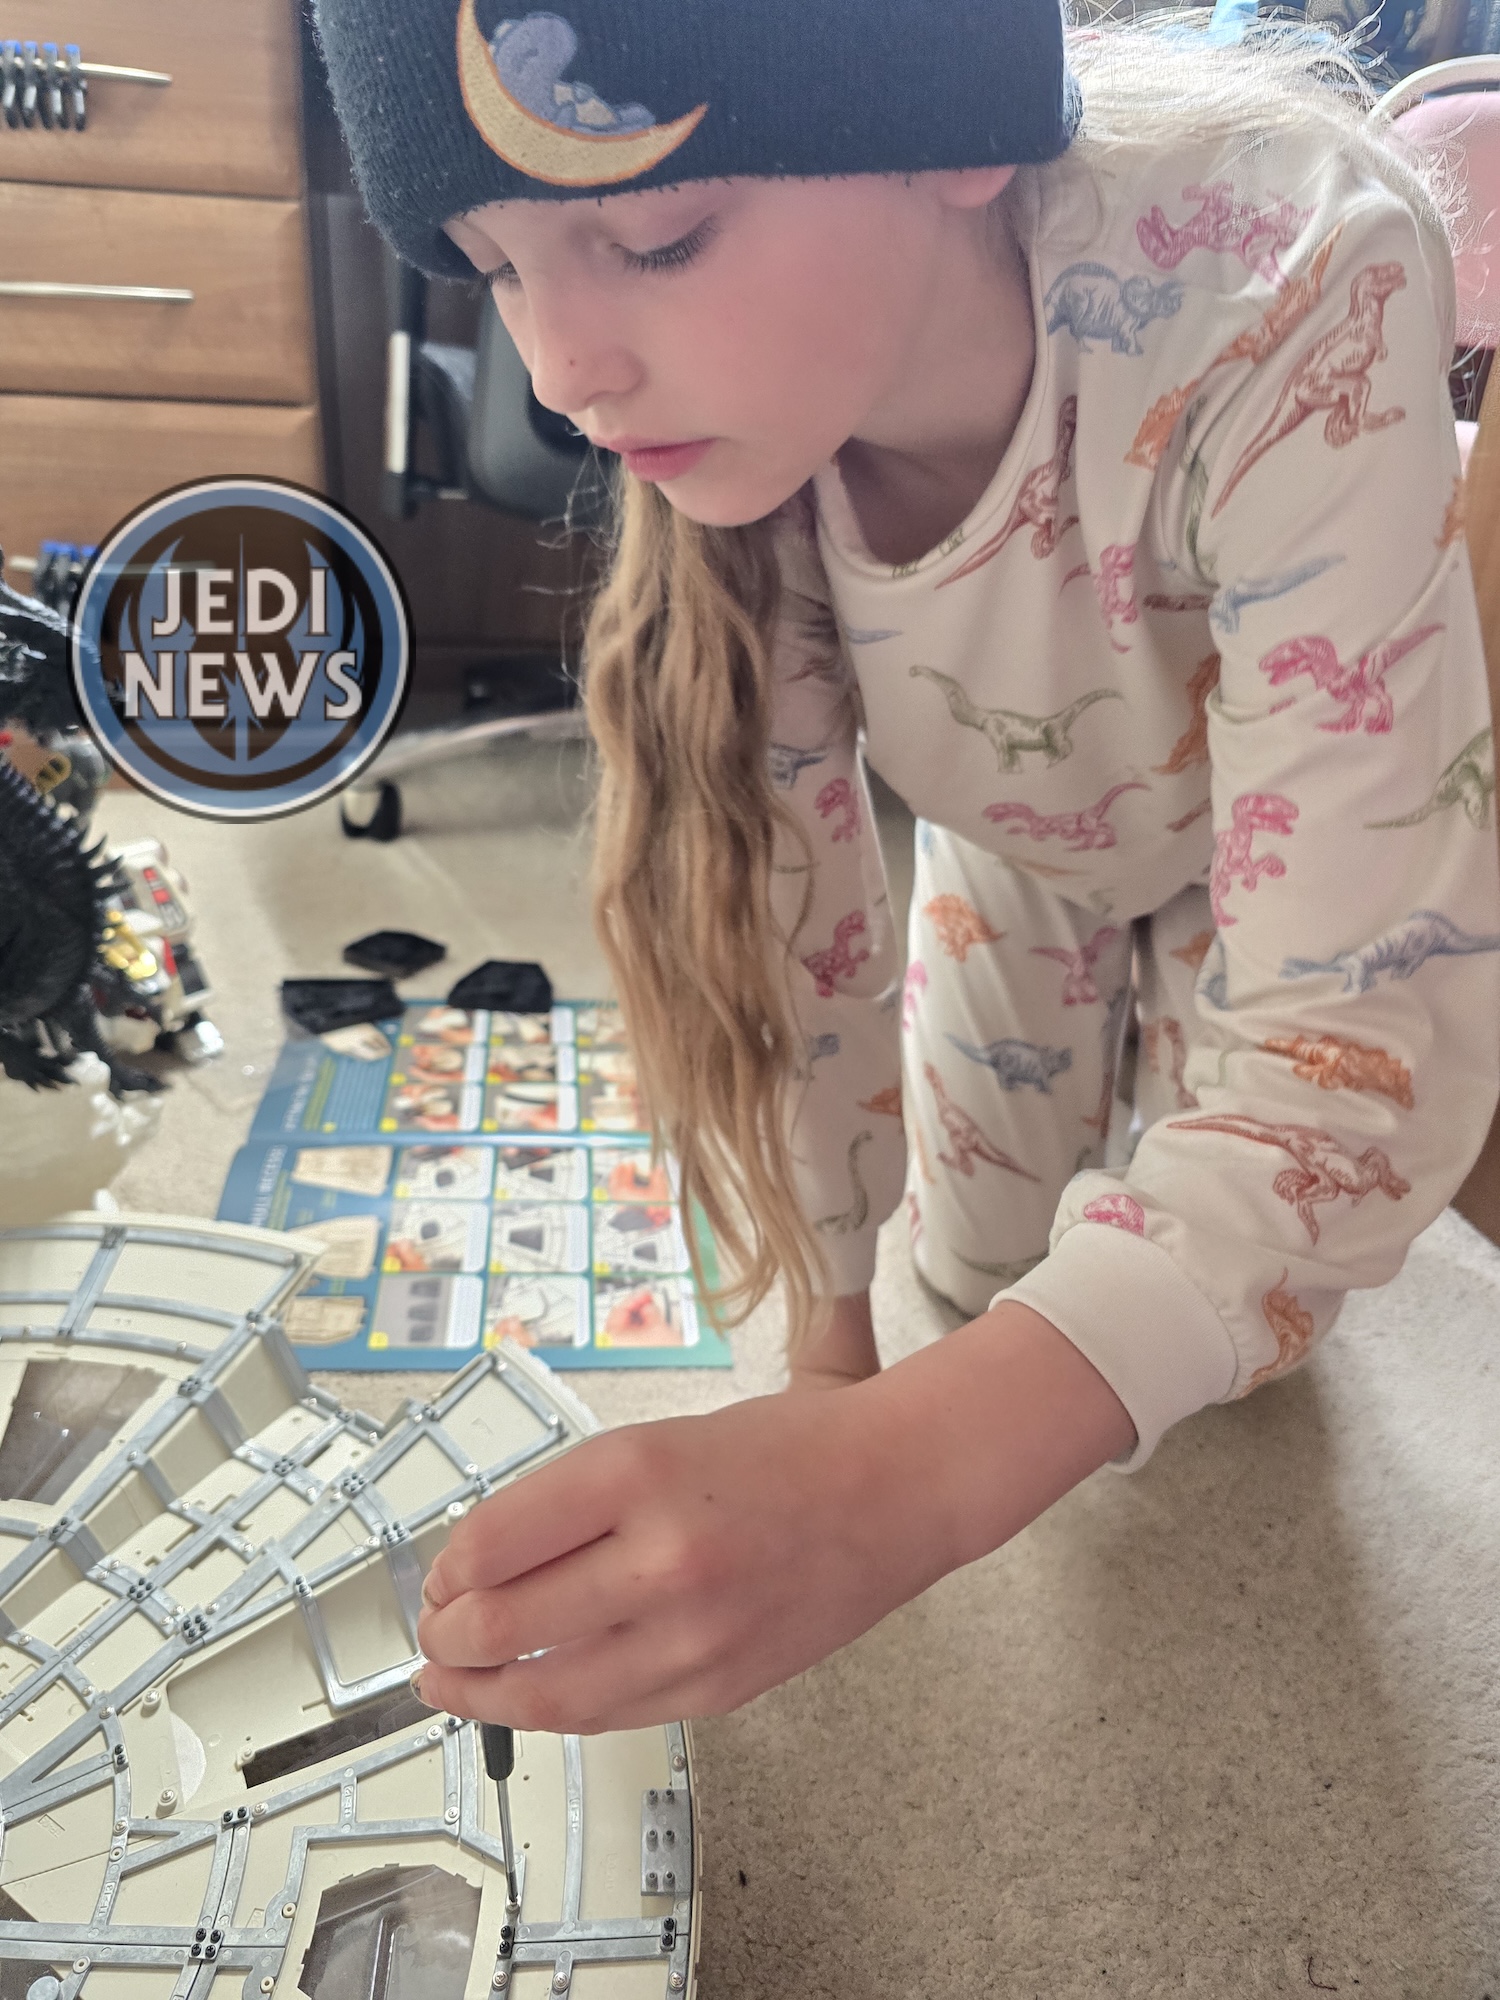
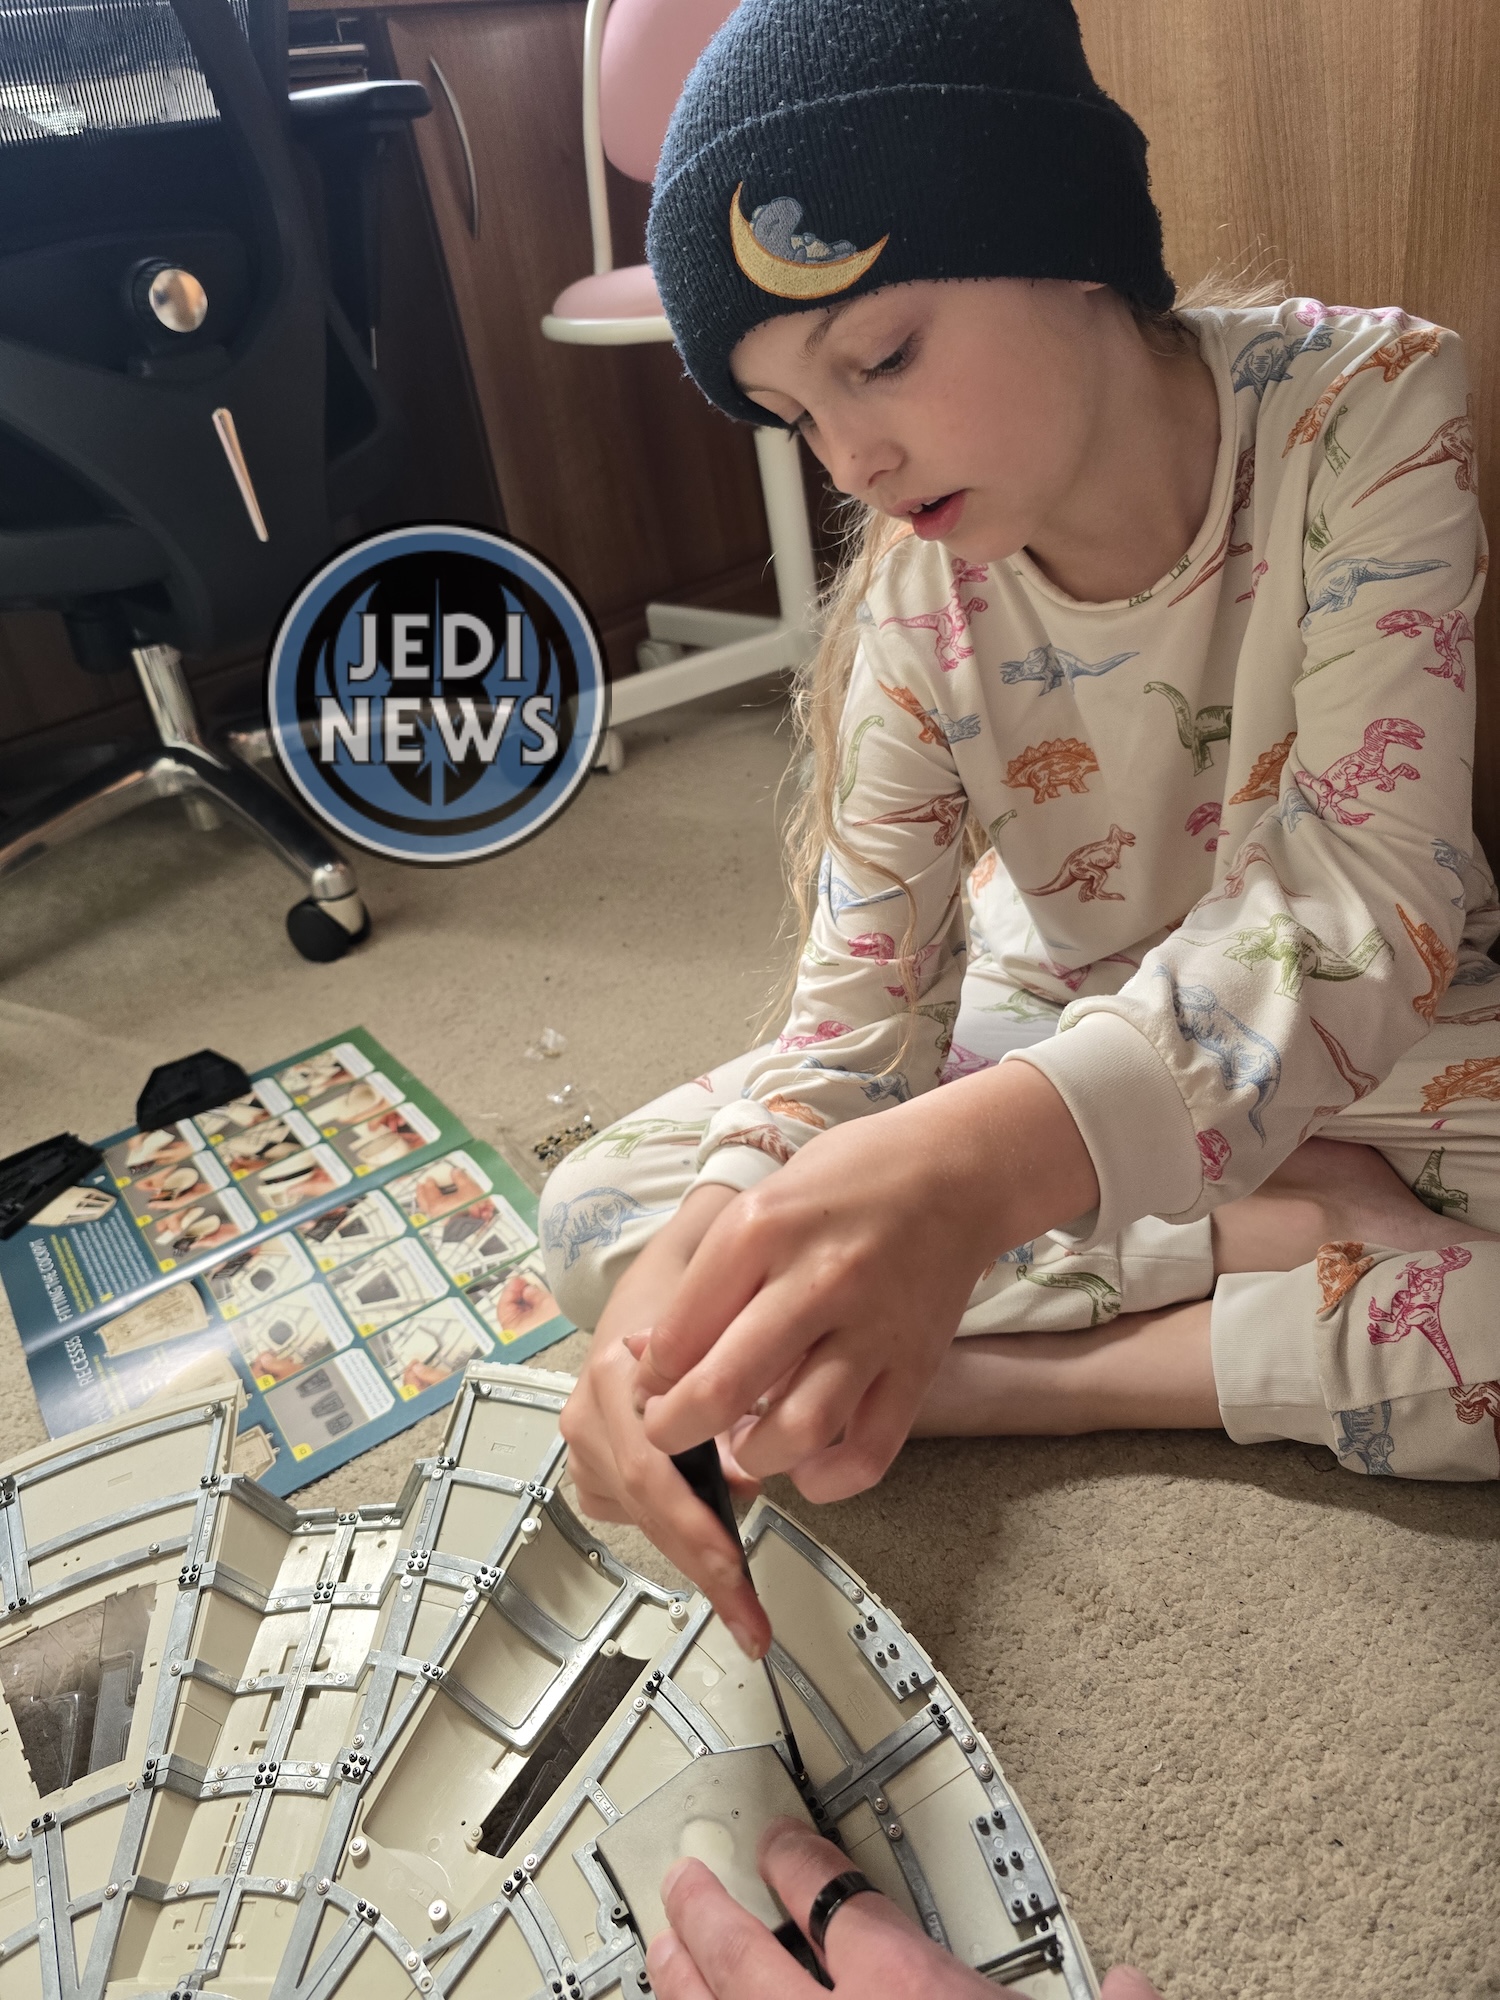
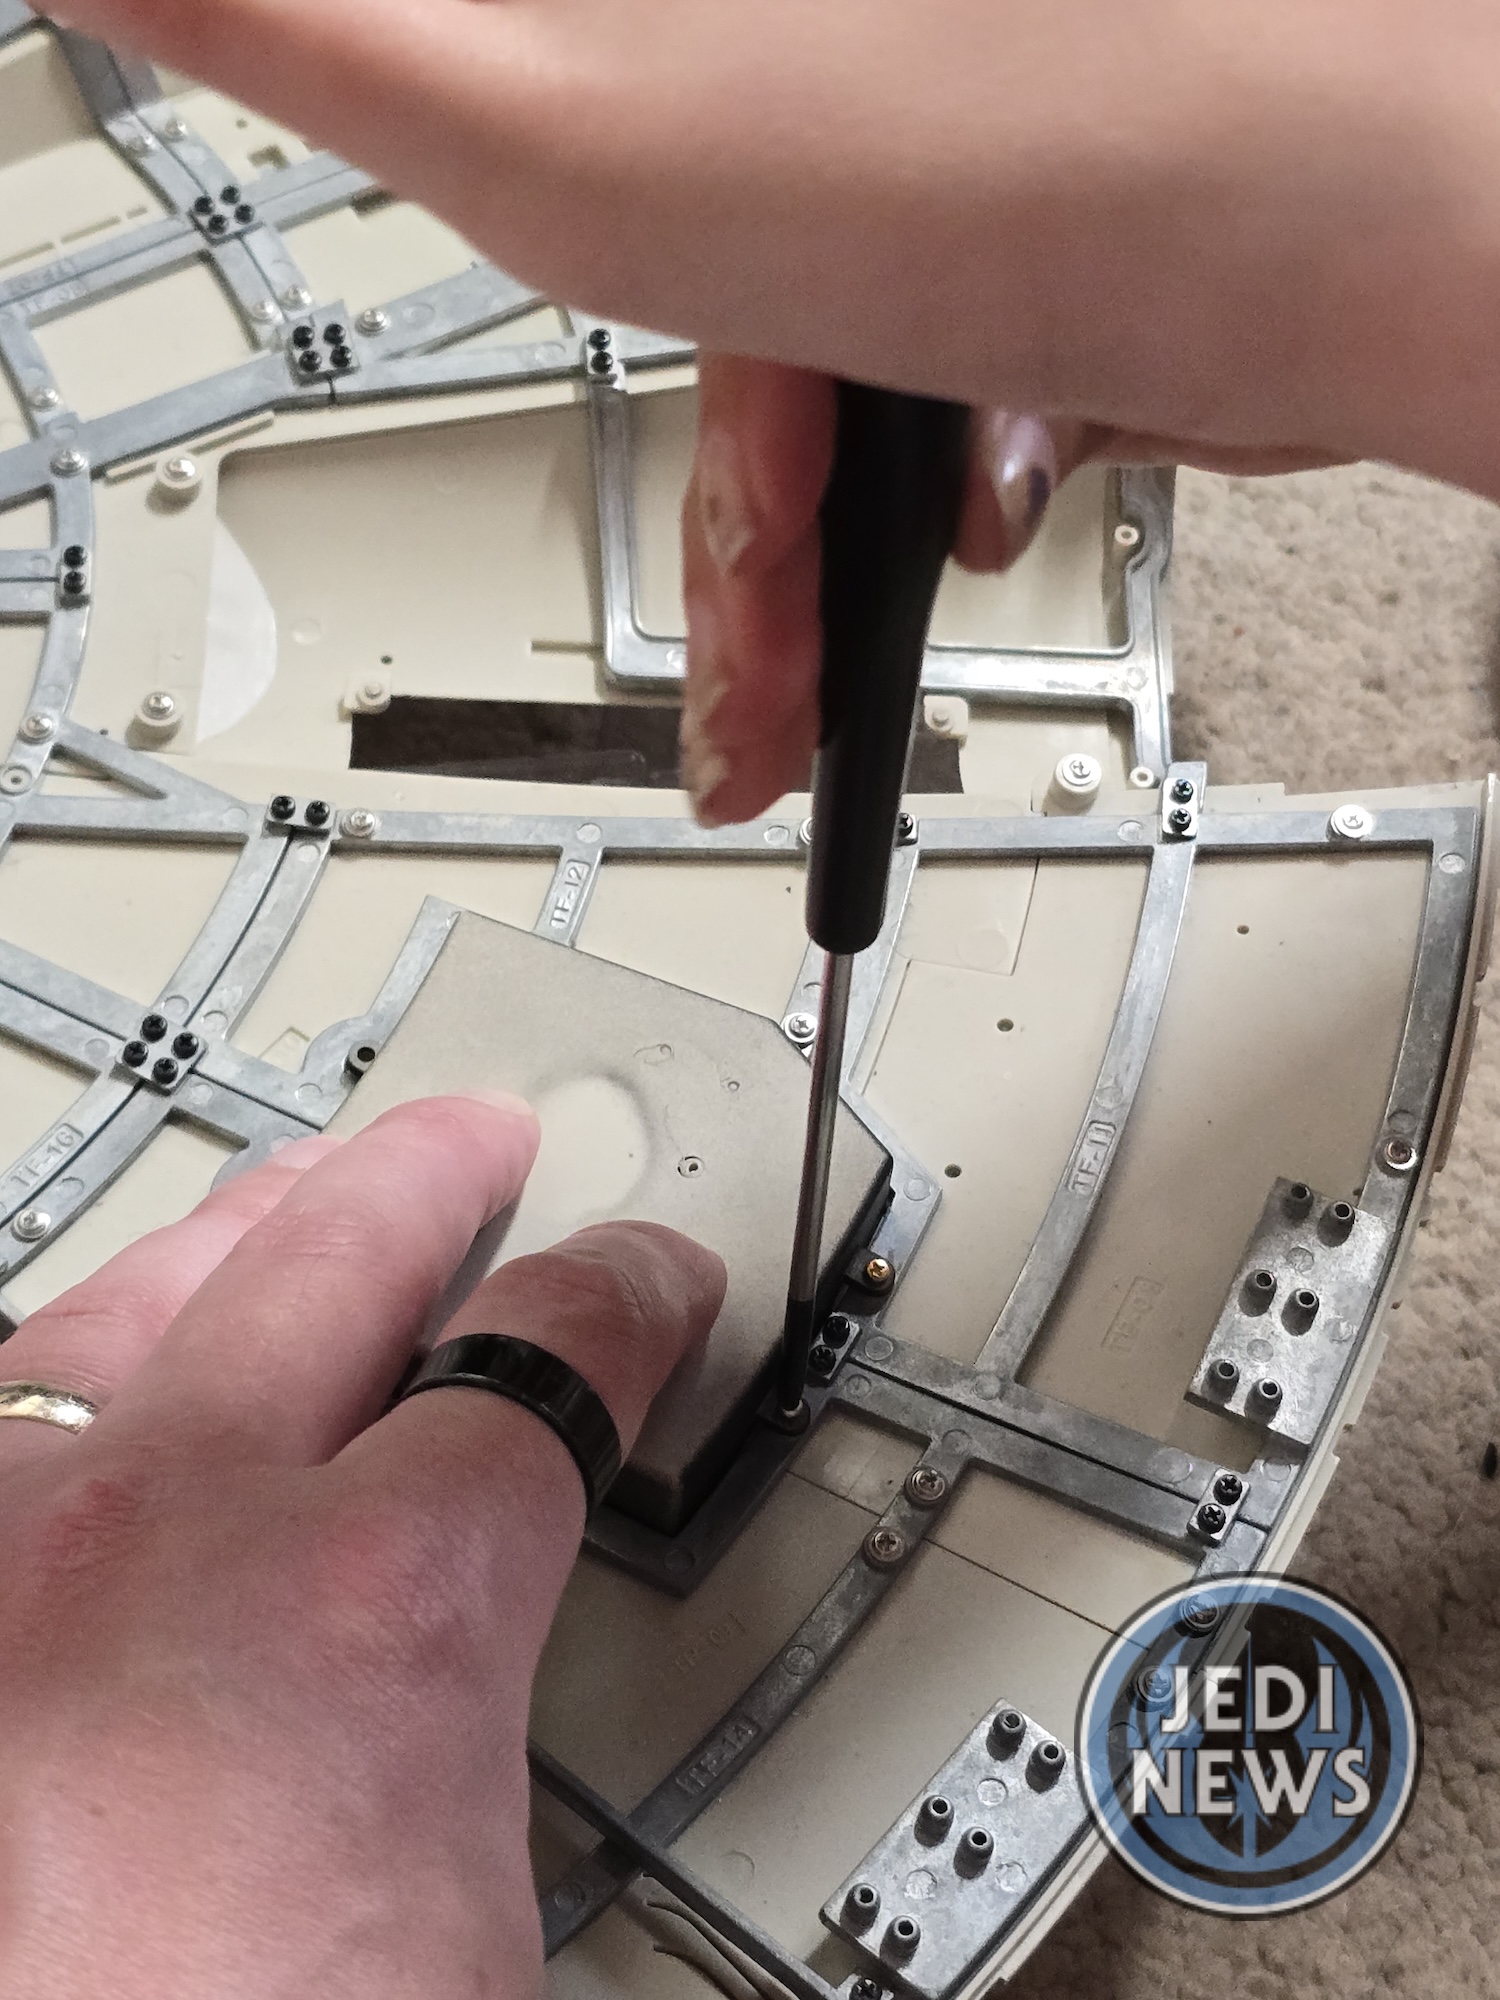
With that done, my daughter, still geared up to complete this monumental issue, and I were ready to carry on immediately with this next part. We started by fitting the upper hull recesses. This was going fairly straightforward. It was frustrating to have to remove screws to then reattach them and there was a slight worry if the thread within the plastic would get too worn, but they attached fine.
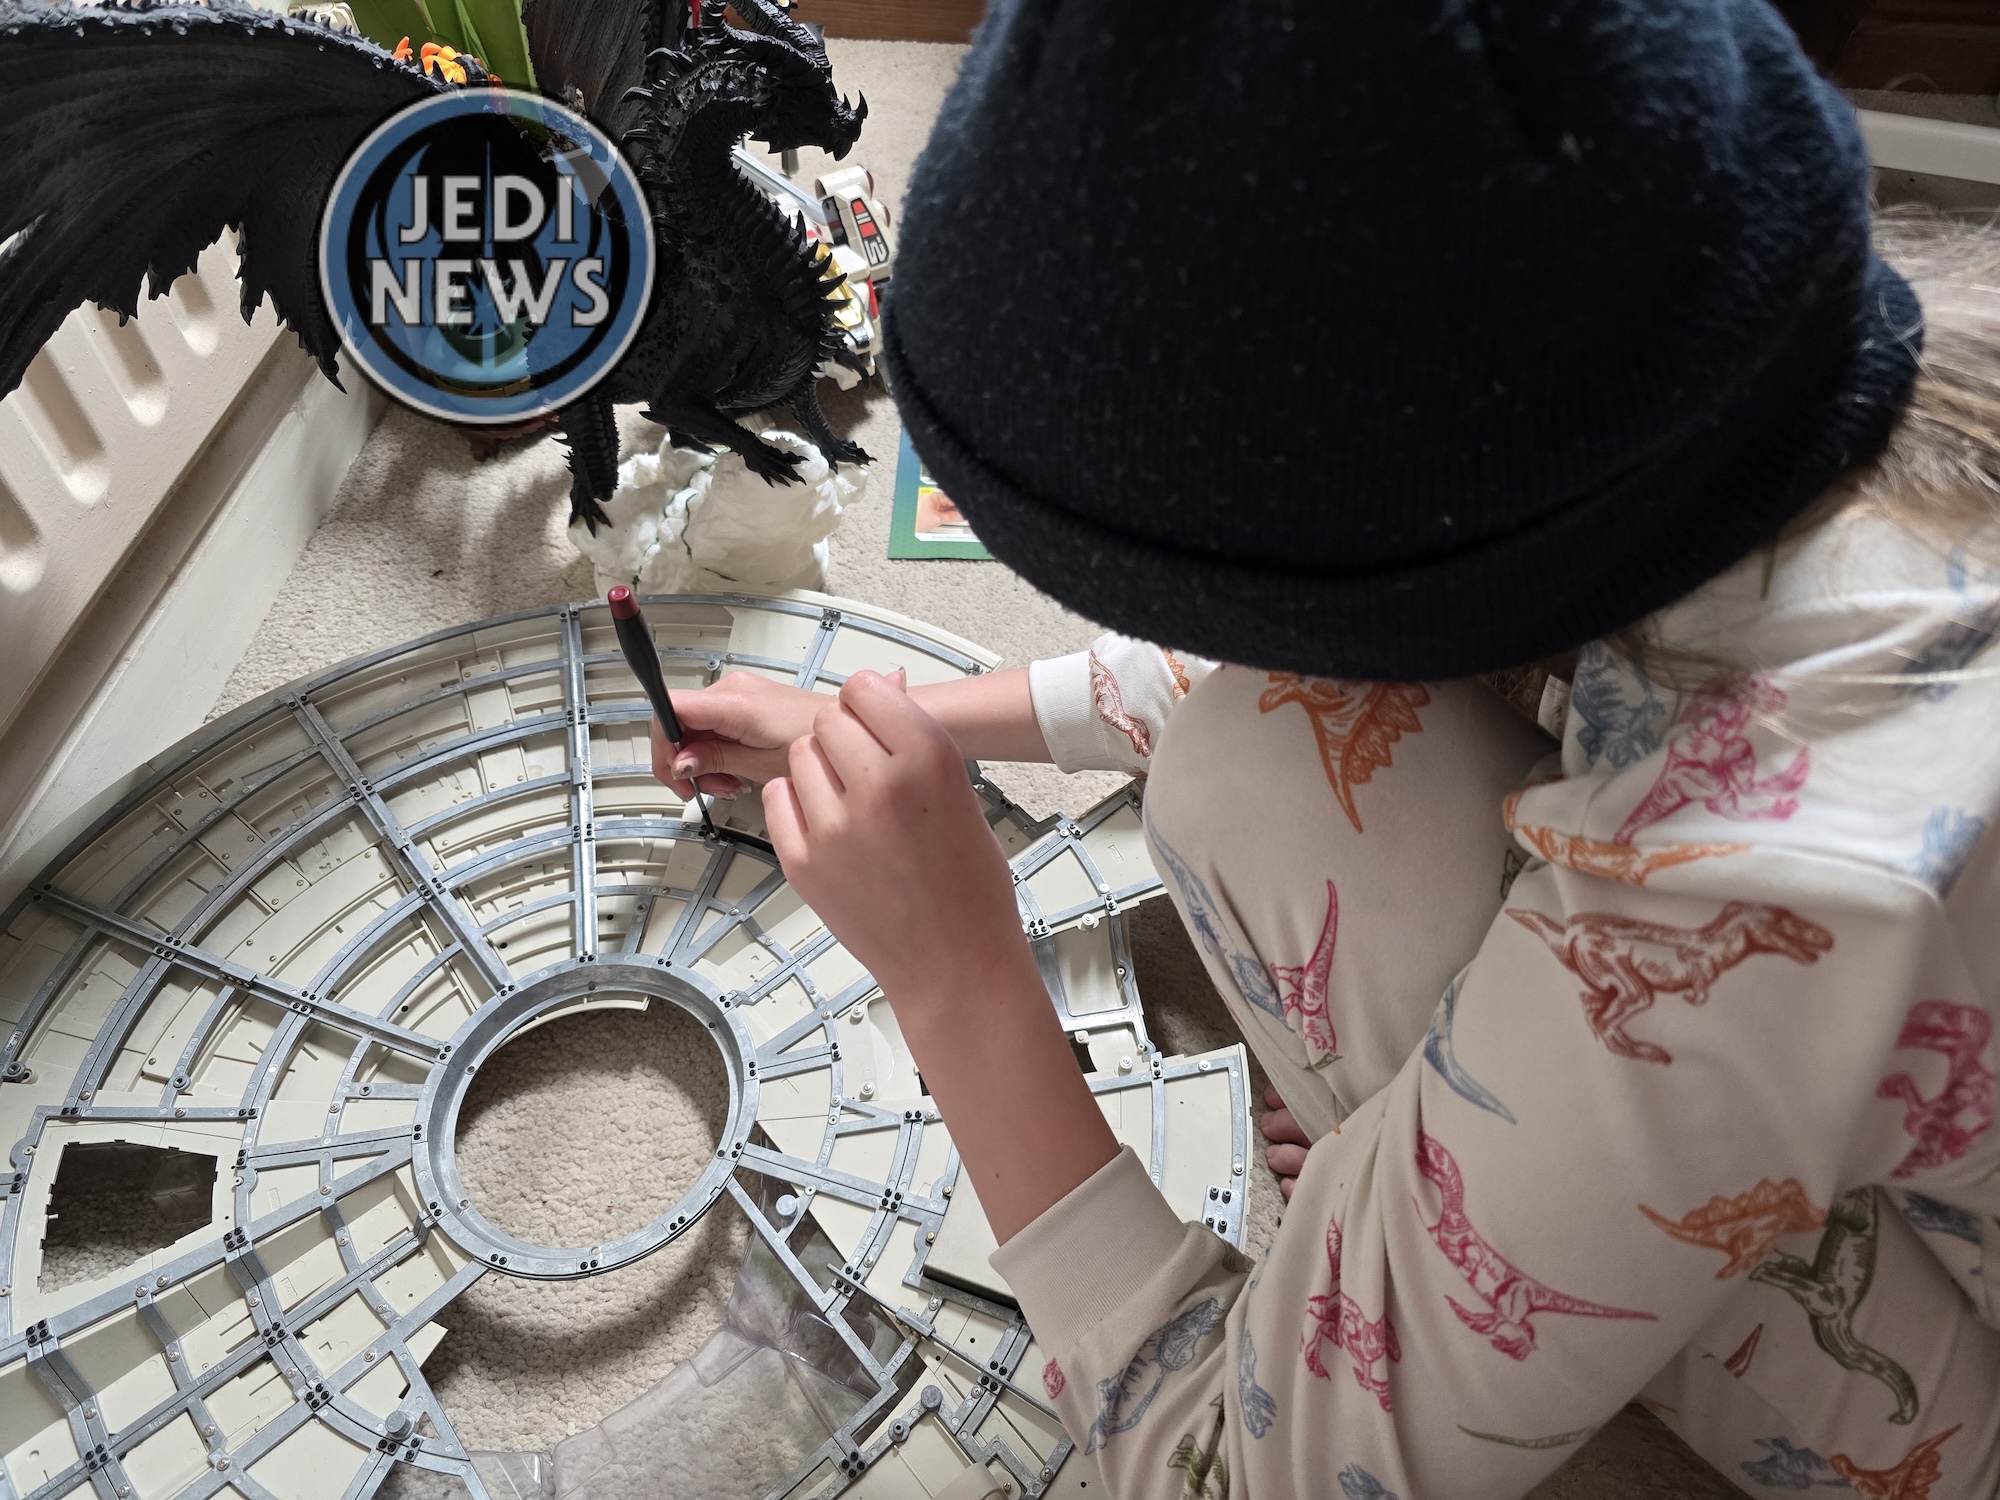
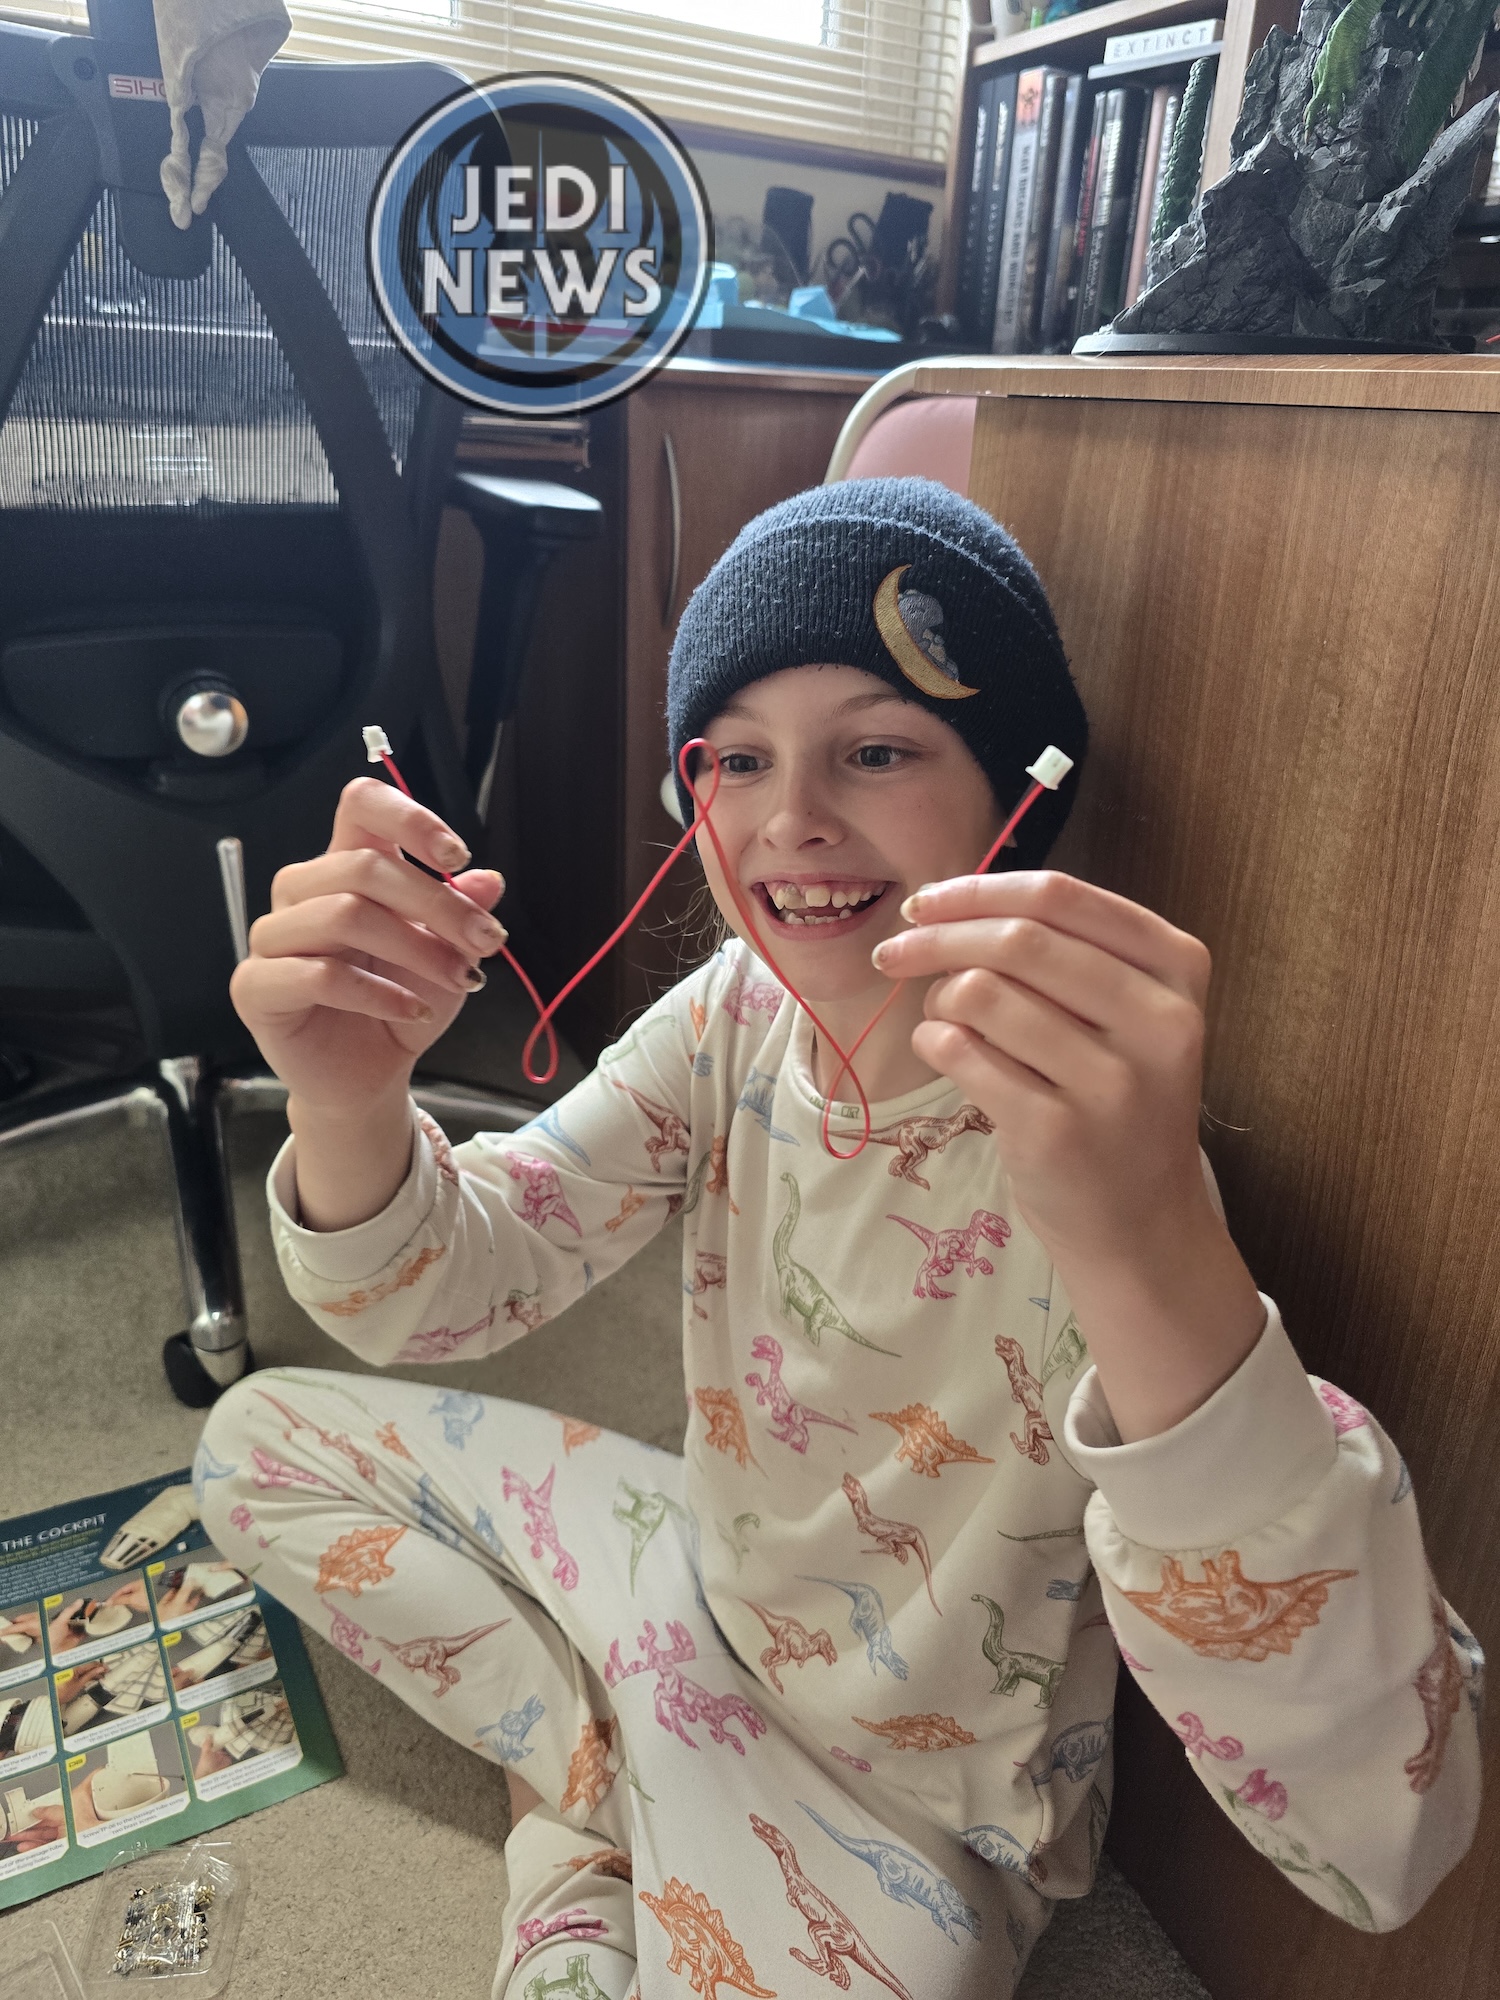
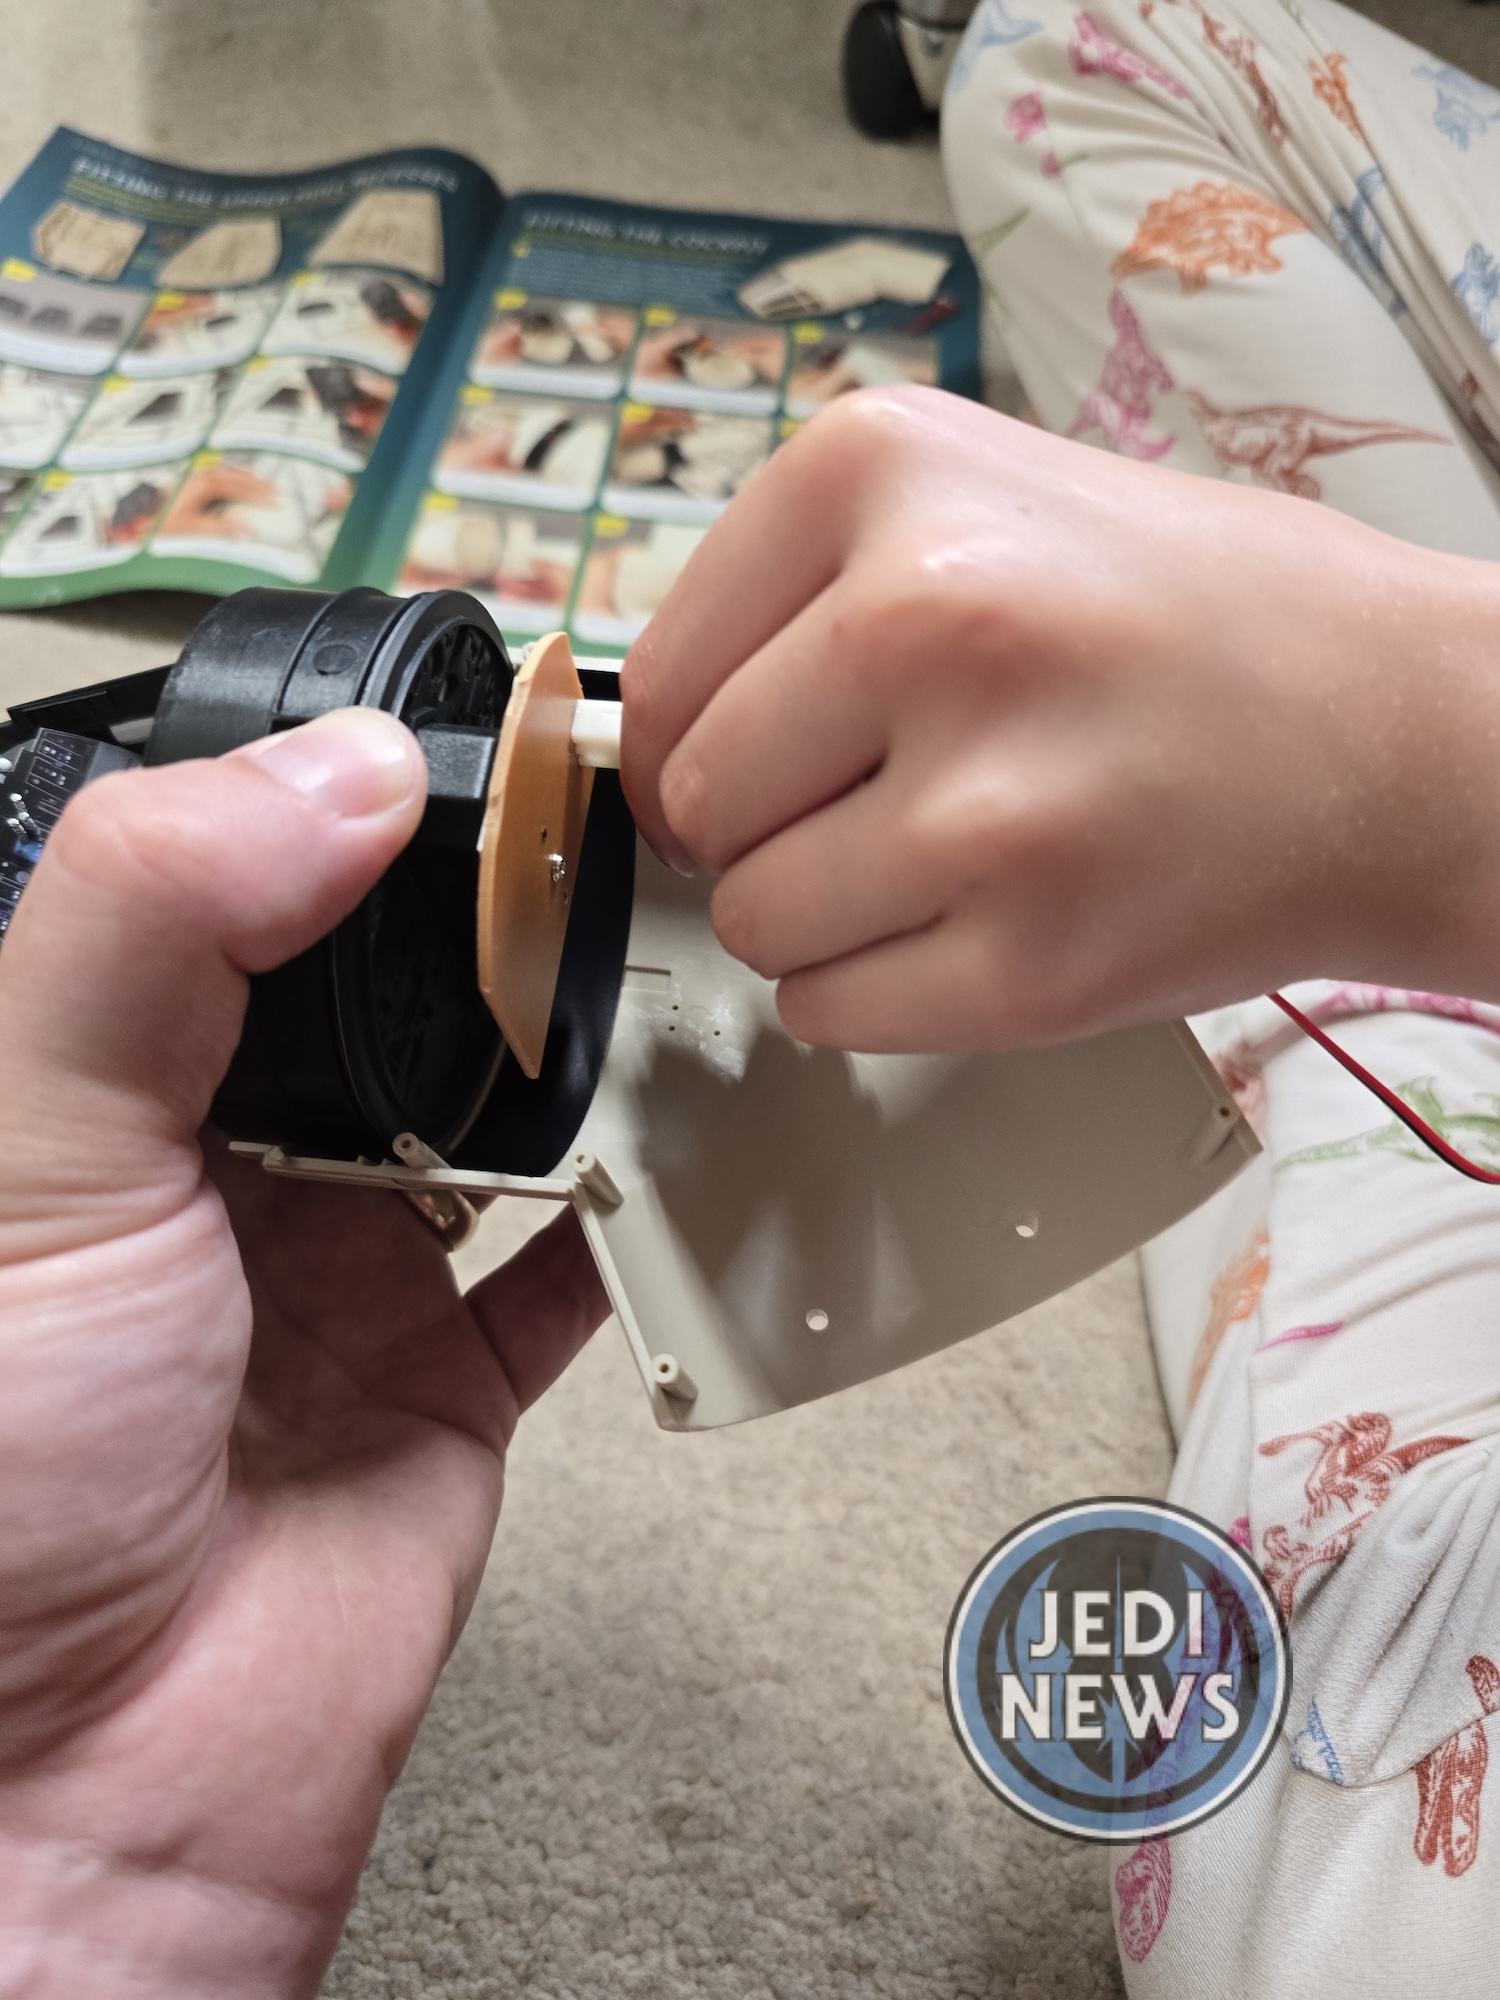
We moved onto fitting the cockpit and this is where things really started to unravel. First the magazine talks about a choice between two cockpit shells. Ember and I looked at each other and could only find one, what had we missed? One was of course all we needed, but saying we had an option between two seemed a little odd. Next, was attaching the extension cable, Ember loved this and we had it done in no time. Then there was having to bring the cockpit all back together, no mention of glue but all these bits and pieces floating around were a nightmare. I ended up gluing the two halves of the cockpit together, which once done, made everything so much easier! I just wish I had done it sooner. With the cockpit ready, you then have to remove a plate from the upper hull to attach the cockpit and then reattach it. Ember said it best when she said, couldn’t we just have left it off in the first place? Attaching the cockpit was easy, putting the plate back in place wasn’t. The plastic of the plate clearly had had enough and the screw wouldn’t tighten. I was about to throw it across the room in frustration, reeling the thread might have gone when I remembered we had some thread lock from previously in the build. A few drops of this and we were back in business.
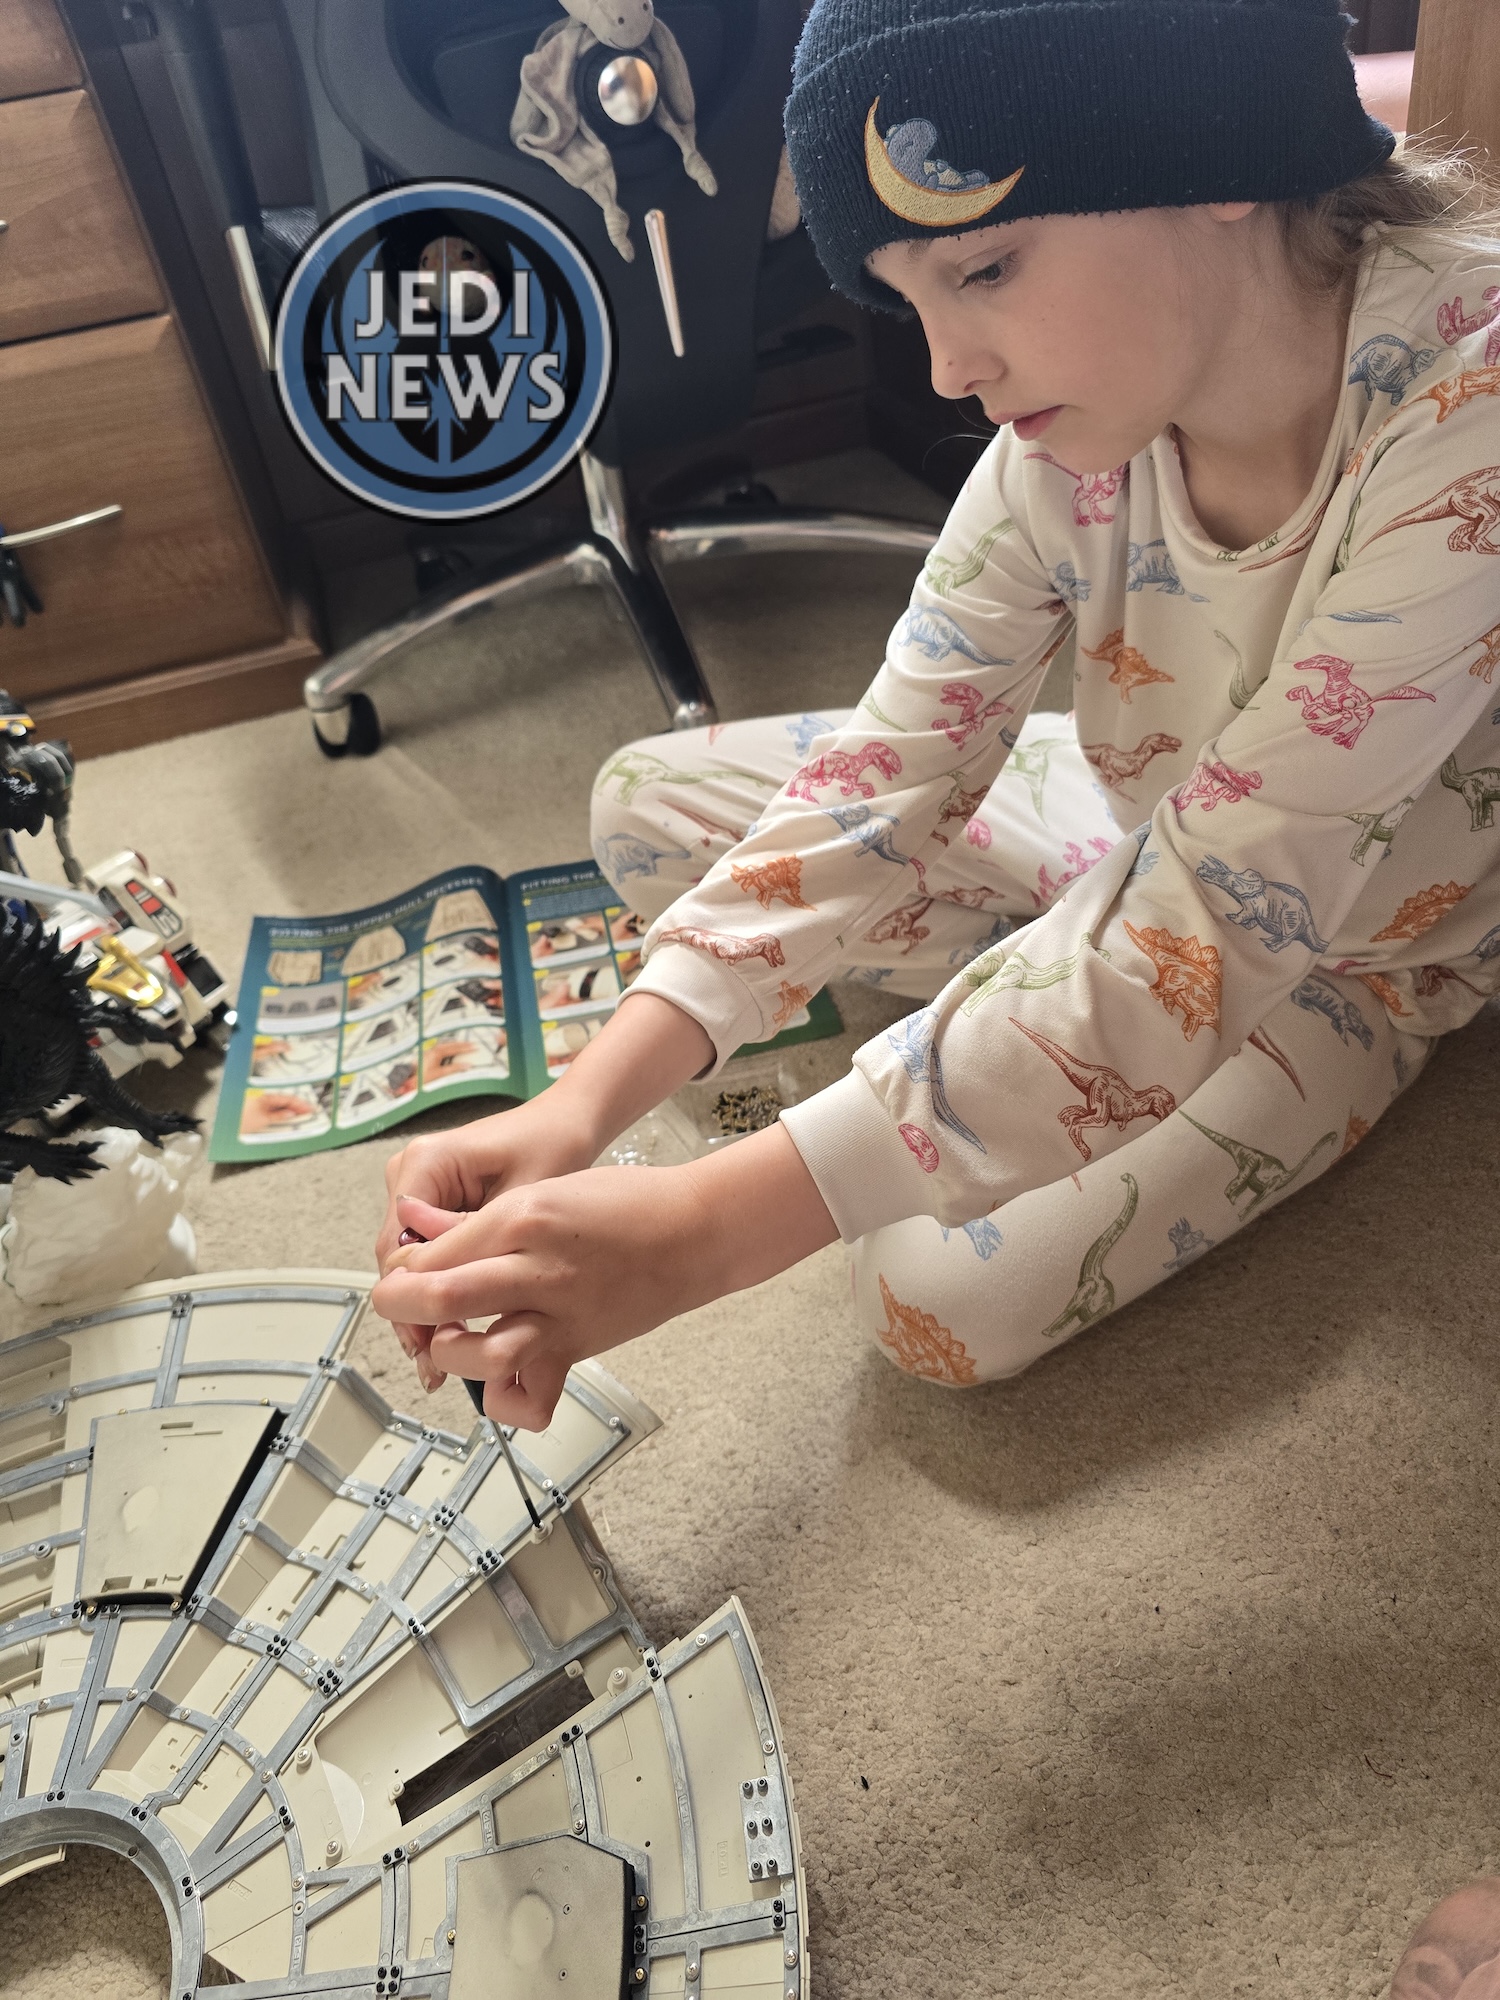
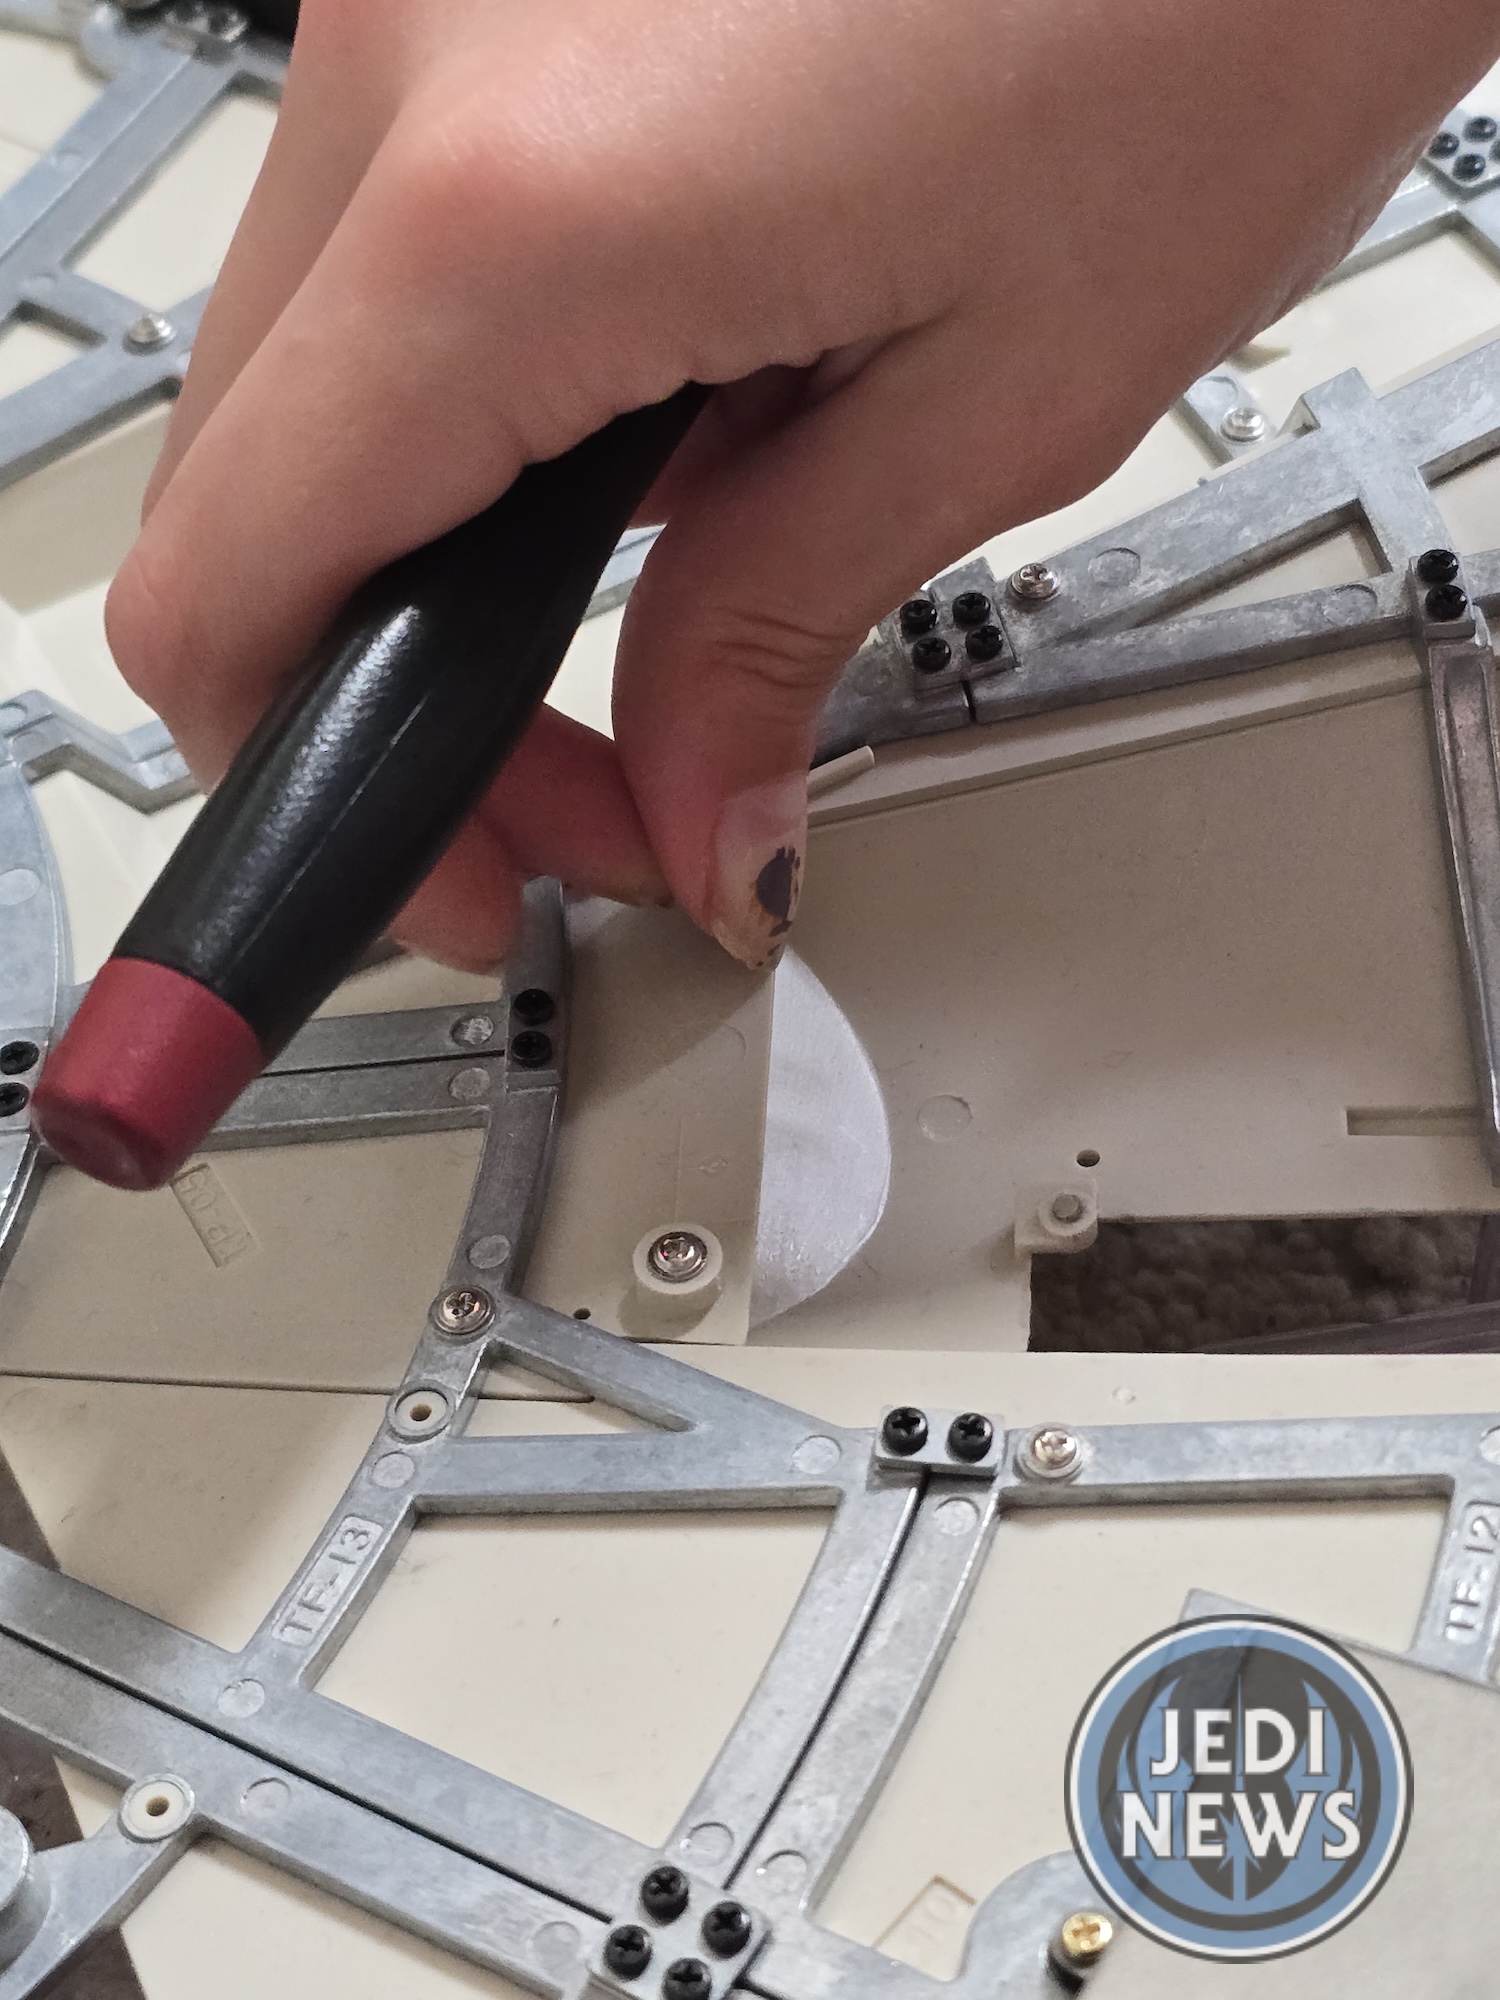
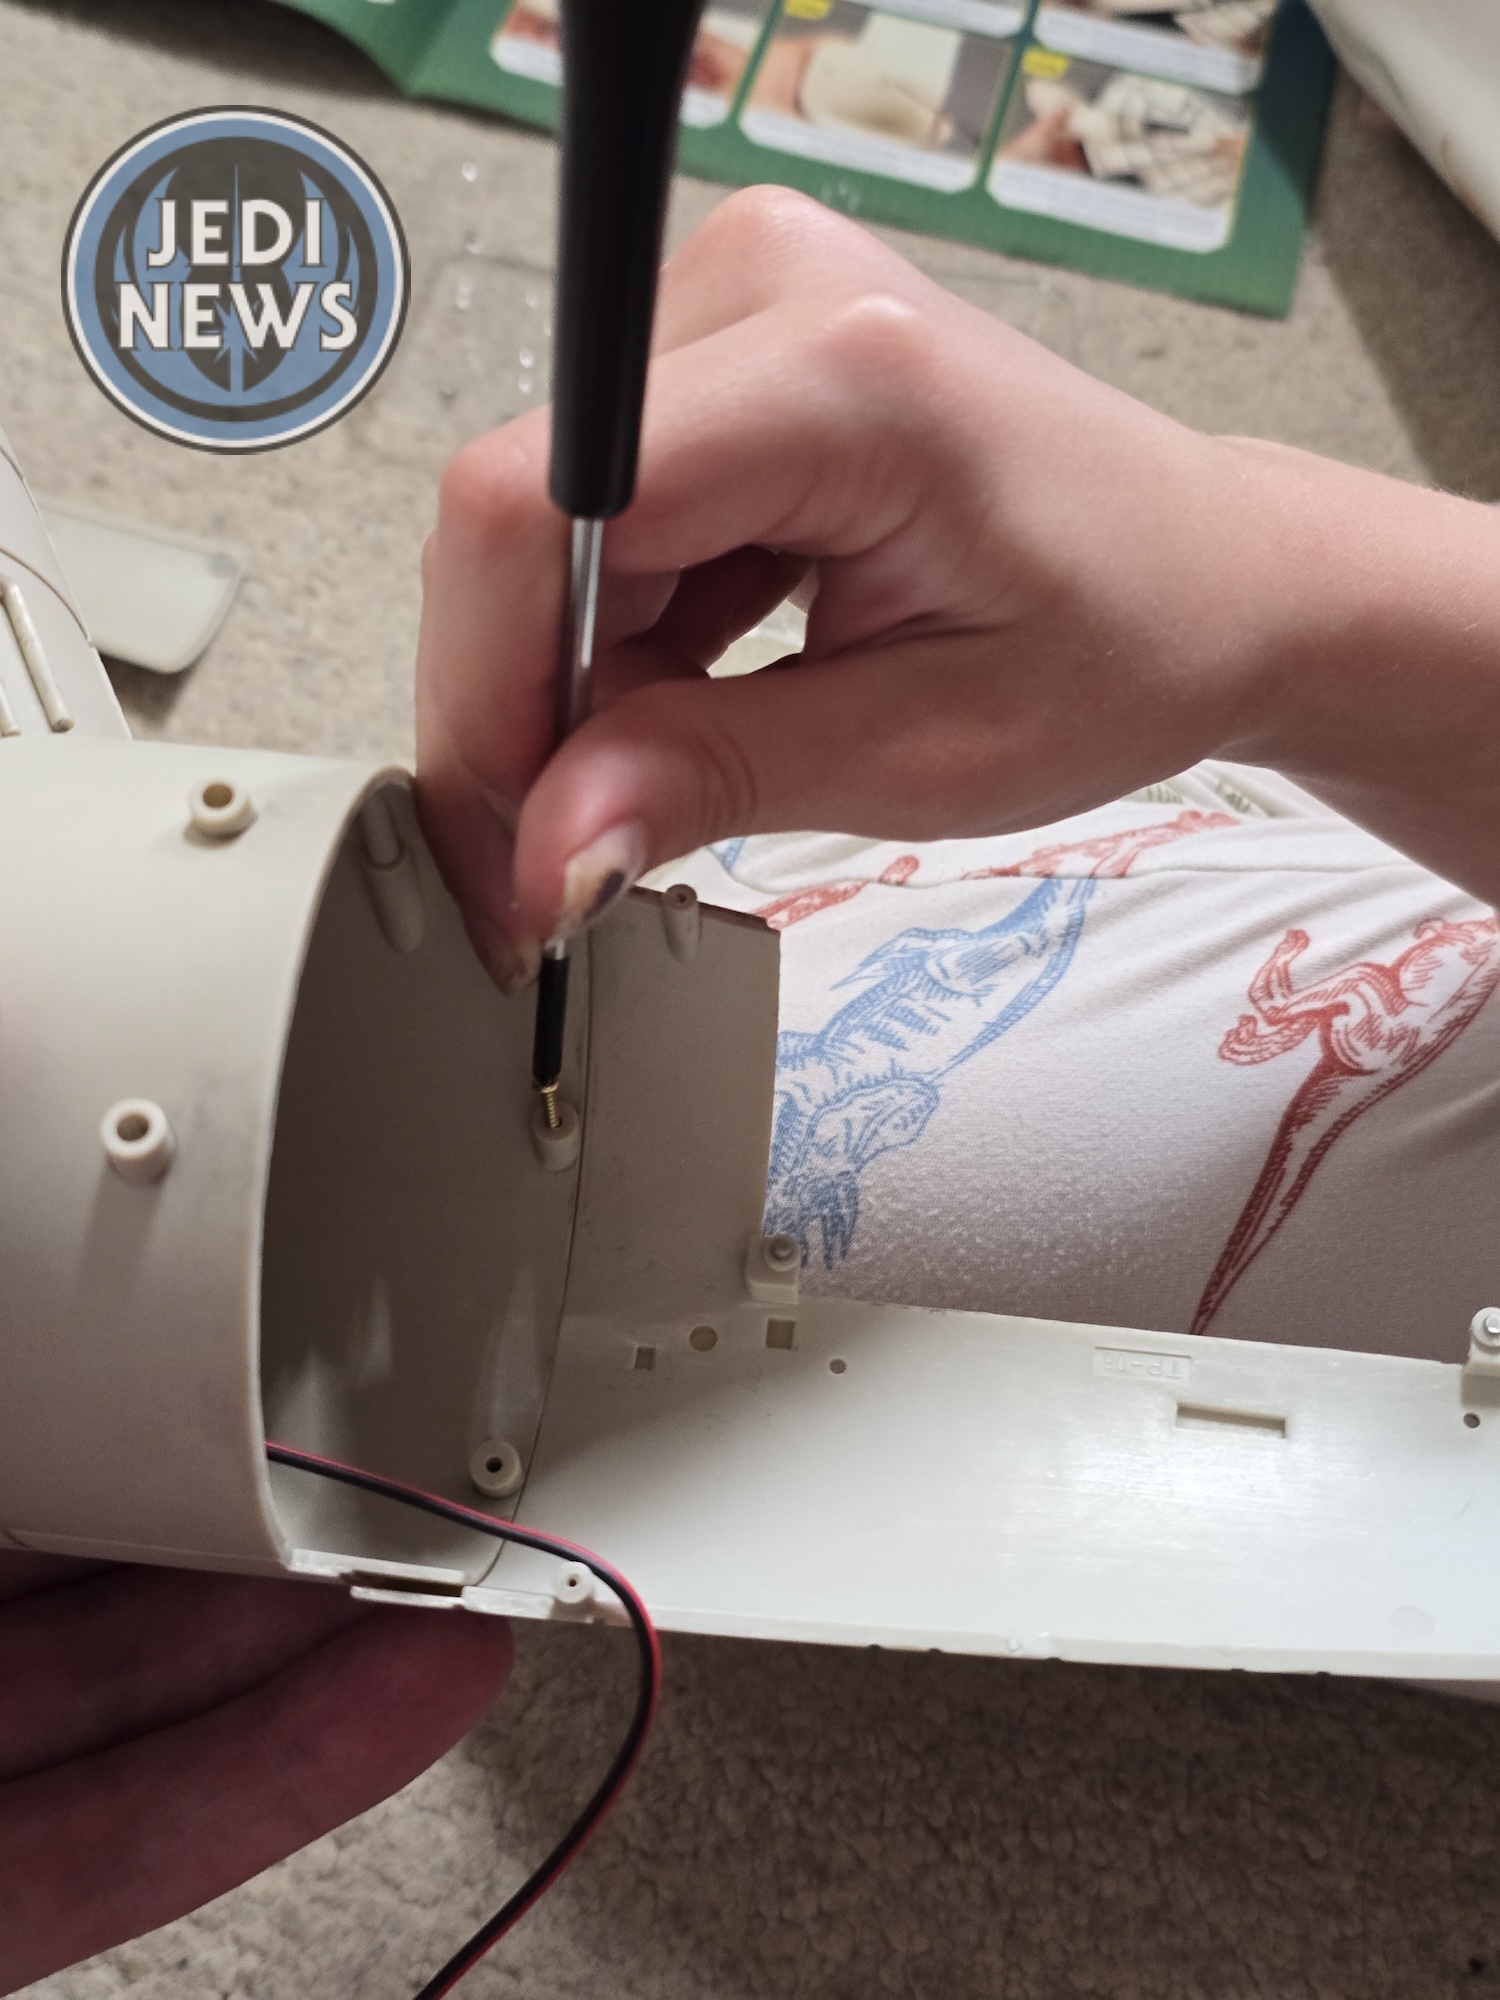
It was then the turn of the dorsal gun well, which was relatively easy and we had attached in no time. It was finally time to bring the two halves together. Ember and I looked at each other and the last part of this build had taken us almost two hours. This wasn’t a short issue, but a lot of these different parts could have been done far earlier. I was tired, Ember was tired and I knew that the ‘simple’ bits of bringing everything together were taking their toll. How about we put the top on, and we can sort the rest another day? Ember agreed. So, we lifted the top half onto the Falcon ortried to. The housing that takes the battery pack was also not wanting to be screwed into place. Having had to remove it so many times, the threads had also clearly had enough. I took the thing off. It was a problem for another day, and I wanted this top on. For all the hard work, the top went on almost flawlessly after this and Ember and I could look on. This was the Falcon. There were bits missing of course, but the whole thing was there, it was recognisable… and Ember and I both had huge grins on our faces. With that, we called for a break and had a much-needed rest…
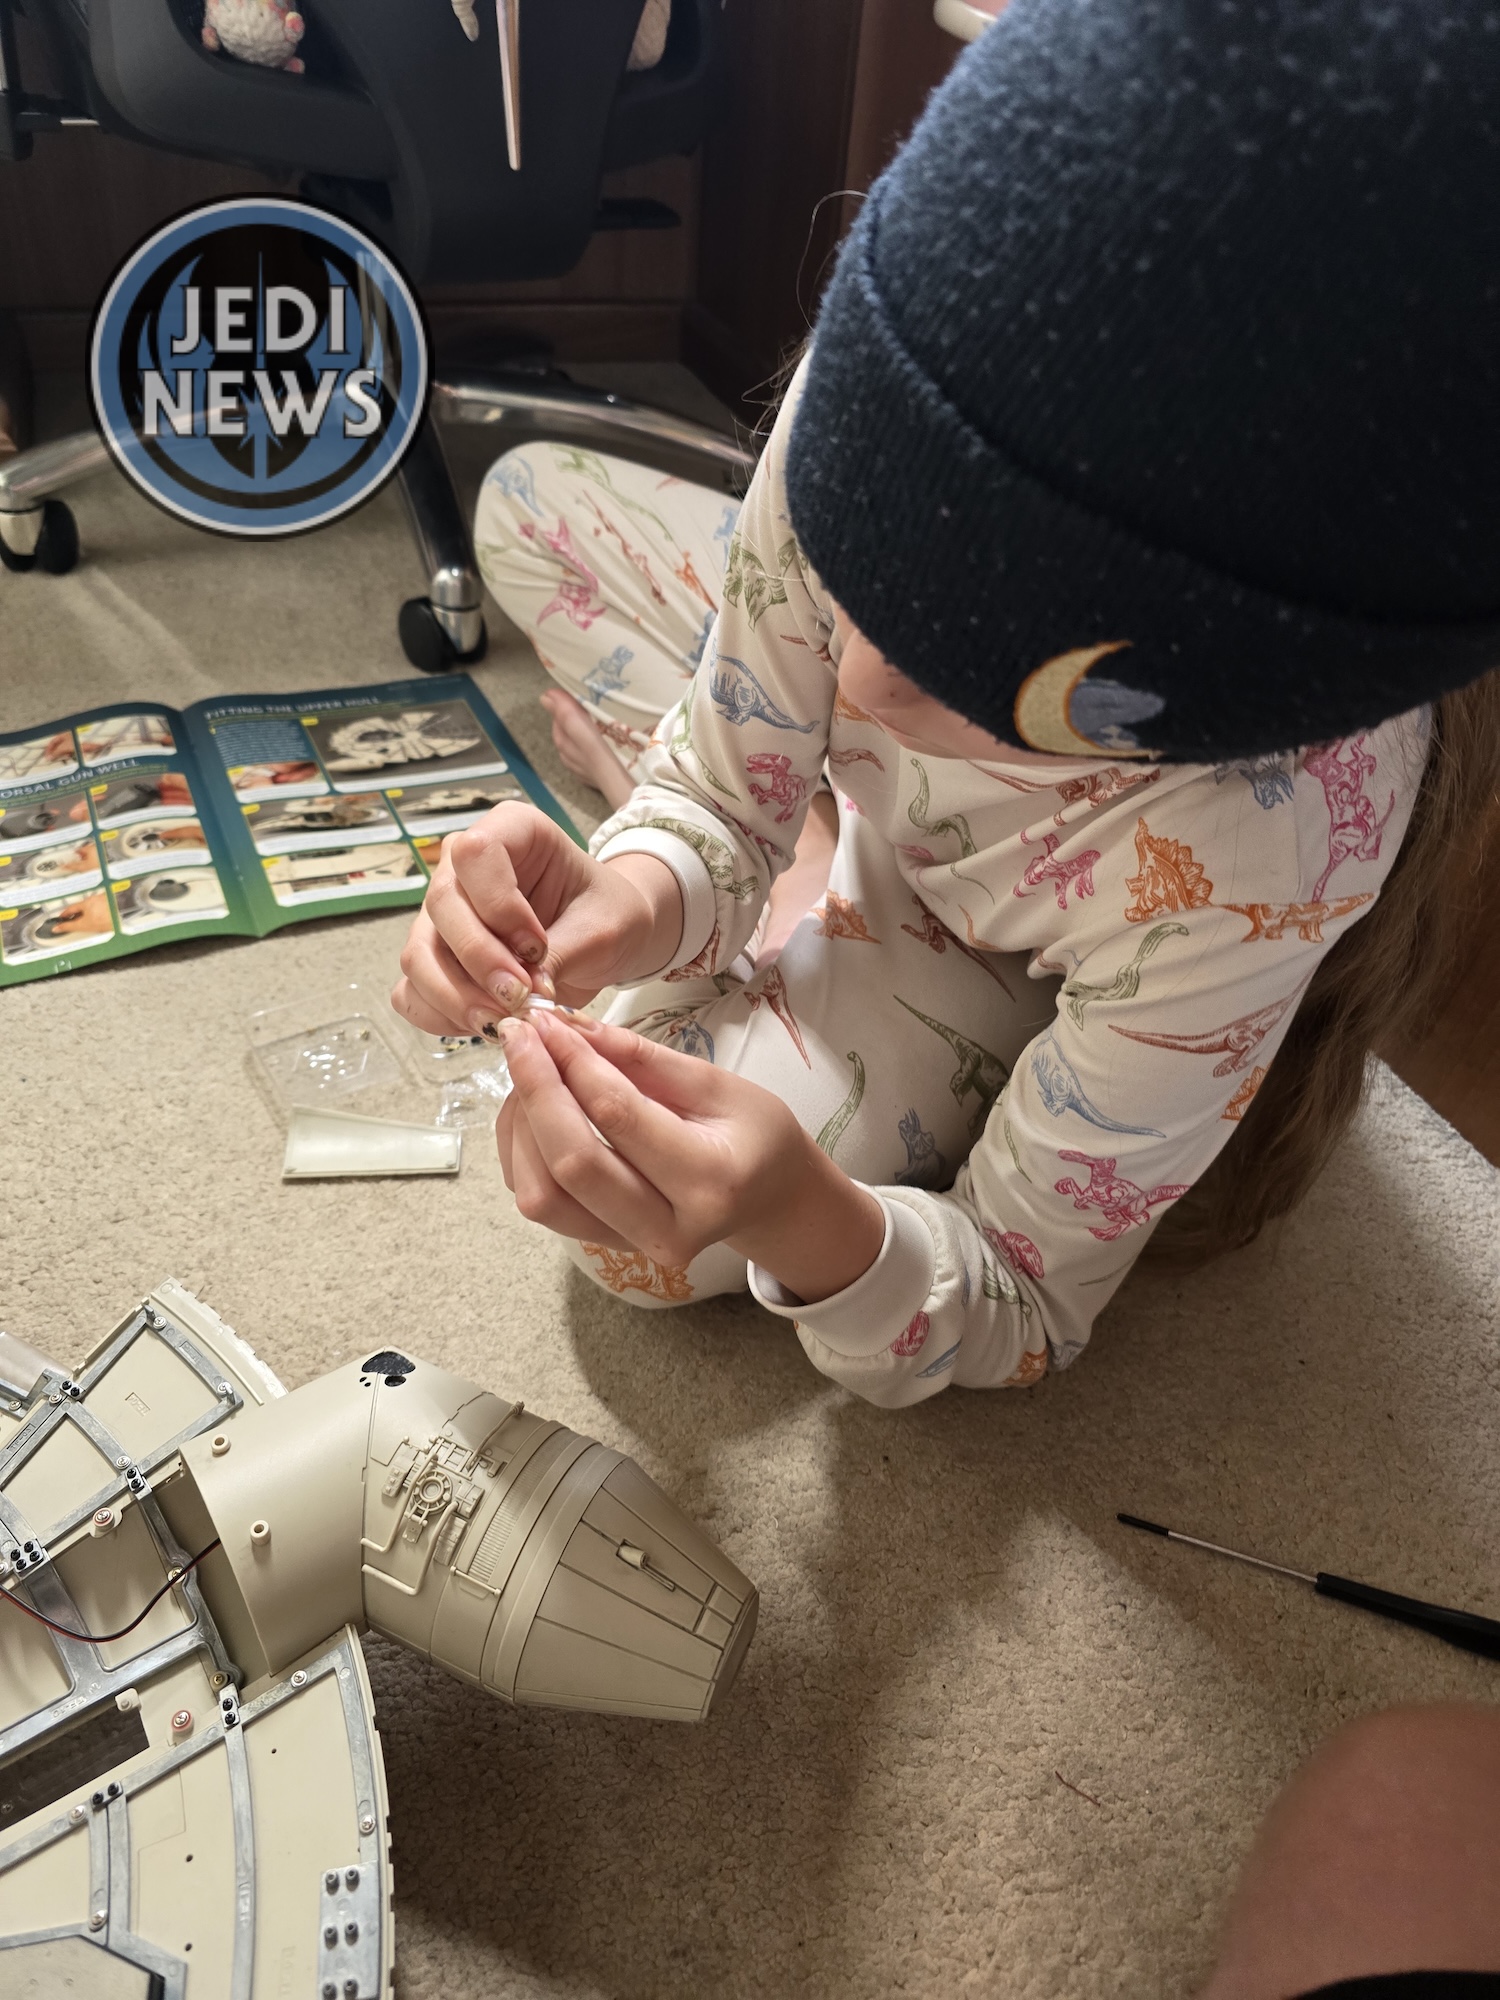
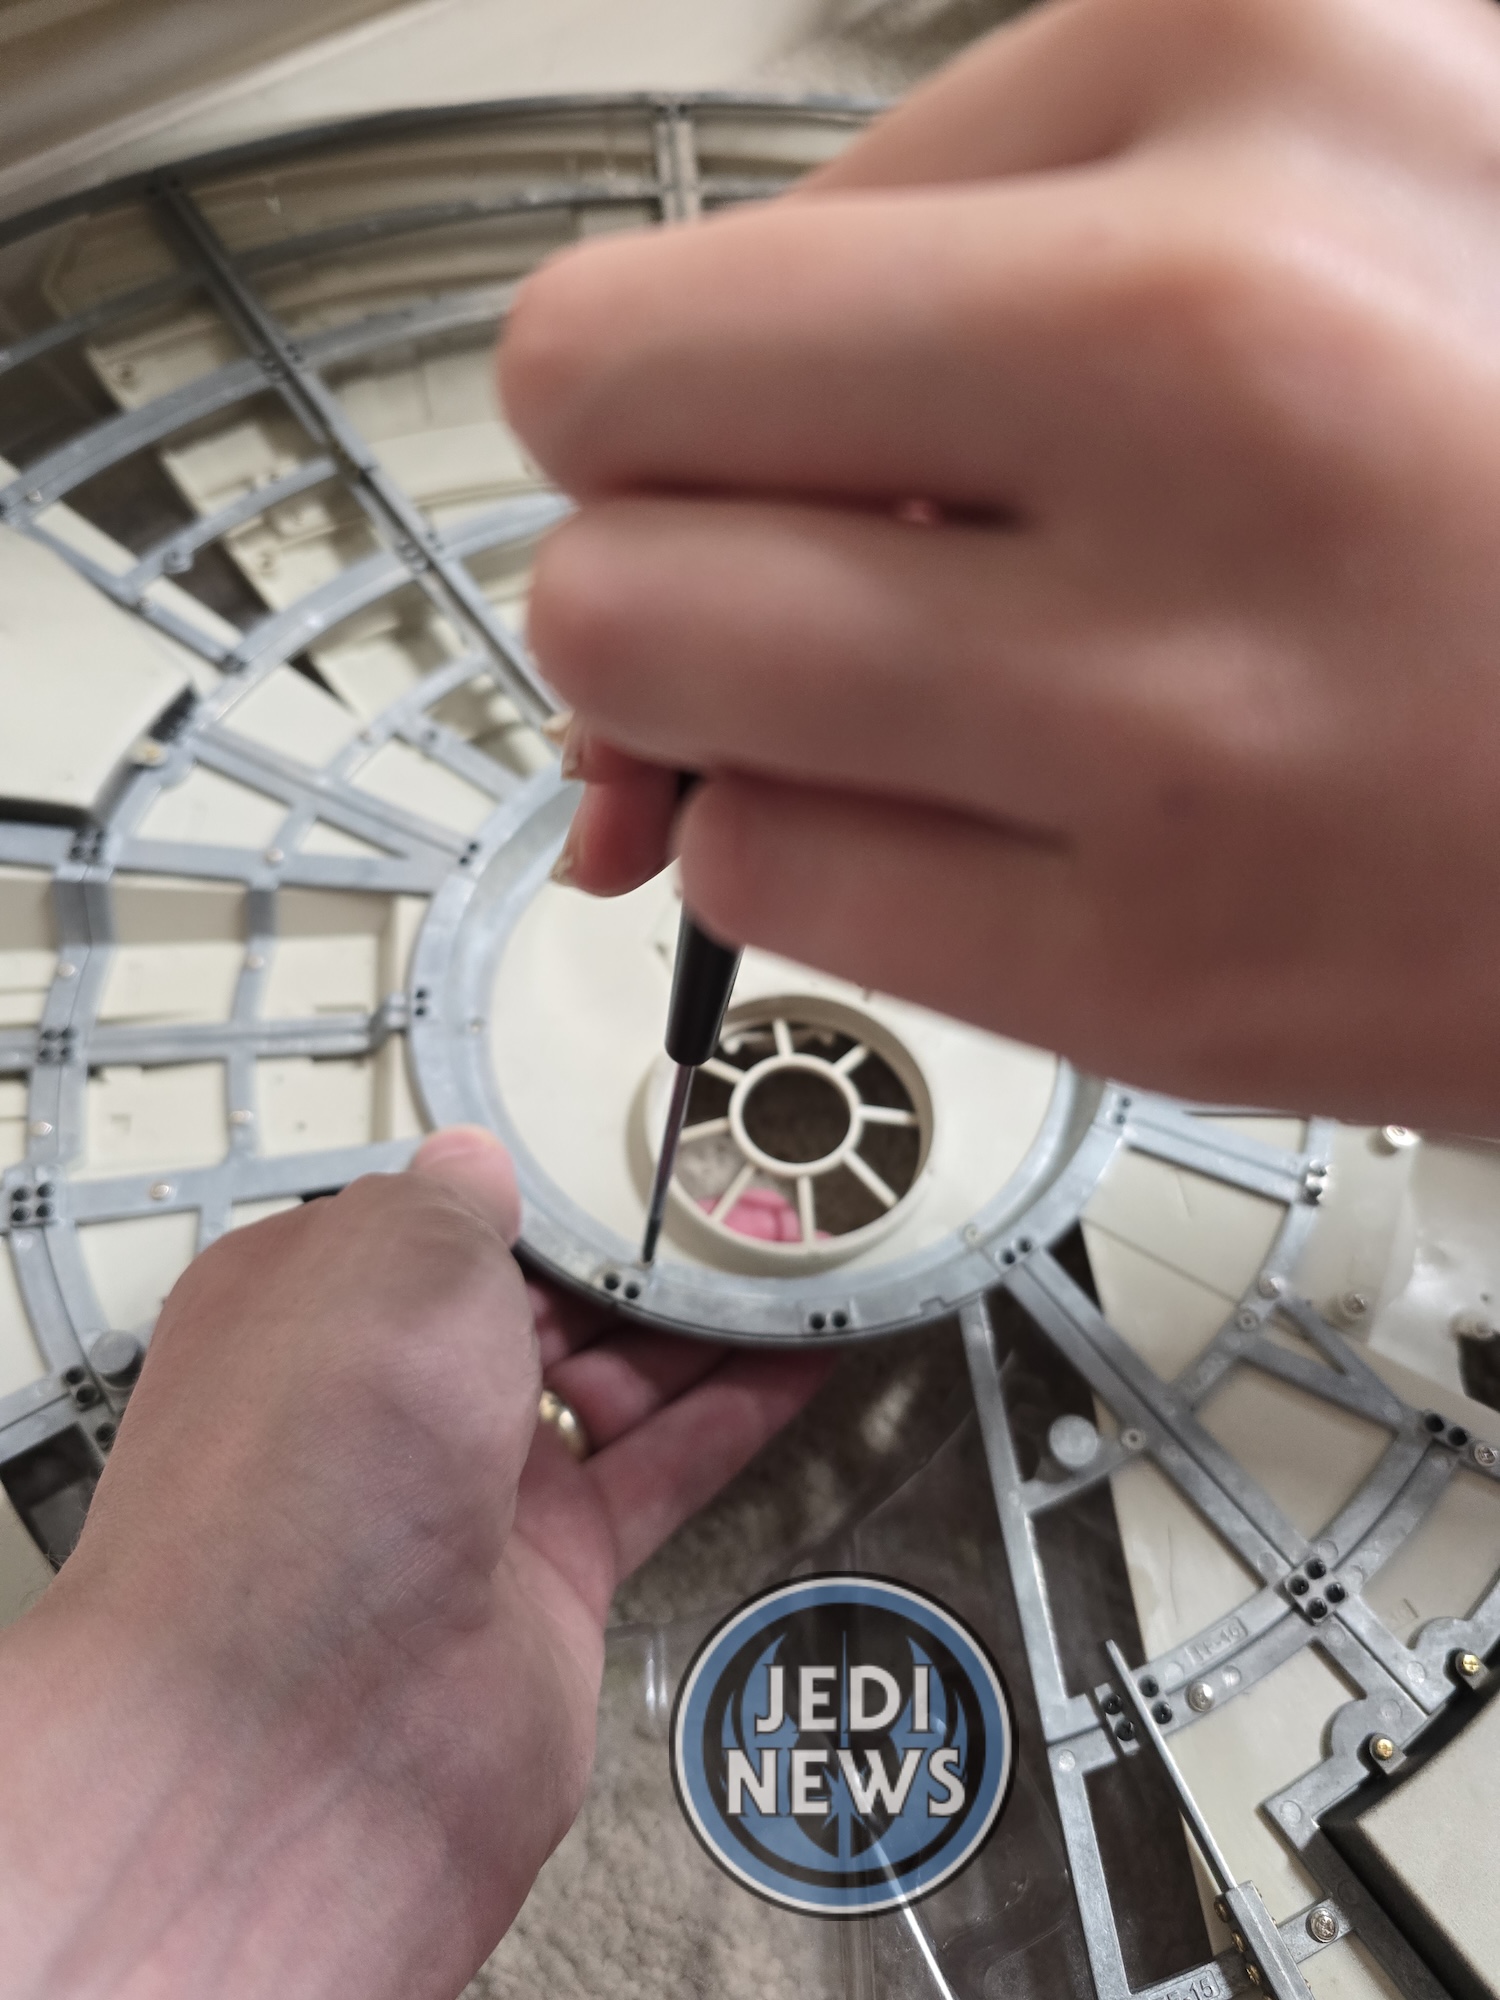
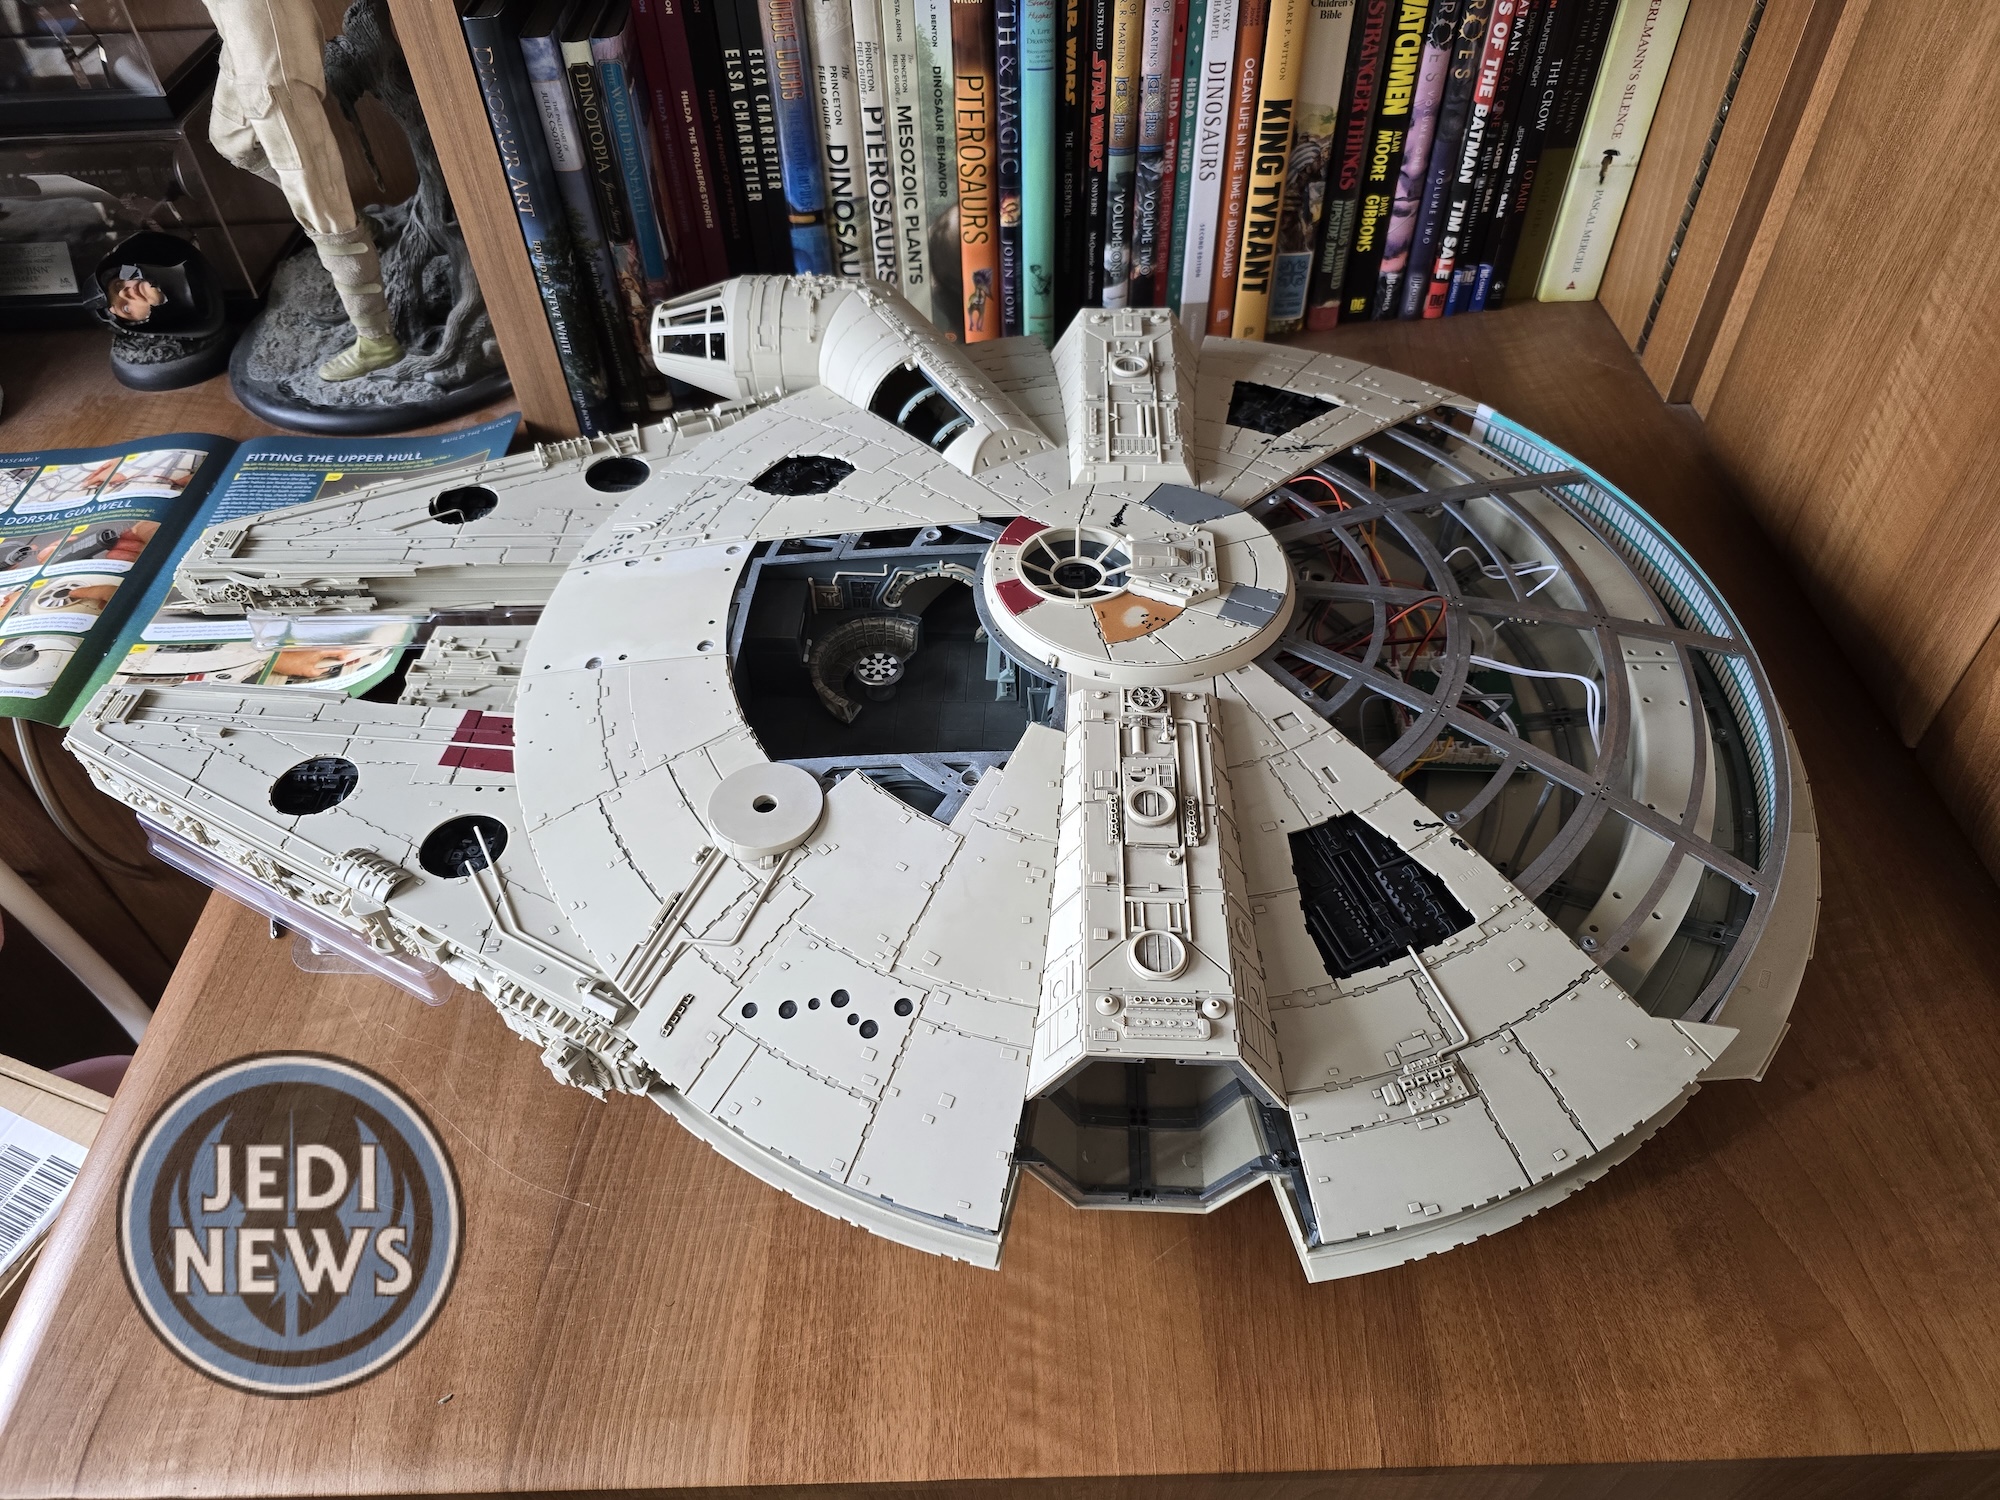
The lesson learnt is that sometimes we can get too close, too infuriated with a project that a break is exactly what is needed. After having a few days to regain our composure, we were ready to dive back in but not before a most obvious thing had occurred to me. It was like a lightbulb moment. The housing for the battery pack, threads worn, it was all wrong, and as I had time to think, to let my memory assert itself, to remind myself of when we were first adding the casing, I could understand what had gone wrong. It wasn’t the threads. It was the fact that this was the one part of the Falcon that was held with a bolt on the other side of the screw! This break had been a good idea.
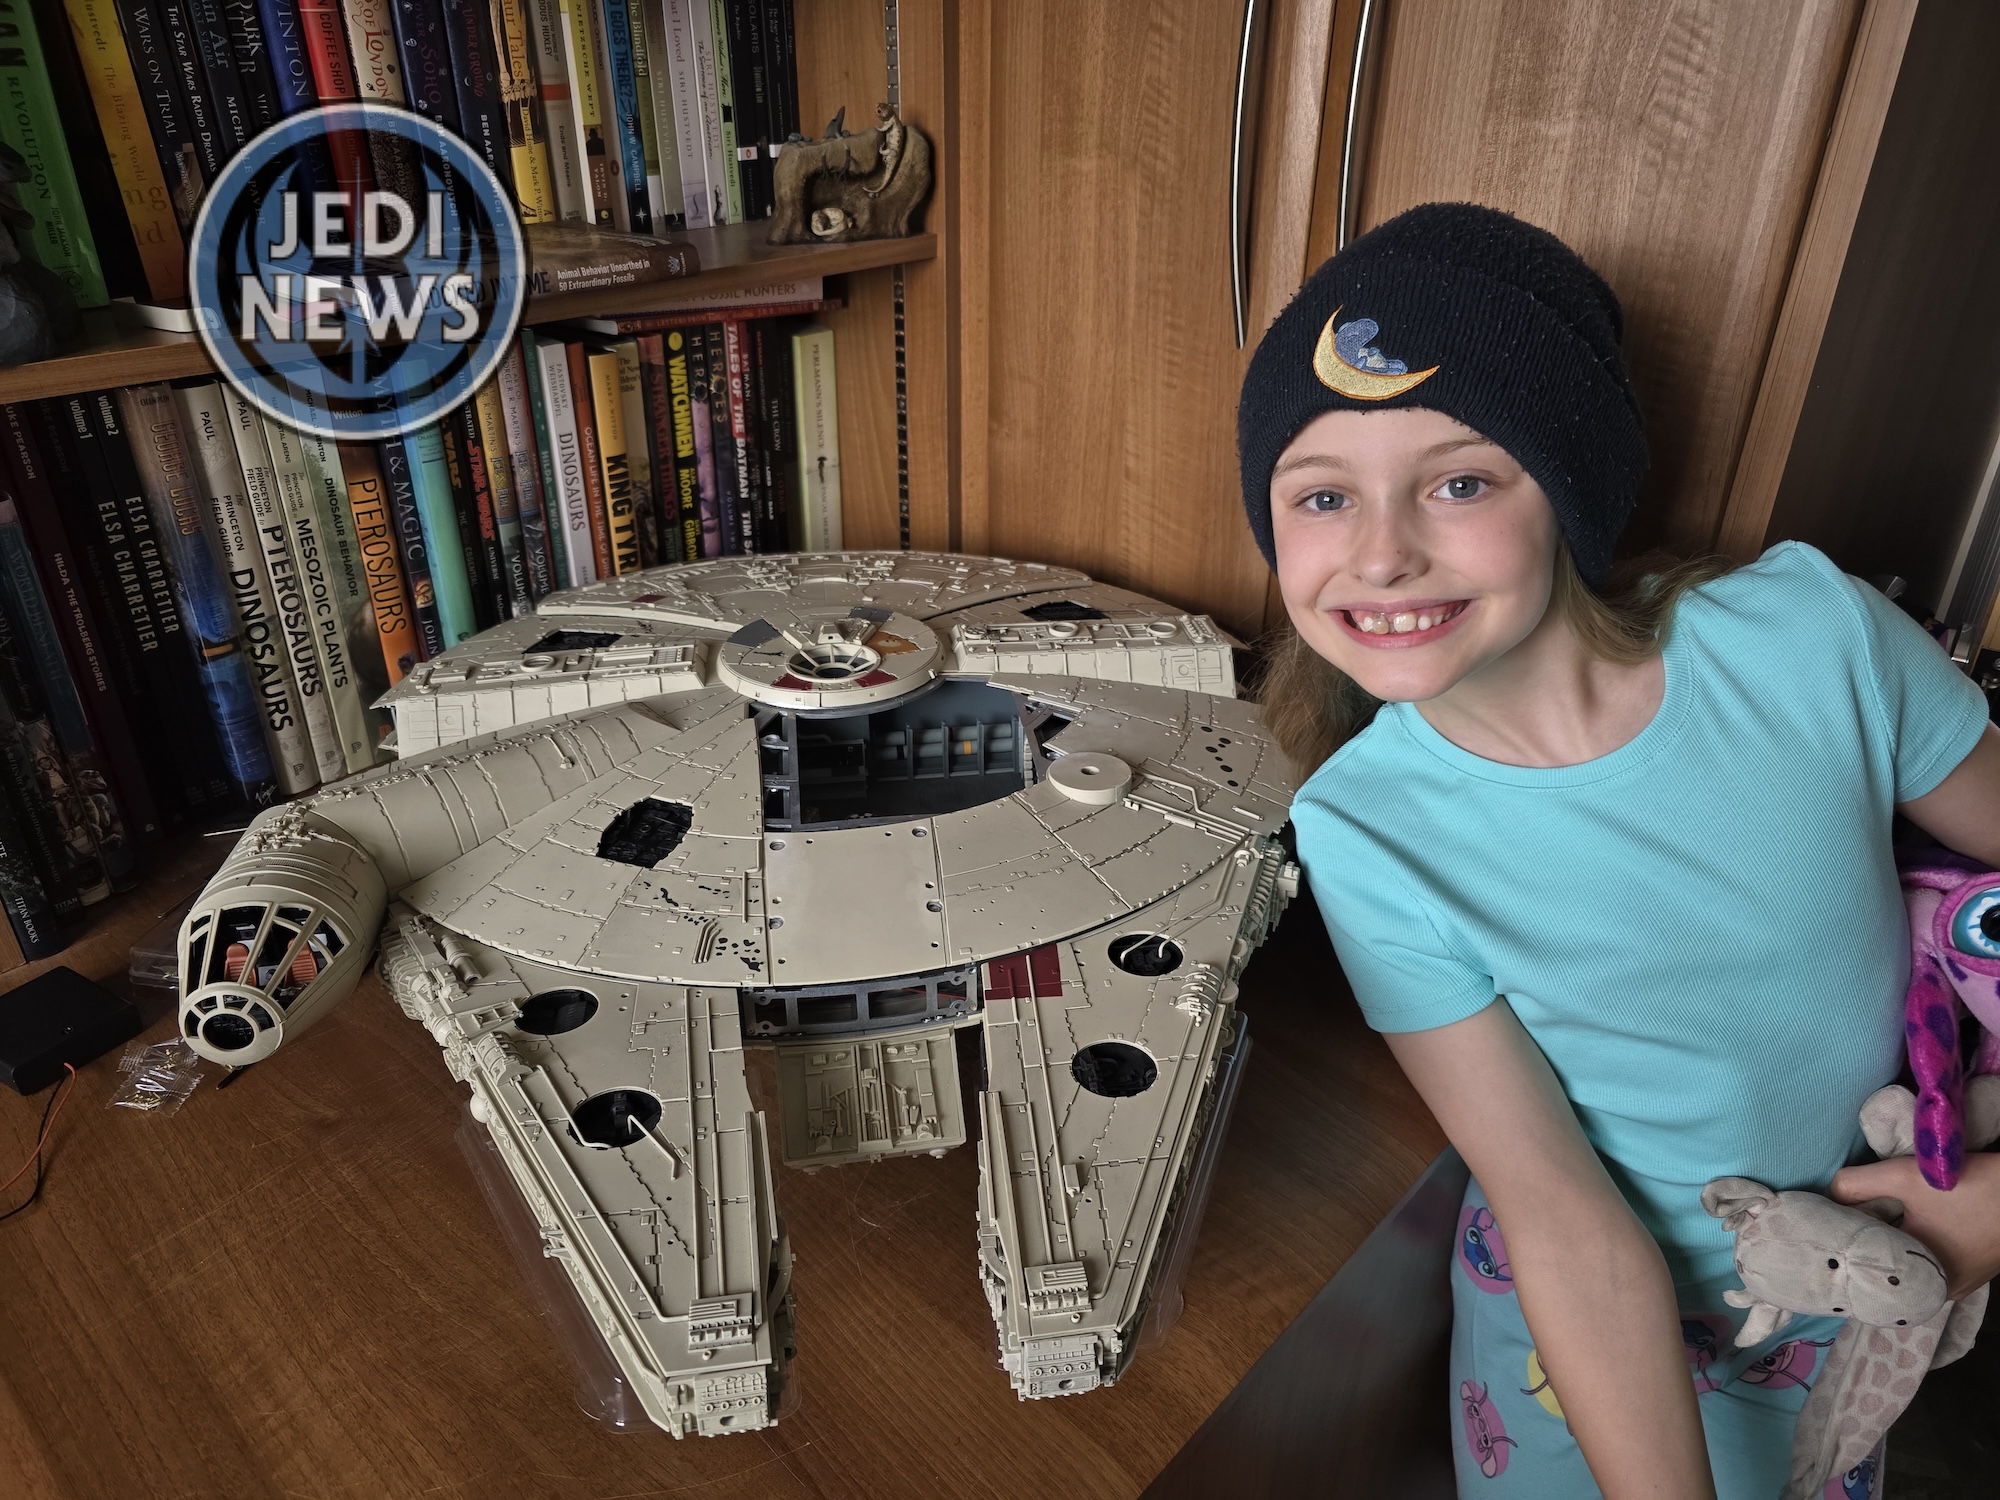
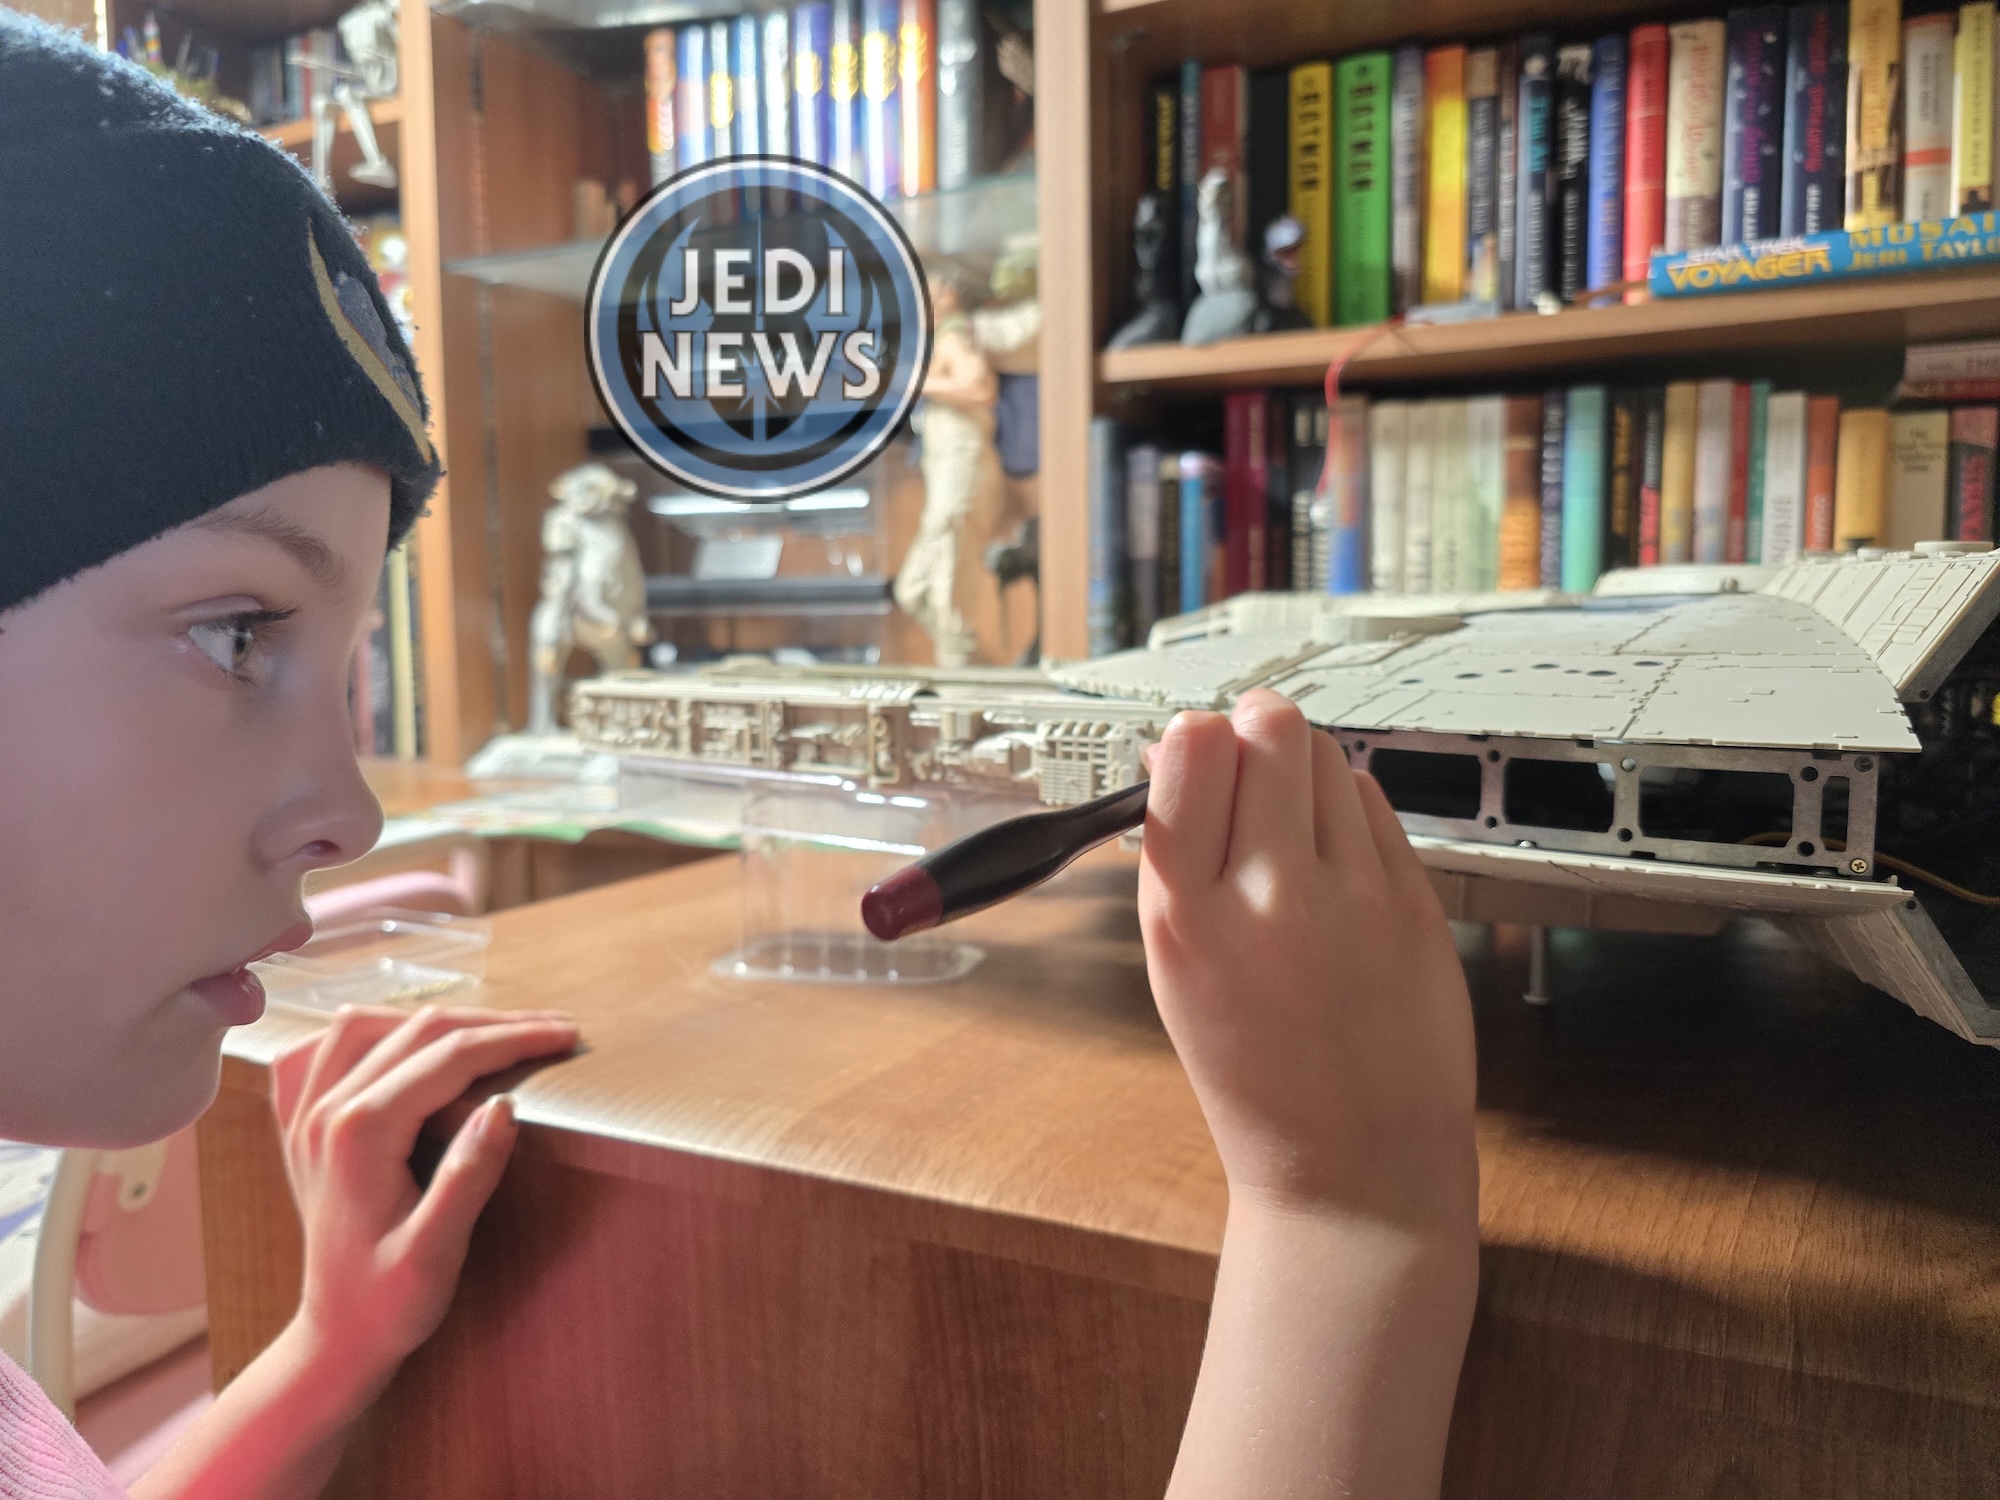
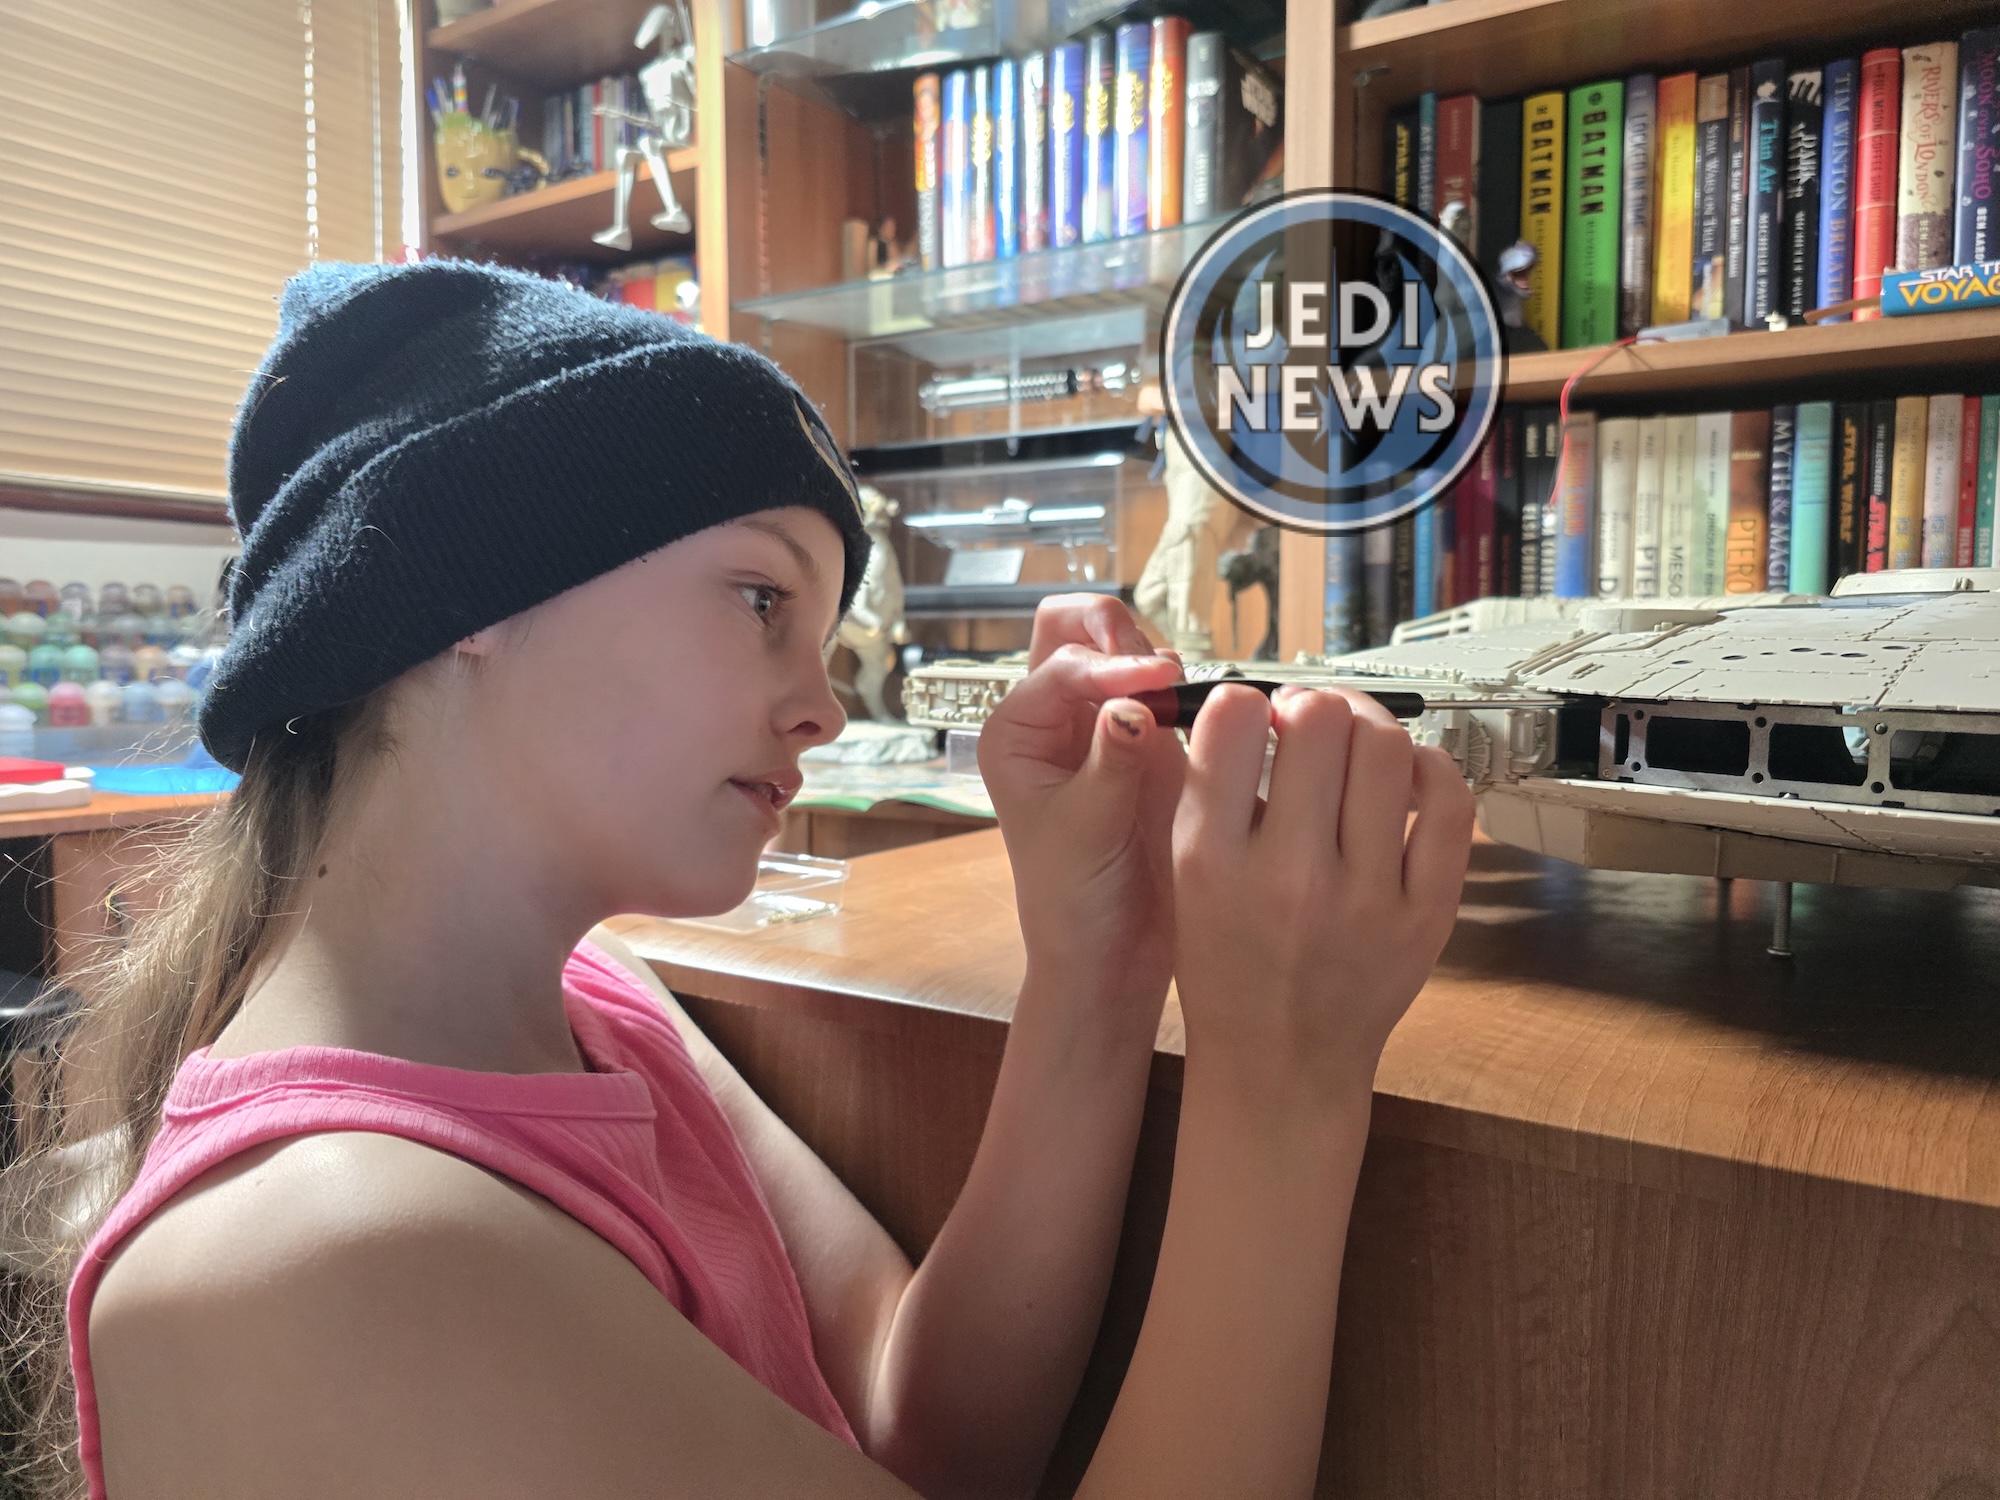
With that problem sorted it was time to move onto the next part, screwing in all the side plates to the top hull. This was not as easy as either Ember or I first thought. The plates need a lot of lining up. Ember – who is usually very good at this – struggled with this, to the point where she was holding the plates together for me so I could try to screw them together. Once I started doing it myself, I realised just why she was having trouble. You really do have to apply some force to them. As the Falcon is no longer on the jig and quite maneuverable, you also must hold onto the Falcon so it wouldn’t go flying (no pun intended). Once we got a grasp of the situation, we worked quickly together and the hull was finally connected, stable and we could even remove the mandible jigs. Oh, it was a sight to behold!
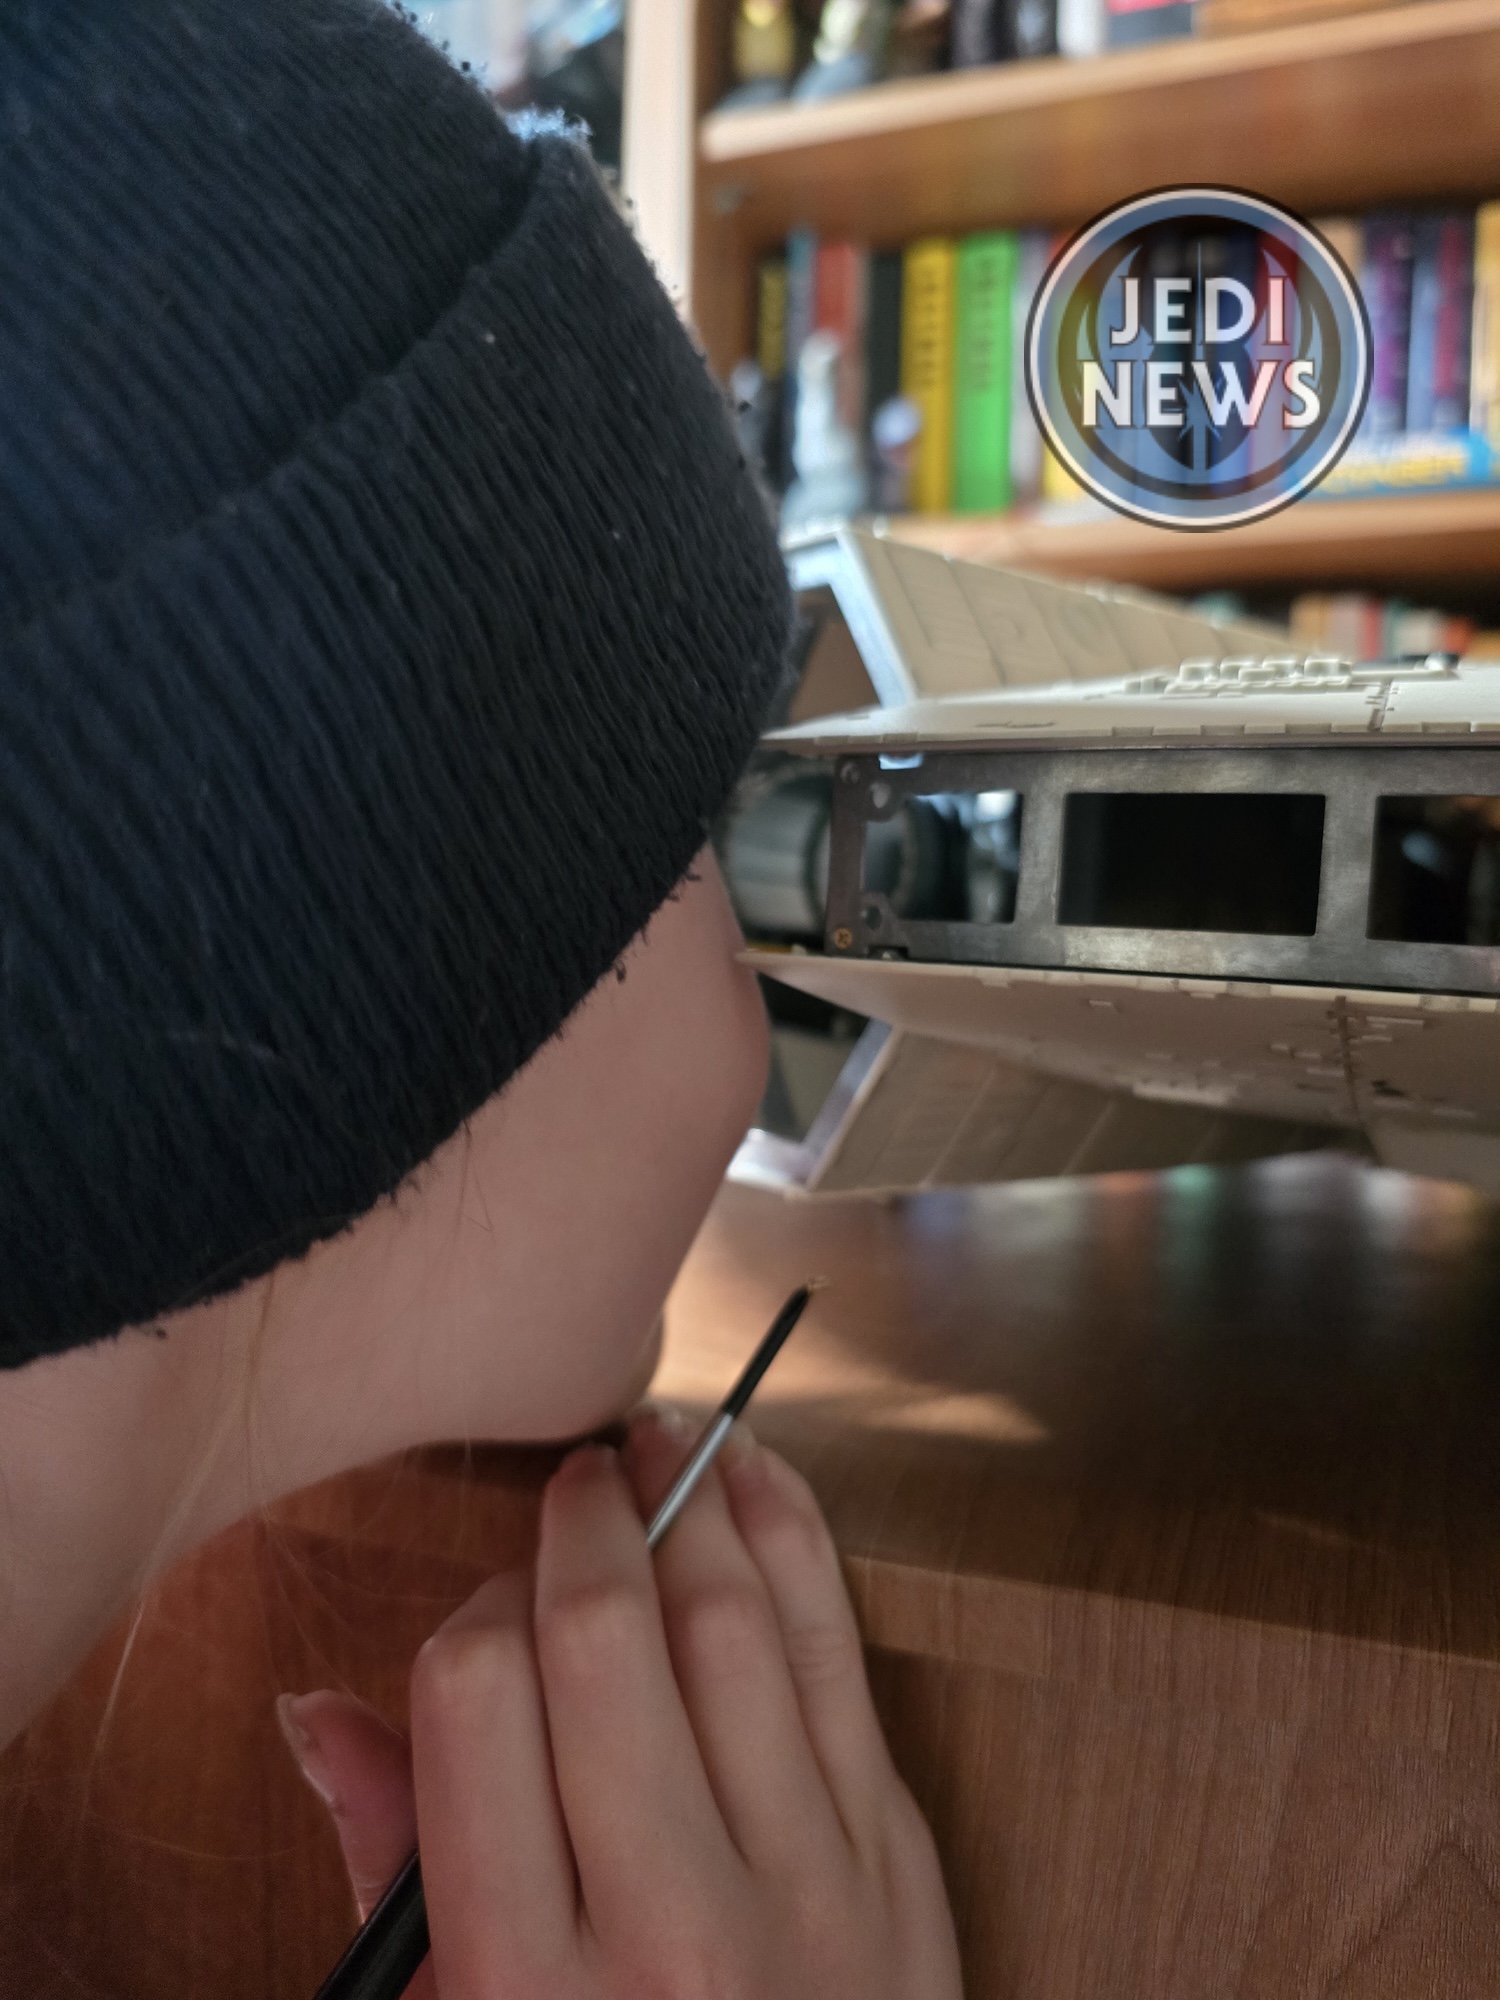
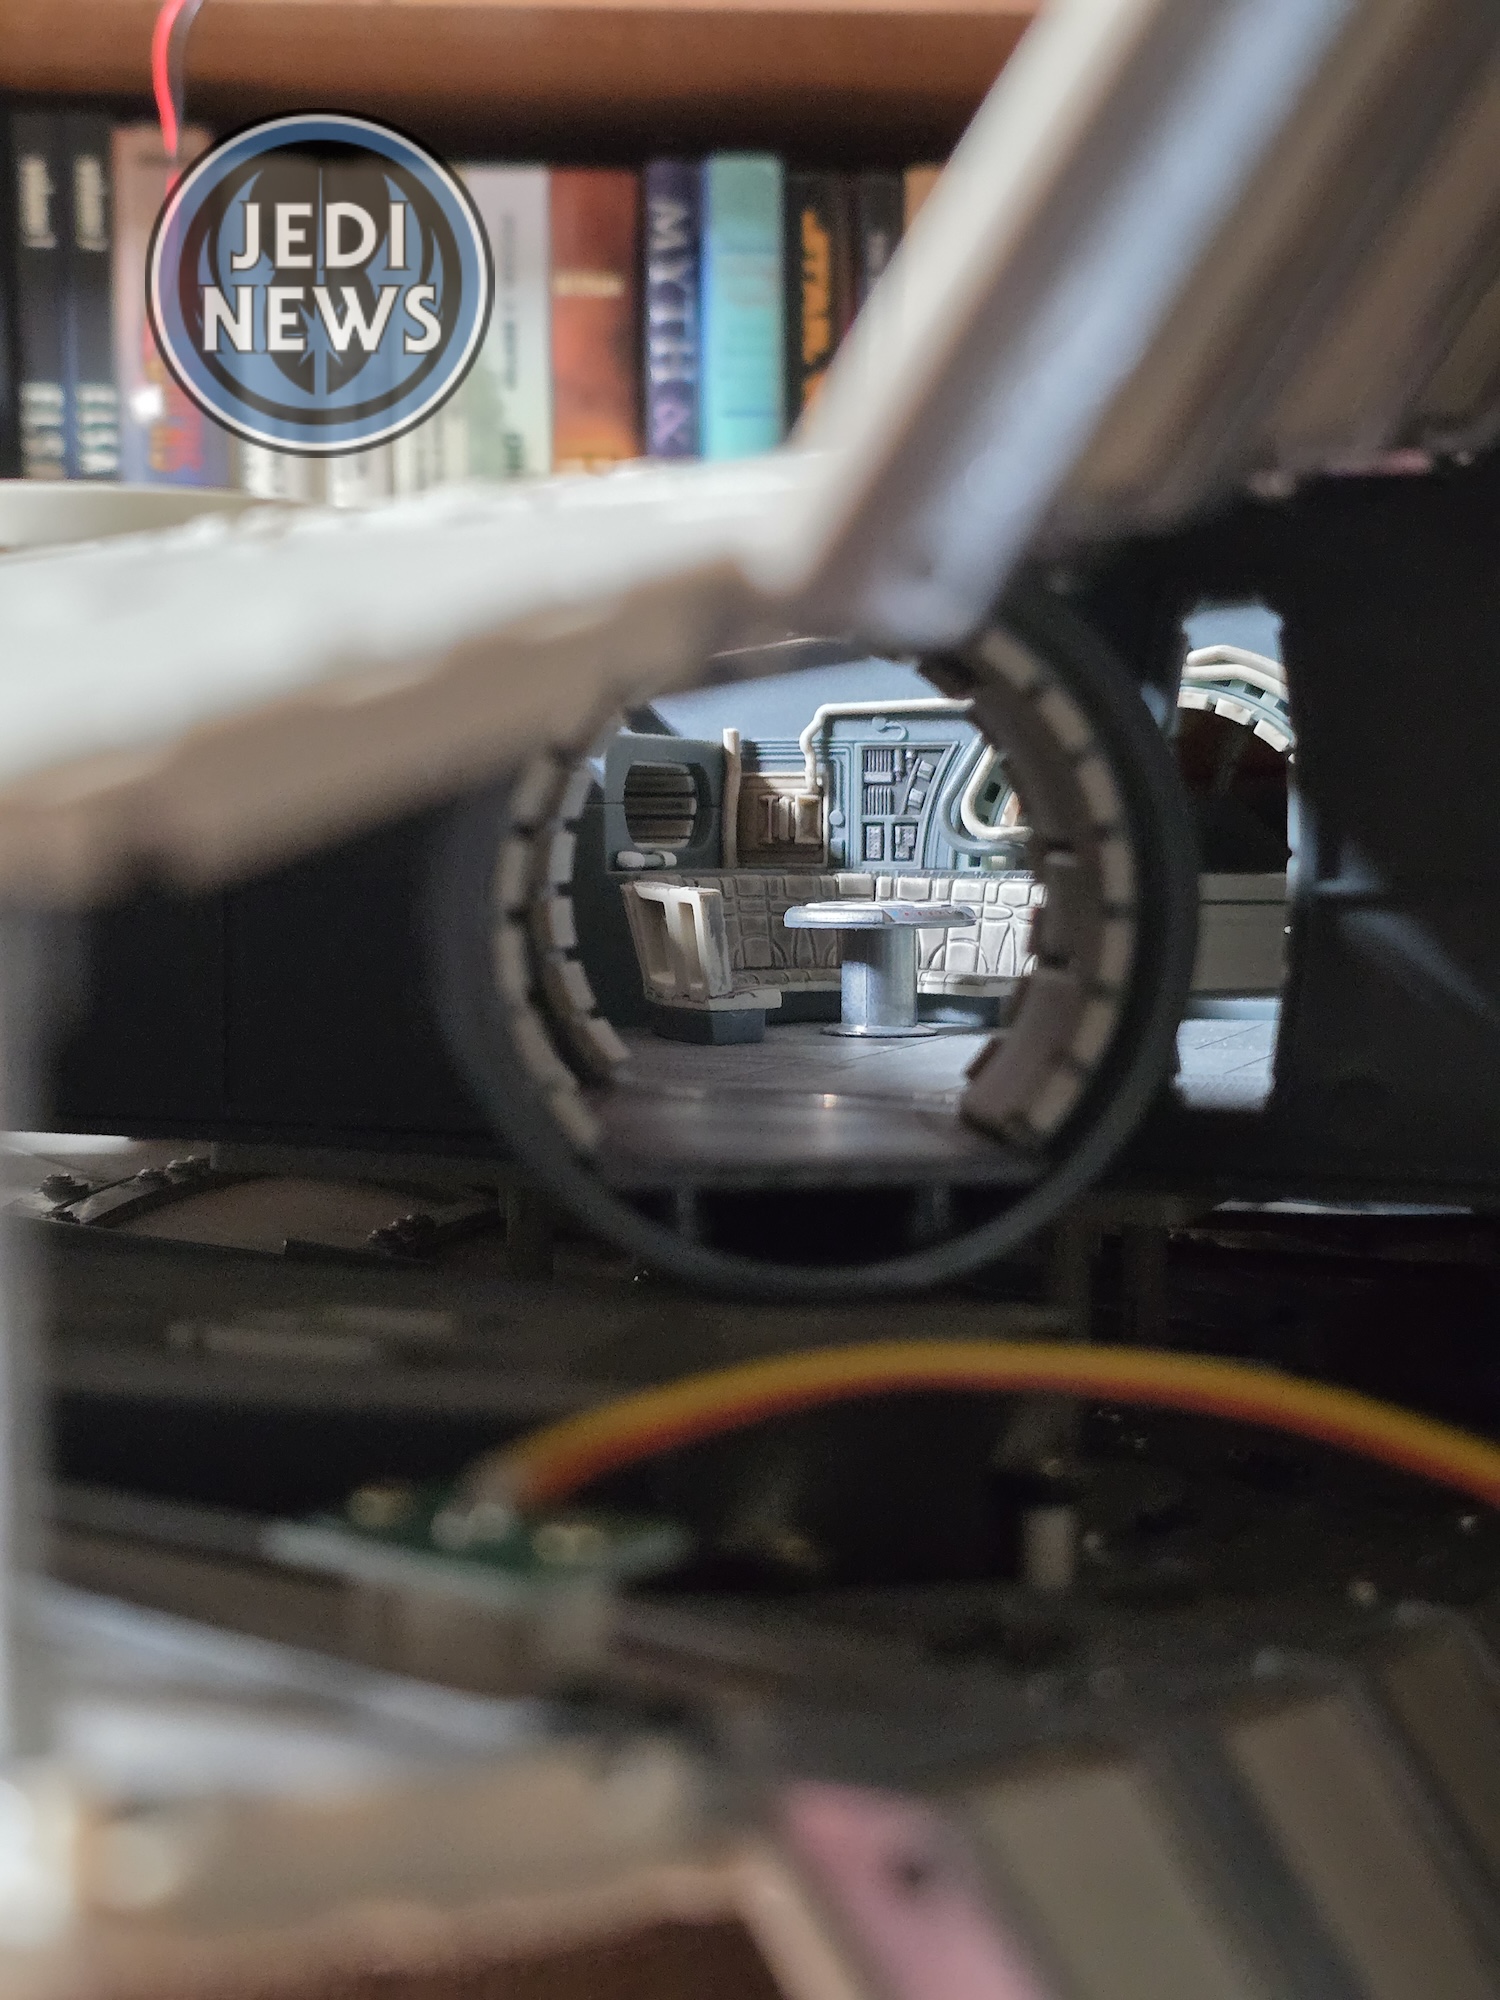
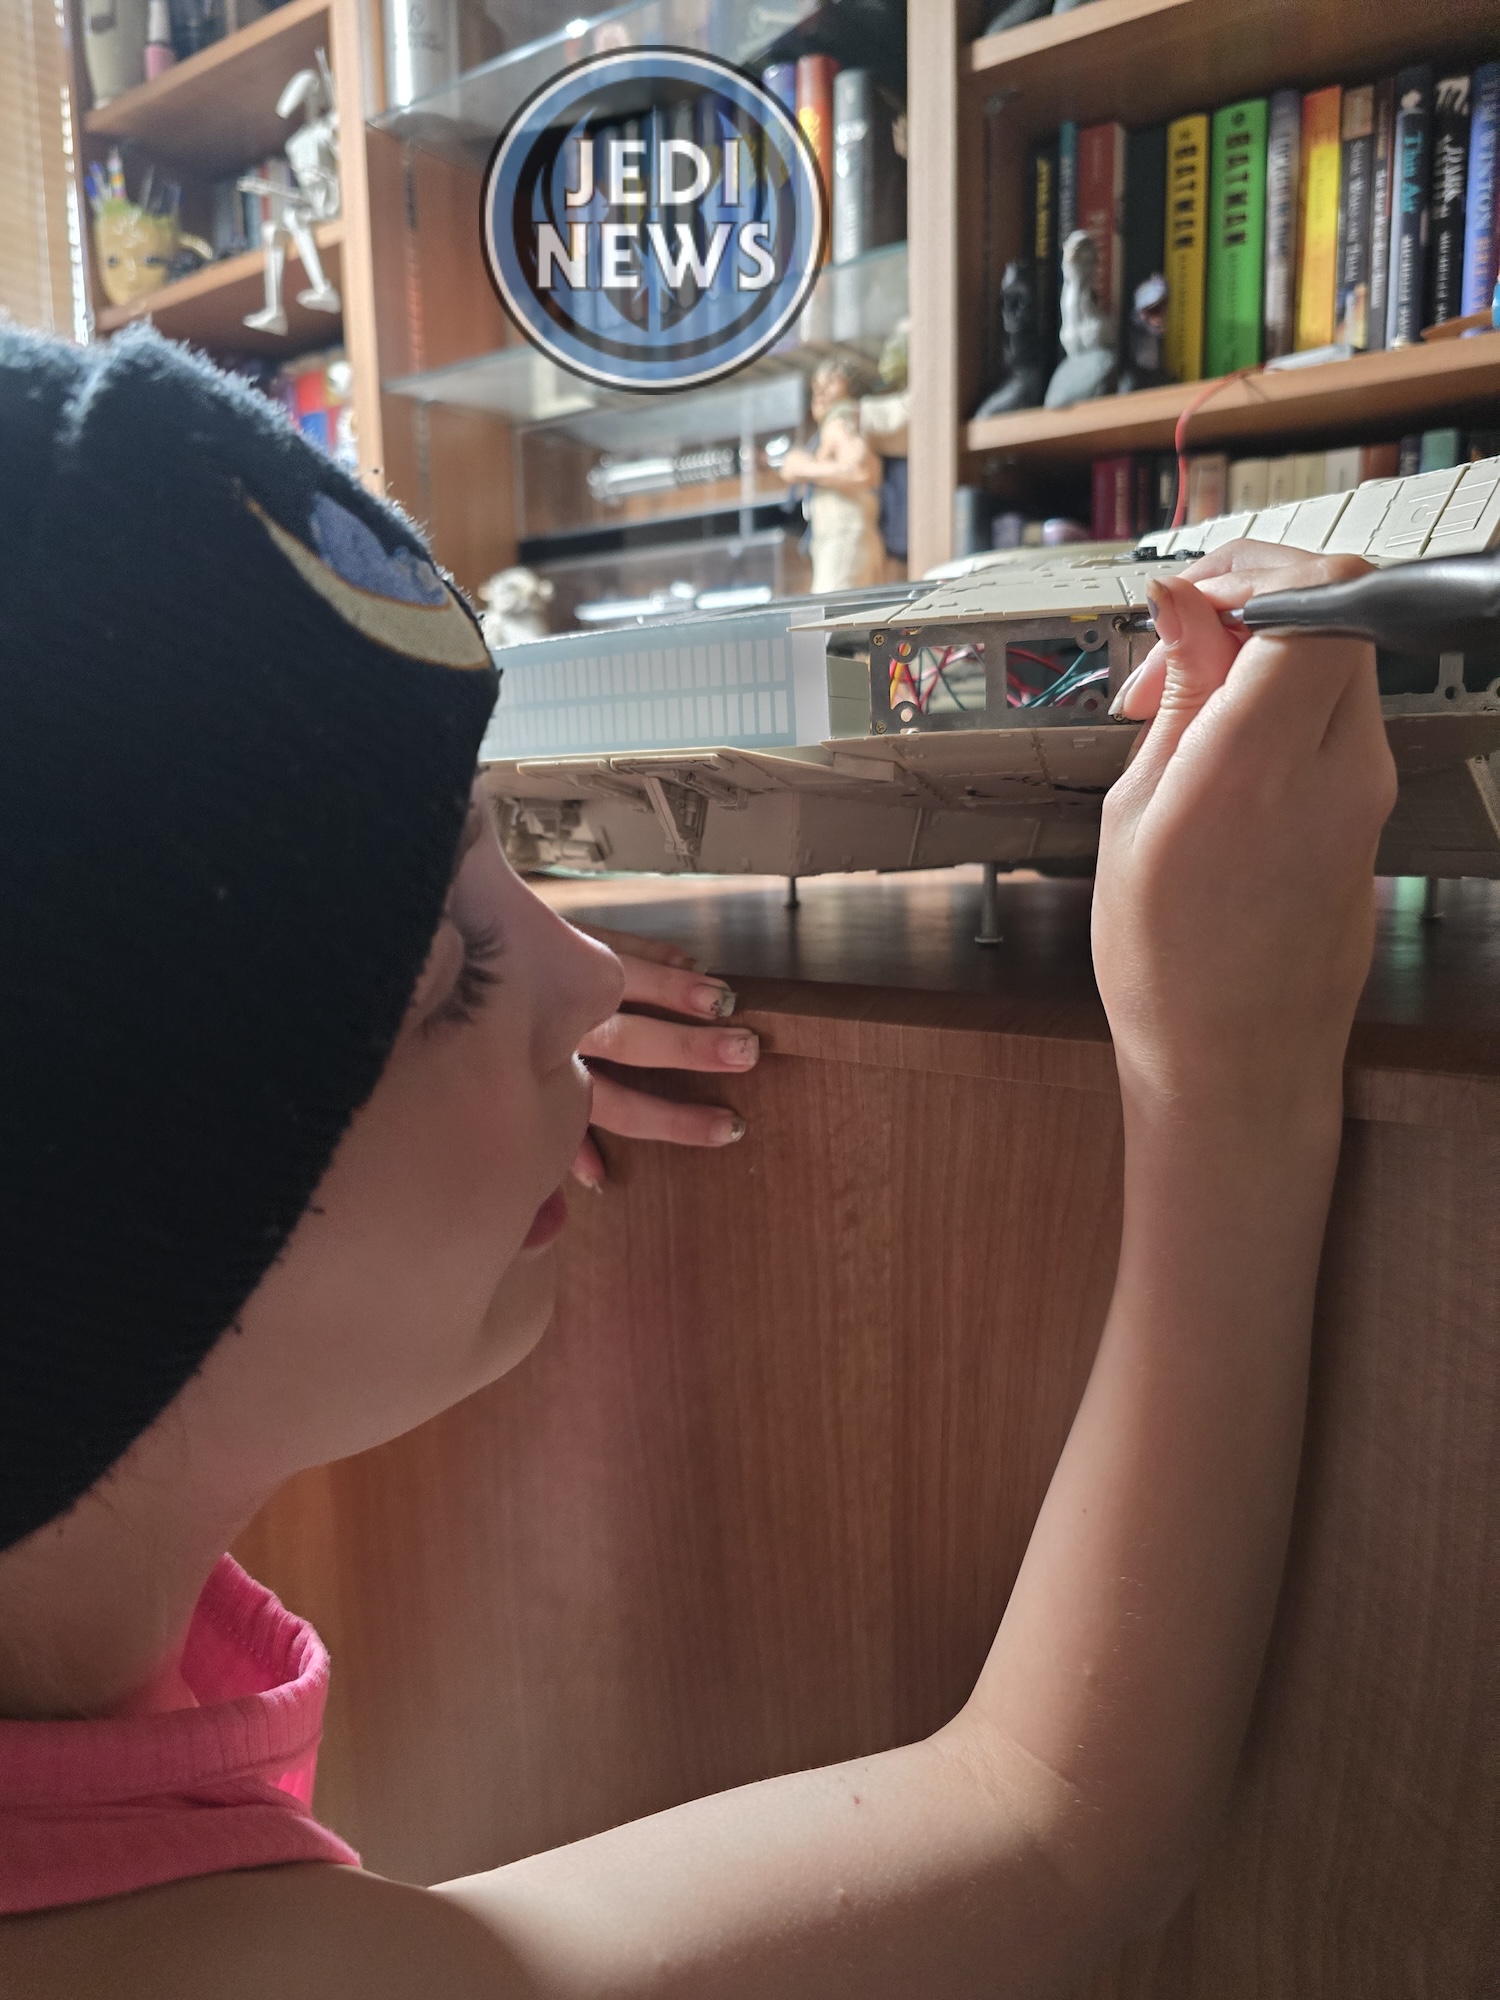
After that it was the wiring and both of us had a lot of frustration with this part, which ended up taking us far longer than it had any right to be. Thank goodness we’d had that break because I could feel that I would have got unduly stressed with it if I hadn’t. Even Ember was getting frustrated at this point! So why did it cause us such annoyance? The first part is to weave the main switch through the side panels. Frustrating for me? Sure, but thankfully I had the best weapon in my arsenal: a nine-year-old with small enough fingers to make easy work of it! We were both feeling pretty pleased with ourselves, I because I hadn’t had to deal with that and Ember because she understood that she had been essential to making that part easy. Happy daughter, happy daddy. Connect two more plugs into the control board – not a problem. Attach the battery pack – had solved that problem too, this was going how we liked our instalments to go!
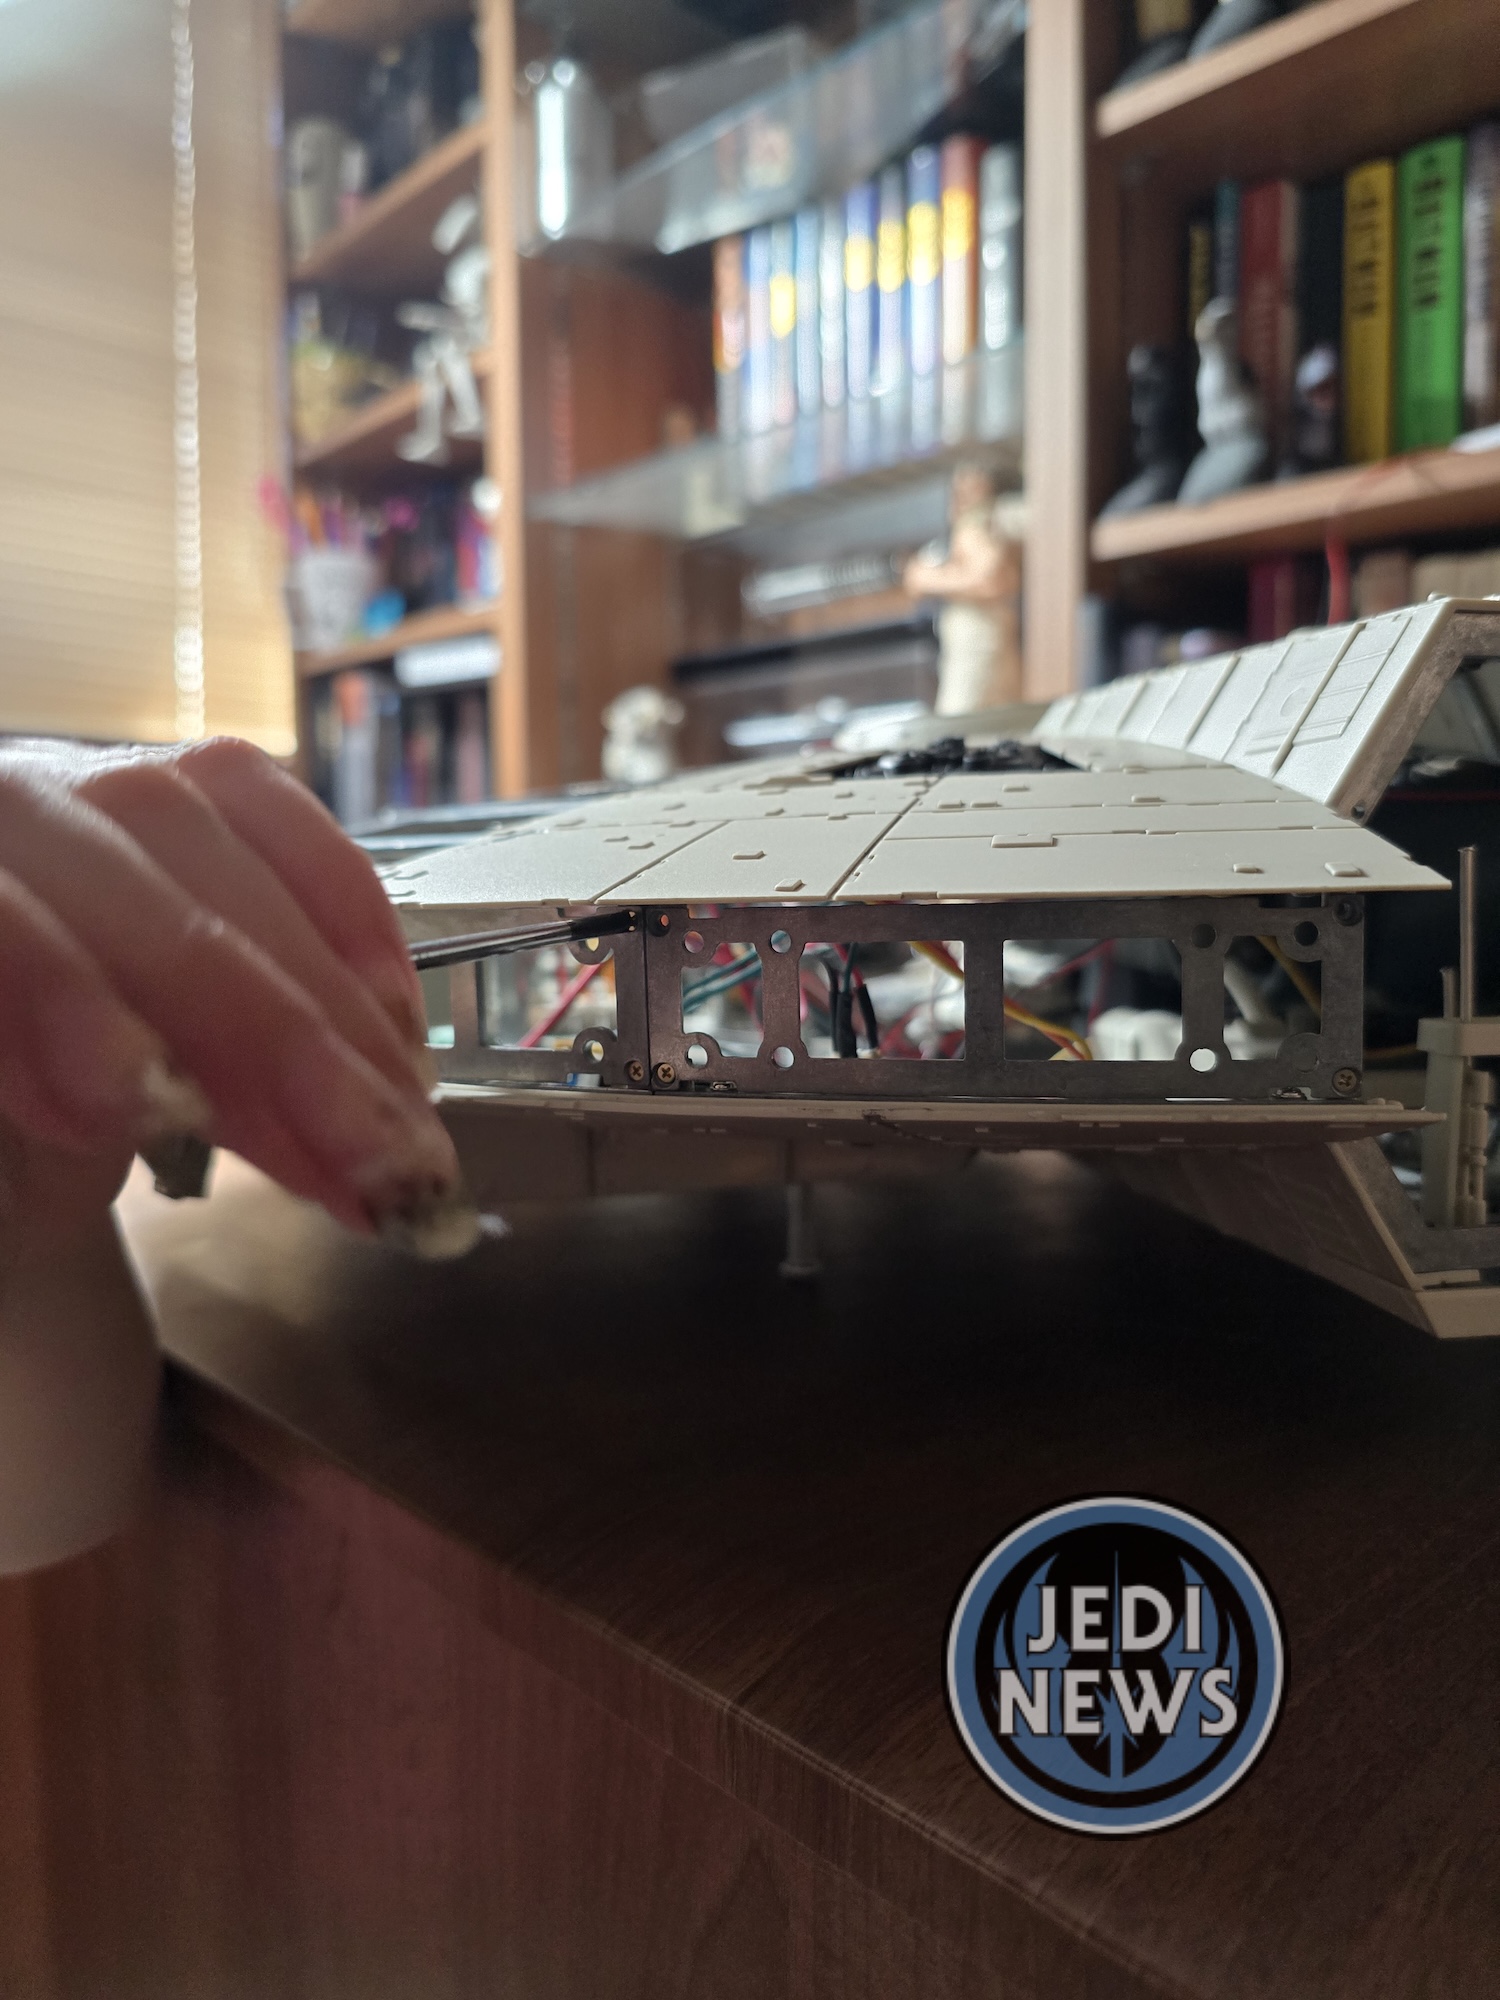
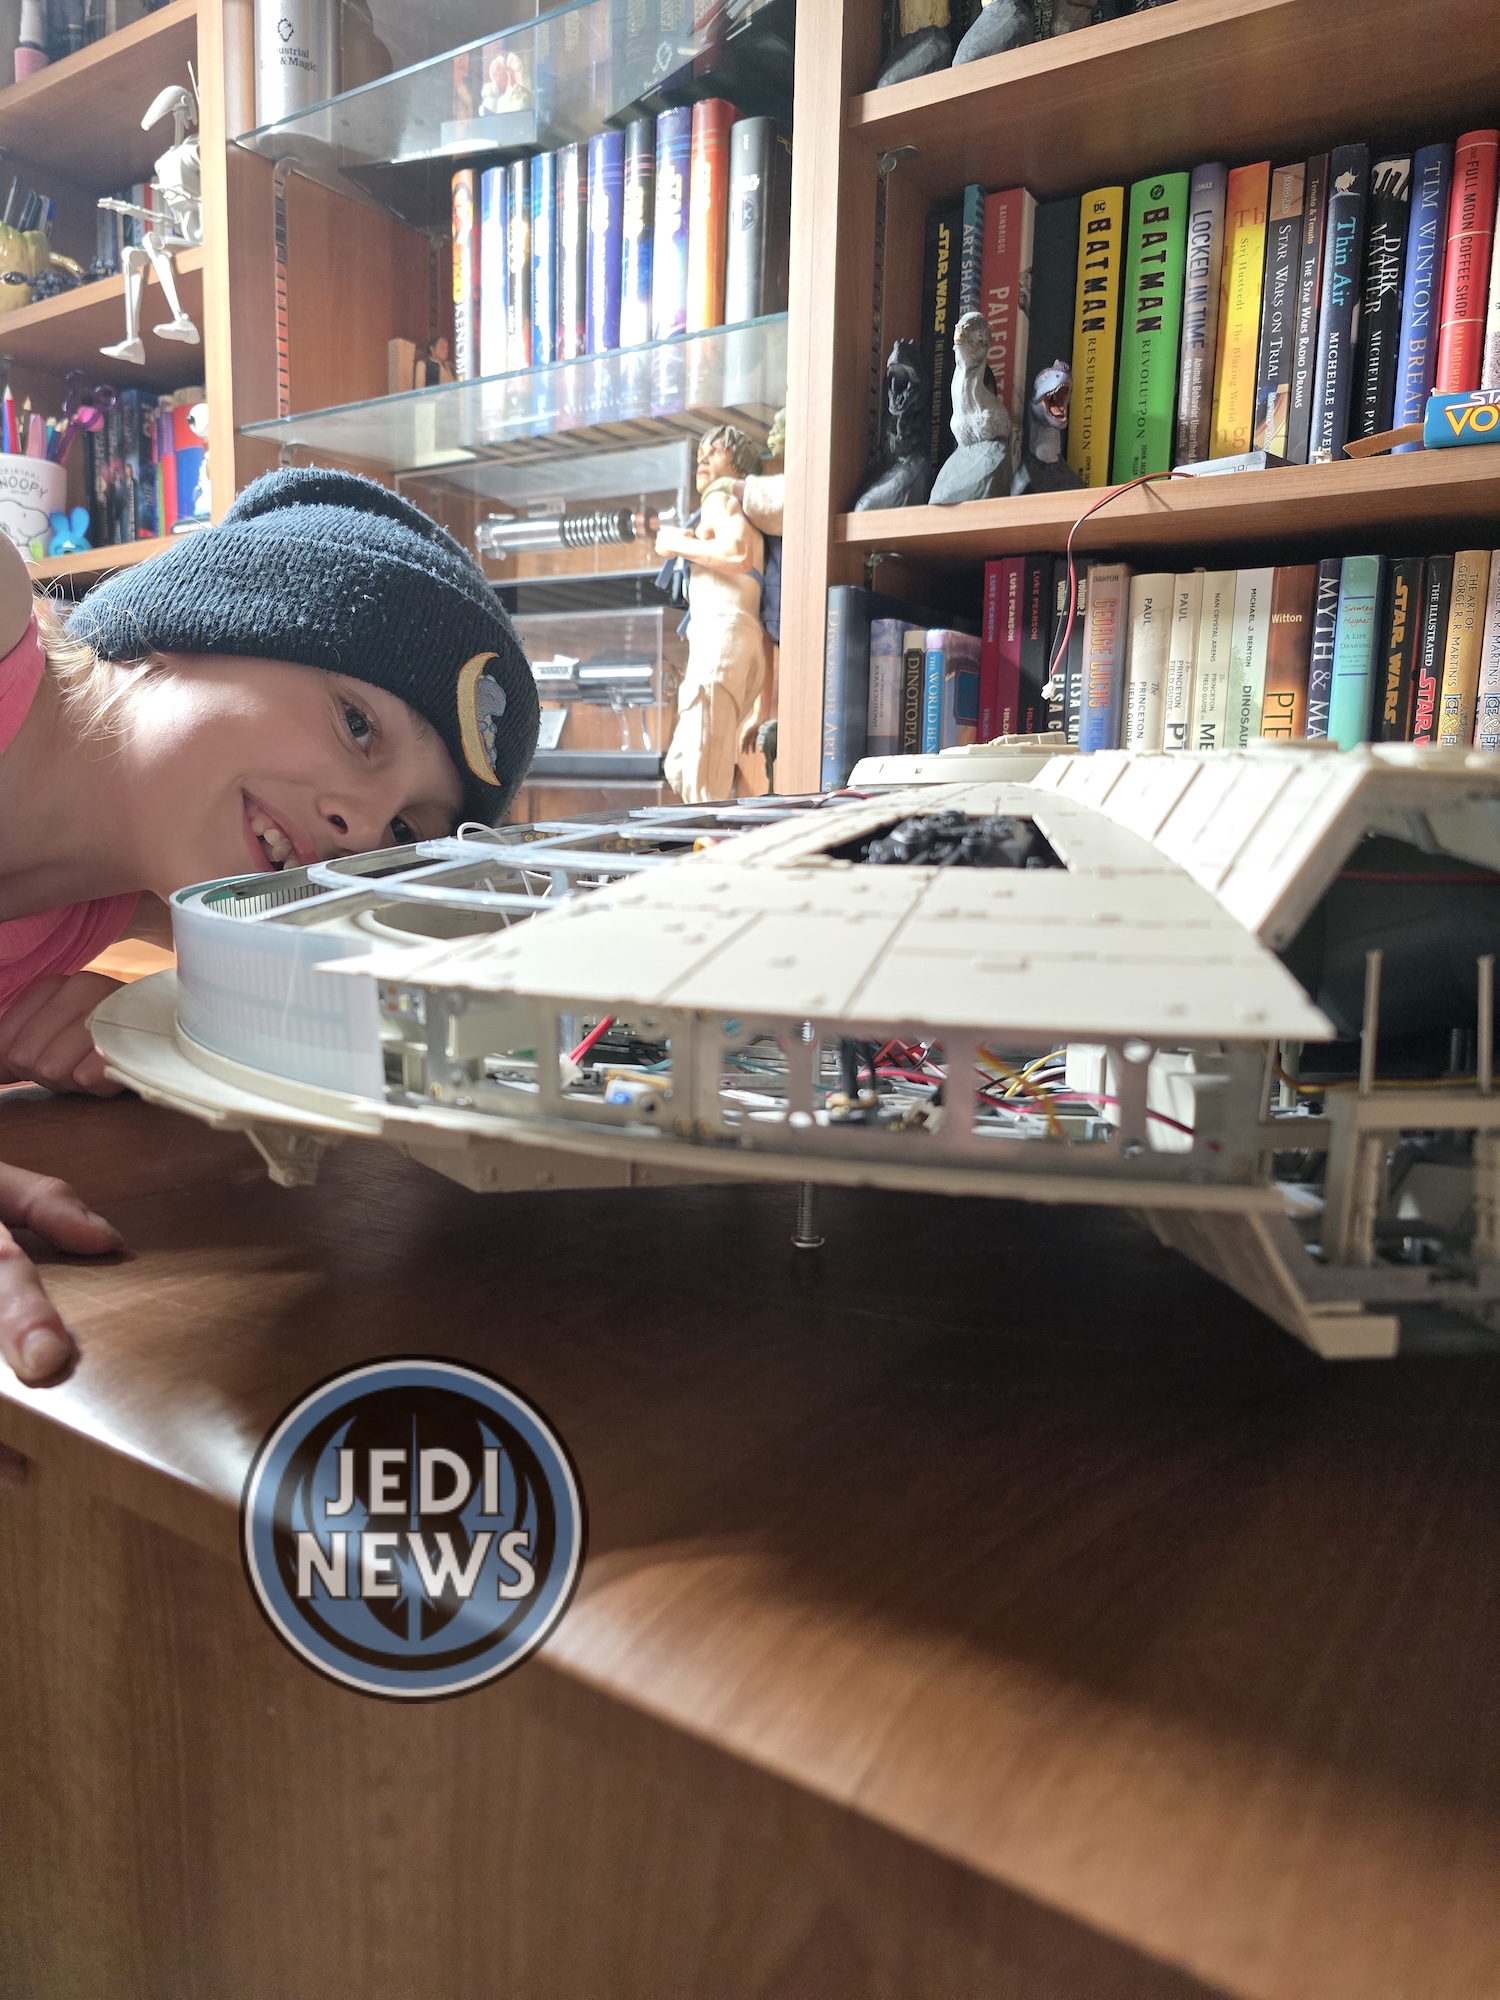
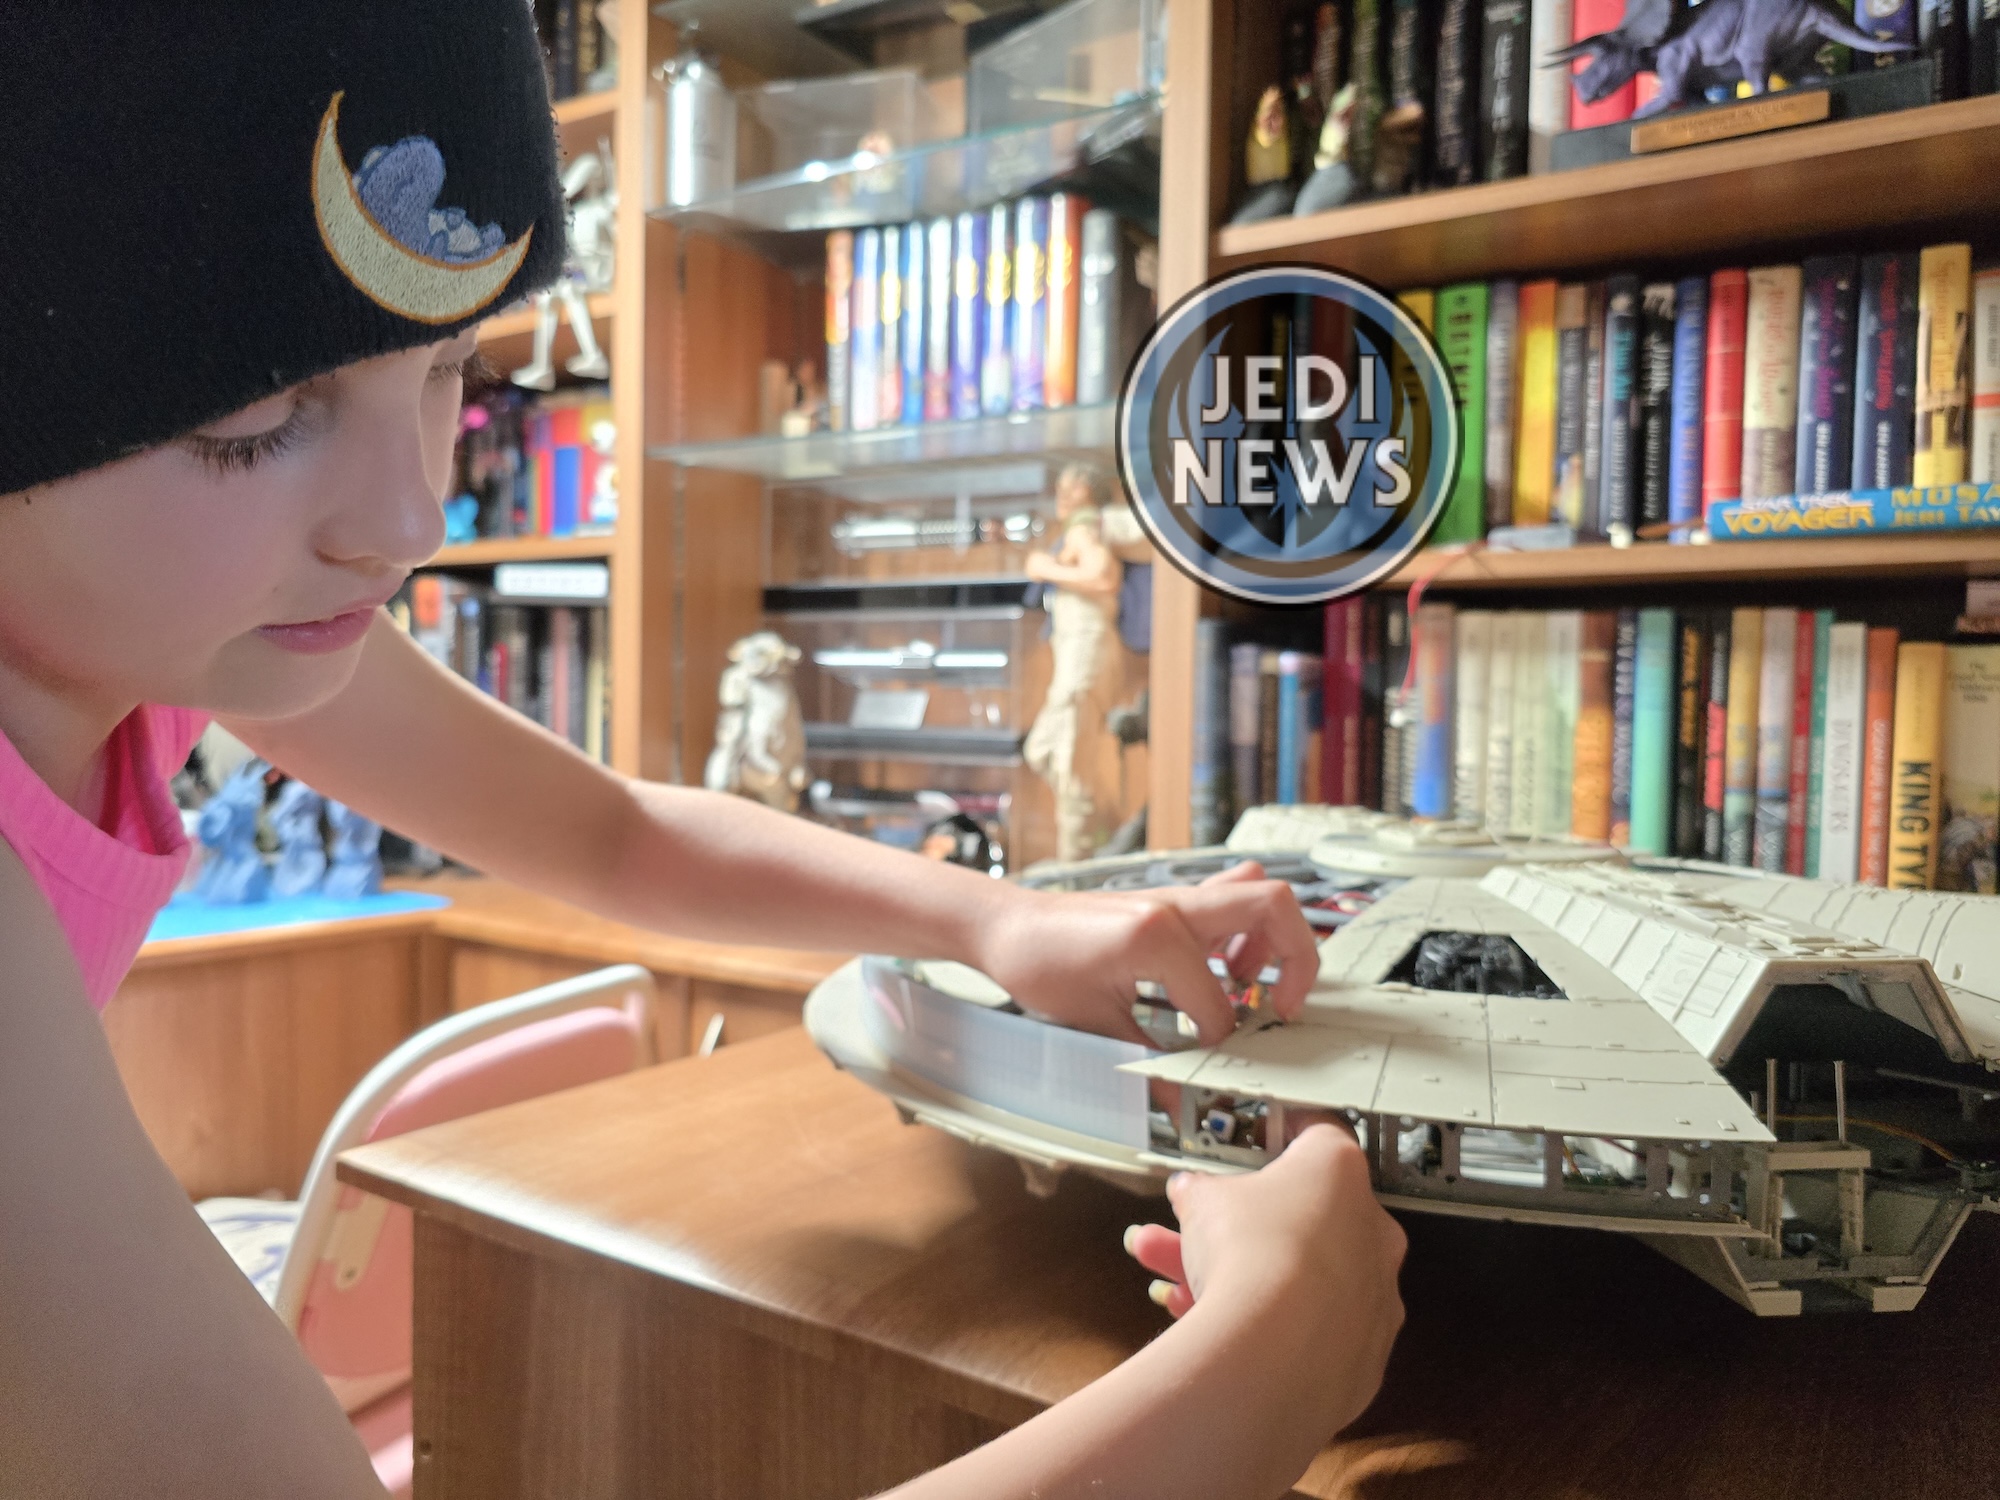
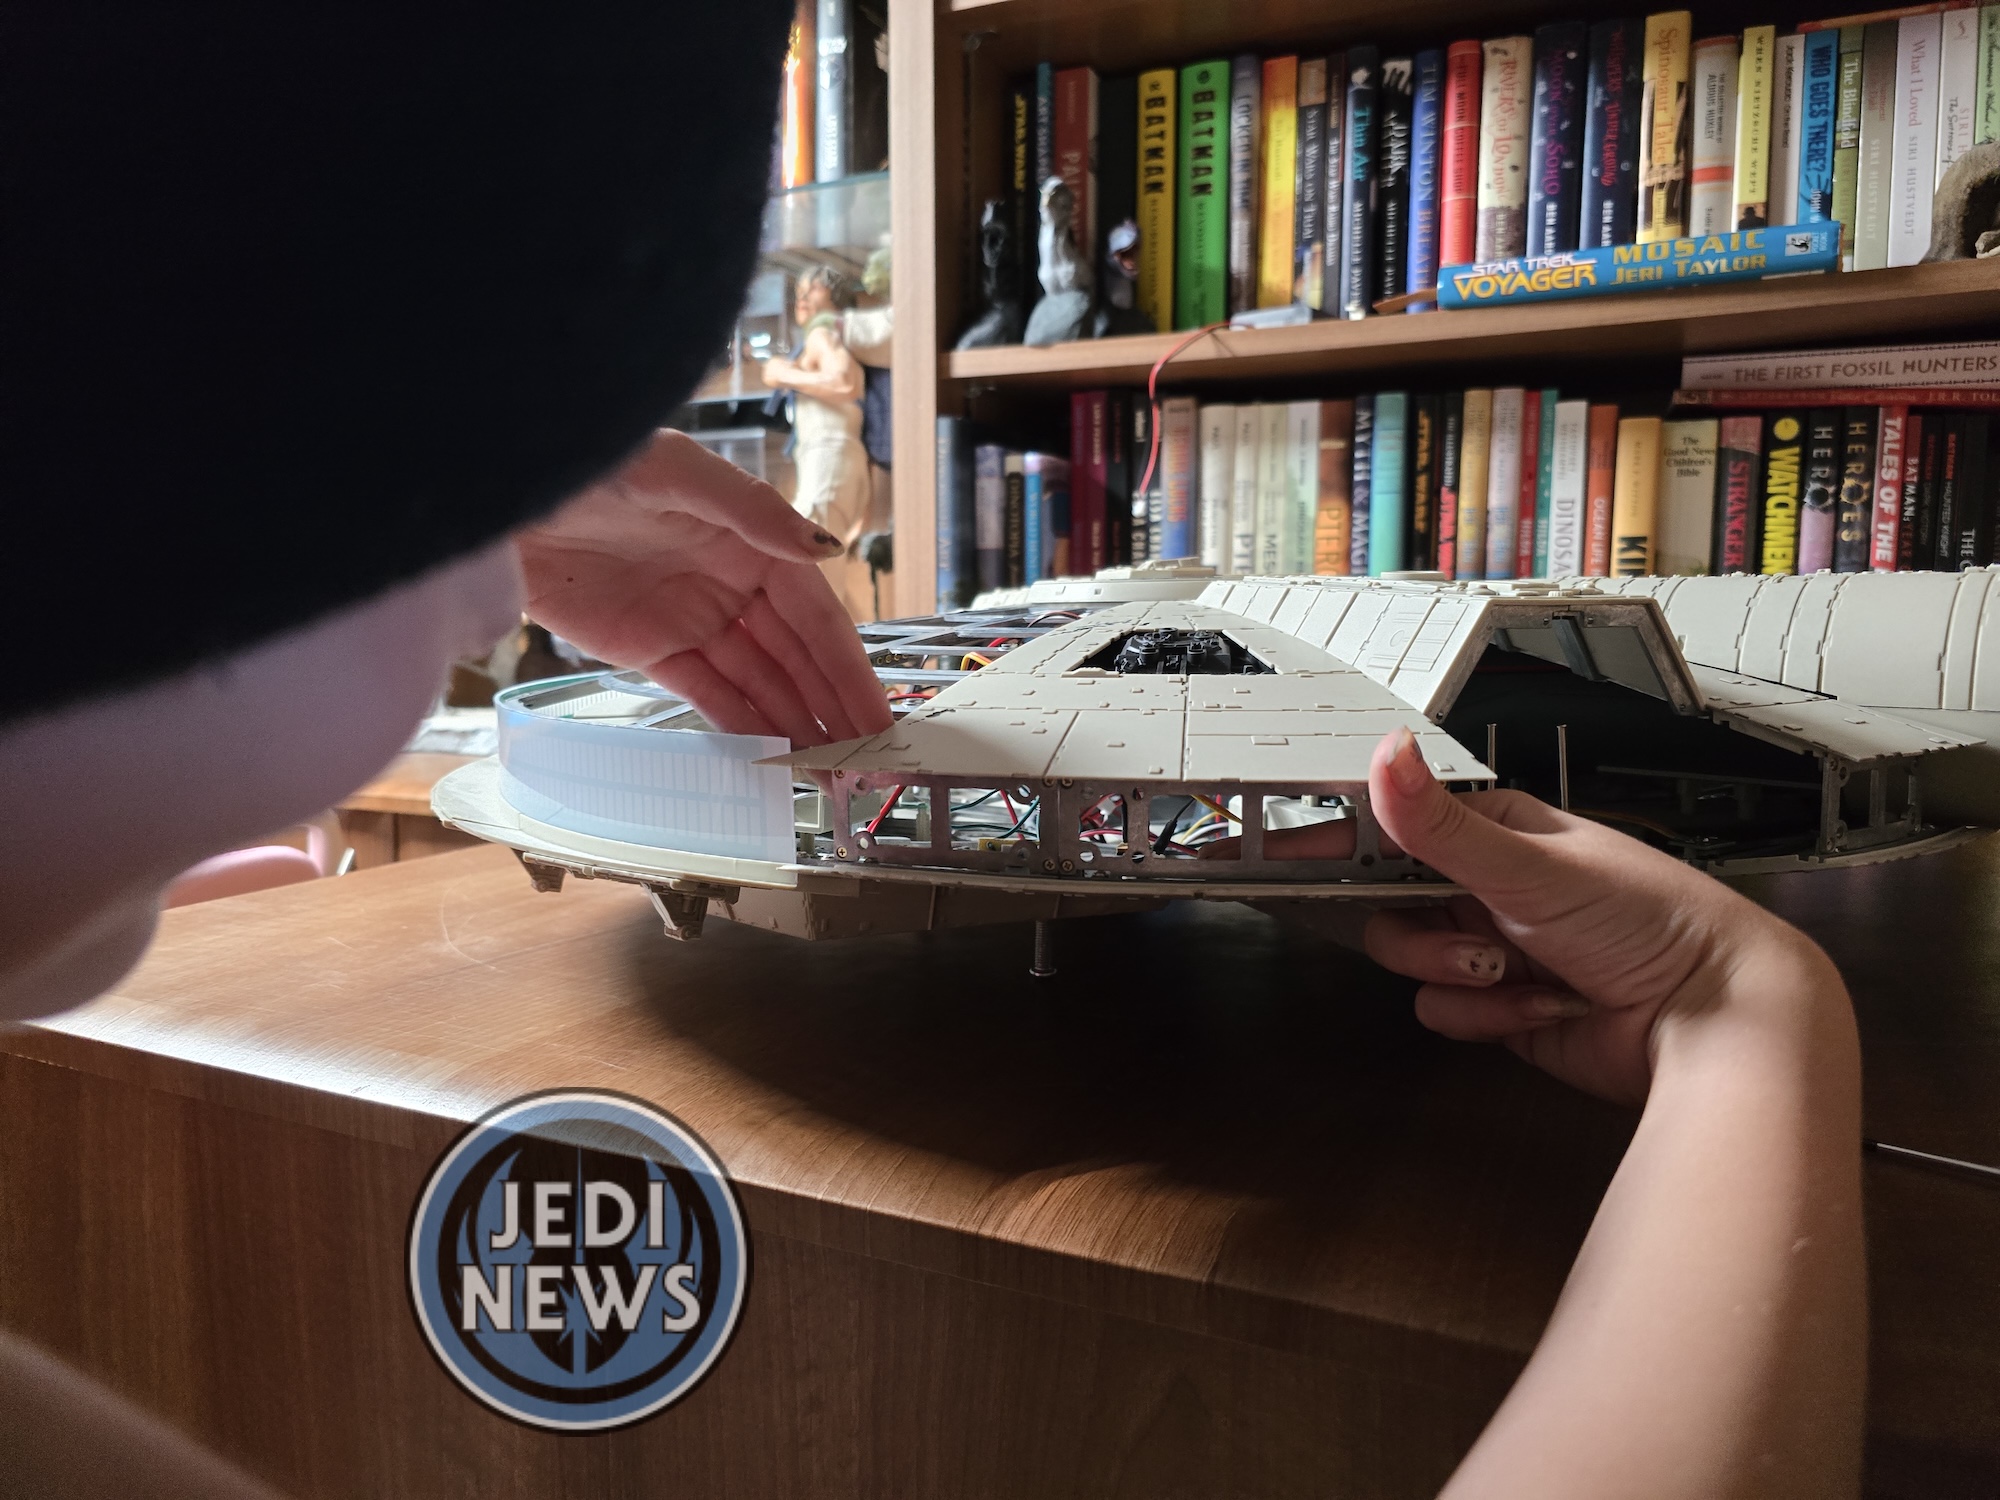
But then… Feed the extension cable around the hold and attach it to the control panel. A simple statement that would cause us so much sorrow. In the instructions, did it suggest running the extension lead before fitting the top? Nope. Would an instruction have saved us pain and suffering? Oh yes. You must connect the extension to the panel between the mandibles then run it around the interiors where you can’t actually get your hands to fit, including Embers. We spent ages, using tweezers, screwdrivers, to try and get this extension cable round. It was horrendous and could have so easily been avoided. If you are doing this after reading this, connect the extension to the control board and connect it to the battery housing after feeding the wires through the side panel between the mandibles. It won’t be able to stay there but you’ll be in the perfect place to put it where it needs to go. It was so bad, that even Ember suggested we might have to take the entire top back off. We managed to do it, but it wasn’t easy.
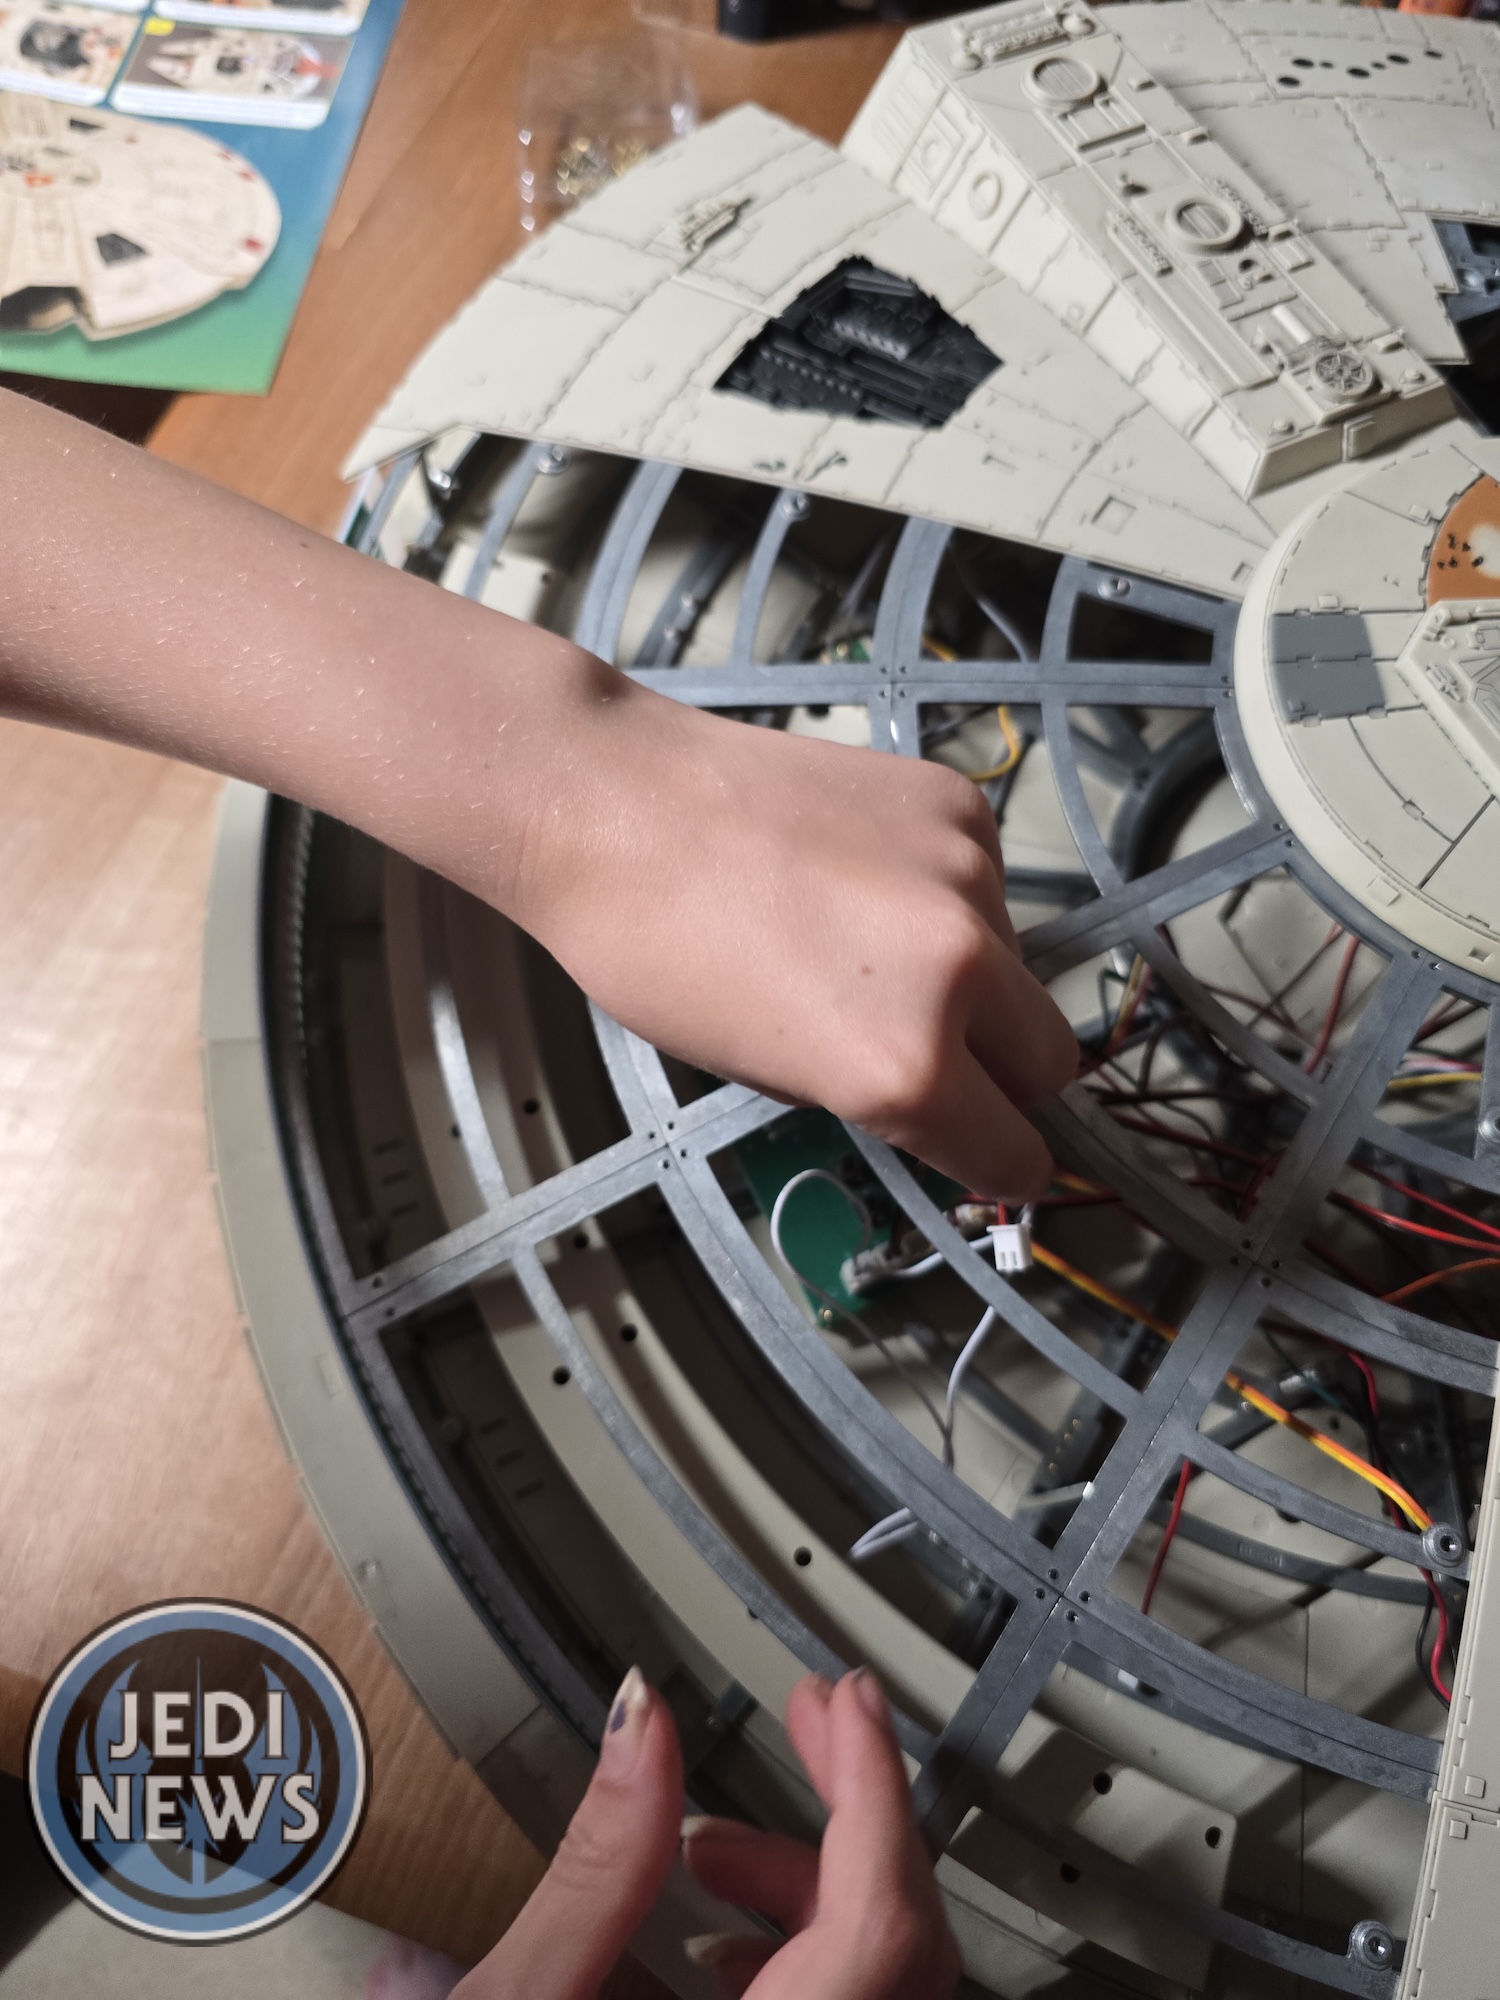
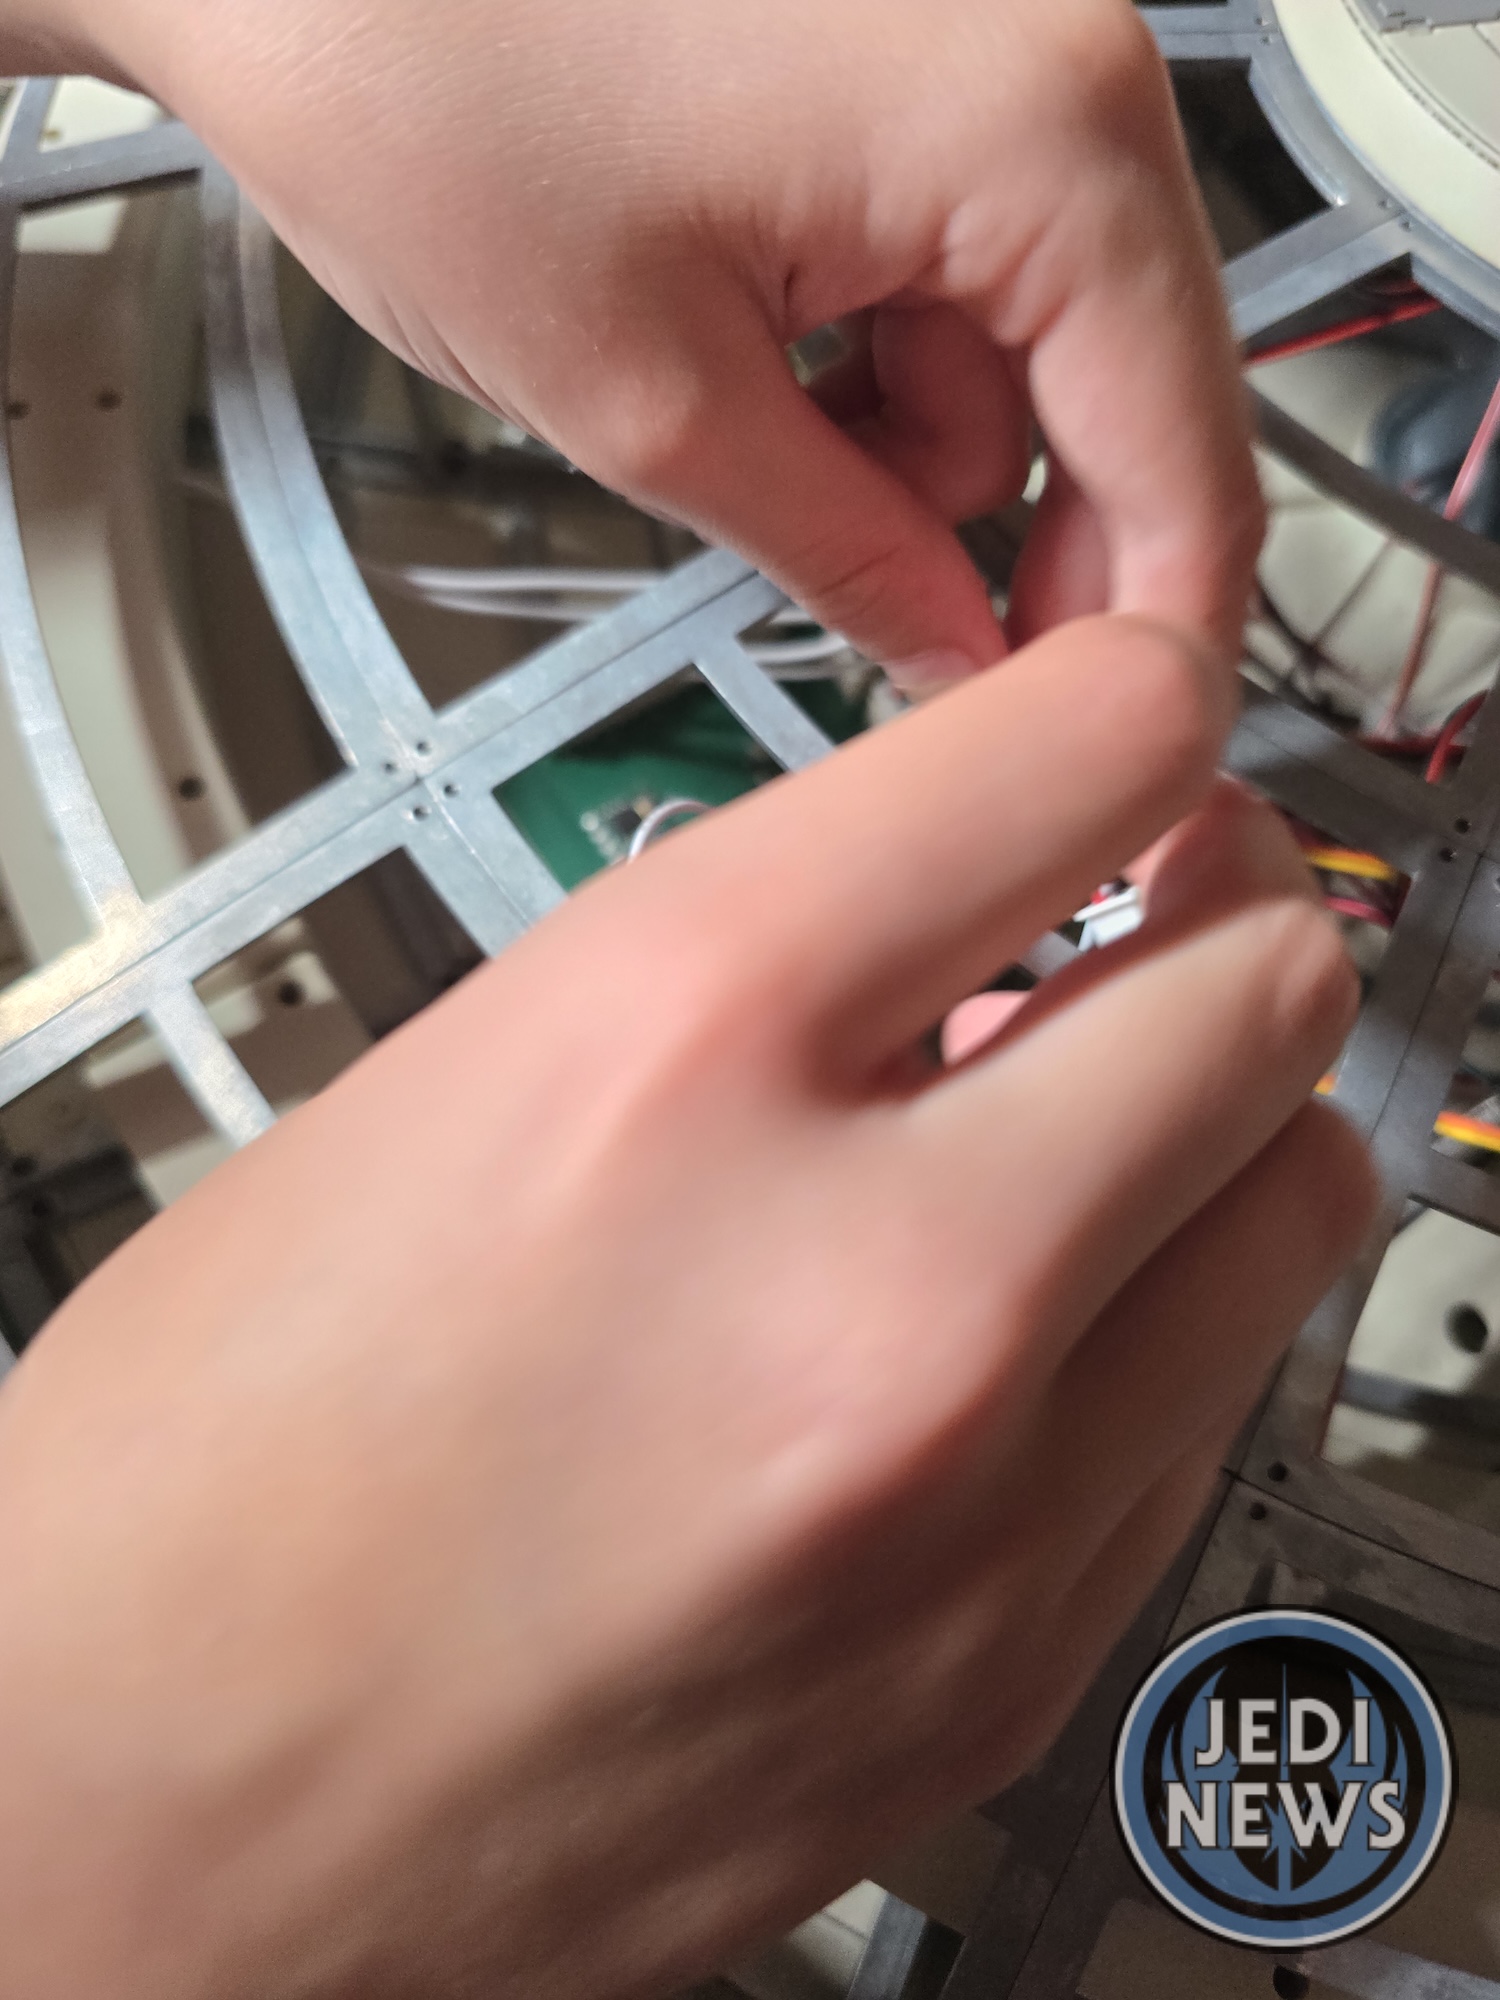
Then it came to testing it all worked. Thank goodness! So, the instructions say to check the main switch is working. That is the entirety of the instructions… Having never done this project before, my thought was to press the main switch and things will work. So, we pressed it…nothing happened. Ember pressed it again. Nothing. So, I then tried switch B, the fail-safe on the control board. Nothing. Ember and I were both fed up by this point. This instalment had been a slog. Yes, we had an almost complete Falcon, but what could seriously be going wrong now!? I changed the batteries, took the extension lead out and fitted the box directly to the board. Nothing. How could it have worked all perfect before and now nothing? I then tried the switch one last time and then pressed B. Lights… How? So, after much frustration, the main switch will turn the power on but nothing else, buttons A and B will then need to be operated (later) by a remote. I was a bit perplexed. One, there was an on/off on the battery compartment, did it really need a separate main power switch? And surely, if you’re pressing the main switch, you want the lights to come on! All of this I had to google and was very unclear in the instructions. It had led to a lot of annoyance.
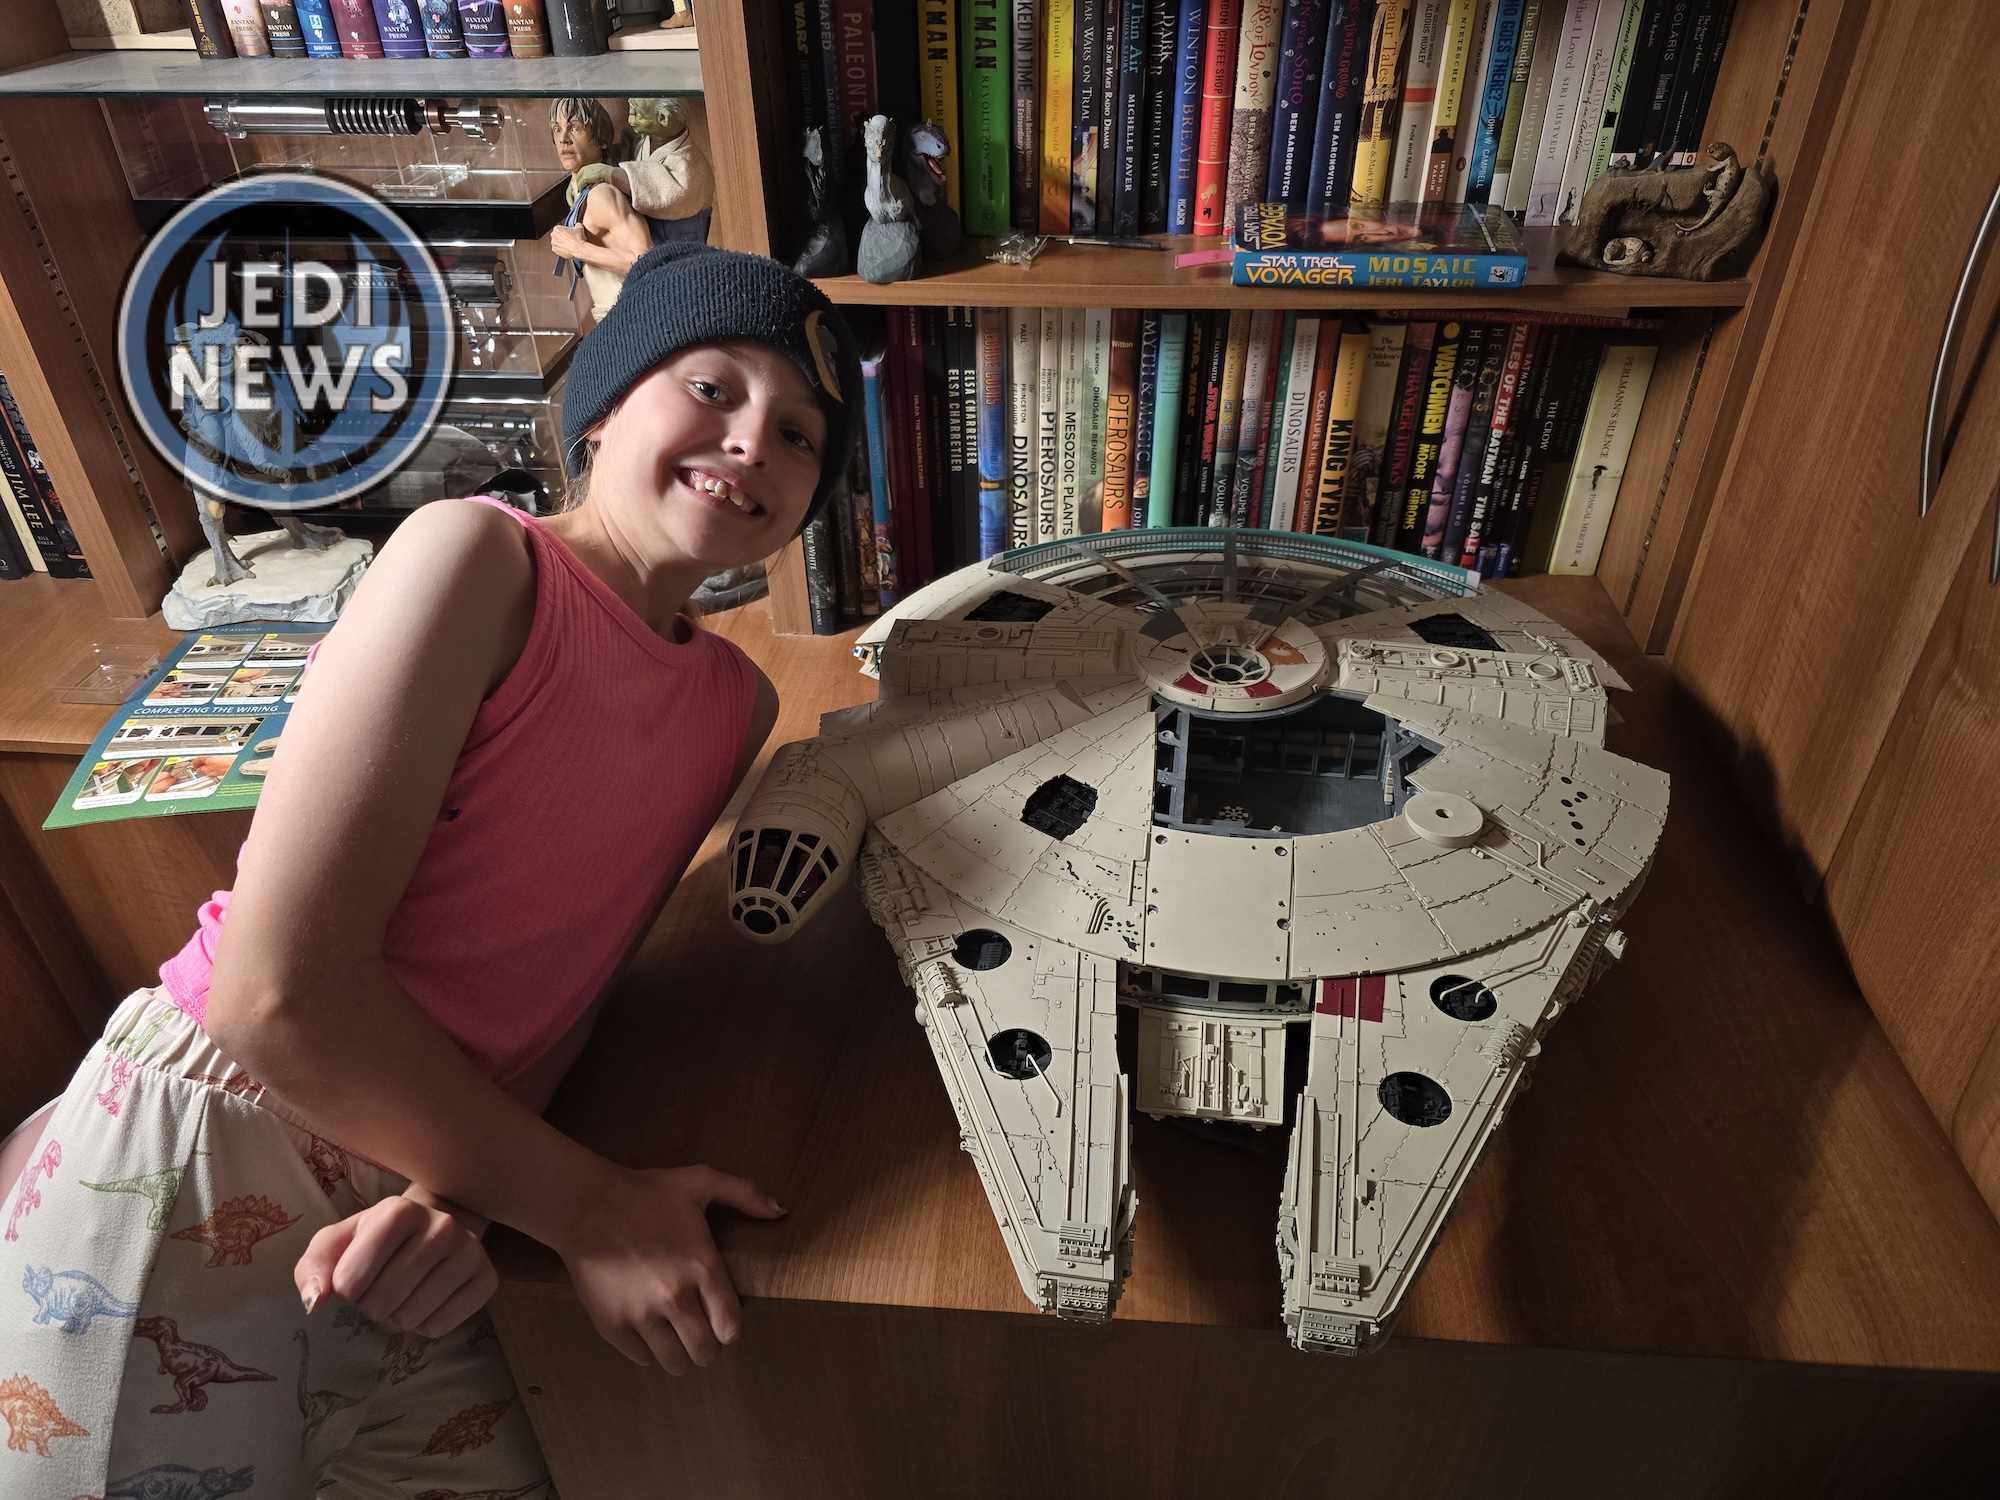
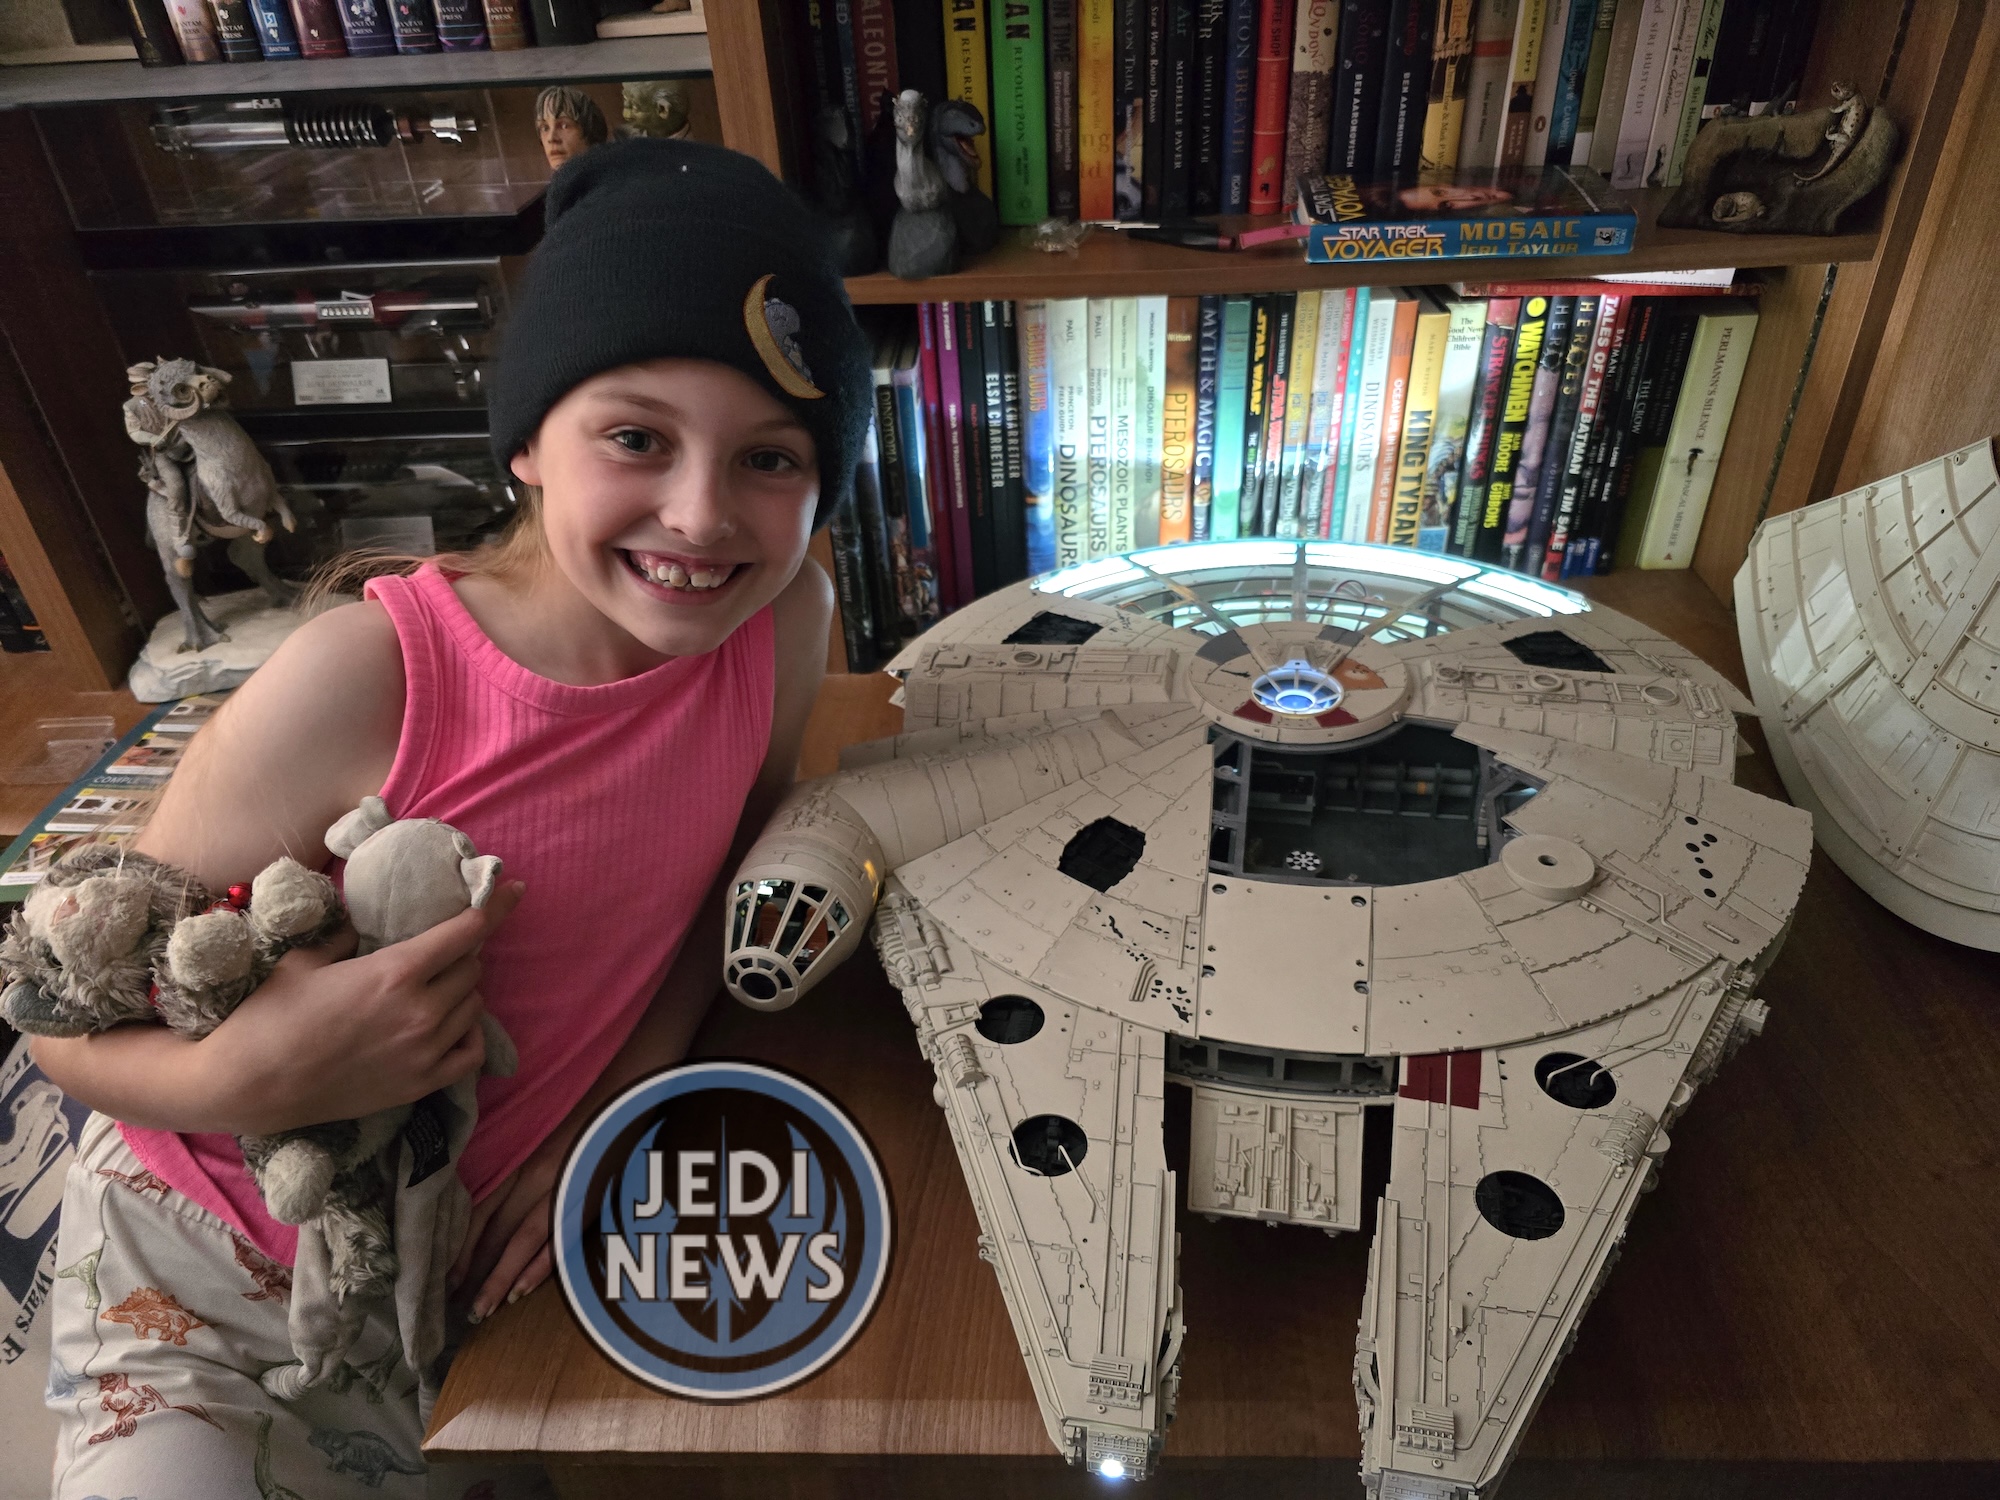
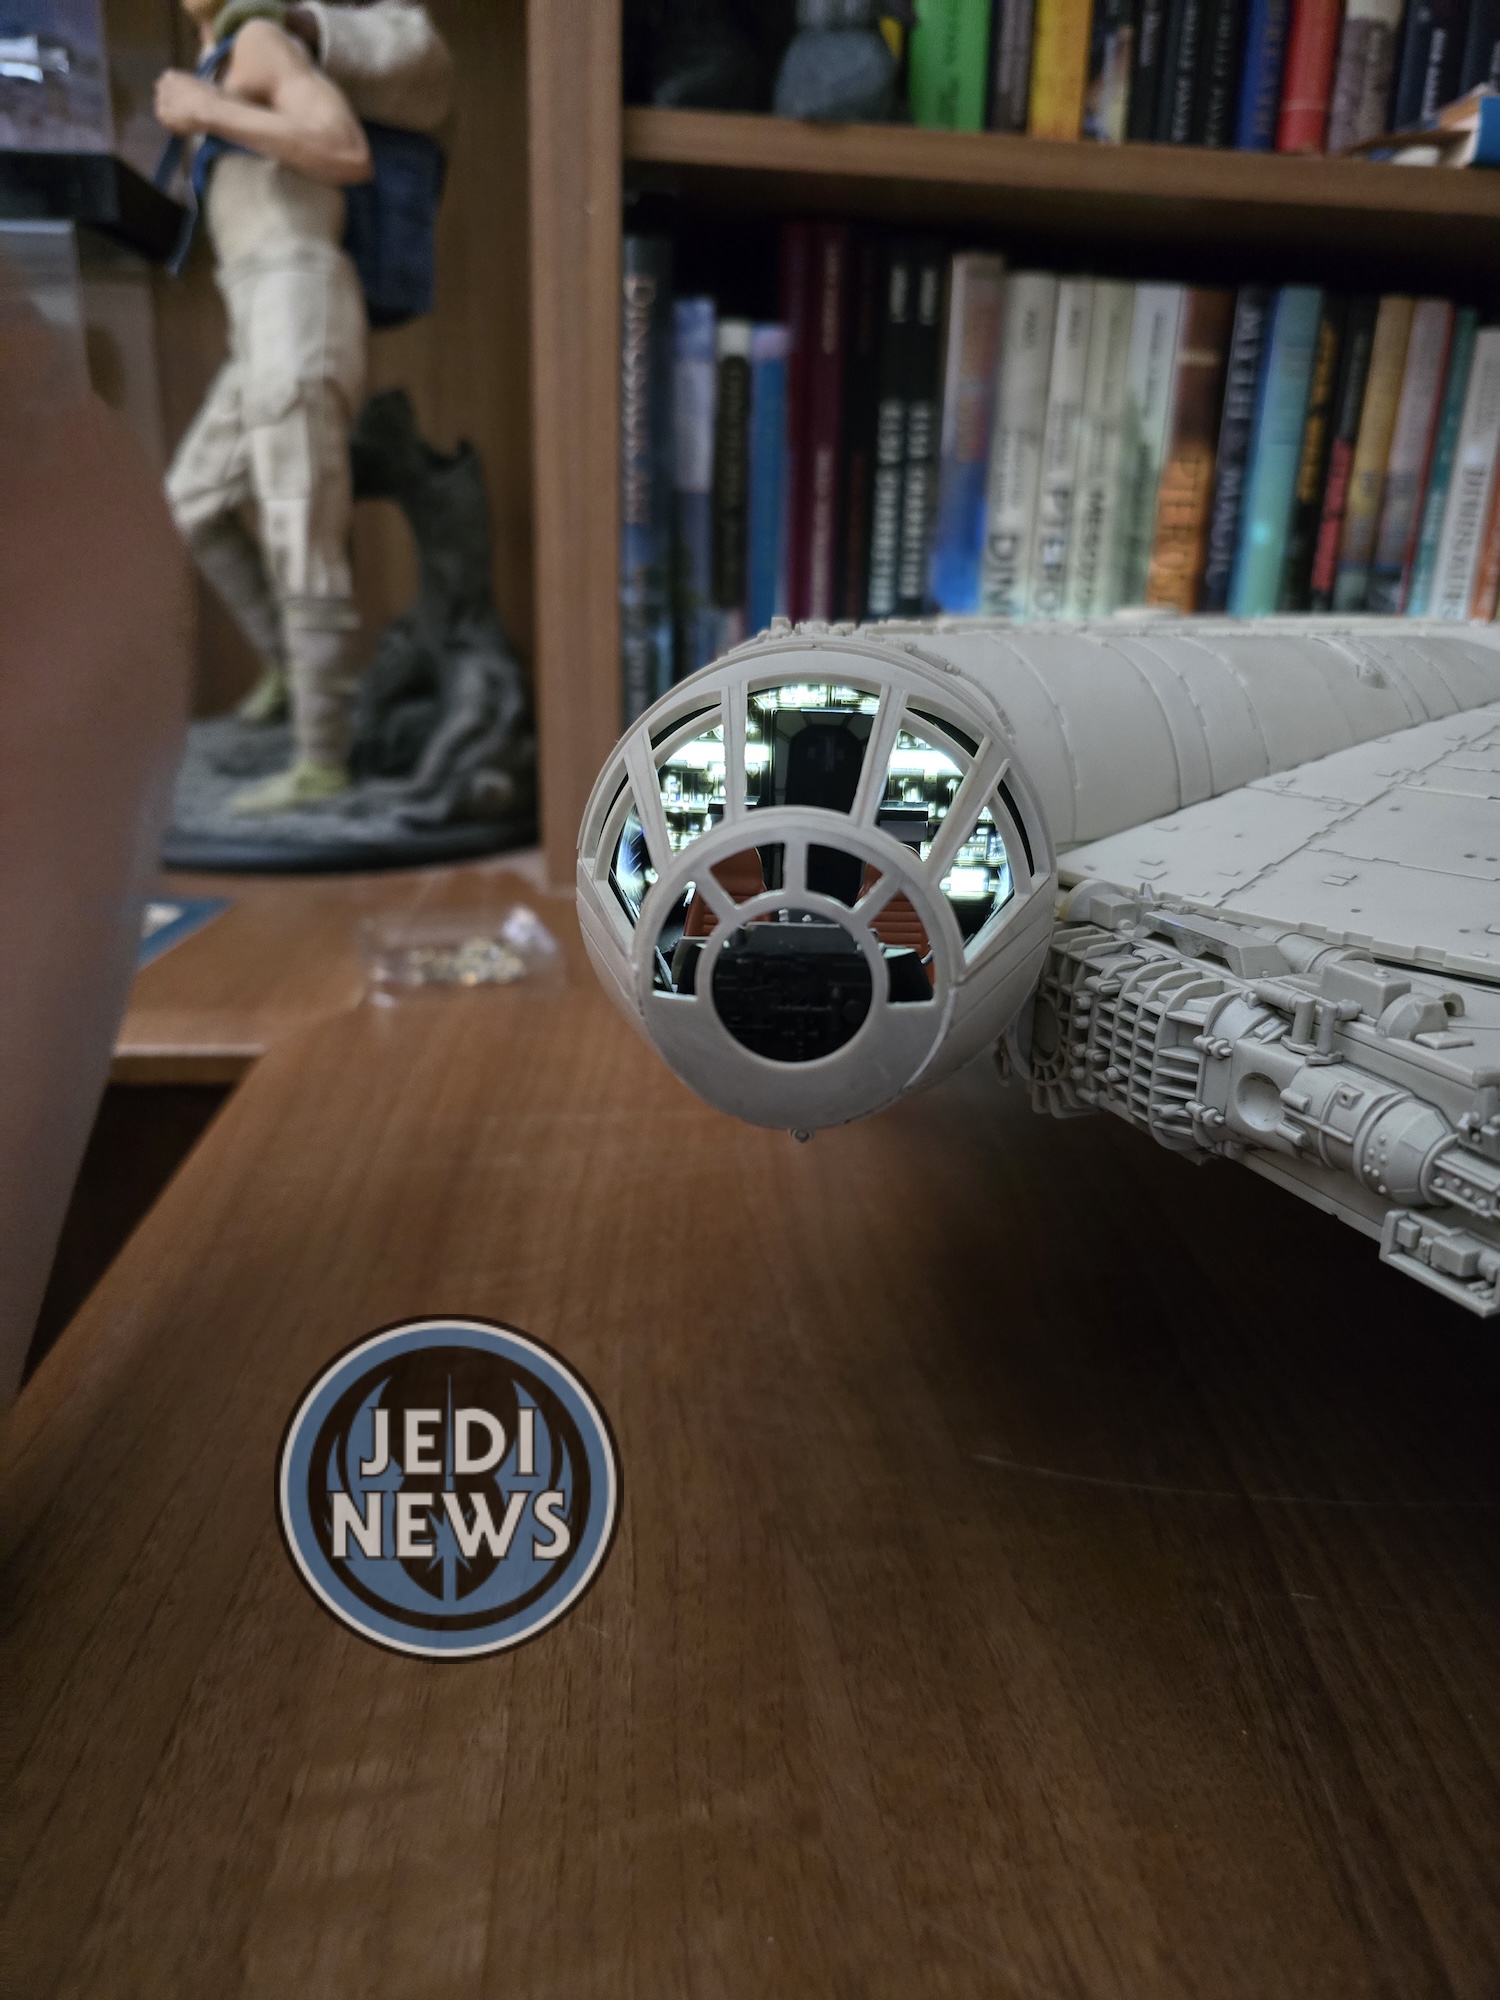
The one thing that made up for it all was Ember’s face when it was lit up. She looked at the cockpit in amazement (I had to tell myself three years for her is a long time and she’d probably forgotten the first time we’d turned it on!). She looked at the gun turret in amazement. She looked at the front lights in amazement. She was amazed at how well the ship was finally looking and knowing that we had done all of that. My frustration – and hers – at this point dissipated. We’d done it!
So, this magazine. It has been the toughest one we have ever done, so much so that it is the first time we’ve needed a long break between instructions. For me there are two problems that led to this. The first is the instructions are just too long in this magazine, particularly when a lot of these things could have been done during magazines that had a lot less to do. Let’s be honest, if you know you are fitting the top half of the Falcon all you really want to do is fit the top half of the Falcon. The other problem was the clarity of the instructions. There were at least two times where more concise instructions with a bit of forethought could have saved some frustration. Hopefully if you are reading this, I can at least save others making the same mistakes we did! For such a monumental installment these problems are frustrating because I couldn’t enjoy the build quite as much as I wanted to. However, can I argue with the simply stunning model that is now sat in front of me? Can I argue with the pure look of joy on my daughter’s face? Can I argue with the inner five-year-old child in me going this is the coolest thing ever? No, I can’t. This is an incredible model that I keep looking at. And if I’m being really realistic, even Han Solo got fed up with his precious ship… from time to time!
