



I feel like I’m still catching my breath since the last magazine of the Millennium Falcon from Fanhome. The last time had been an endurance test in terms of time spent as well as stress levels. It had all been worth it – thankfully – as Ember (my nine-year-old daughter) and I had finally attached the whole of the upper hull and cockpit to the lower half of the ship. The Falcon was looking like the ship we all know and love. It had been tough going but on reflection, I’m sure it was going to be a lot easier of a run for the last seven installments of this project. And it was coming down to that countdown. After three years, three years of Ember growing and improving her skills, three years of daddy daughter time building such an ambitious project, it was slowly coming to an end. I’ll save the tears for the finish line!

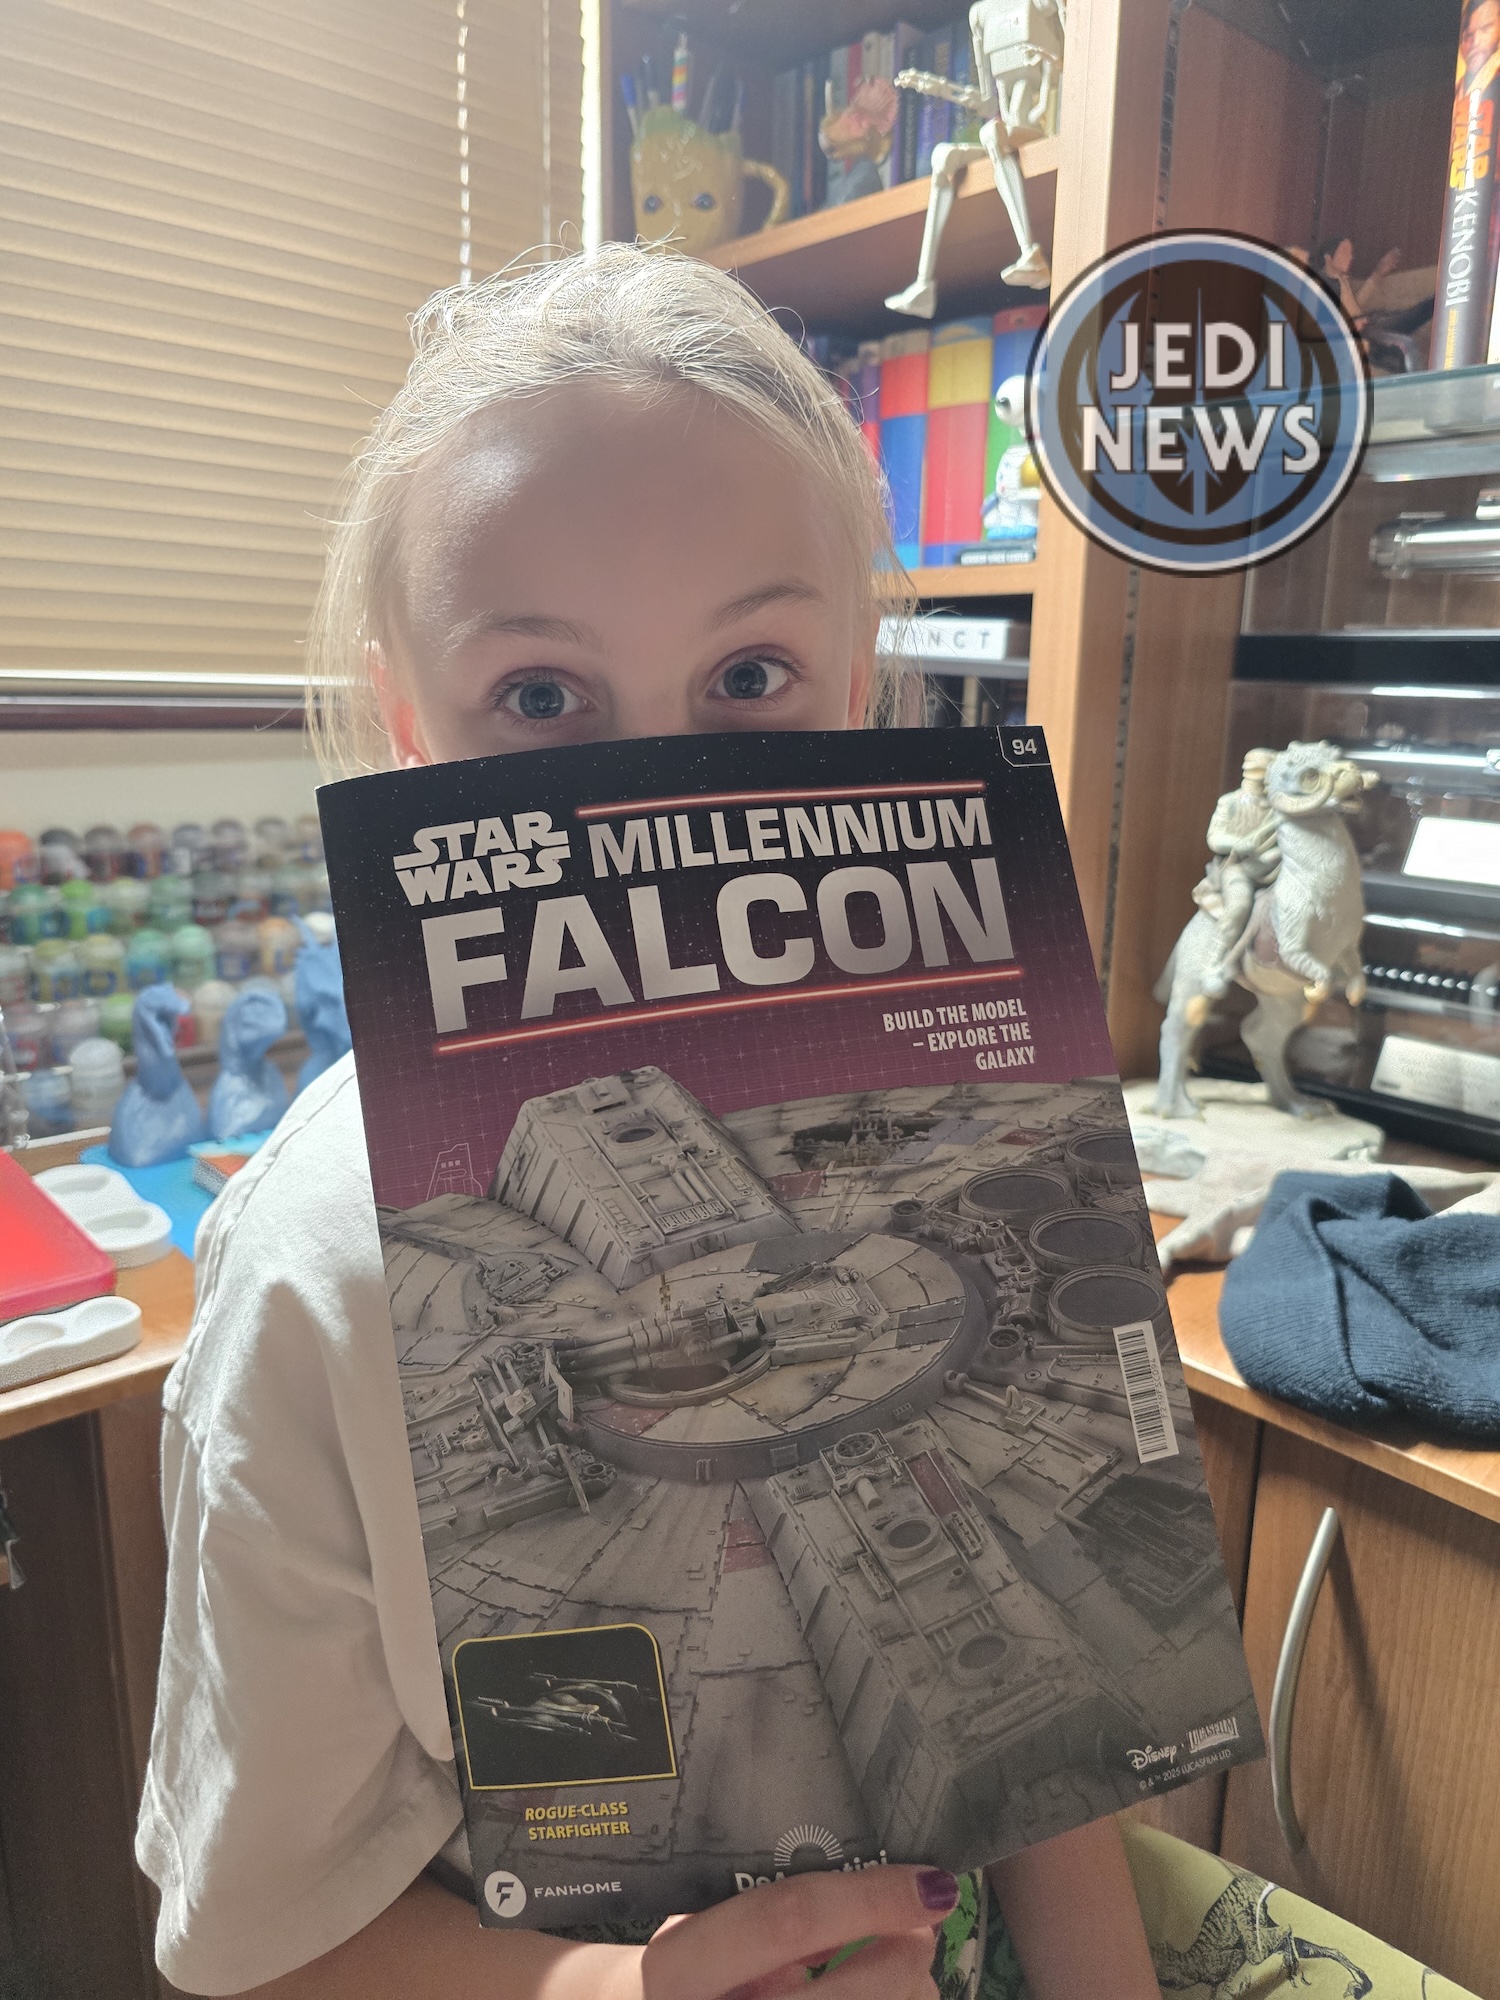
With only seven issues, I was starting to see what we would most likely be doing. The gaps in the Falcon were glaring. Not in a negative way, but before now the magazine went in directions I couldn’t have predicted, going in an order that defied logic. But with only seven parts left, the gaps would be filled in that time, it wasn’t hard to figure out what would be coming up.
Last magazine had said that I don’t need to really check through the issues before starting these days because I’ve not had to prepare anything for so long… and low and behold, I needed to prep some things! I was not to be caught out again! It is something that I’ve done since the first issue, checking if there was anything that would be easier for me to prepare before bringing Ember in to sit down and actually work on the Falcon. While the need for this has become less and less as Ember’s skills have improved, she’s gotten older and there has been less focus on the interior, it is something that has saved her getting bored with the work we’ve been doing. Looking through this installment, we would be preparing side panels and then gluing them on to start hiding the side frames we had used in the previous magazine to connect the top and the bottom. There was nothing that looked too complicated (I mean, anything would seem easy after last time!) and almost reached for the next magazine before remembering that we didn’t want to speed through these last few parts.

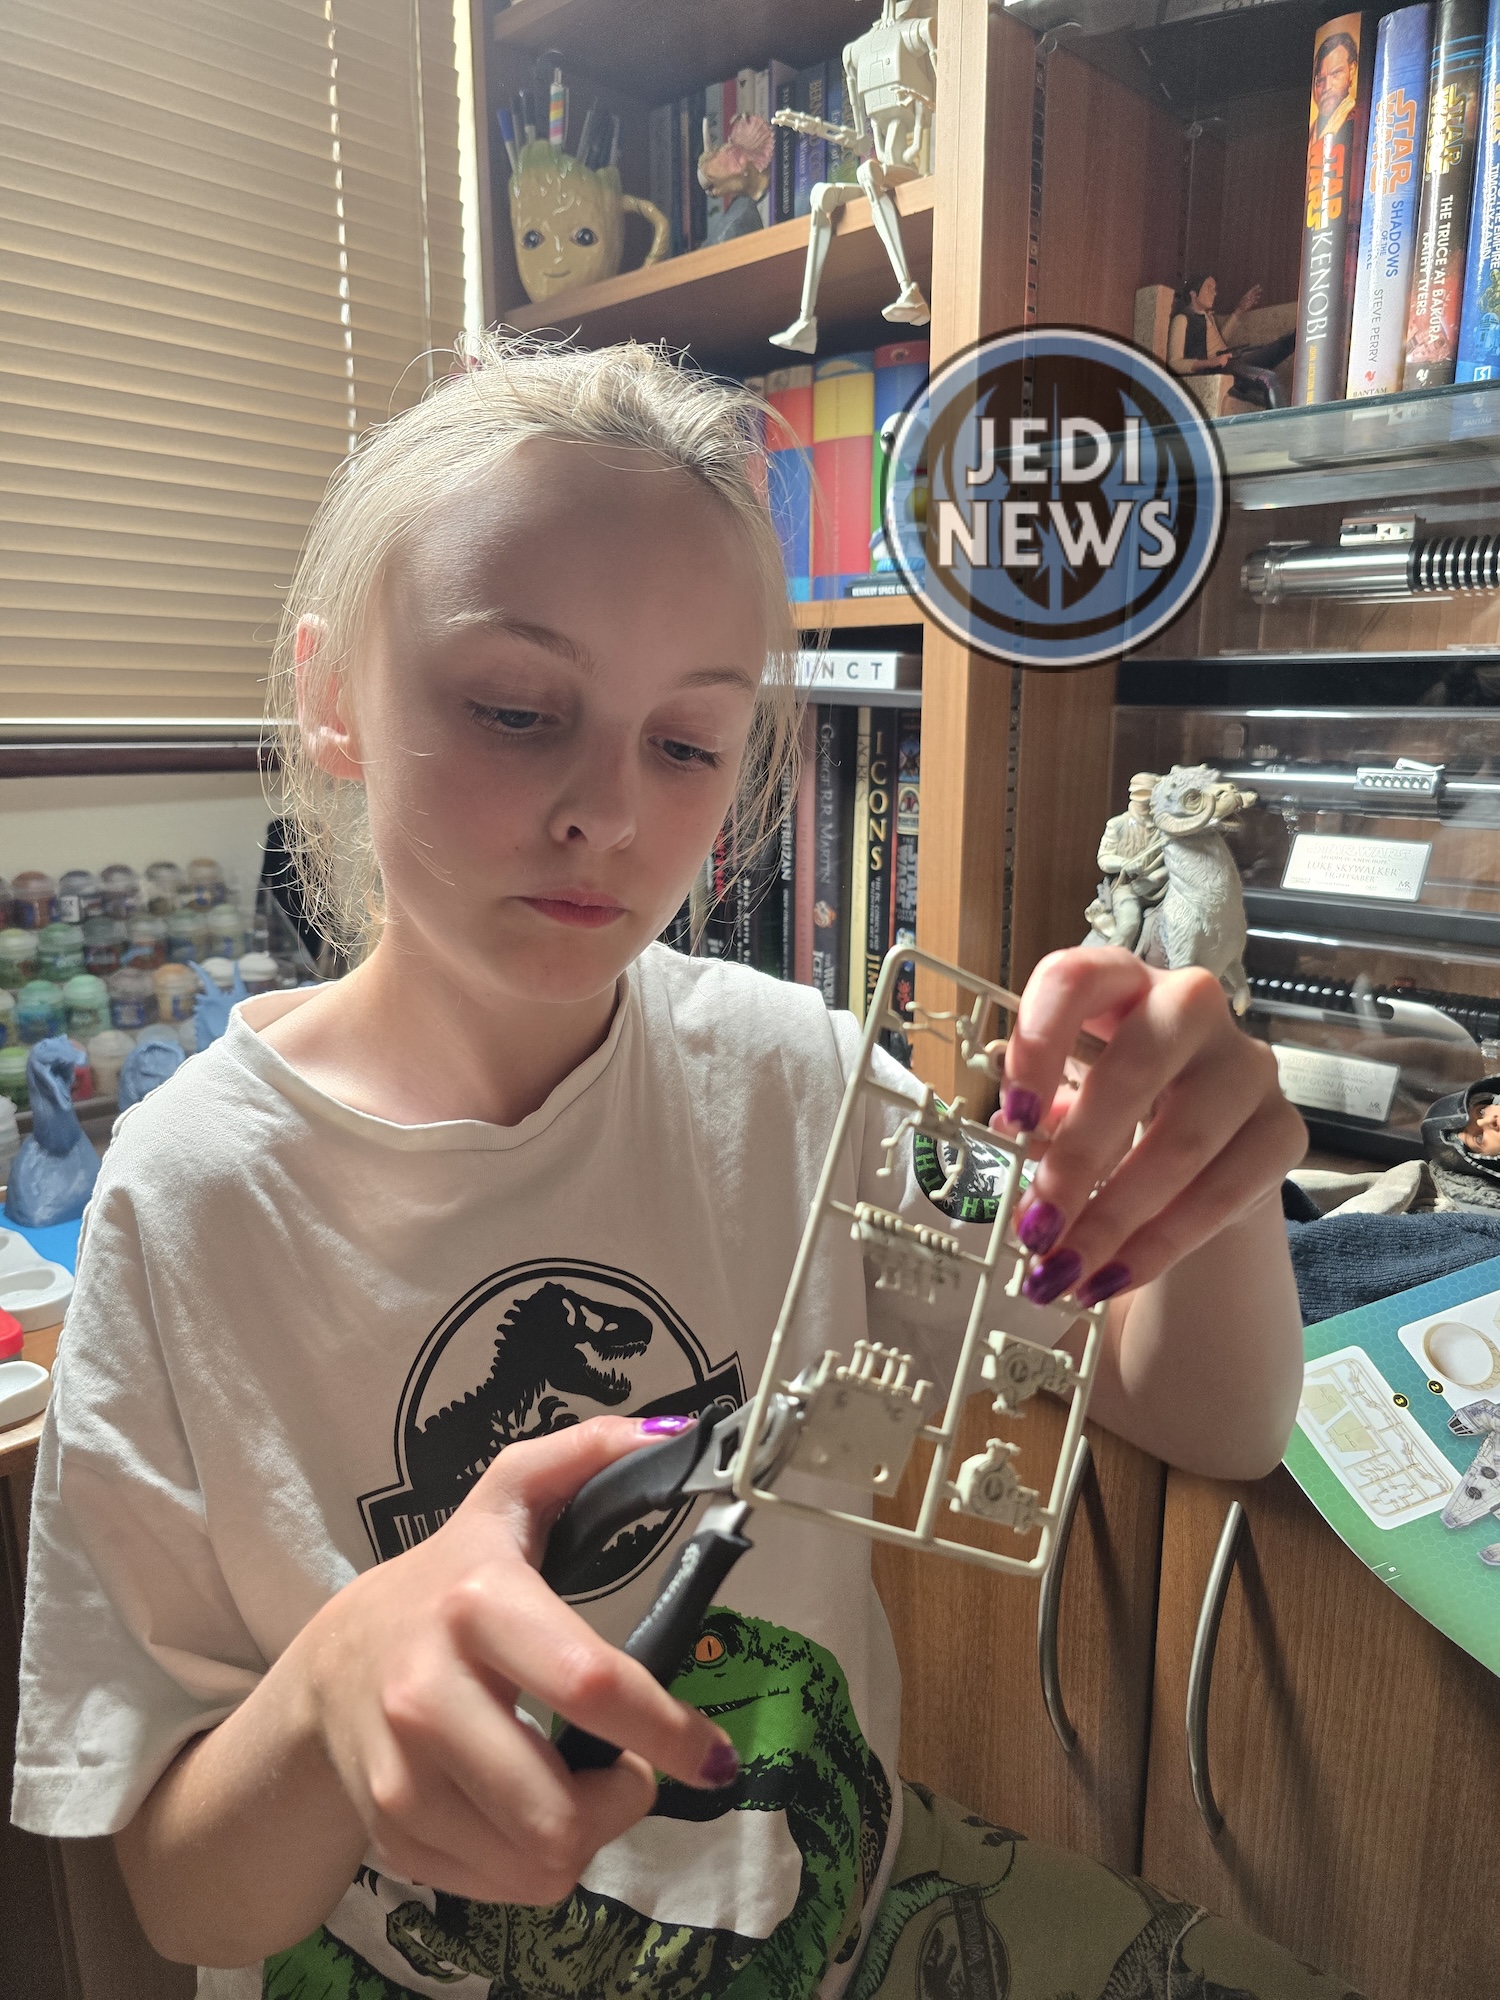
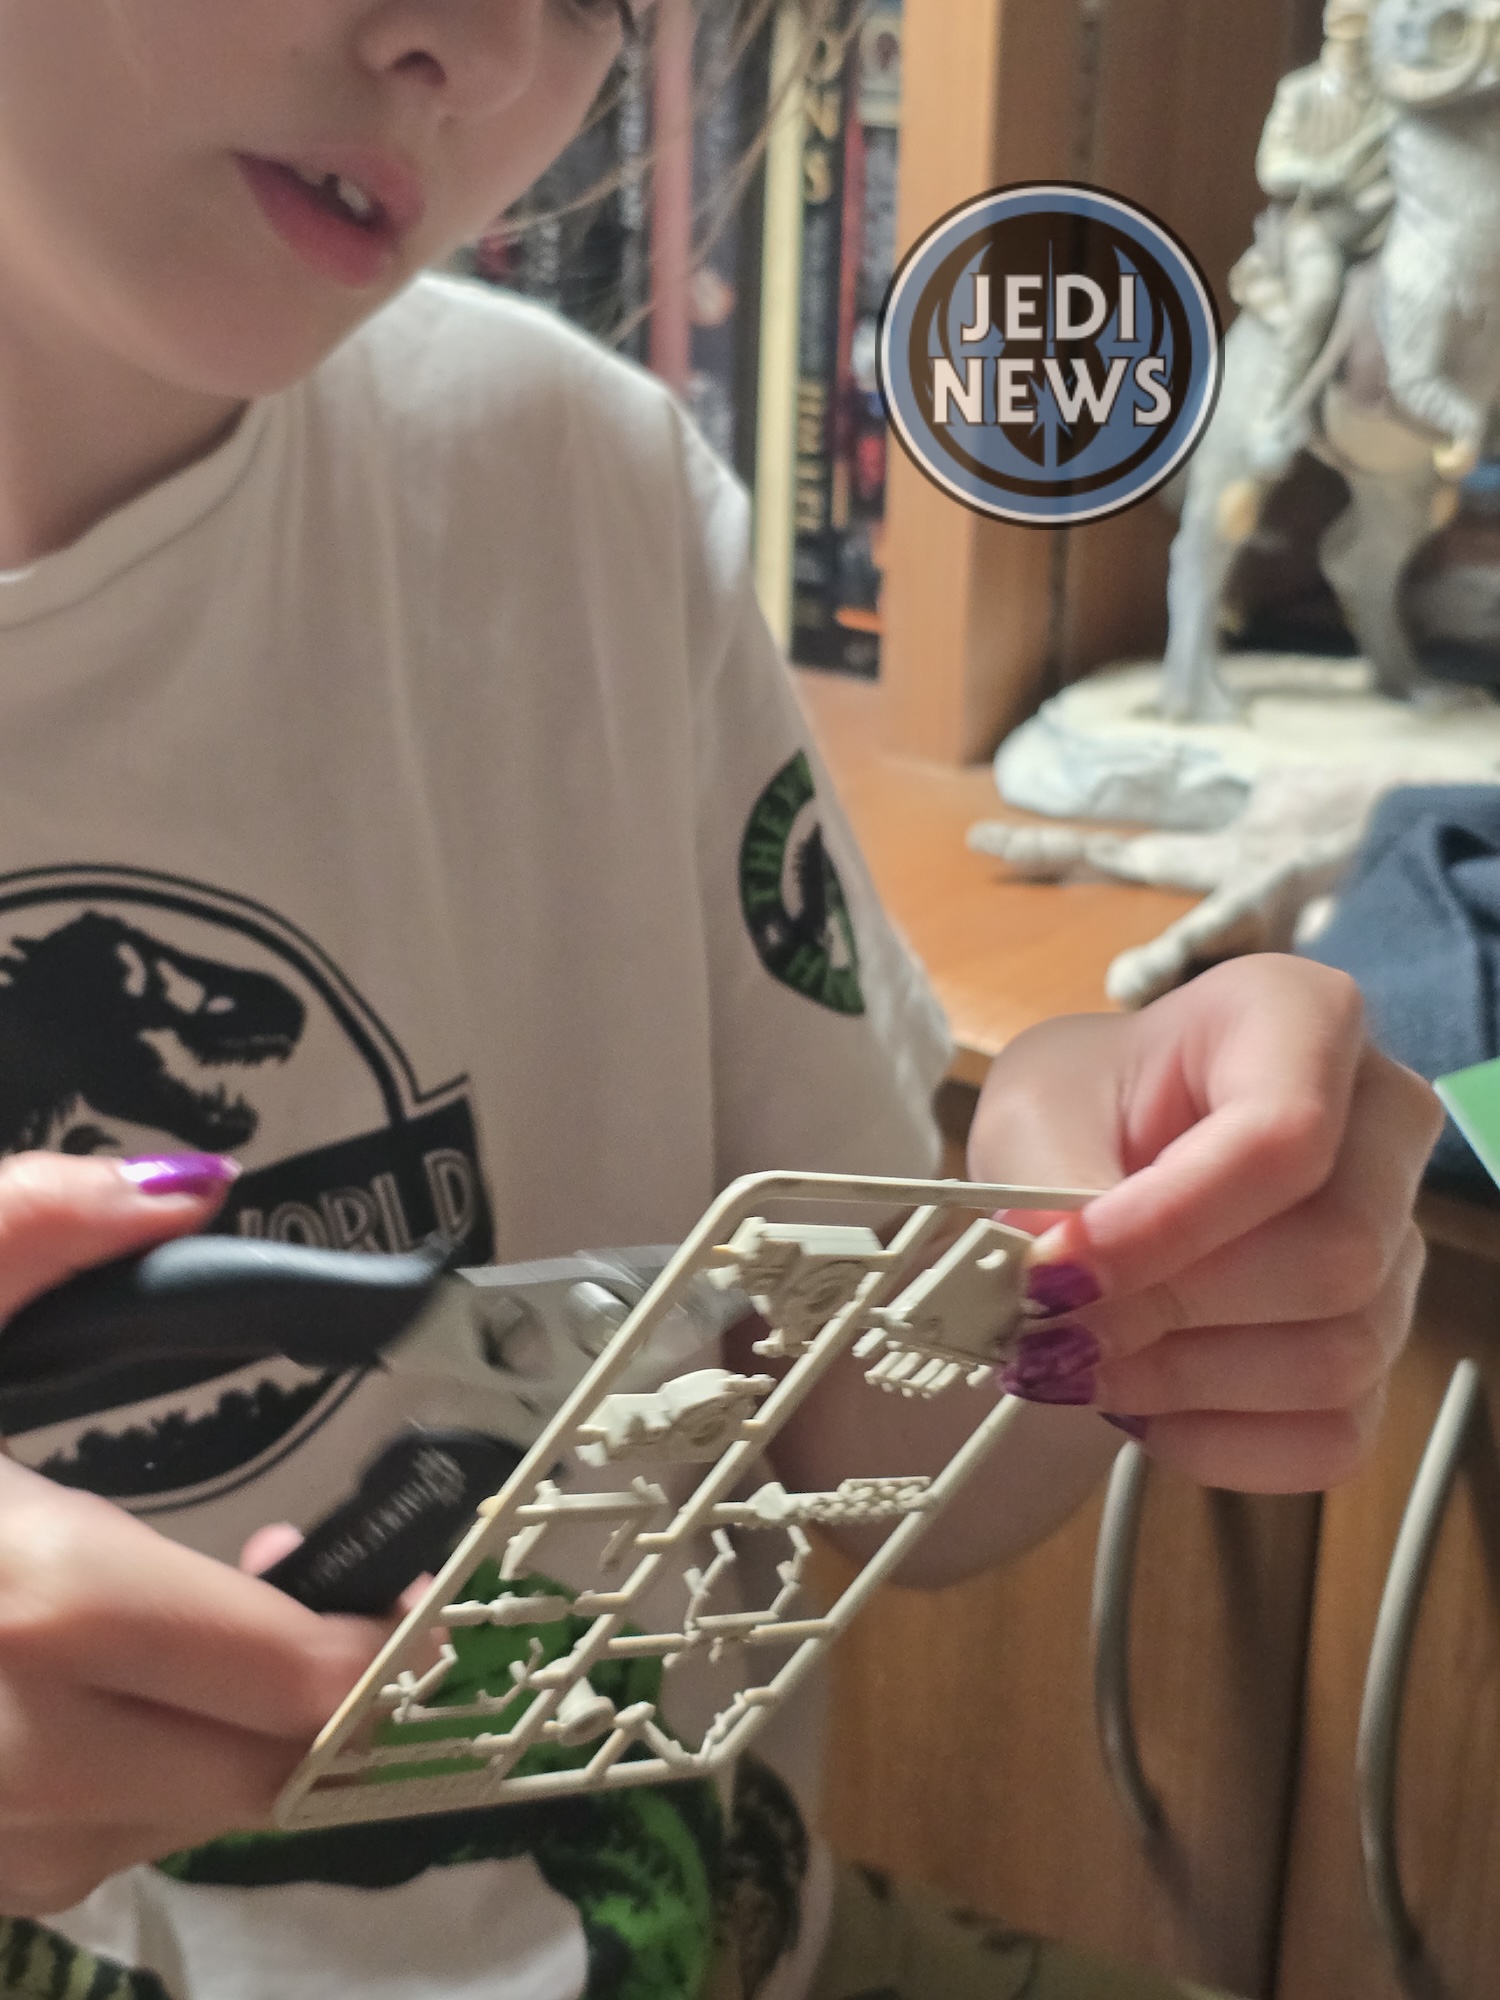
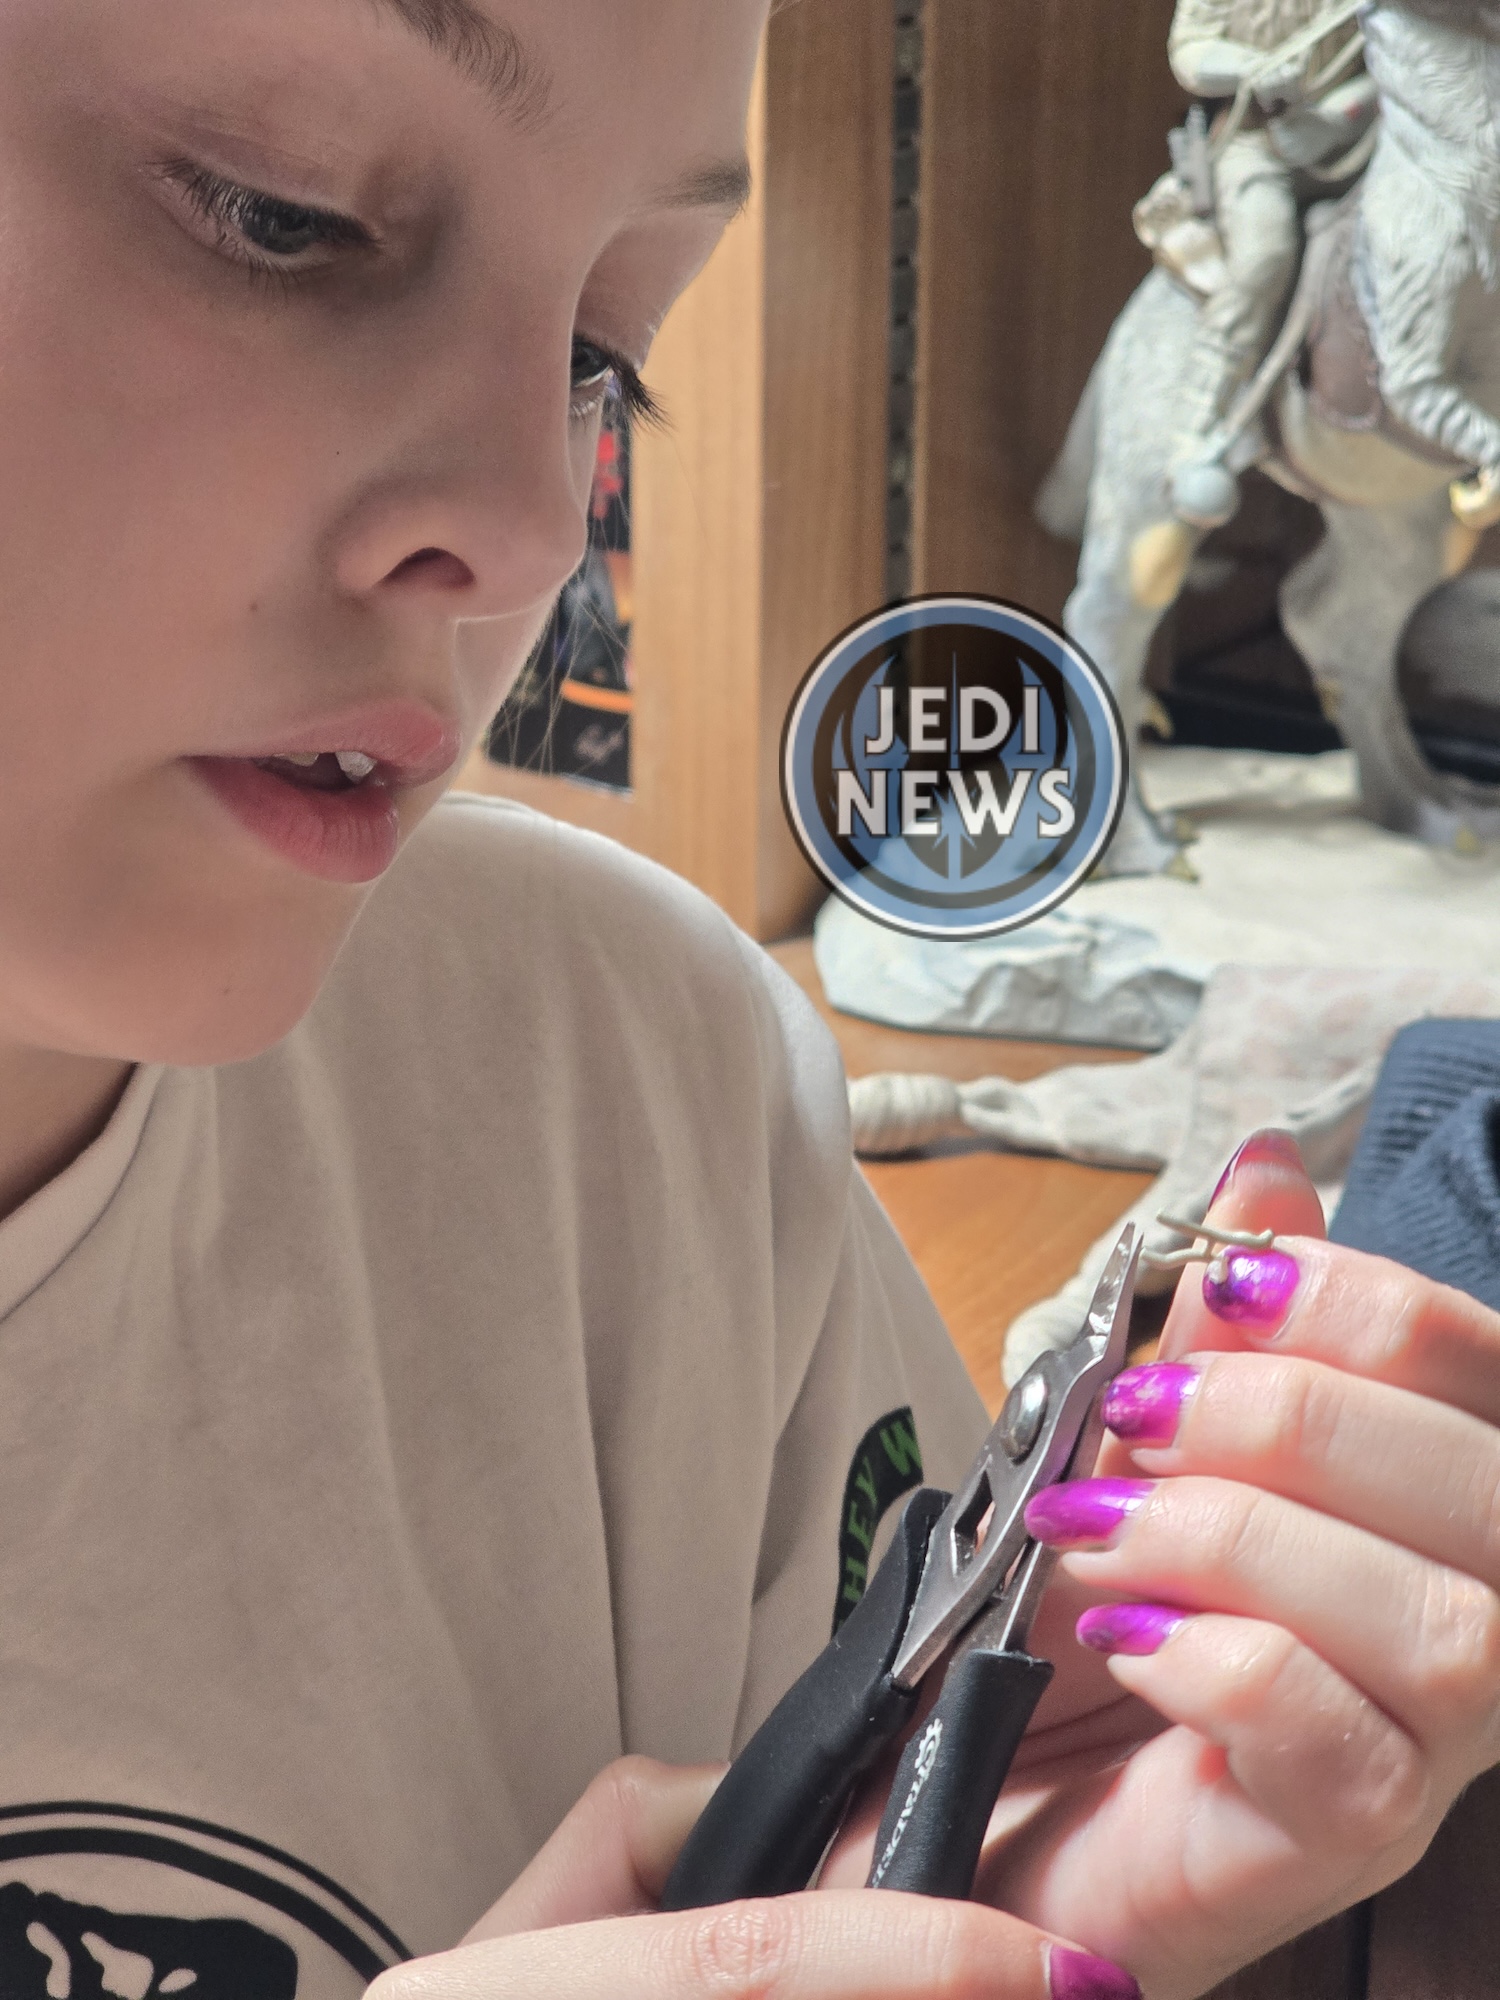
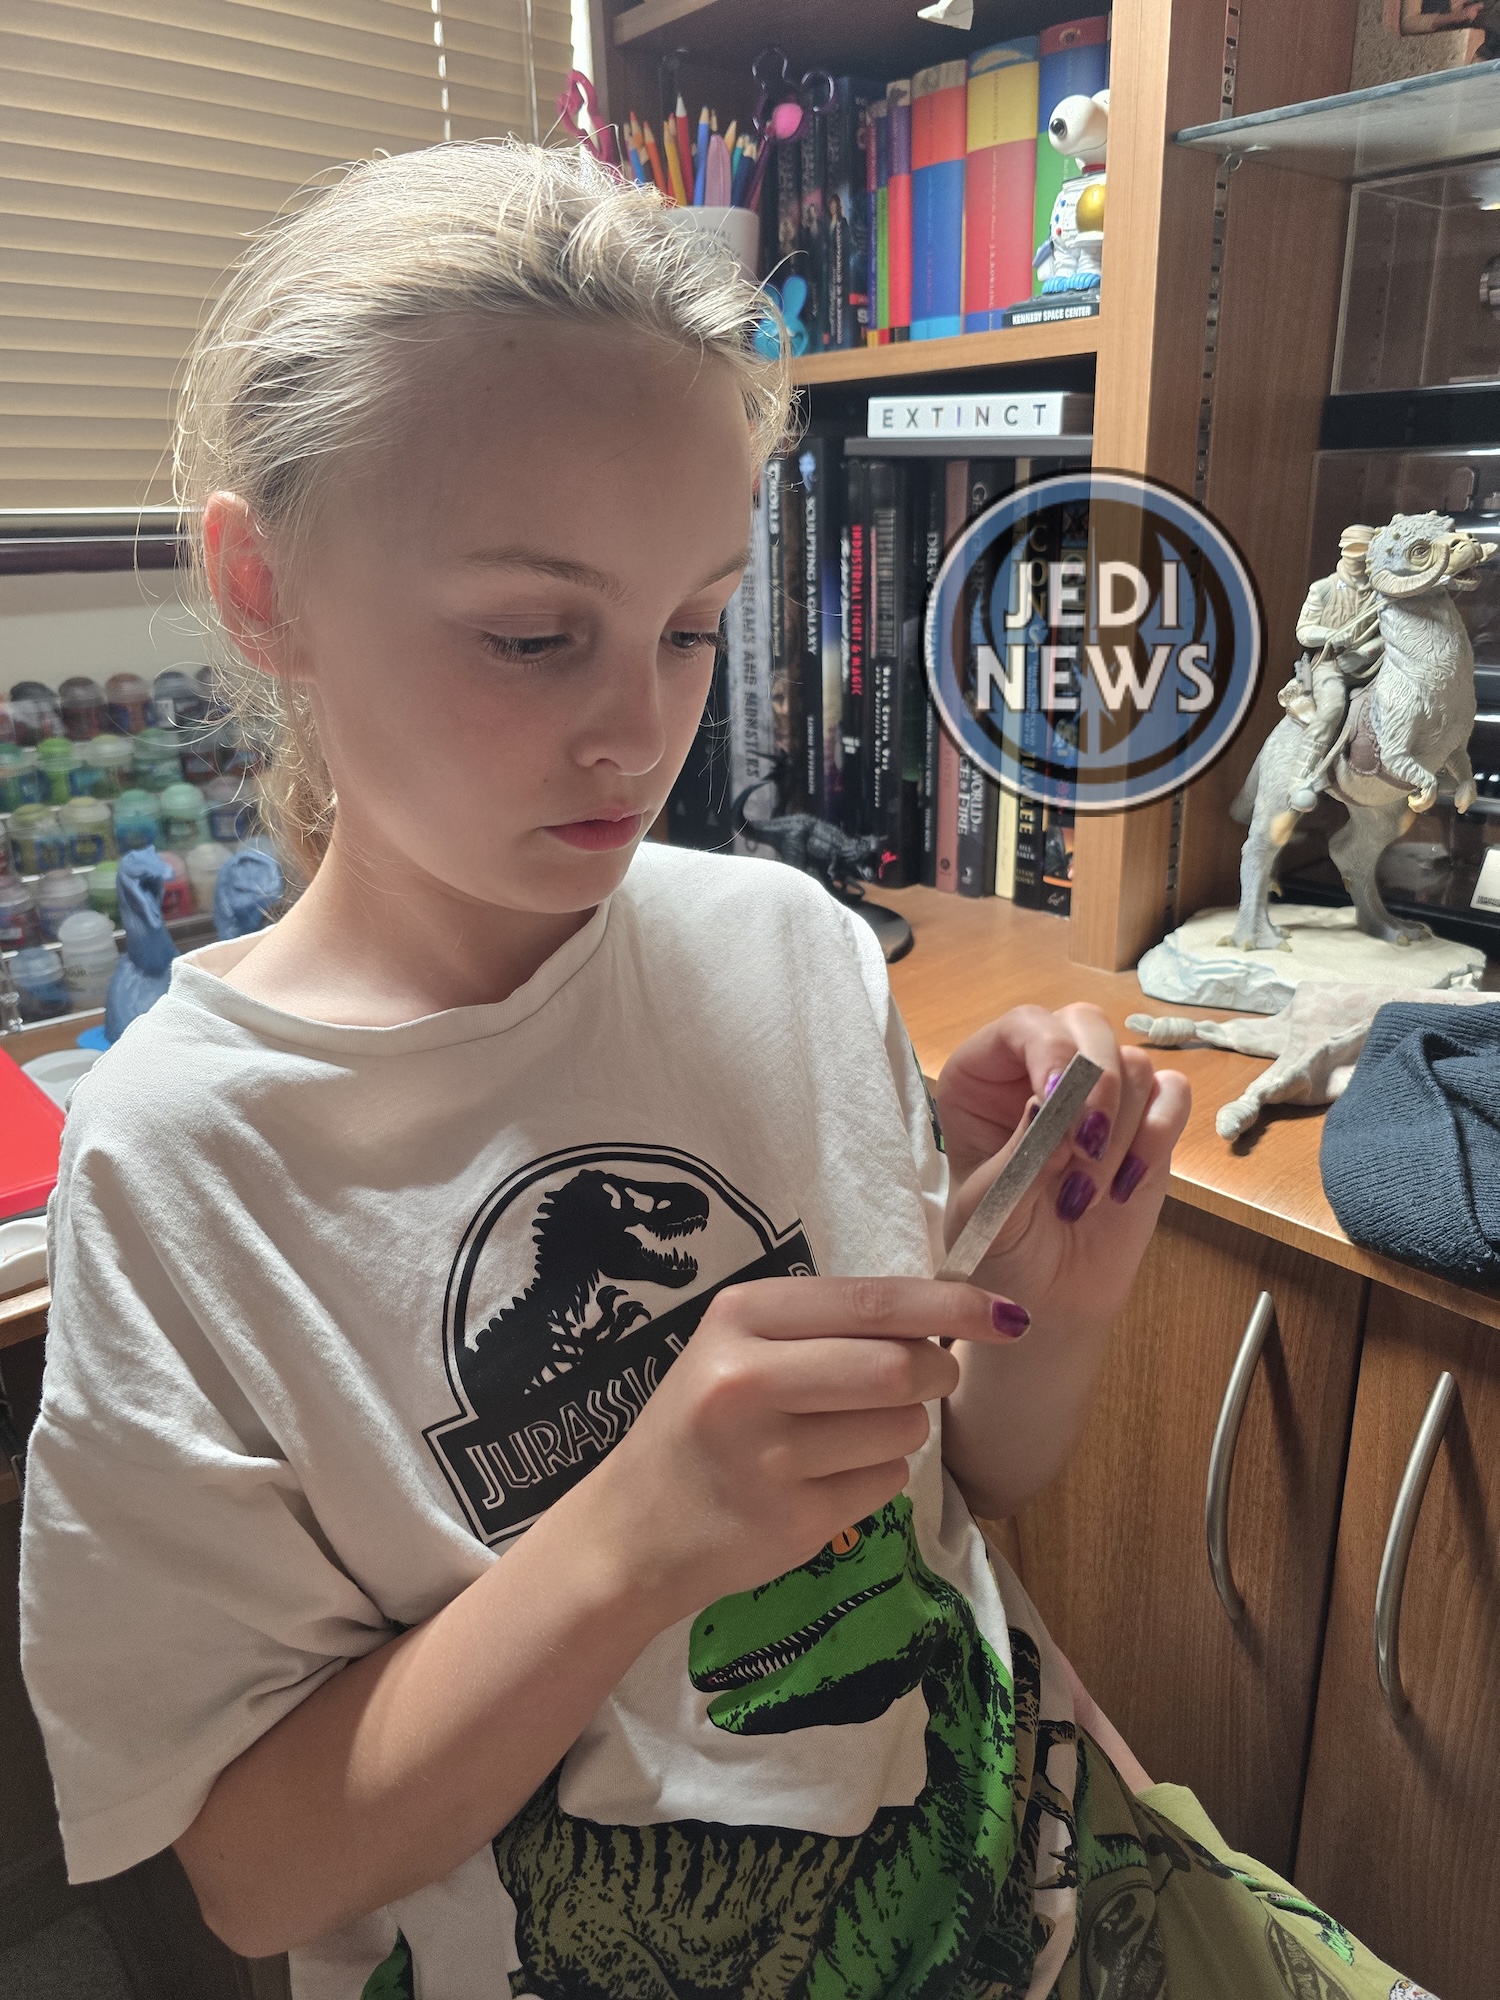
After last magazine, this seemed like the perfect, relaxed issue to do next. With nothing to worry about (or so I hoped), I got Ember and we sat down to work our way through this part. As I suspected, Ember quickly took hold of the clippers and files and started cutting the pieces and filing them like a pro. For these reviews, I try to get as many photos as I can, but she was that speedy I found it very hard to. Let alone, she was also being very commanding. Telling me what piece she was handing me, where it was going and could I get a move on as she didn’t have all day (well that last part I might have stolen from a smuggler). But she knew exactly what she wanted to do and which parts she needed me to do – which was mainly the gluing. She was more than happy to clip out the thin parts but left me to file them. It seemed a fair exchange. There was only one part where I needed to widen the holes to fit the piece properly, part seven on SP-02. Having done this project for so long, I knew to dry fit the pieces before actually committing to superglue.
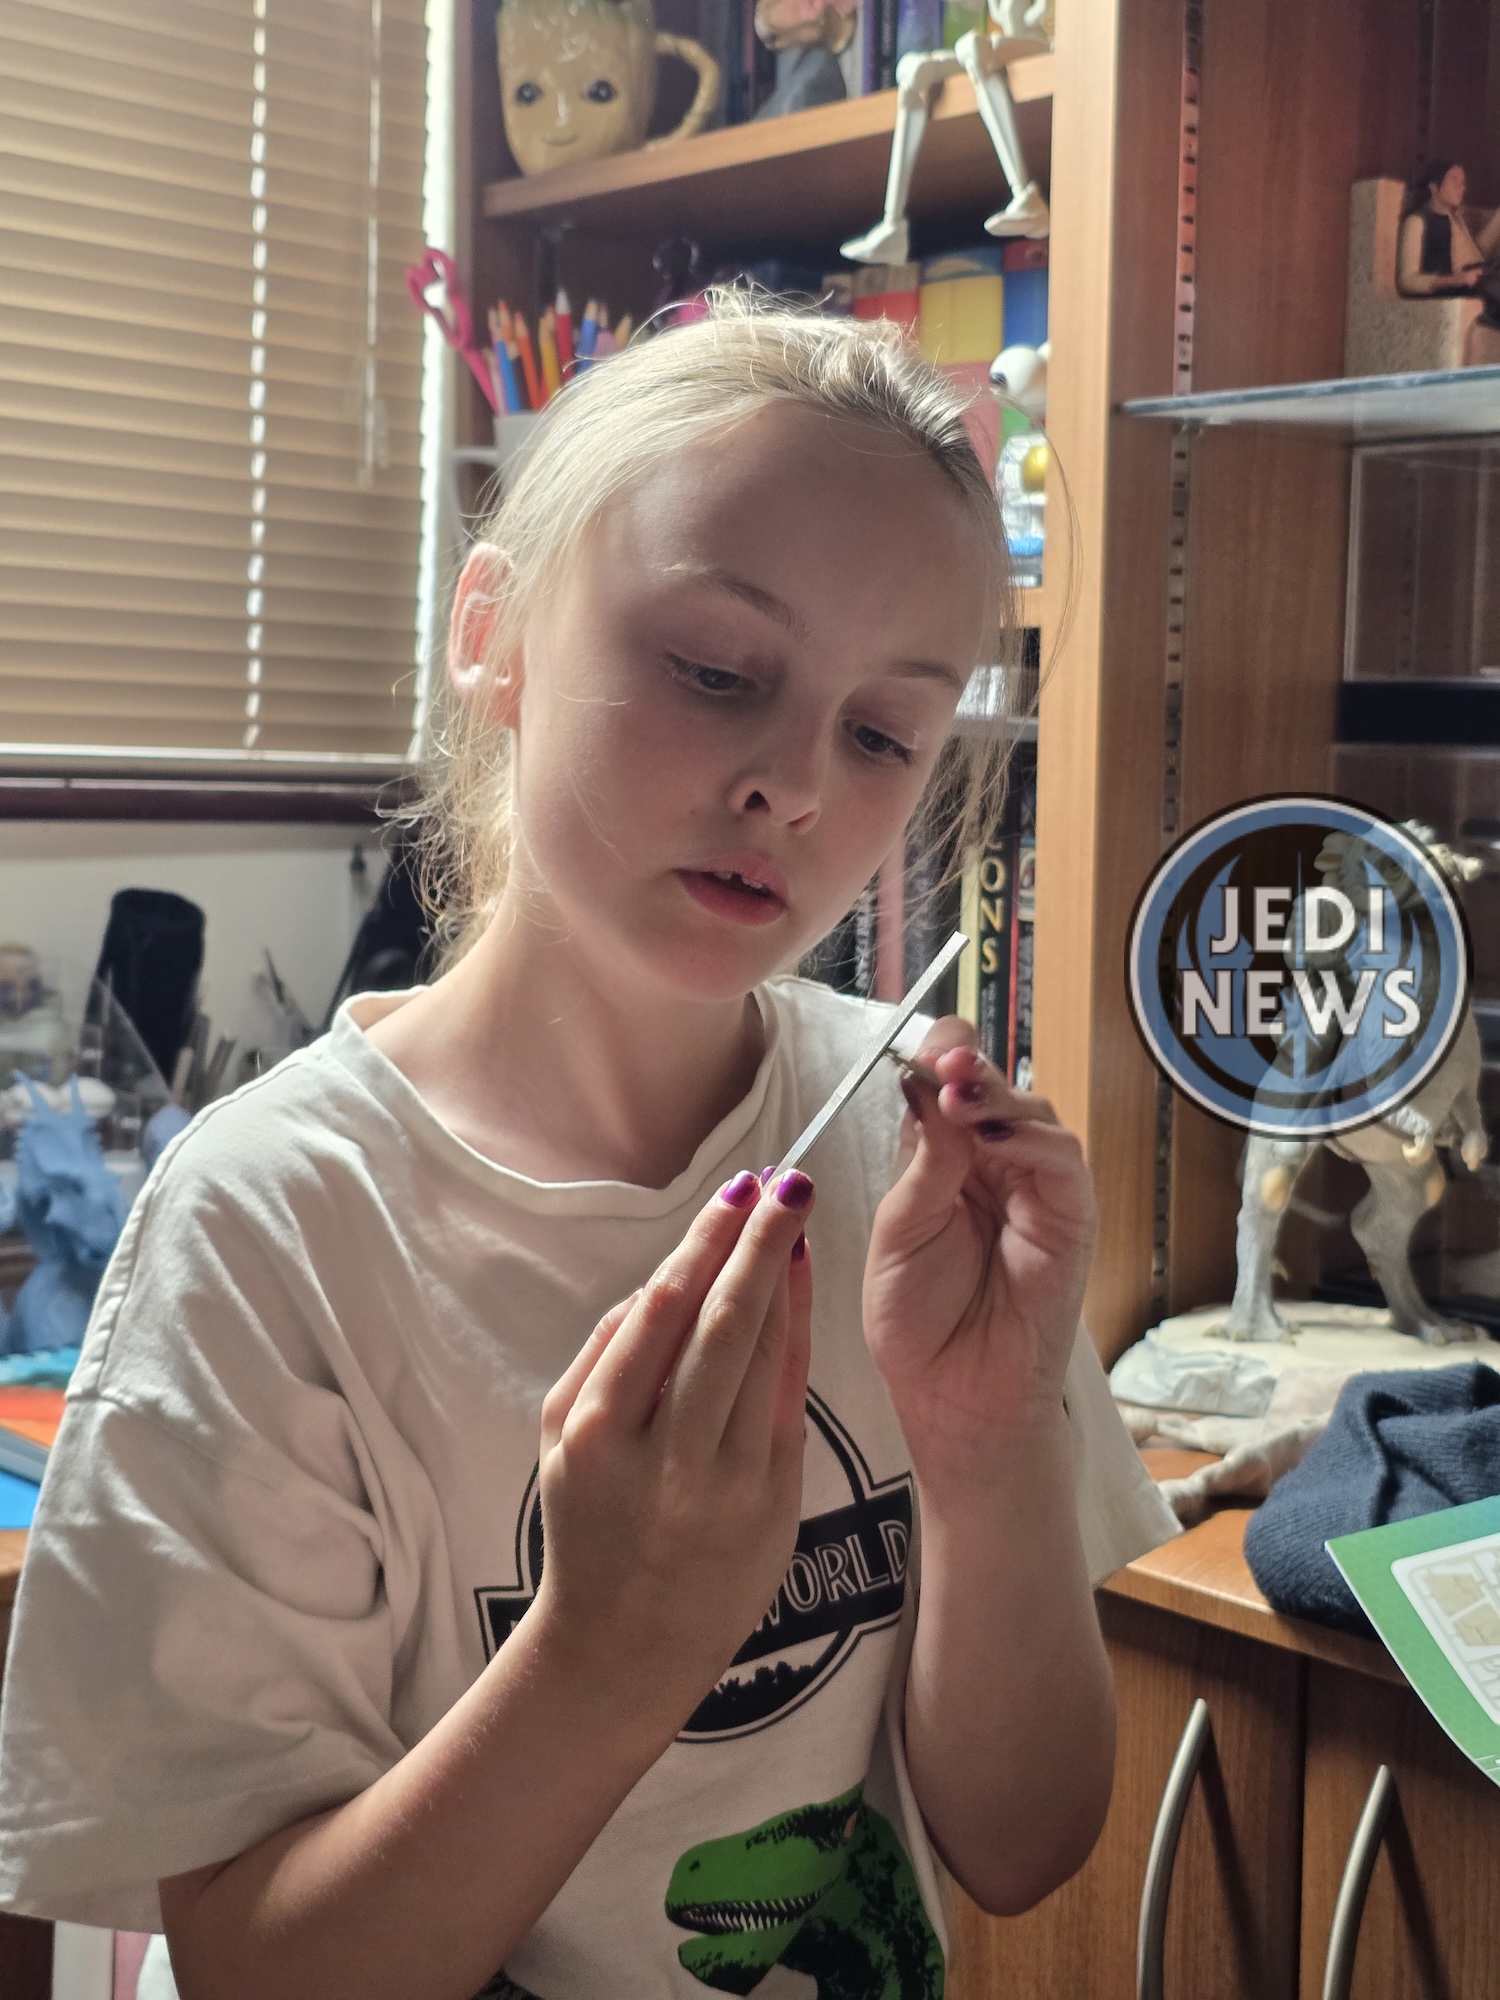
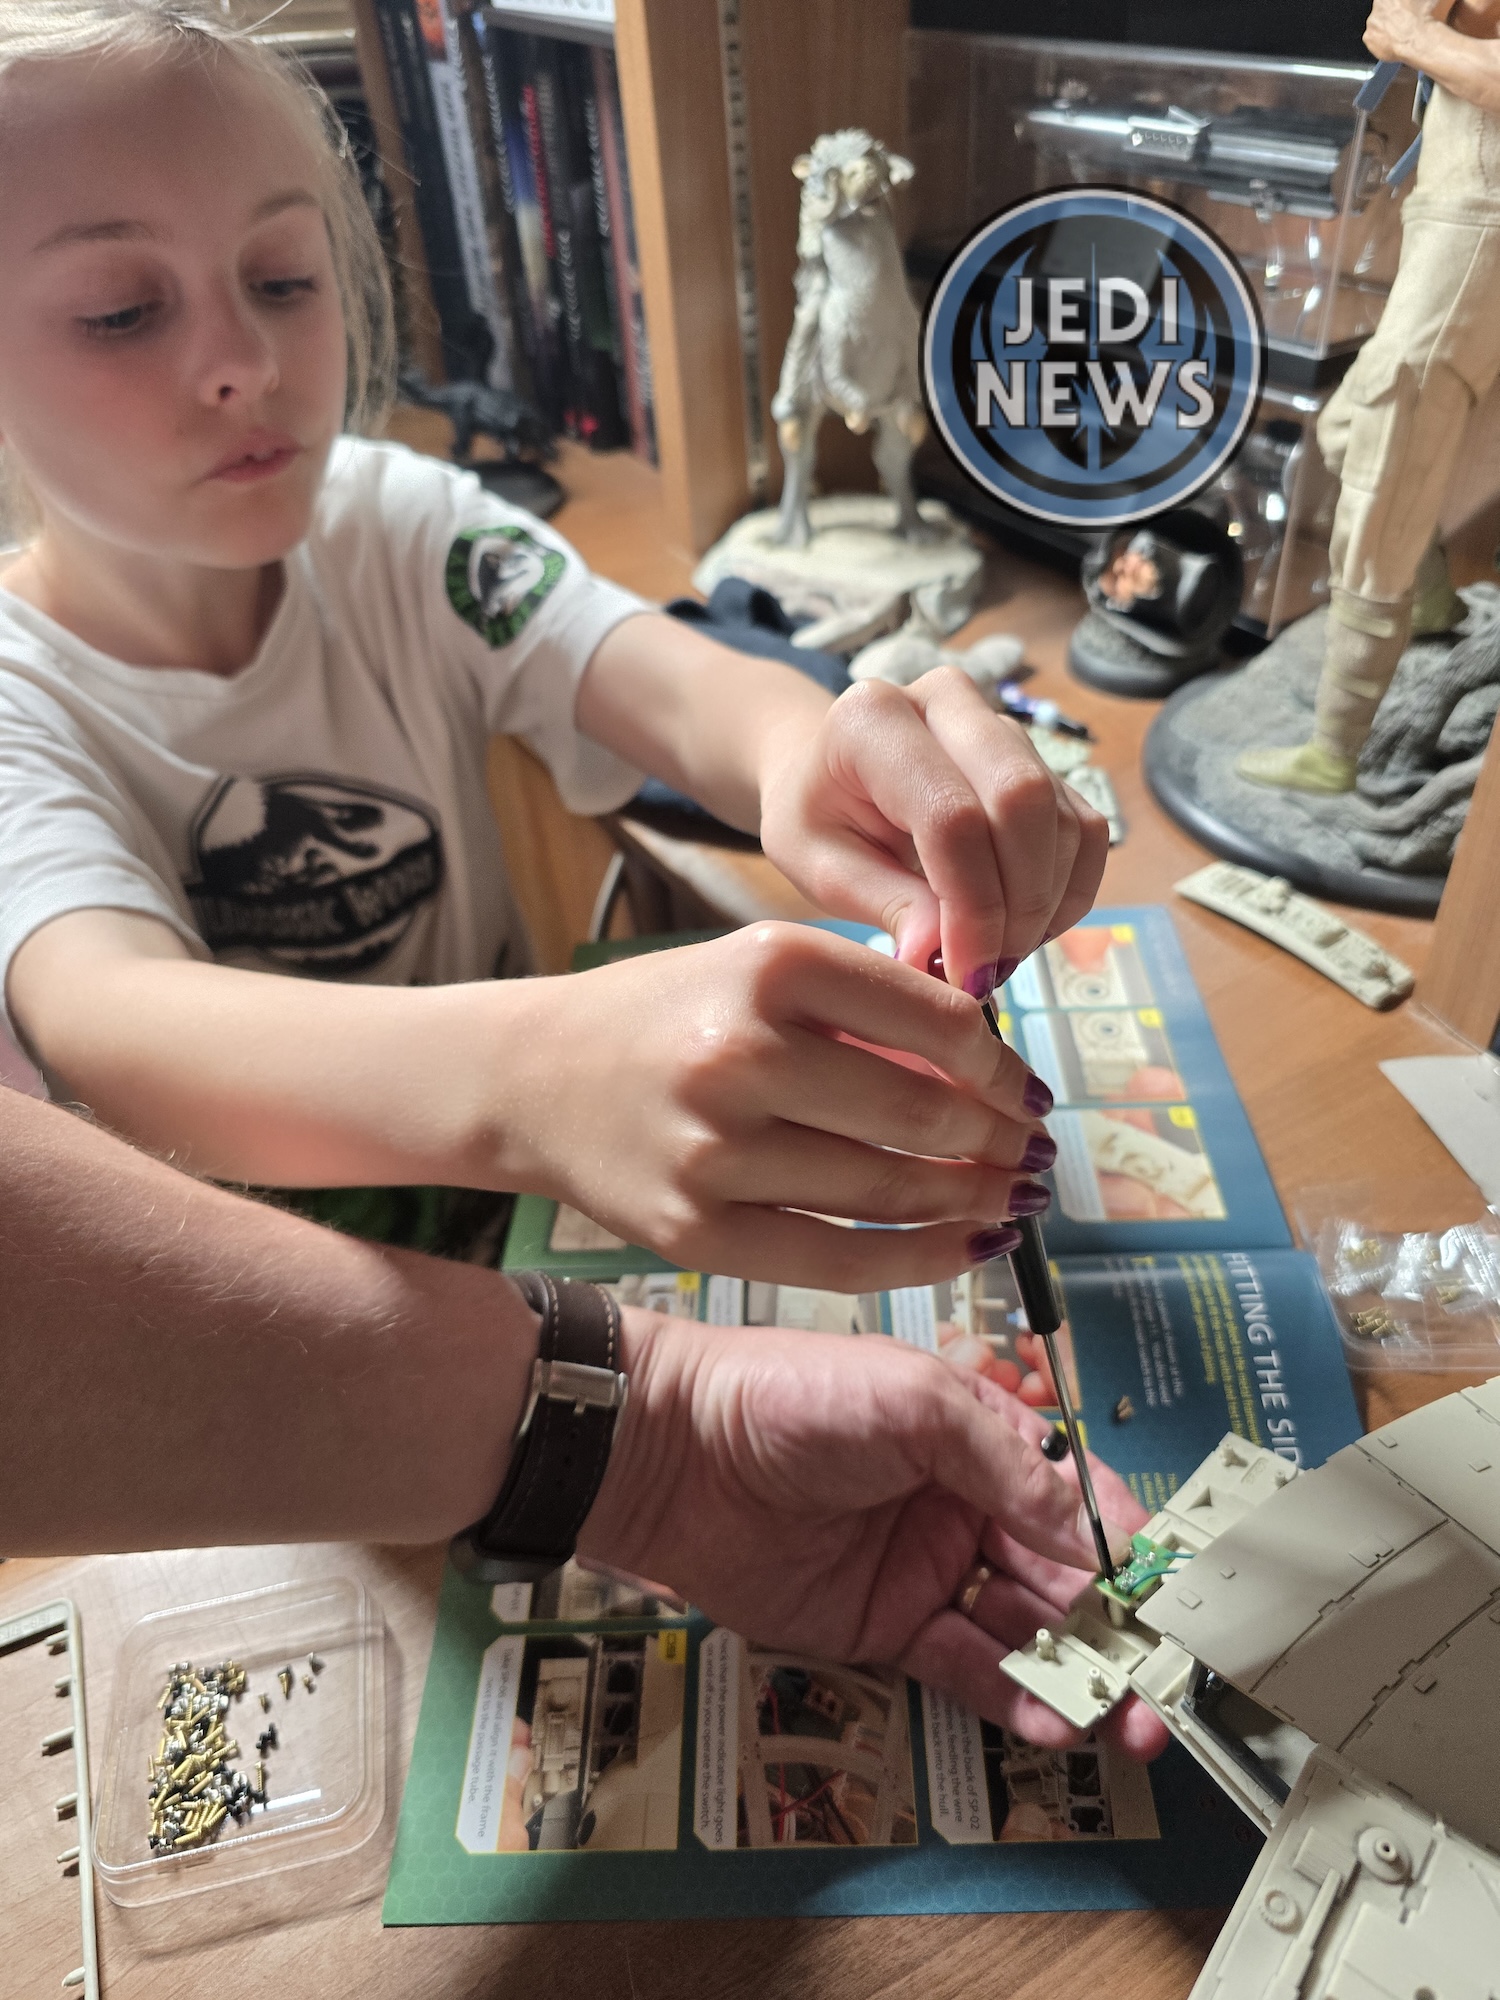
We then moved onto fitting the side panels, starting with the one that would house the switch. Easy to do and Ember was absolutely fascinated by how it worked. However, it did say to make sure the power indicator came up on the control board. Presumably the newer control boards don’t have this, so we ended up just turning everything on to make sure it all worked. Thankfully it did. We then moved onto gluing the side panels in place; a part of the magazine Ember wanted me to do. I’m glad she did. It says to put glue onto the side panels and then attach them. I obviously tried to dry fit the first one because of experience not only in this magazine but in others. I couldn’t get the piece back off! I did my best to add glue around the back, not an easy task but I was fairly confident these things weren’t coming off. I didn’t like not being able to dry fit first. I had Tarkin whispering in my ear: “I’m taking a huge risk Vader, this had better work.”
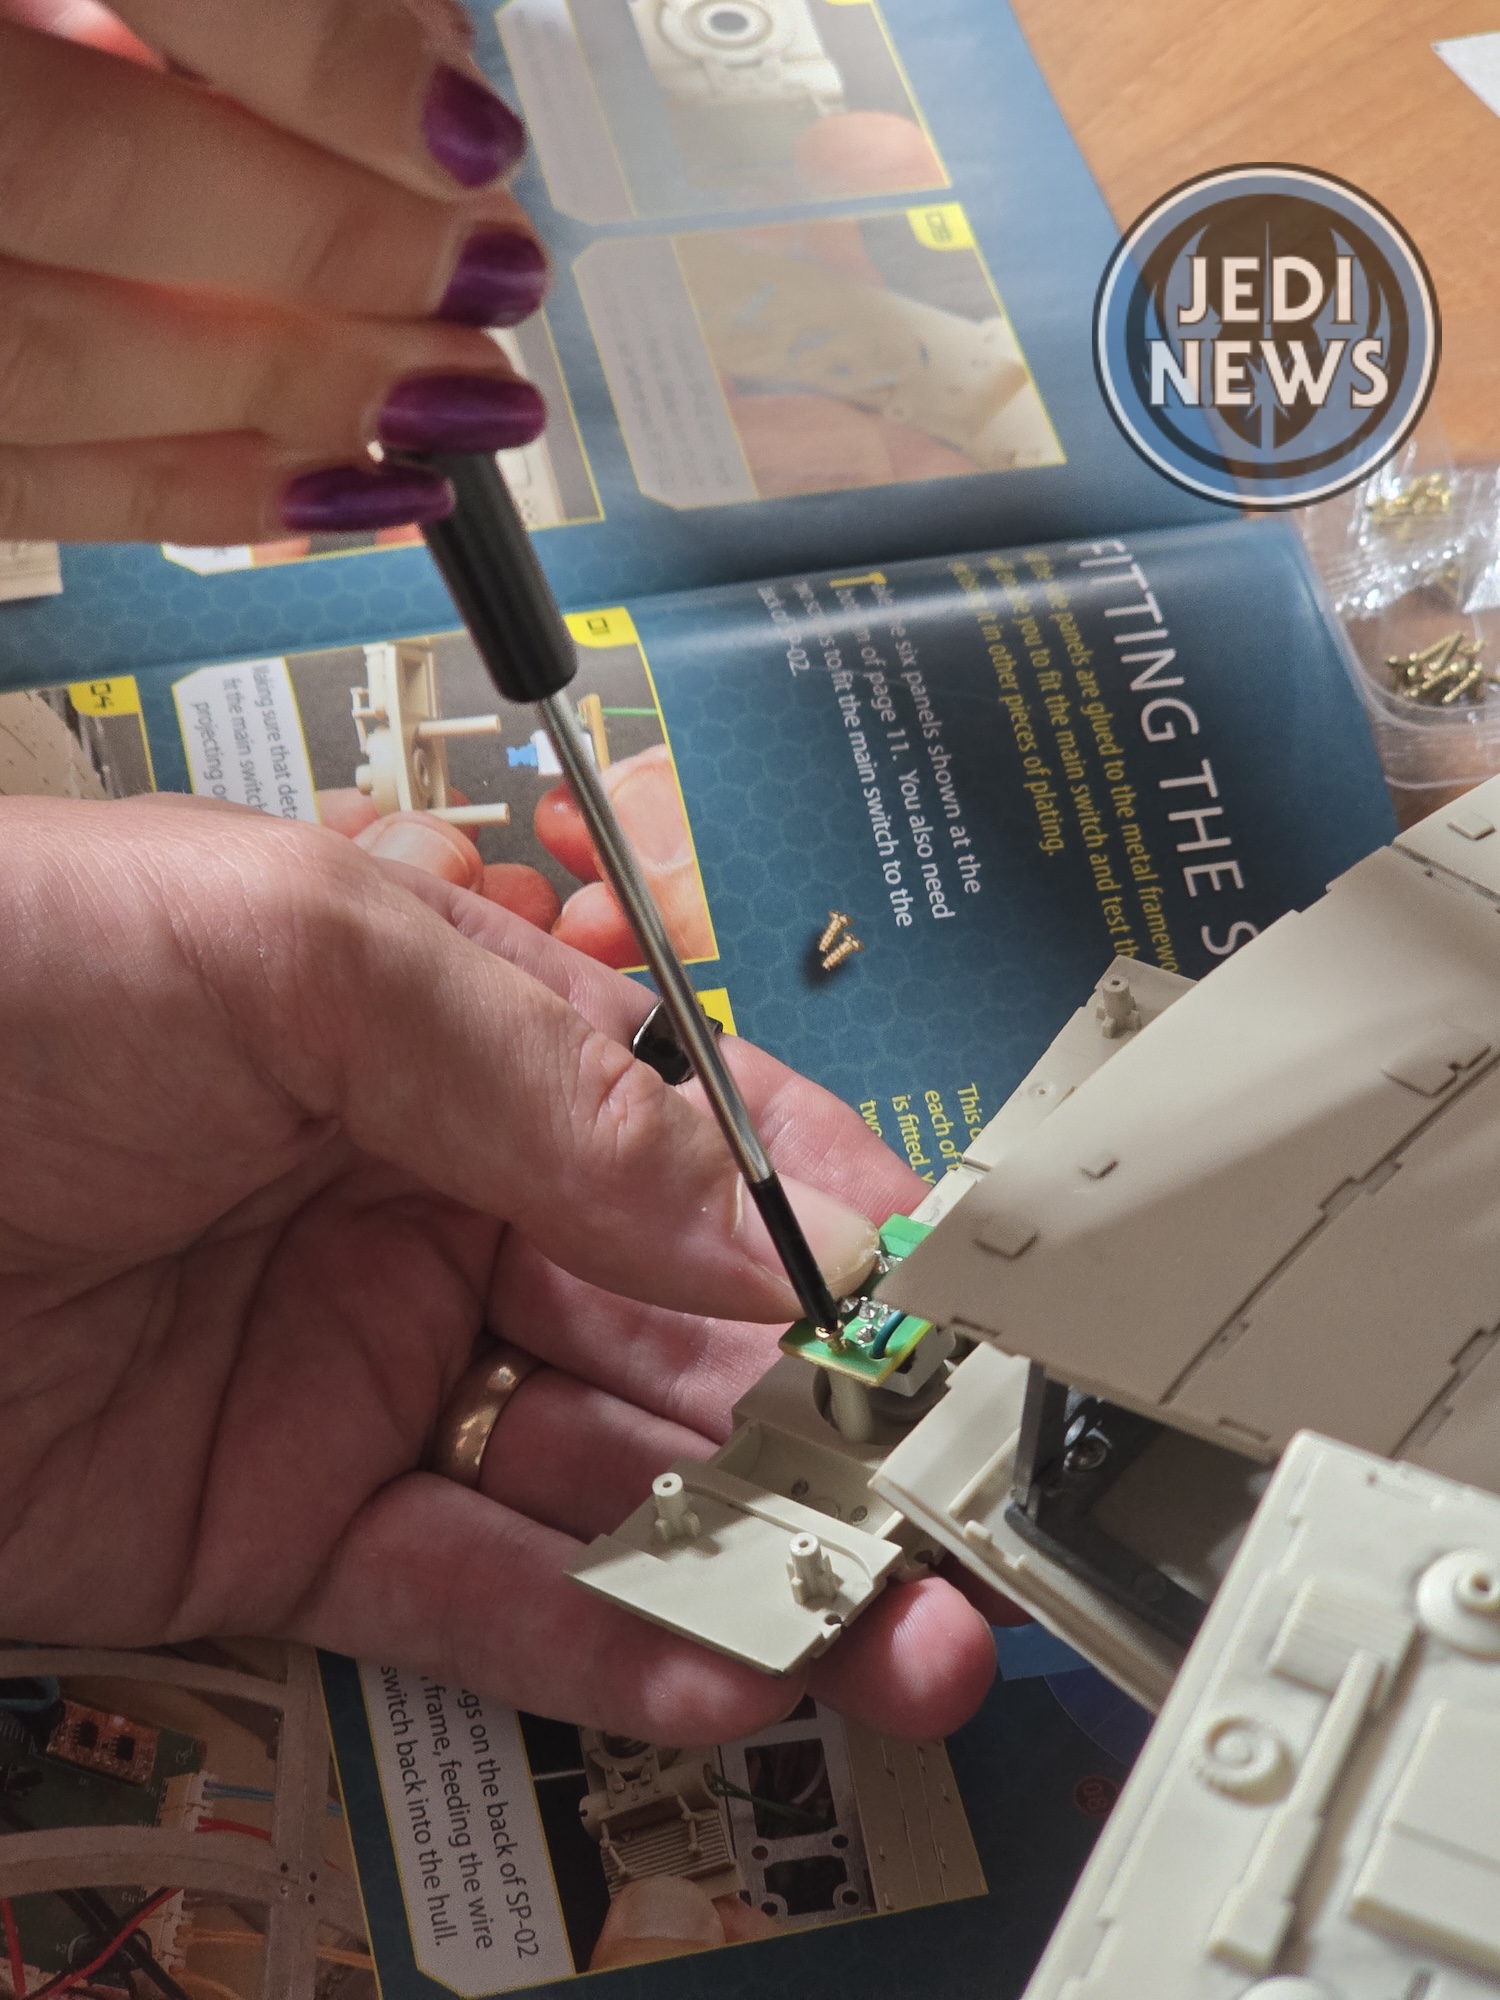
Do I want to say that it was a happy end, and no dry fitting was needed? I wish I could. For the most part it was fine and worked well but the last three pieces gave me a slight challenge, the first two which if I had done a dry run, would have meant I wouldn’t have had a problem. The instructions tell you to fit SP-08 and then SP-09. I did this with glue straightaway. I then looked at it, looked at the photo in the magazine and realized something was off. SP-09 has a lip on the join with SP-08, a join you can’t see in the photos. Working as quickly as I could, I quickly took Sp-09 off and then fed it under SP-08. It all clicked perfectly into place. If I was doing this again, 09 would go on before 08. I’m not quite sure why it is not like that in the instructions but be very careful. The last piece fits between the mandibles. I almost put glue on immediately but realized this was going to be tricky without wet glue getting in the way. You have to angle this side panel carefully and I wouldn’t do it without glue, it’ll go everywhere. Once the panel is in, lift the battery compartment out and attach glue that way. Much easier.
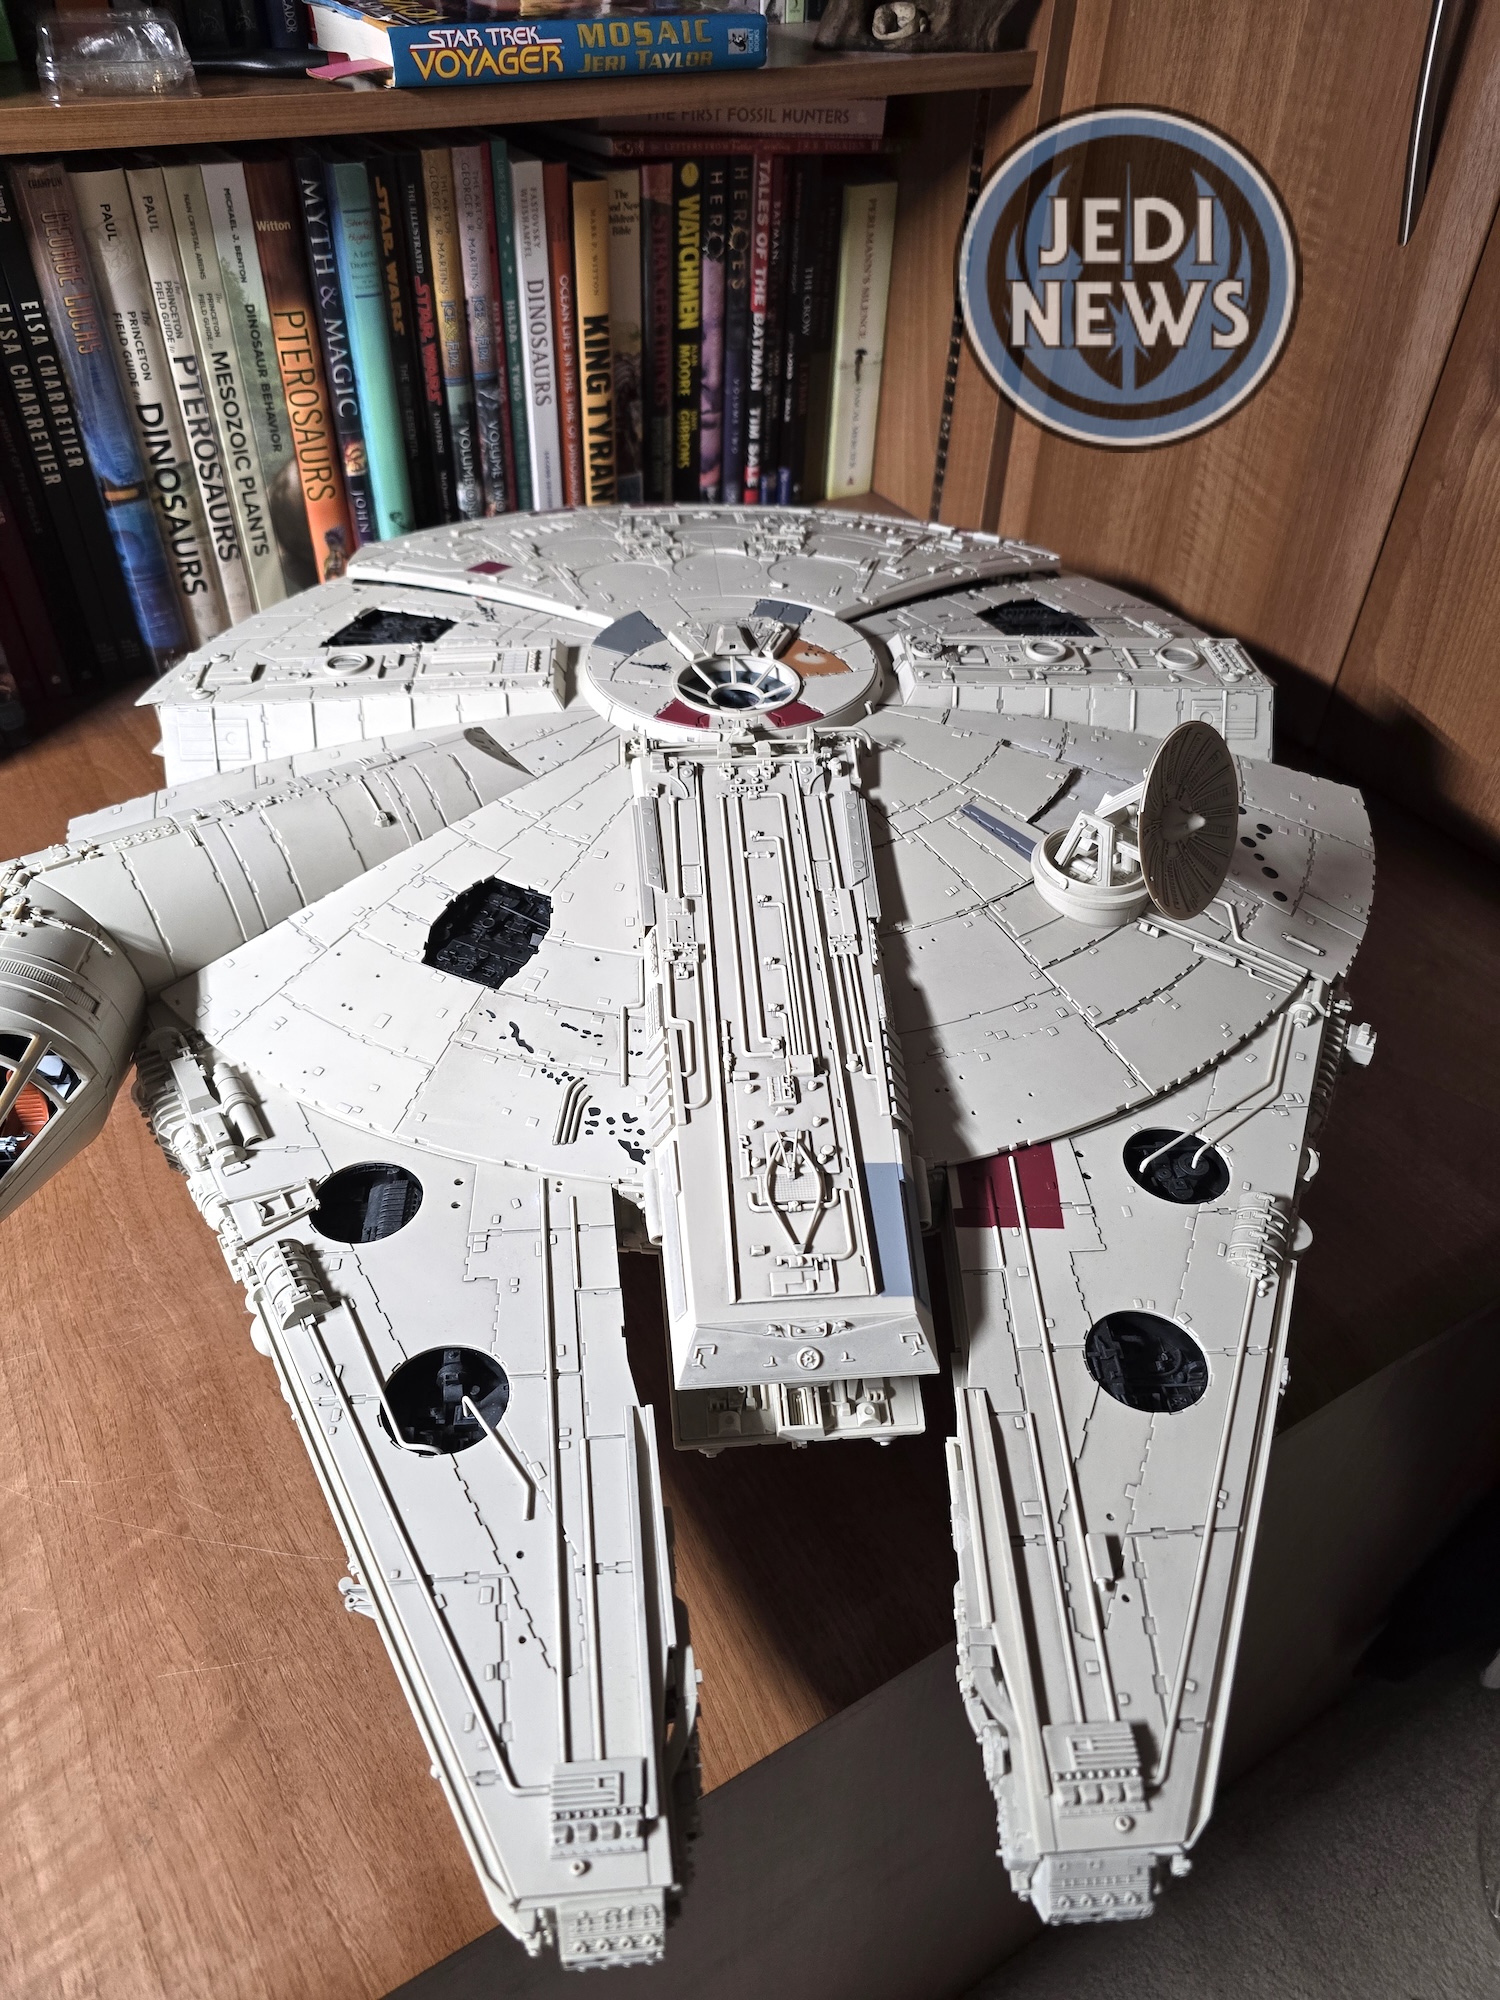


With that done, we were finished with the magazine. Although a fairly straightforward installment, it did have a couple of issues that we were – thankfully – able to overcome. I couldn’t help but get the other pieces and take a few shots. Let’s be honest, this ship is looking incredible. We’re not far off that finish line but every time I look at this model, I’m amazed that Ember and I have been able to construct something so big, so detailed together. I can’t wait for the next magazine!
