



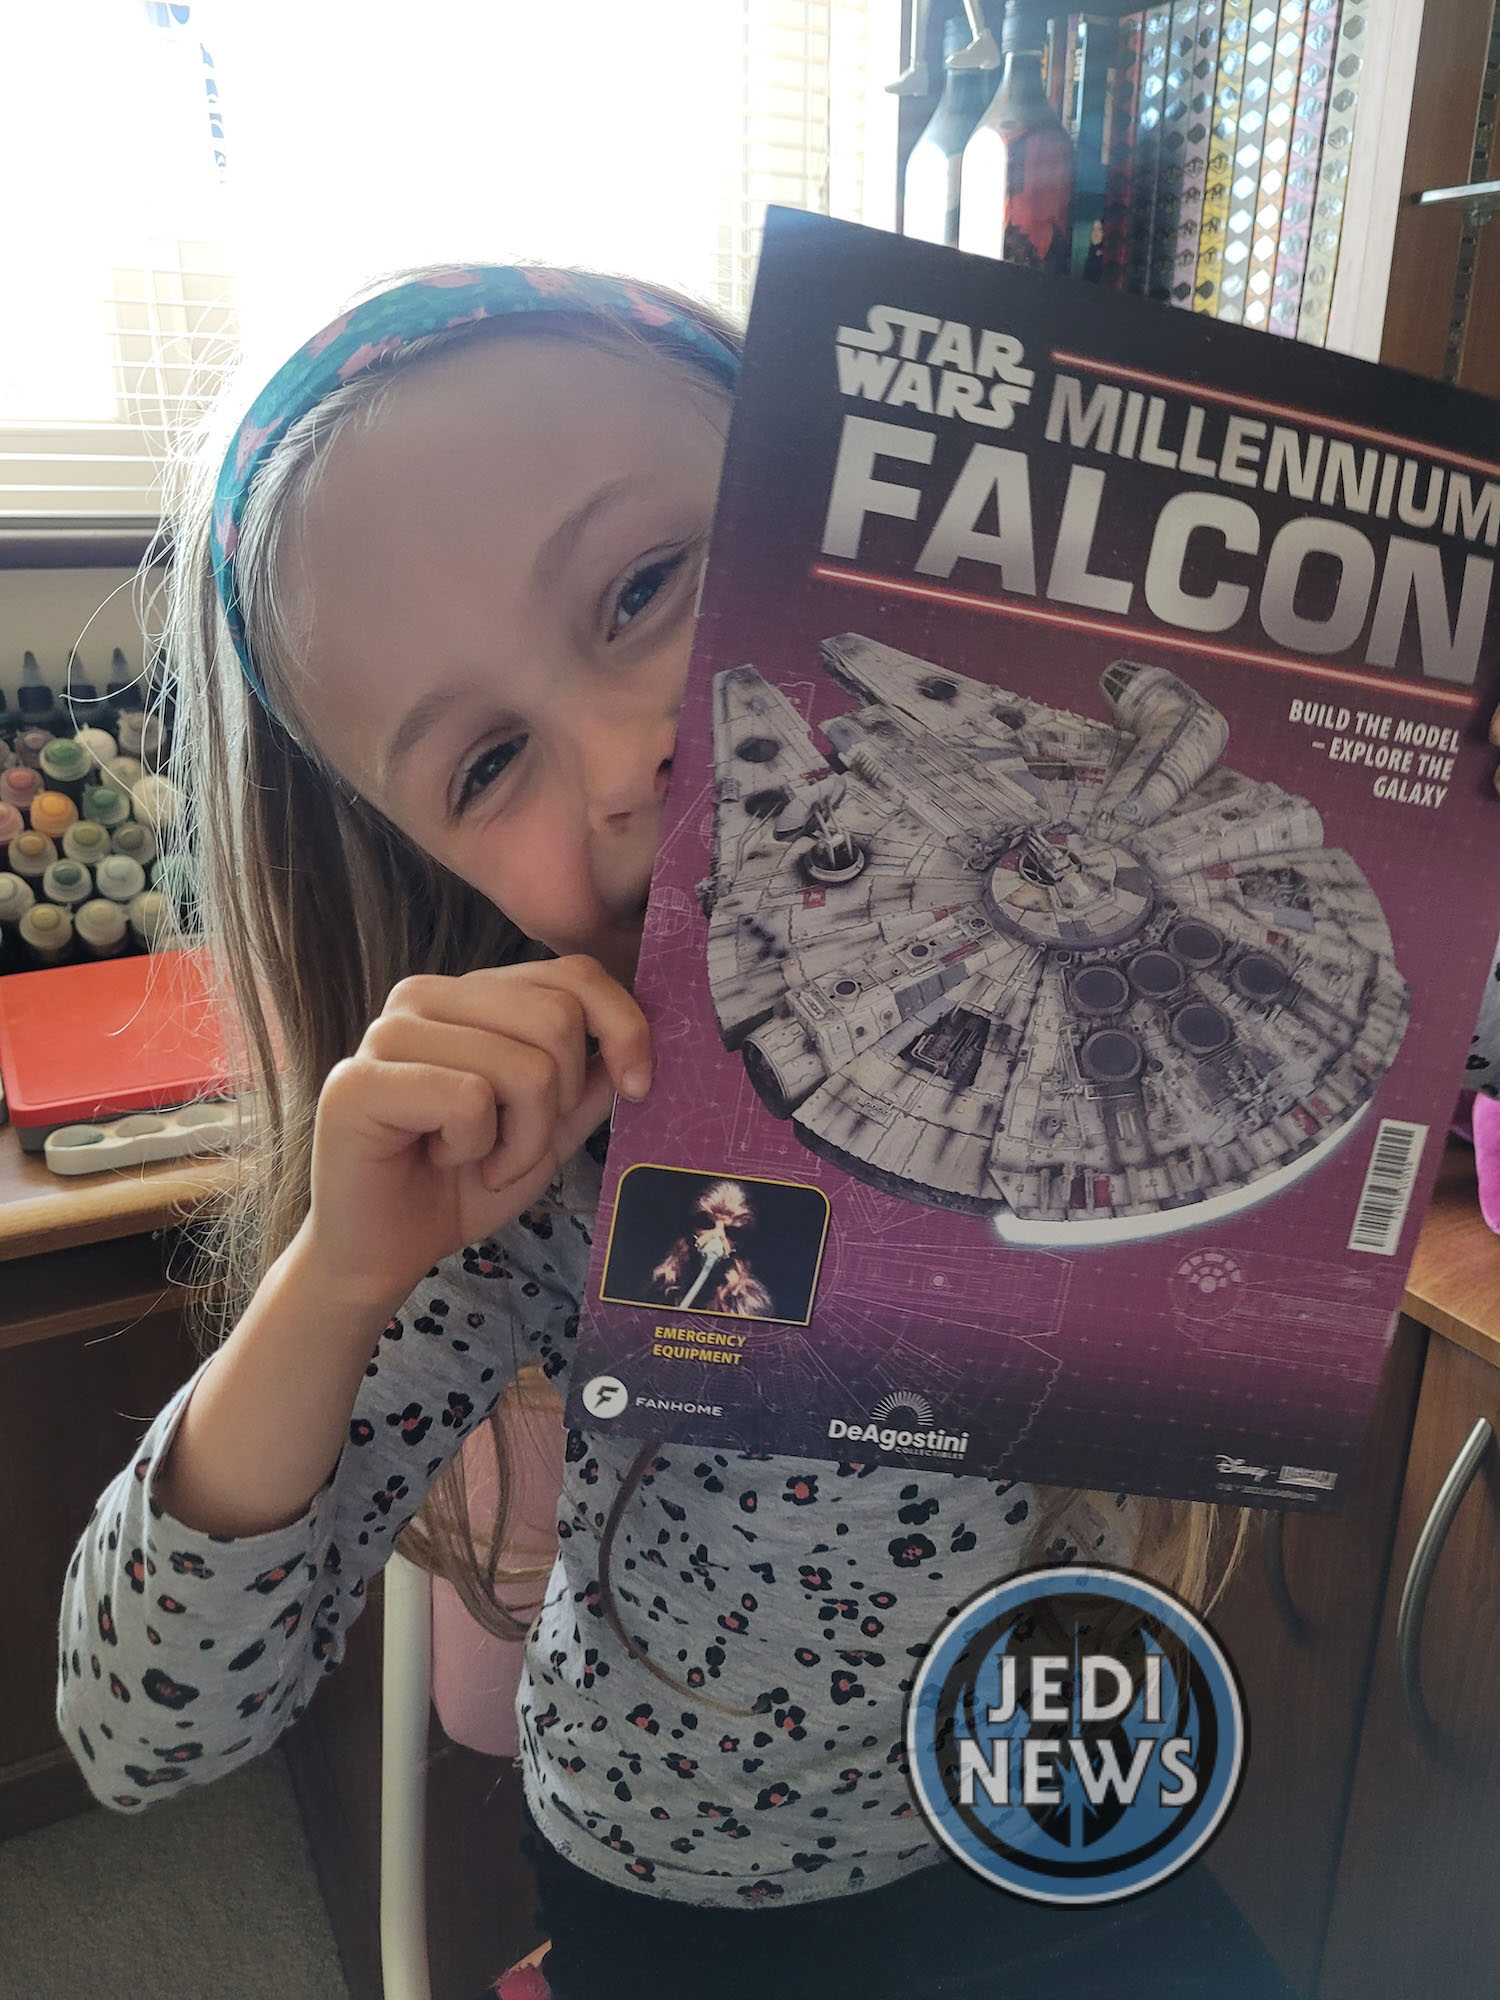
Finishing part 17 – constructing part of the corridor from the hold to the cockpit – it was time for my seven-year-old daughter (Ember) and myself to embark on the next issues of the Millennium Falcon build. The last few issues have had a lot to do, and, in a sitting, Ember and I have only been able to manage a single issue. Not a complaint, I mean the busier the issues, the more time we can spend on them. There has been a mixture of working on the interior of the Falcon and the outer hull. These issues would see a change to that.
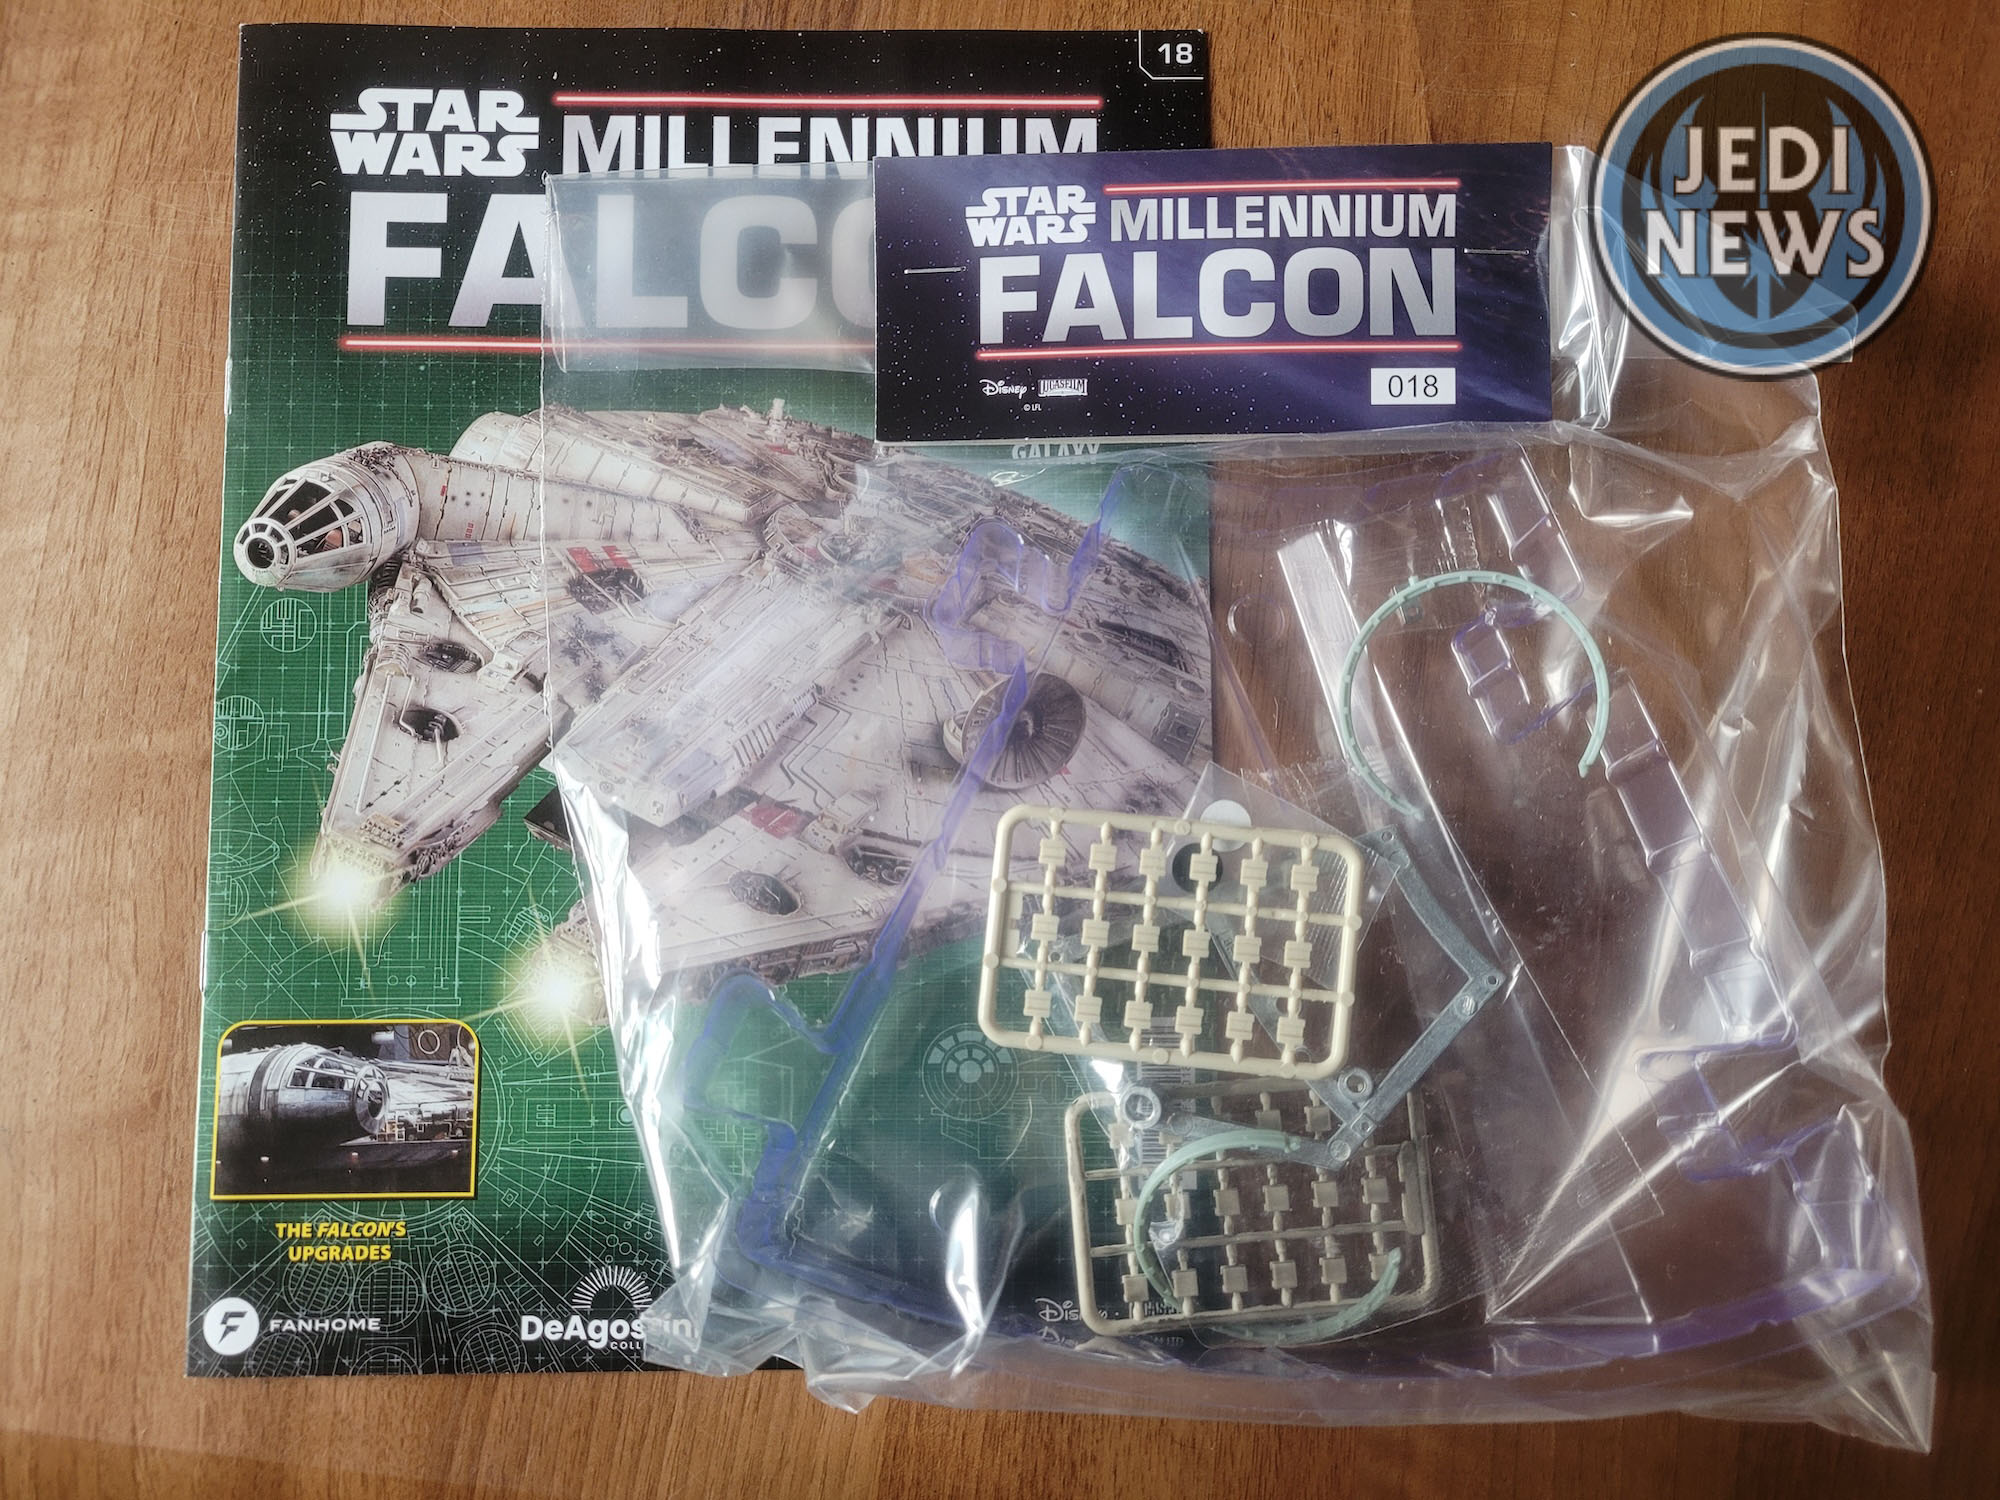
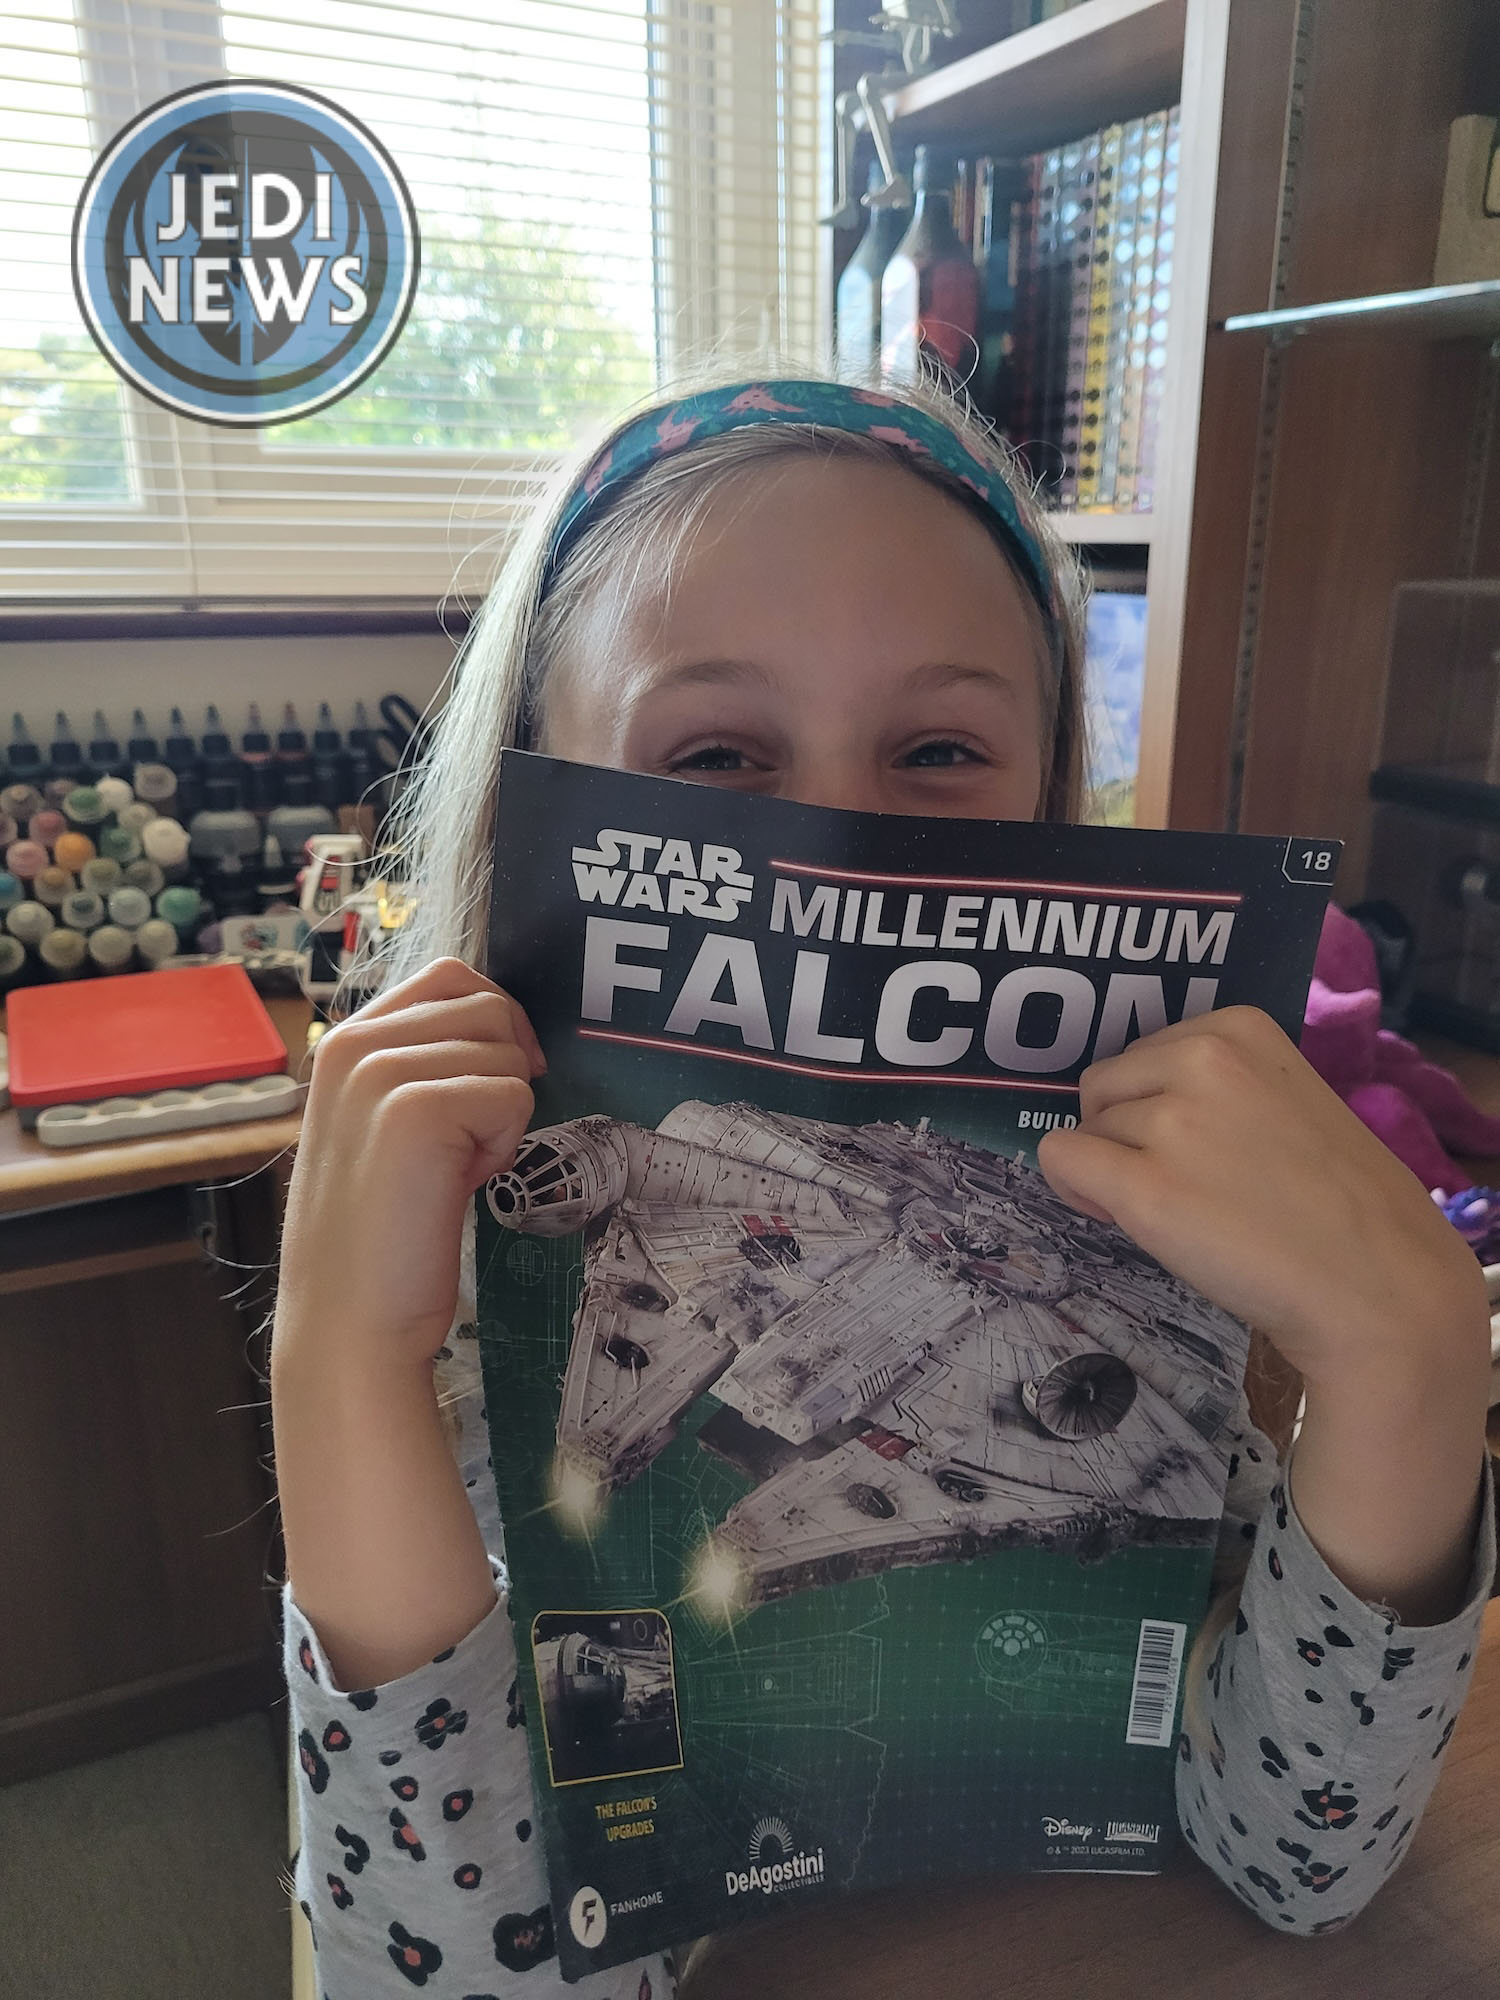
As always, I do a quick look through the issues before I begin with Ember. This is so I can prepare myself for any issues that might arise, sort any painting that needs doing before construction and also to work out how many issues Ember and I can manage. Looking through issue 18, I did get distracted by the magazine itself. Let’s be honest, if you are subscribing to the build, it’s for the build, it’s for the constriction, it’s for the end product. It’s easy to forget that there is a wealth of information in these issues to read. What caught my attention was the interior layout for the Falcon. For Ember, this created a fantastic visual for her to see what we had been constructing, where the different pieces fitted together and how it all fit inside the Falcon itself. It was a very helpful visual.
The build itself wasn’t just the hull, nor the interior, it was both. There would be some screwing of the hull frame – Ember’s favourite part – and some more construction of corridor arches. Easy enough to do, repeating skills Ember has already learnt, but also building up both areas of the Falcon we’d been working on. I really liked this and I’m sure the shorter activities in both areas would work brilliantly with Ember. Looking at the back, there were also instructions on the assembly jig. Since receiving the delivery, which had a larger delivery box, I had been wondering what the big plastic shells were for. They are explained here. They are to support the hull during building, scaffolding for your starship construction. Very cool if I do say so! They aren’t needed just yet so will have to be set aside, but the thought that has gone into providing them to keep the hull safe is very much appreciated.
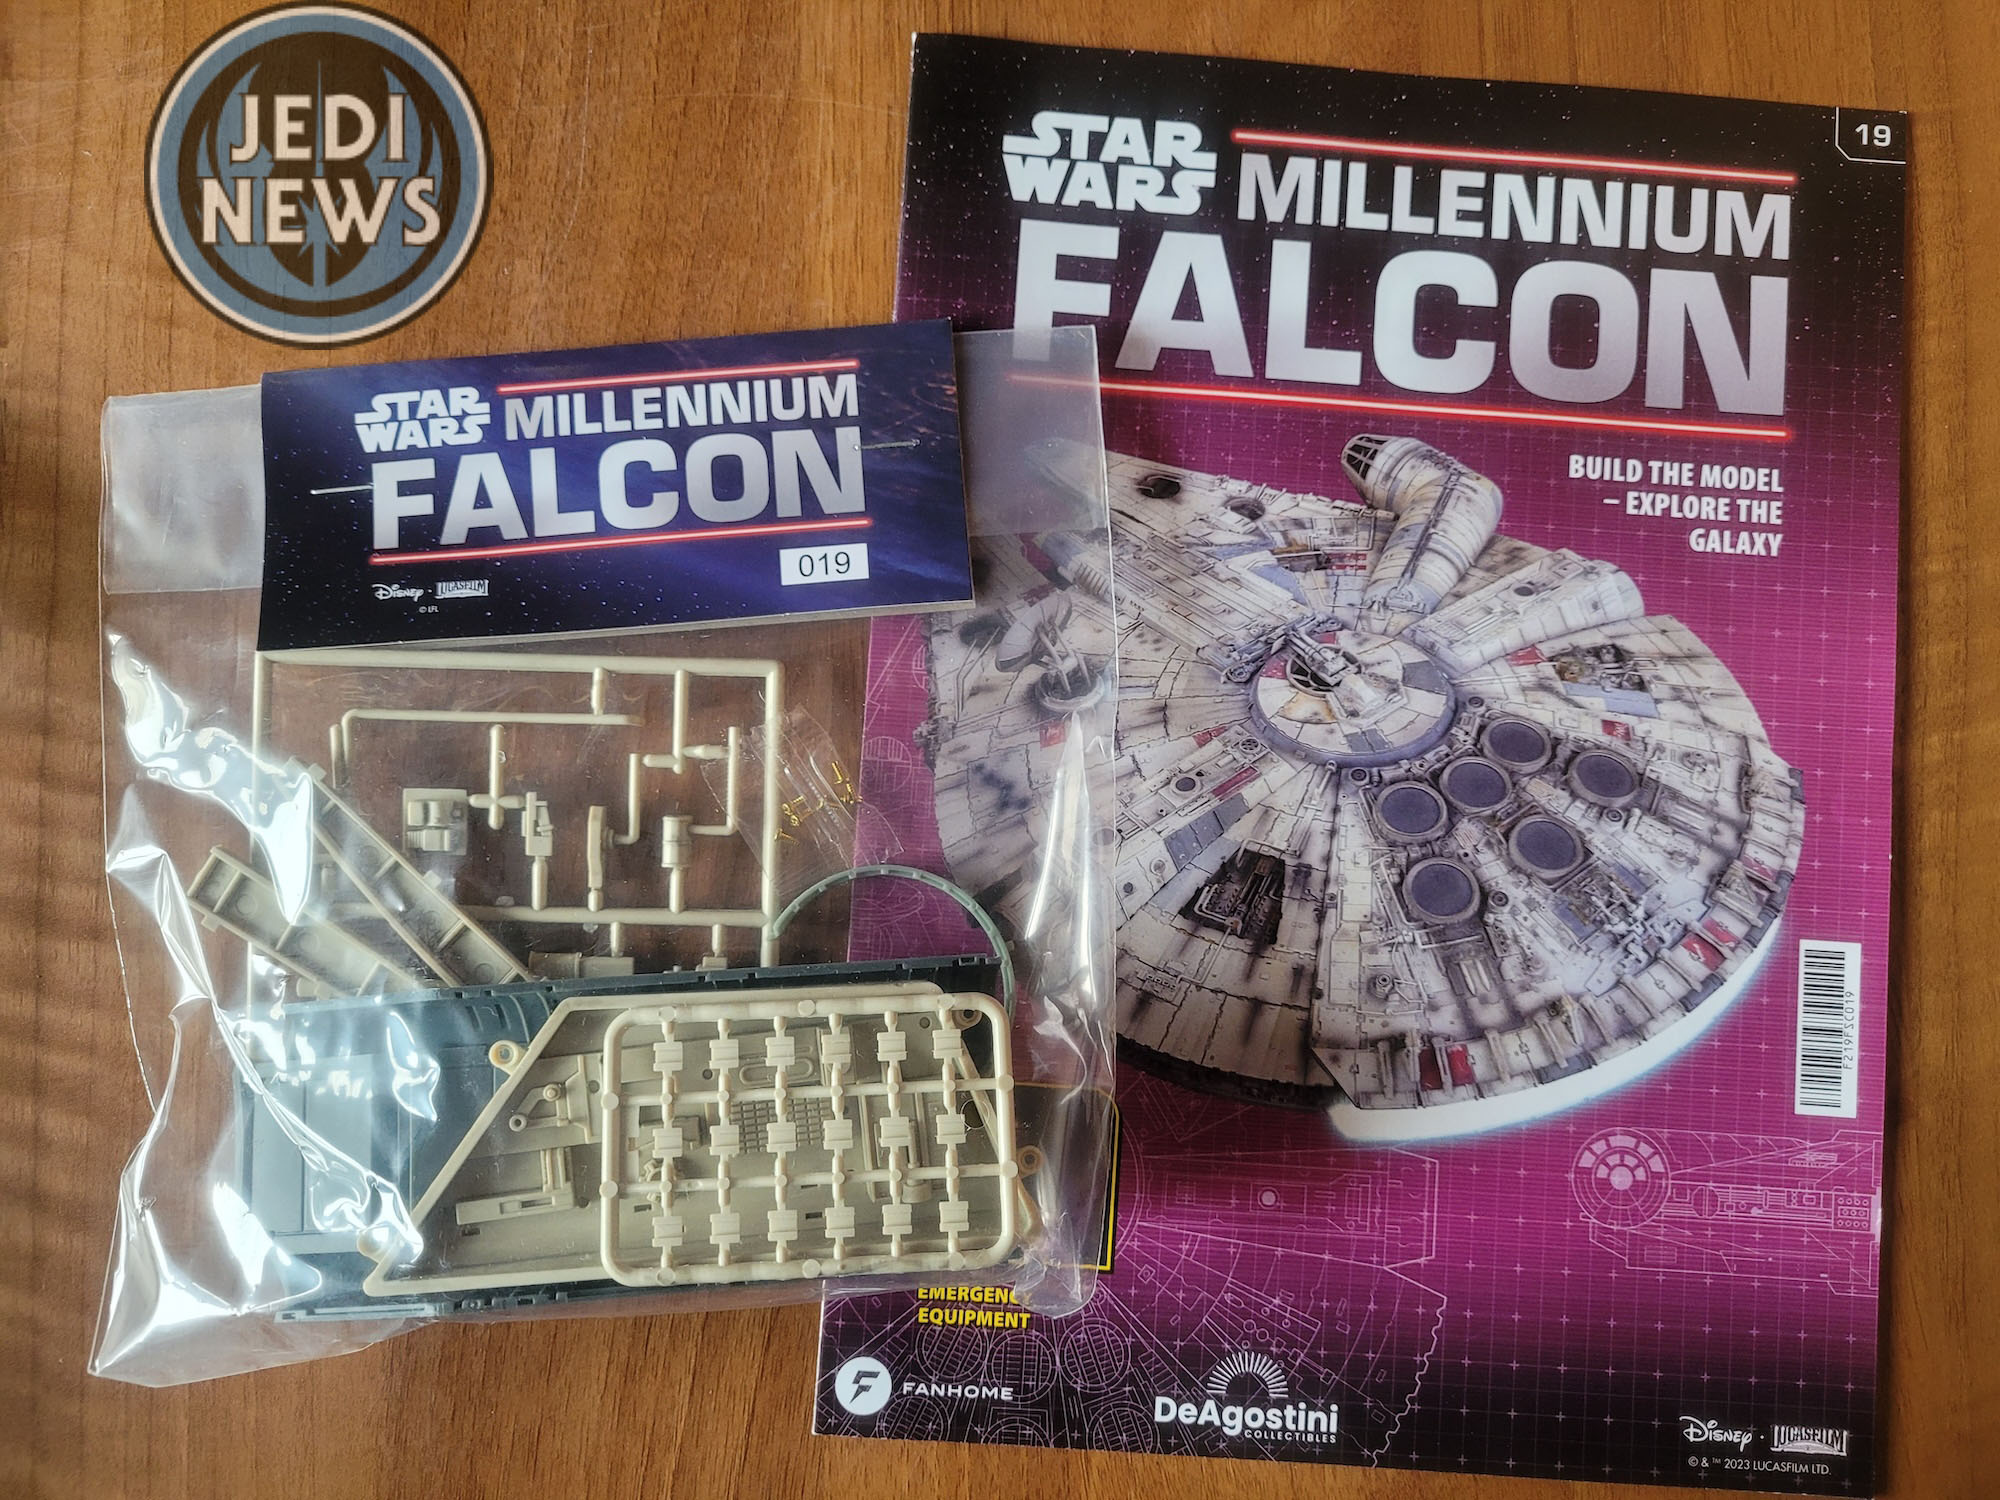
Realising that part 18 would be a simple task for Ember and me, I thought we’d probably be able to manage issue 19 as well so started to have a scout through the issue. Talk about good timing, the magazine starts with a look at the y-wings as they appear in The Clone Wars. The night before I had just shown Ember this episode for the first time. Well, that was goodbye to the magazine for a few minutes as she read up on y-wings! Once it was returned, I carried on looking through what builds we would be doing. Like issue 18, there were two sections: a recess for the hull and assembling the passage tube. Two shorter activities again, perfect! This was shaping up to be the perfect duo of issues for us to work on.
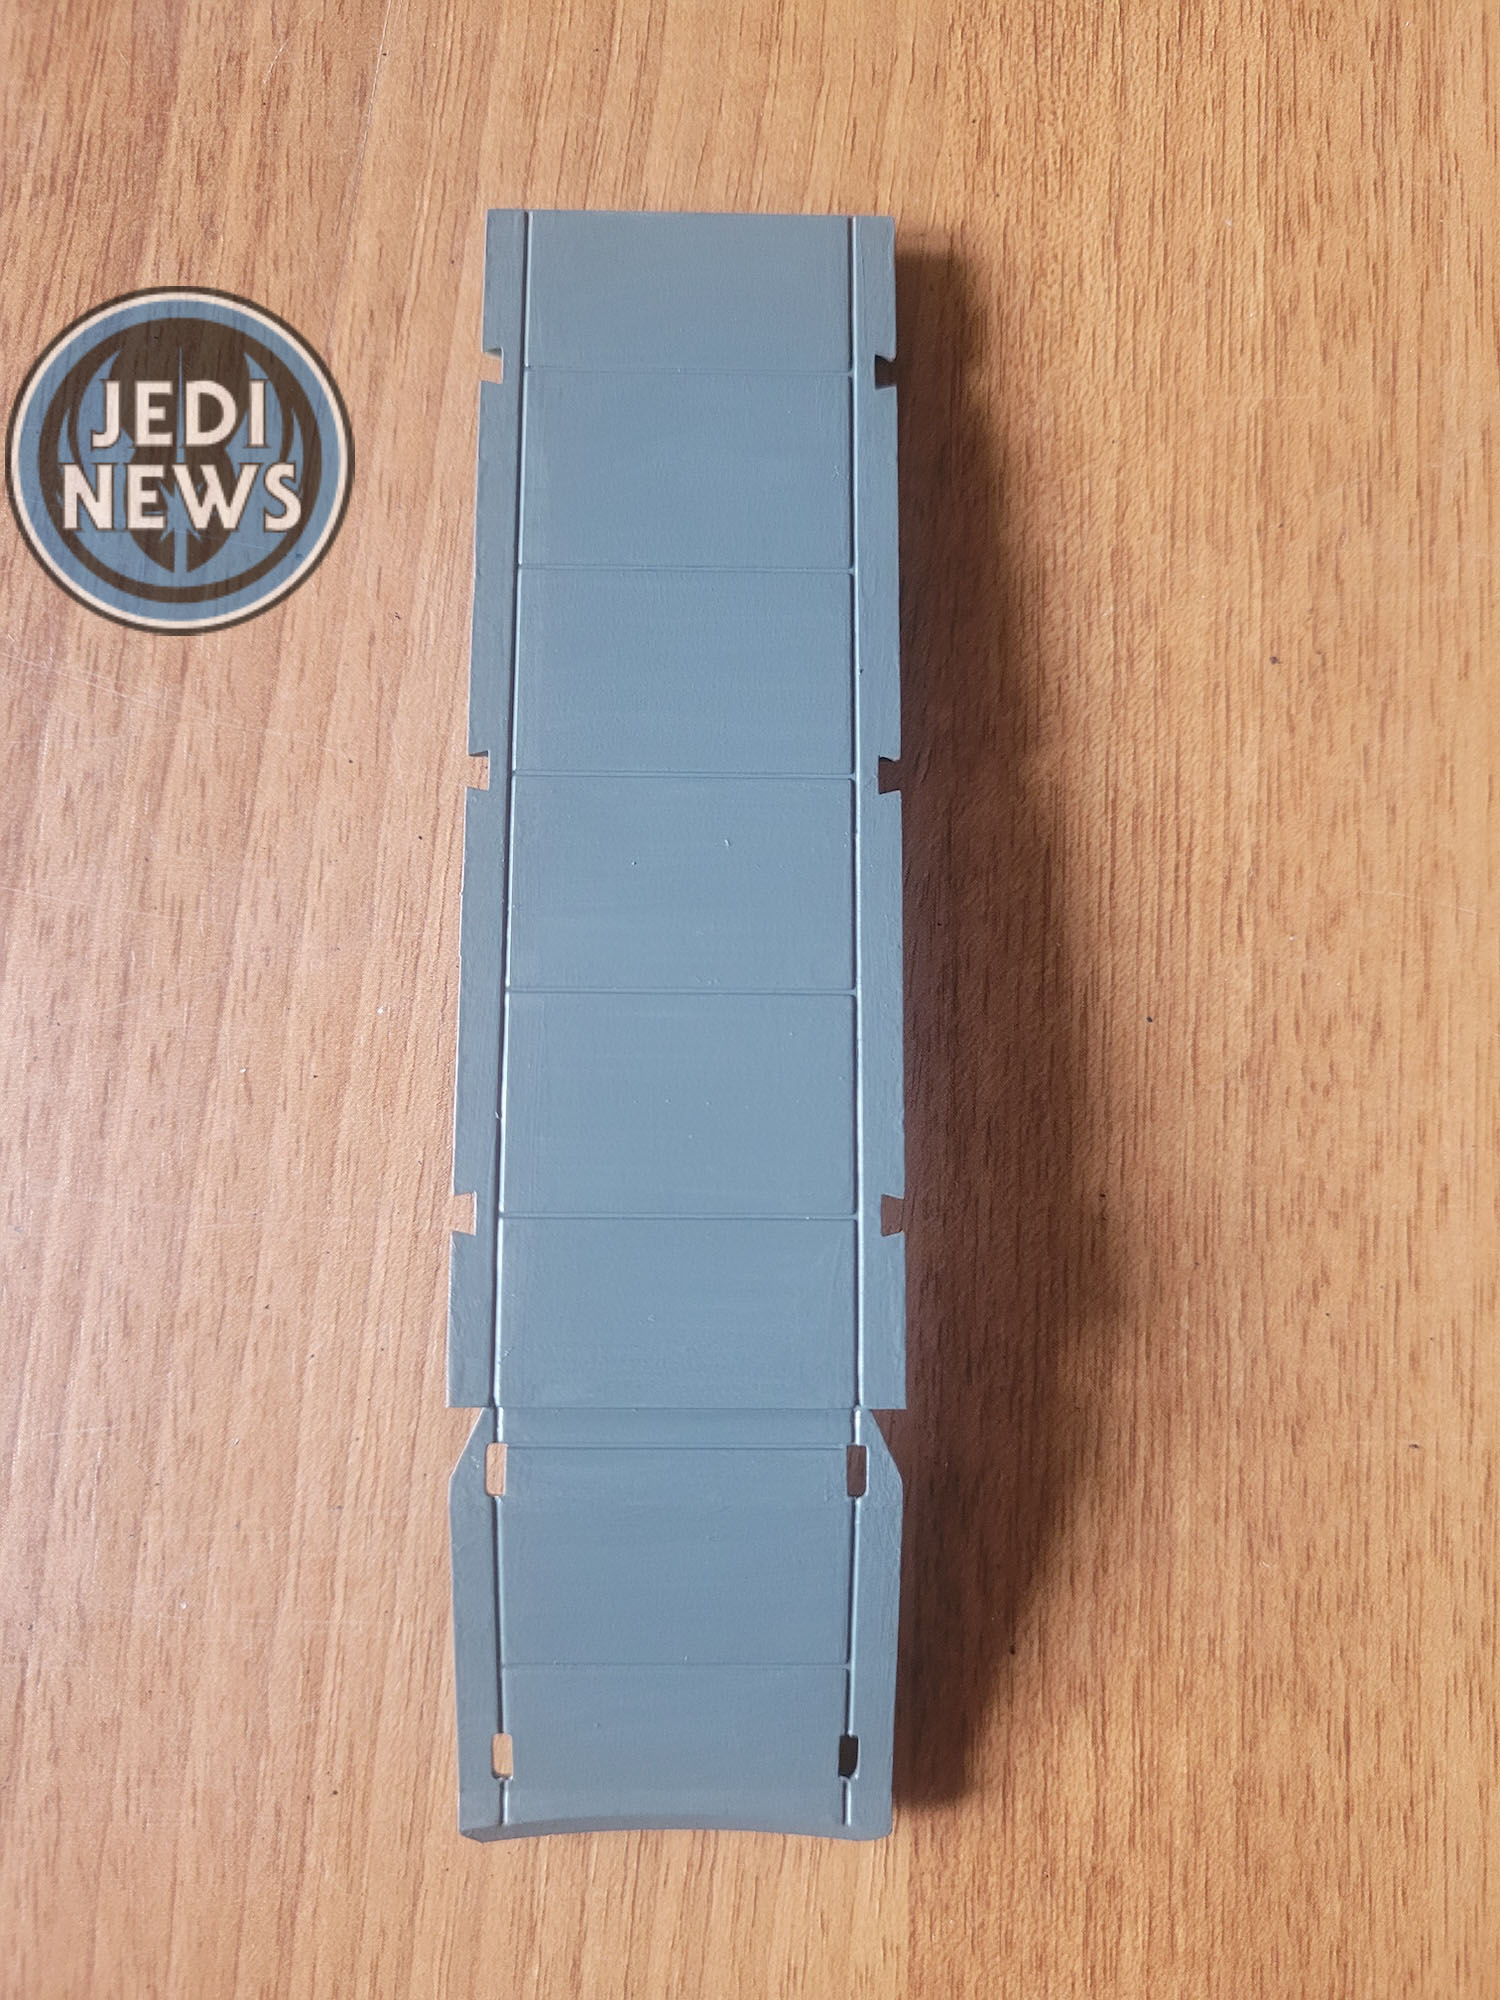
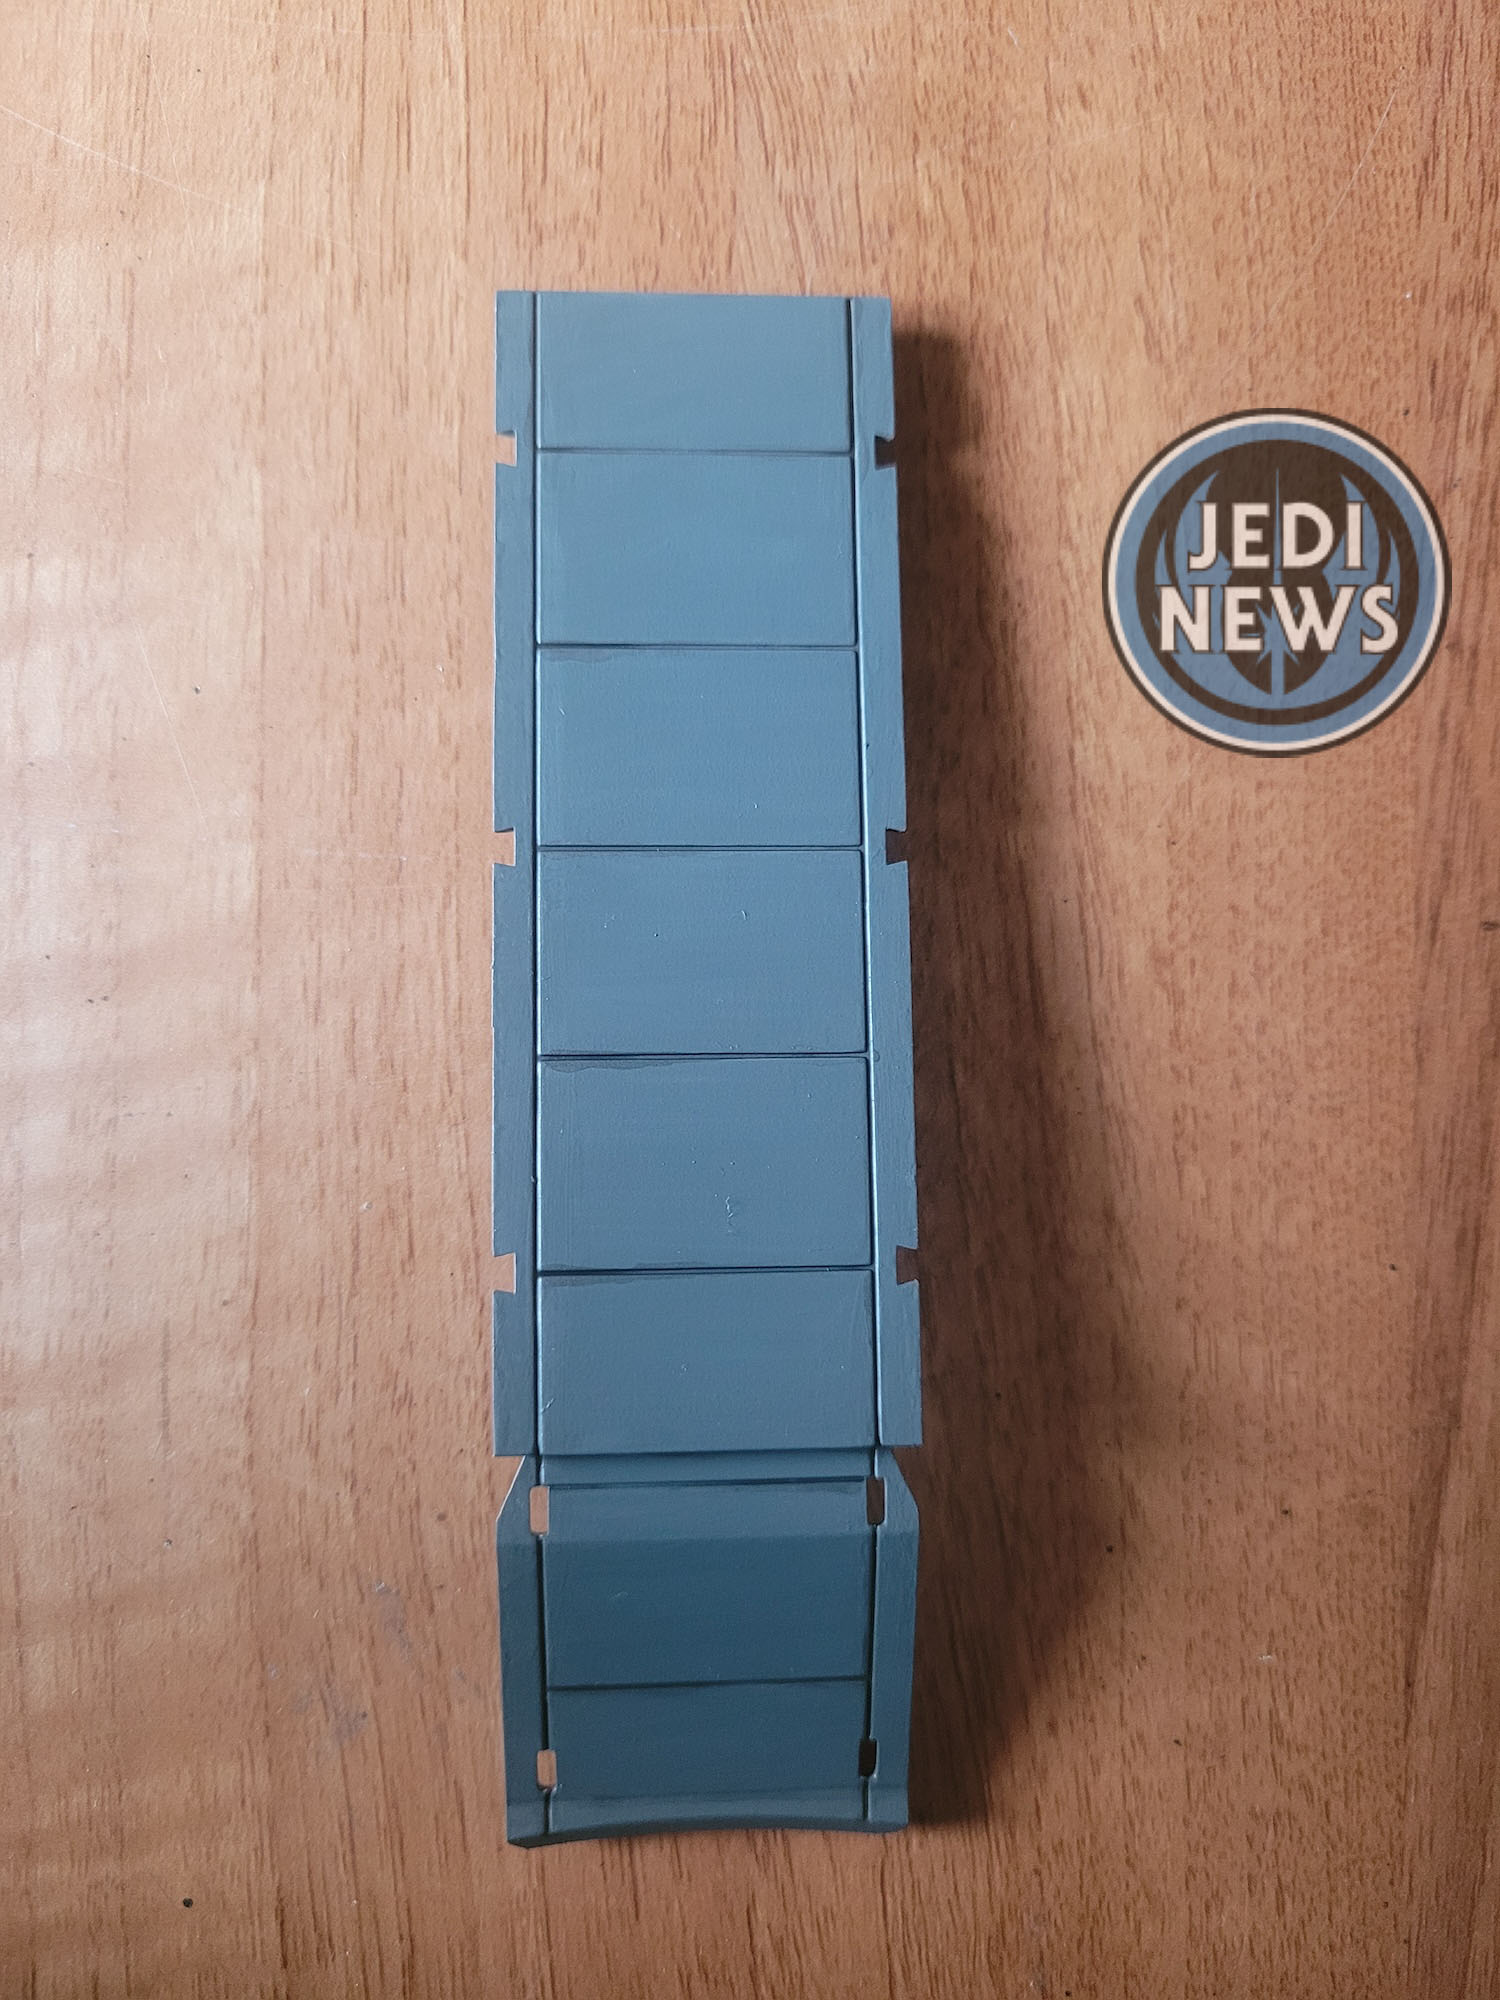
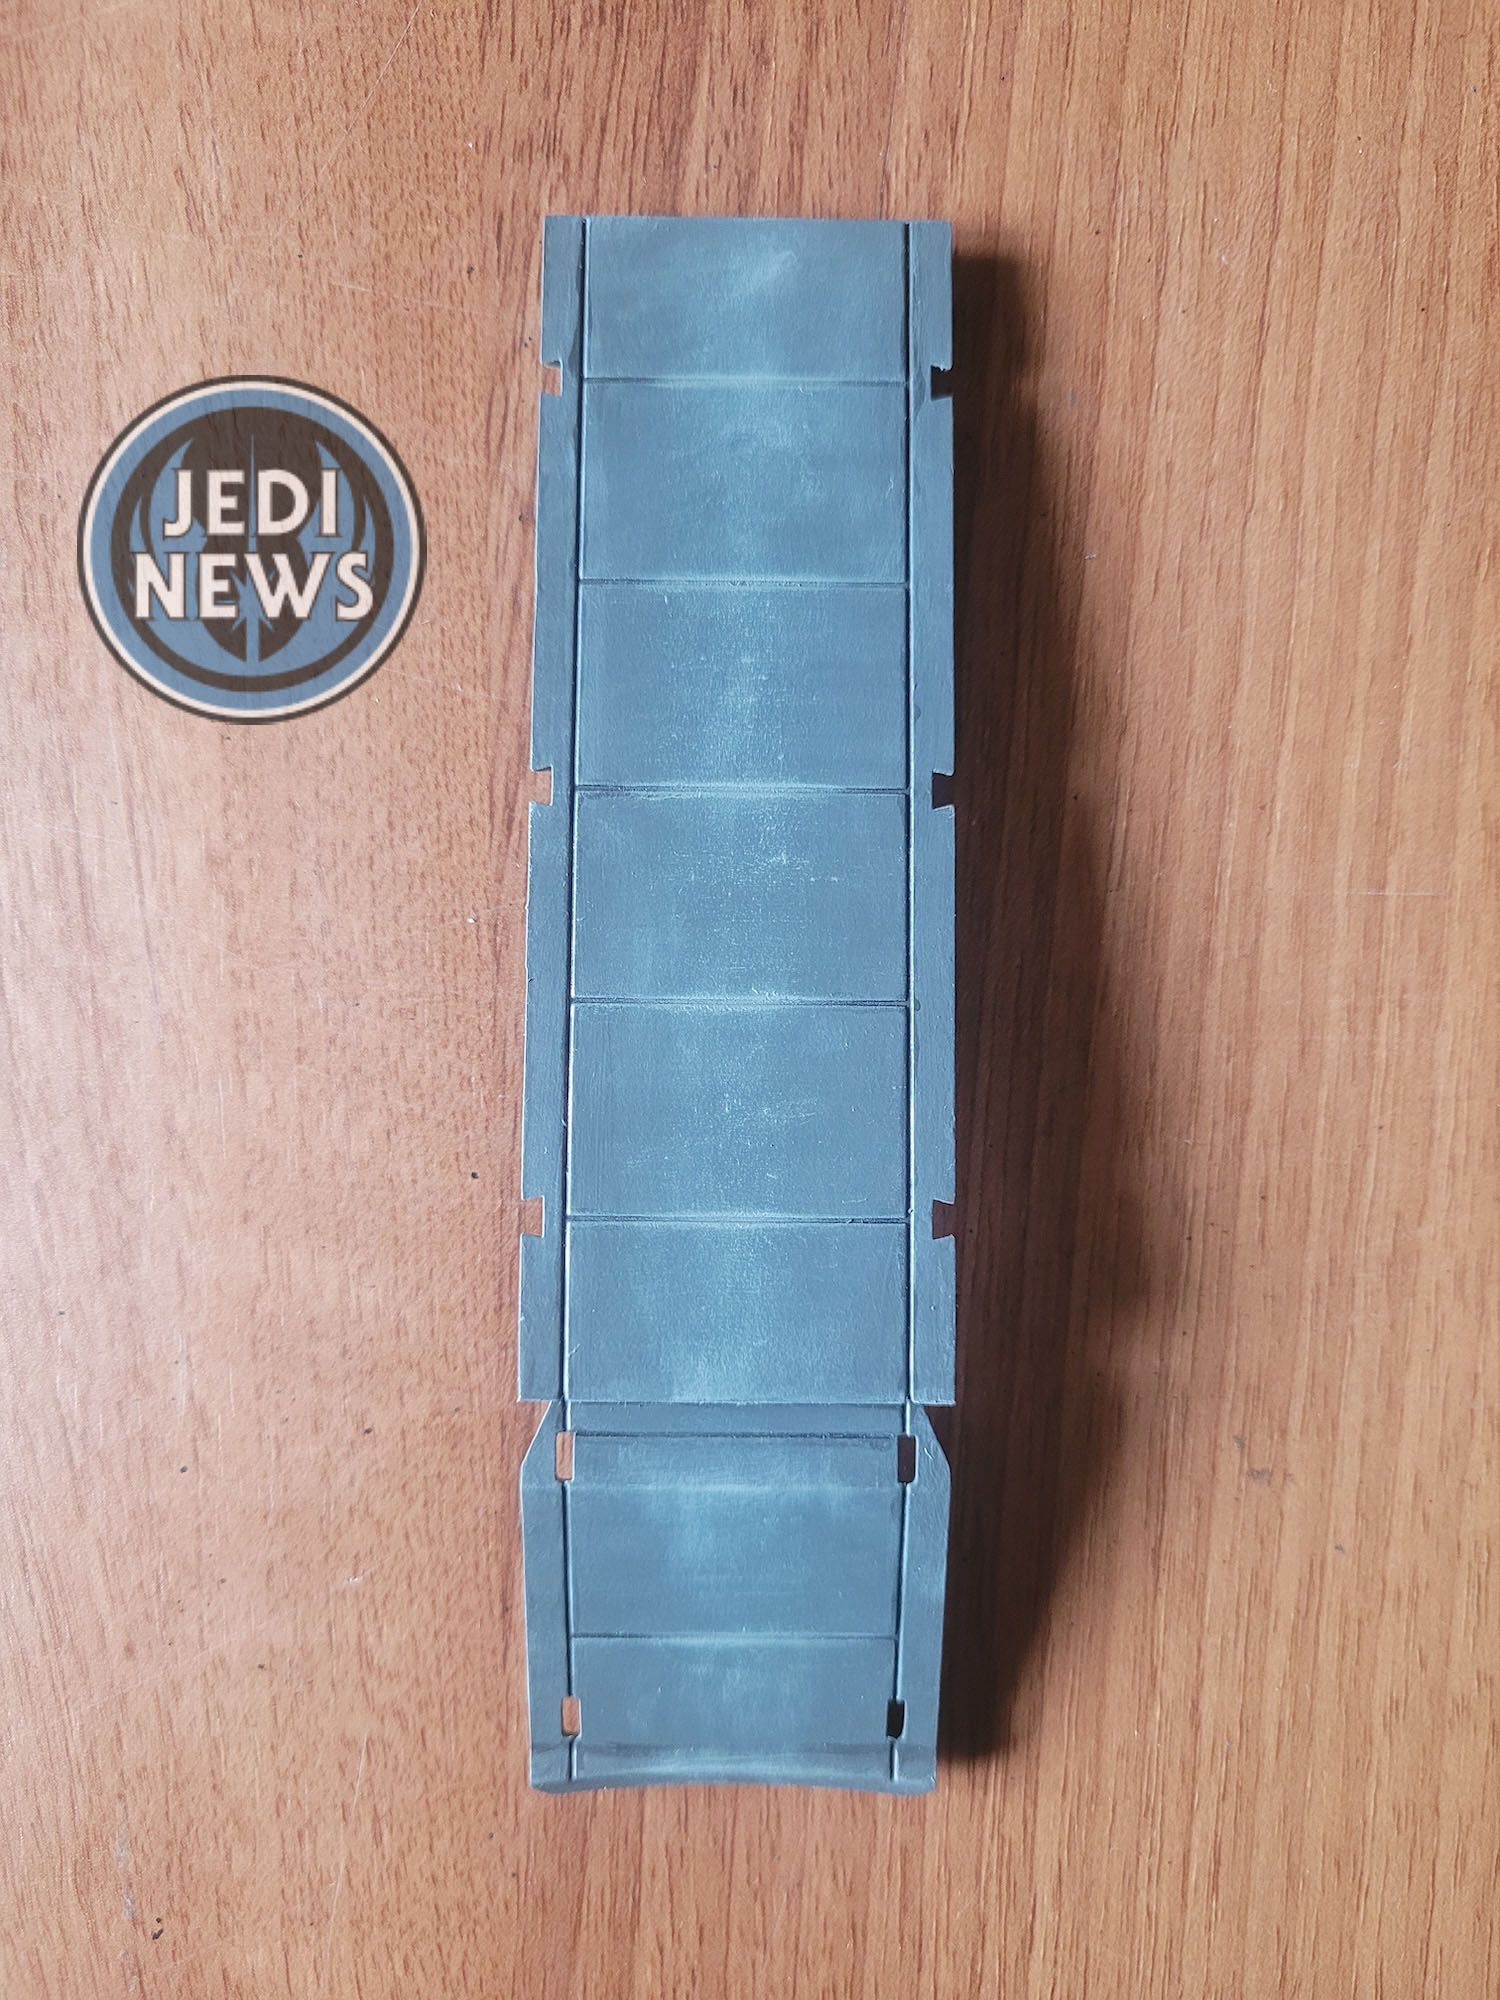
So, what needed doing before we could start? The first thing that jumped out at me was the floor for the passage tube. I haven’t wanted to put too much effort into the interior of the Falcon. When assembled it looks pretty good, but I was also very aware that I would be displaying this mounted on the wall, you wouldn’t see the interior. What I had done was paint the floor of the hold and last issues corridor. The passage tube would be part of the same floor and would need painting. As always, I was using Archive X paints, a match in colour to the paint used by ILM in the seventies and eighties. With a wash and some dry brushing, the floor was ready to go. The other thing I noticed was the issue mentions about painting the recess. It says it’ll be easier than once it is assembled. I have plans to paint the Falcon in Archive X paints when it is fully constructed and not knowing which paints to use just yet, I don’t want to paint any of the hull just yet. What I will do is spray the recess with an undercoat of black. This means any parts I can’t reach when I’m painting it later will be black and won’t look out of place.

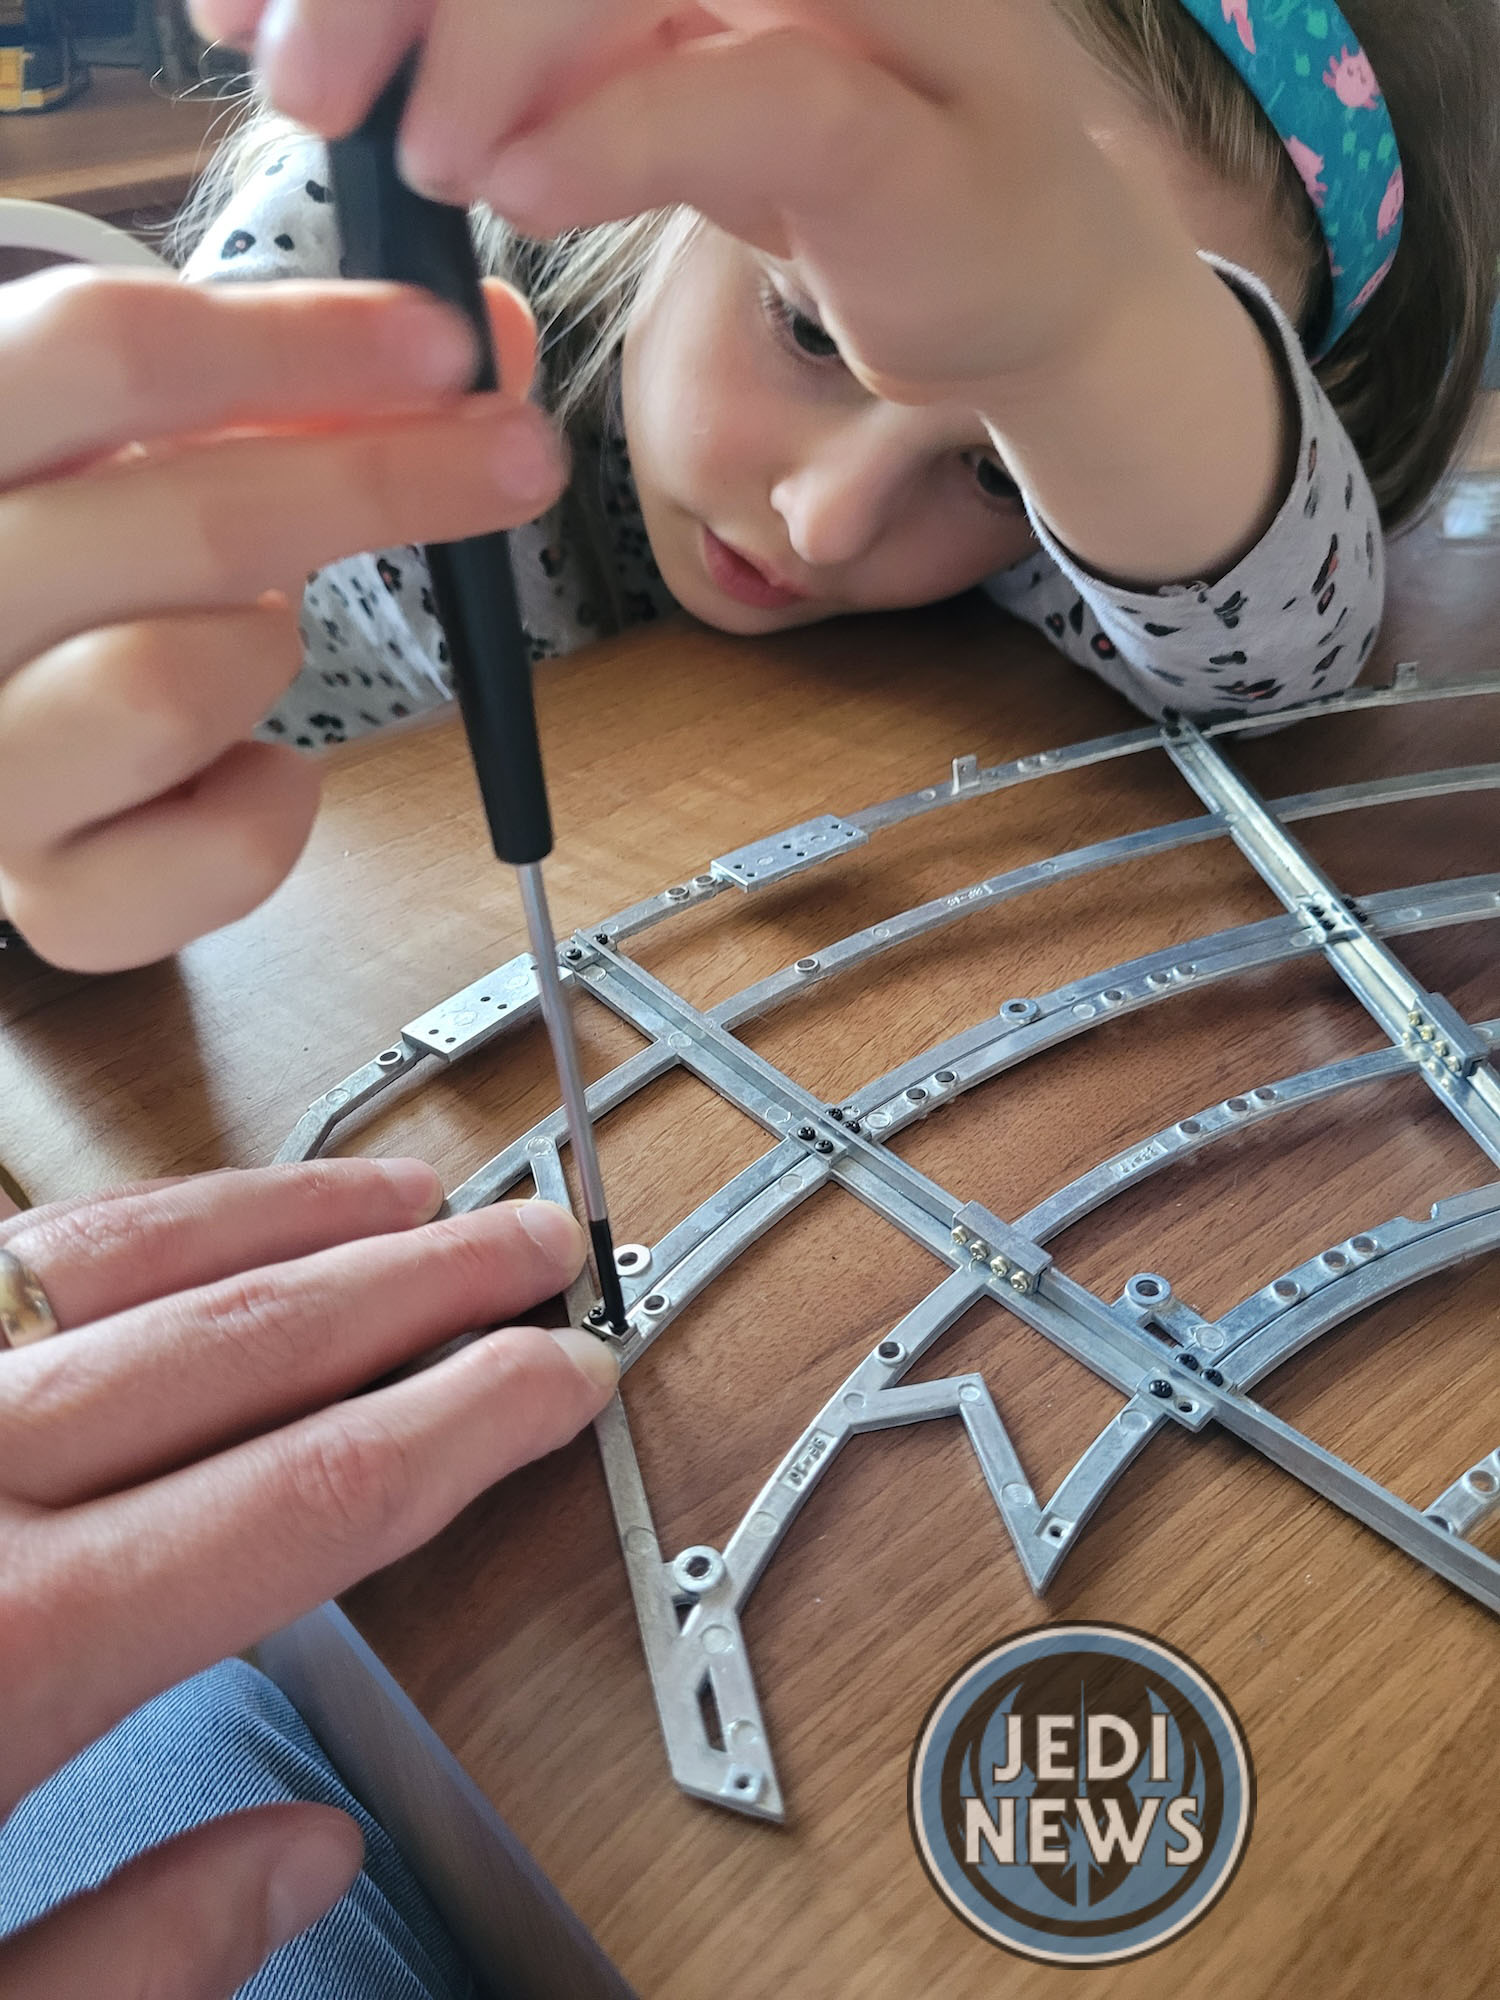
With everything prepped and painted, we were ready to begin our construction. Before we could actually start with the instructions from issue 18, we had to go back to issue 16 and fit part BF-19. It had said that issue, that you might want to leave this part till now as it wouldn’t have much support. Ember and I fitted it now and it was very obvious why the advice had been given; it really didn’t have enough support. Fitting the two-hole connector that you do in issue 18, really gives it far more support. And we continued fitting the three parts together on the frame. Ember – as always – loved this part. She loves finding the screws, lining them up, and fixing it securely. She knew what she was doing. When the additions to the frame were done, she looked down in amazement as the size of the hull just keeps growing.
Once this was done, we left the hull plating as it was advised not to attach them. This just left the corridor arches. This was fine to do, Ember clipping, myself glueing. We knew what needed doing and Ember is confident enough now that I can leave her to the clipping. Yet after two arches, I was ready to stop in that particular area! It was a short issue and Ember, and I were both ready to push forward to issue 19.
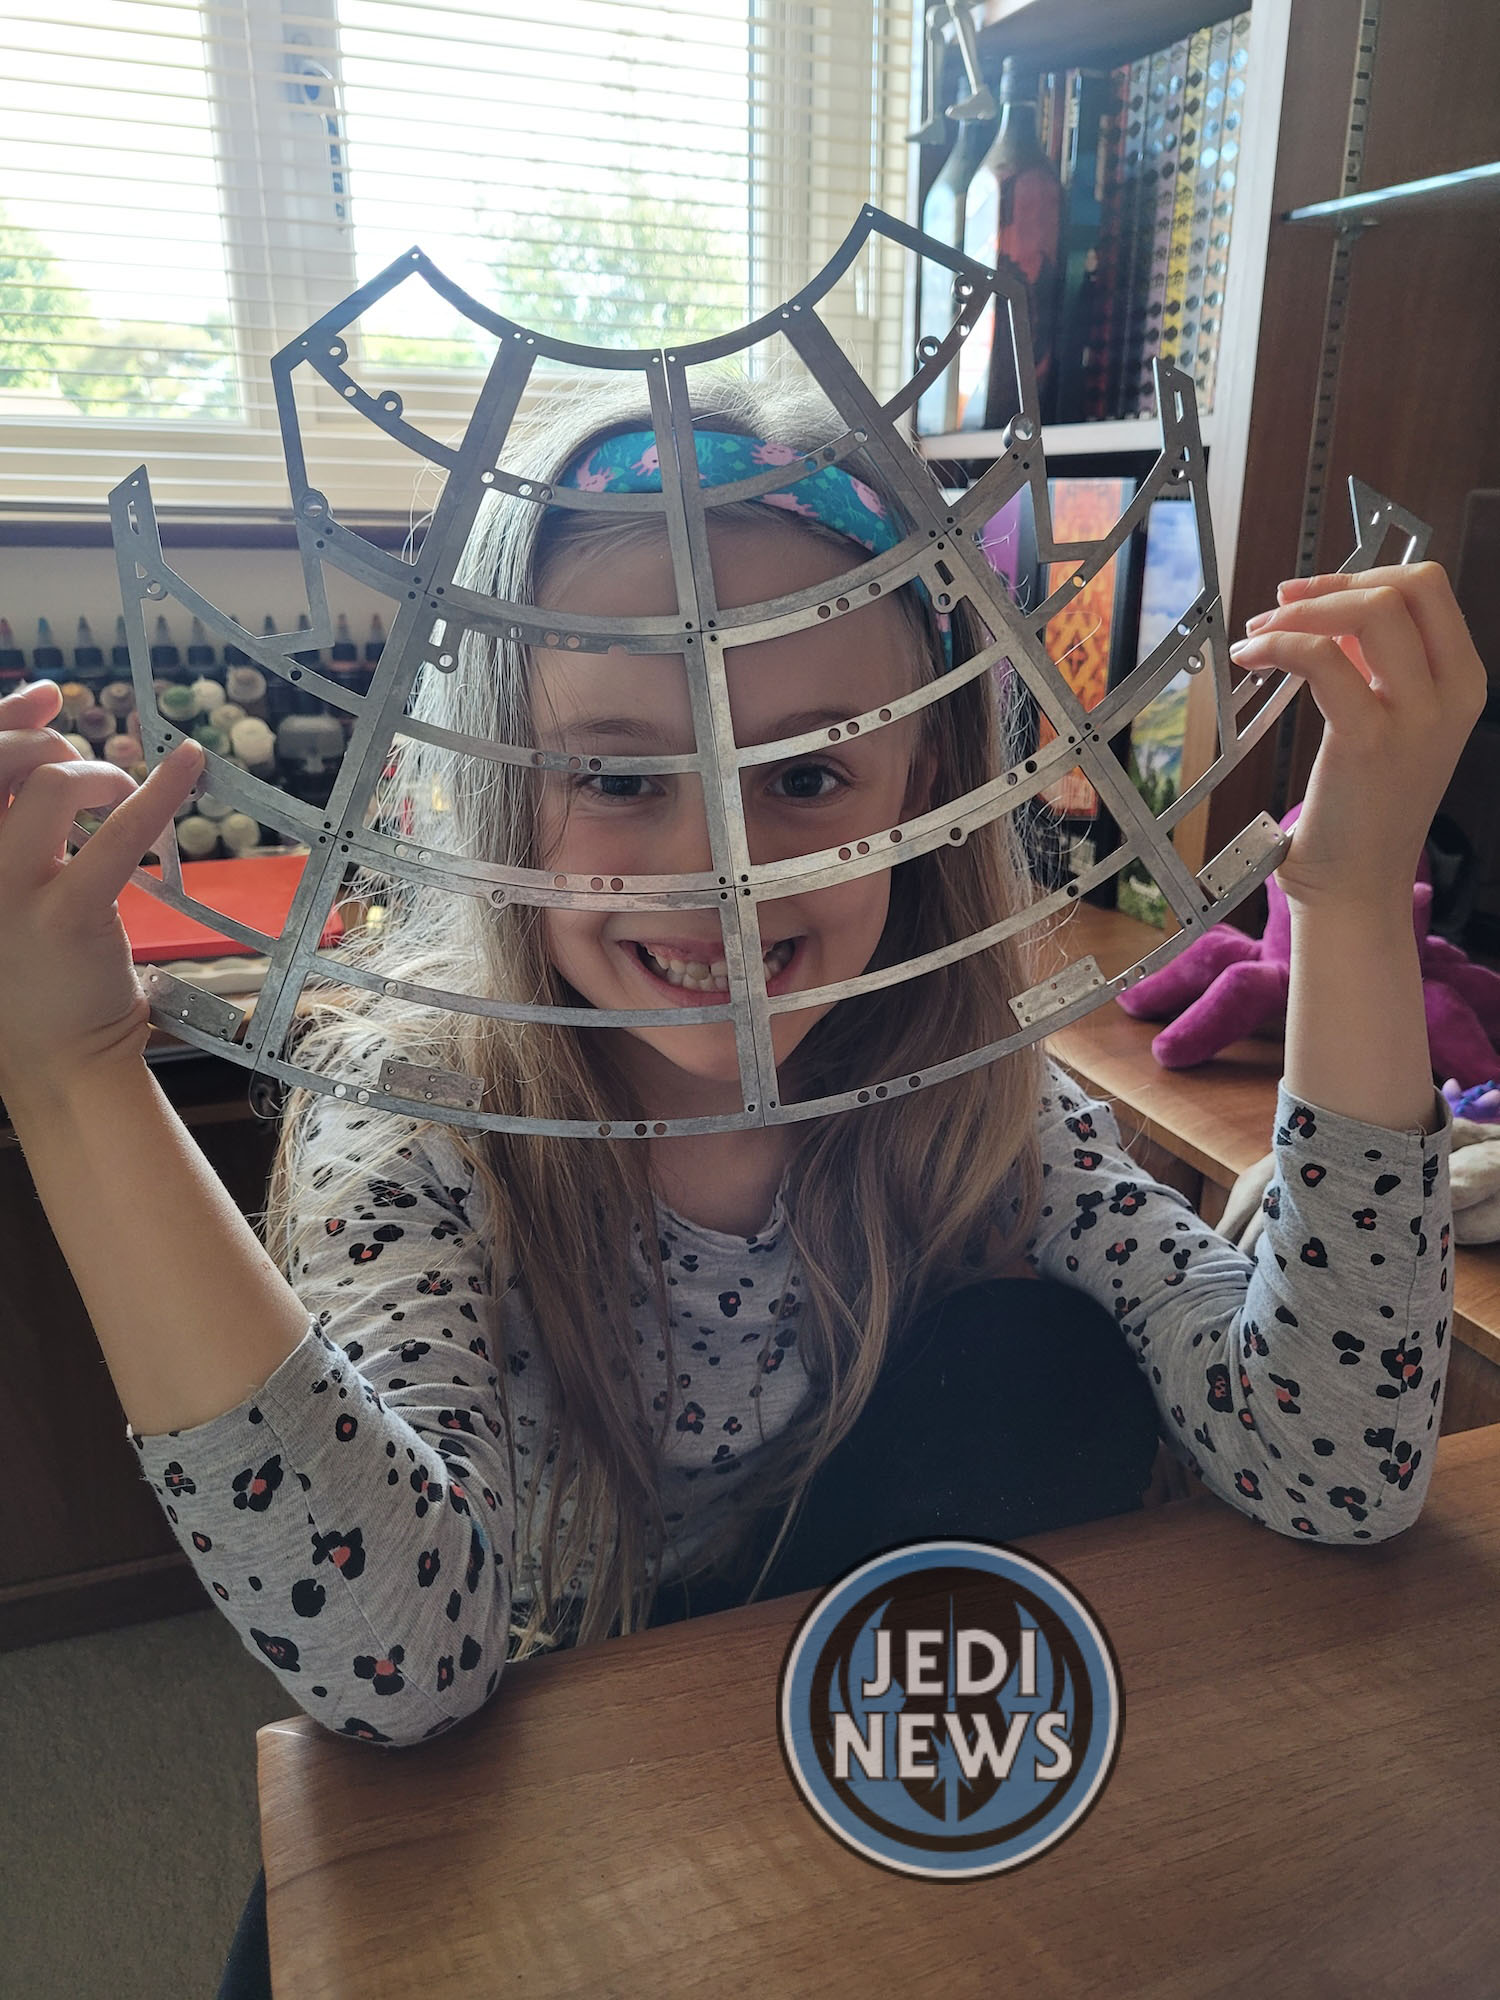
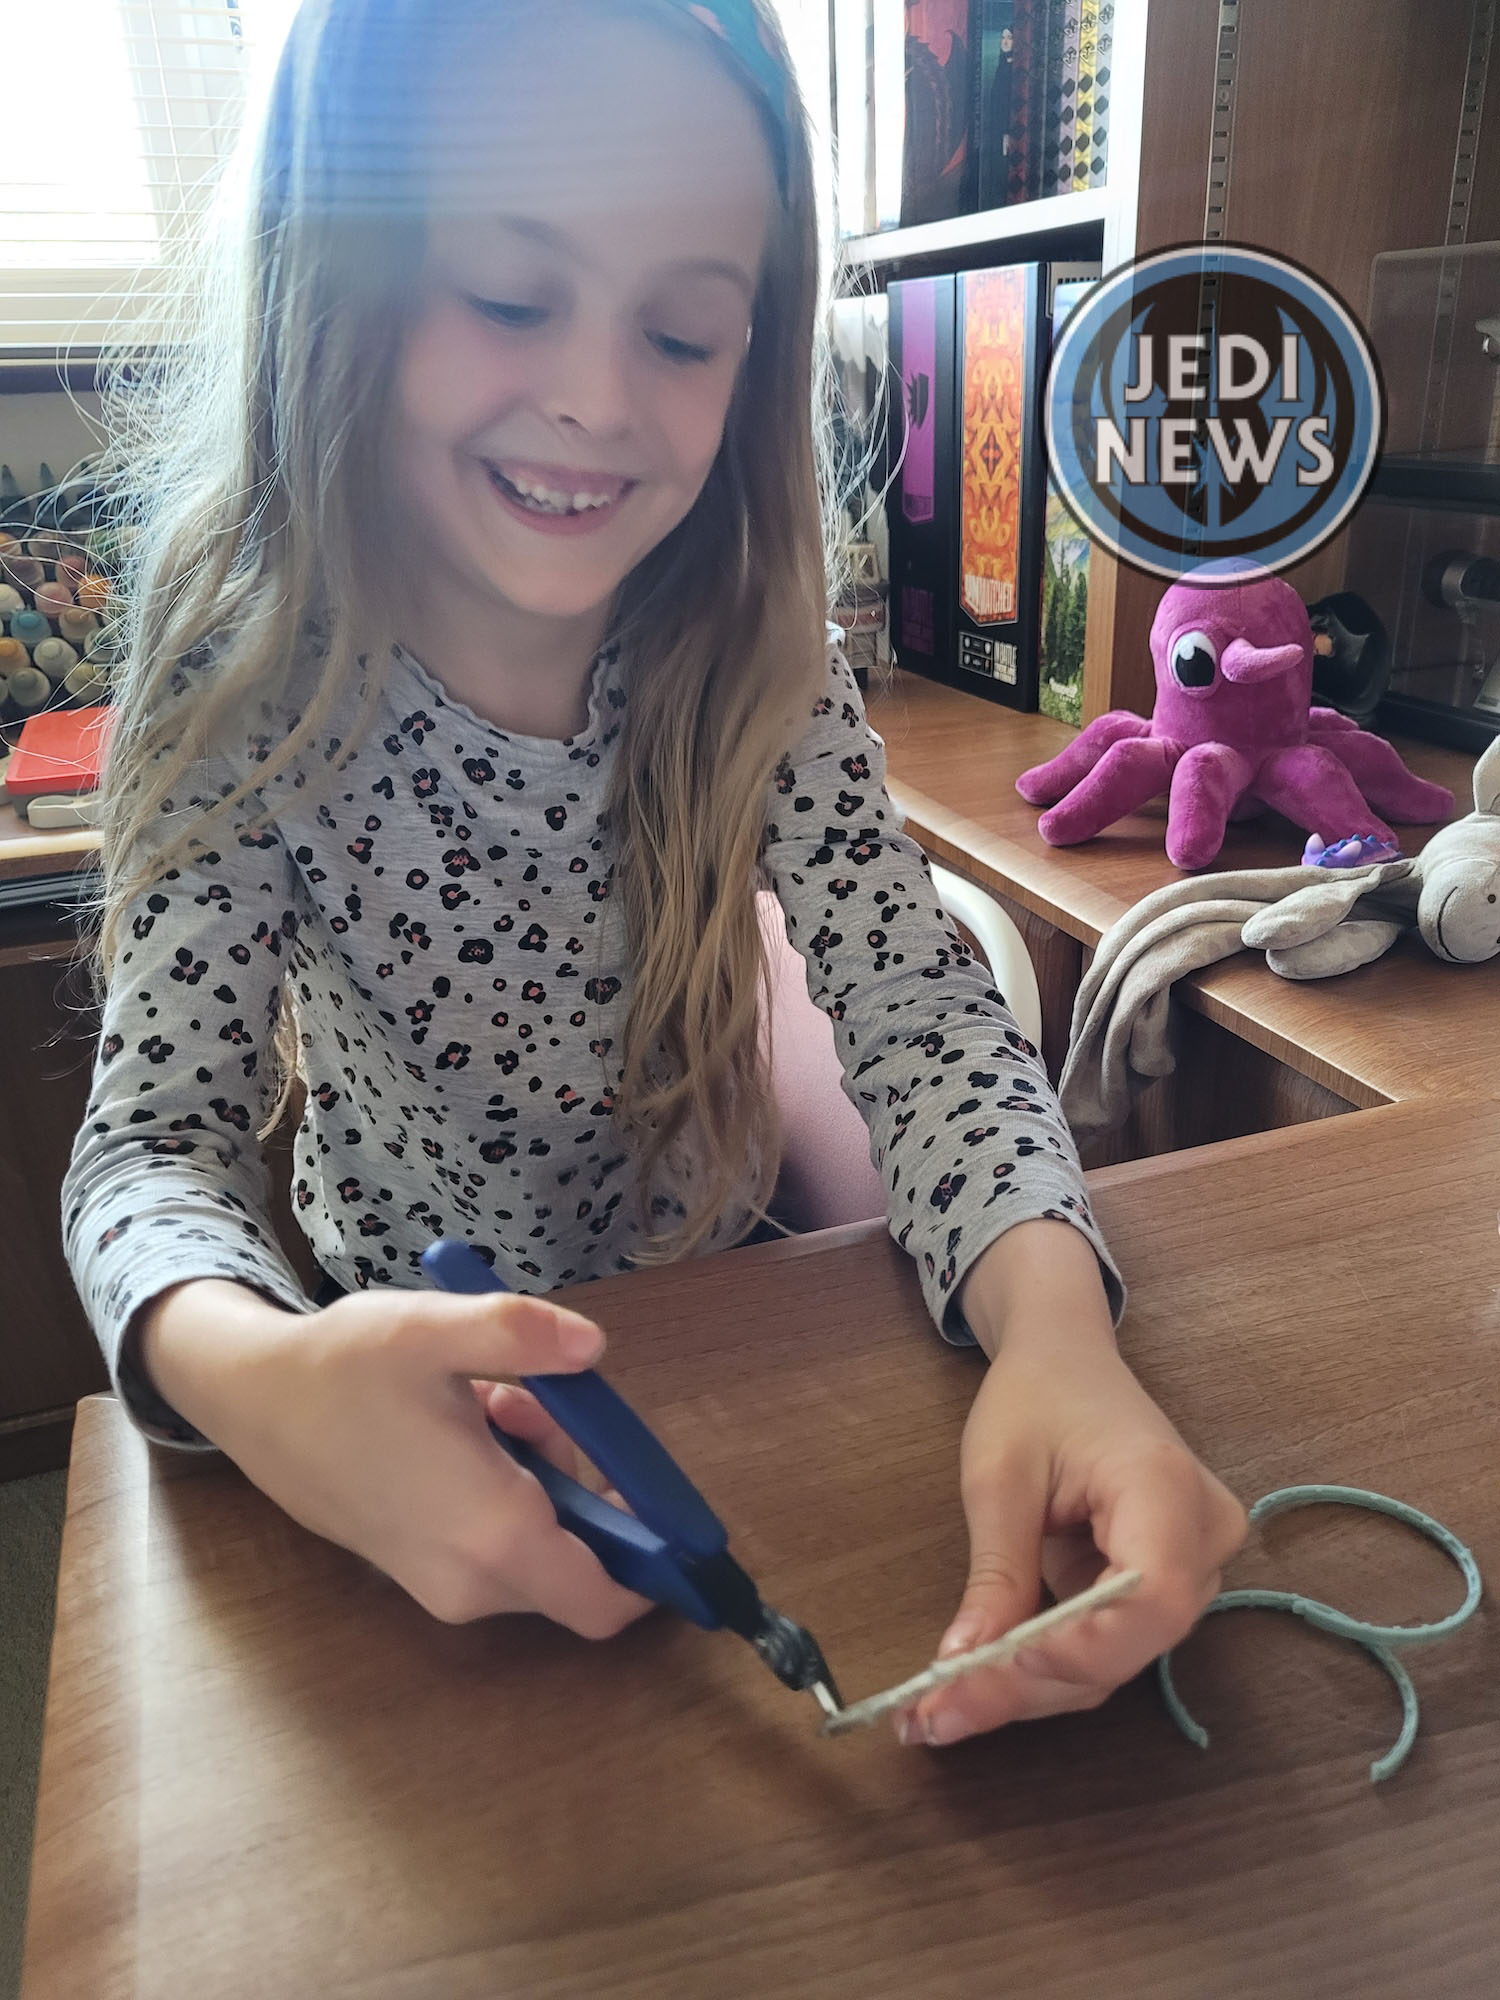
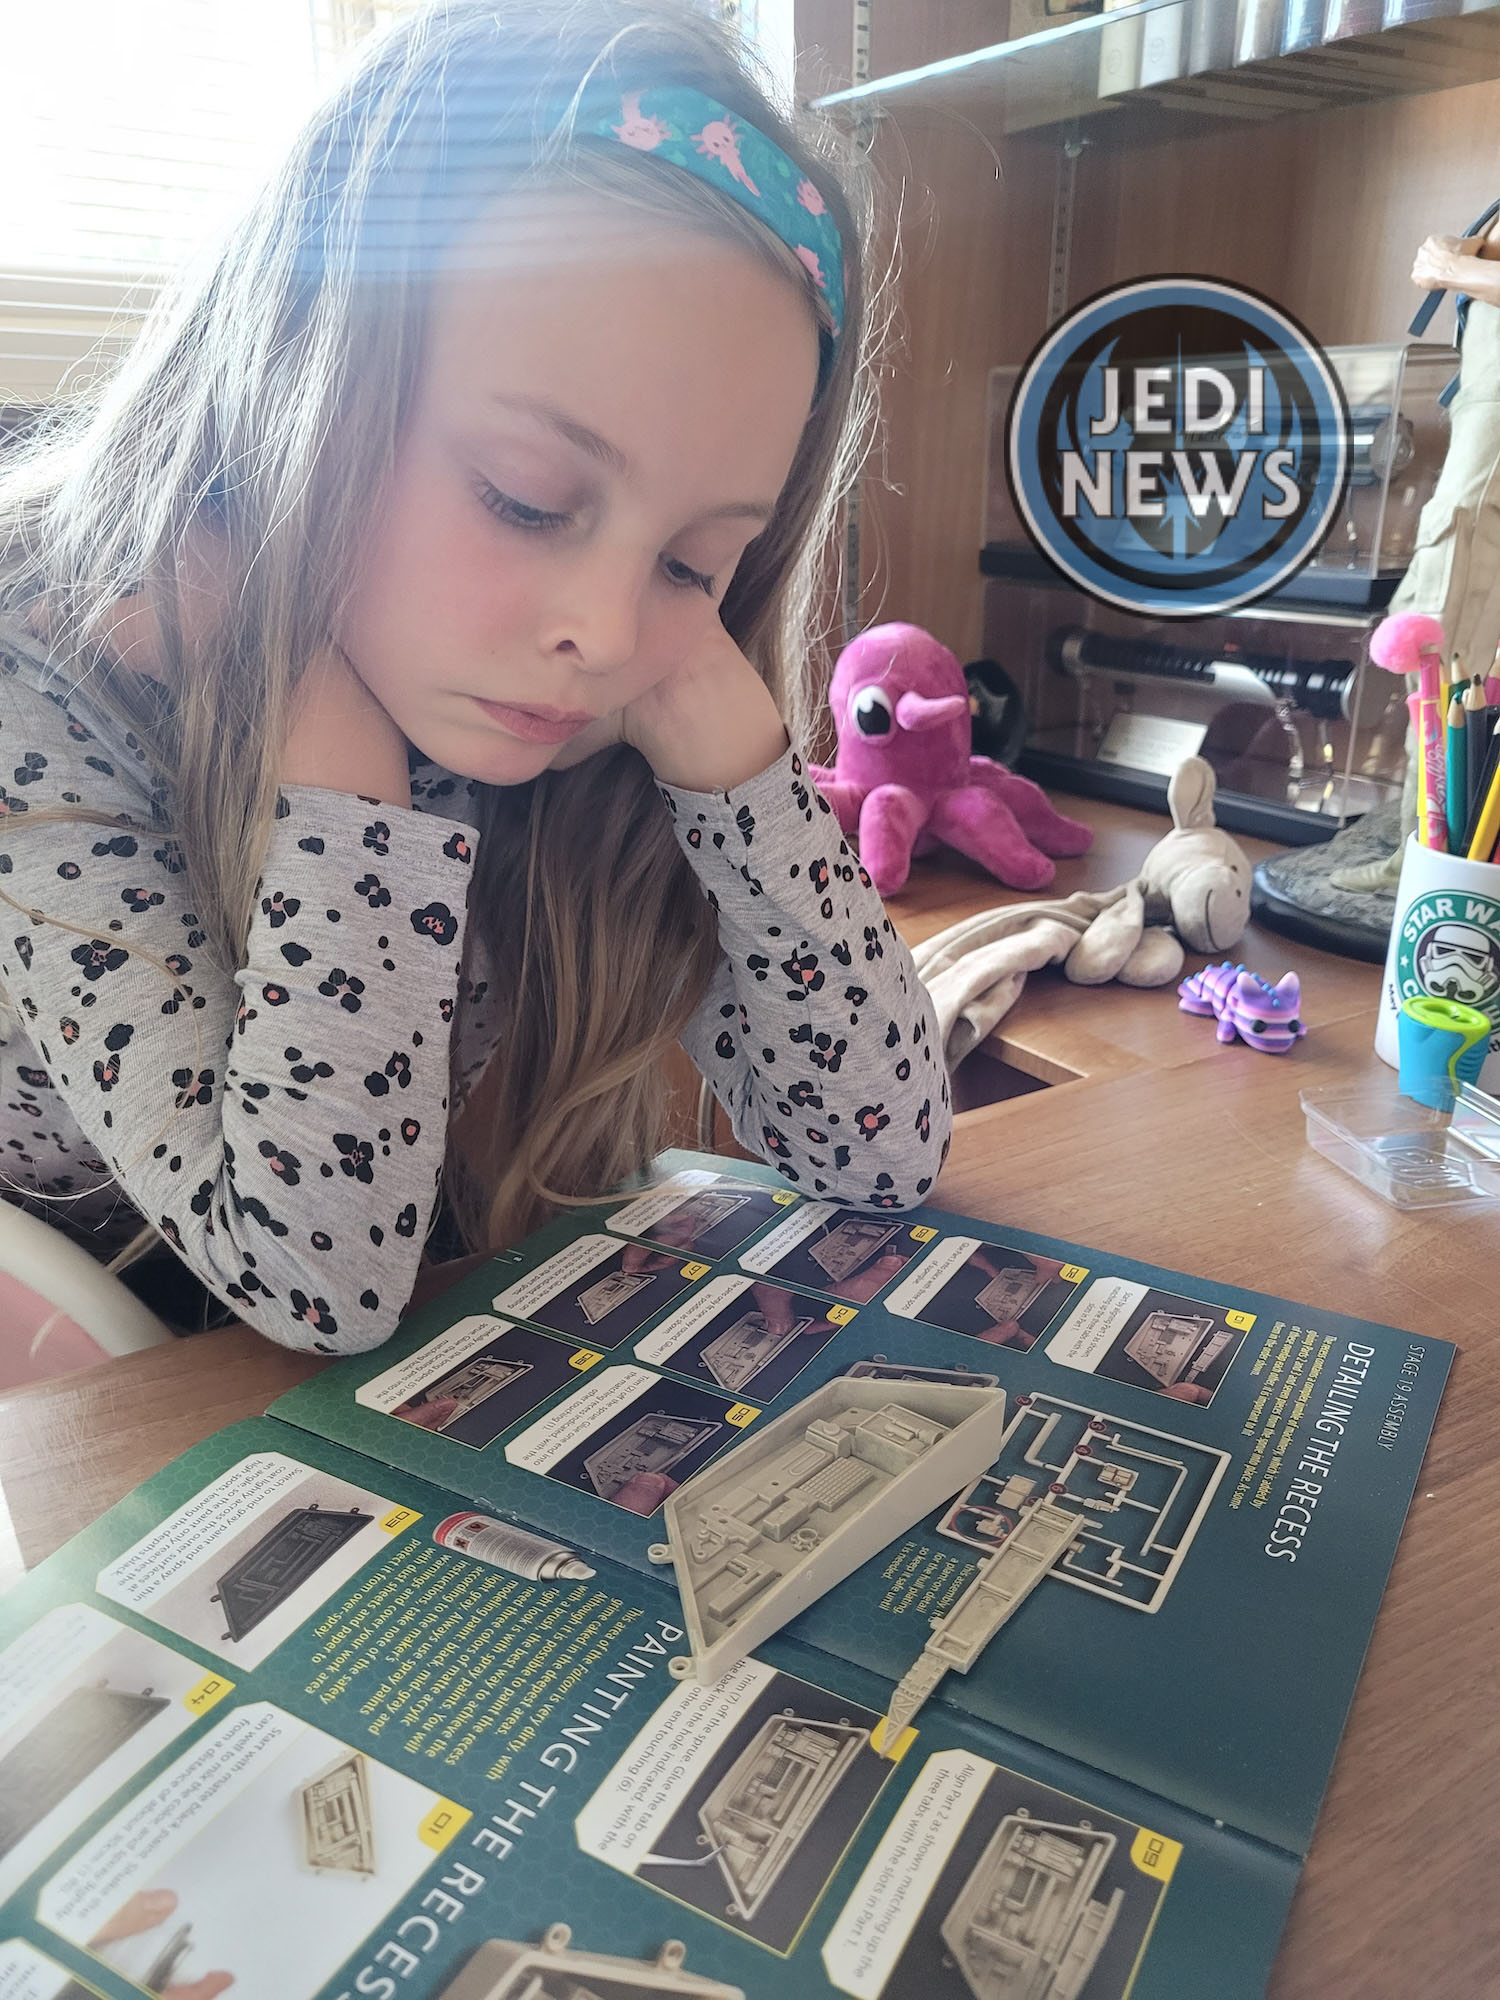
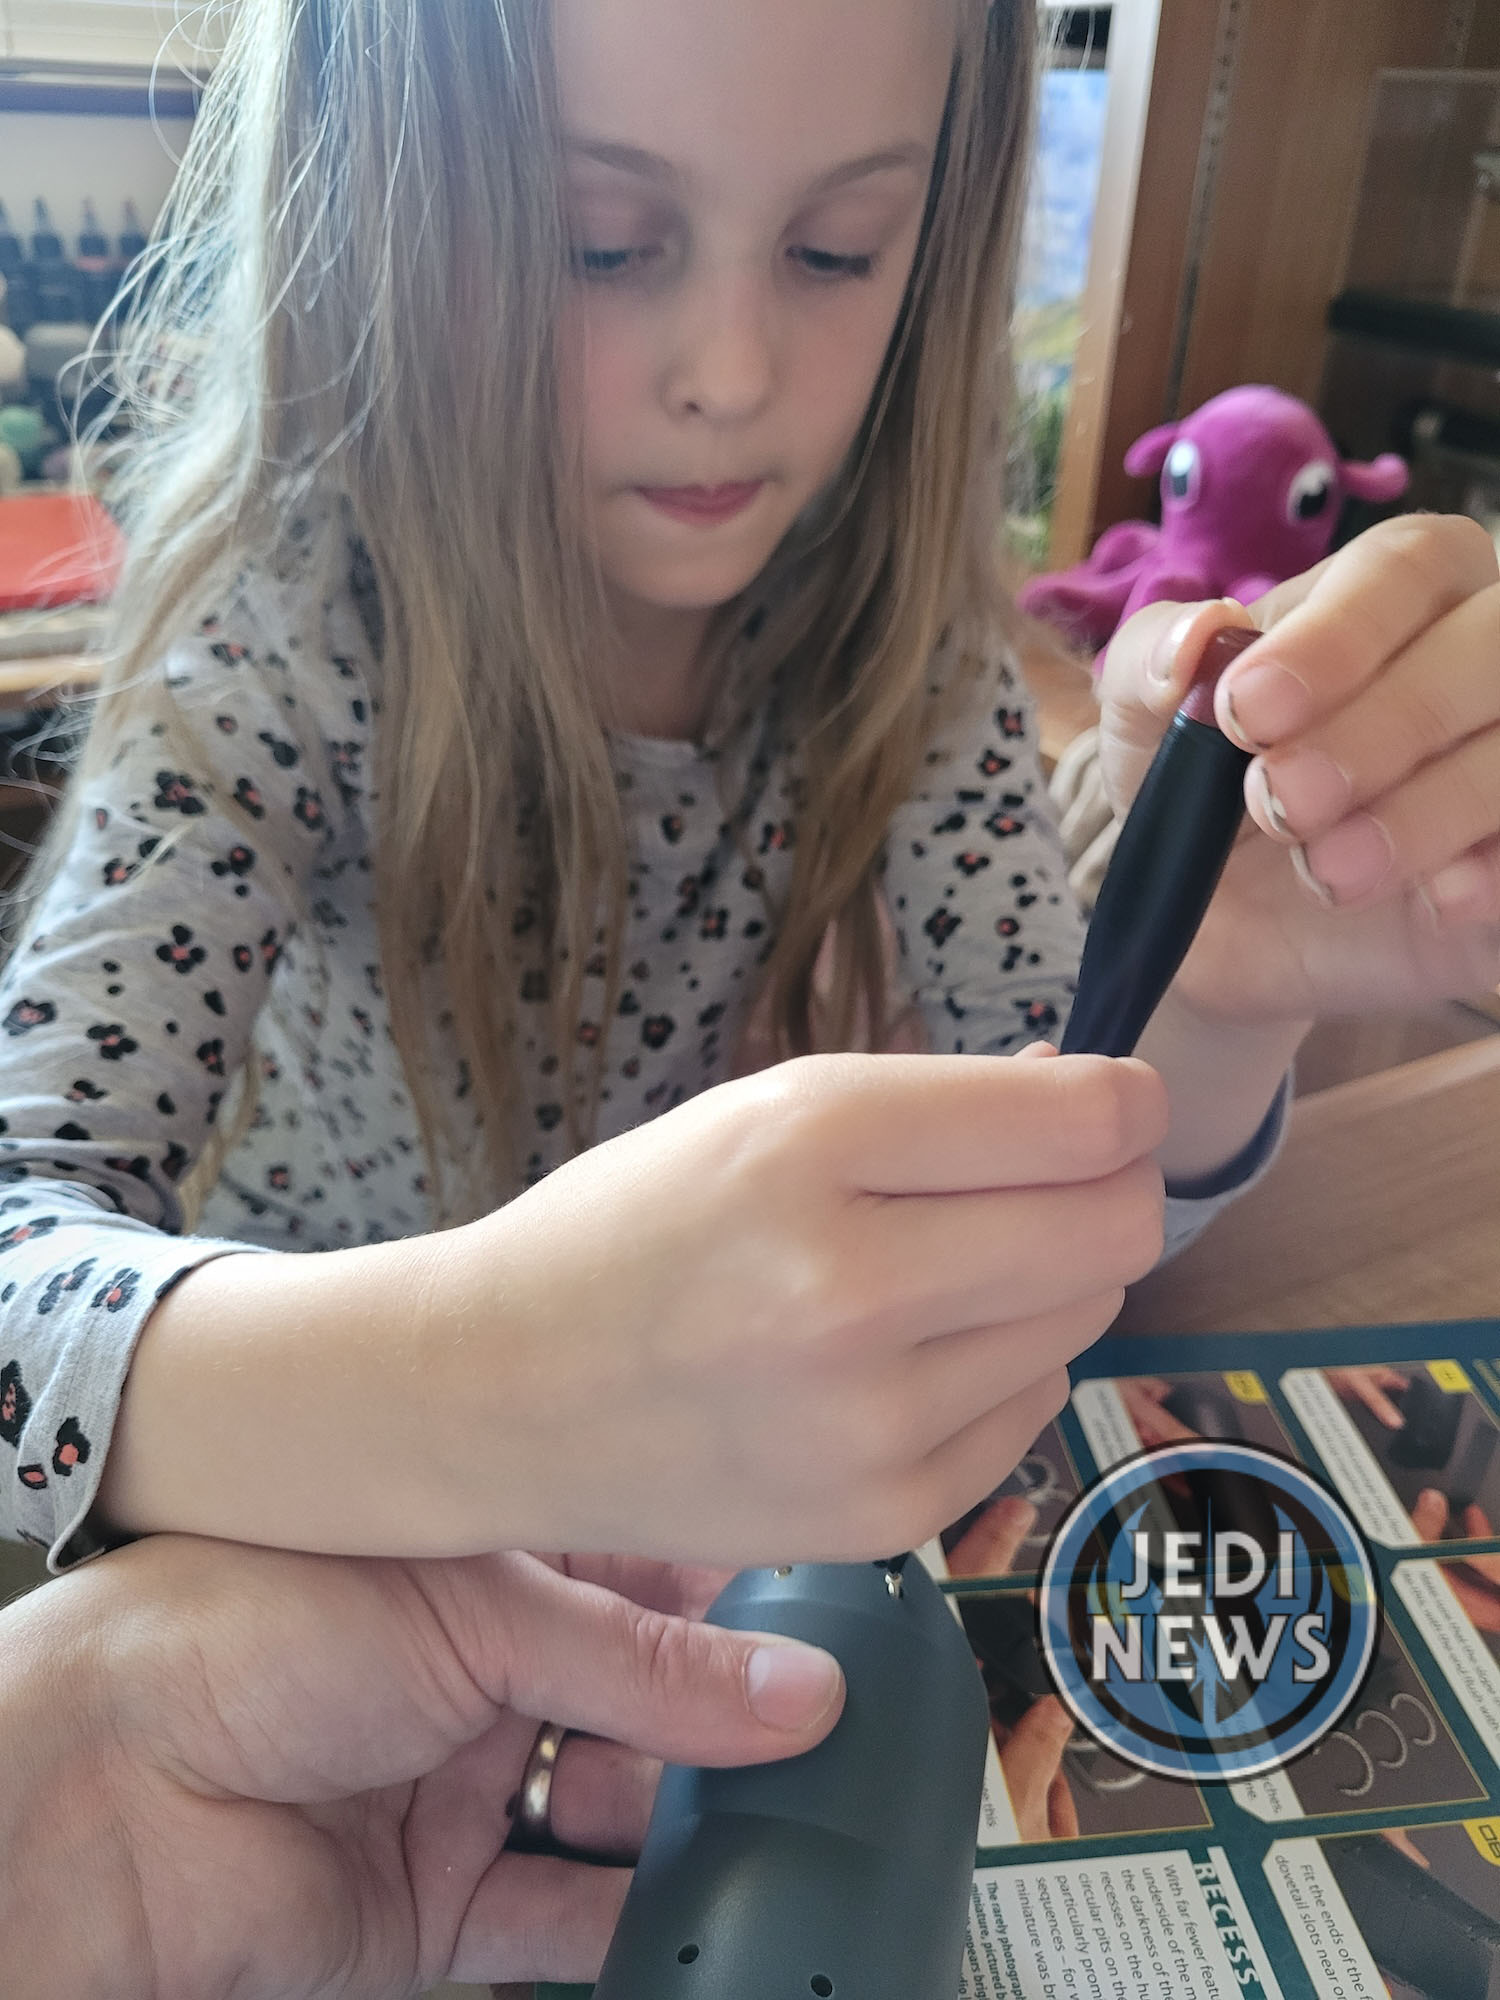
Ember was able to take charge of the recess and told me what needed doing. She still wanted me to glue the pieces together. After doing so many corridor arches, this was pure bliss. Everything fitted perfectly together. No filing was needed, and it was like a more sophisticated Lego build. I really enjoyed doing it and Ember was very happy to be identifying the pieces and telling me where they would be going. All that needs doing now is for it to be sprayed. Even without this, the recess is a good size and really looks great. It seems like such a small piece of the Falcon that I hadn’t expected it to be as big as it is.
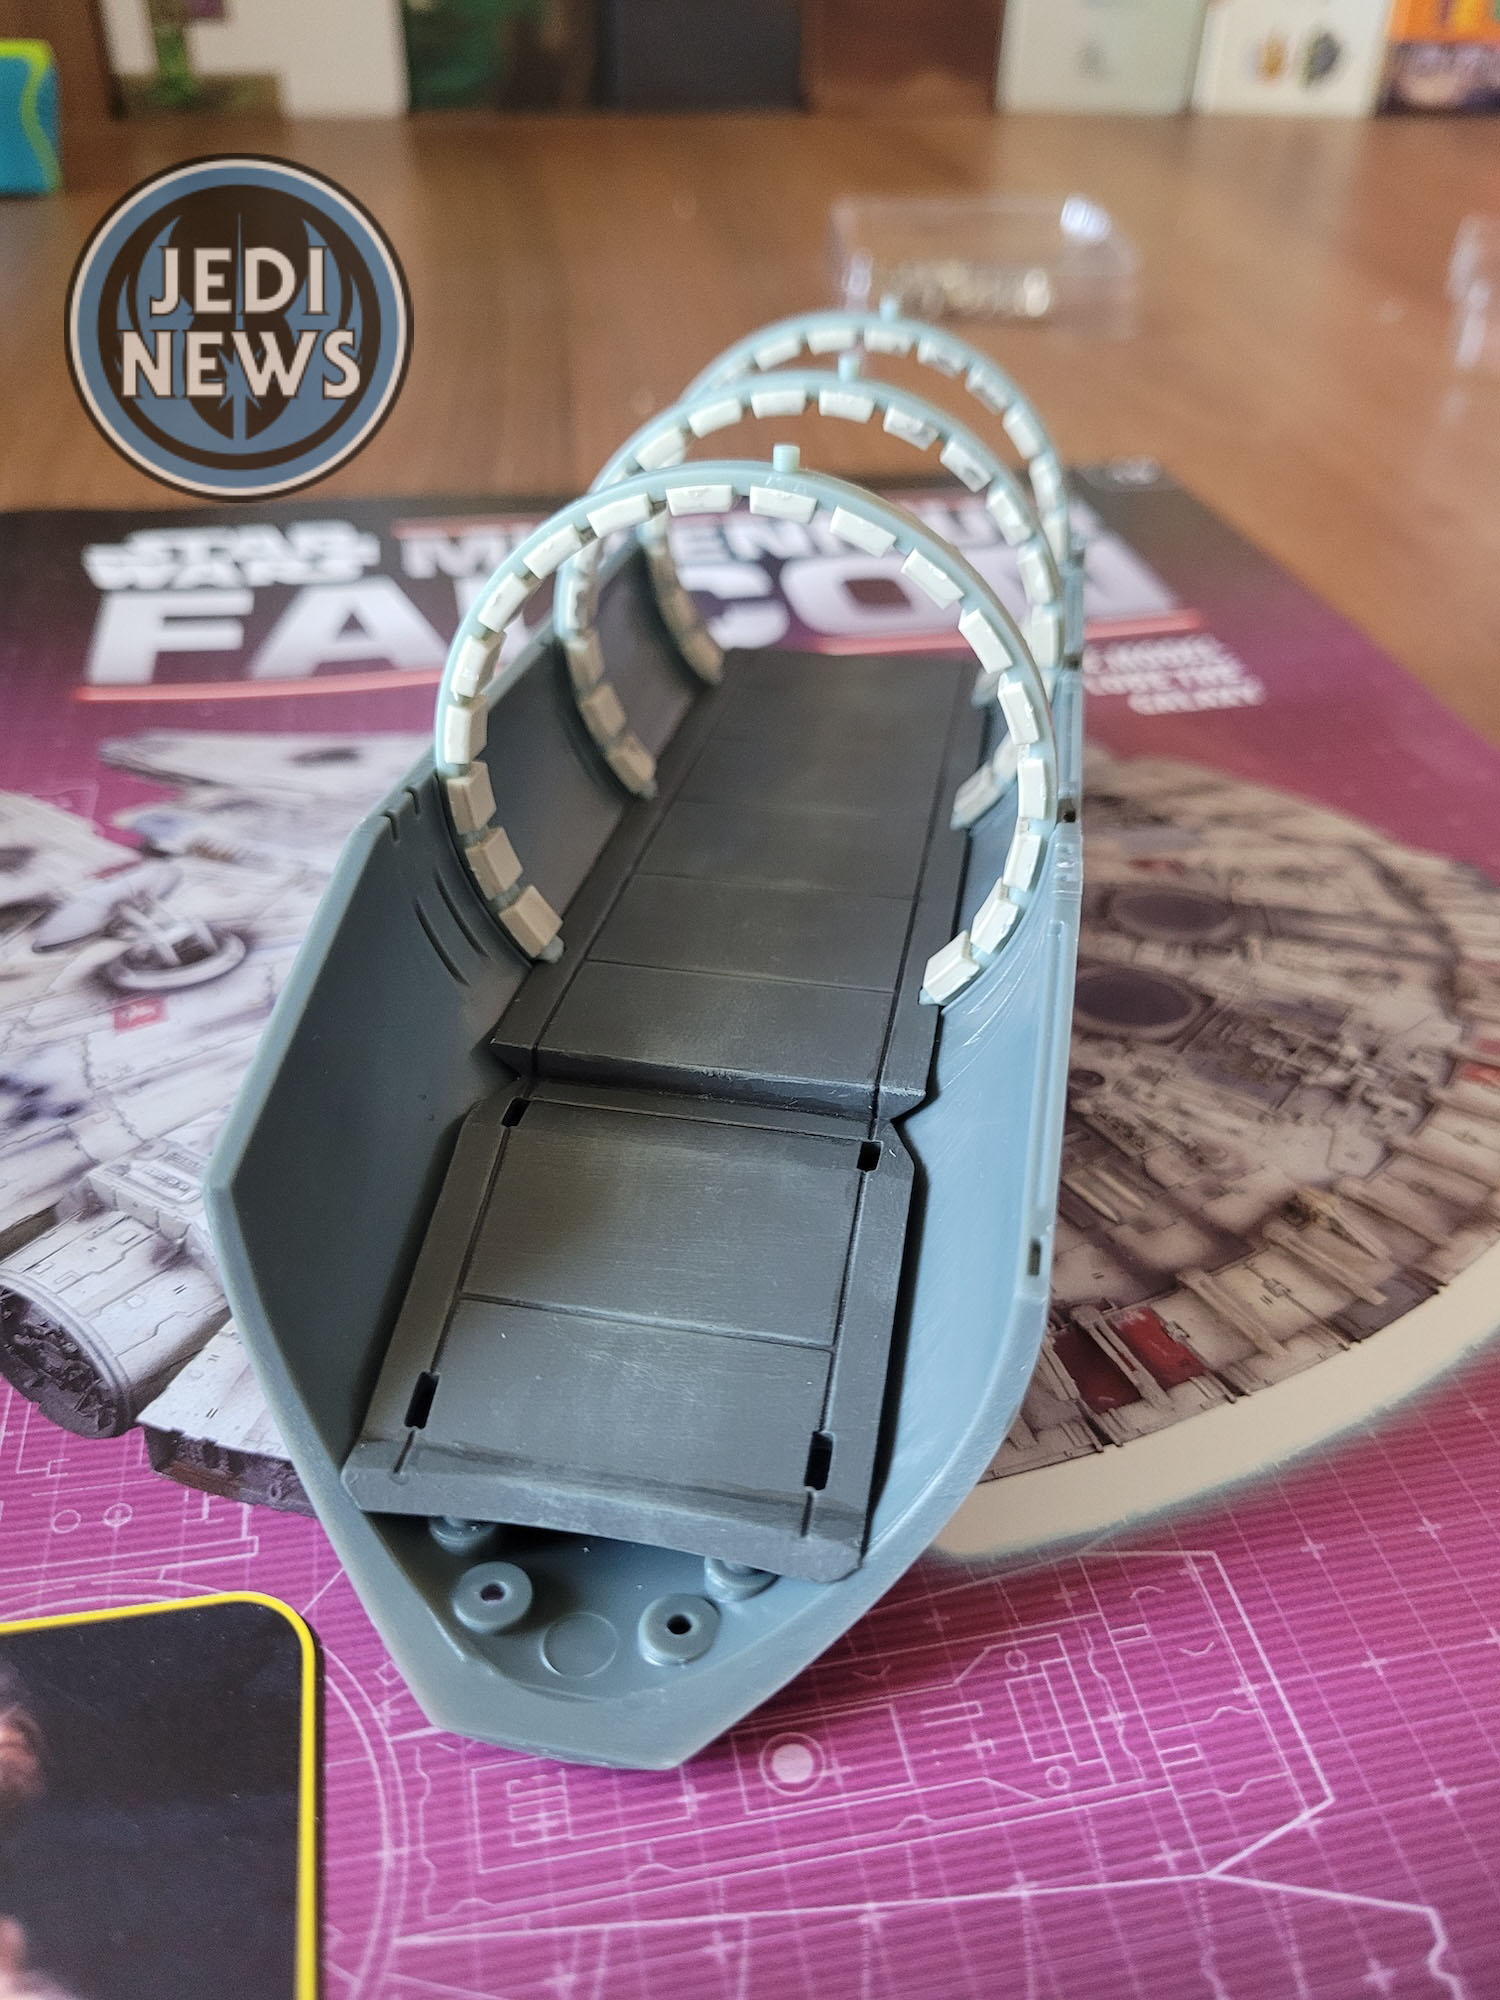
This just left the passage tube. Ember and I started reading and… another arch and cushions needed doing. Ember and I looked at each other and sighed. Another one. Three in a session was taking its toll on us, but we clipped and glued as quickly as we could. After this it was some simple screws, and the passage was attached. One thing we did find was to make sure you use the smaller brass screws. We completely forgot that there were two lengths and started by using the longer ones. It was only when Ember commented it was slightly difficult that it clicked, we were using the wrong length. Once this was sorted and the arches placed into the correct slots, we were done.
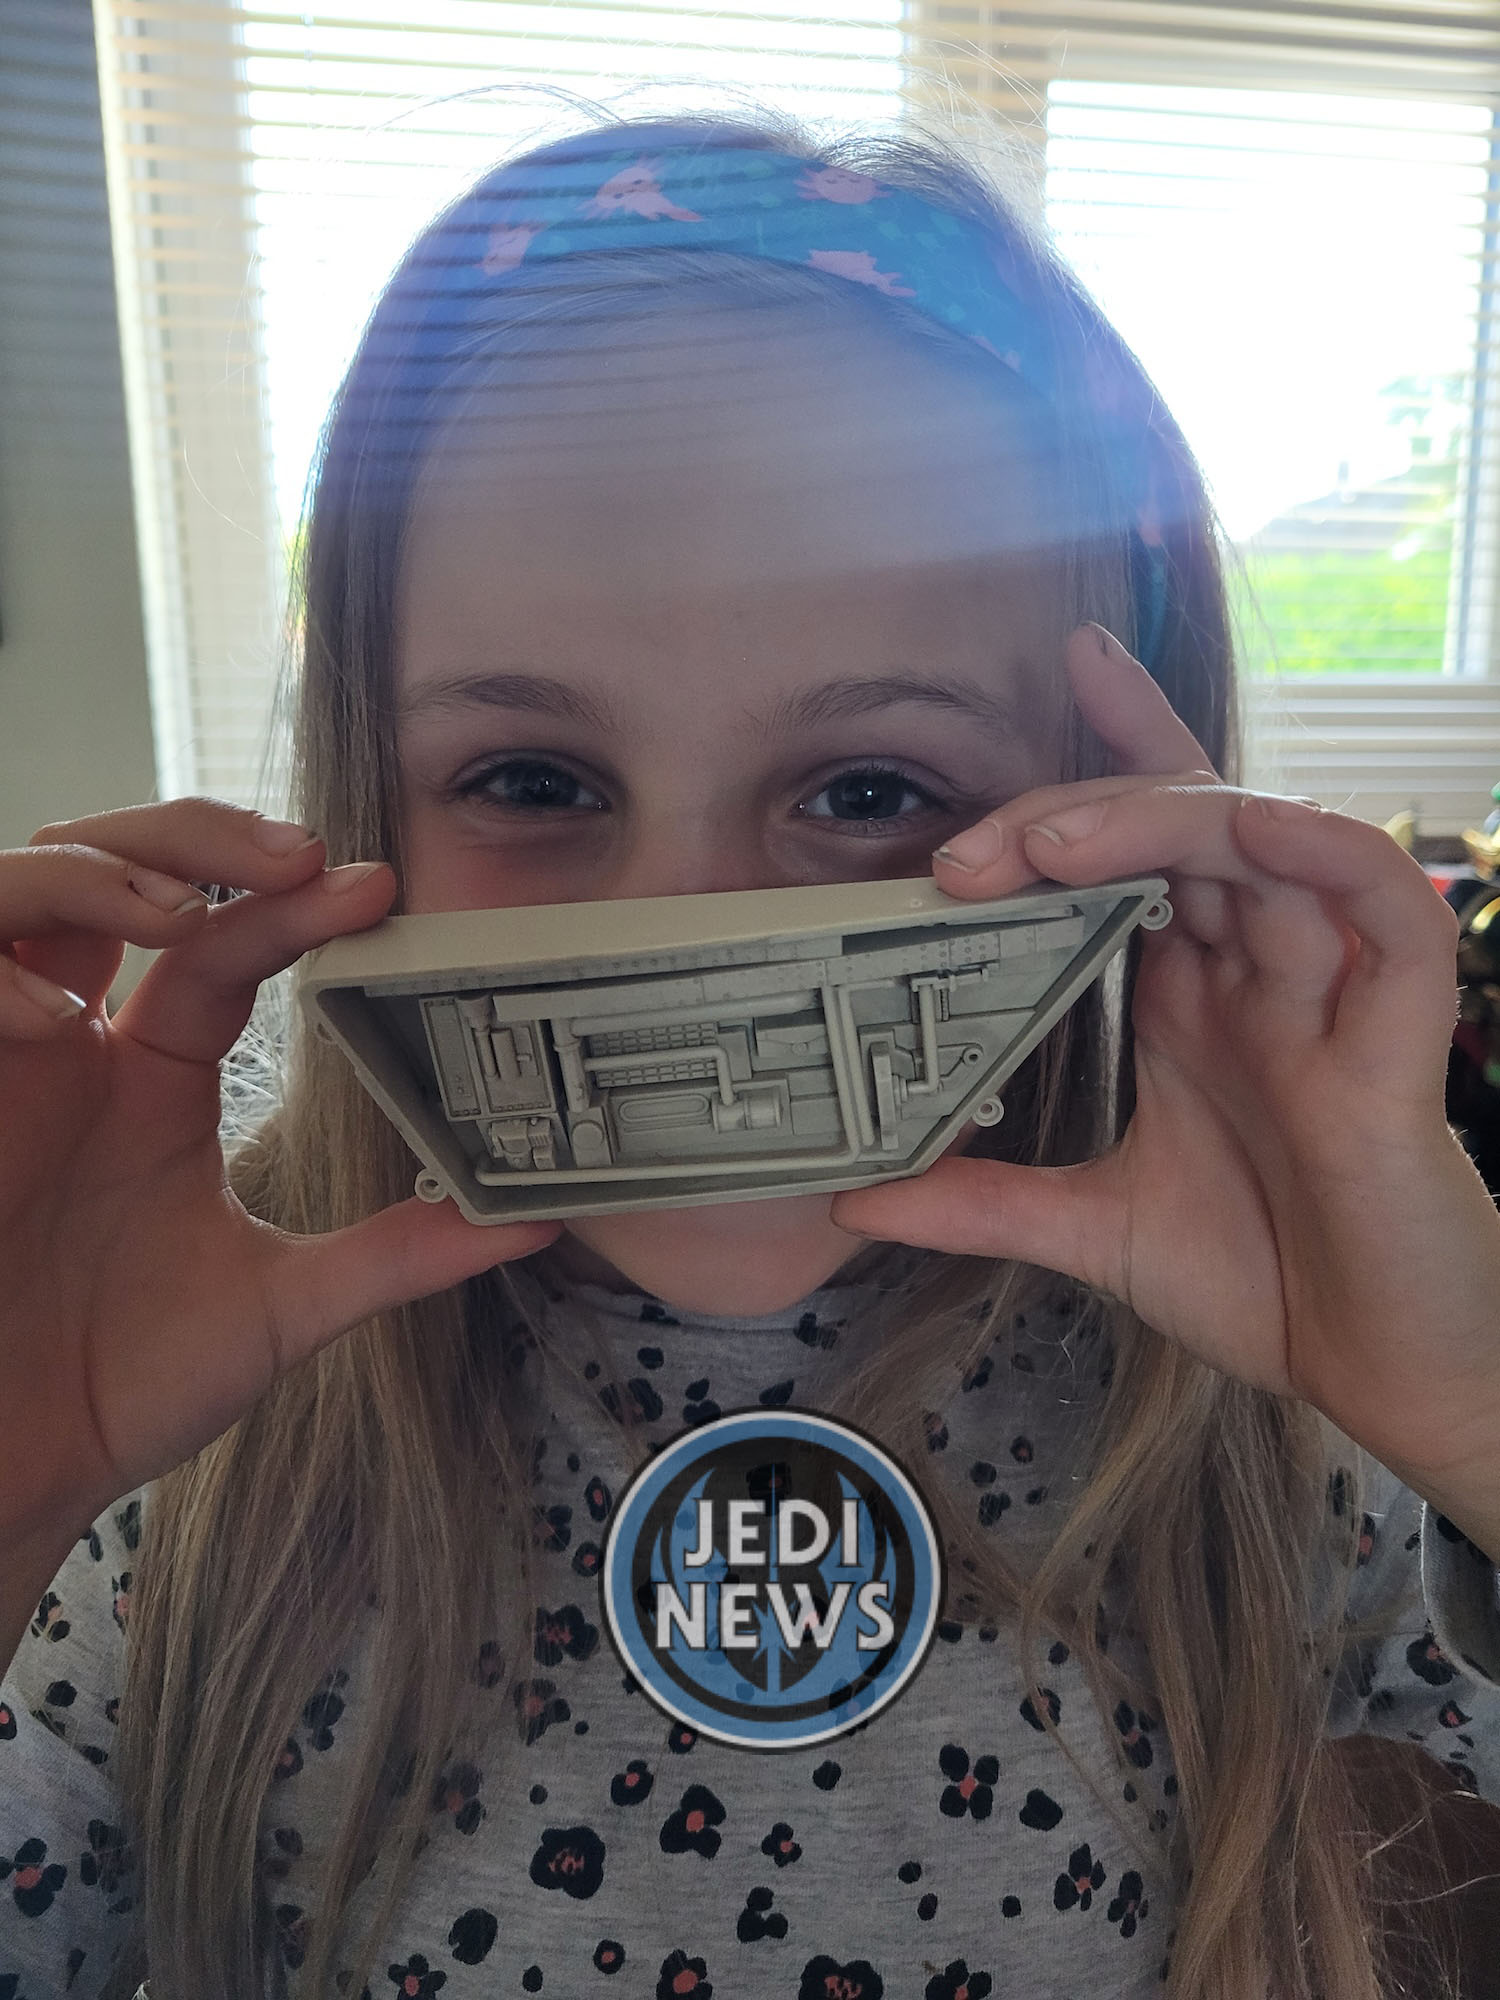
All in all, these were two short issues that work very well together – well, minus having to do three arches at once. The short activities were great with Ember and the repetition of everything really helped her confidence. For me, seeing the hull continually grow is amazing and the size is really impressing me. Not only that, but the recess is one of my favourite short builds that we’ve done so far. Everything was so seamless, and the finished piece looks superb. I keep reminding myself that these issues are the same cost as me taking Ember to Starbucks, with the amount she is learning, the quality time we are having together and what the final product is going to be, it just feels like such value for money. I can’t wait to get started on the next issues!
