



It wasn’t too long after completing issue twenty-six, that the next delivery showed up. A normal sized box this time, with everything contained inside. No notice of price increases, no mugs, no binders, just everything we needed to get started. With the build taking up quite a bit of space now, I was relieved to see that – surely in a standard box – I wouldn’t have to worry too much about where everything was going. Oh, I could not have been more wrong!
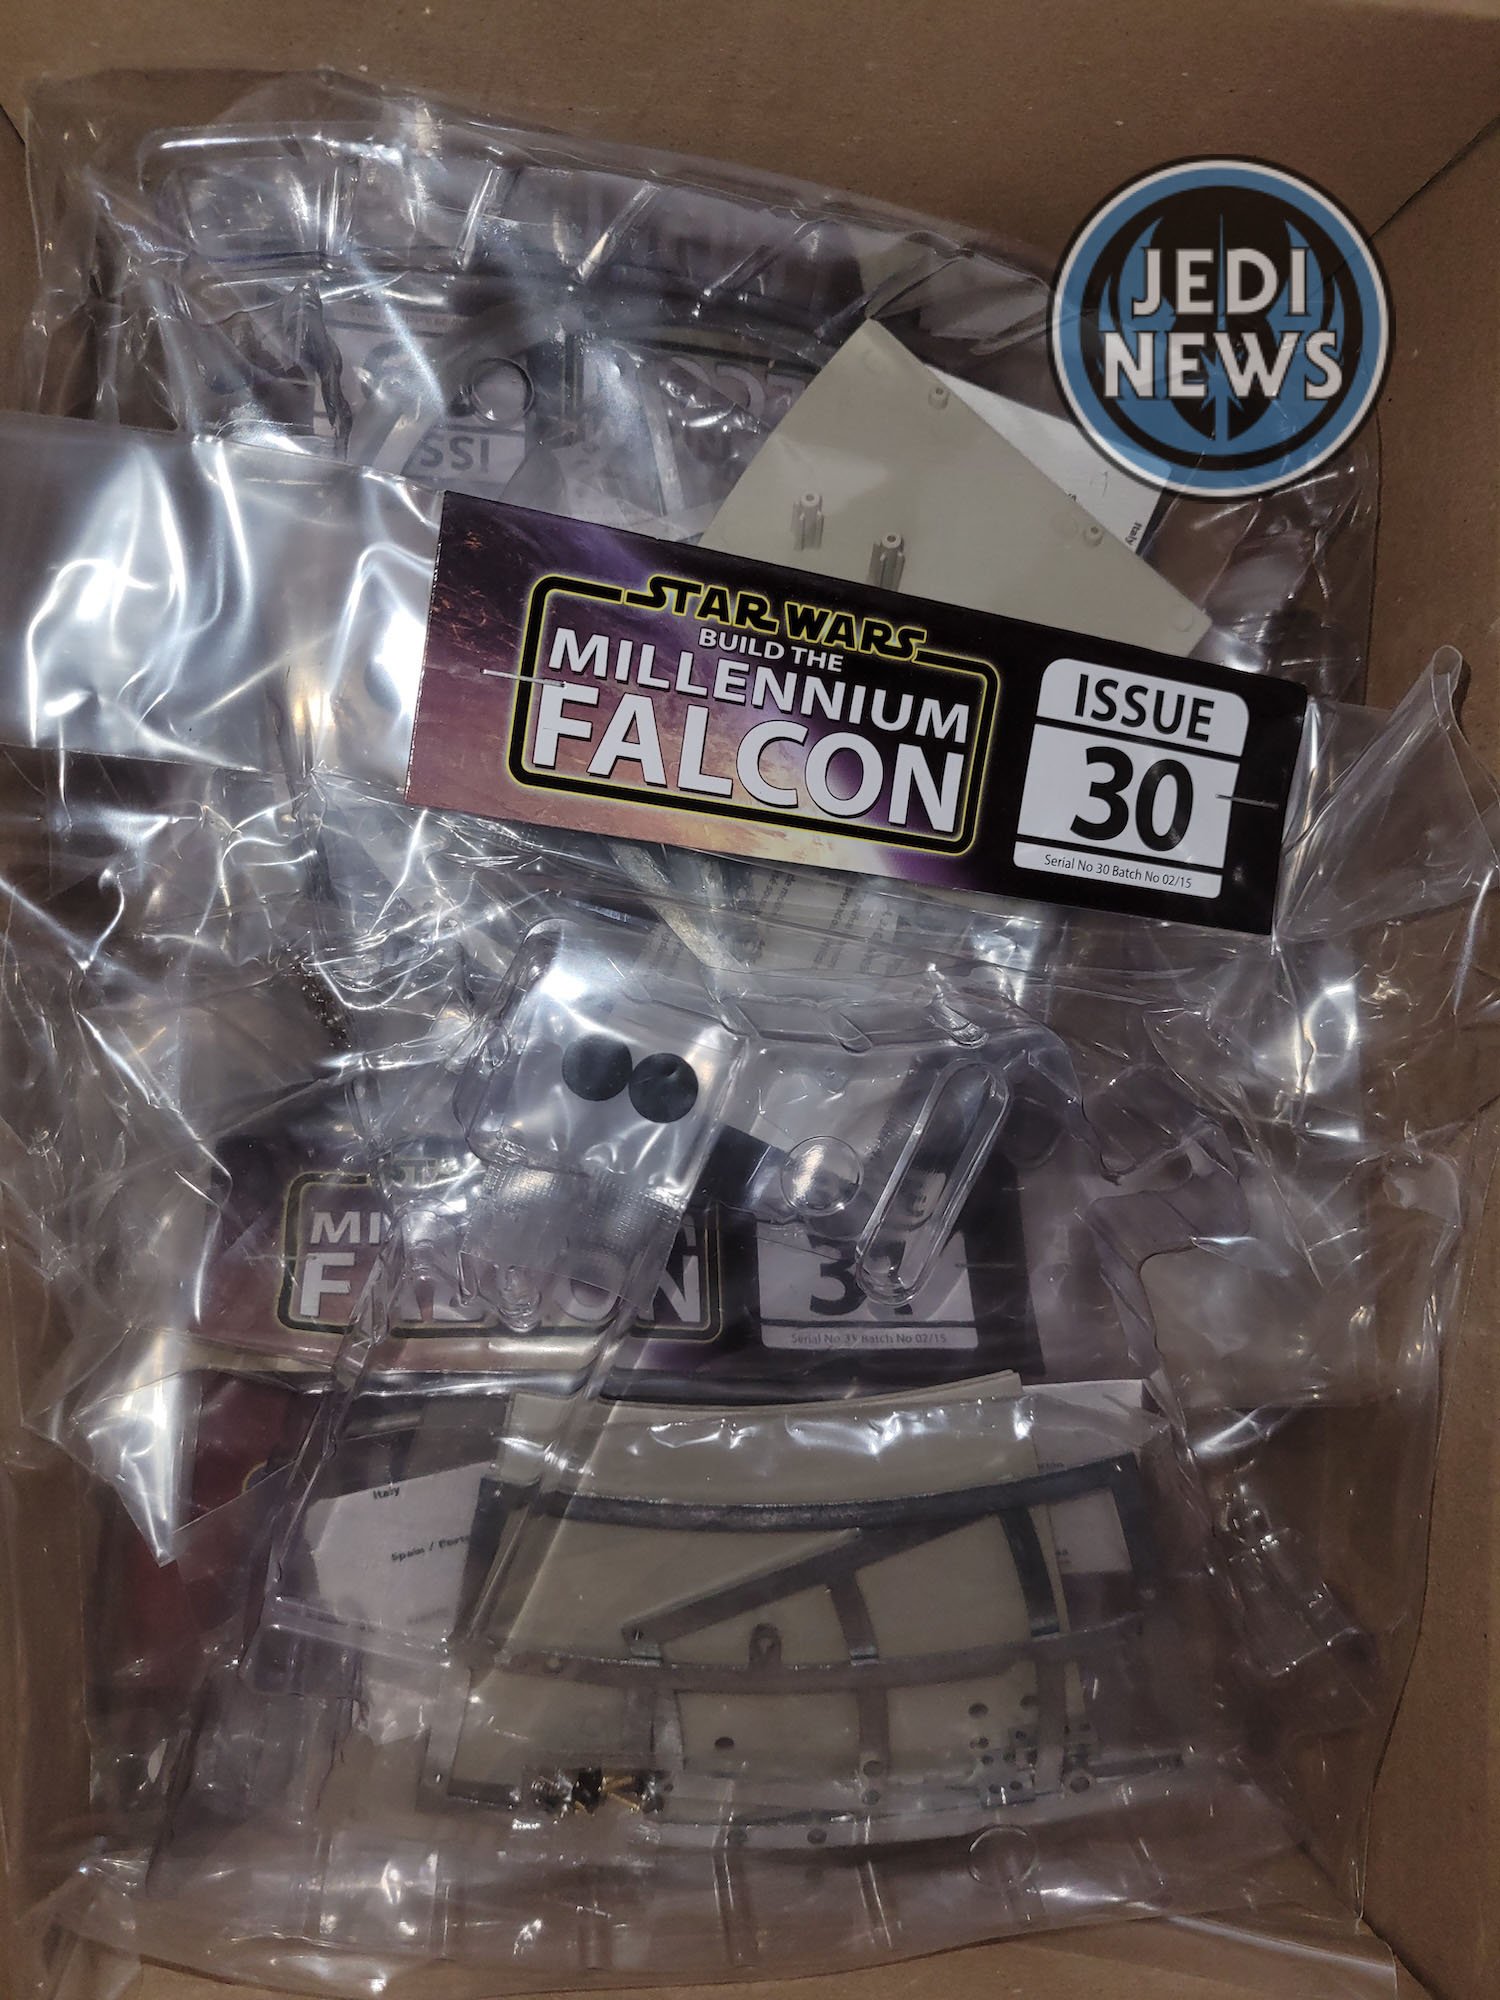
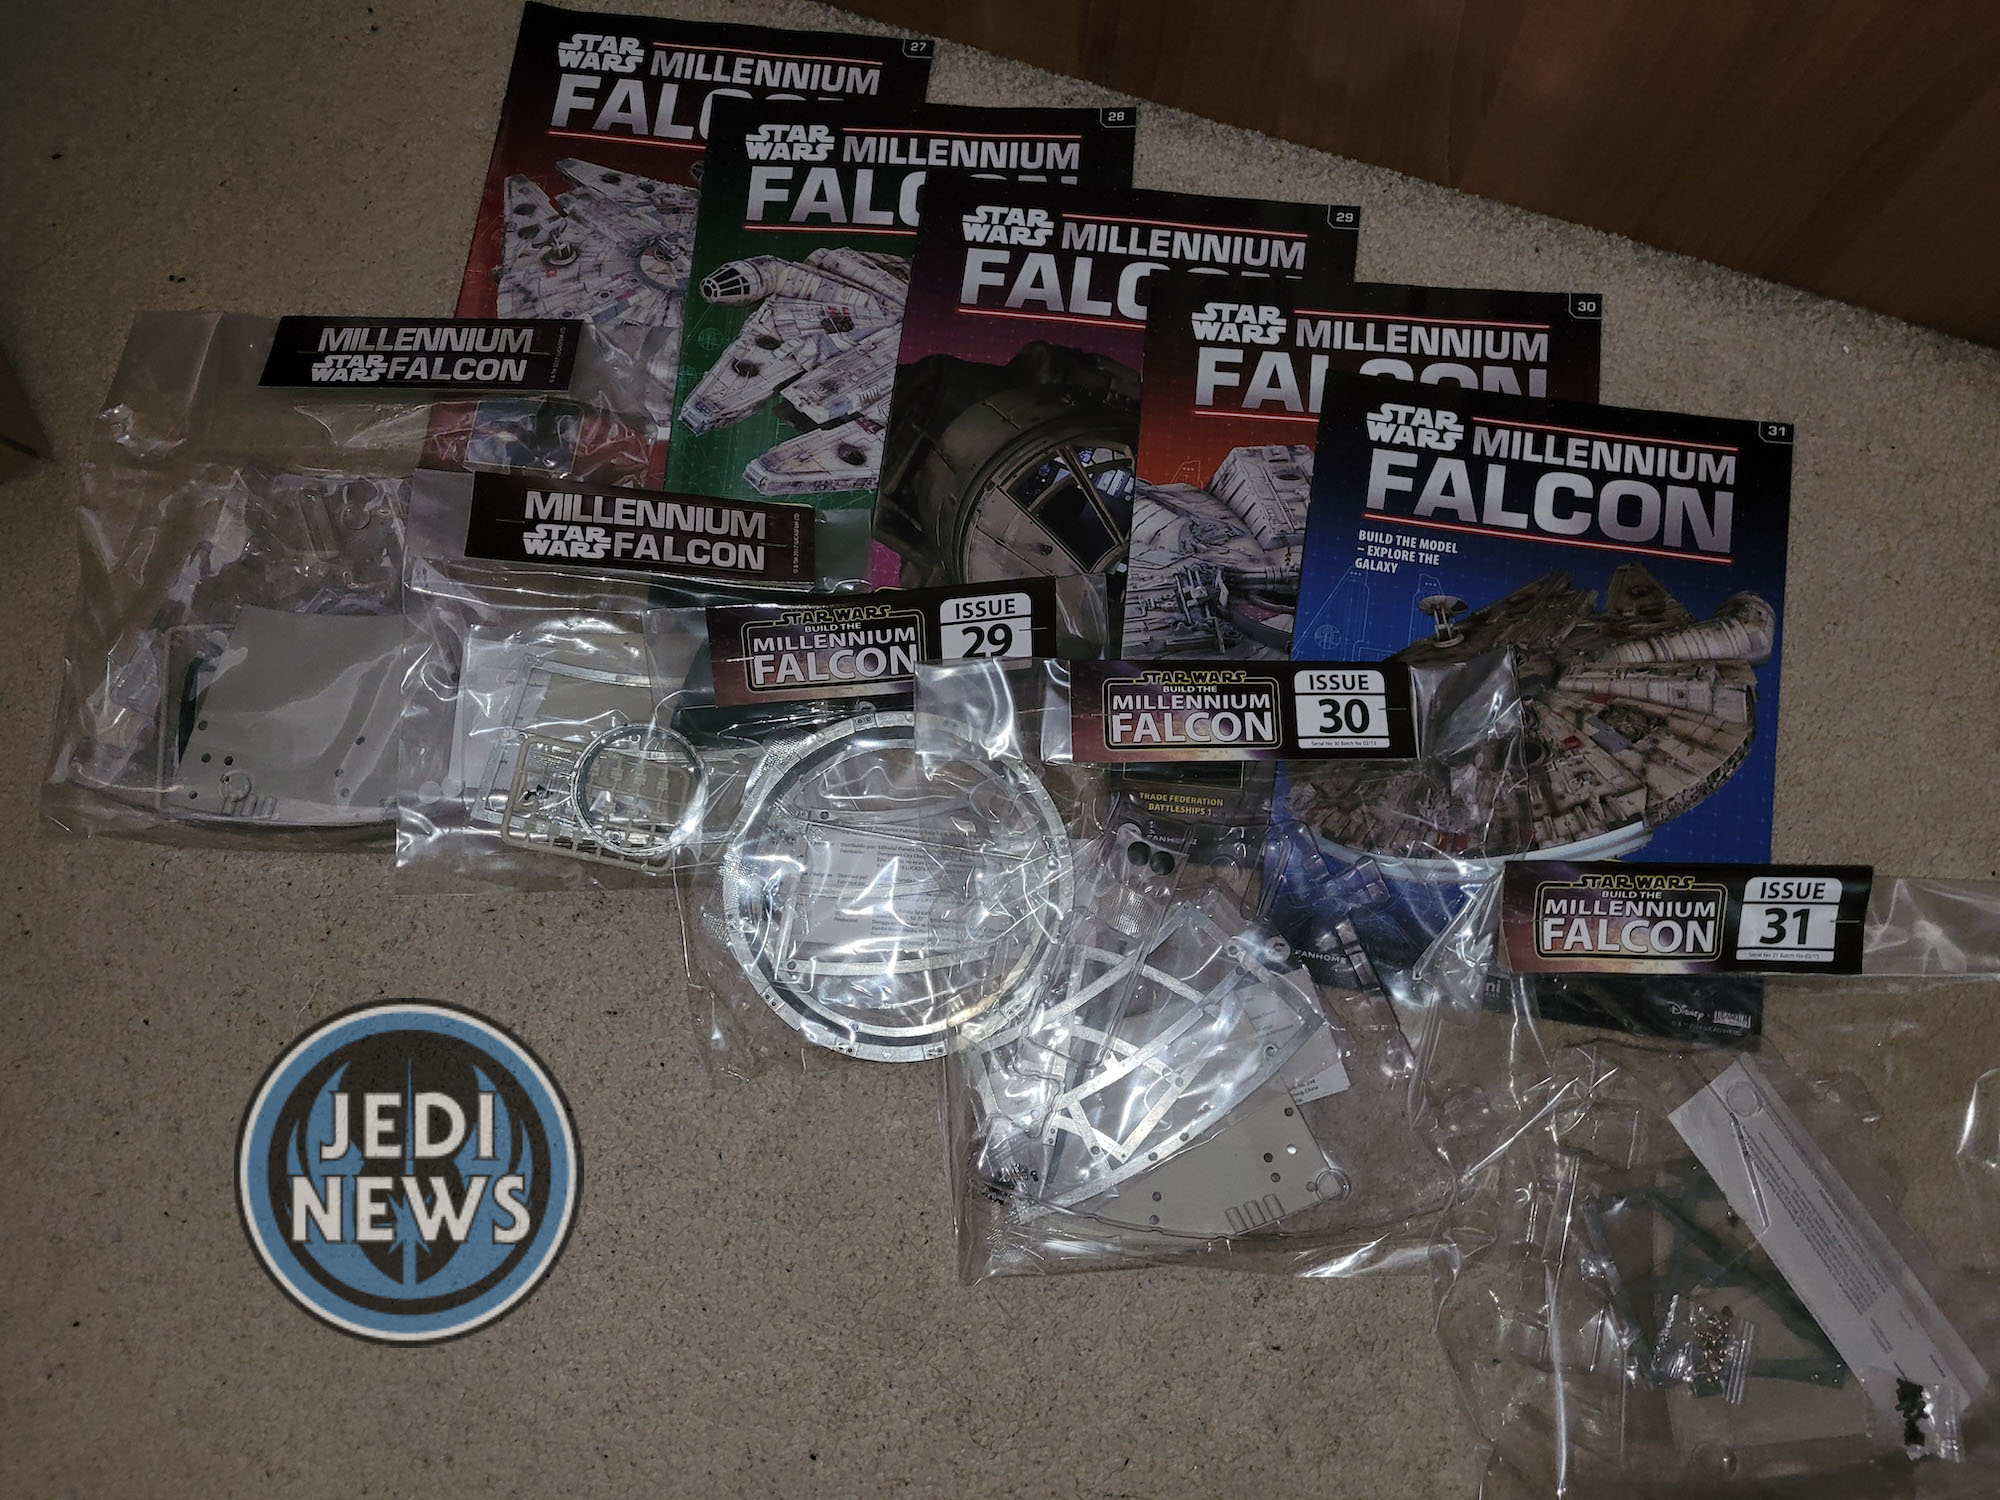
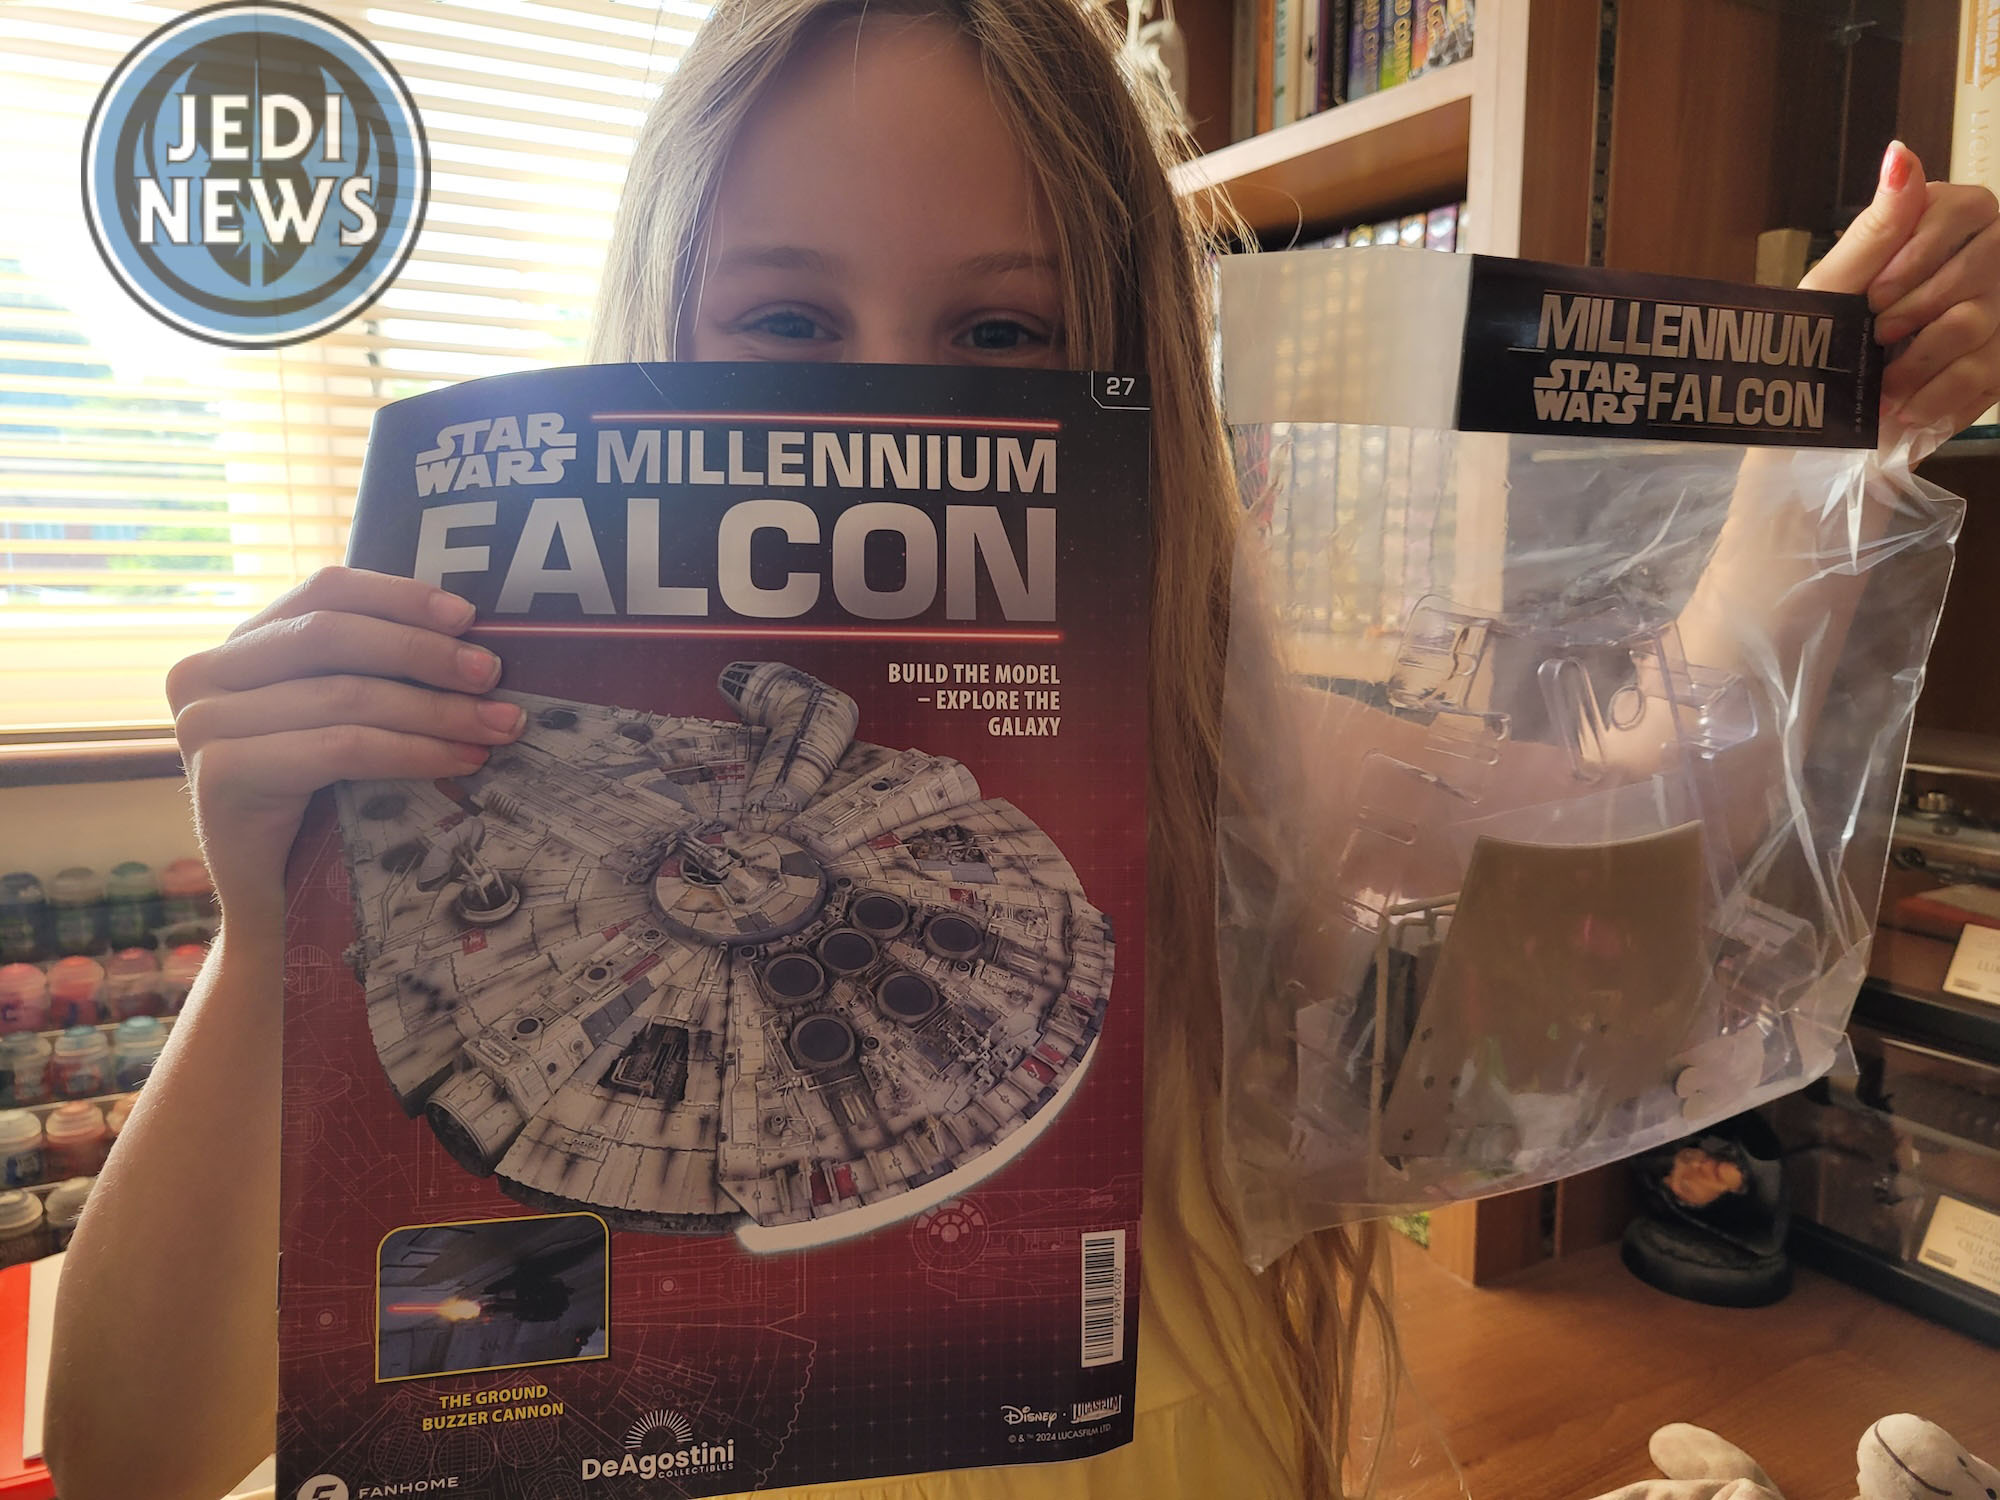
The delivery came with issues twenty-seven through to thirty-one. There were a lot of big pieces I could see here, from the jigsaw pieces to the metallic ring which was surely to house the turret for the Millennium Falcon. Ember (my seven-year-old daughter) and myself had been doing a lot of work in the interior of the Falcon. This delivery, while containing pieces for the inside, seemed to be primarily focused on the outside. We have enjoyed doing the inside, but I was keen to get the Falcon taking shape.
Looking through issue twenty-seven, it was clear that this single part would take us a while. Parts twenty-five and twenty-six had been notable for how short they had been, and I was glad to find that this issue would be a return to form in terms of the amount of time it would take for Ember and I to complete. The first part would see us fitting a base and cushions. The floor I had already painted as it had come with a previous issue. This meant I didn’t need to prepare anything for the actual construction; great! Then we would be assembling more to the bottom frame, no preparation for that needed; great! Finally, we’d be constructing the assembly jig, which would need almost a one meter by sixty-one-centimeter piece of MDF before we could sort; gre- what?!
I’d been excited to get the assembly jig started ever since I’d seen the plastic pieces. It looked immense and certainly a great way to support the frame of the Falcon as we were creating it. Rather silly of me, I thought it was like a plastic casing for the frame to sit inside of. Instead, it’s a construction for the frame to sit on top of. This in itself made sense until reading the instructions. It stated that the jigs should be attached to a piece of MDF, a big piece of MDF. Quickly googling where I could find a piece of wood, B&Q had what I needed (6mm thick) for under £12. Not too pricey, which was certainly a relief. My bigger concern was where would I put such a big piece of wood.


At the start of the project, I was excited. To have such an incredible model was something I never thought I’d ever own. Yes, it would be big once complete, but hanging something from the ceiling gave me all the space I would need. I hadn’t thought so early on in the build (ok – a quarter of the way through), we’d be taking up the space of the whole starship! Hindsight is such a wonderful thing! Obviously, this was going to need somewhere to be placed on ground level for the time being. I was already down the rabbit hole now, so I thought I’ll just get the wood and figure the rest out later! A trip for some MDF was in order.
When Ember first walked into the study, she visibly pulled back and commented that the wood was big! She has seen on the blueprint from issue one, just how big the Falcon will be, but clearly having something solid to see made a bit of an impact – it did on me too. With the wood ready I also went out and got some glue dots. The magazine mentions double sided tape, but I thought the glue dots would look a bit neater, particularly as I’d be looking at for at least another year and a half! With everything ready to go, it was time to actually delve into the issue itself.
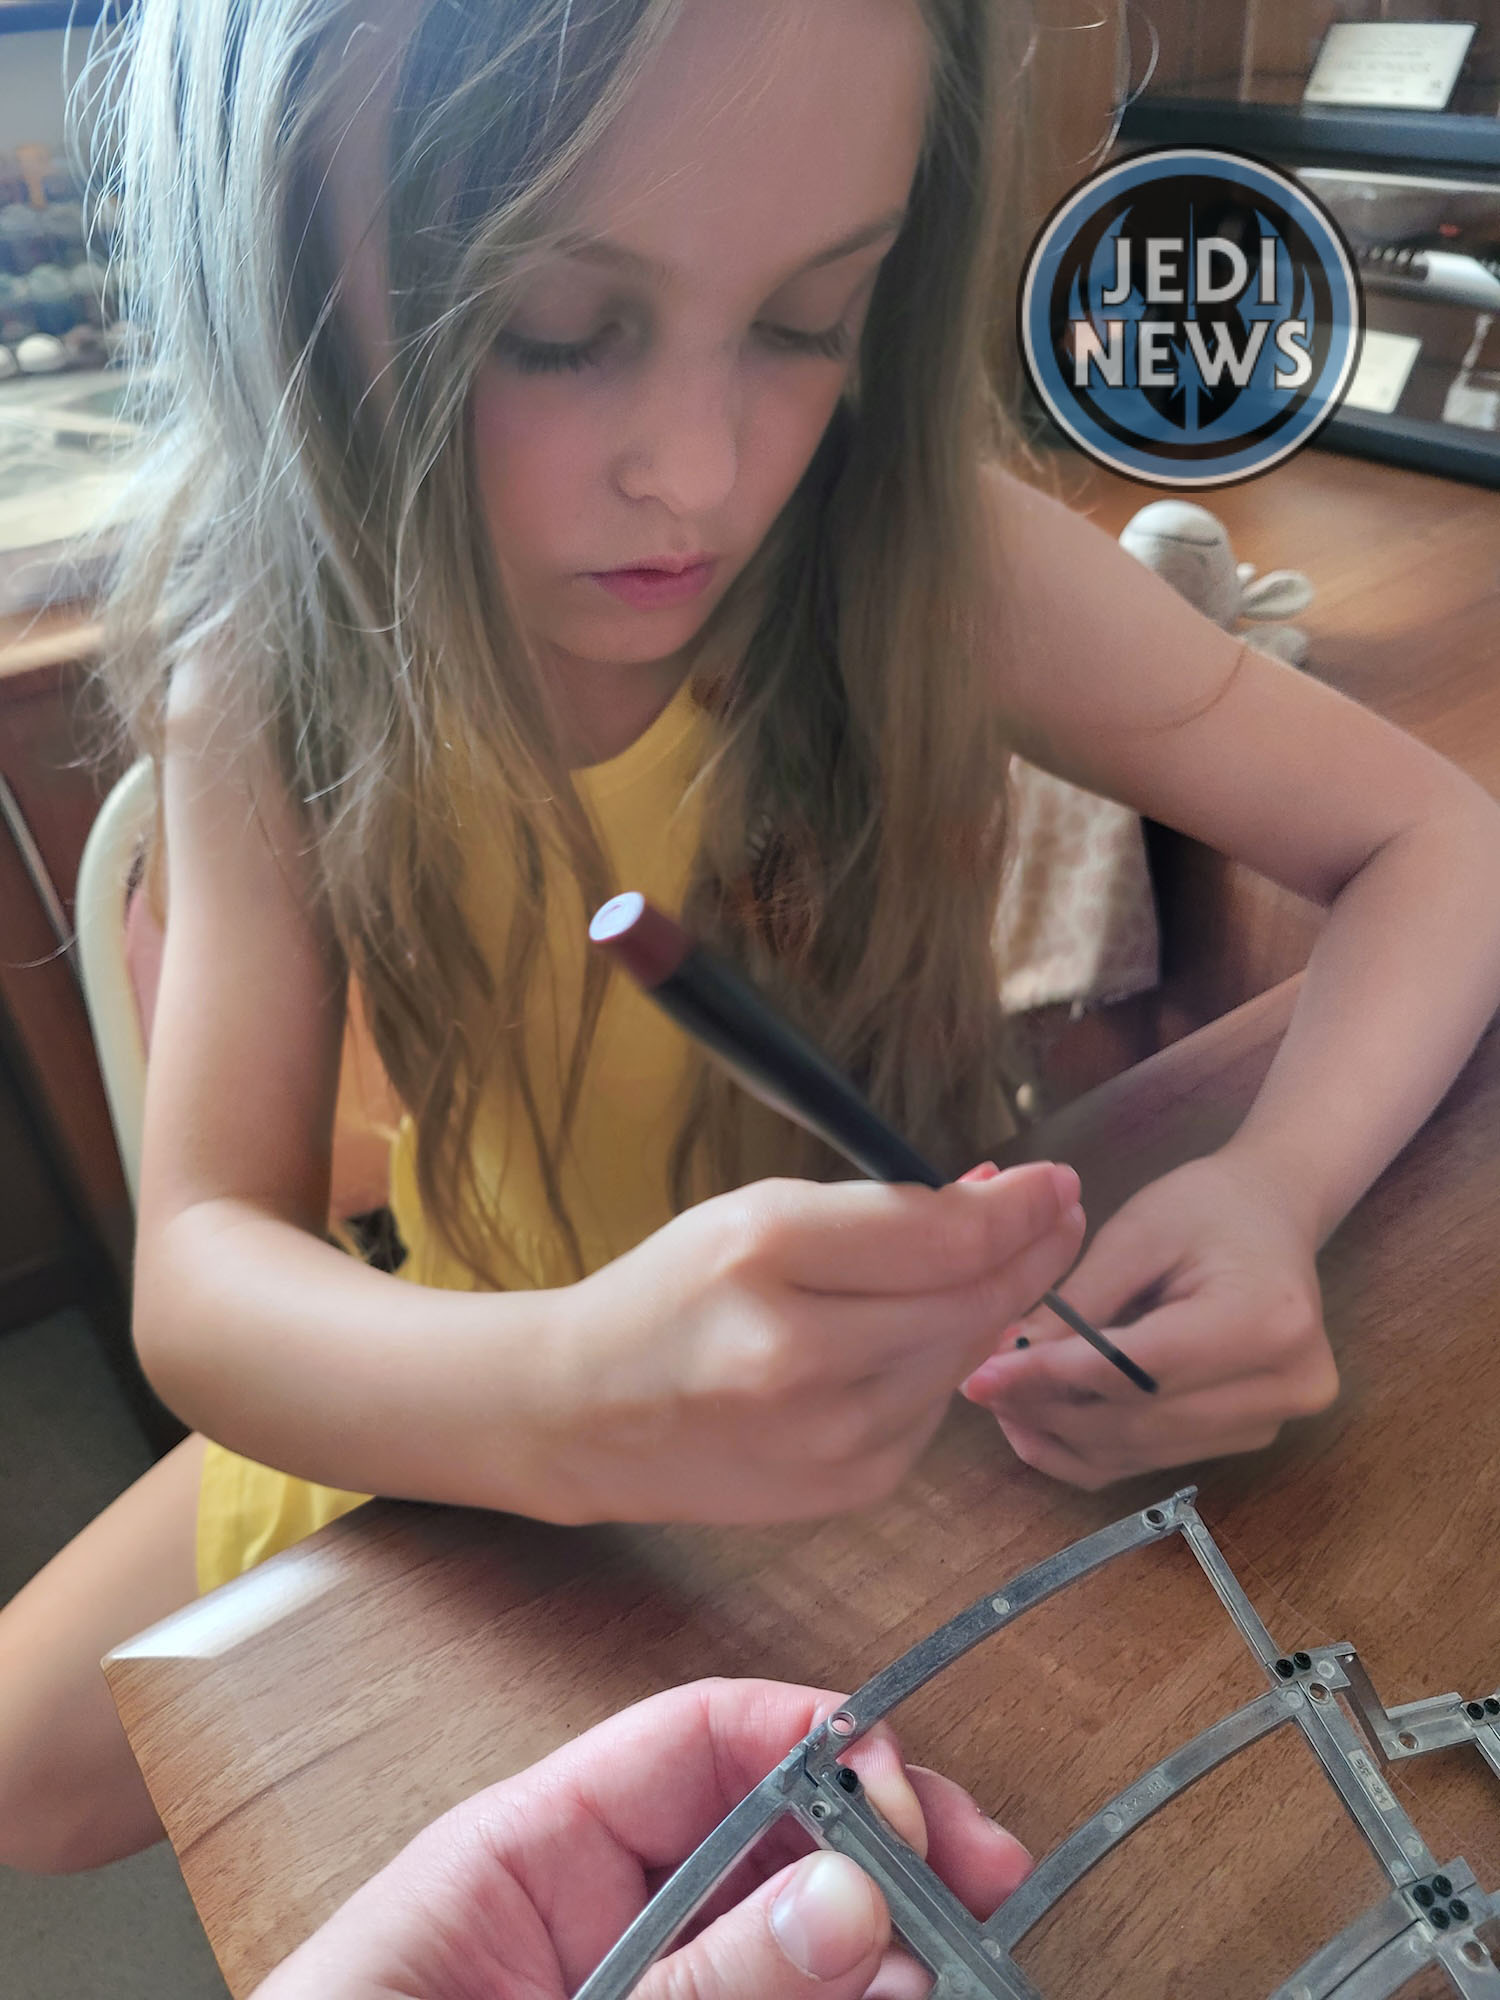

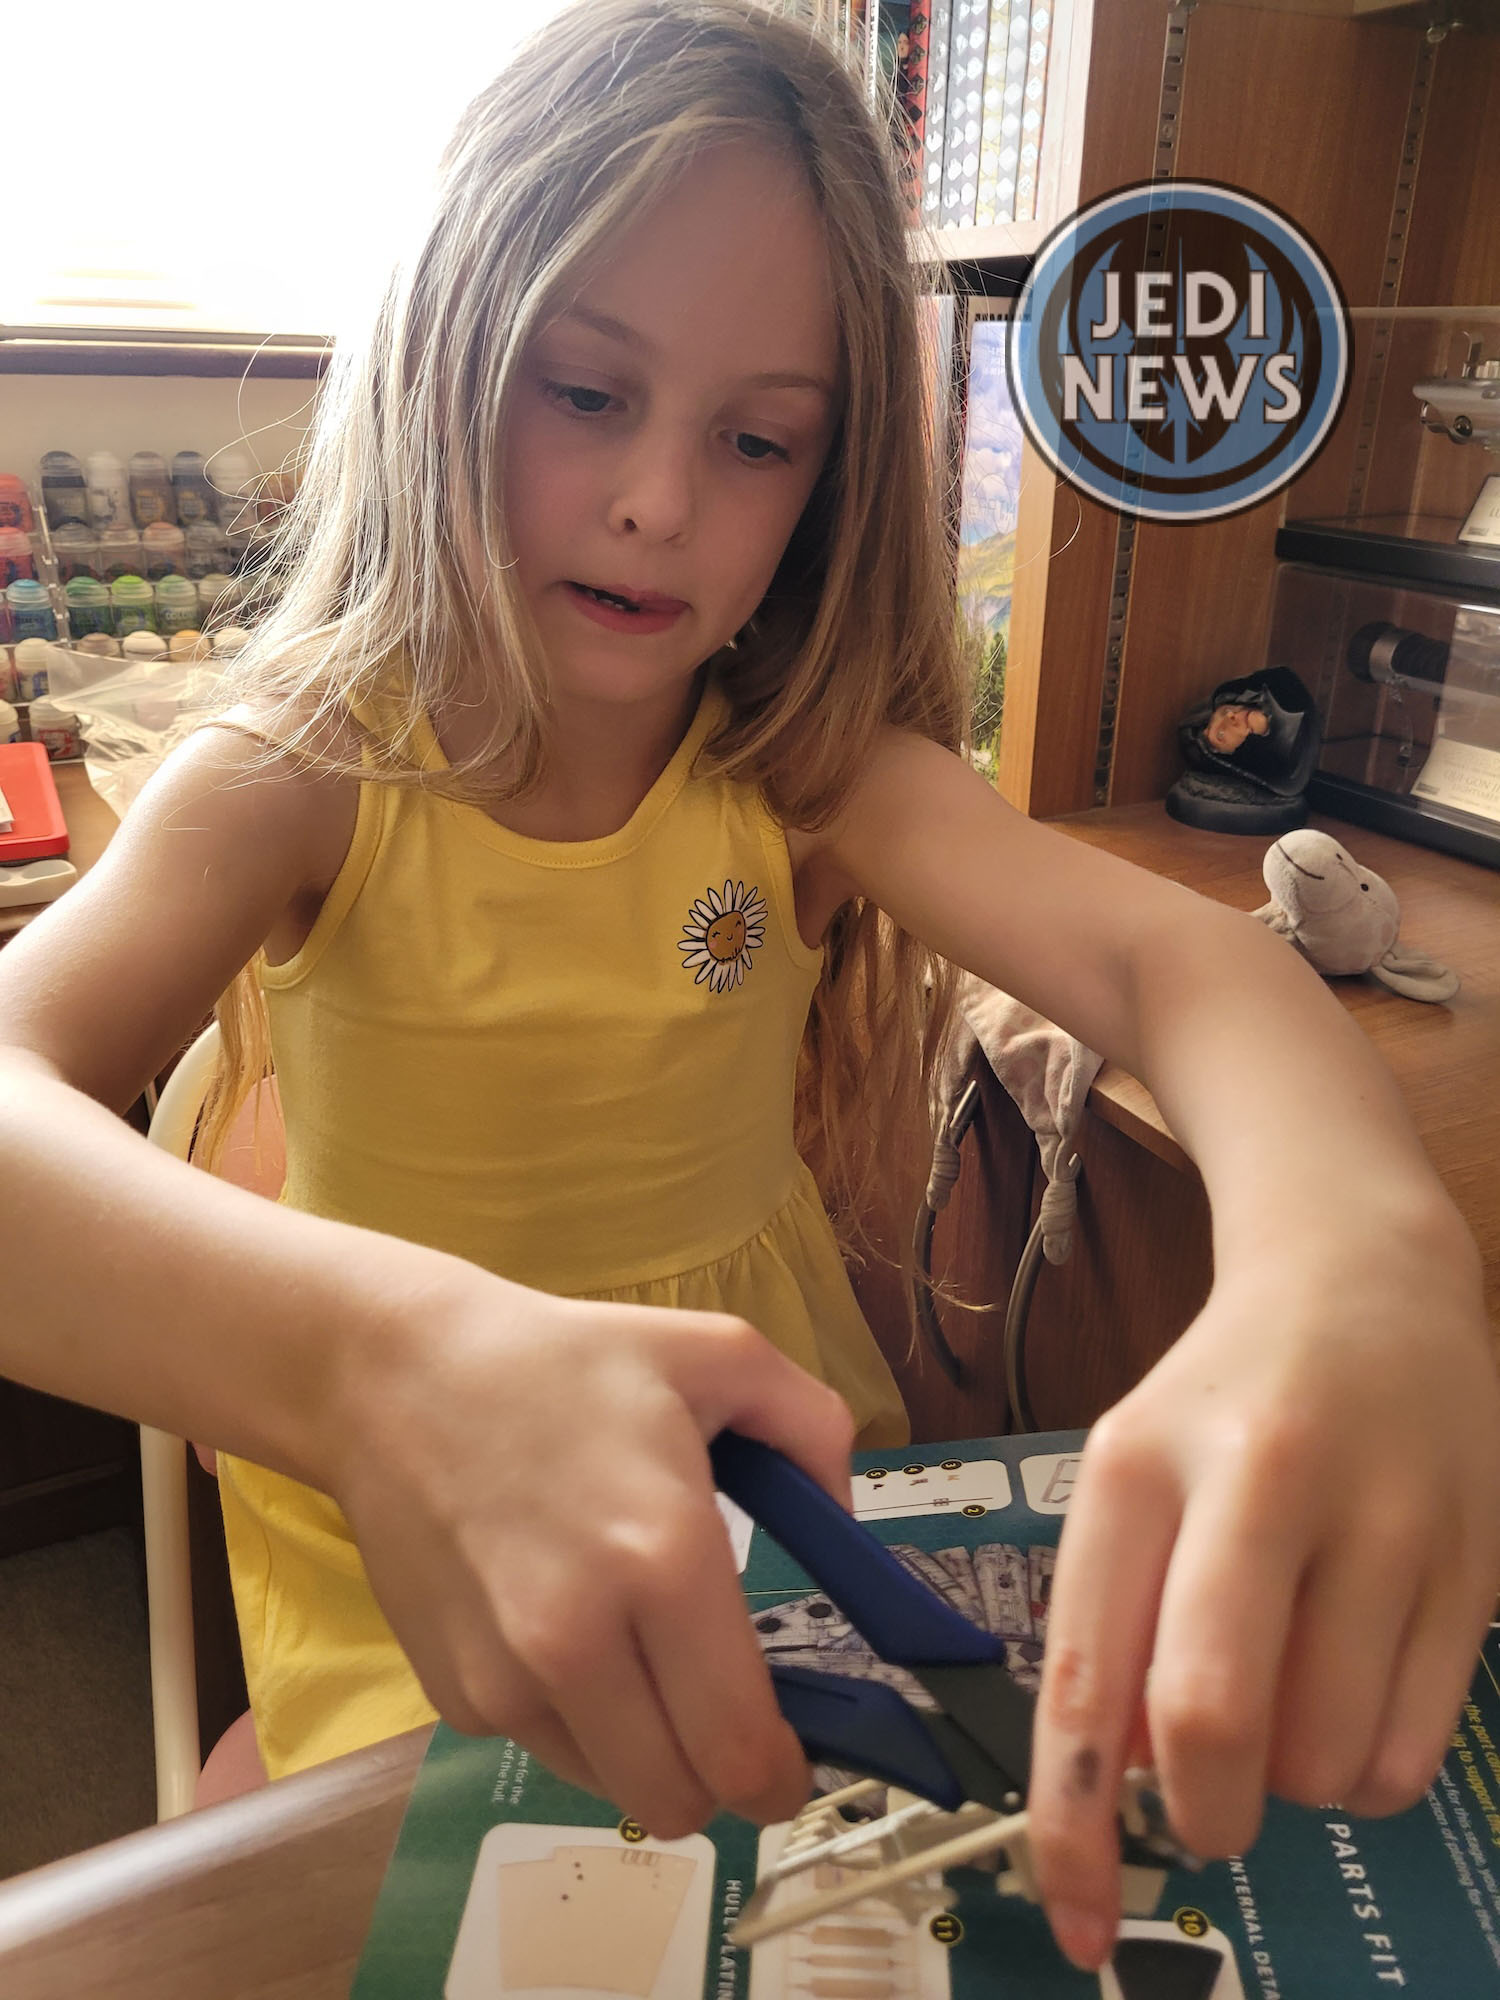
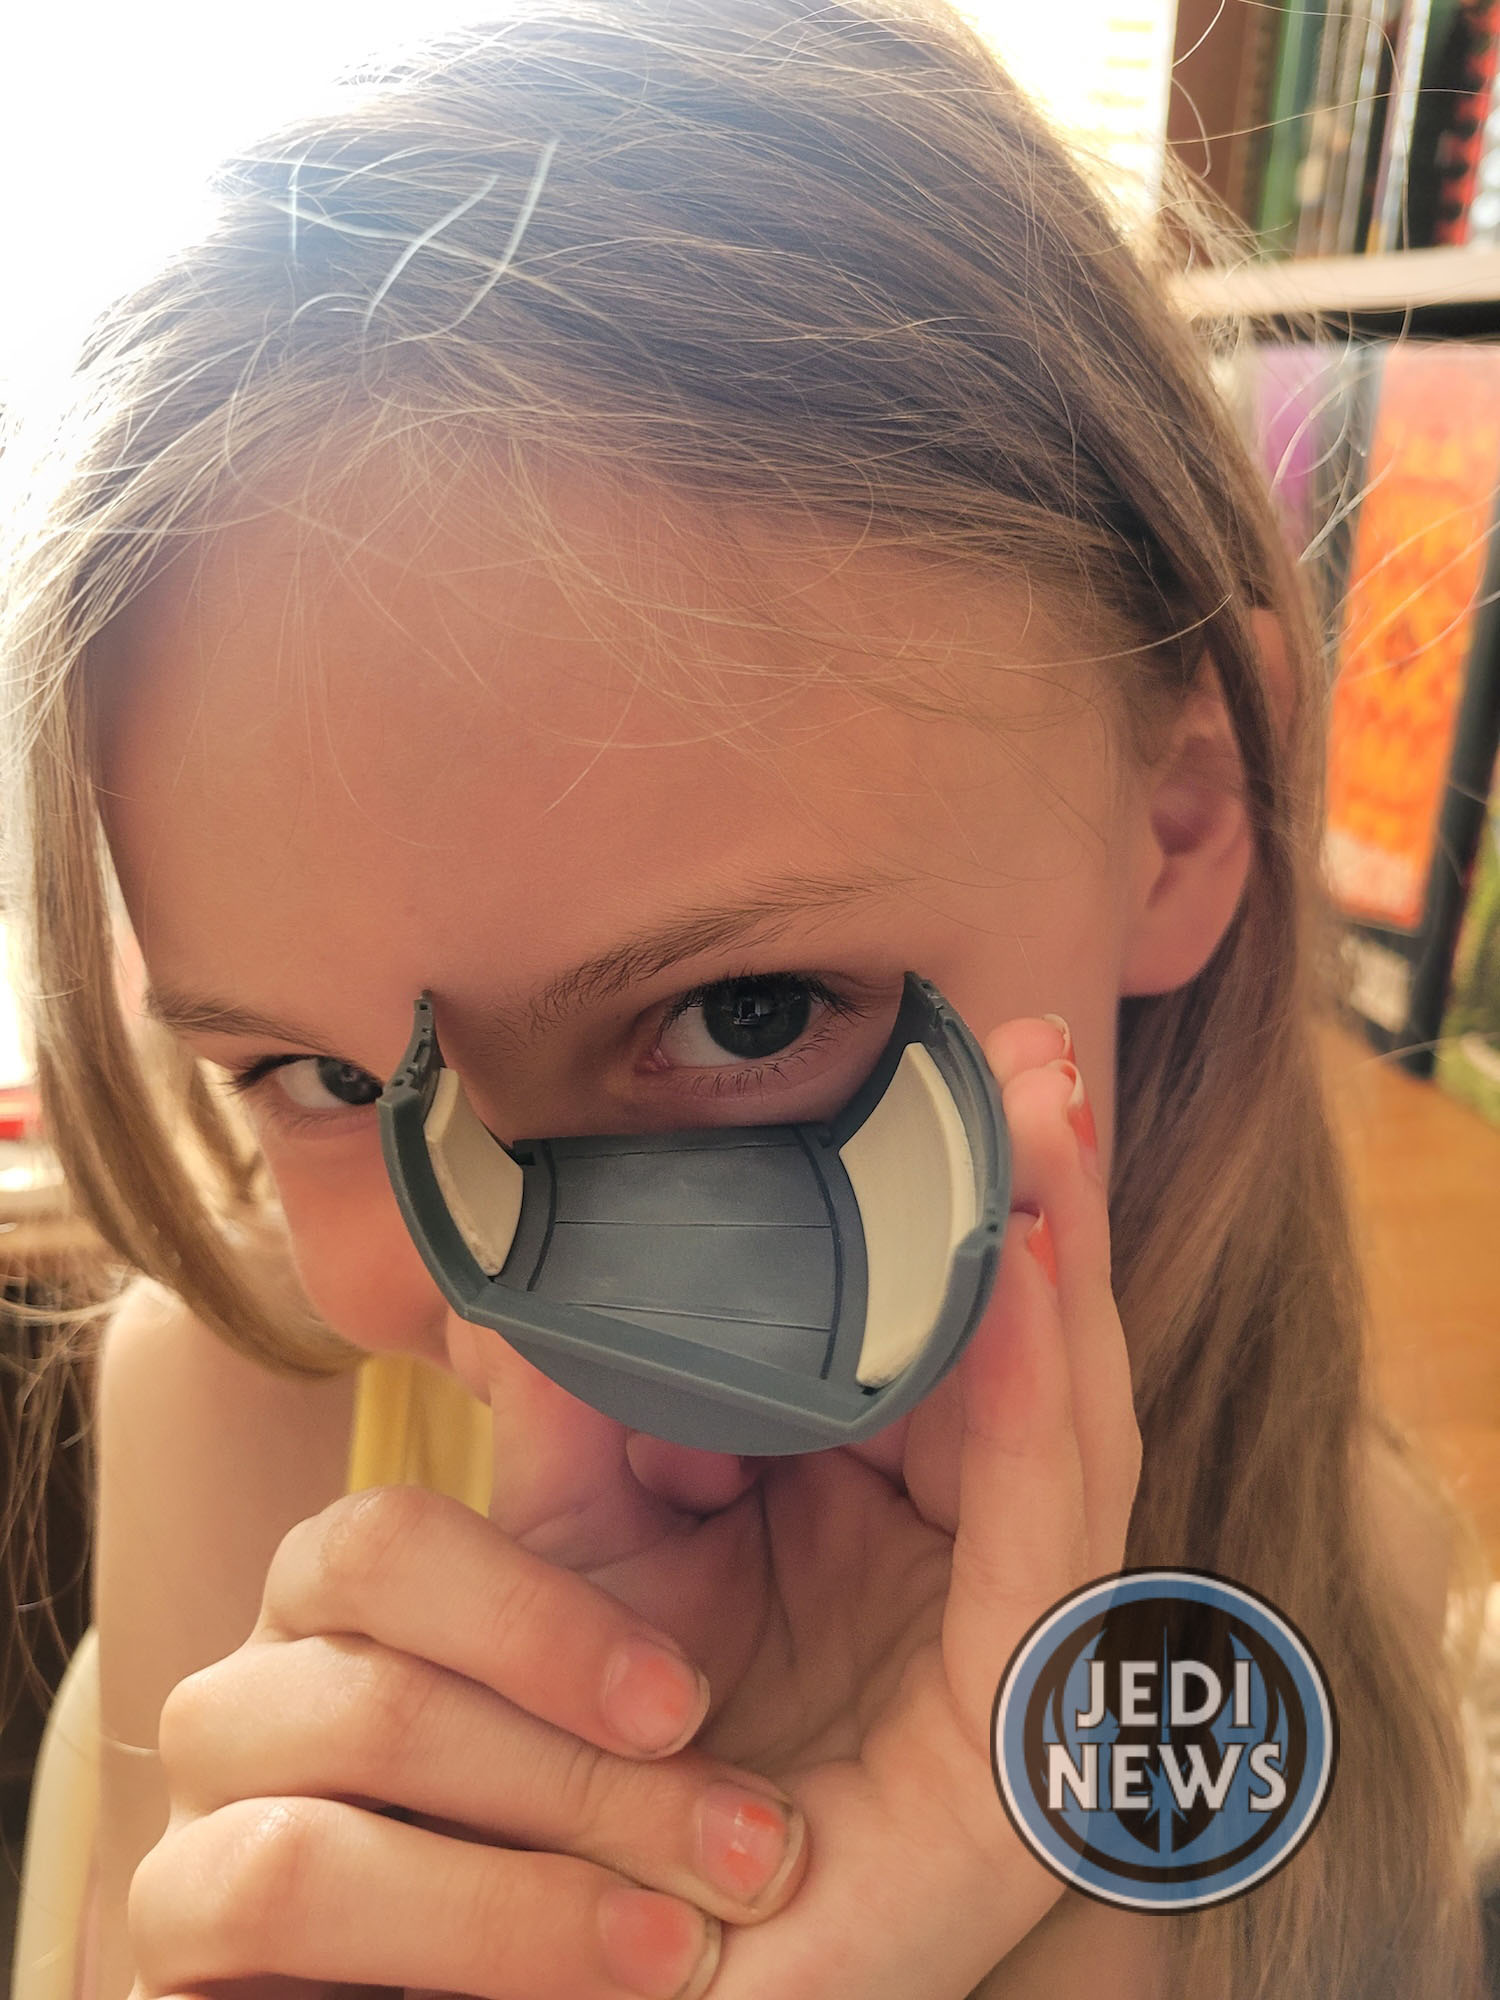
We started simply enough by creating the port corridor. For this, Ember and I had to screw in the flooring and then glue two cushions on. This went without a hitch. I could see how Ember’s confidence had grown as she was determined to screw the flooring in by herself, which meant she had to line up the holes. She was able to do this, and it was easy to see, she was rather proud of the fact.
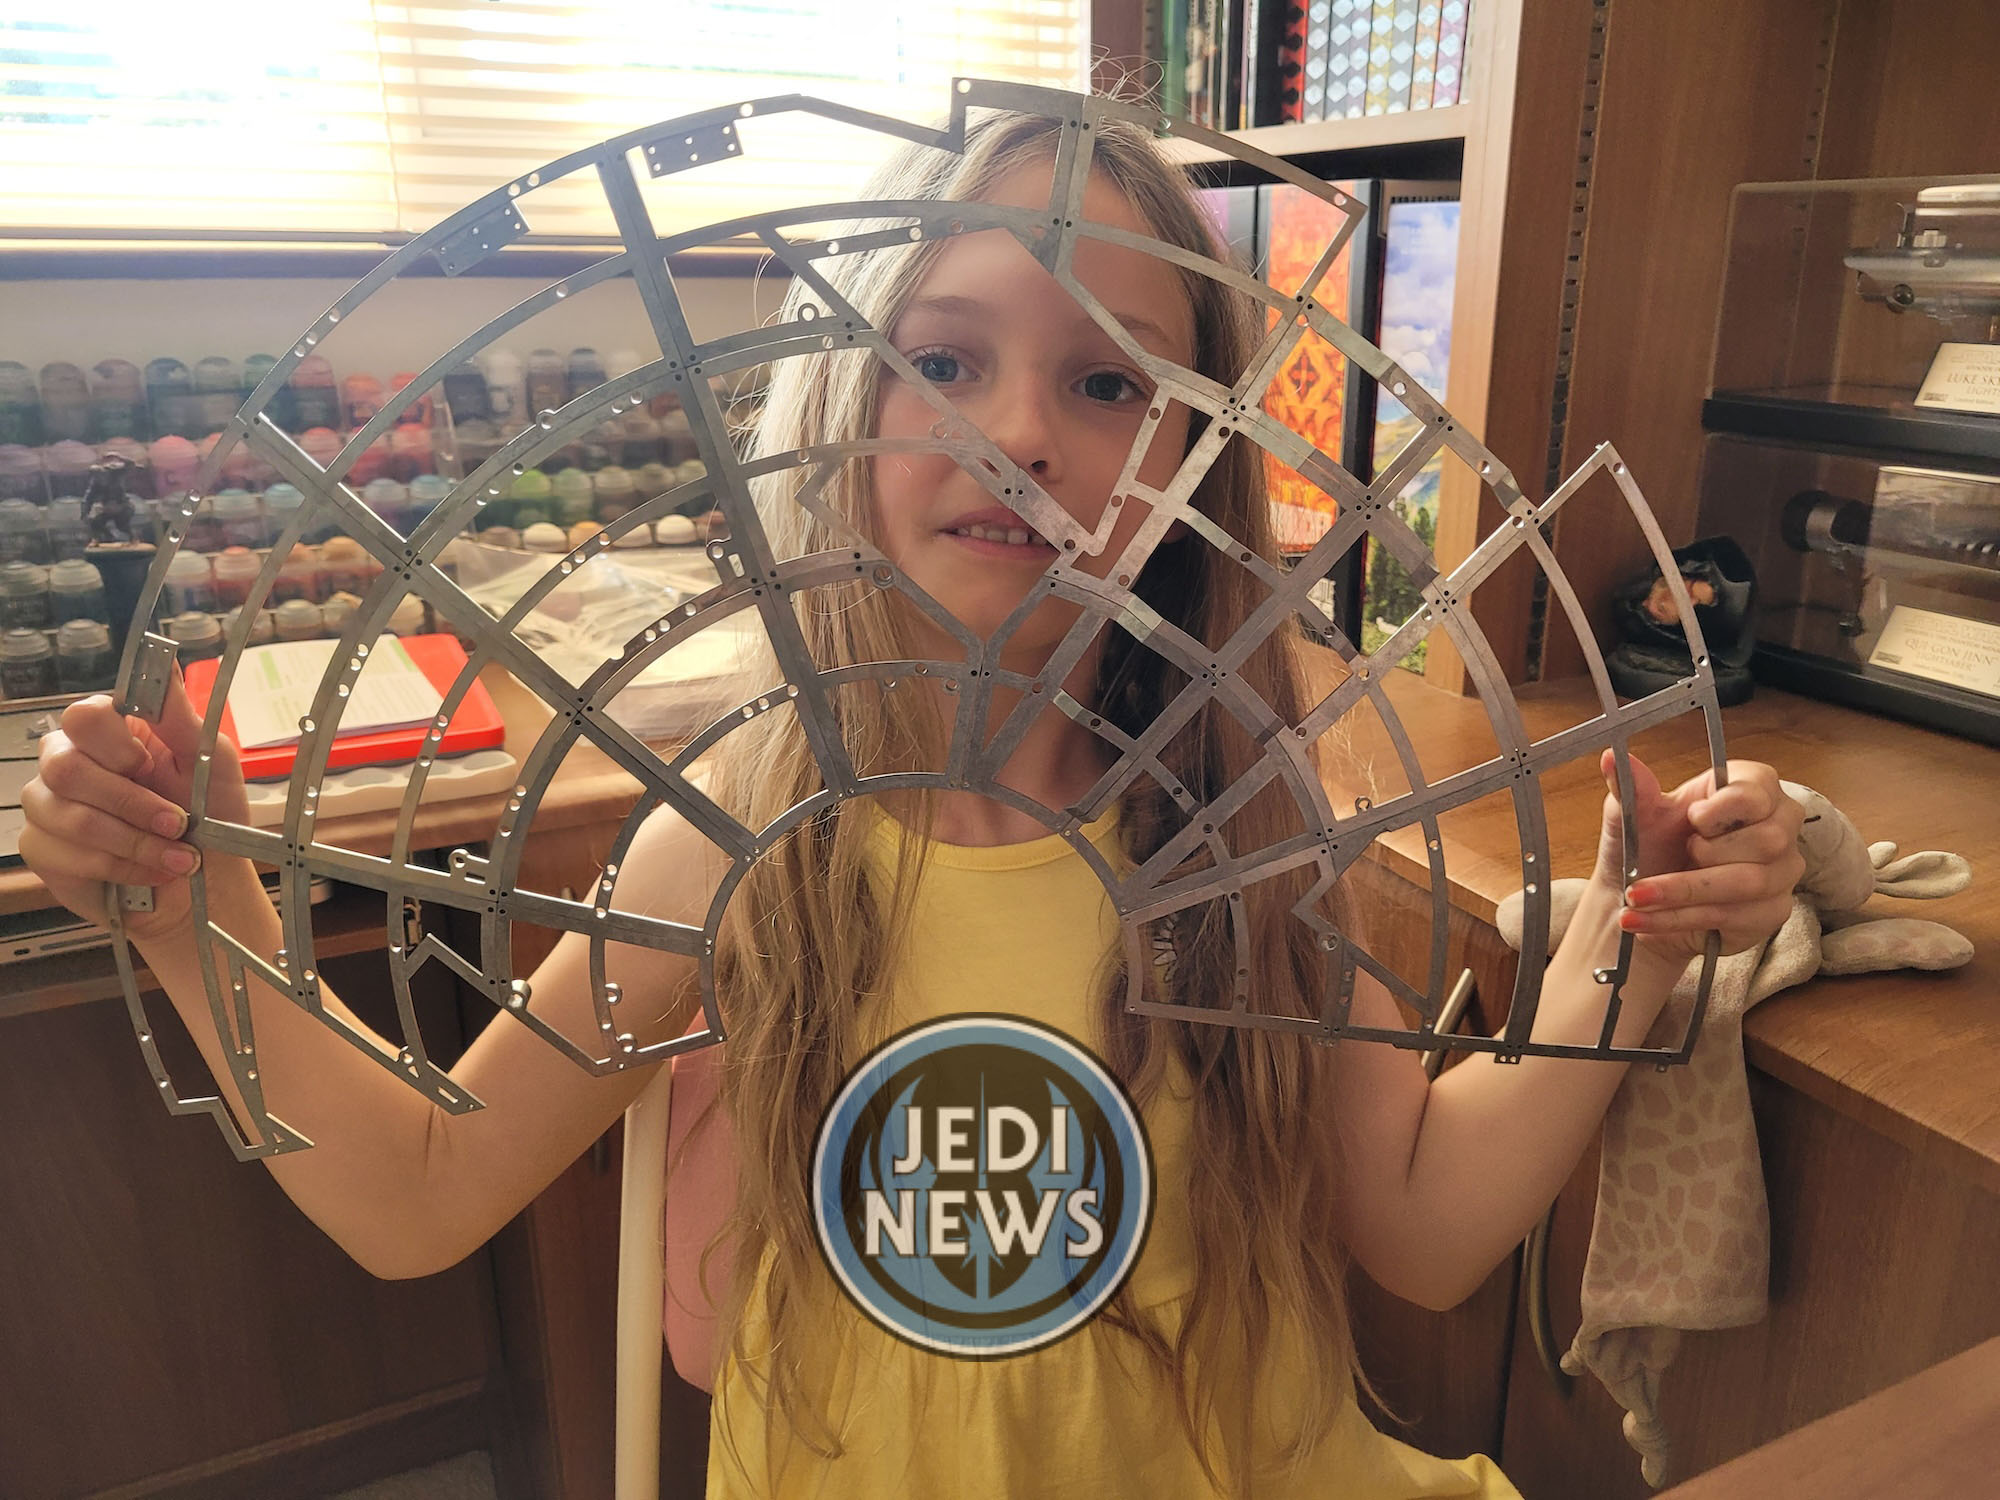
After that it was back to the bottom frame. Now there is a part of me that understands why they divide this up so much over issues. It is slightly repetitive. Yet for Ember and me, we love it. To see the frame grow and grow is fantastic – particularly when I can see what some of the rises and falls are in terms of the ship. This has always been Ember’s favorite part of the issues and the confidence she shows anytime we do it always amazes me. We started this project six or so months ago and then she was so unsure, checking everything with me. Now, she just gets straight in!
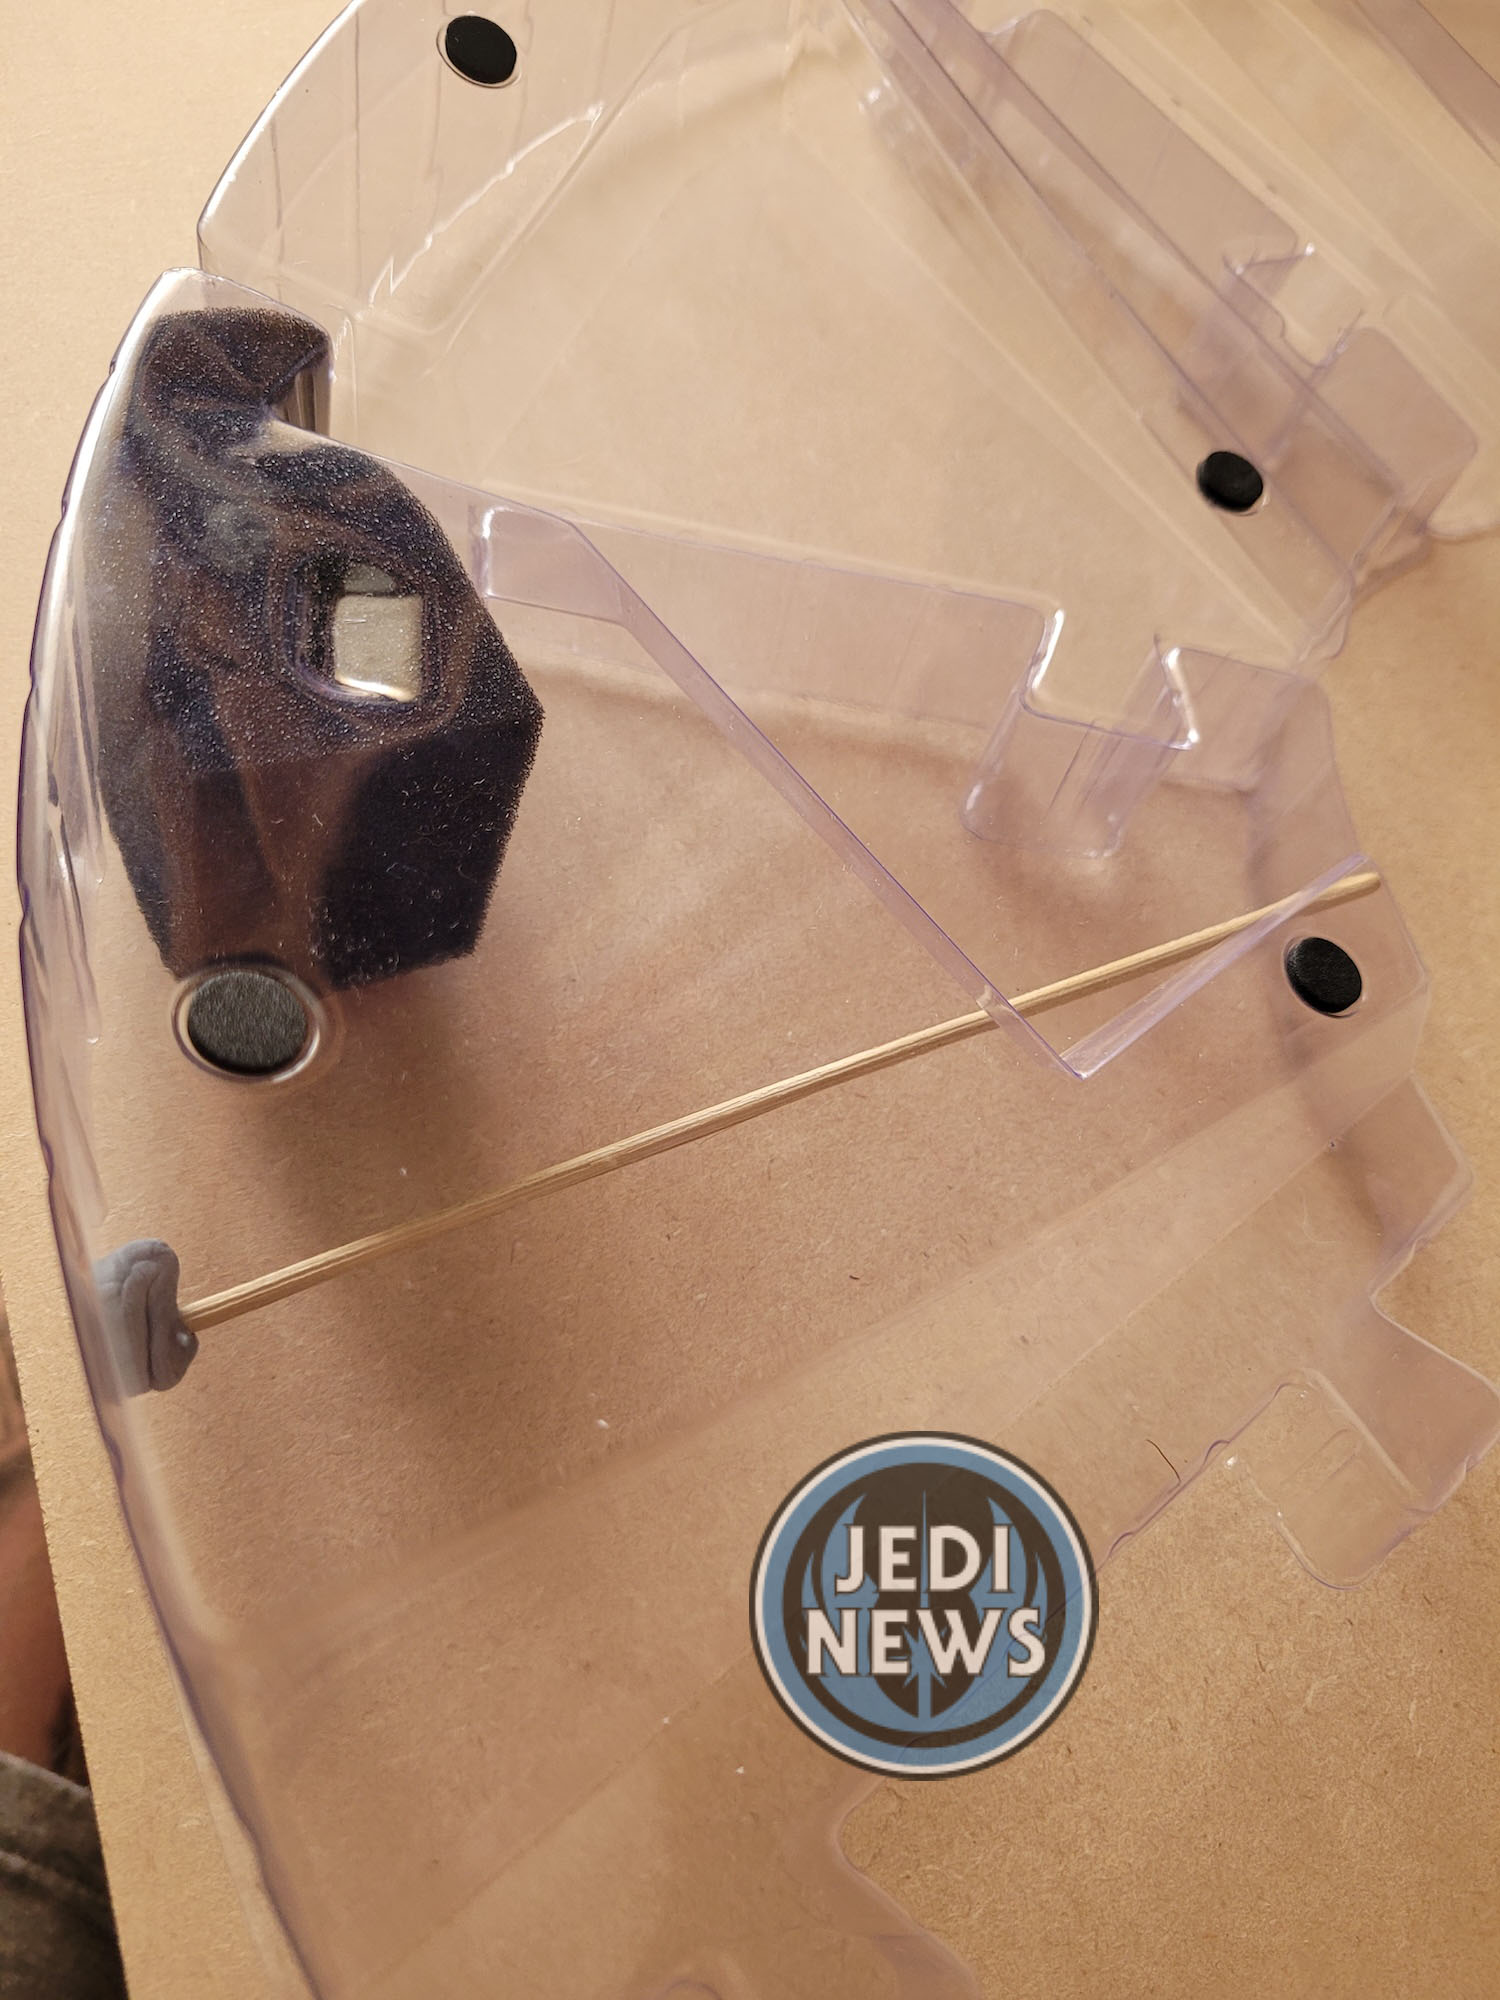
All of this was what we had come to expect from the partworks. Ember was able to take the lead because she knew exactly what she was doing. But then came the last part – assembling the jig. Having the piece of wood ready, the jigs and the glue dots, we were ready to go. It quickly became apparent to Ember that this was a ‘daddy’ stage as the plastic pieces needed identifying by their part number – something I wish was printed onto them. After spending quite, a bit of time trying to figure it out, I then ran into another problem. One of the jigs was warped. They are plastic and I’m not surprised not more of them aren’t, but it left me with a bit of a problem. I headed over to the Facebook group for Fanhome and found that I wasn’t the only one with this dilemma. Thankfully, someone had an ingenious solution: barbeque skewers. Cut to the right size (and I added Blu-tac one end to help keep it in place), I was all set to go. With the glue pads applied the frame is holding the structure brilliantly. Issue finished!
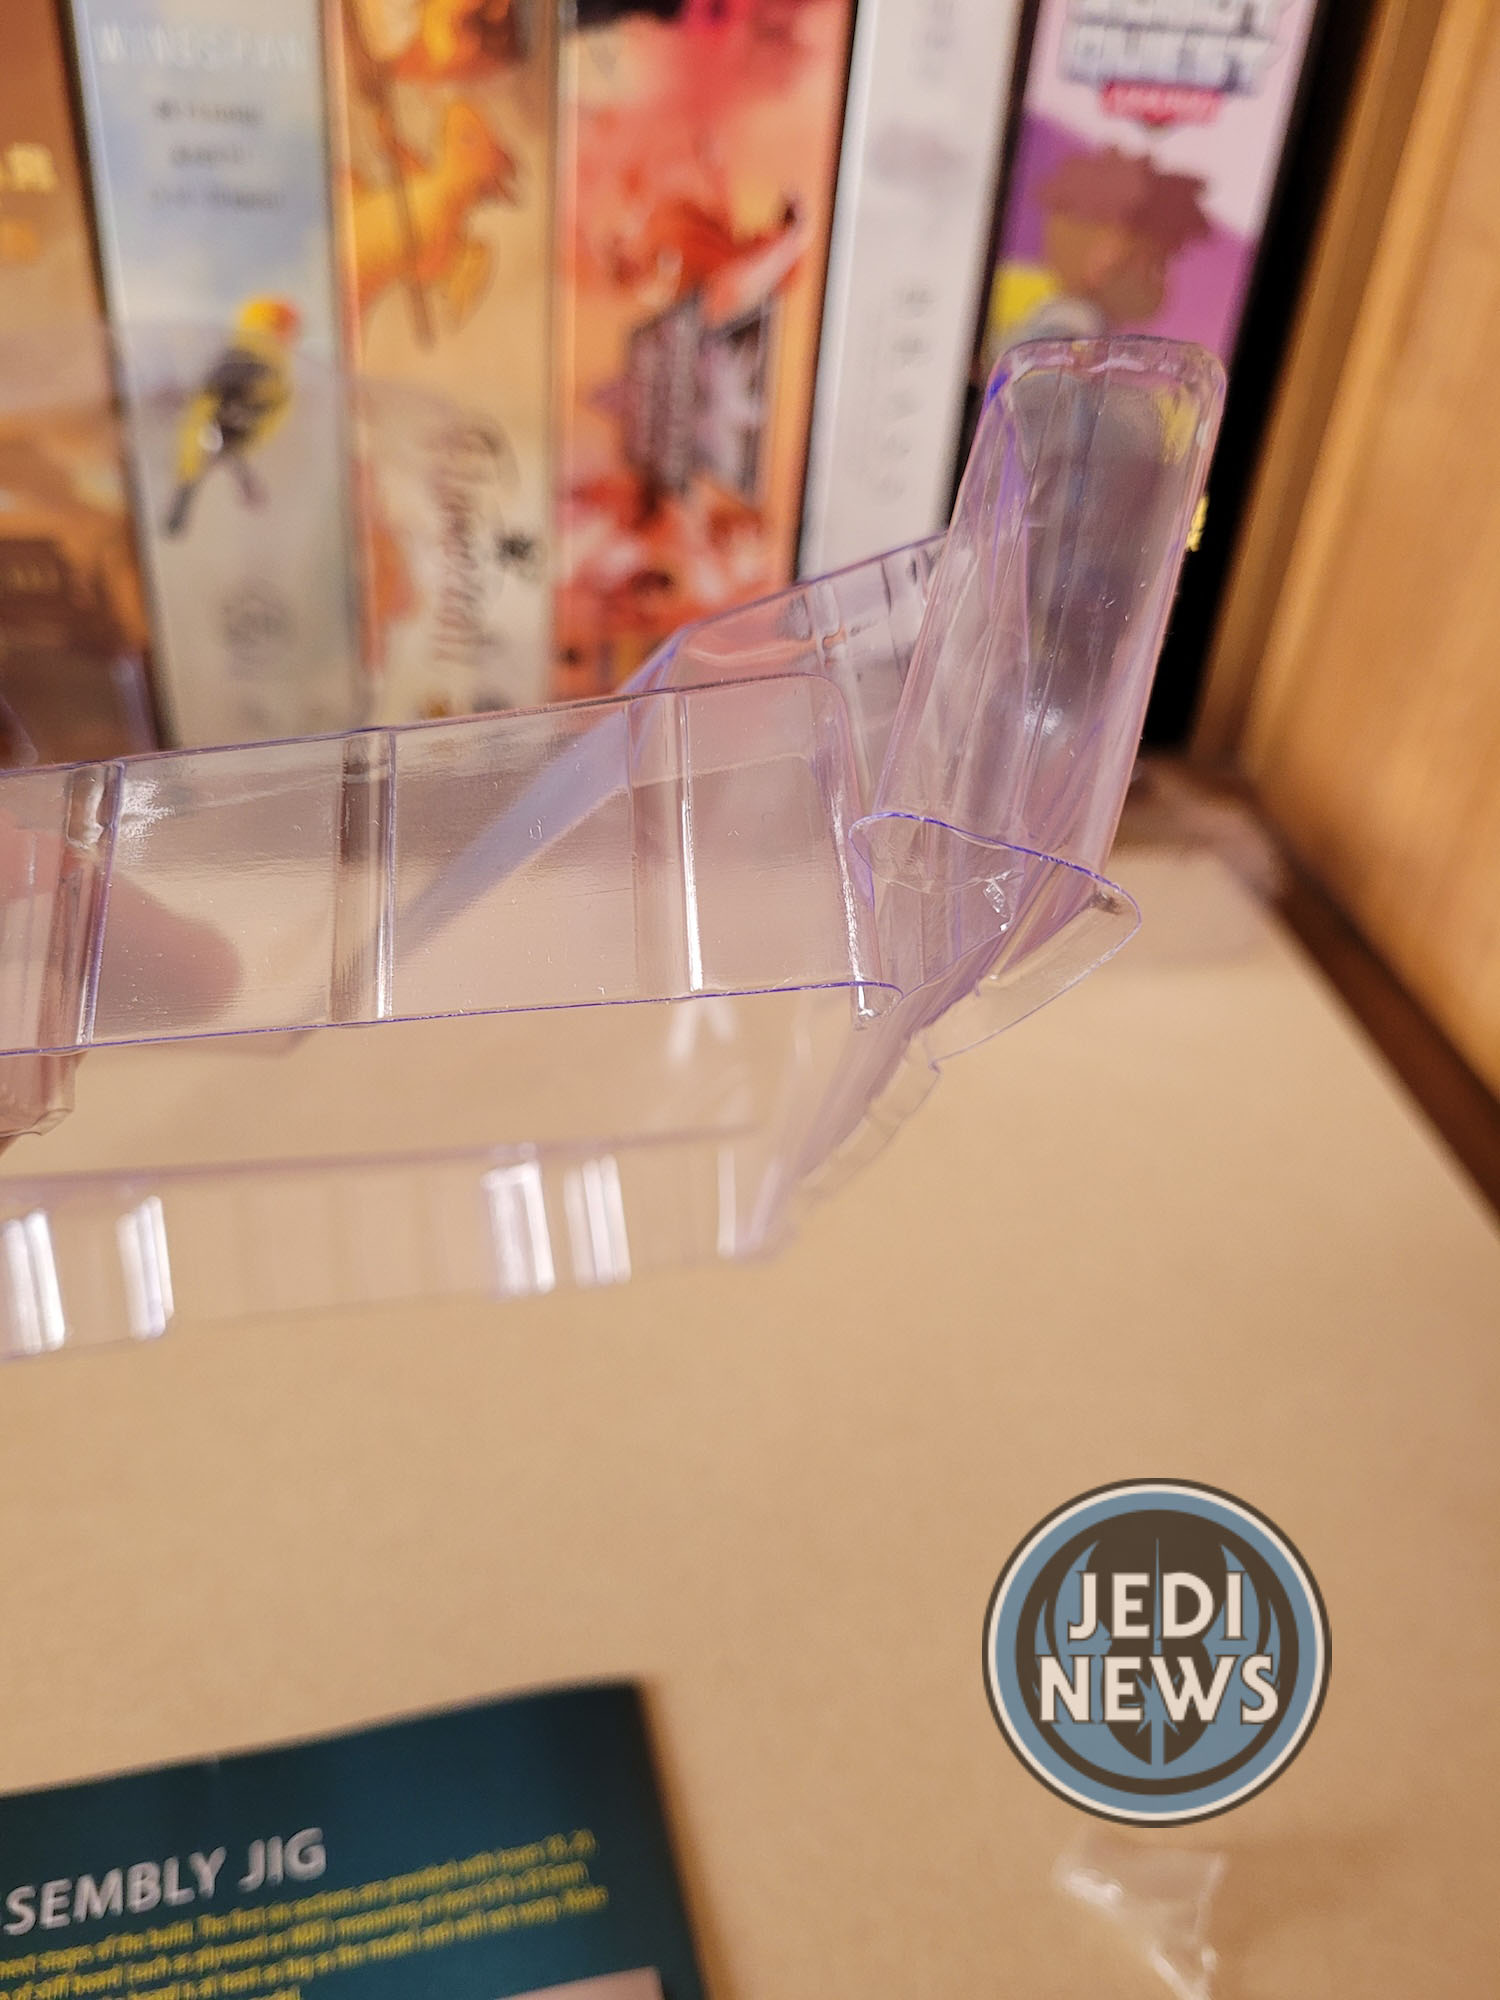

This has been a very different build. Lots of small bits to do, which actually works so well with Ember. The only part I had to do solo was the jig itself. I imagine if none of your jigs are warped you should be able to do this with a child but I’m guessing you’ll have to be incredibly lucky for that to happen. The size this project is taking up is rather large now, but I can’t help but admire the work that we have completed so far. This is a very meaty issue with some prep work needed. Now that it’s done though, I’m eager to get the rest of this lower hull complete!
