



At the end of the last delivery, my daughter – Ember – and I had finally finished the jig for the lower hull and were eager to finish the construction of the hull structure itself. The partworks have been a mixture of working on the hull and the interior of the Millennium Falcon. Now, I have enjoyed doing the interior, so has Ember, who has been able to point out the parts we’ve worked on while watching the movies. While this has been good, I’m very aware that when this huge model is complete, it will be wall mounted, with no view of the interior. So, what I really want to be working on is the hull.
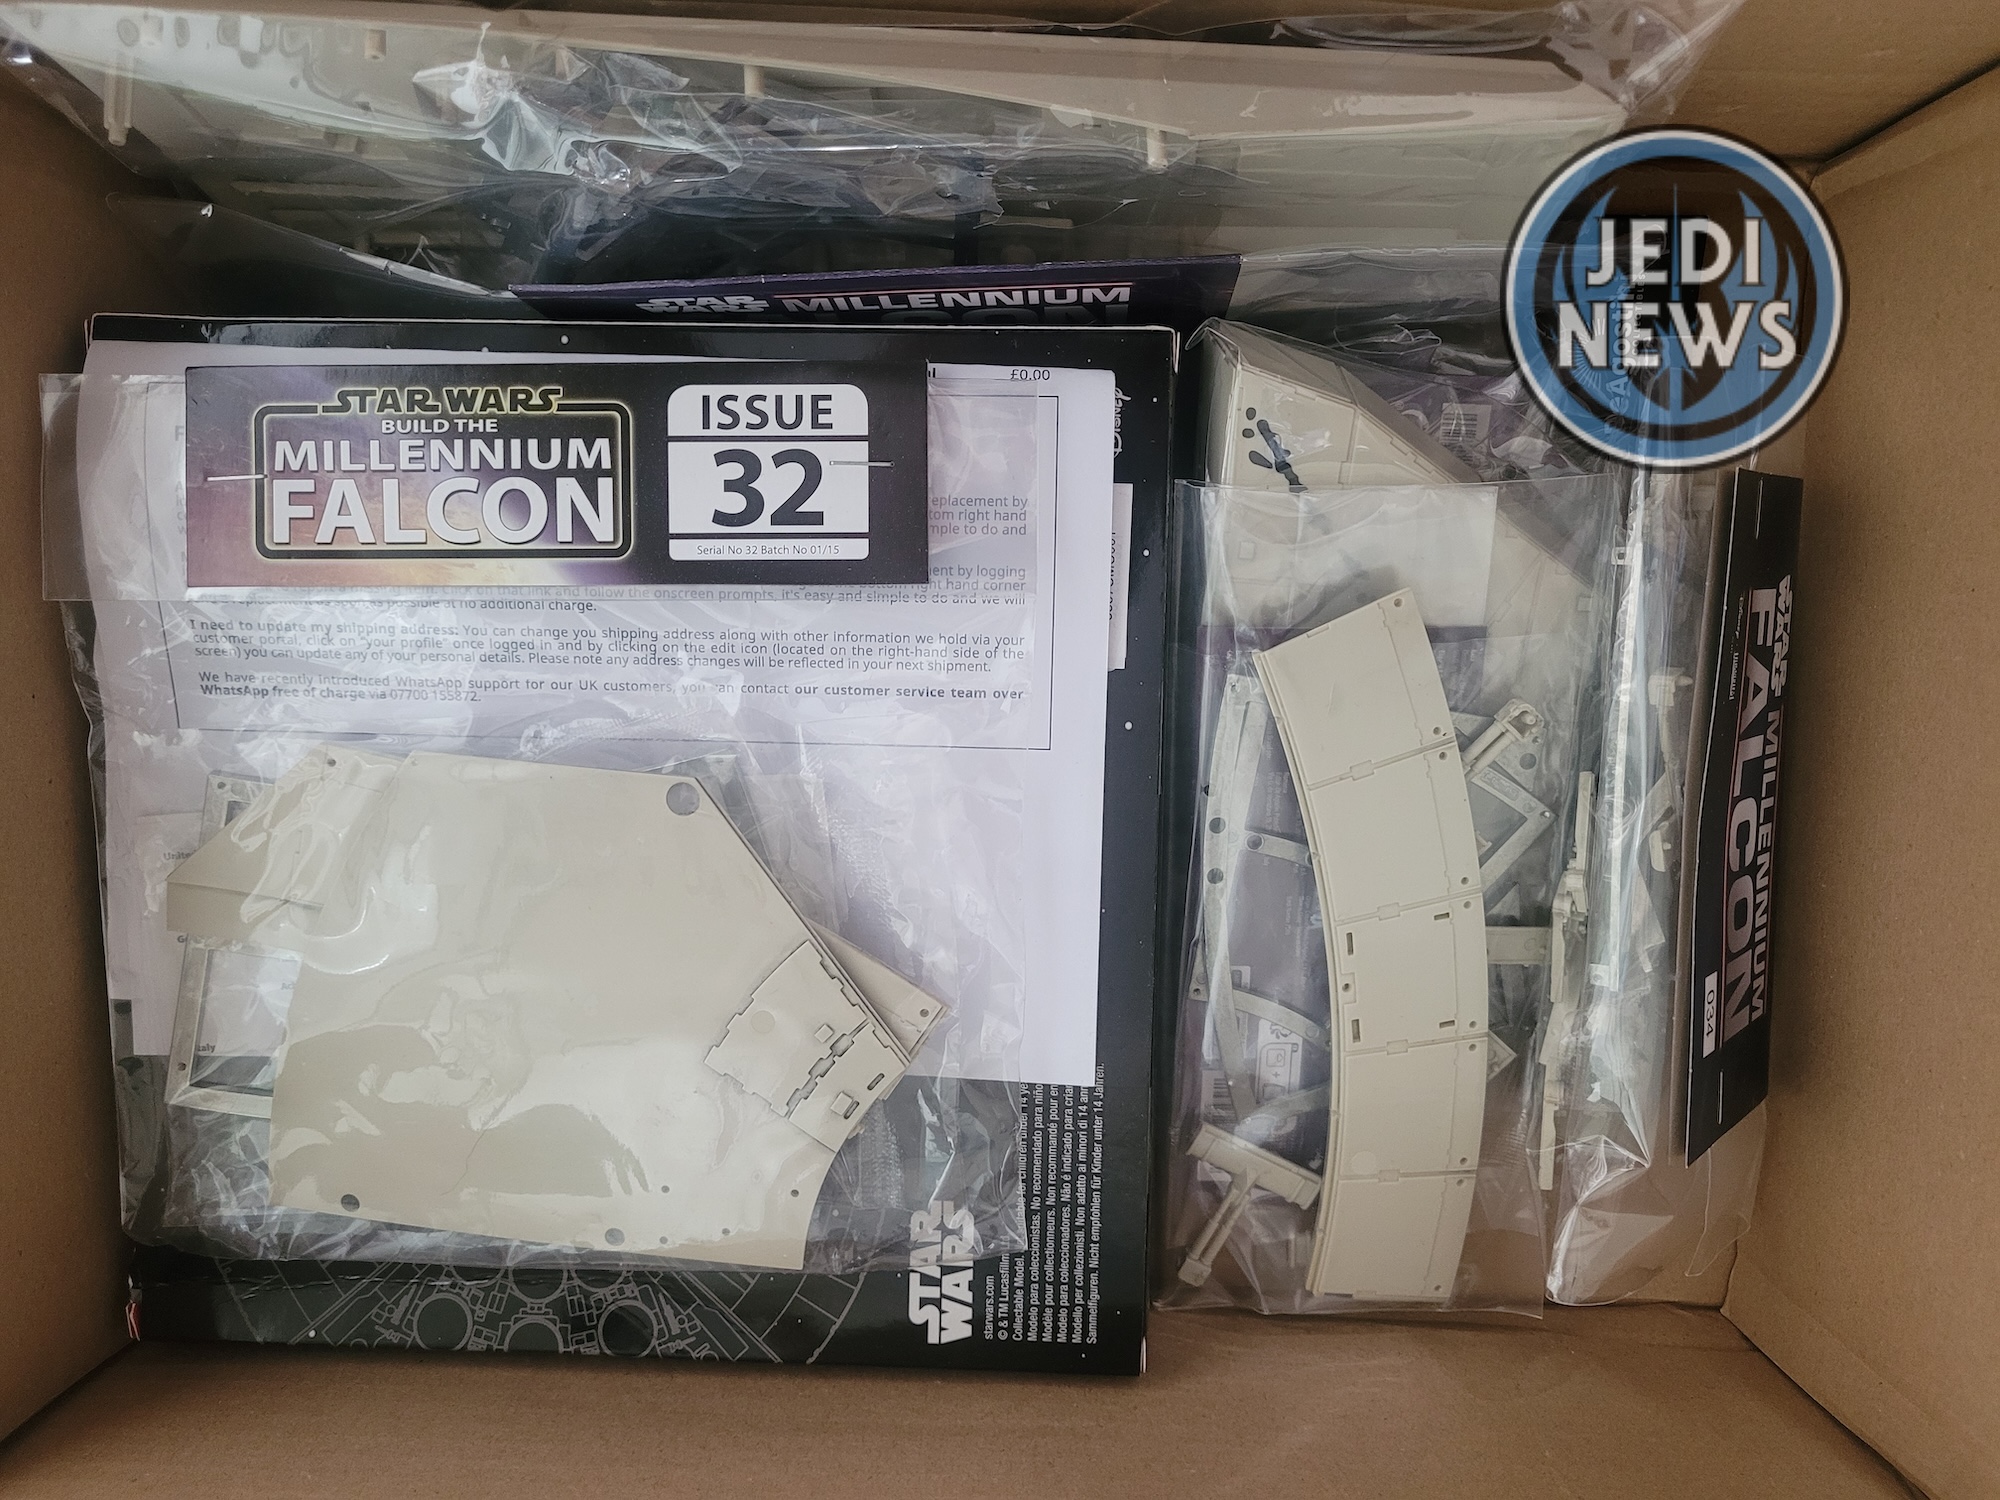
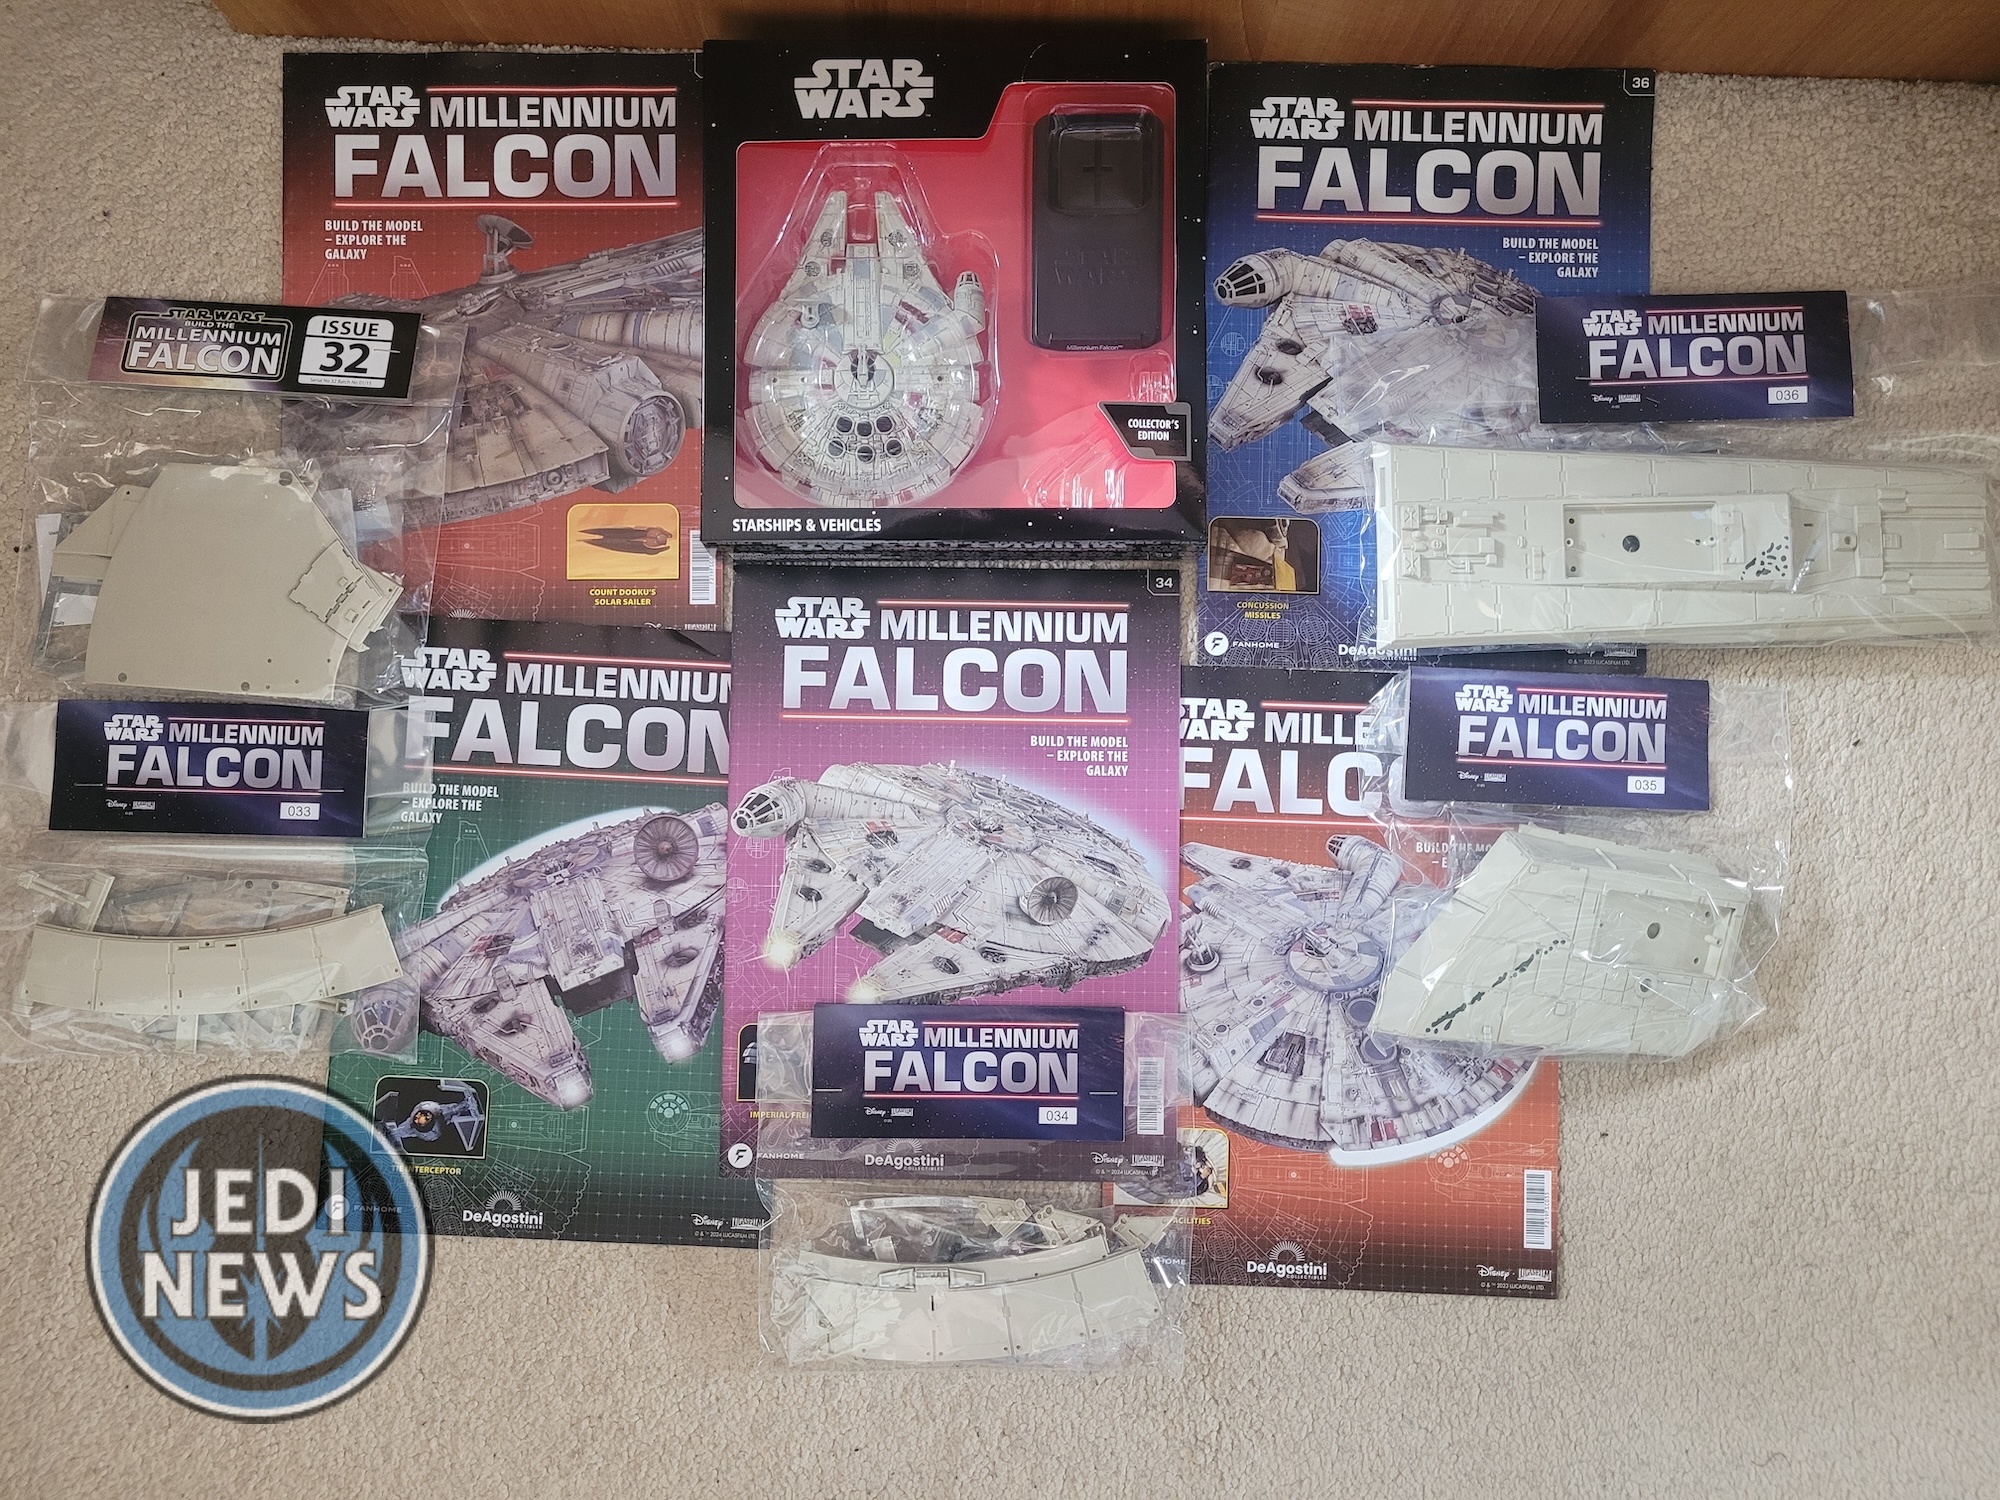
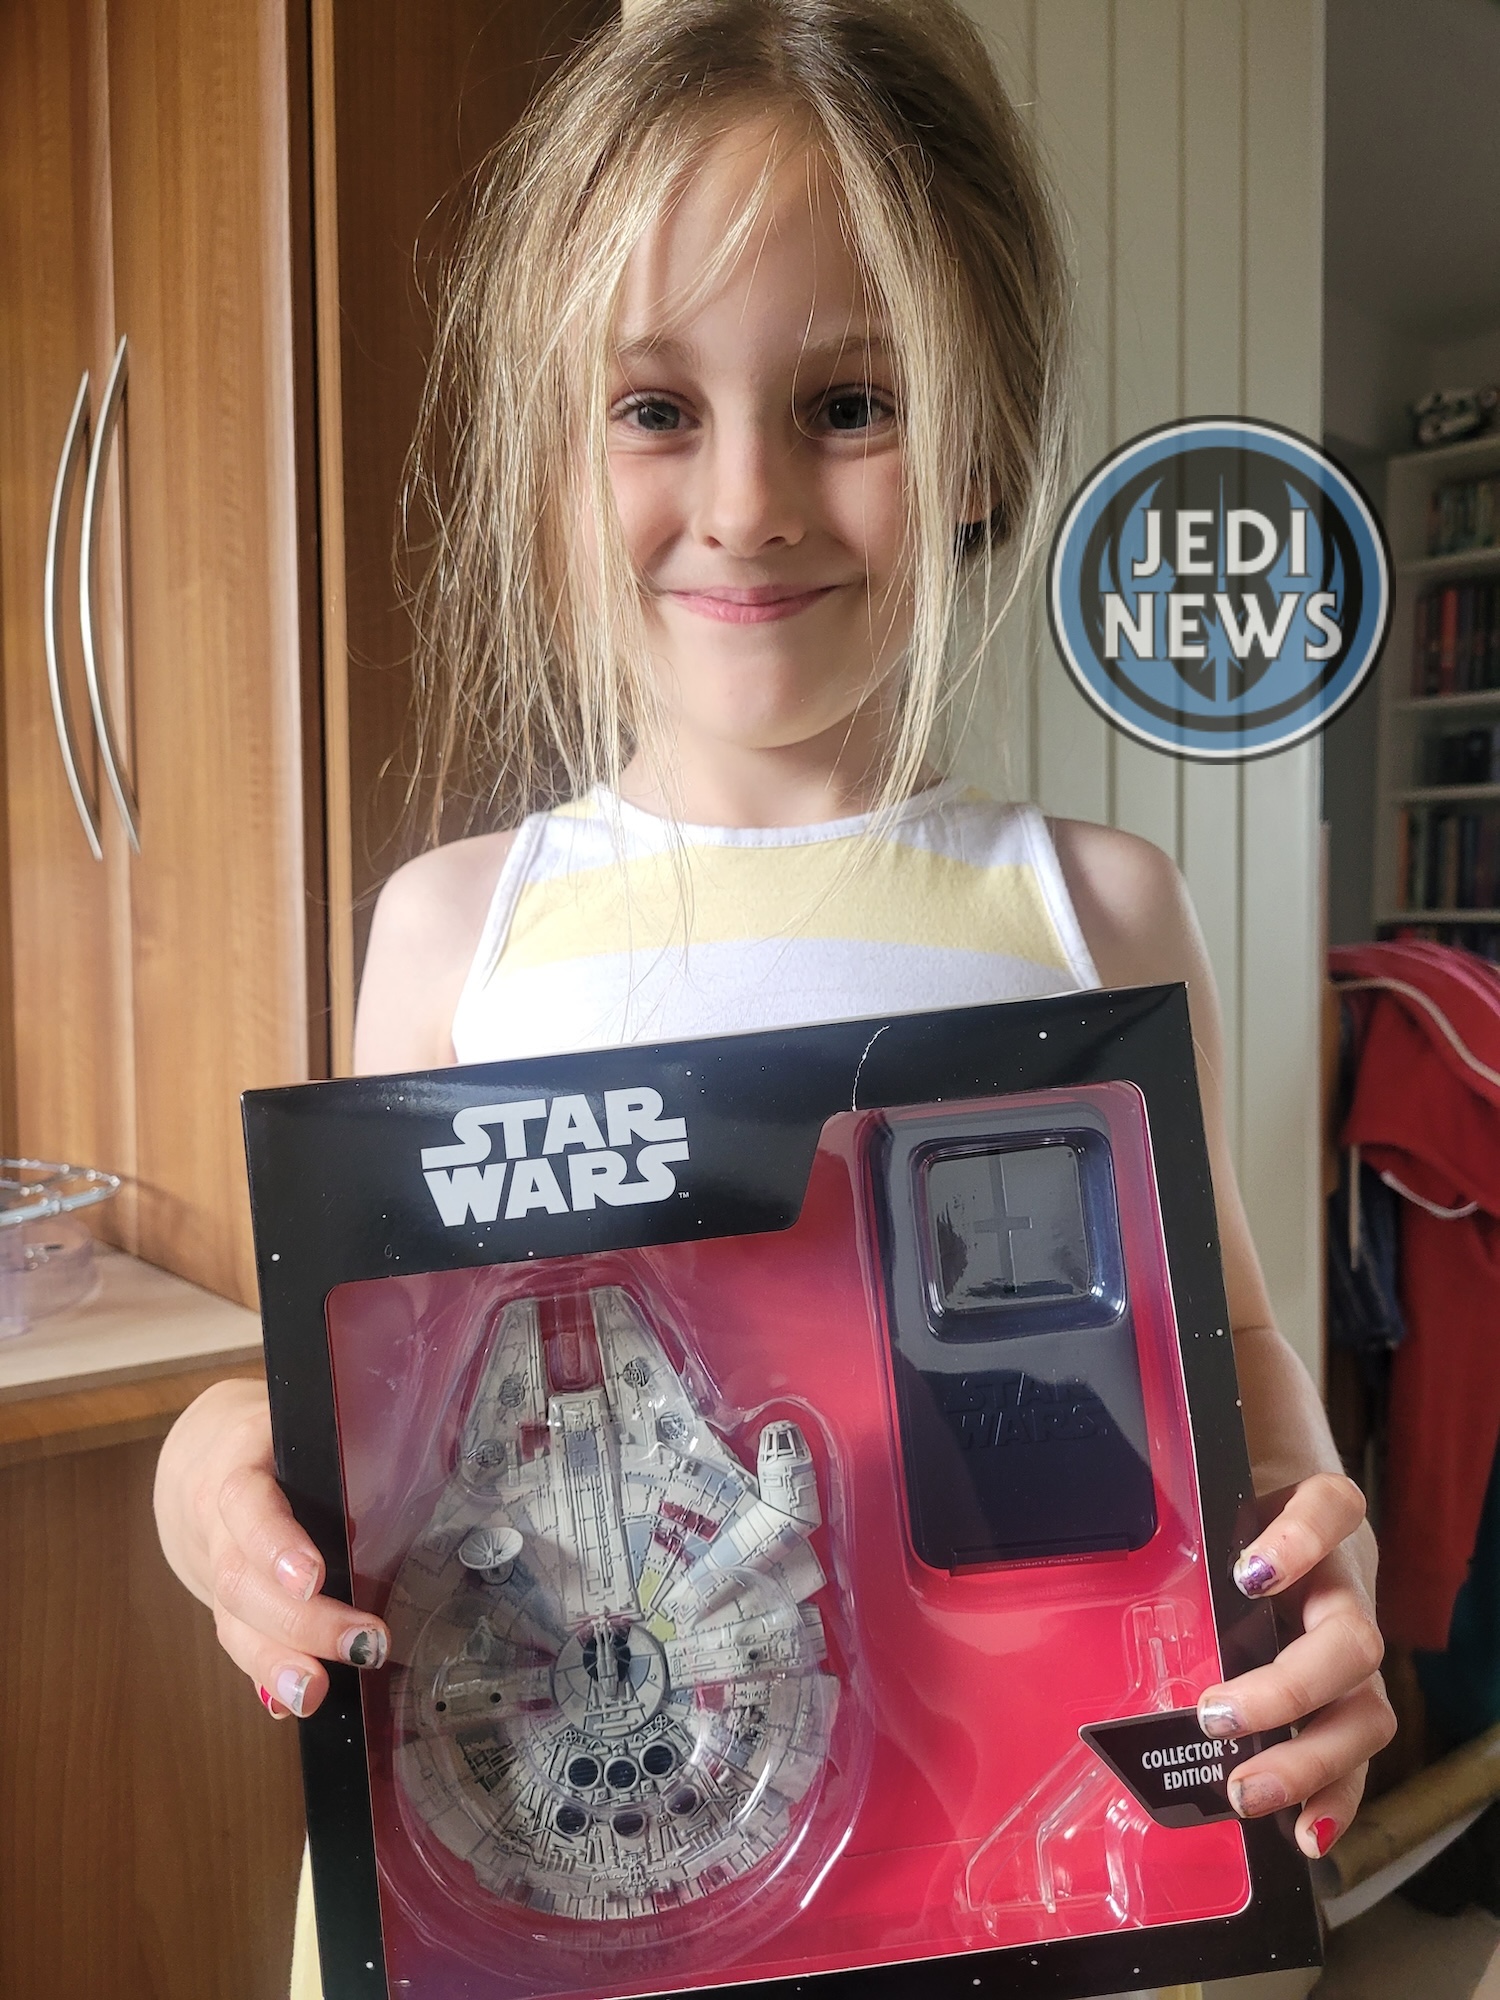
When the next delivery turned up, I was hoping to see more parts for the hull rather than the interior. I was not to be disappointed! I could see lots of hull plating, including a very long piece that even my daughter went ‘woah’ at! As well as the next five issues for the build, there was also something else: a die-cast version of the Millennium Falcon. It’s a pleasant little bonus to have for subscribing, although I was not too fussed about it as we were building one. Not that it mattered; as soon as it was out of the box, it was out of my hands and someone else had claimed it! It’s quite nice that Ember wants her own Millennium Falcon, and I have been told, out of the packet, it really is a great detailed model for the scale.
With one happy small person in tow, it was time to actually work on the bigger scaled model. At seven years old, I made sure to have a look through the issues to see what we were going to do. Issue thirty-two has a hull frame but before I got too excited, I realised we weren’t going to be working on the frame, rather the thrust vector plates. So not the hull, but also not the interior. I’ll call that a meeting in the middle! Looking at the instructions, this was going to be a short issue. That is not a complaint as this was something new that Ember and I had not yet done for the construction. With a short issue, Ember and I could take our time, building up Ember’s confidence in doing this in case we were going to do it again.
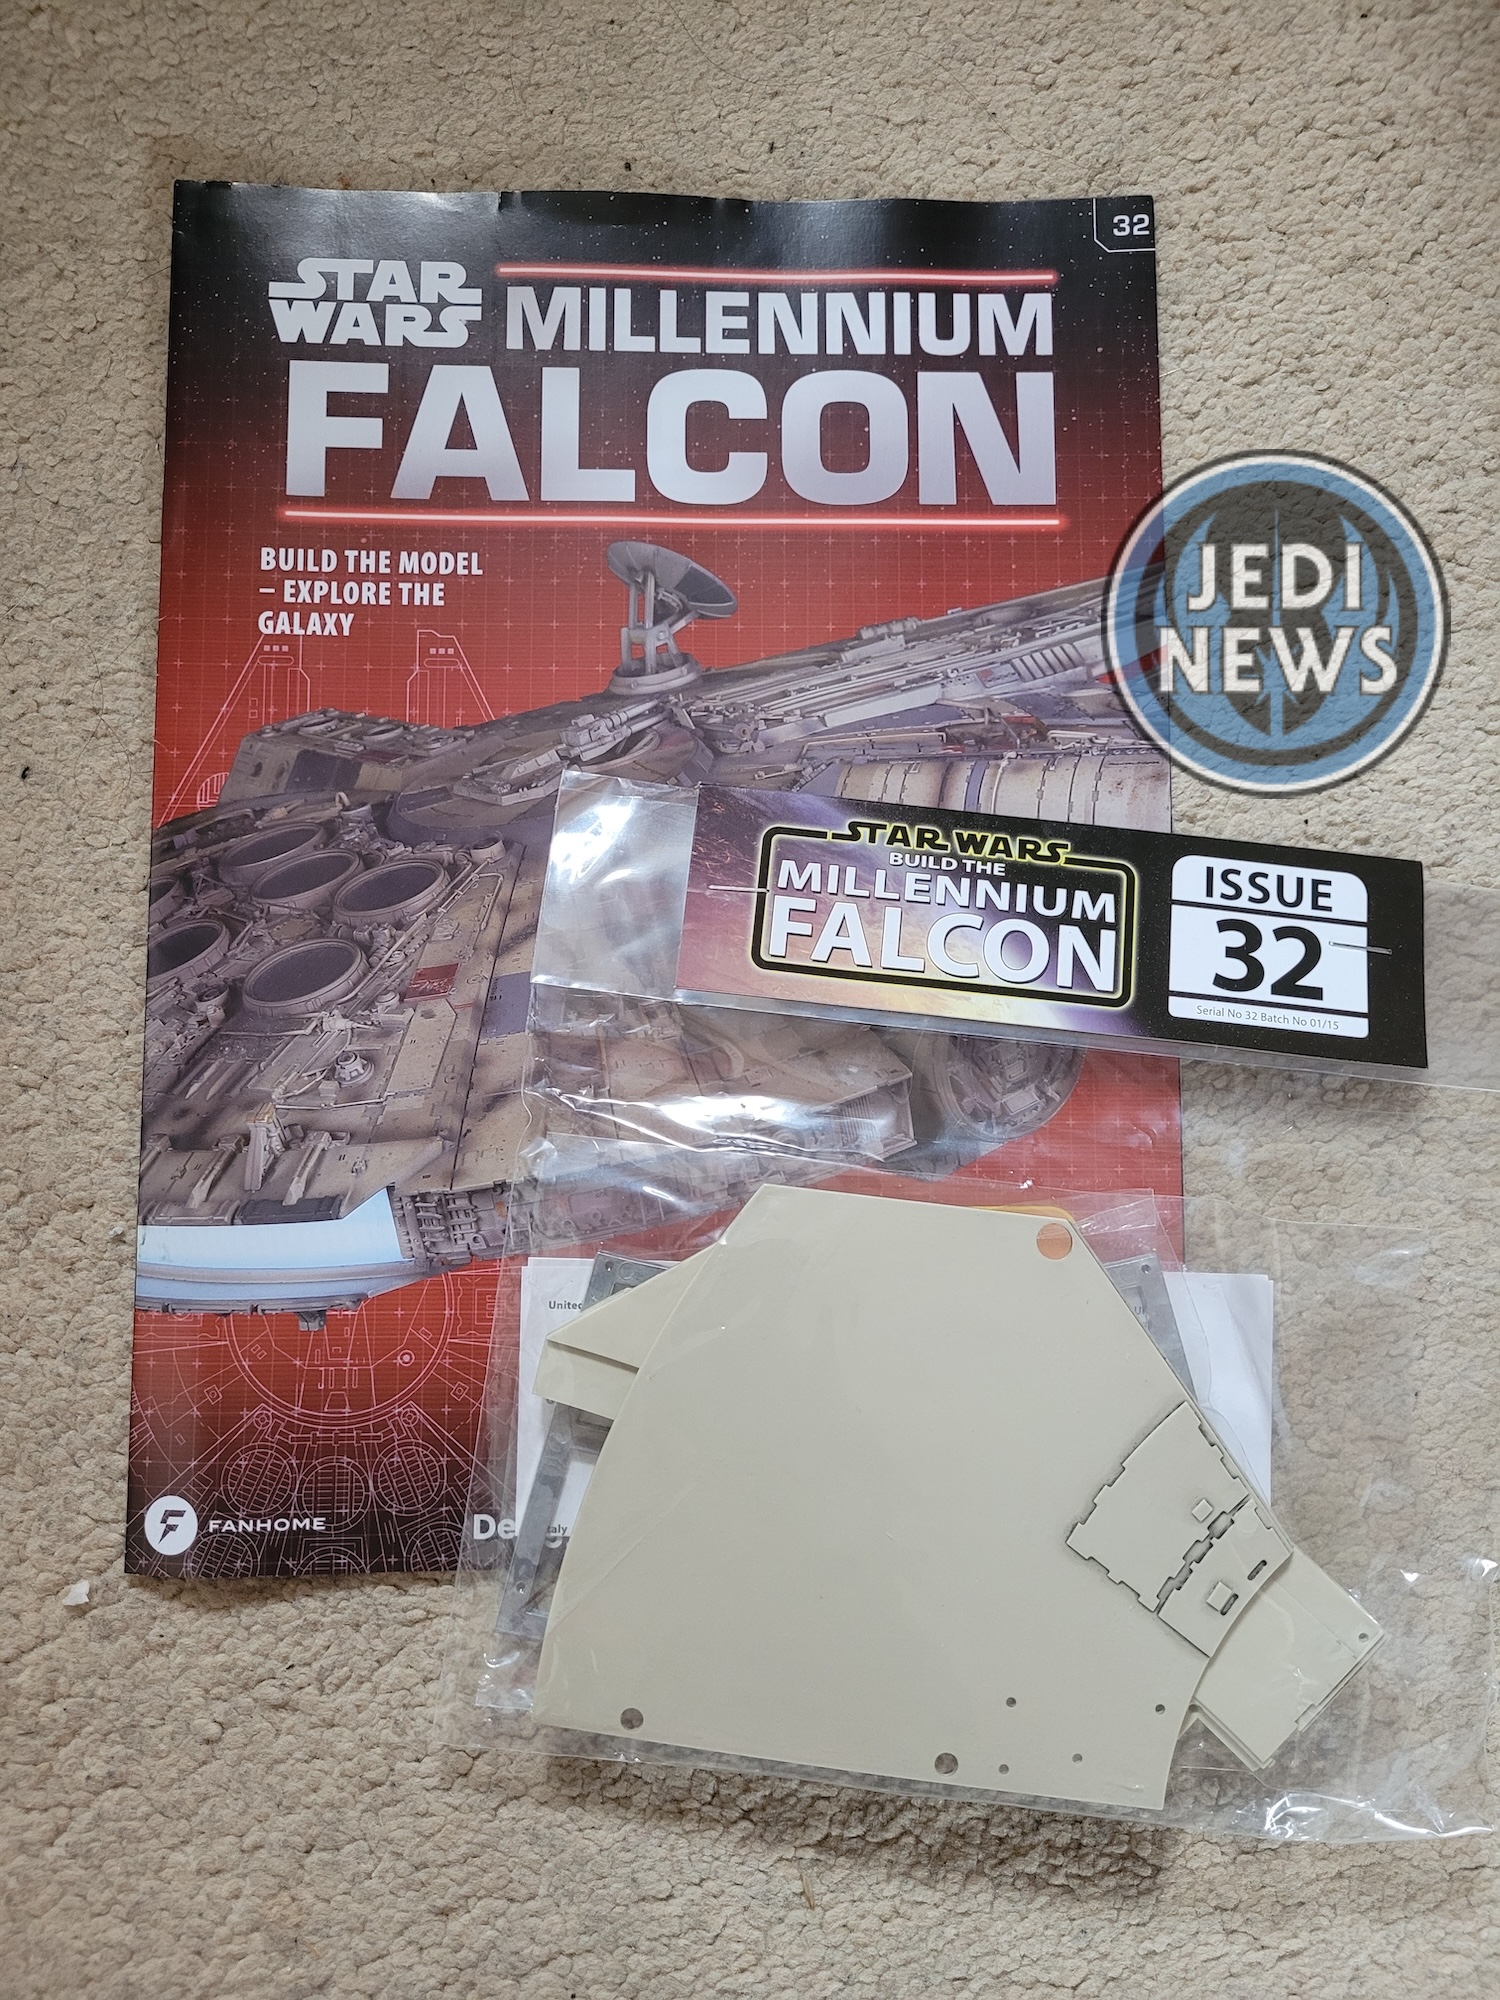
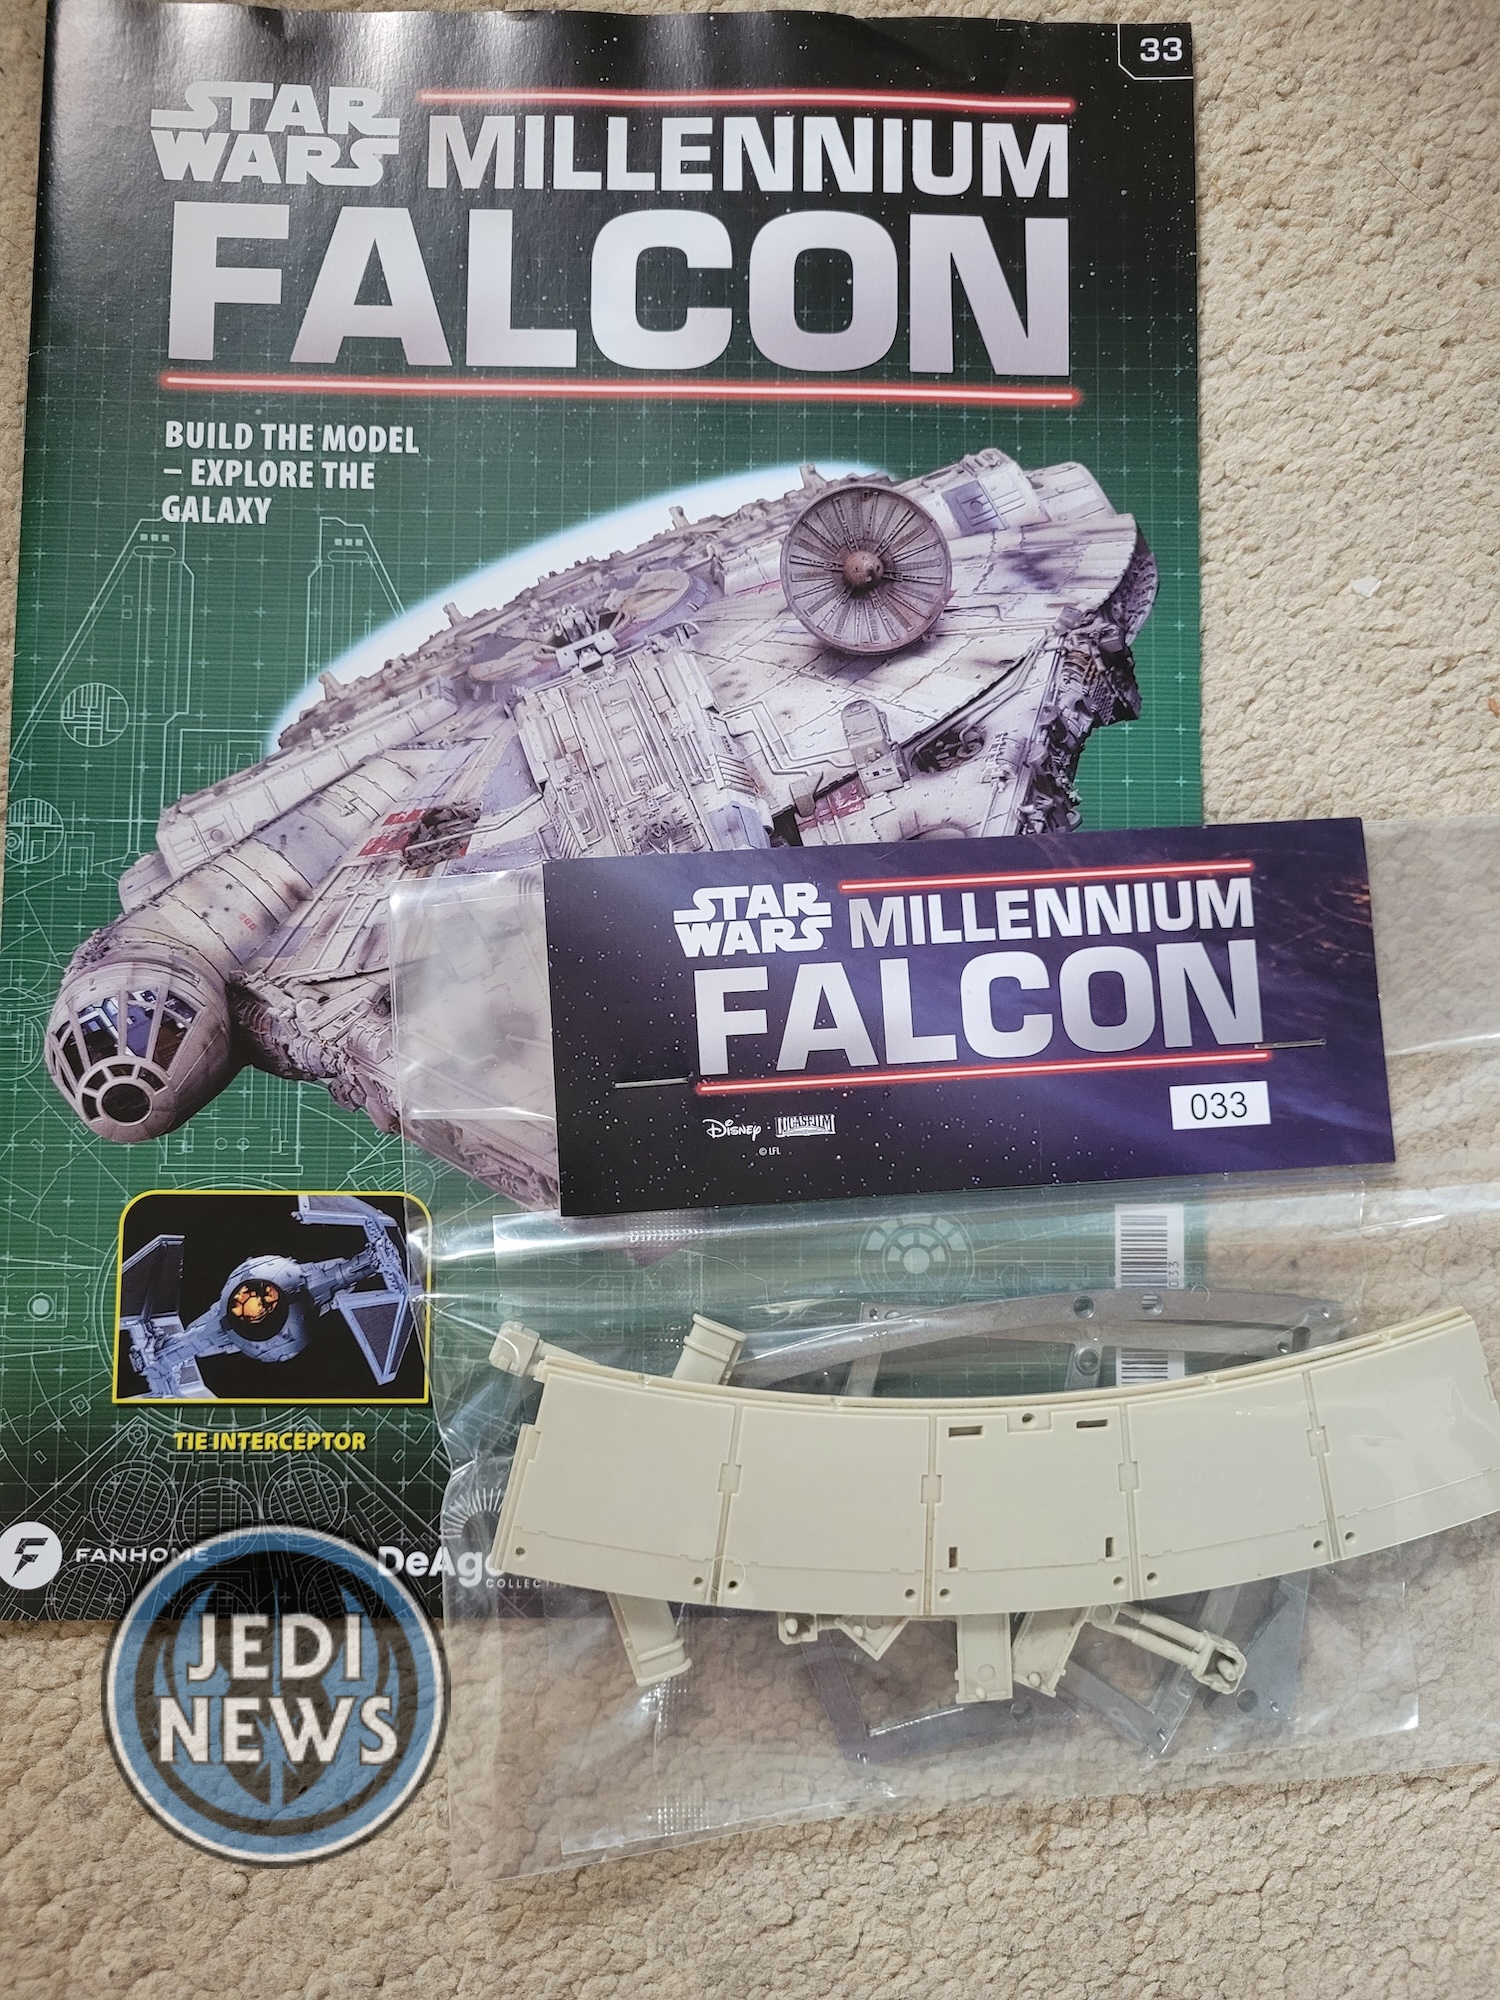
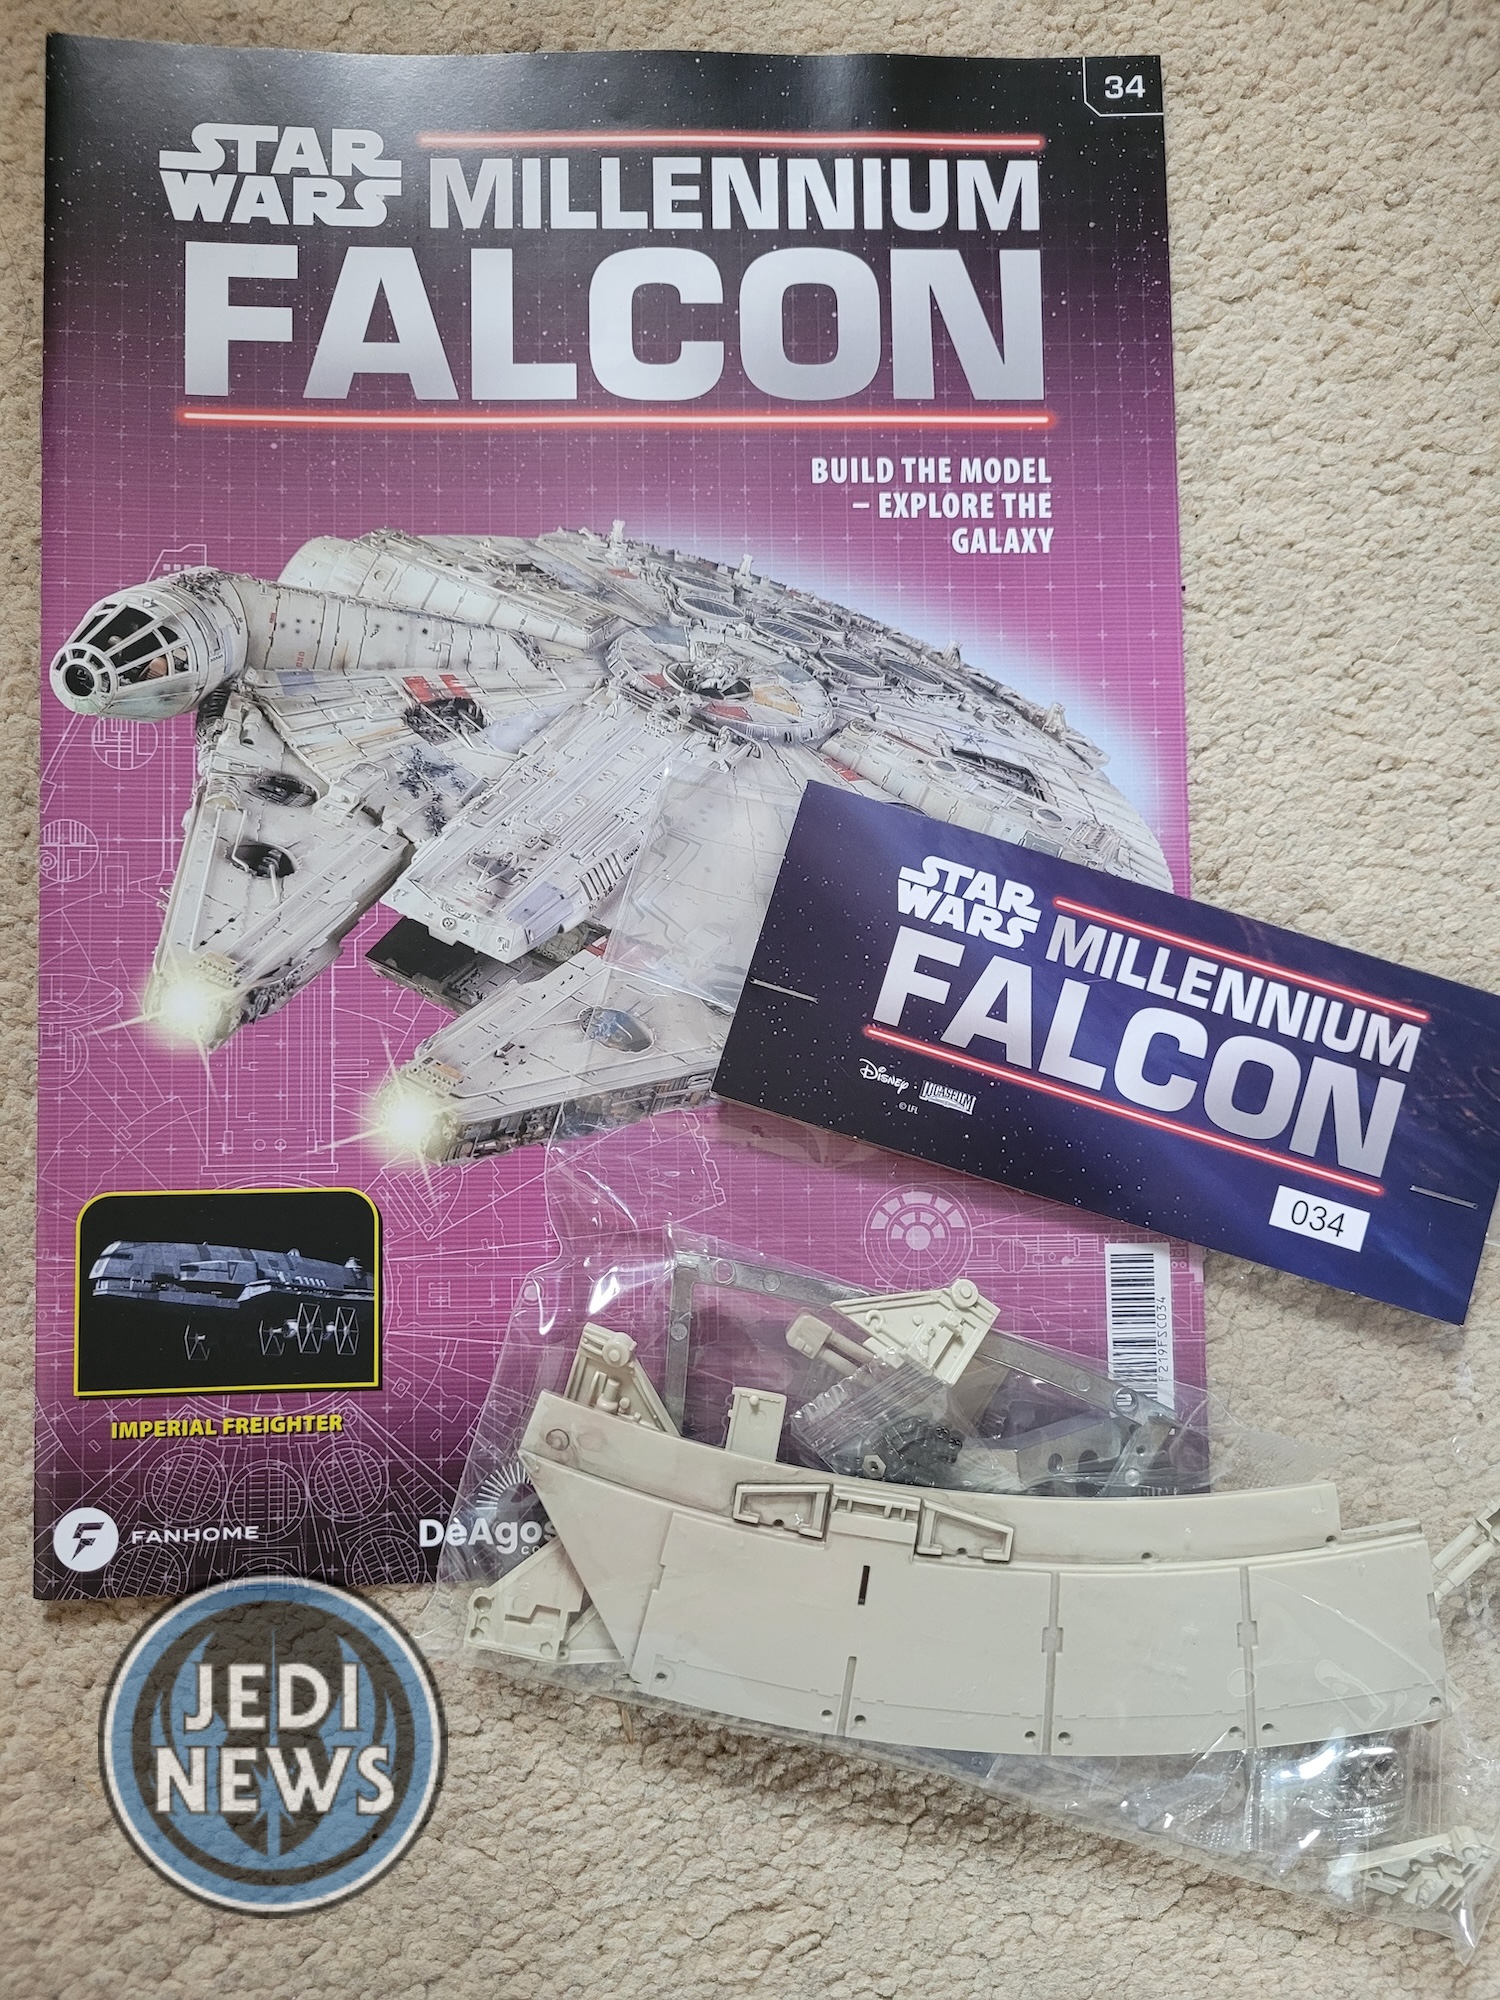
Turns out the wait wouldn’t be long. Seeing as thirty-two wouldn’t take long, I thought we could probably do part thirty-four as well. Hull Plating! We would continue with what we started in builds thirty and thirty-one. I can understand Fanhome wanting to change things slightly, as the issues would get rather repetitive. It was also not the only thing we would be working on; we’d be doing another thrust vector plate. I realised I’d probably change the order we would do issue thirty-three, carry on with the thrust vector plate and then move onto the hull. Perfect. The two issues did seem to follow on very well from one another.
With both of these parts, there was no preparation work to do. It does mention in both issues that they will show the optional painting steps later. I plan to paint the entire Falcon with Archive X paints, paints that are the same as used by ILM when they were constructing the actual scale version of the Falcon. At the moment, I’m not worrying about that part however, as soon as we need to start adding the hull plating, I think base coats will need to be applied to then allow me to add detail later. Hopefully, I’m thinking a rather long time in the future… until I read the ‘Authentic Details’ box that is on both issues. Turns out before presuming anything, you should read everything!
In the box it says that if you are not painting the model, to just carry on and assemble everything. However, if you are planning on painting it, do not glue the actuators onto the plate. I’m happy that this note is given, as I would have glued them on and worried about the painting later. As a miniature painter – not a scale model painter – I usually just assemble my models and then worry how I’ll paint certain areas after. That doesn’t seem to be the case here. No that presented a slight problem; Ember and I couldn’t actually do anything for issue thirty-two yet. And half of issue thirty-three we wouldn’t be able to do either. This was going to be a very quick build indeed. I thought perhaps we could try and figure out the paint scheme for each thrust vector plate but again, Fanhome have noted that Ember and I will have to do this when all the plates are ready. This makes sense, as doing them at different times could lead to a variation in the paint, and I certainly didn’t want that. I guess we would just have to be patient.
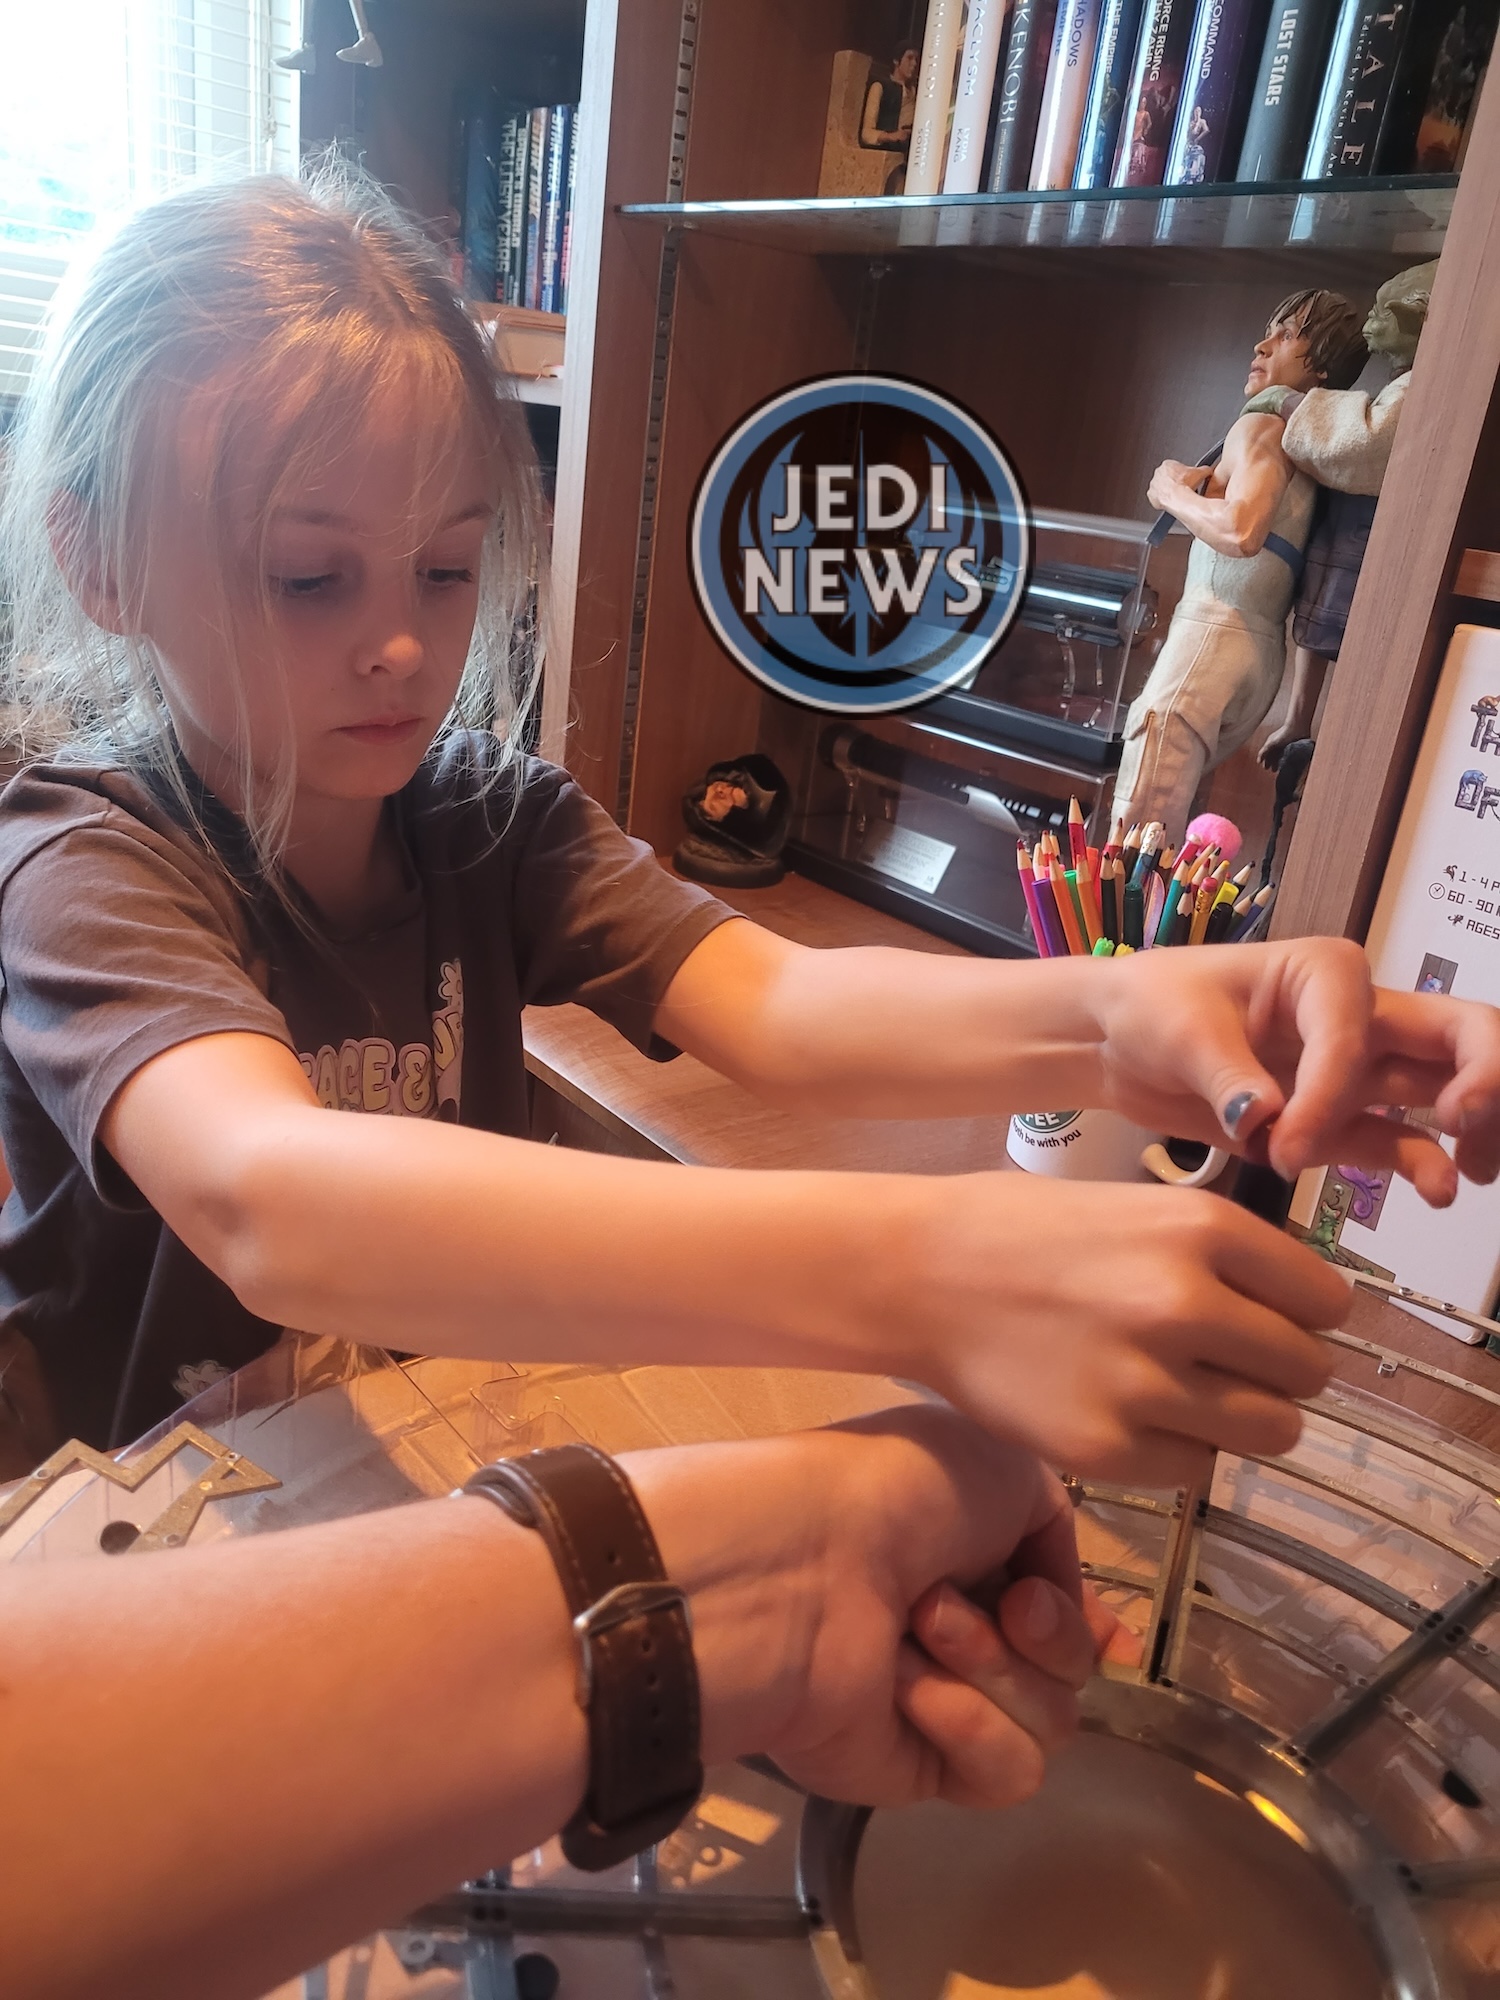
For now, Ember and I could only sit down with half of part thirty-three that we could do. This was just a repeat of the previous two issues that we had done and wouldn’t take us long at all. Wanting a bit more to do, I thought I would grab issue thirty-four and we could work on that. Then I found it was more of the same, with the same box warning me not to assemble them. There were also some parts about stabilisers but… don’t assemble them yet. I sighed a little. It was another issue that we’d have to skip for now until we were ready to paint. I was going to get the next part when I realised that we only had two left. It would probably be better to do these together rather than keep going with issue after issue.
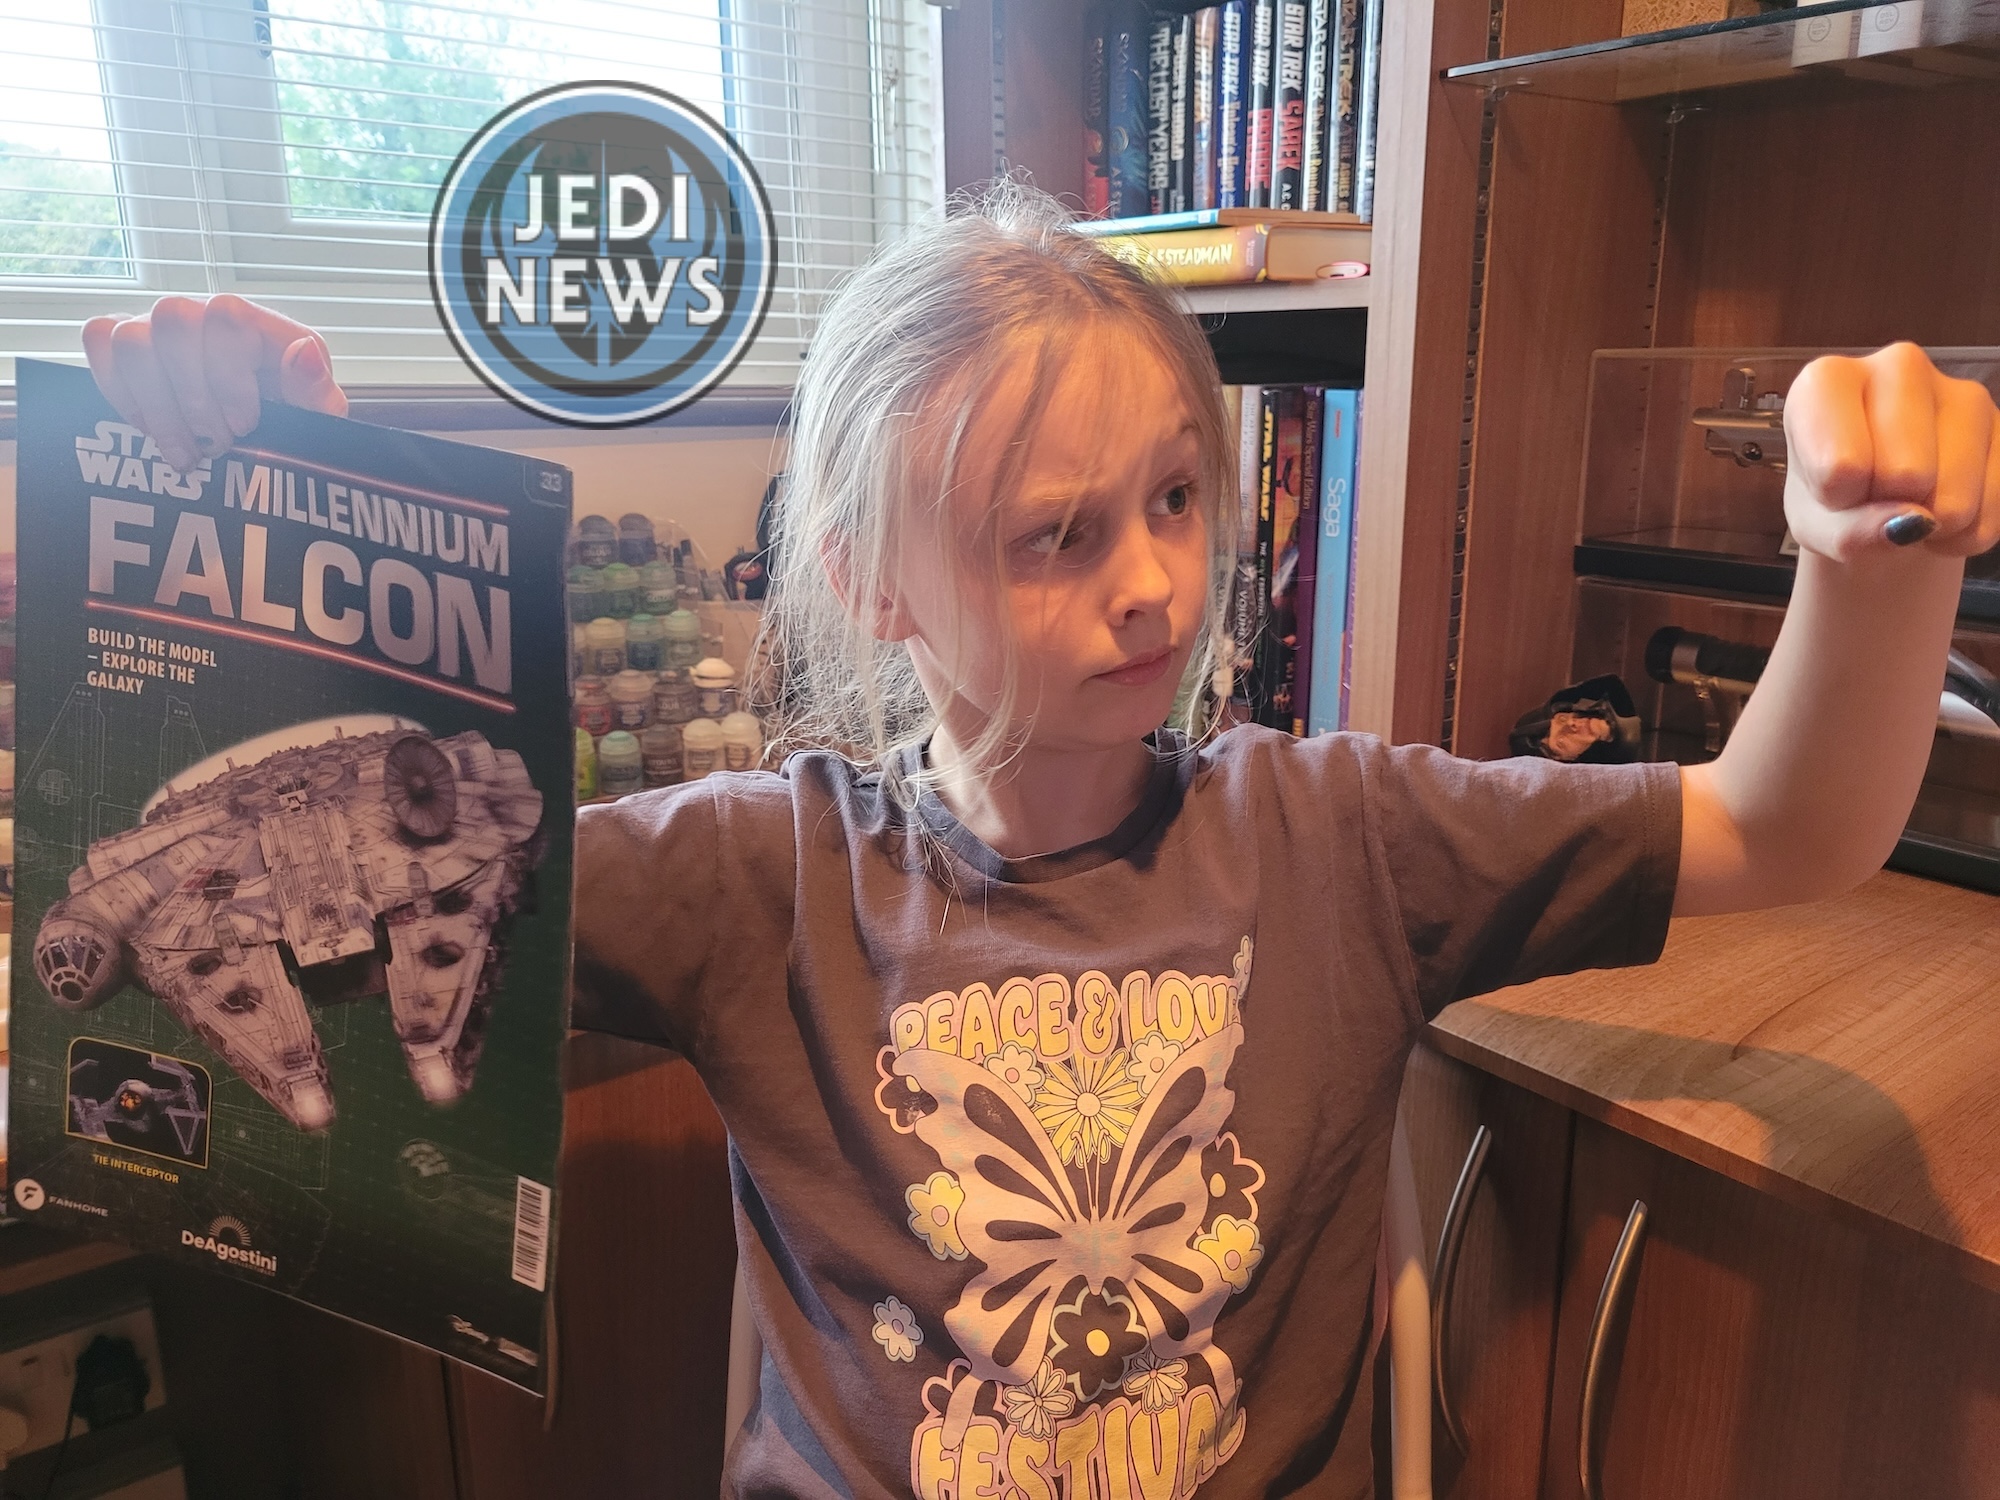
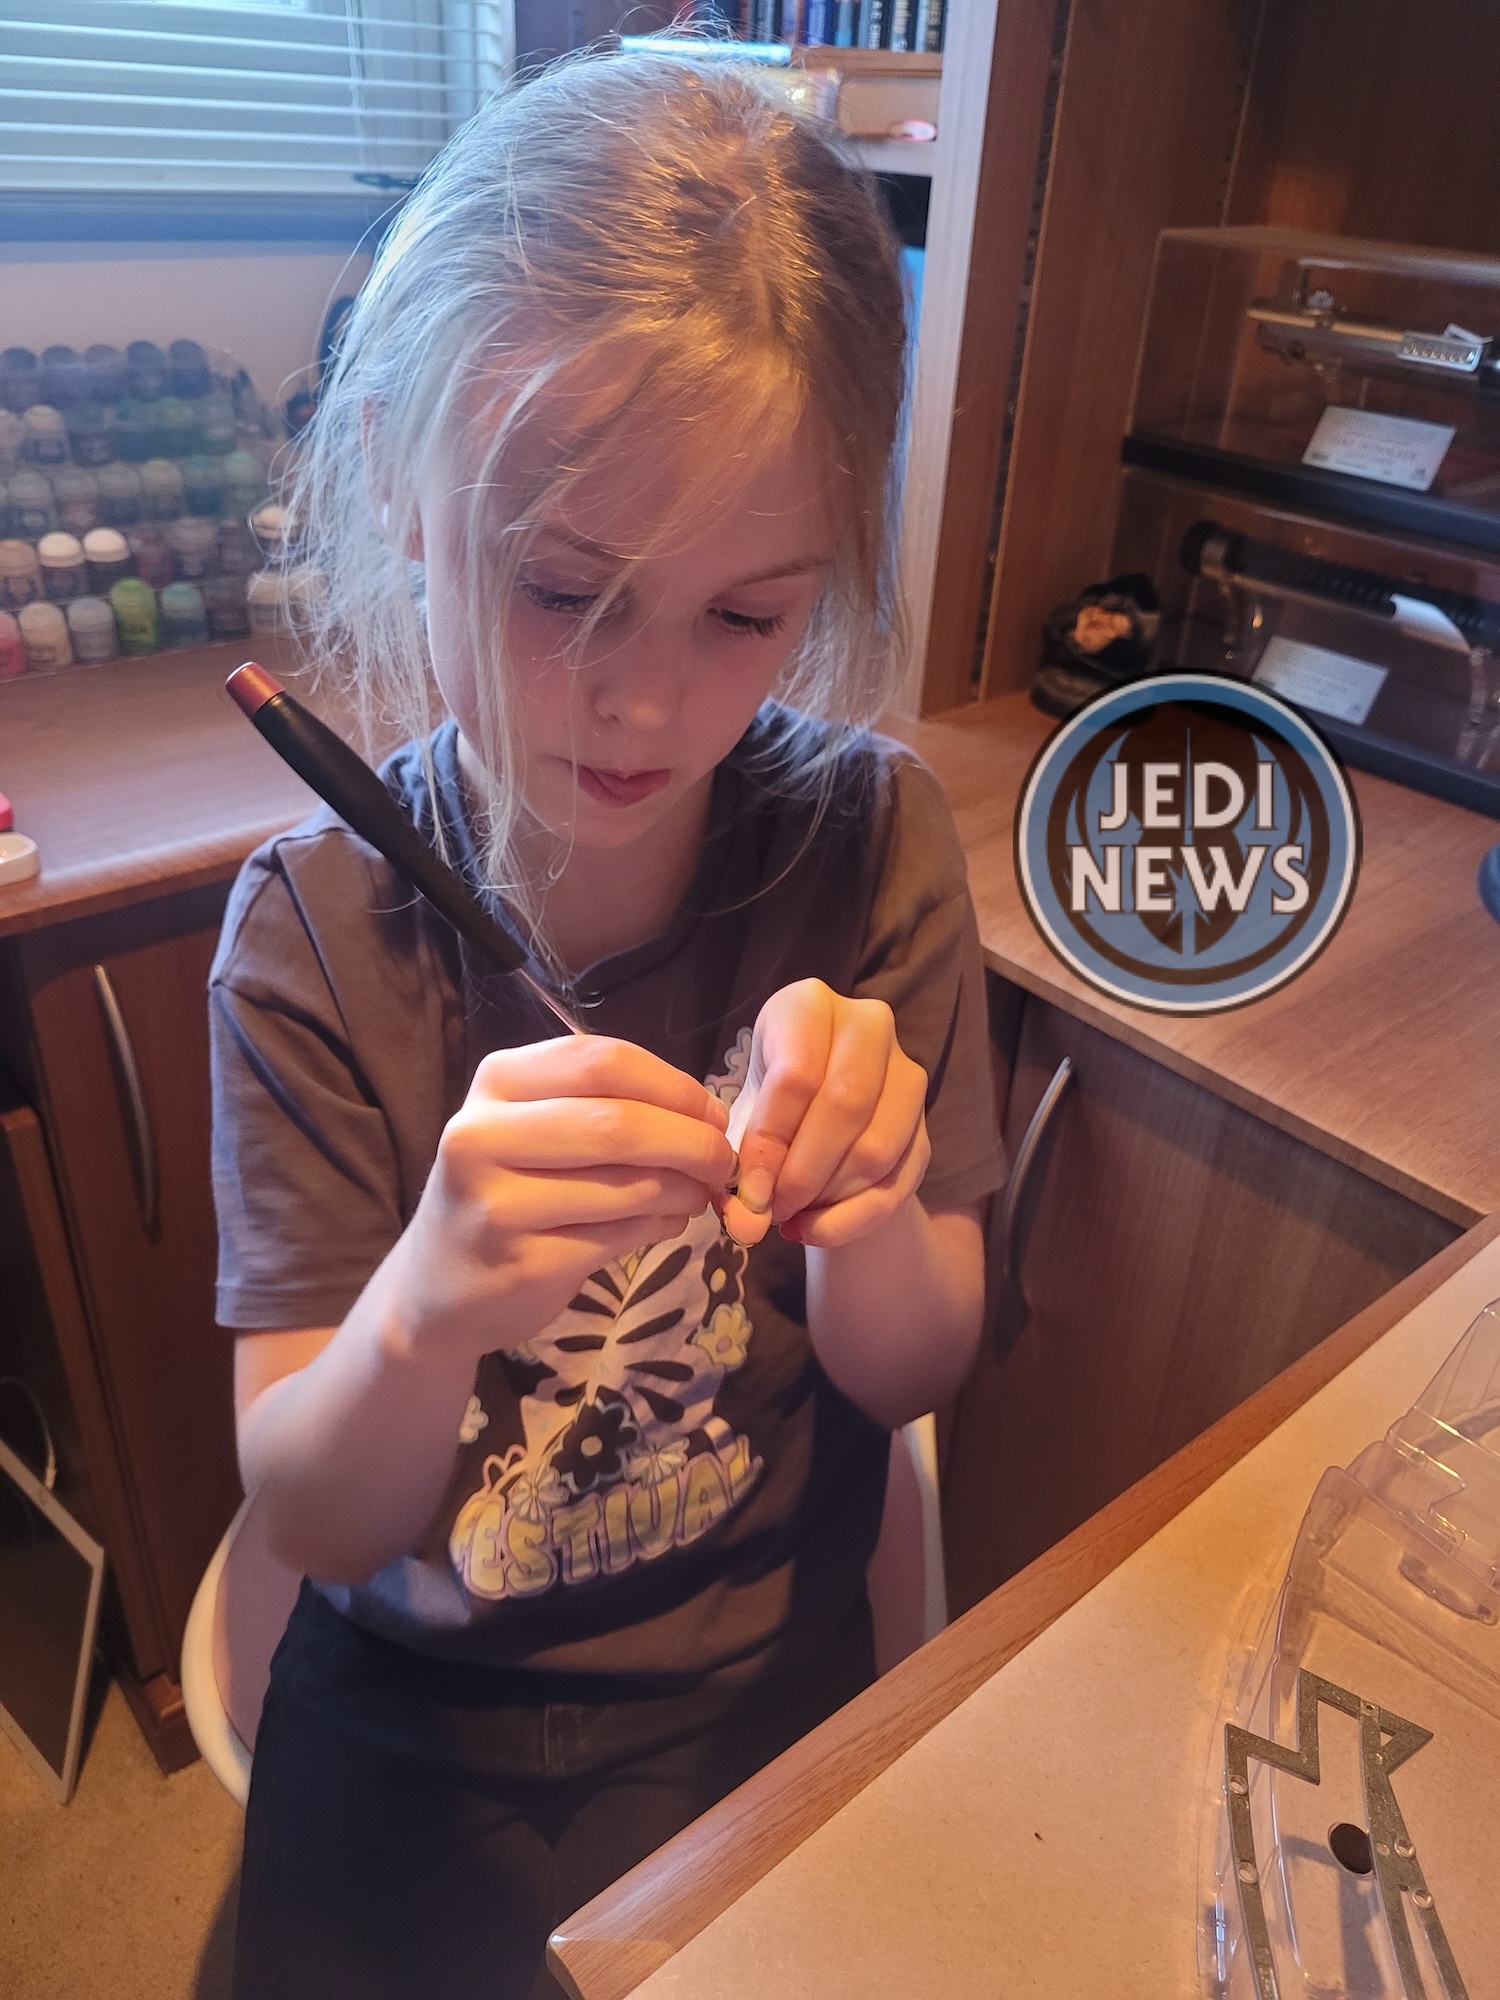
In some ways this is frustrating, as I want to build with my daughter. However, I do really appreciate that Fanhome lets you know when you need to pause a bit. Yes, it’s annoying but in the long run, I think I’m going to be really grateful that they have got us to hold off, that it will make painting the model easier. It also means that when we do get to attaching all the hull plating, Ember and I are going to have a lot of work to do. When I showed Ember why we couldn’t do the issues, she looked and tentatively asked if she could help with the painting? When I confirmed she would indeed be doing the painting with me, her face lit up. For her she’s not really thinking of missing issues, she’s thinking of the painting aspect. I’ve not painted a studio scale model yet, and certainly not with a seven-year-old, this could get, er – interesting!
So, it was back to issue thirty-three for the small part that we actually could do. I knew we wouldn’t have any issues with this, and we didn’t. It was a slimmed down version of the last two parts as we only had to add three plates on. Ember handled it like a pro, and we were done in a matter of minutes. Not that she cared, she had a cool miniature version of the Falcon to play with!
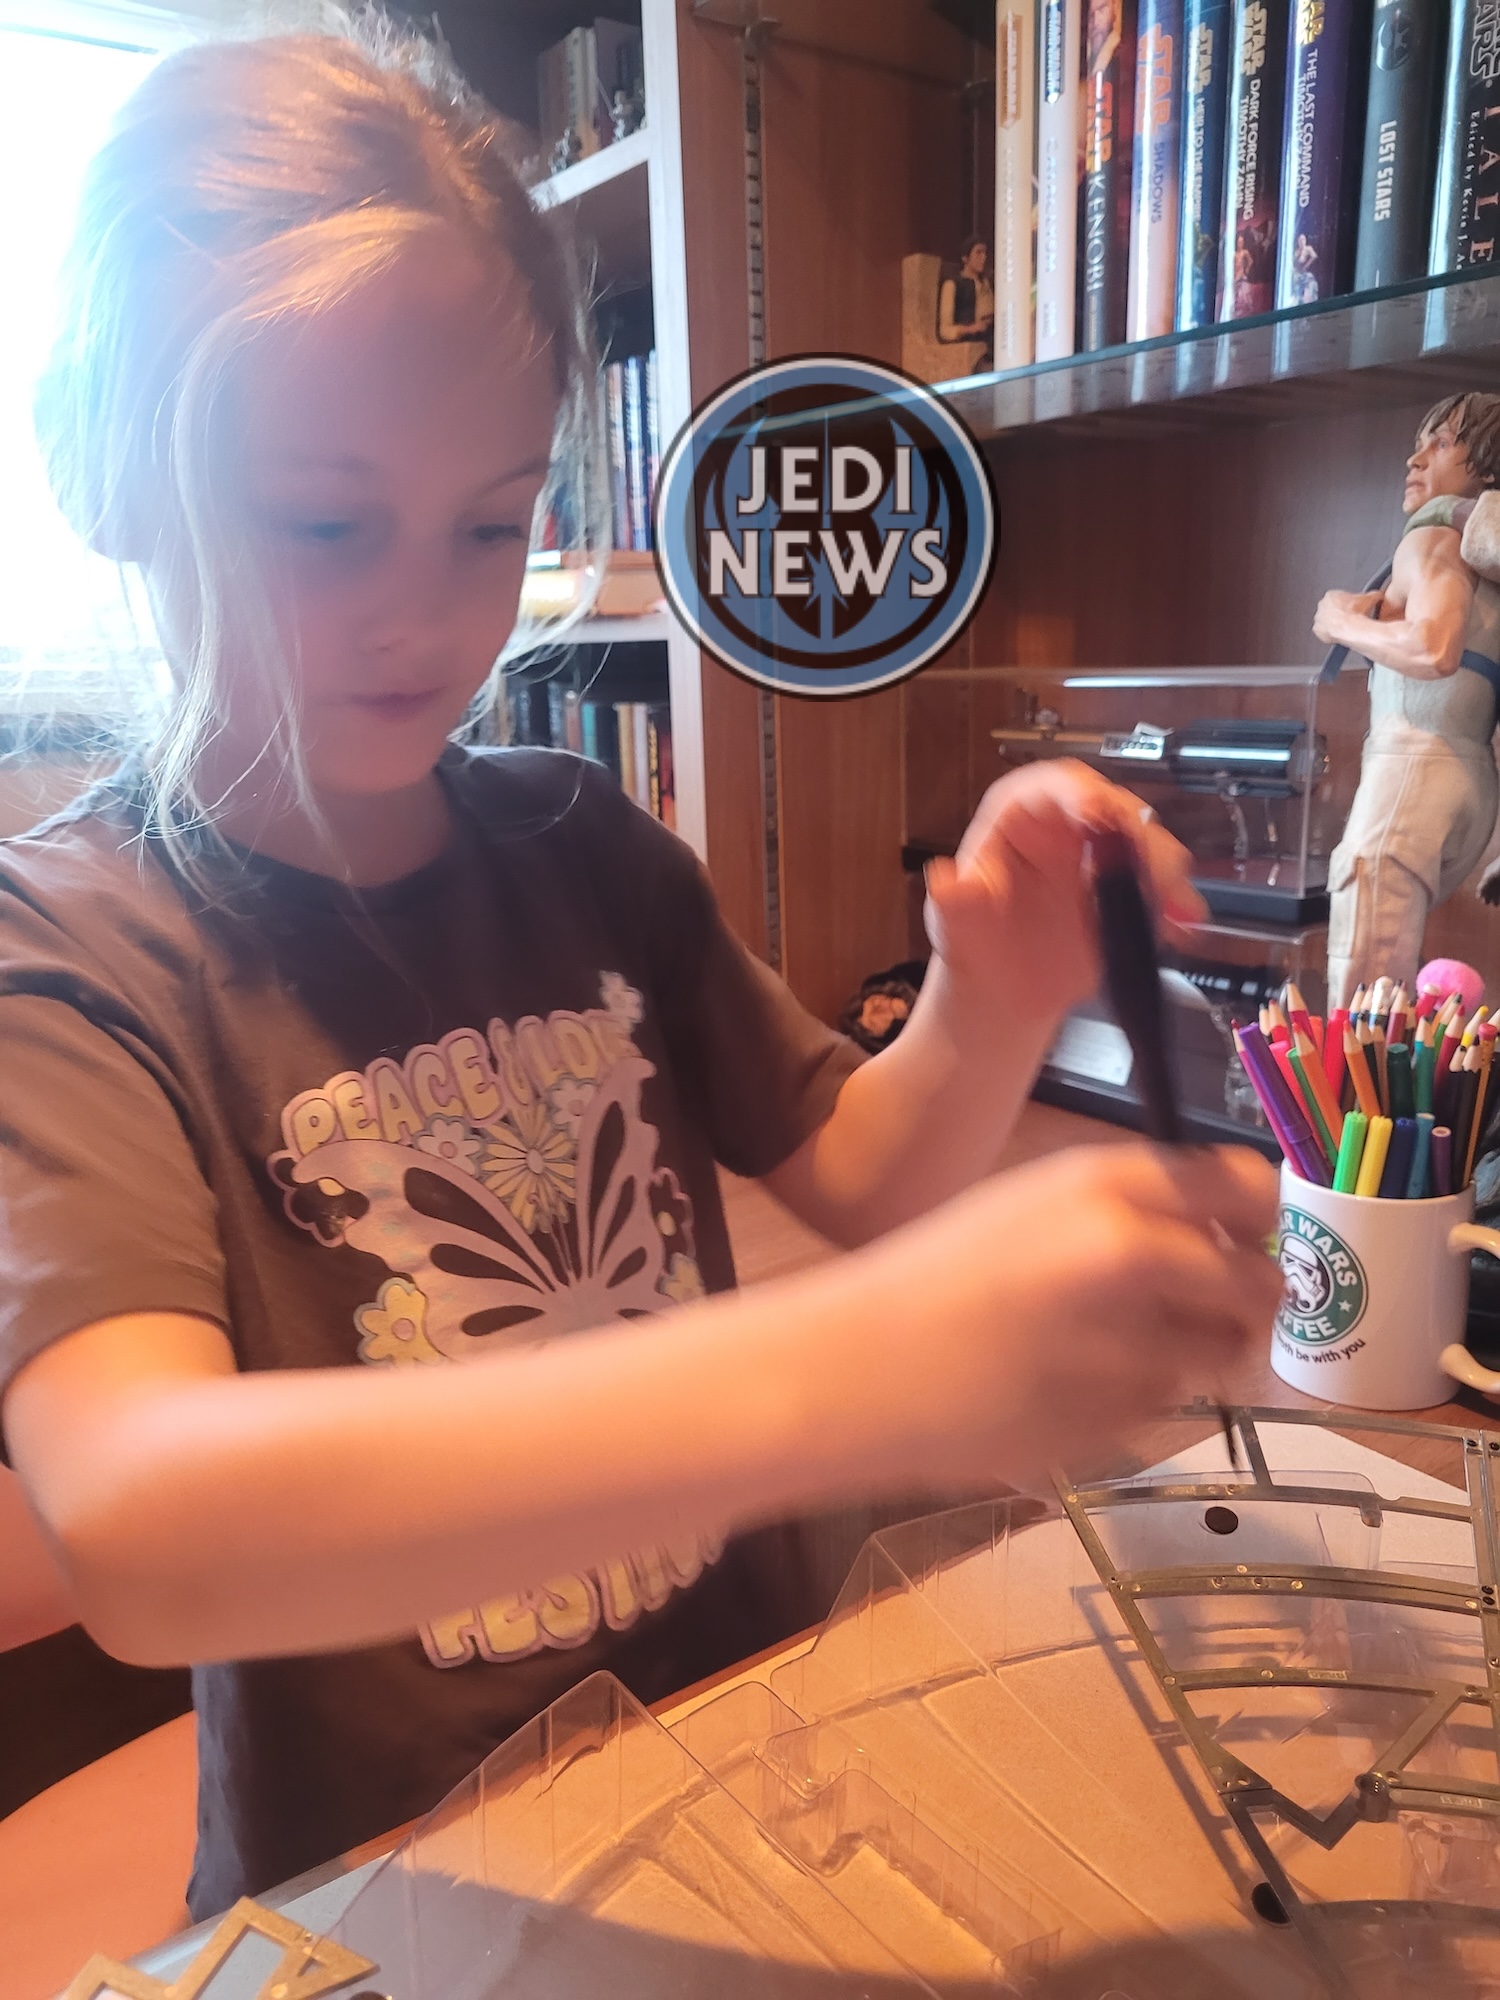
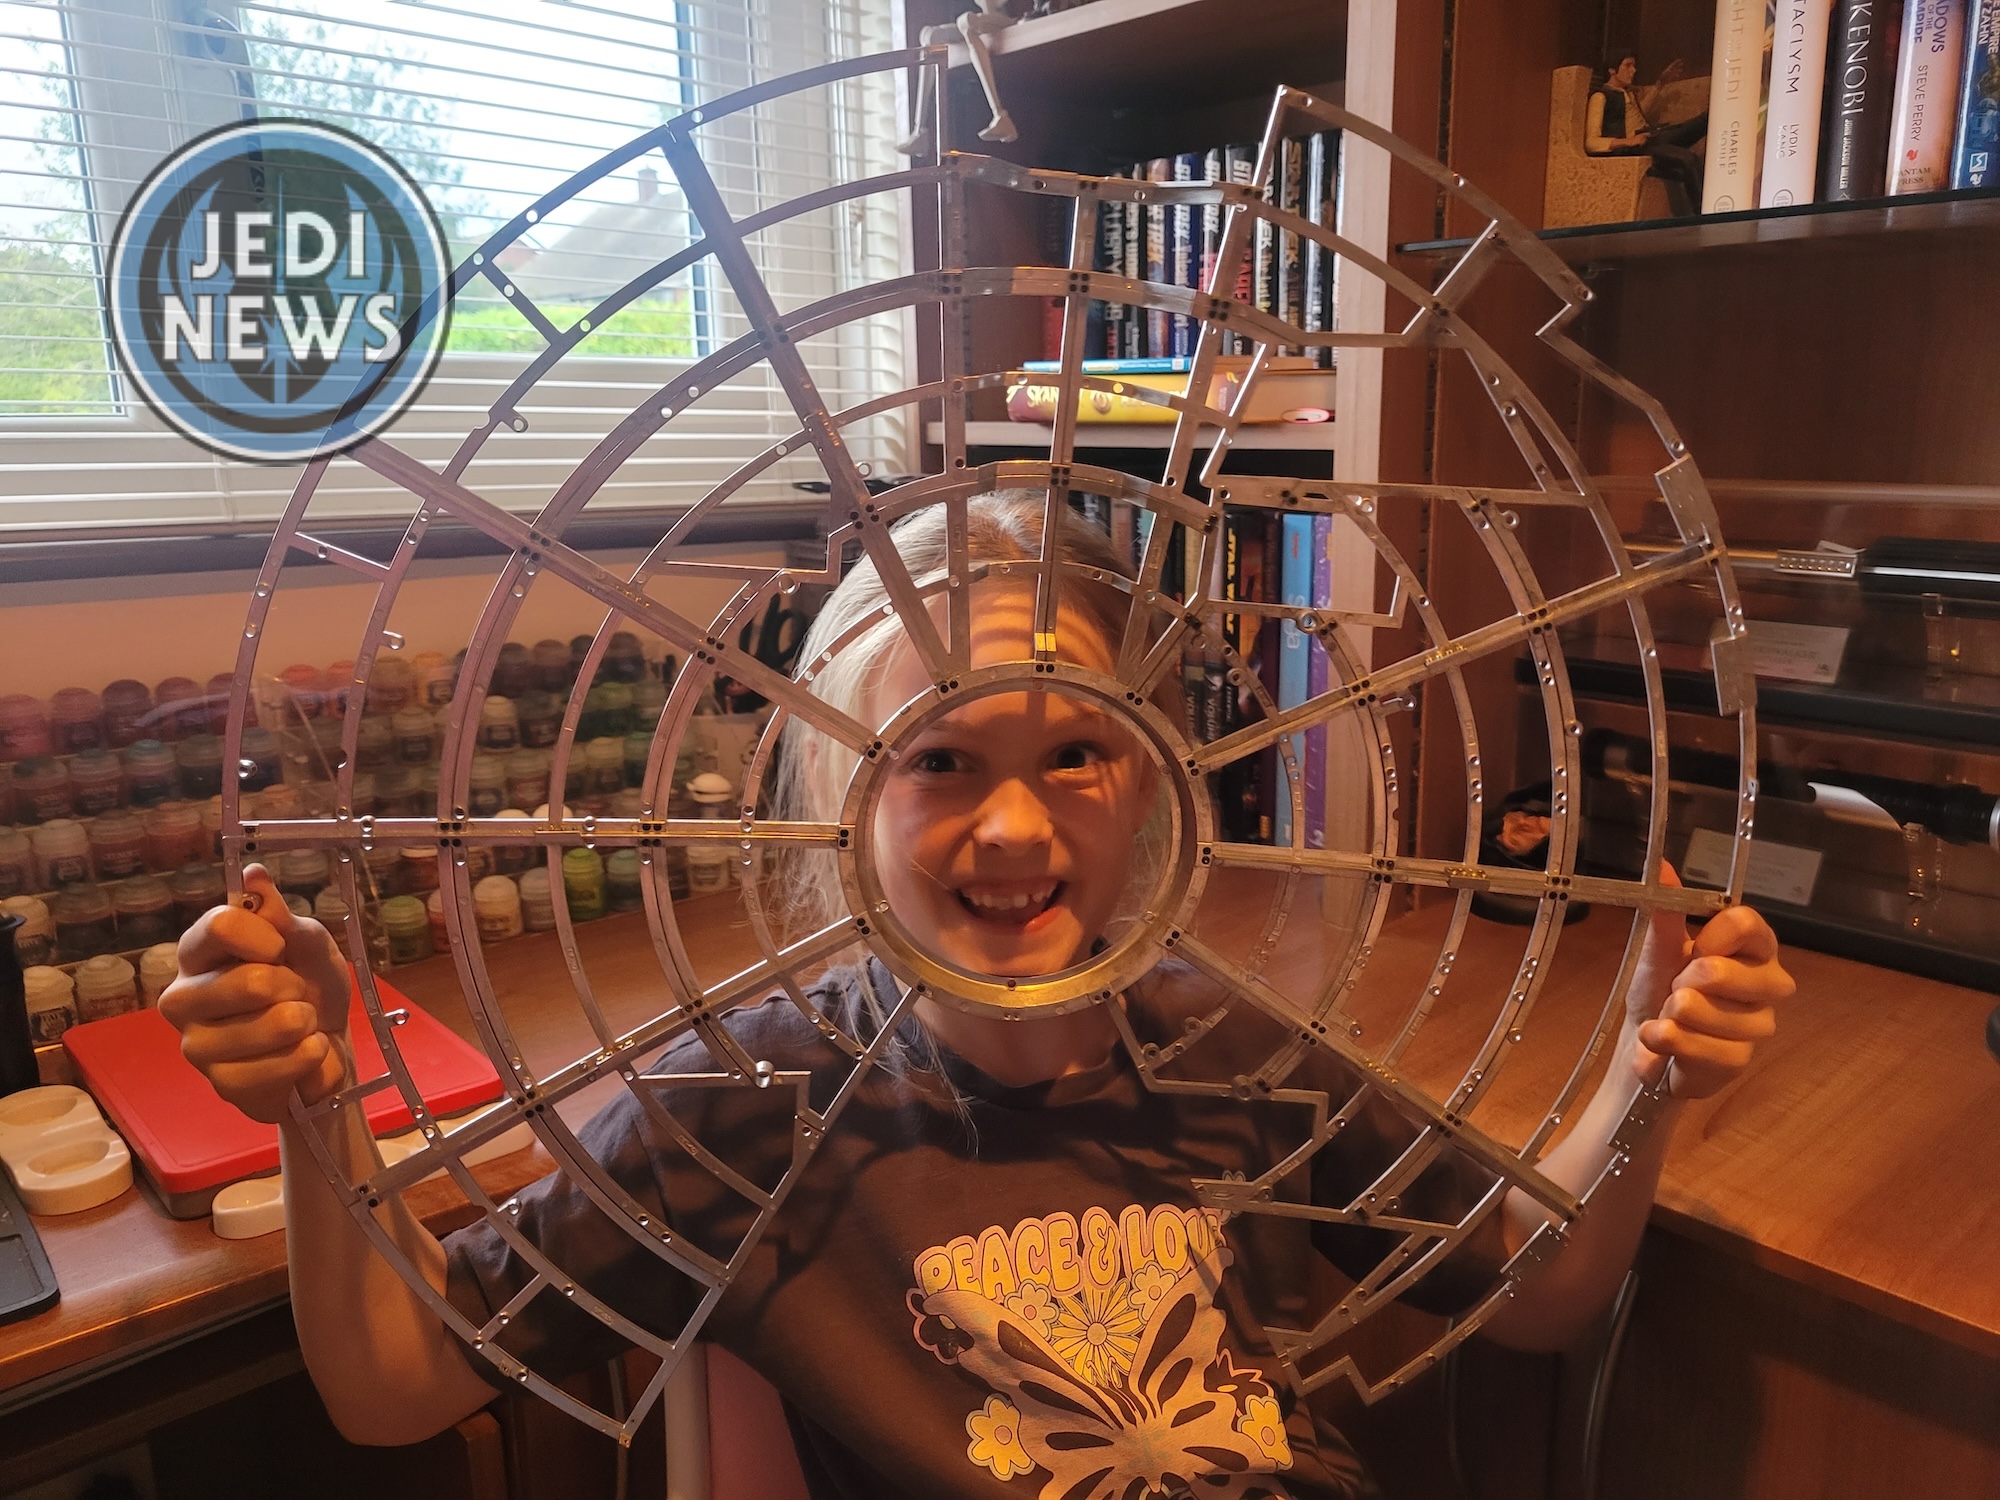
While this wasn’t quite the session I was hoping for, it has given me a lot to think about. I got what I wanted, focused more on the outside of the Falcon rather than the internal details. Yes, there wasn’t much to do, but I can see when we come to fit the panels, there’s going to be a vast amount to all bring together. I have always been a miniature painter, not a scale prop builder. It’s only been in the last year that all this has come about and so I’m still learning the ropes. One thing that has been made obvious to me while researching the painting (and yes those who have painted this build have said to leave all the pieces the magazine says, off), that I’m not going to be able to do the Falcon justice, or in fact any decently scaled build, with brushes. I’m going to need to invest in an airbrush. I’d been trying to avoid this as my hobby space is rather small, but now I can’t escape it. It’s time to do some research and find out what on earth (or should that be Tatooine?) I am going to need to get so I’m ready for when the painting actually begins. This may not be the lengthy build I was hoping for, but it has certainly given me some homework!
