



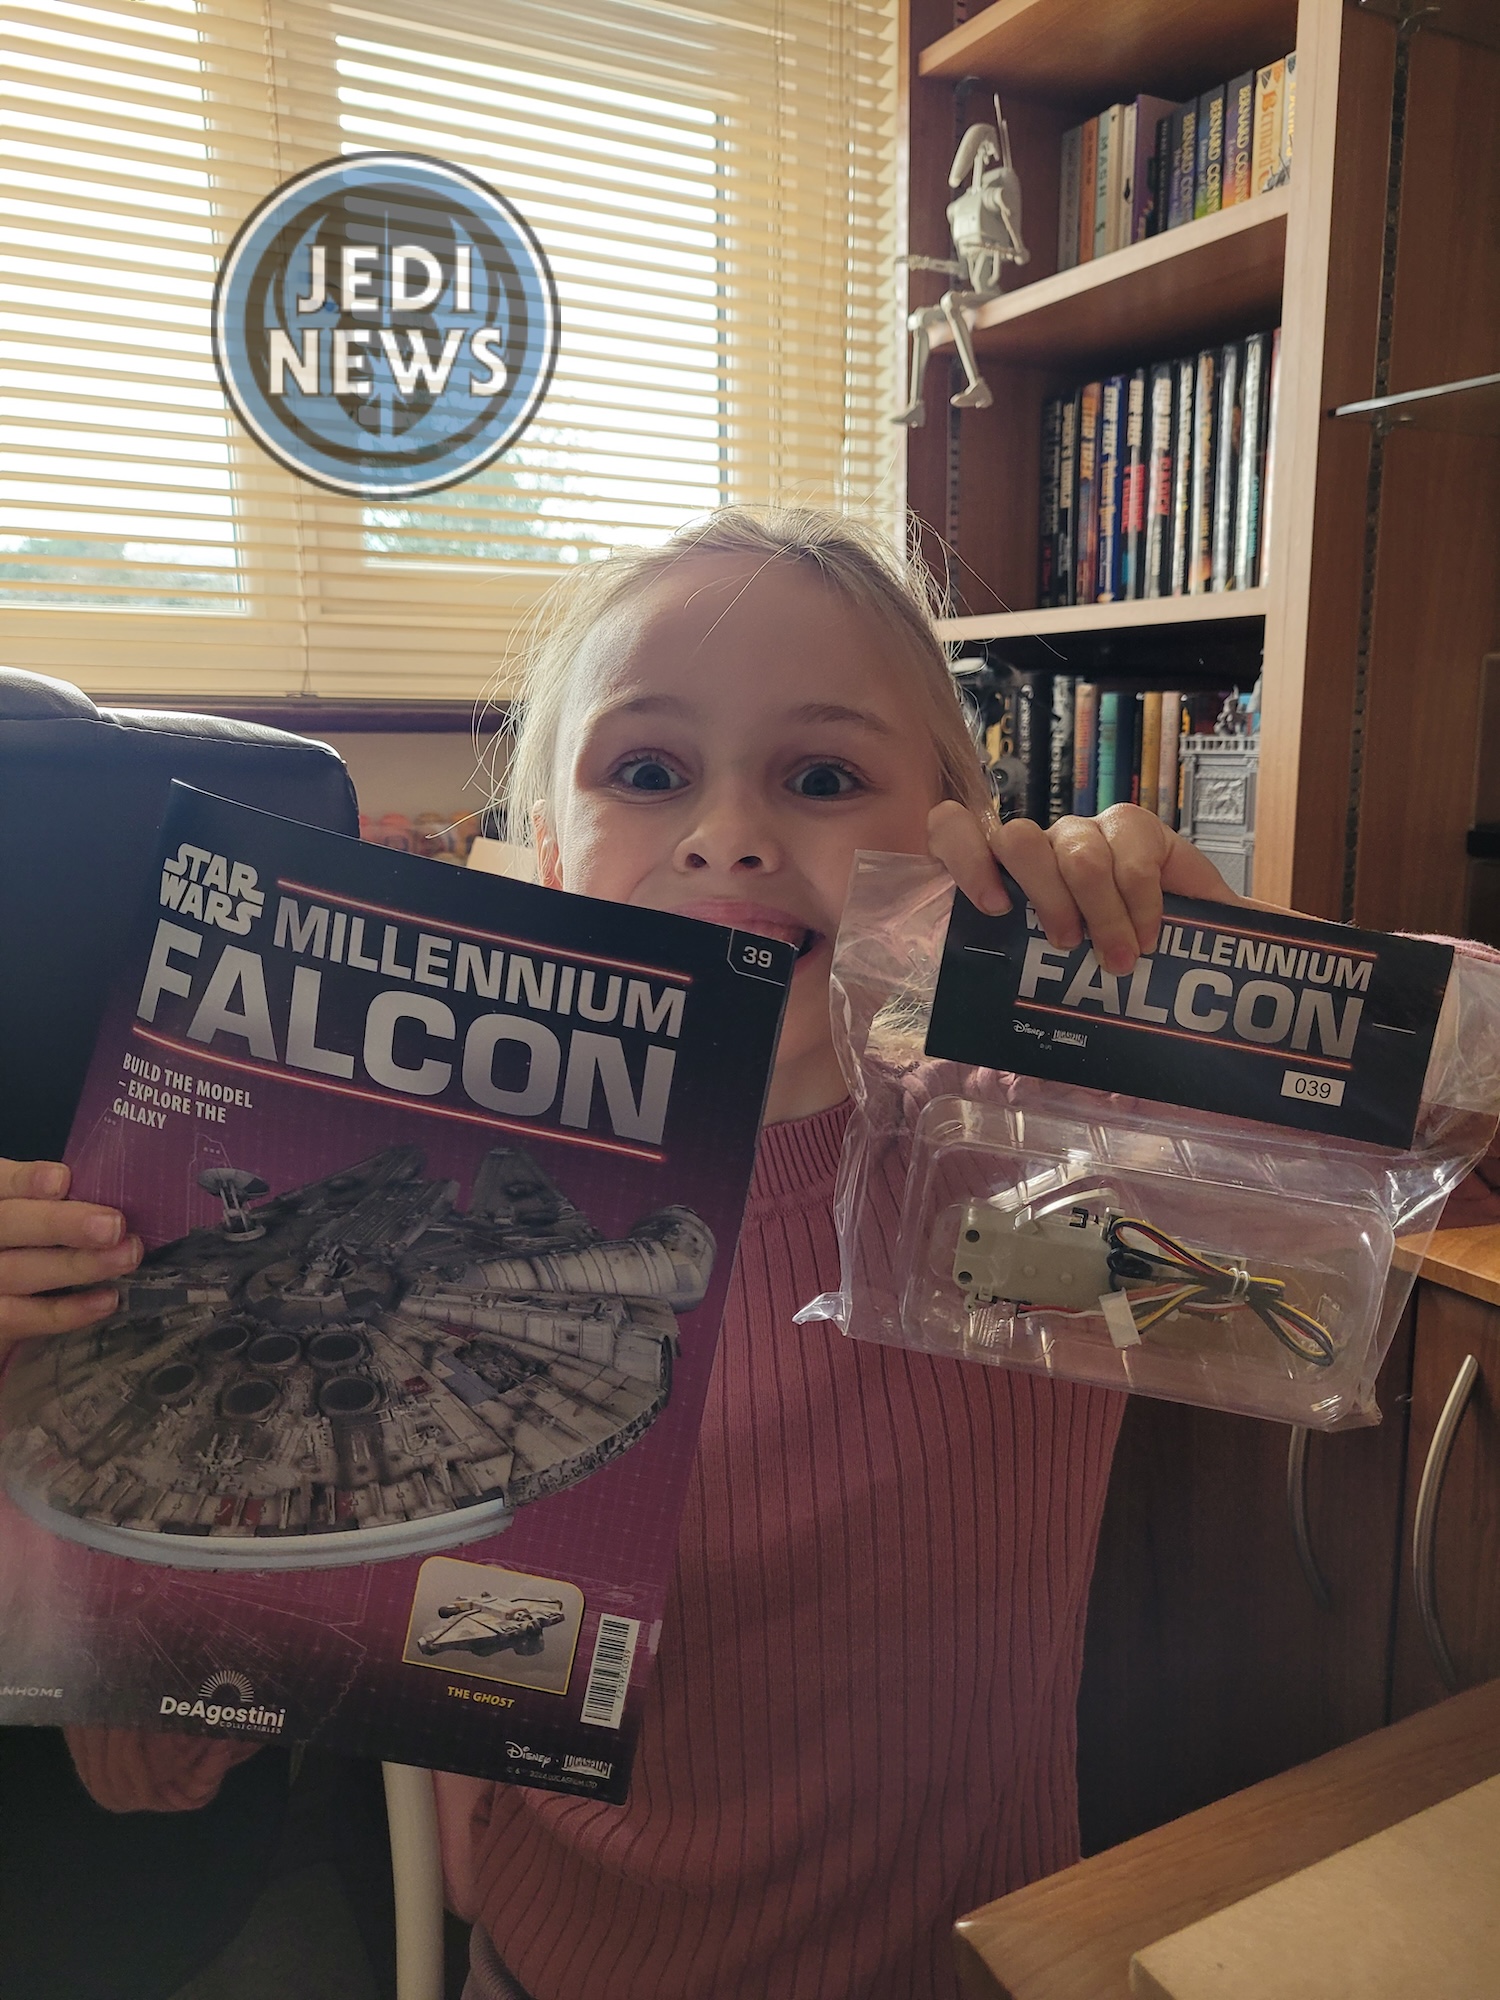
I had never seen Ember (my seven-year-old daughter) quite so excited for this project since we first began this. Having completed the first steps of the ramp, Ember was very eager to continue with the build as she wanted to install all the electronics and get it working. For someone so young, we were at a stage in the project where she could see all the effort we were putting in and where the different parts – for a starship she’d seen so many times – fit. Before we could continue with the next installment, I had my homework to catch up on!
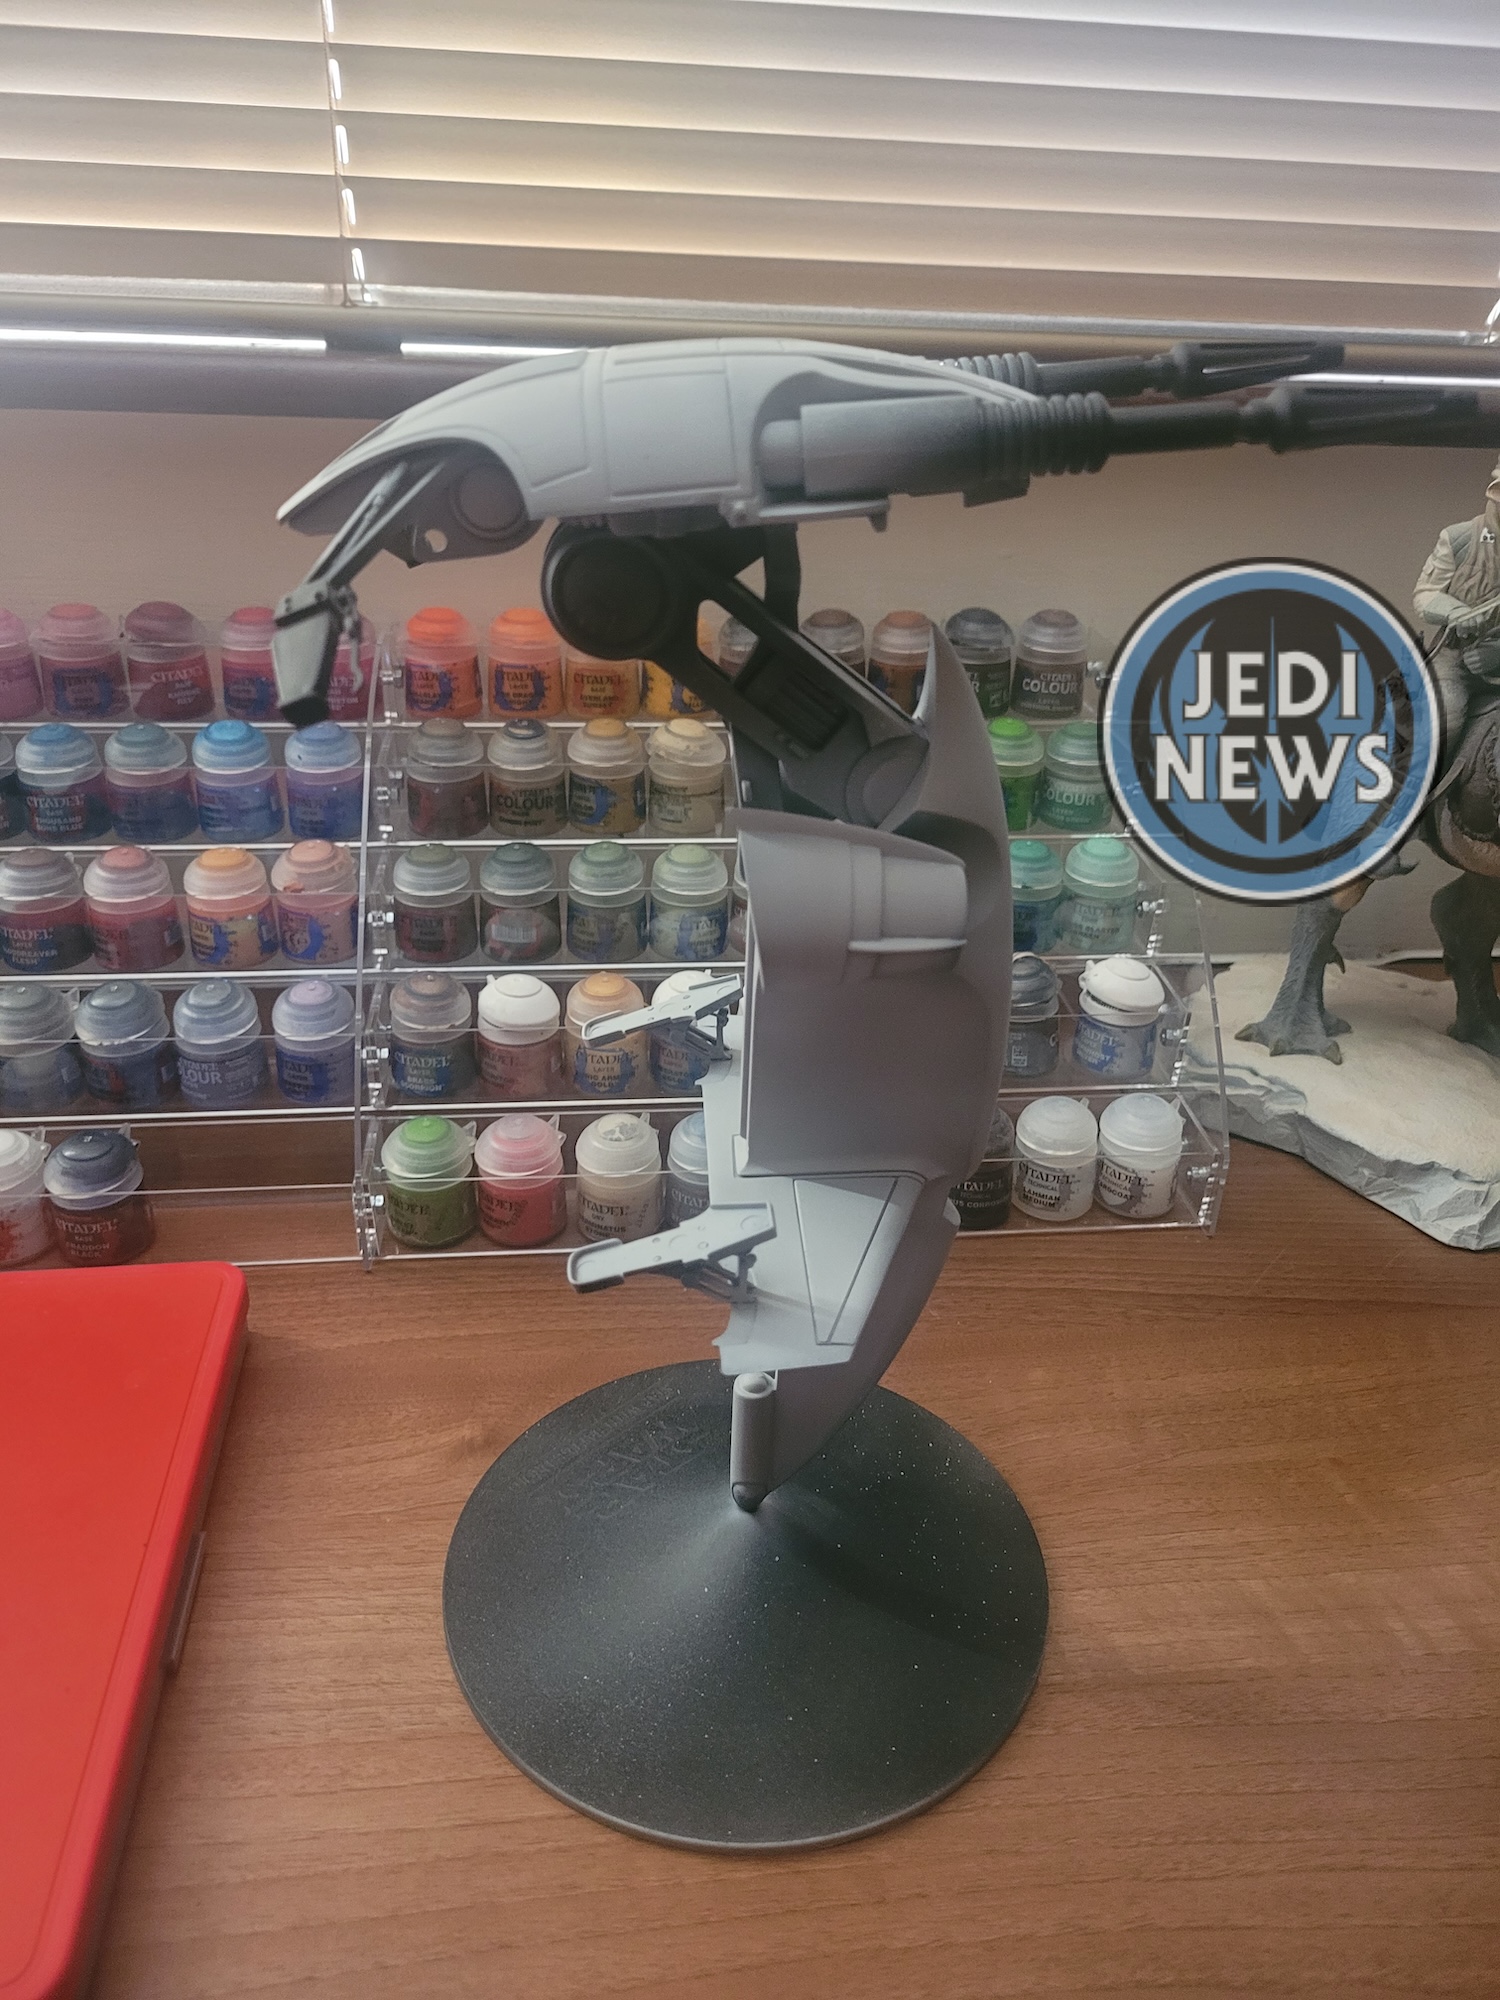
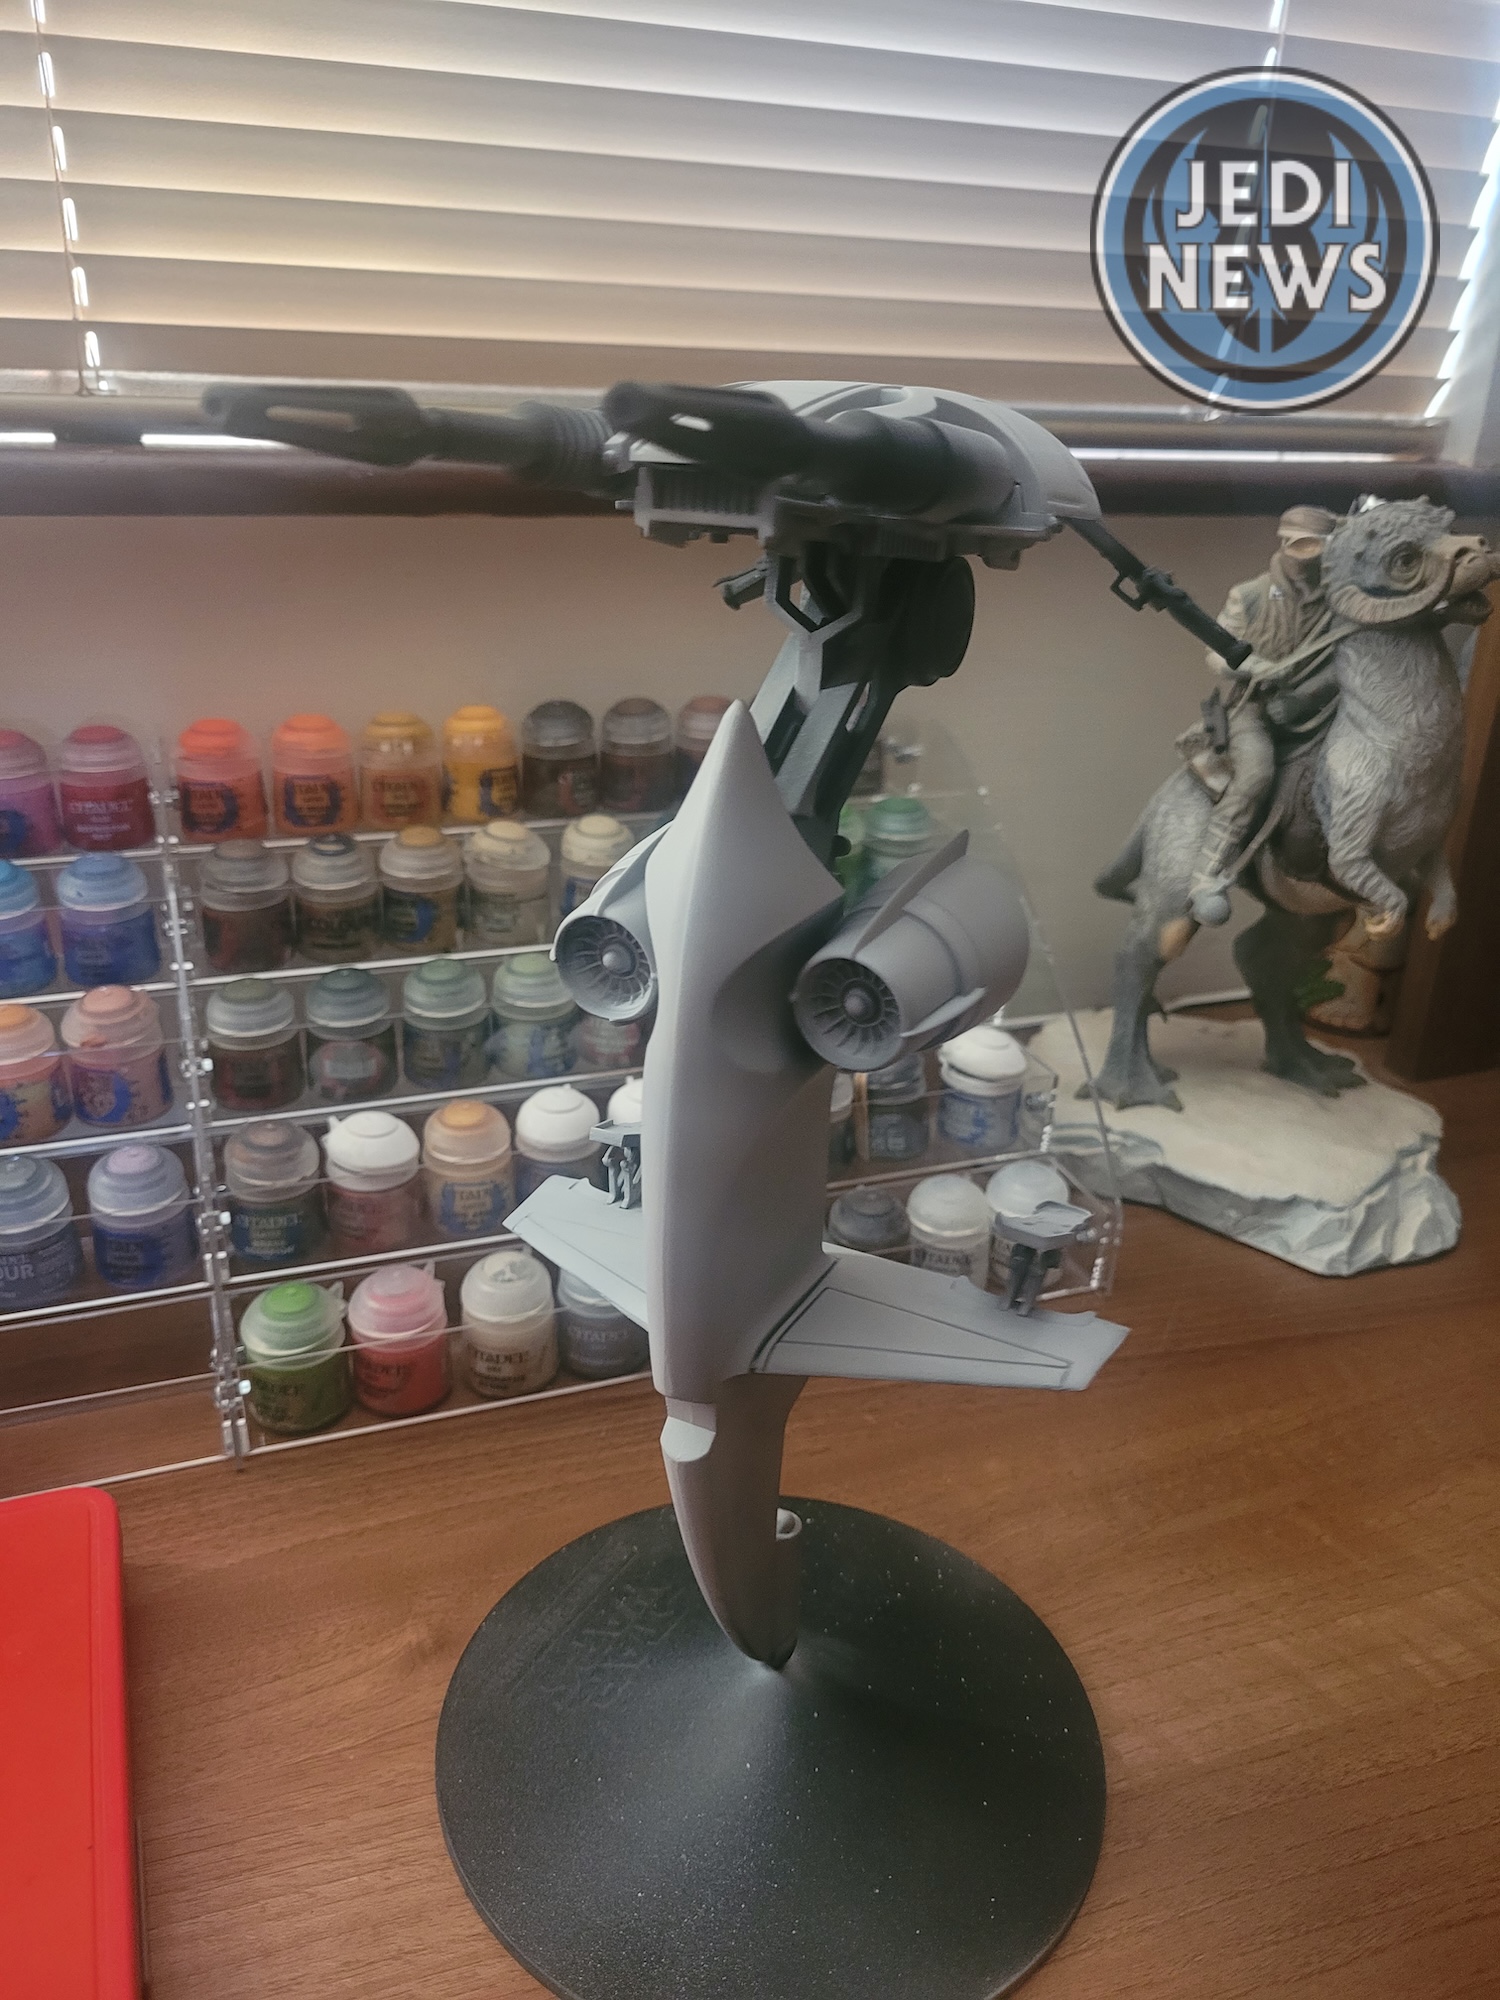
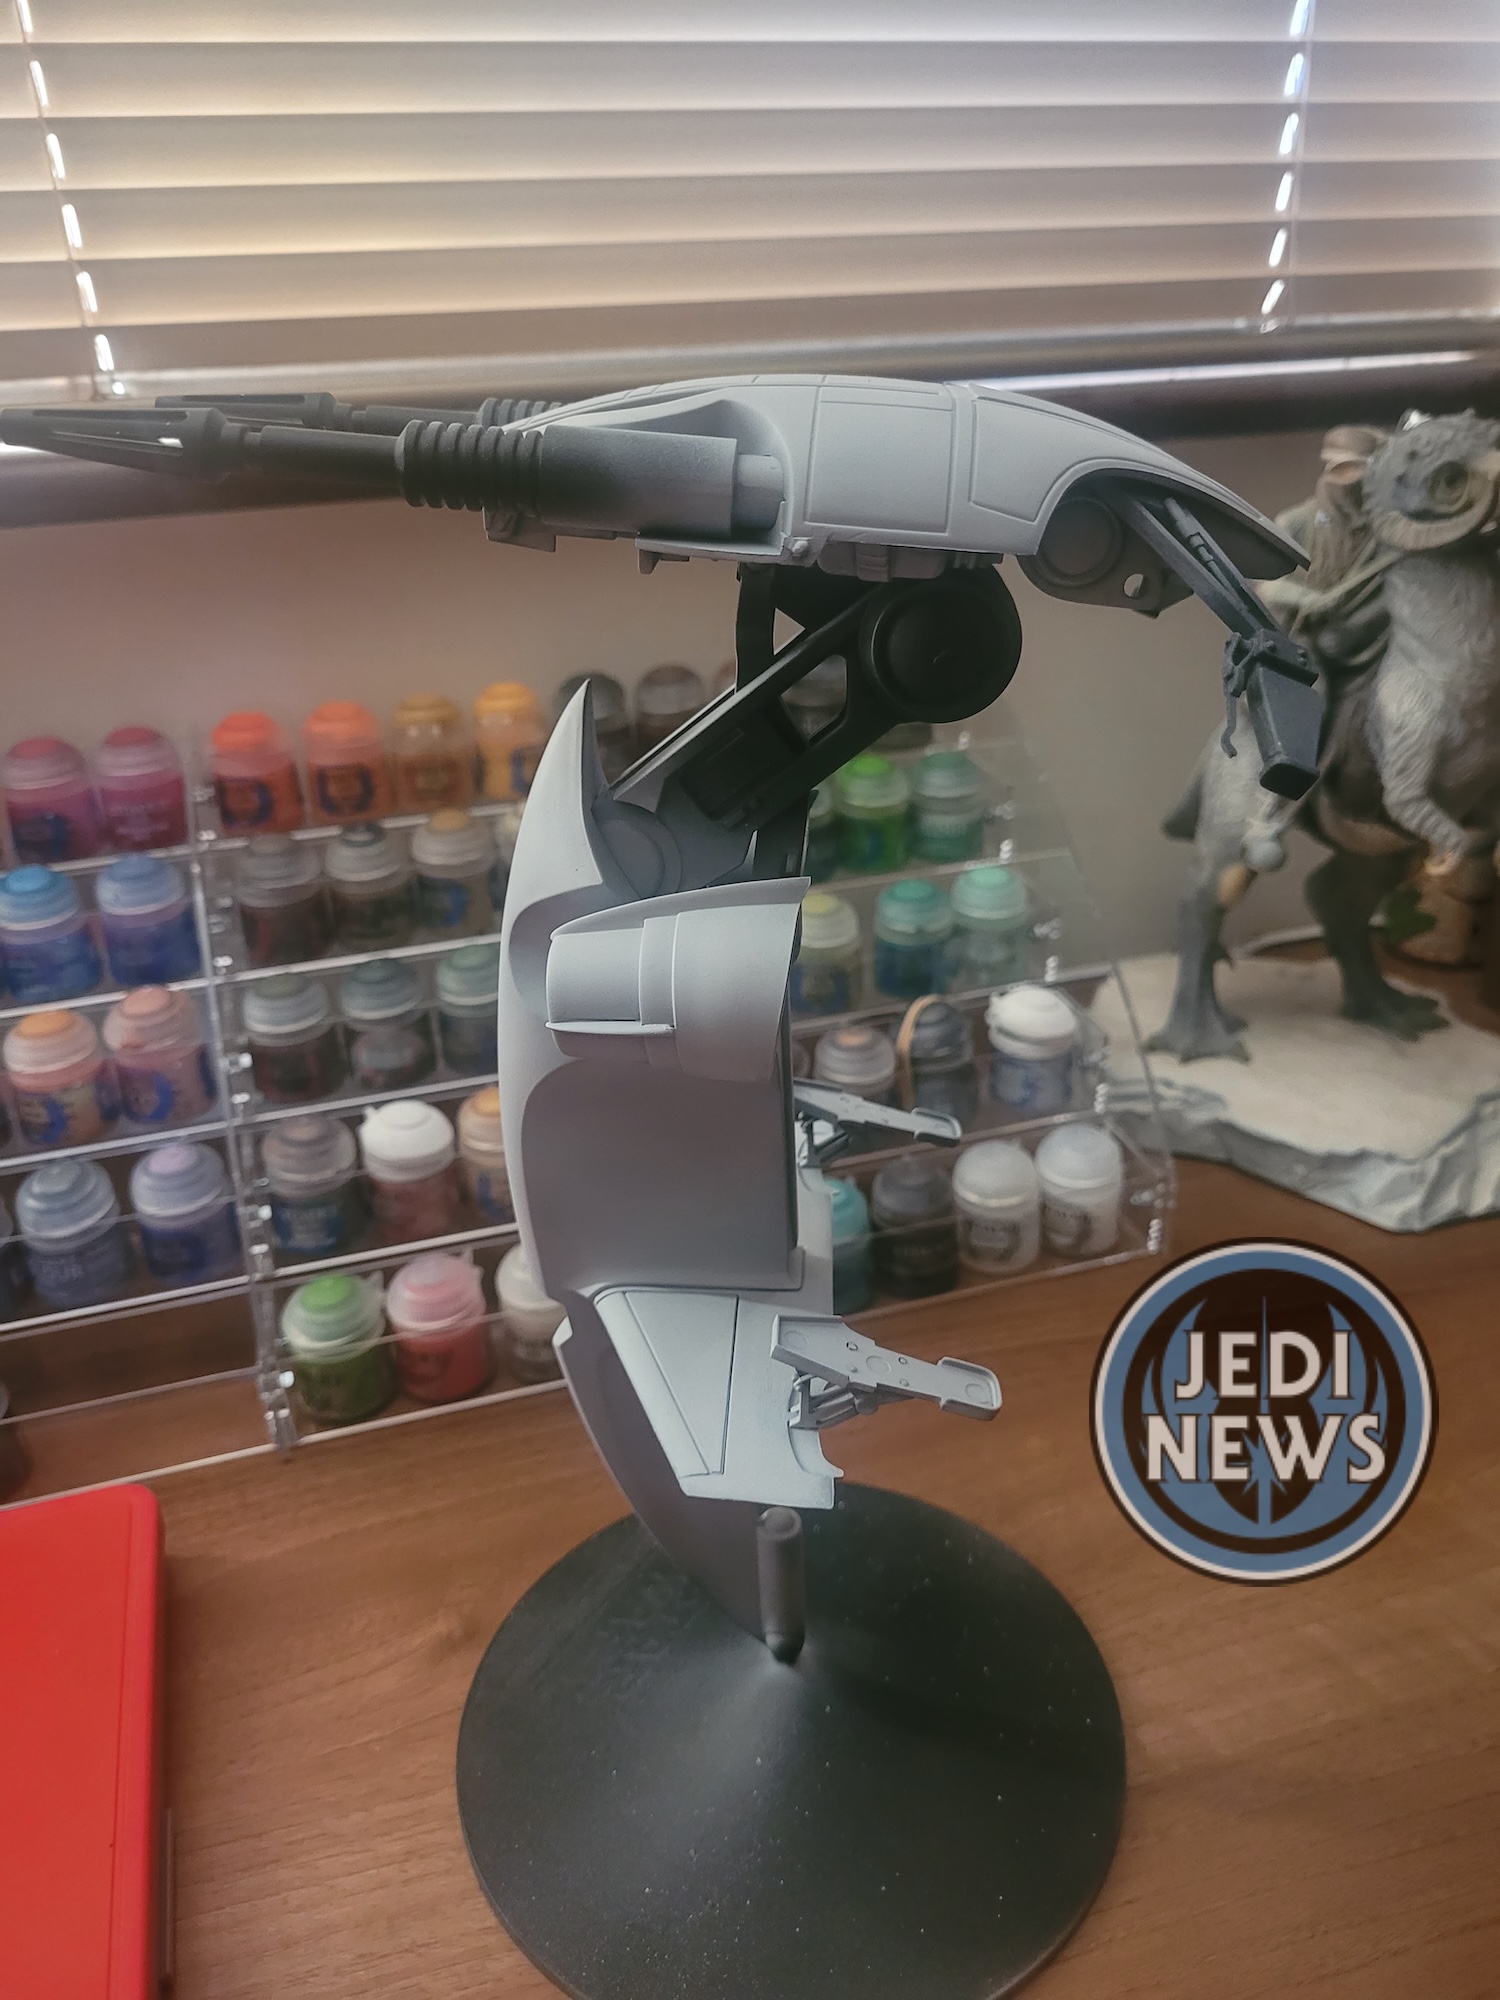
The homework I refer to is my newly acquired airbrush. As this project has continued, it was a purchase and skill that I knew that I would have to learn. So far, I’m not at a stage where I feel comfortable trying it on a project like this, but every time I use the airbrush, I’m learning more and more. I’m sure it won’t be long till I feel that Ember and I can tackle this. After writing my review for the last part, I saw the weather was still sunny and I was determined to see if my cleaning of my Iwata airbrush had worked. I was straight outside with a STAP model I had built and seemed to be the perfect test subject for my new airbrush. Thankfully, the airbrush worked beautifully. My use of airbrush paint thinner still needs some work, but the flow and coverage were so much better. You can hopefully see from my photos that I was able to base the areas with a much cleaner coat, ready for the next stage of that little project. Hopefully now I have learnt to clean my brush properly, I won’t have as many issues as I have been.
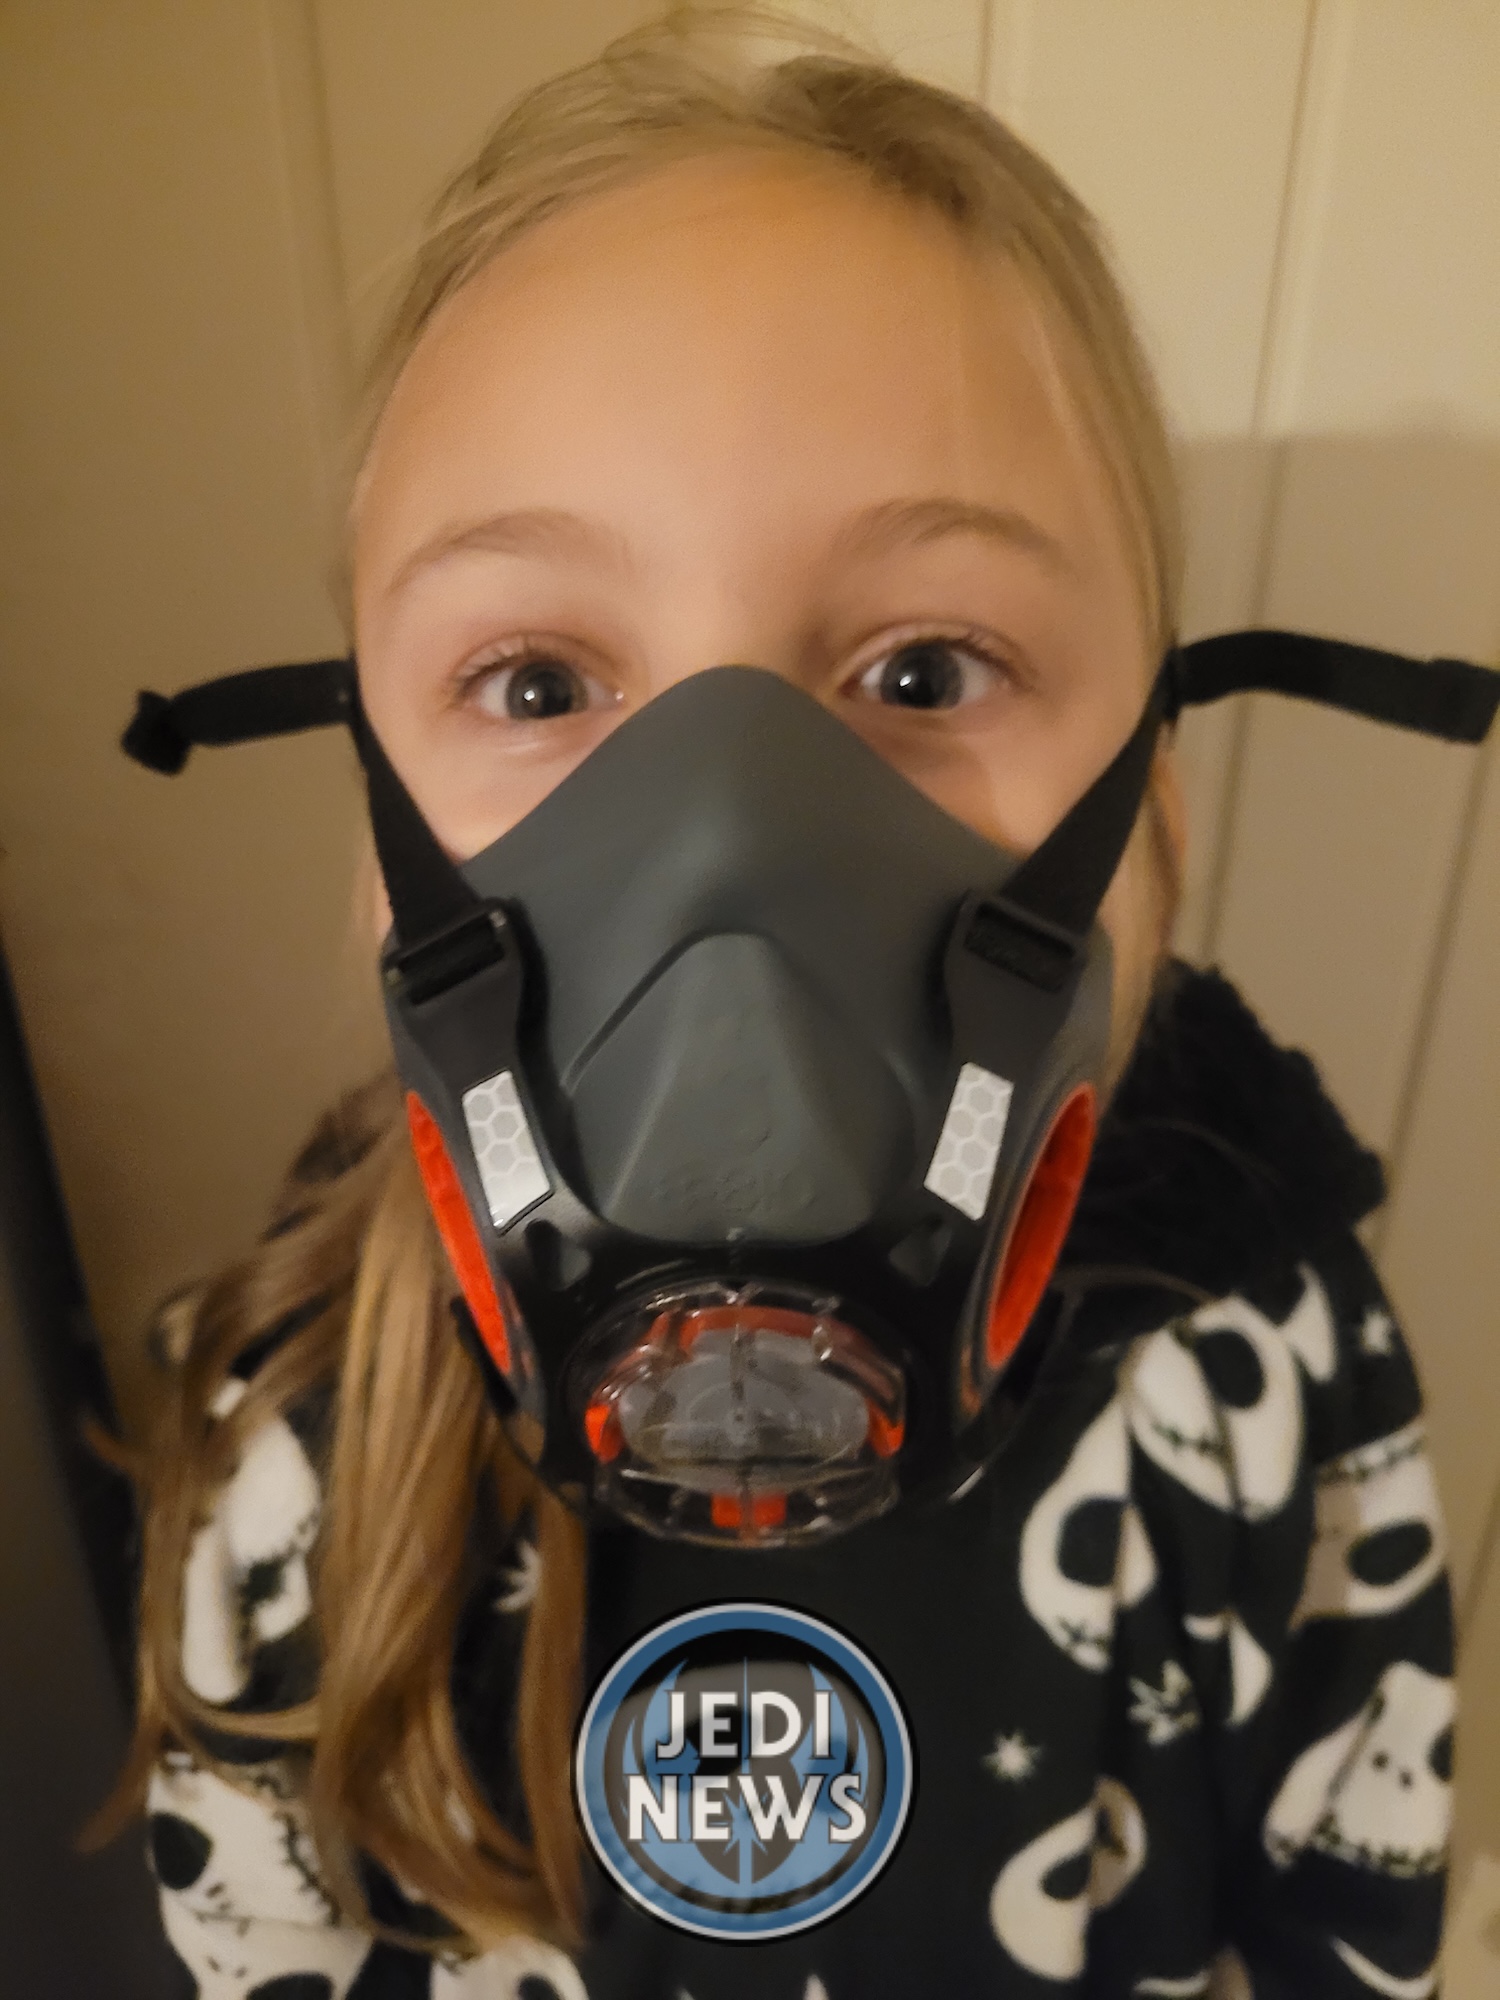
The other thing that had been pointed out to me on the beginner’s airbrush group I use on Facebook, was that I needed some air filtration masks. My biggest concern was for Ember, particularly because of her age, and her still developing lungs. A quick look on Amazon and I found some on sale; I ordered the JSP Force 8 masks. They are available in different sizes, and I’d been recommended the small for my daughter. It fitted perfectly and Ember thought it was one of the coolest things she’d seen. We didn’t add the filters as I wanted to take those out when we start painting (as they have a limited shelf life once the seal has been broken). While our painting time during the winter was going to be limited, I was pleased that we had come so far in such a short amount of time and had all the different tools we would need.
Onto the next part of the actual construction and before I sat down to complete it with Ember, I did my usual scouting of the issue. I was slightly distracted by the main feature in the magazine, all about The Ghost from Rebels. I’m currently painting the crew of The Ghost for Star Wars: Shatterpoint and the huge image of Hera will come in very handy. The other information about the ship itself is fascinating. It’s one of the aspects of this project that I continually neglect as I’m so focused on the actual building of the starship. Yet there are some fantastic articles and photos that I’m sure fans will appreciate.
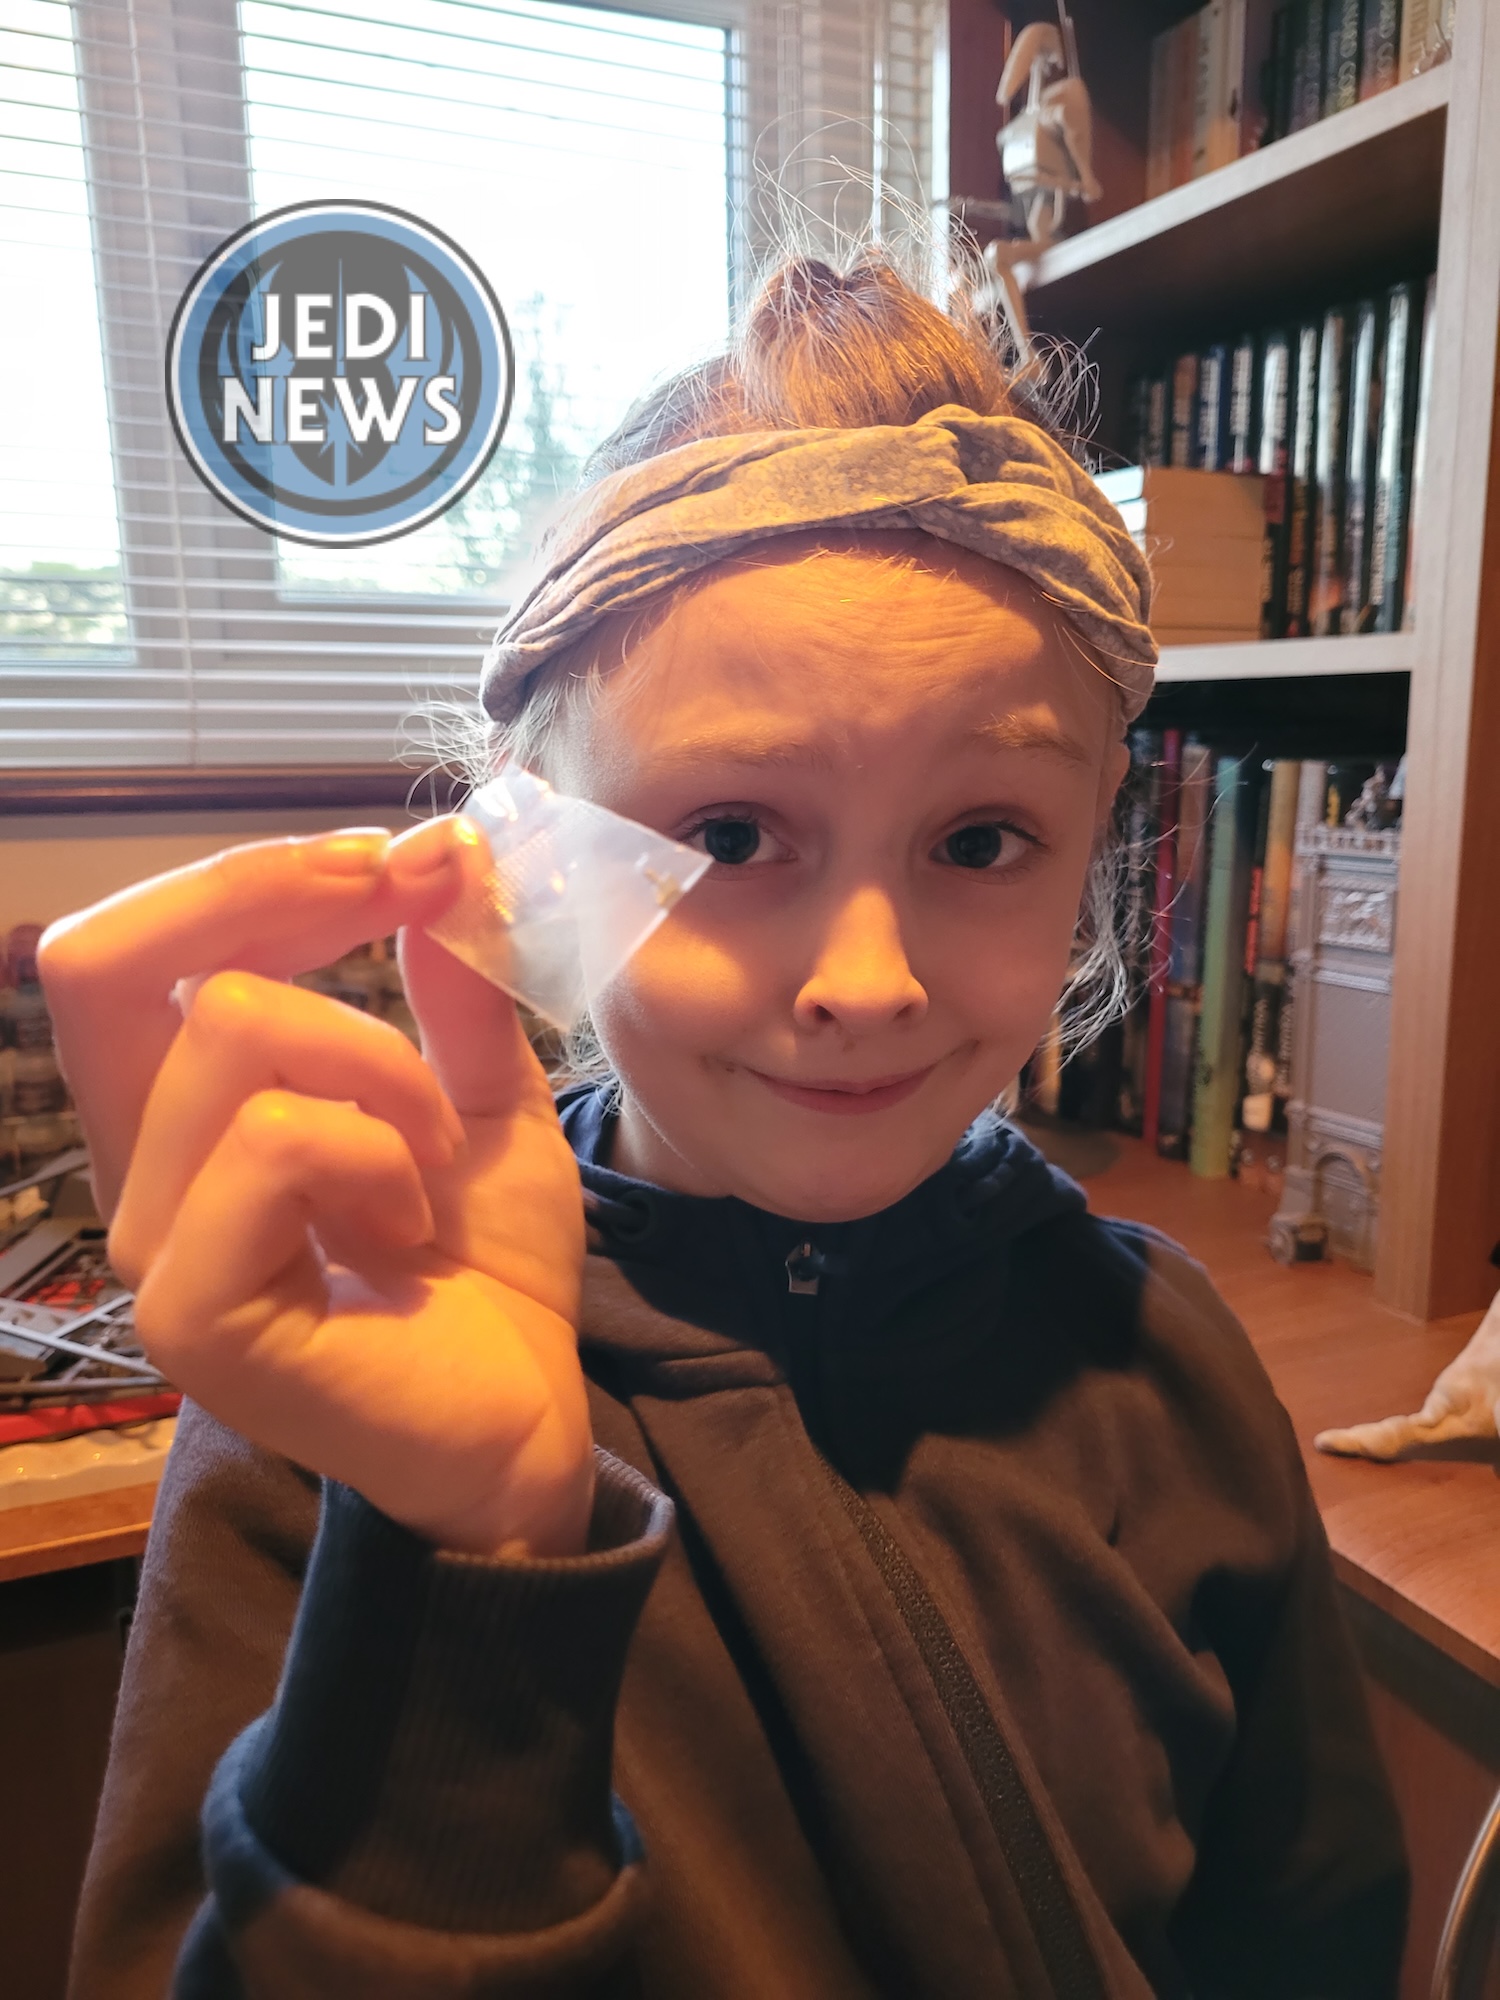
Looking at how much there was to do in this installment and there seemed to be a lot; five different assemblies in all. This would certainly be more than enough for Ember and me to do in a single sitting. We would be still focused on the construction of the ramp with some more electronics but mainly construction. Sounded perfect! Lots of little bits to do here and there is really where Ember shines. Unlike last issue, no painting was needed, and Ember and I could get straight on with the build. So, I started to set everything up ready… until I noticed something wasn’t there: four pivot pins from issue thirty eight. Thankfully I hadn’t thrown anything away and went hunting around. In part thirty-nine it does warn you that they are small, had I dropped them and not realized? I messaged customer services, who were fantastic and within a week I had my replacement issue with the parts. When I saw them, they were in their own little bag, something that isn’t very easy to lose, making me a lot more confident that they were never in the issue. Mistakes – obviously – happen, yet it is the way the company deals with them that makes all the difference. Anila at Fanhome was quick to respond, assure me and get the replacement sent out super quickly. Great service!
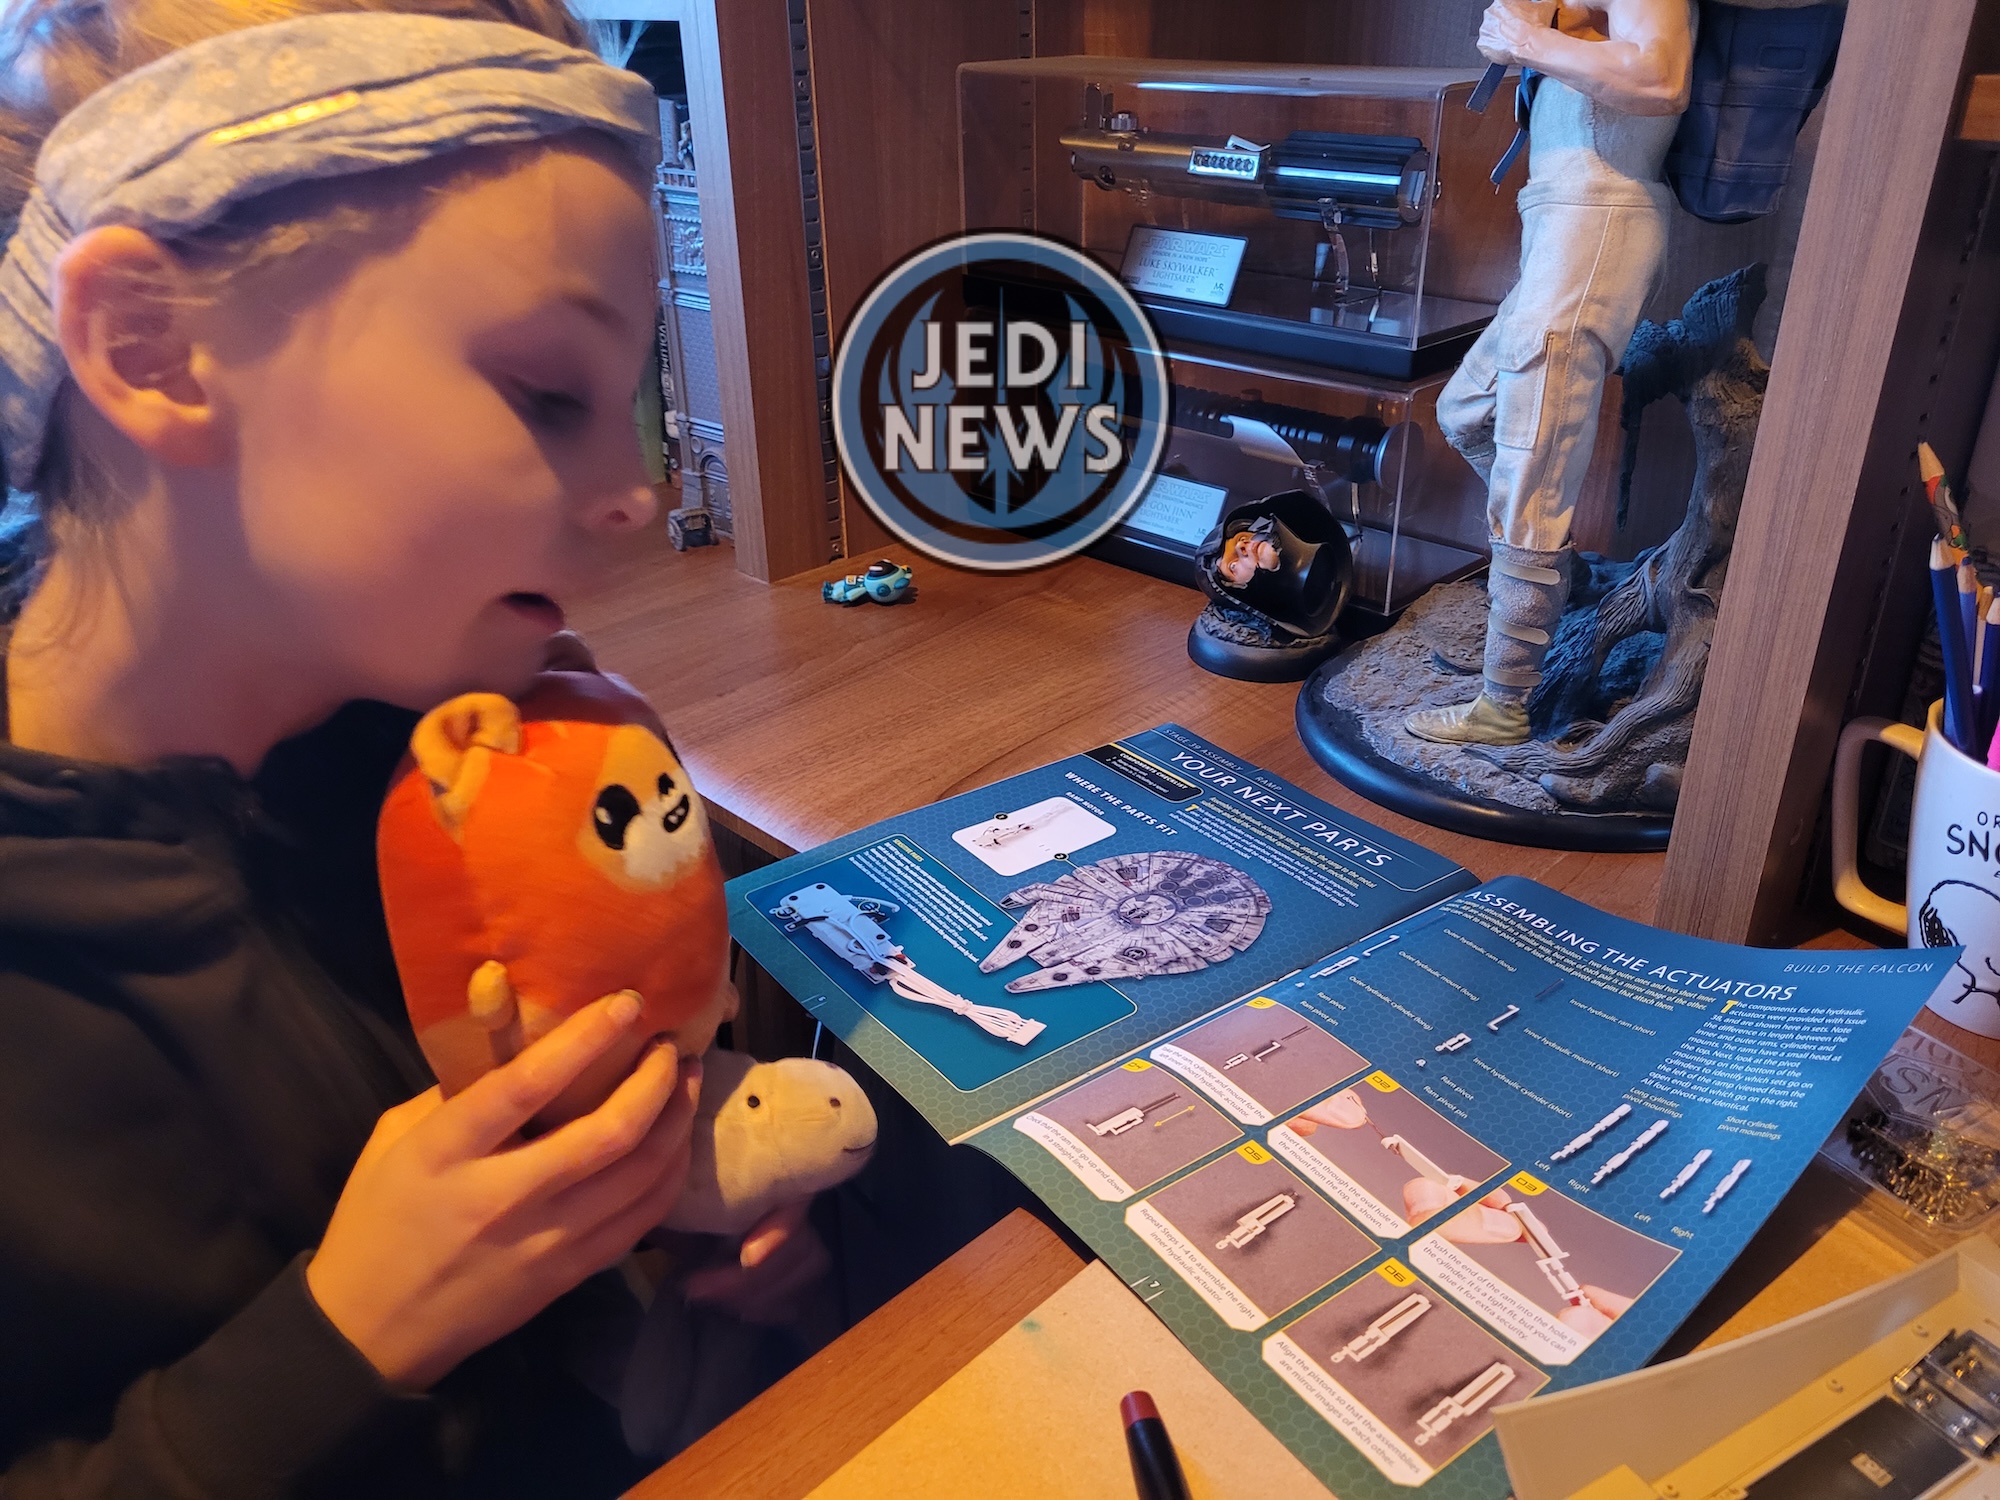
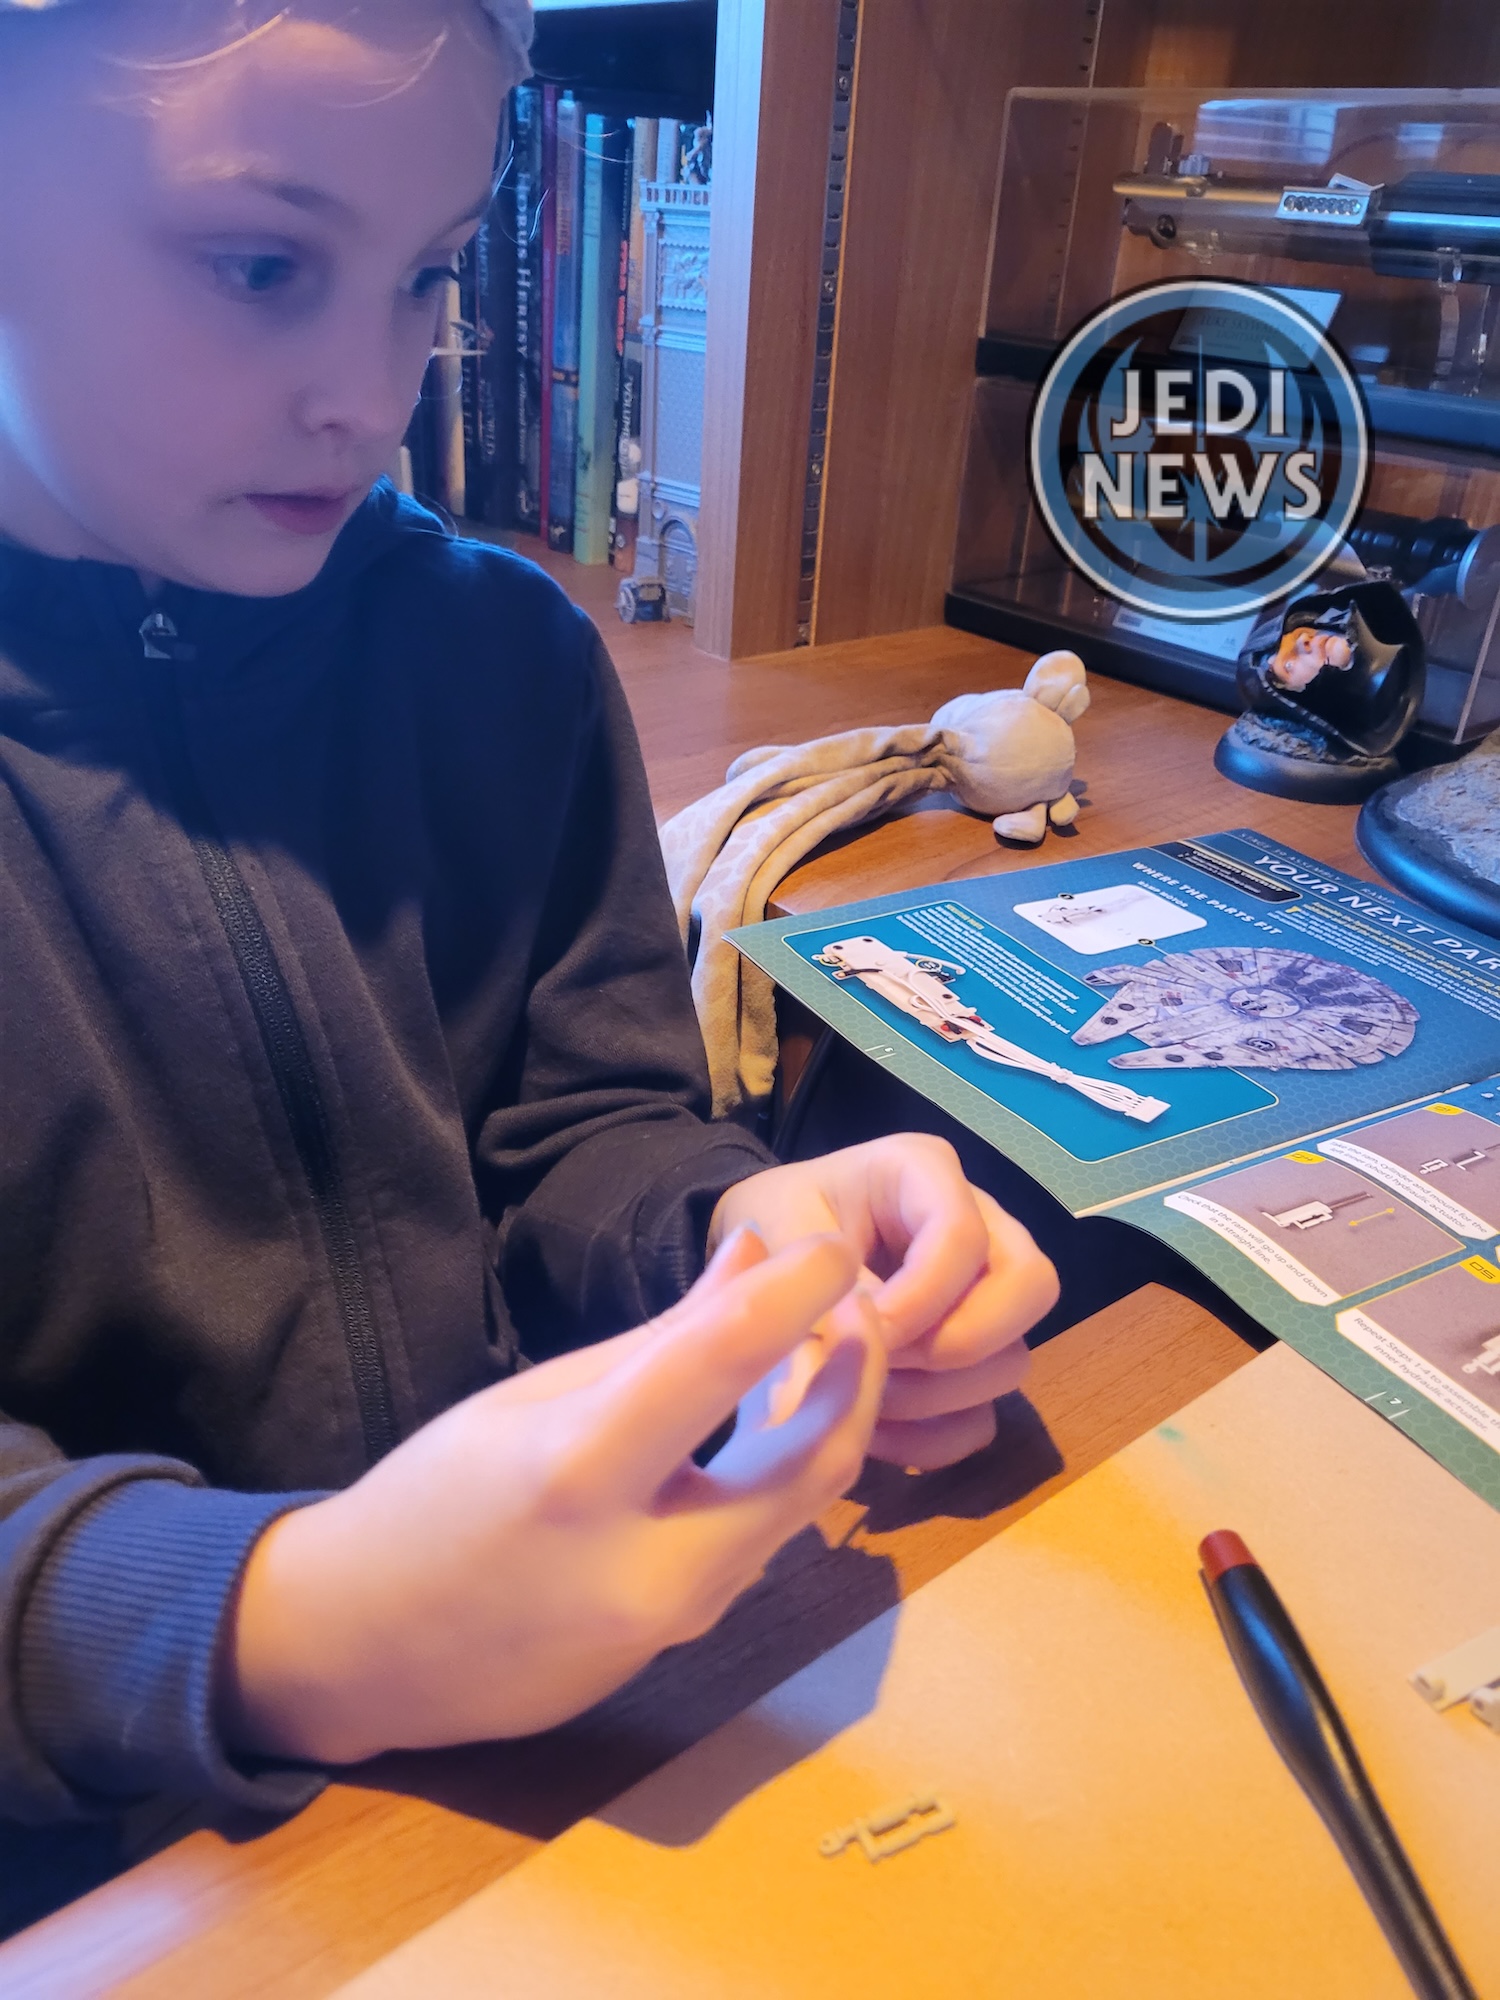
With that (hopefully) last stumbling block sorted, Ember and I were ready to build. I’m not going to lie, this was the most difficult issue we had done so far. We started with having to assemble the actuators. Trying to match the right parts up wasn’t the easiest of things. Clearly this is where youth is better than wisdom as Ember wasn’t questioning herself like I was over the different parts. Thankfully, the things are easy enough to turn around if you assemble them slightly incorrectly, so not much damage is done. It was great to see Ember taking the lead, having the confidence to say, “it’s these ones daddy!”
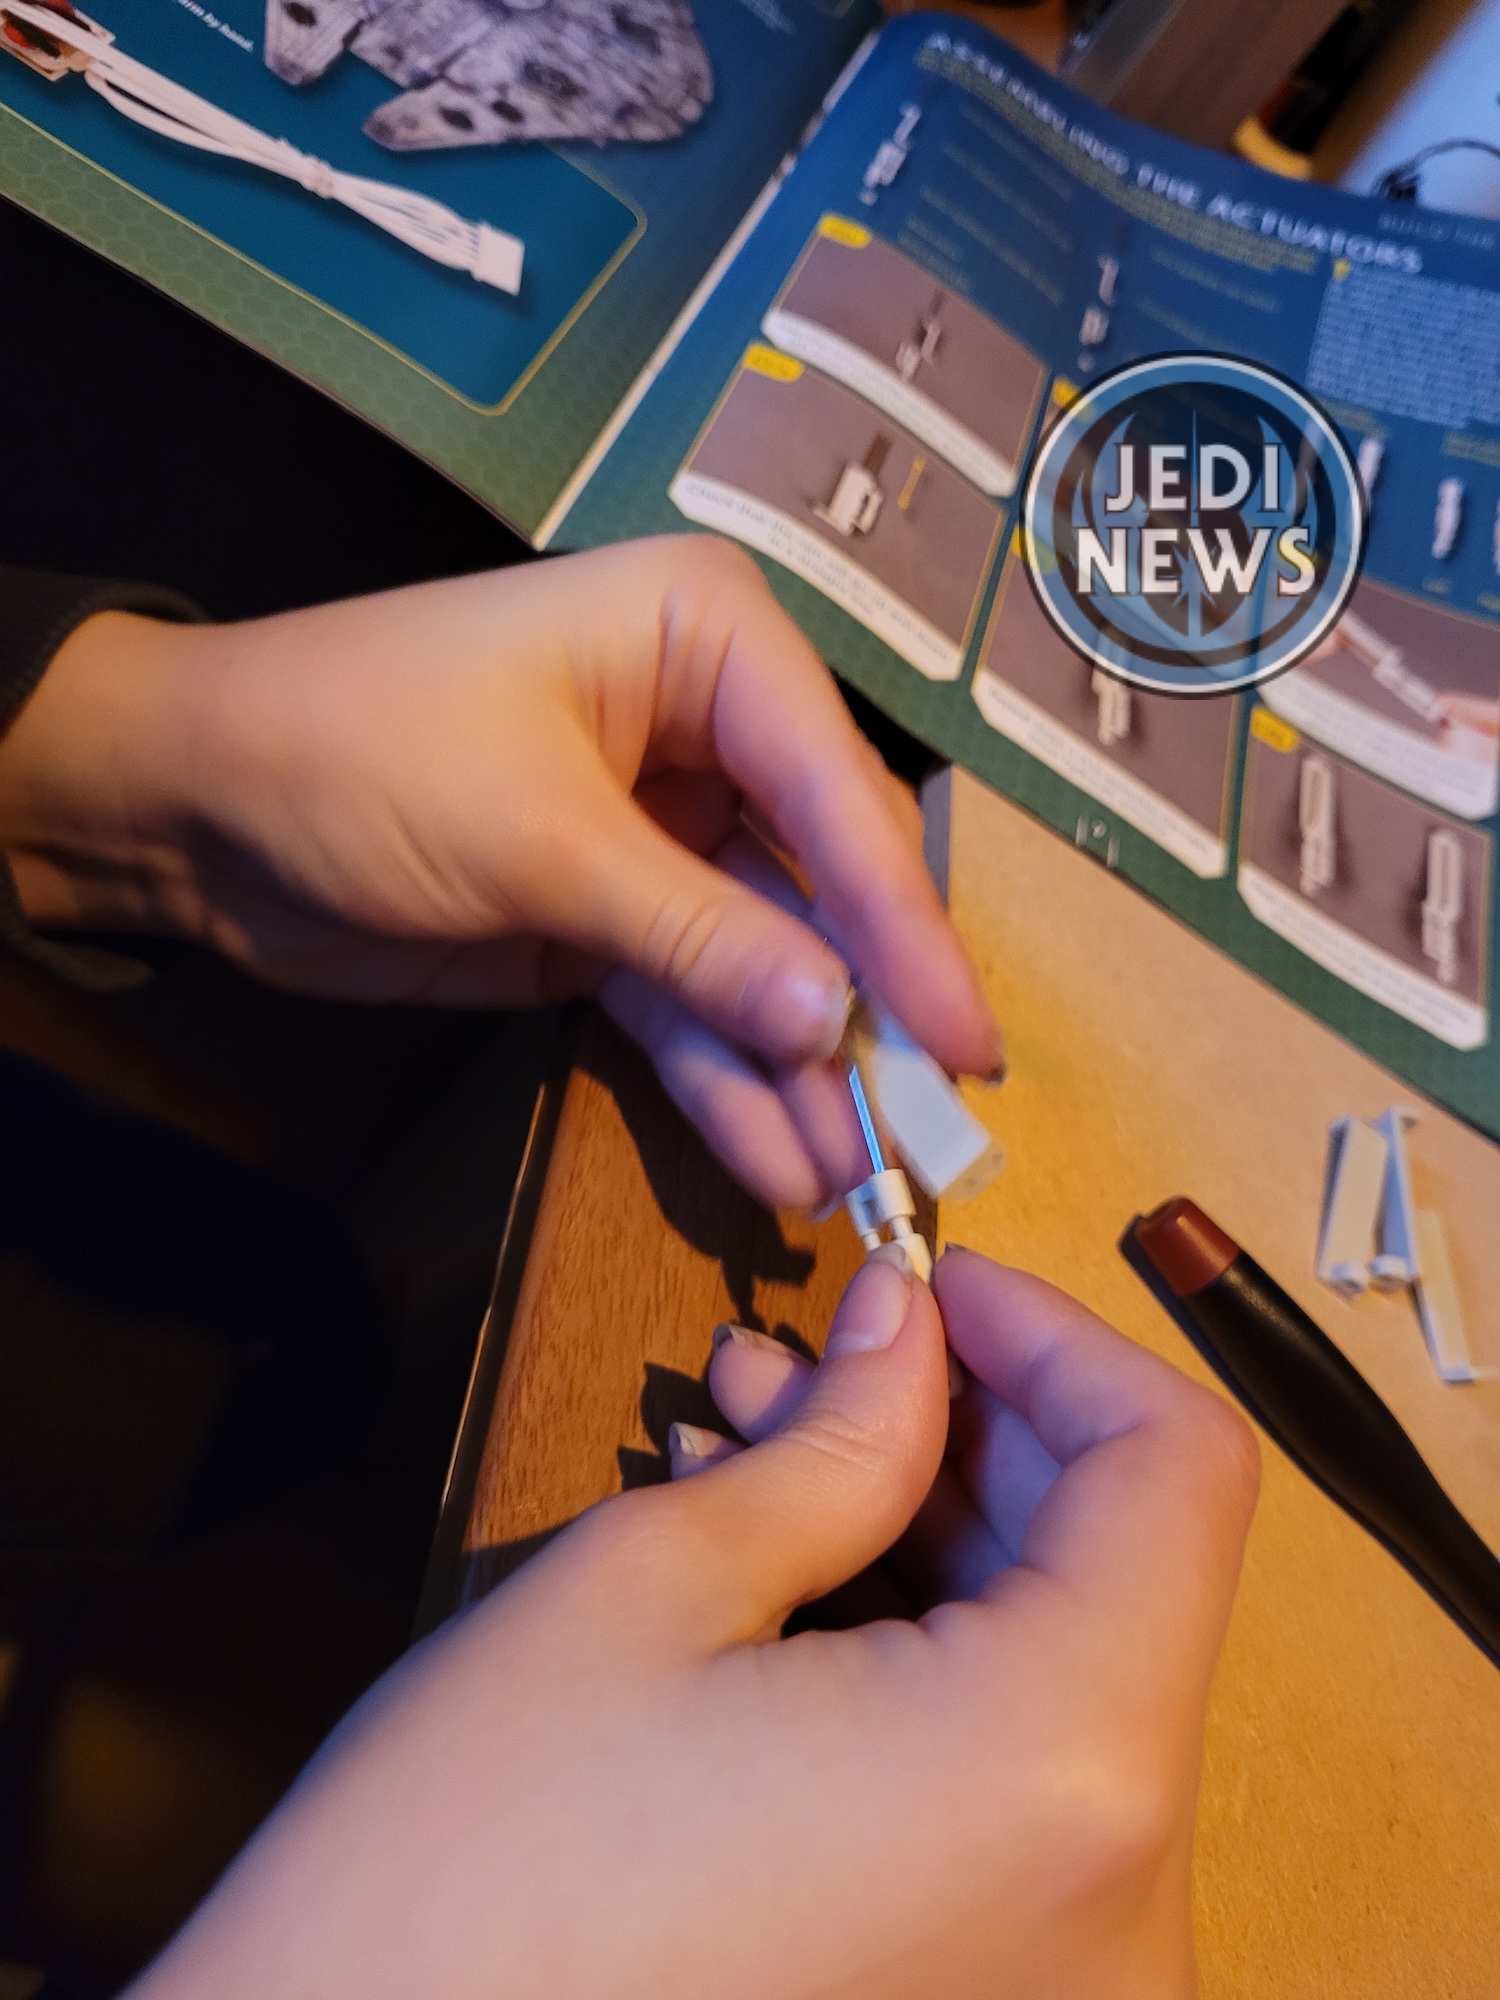
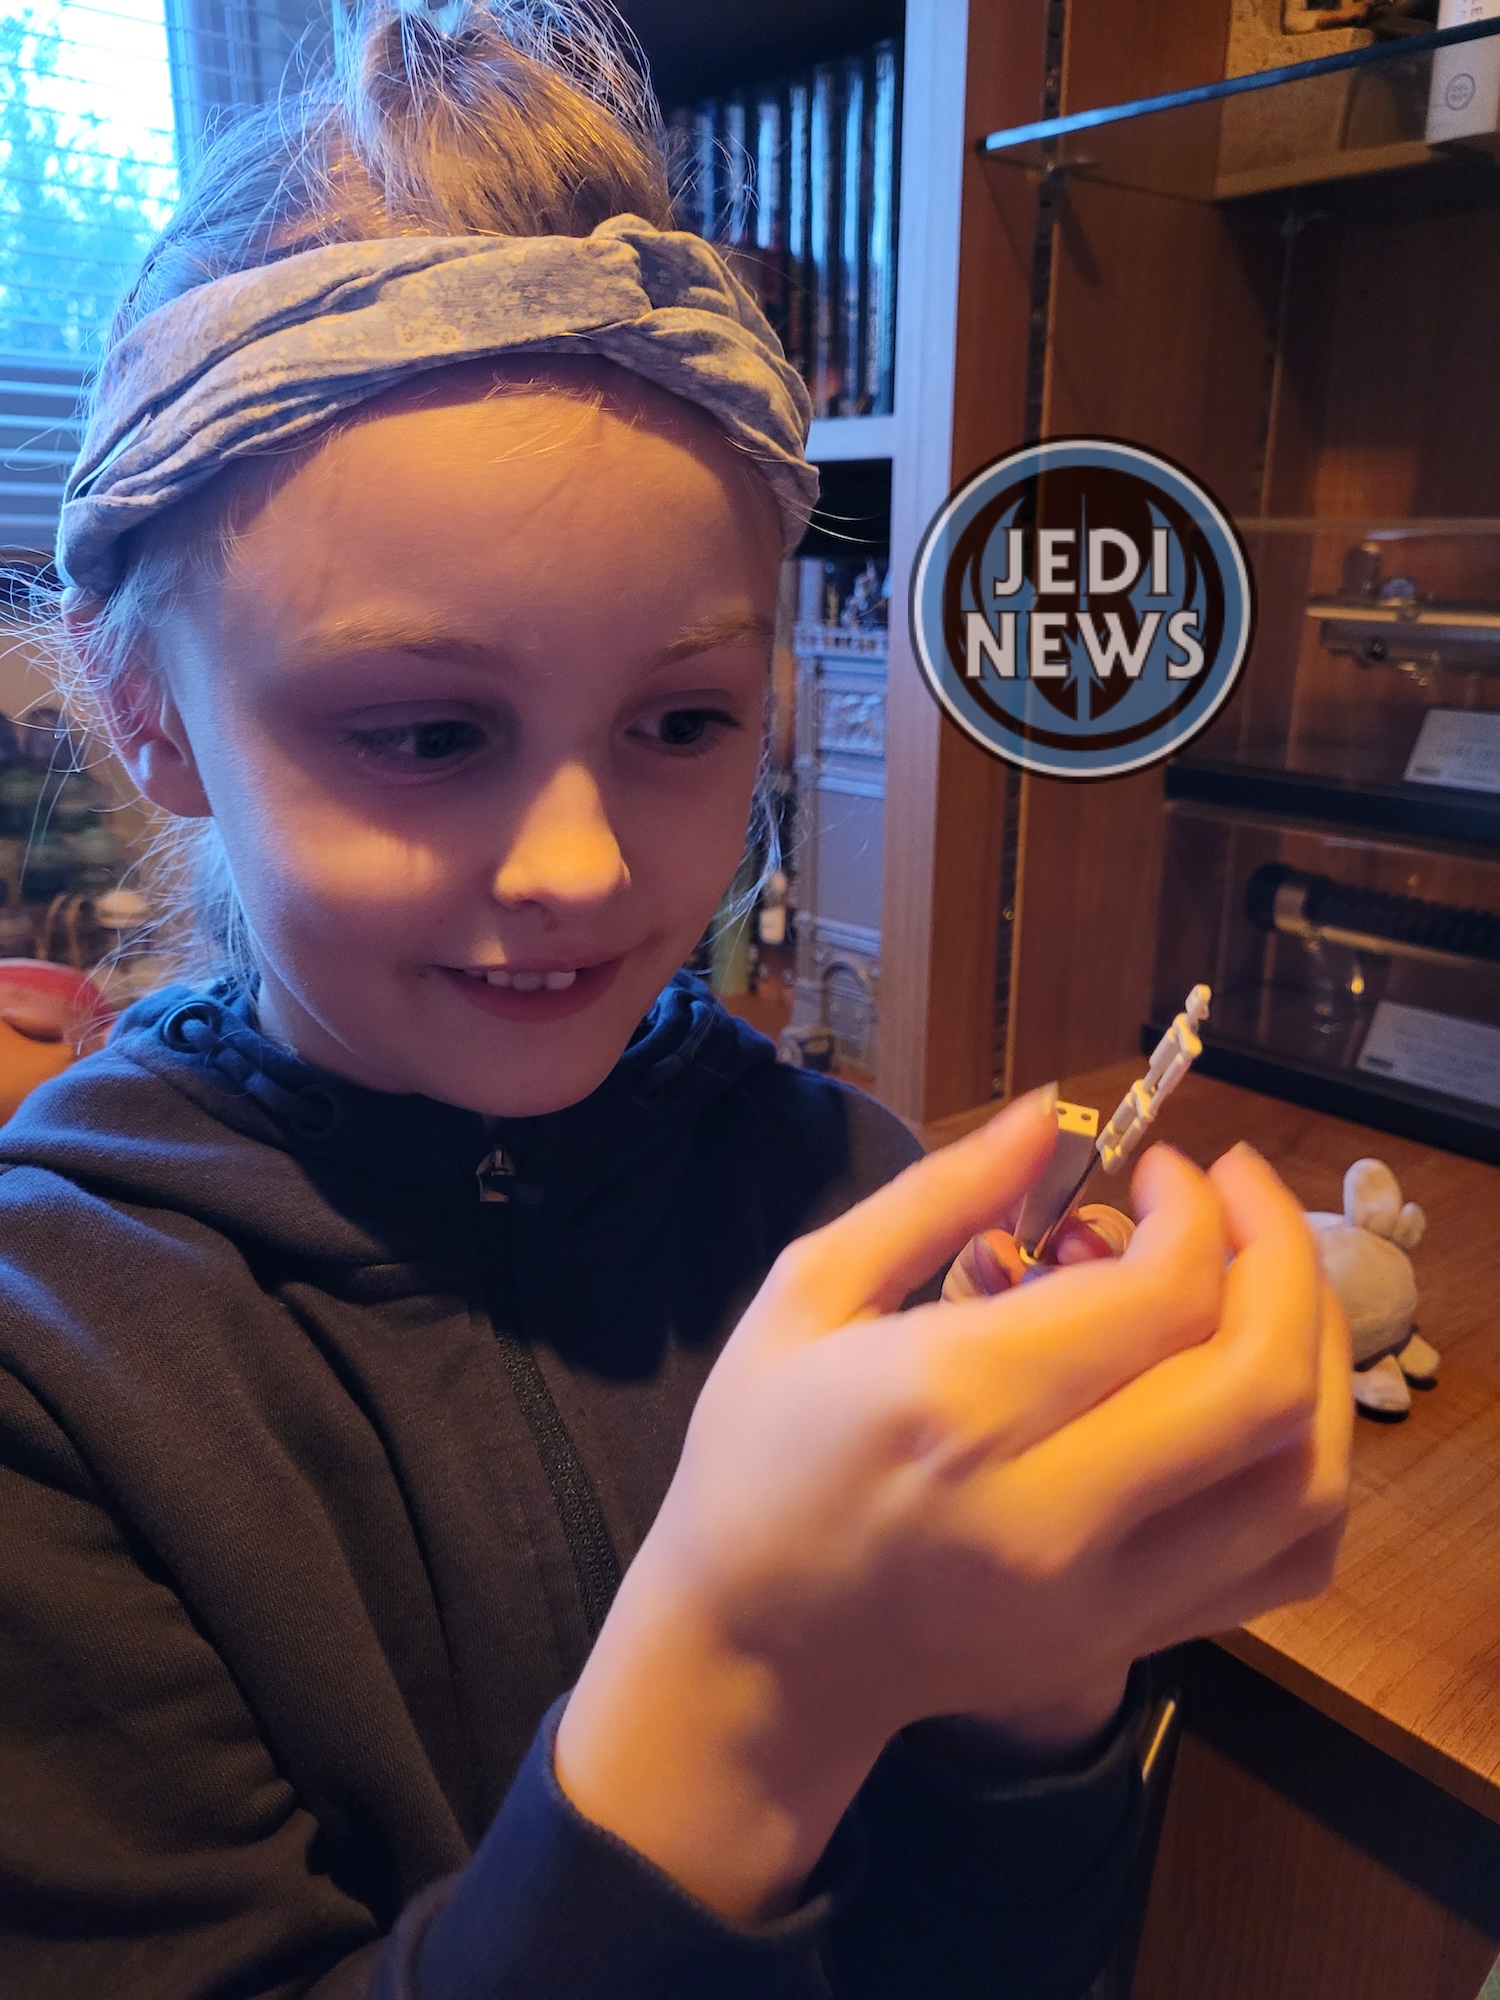
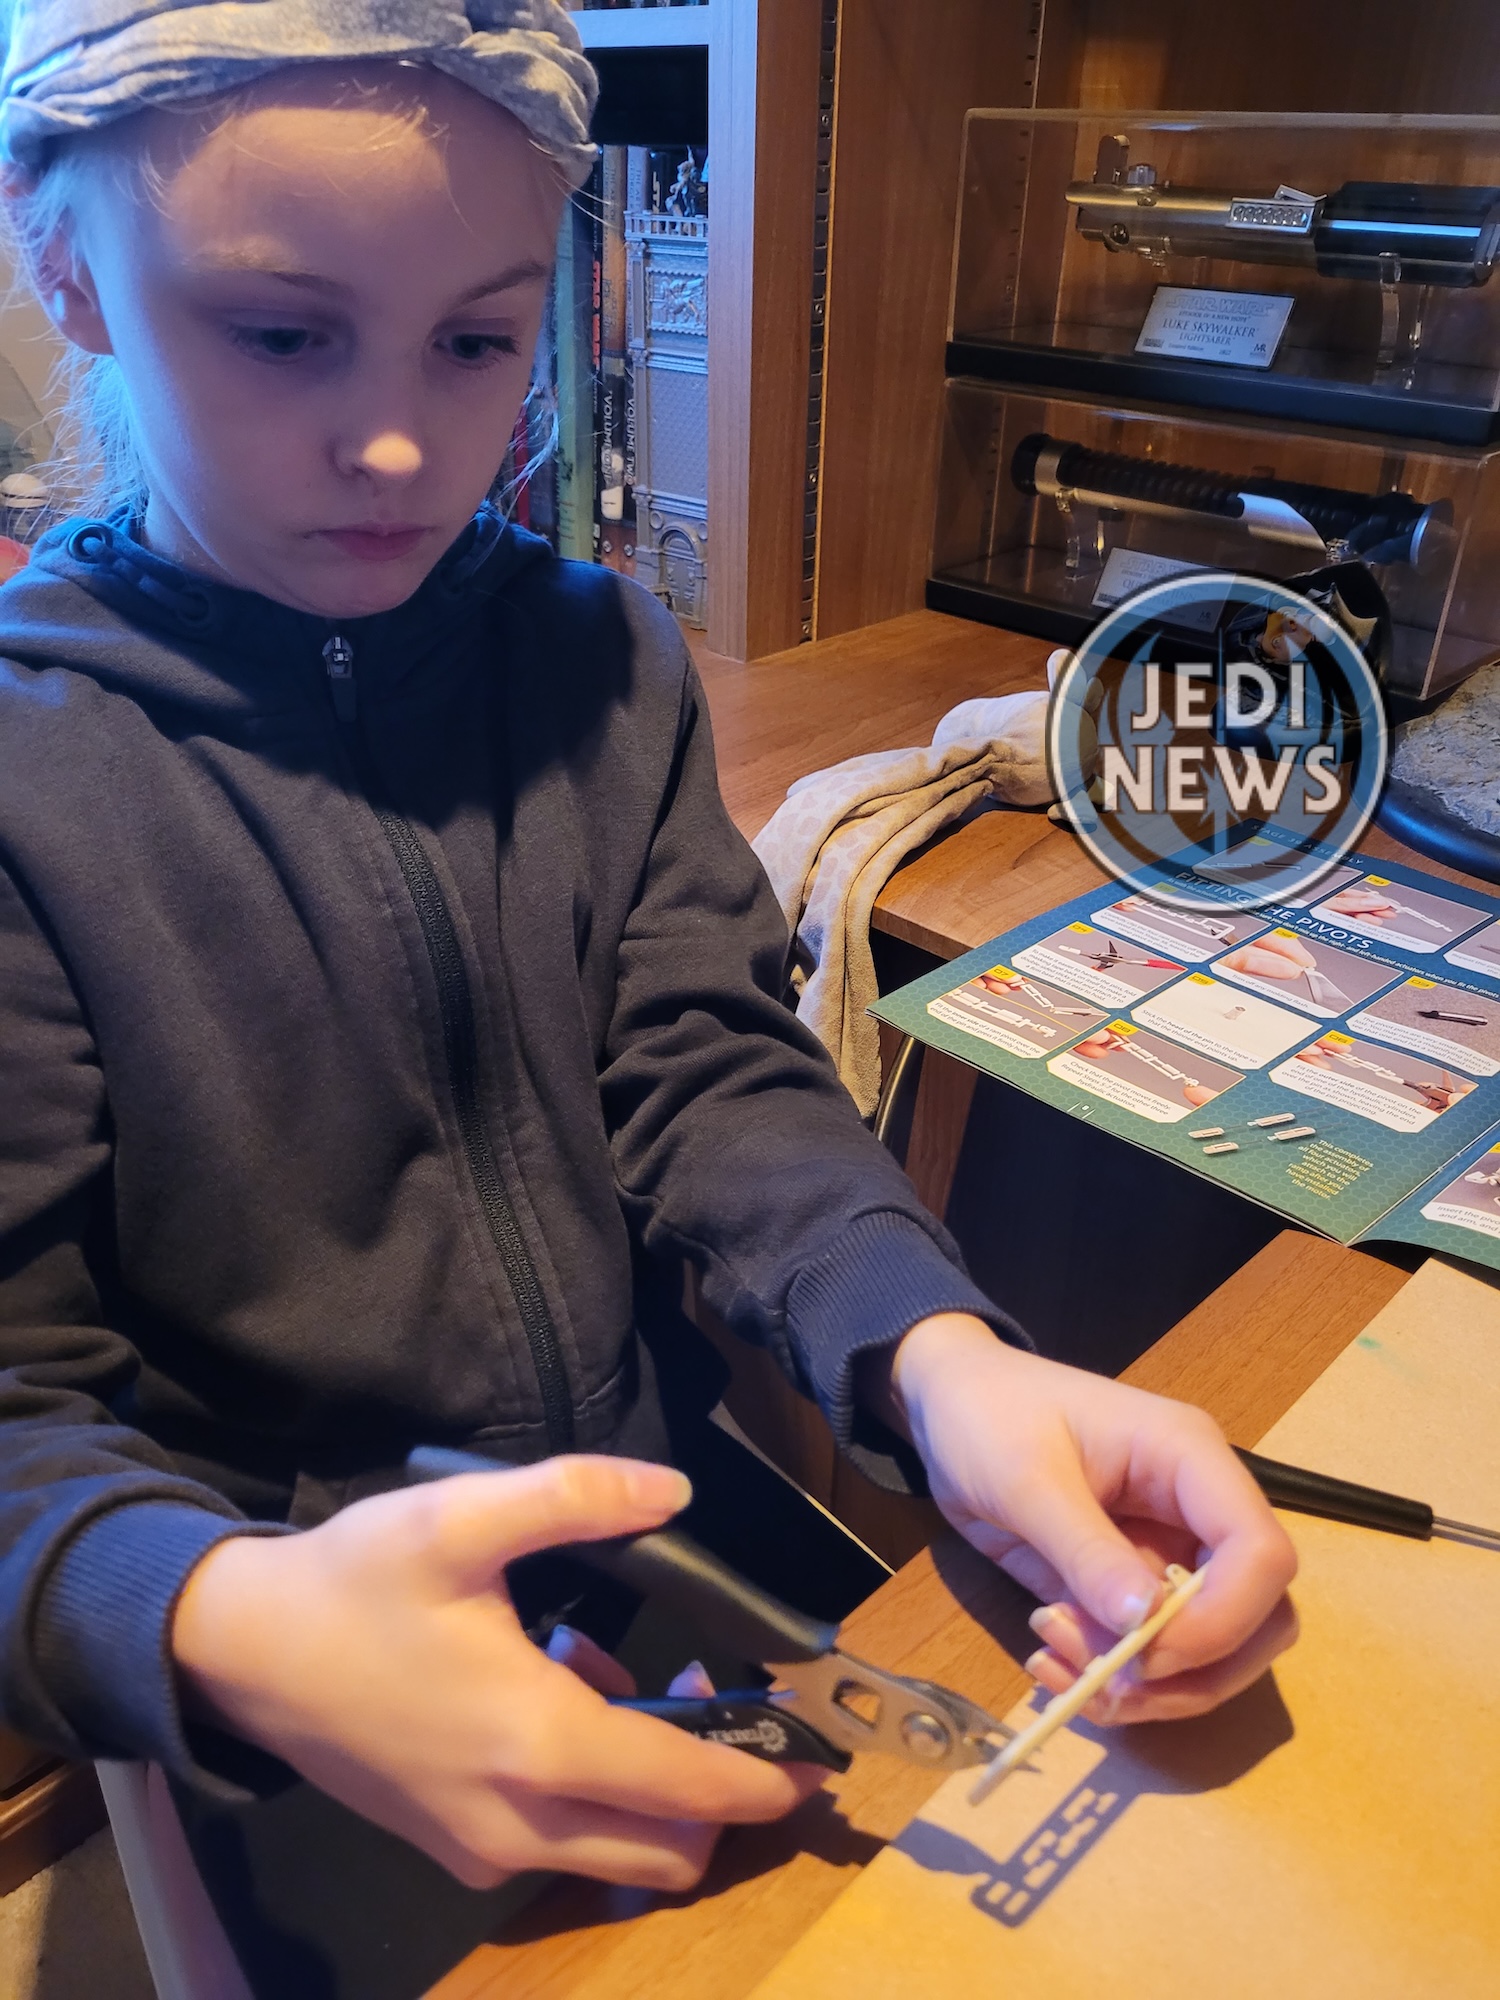
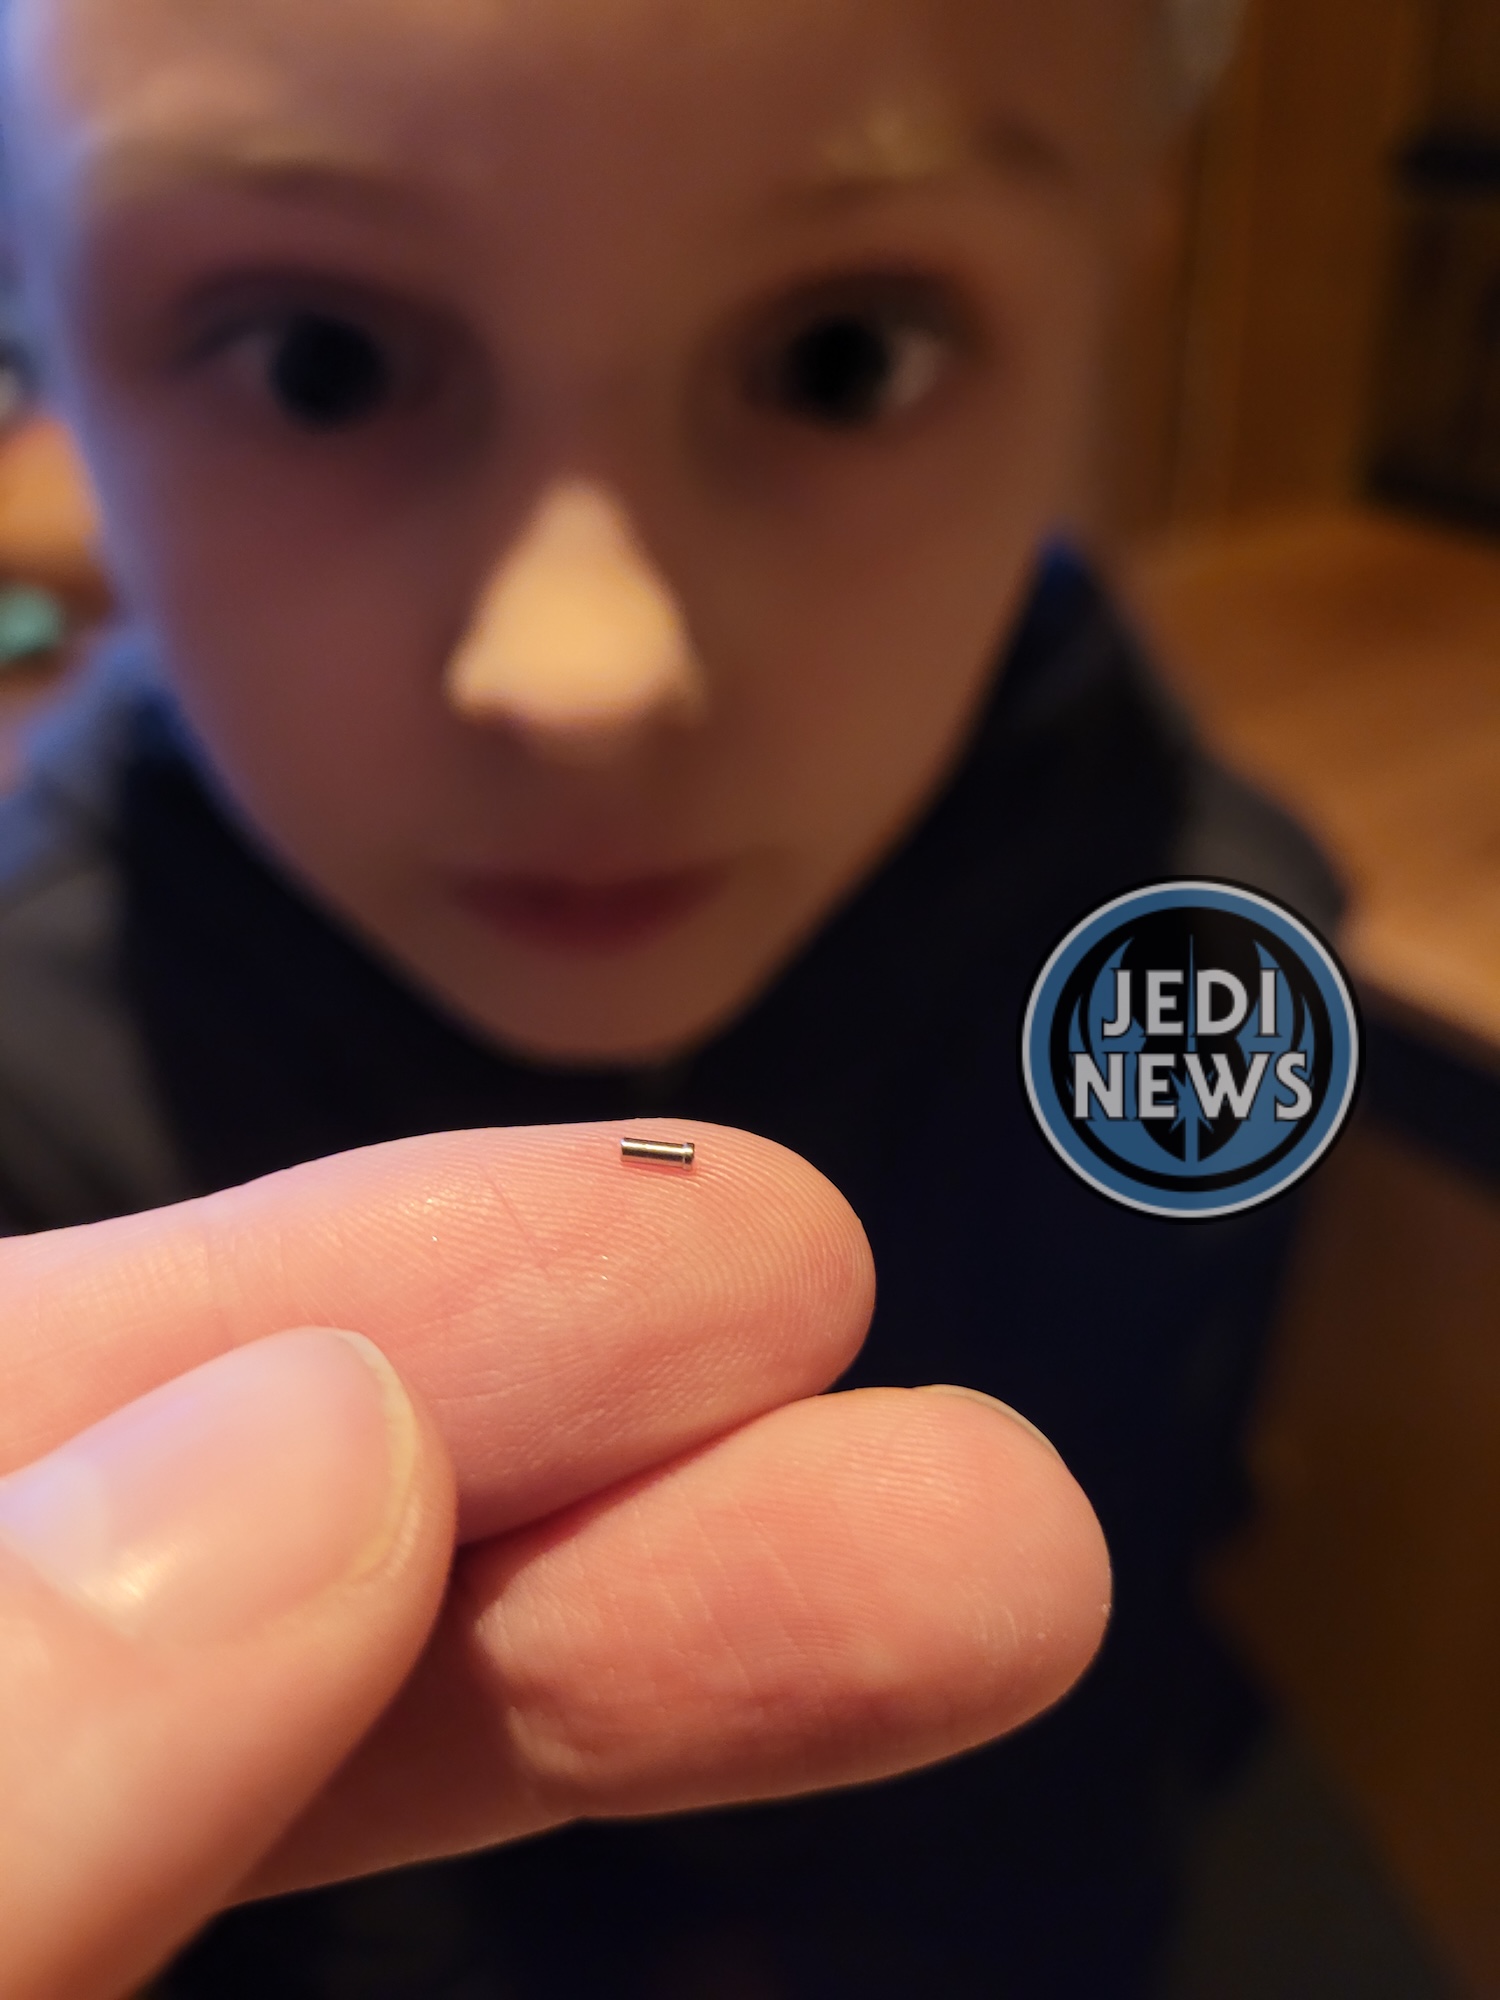
Then came the lost pivot pins. Ember asked why we weren’t using the tape as suggested; I told her we’d be careful. Almost immediately one sprung out of me trying to attach it to the pivot and was on the carpet. Thankfully, Ember had already noticed that they were magnetic and suddenly her trusted magnetic screwdriver was able to save the day. These pins are very small and a nightmare to fit. It was at this stage I took over and I could see the look of relief on Ember’s face; even she was worried about working with such small parts. Using the edge of the wood that was housing the frame of the Falcon, I was able to push the pins and pivots into place.
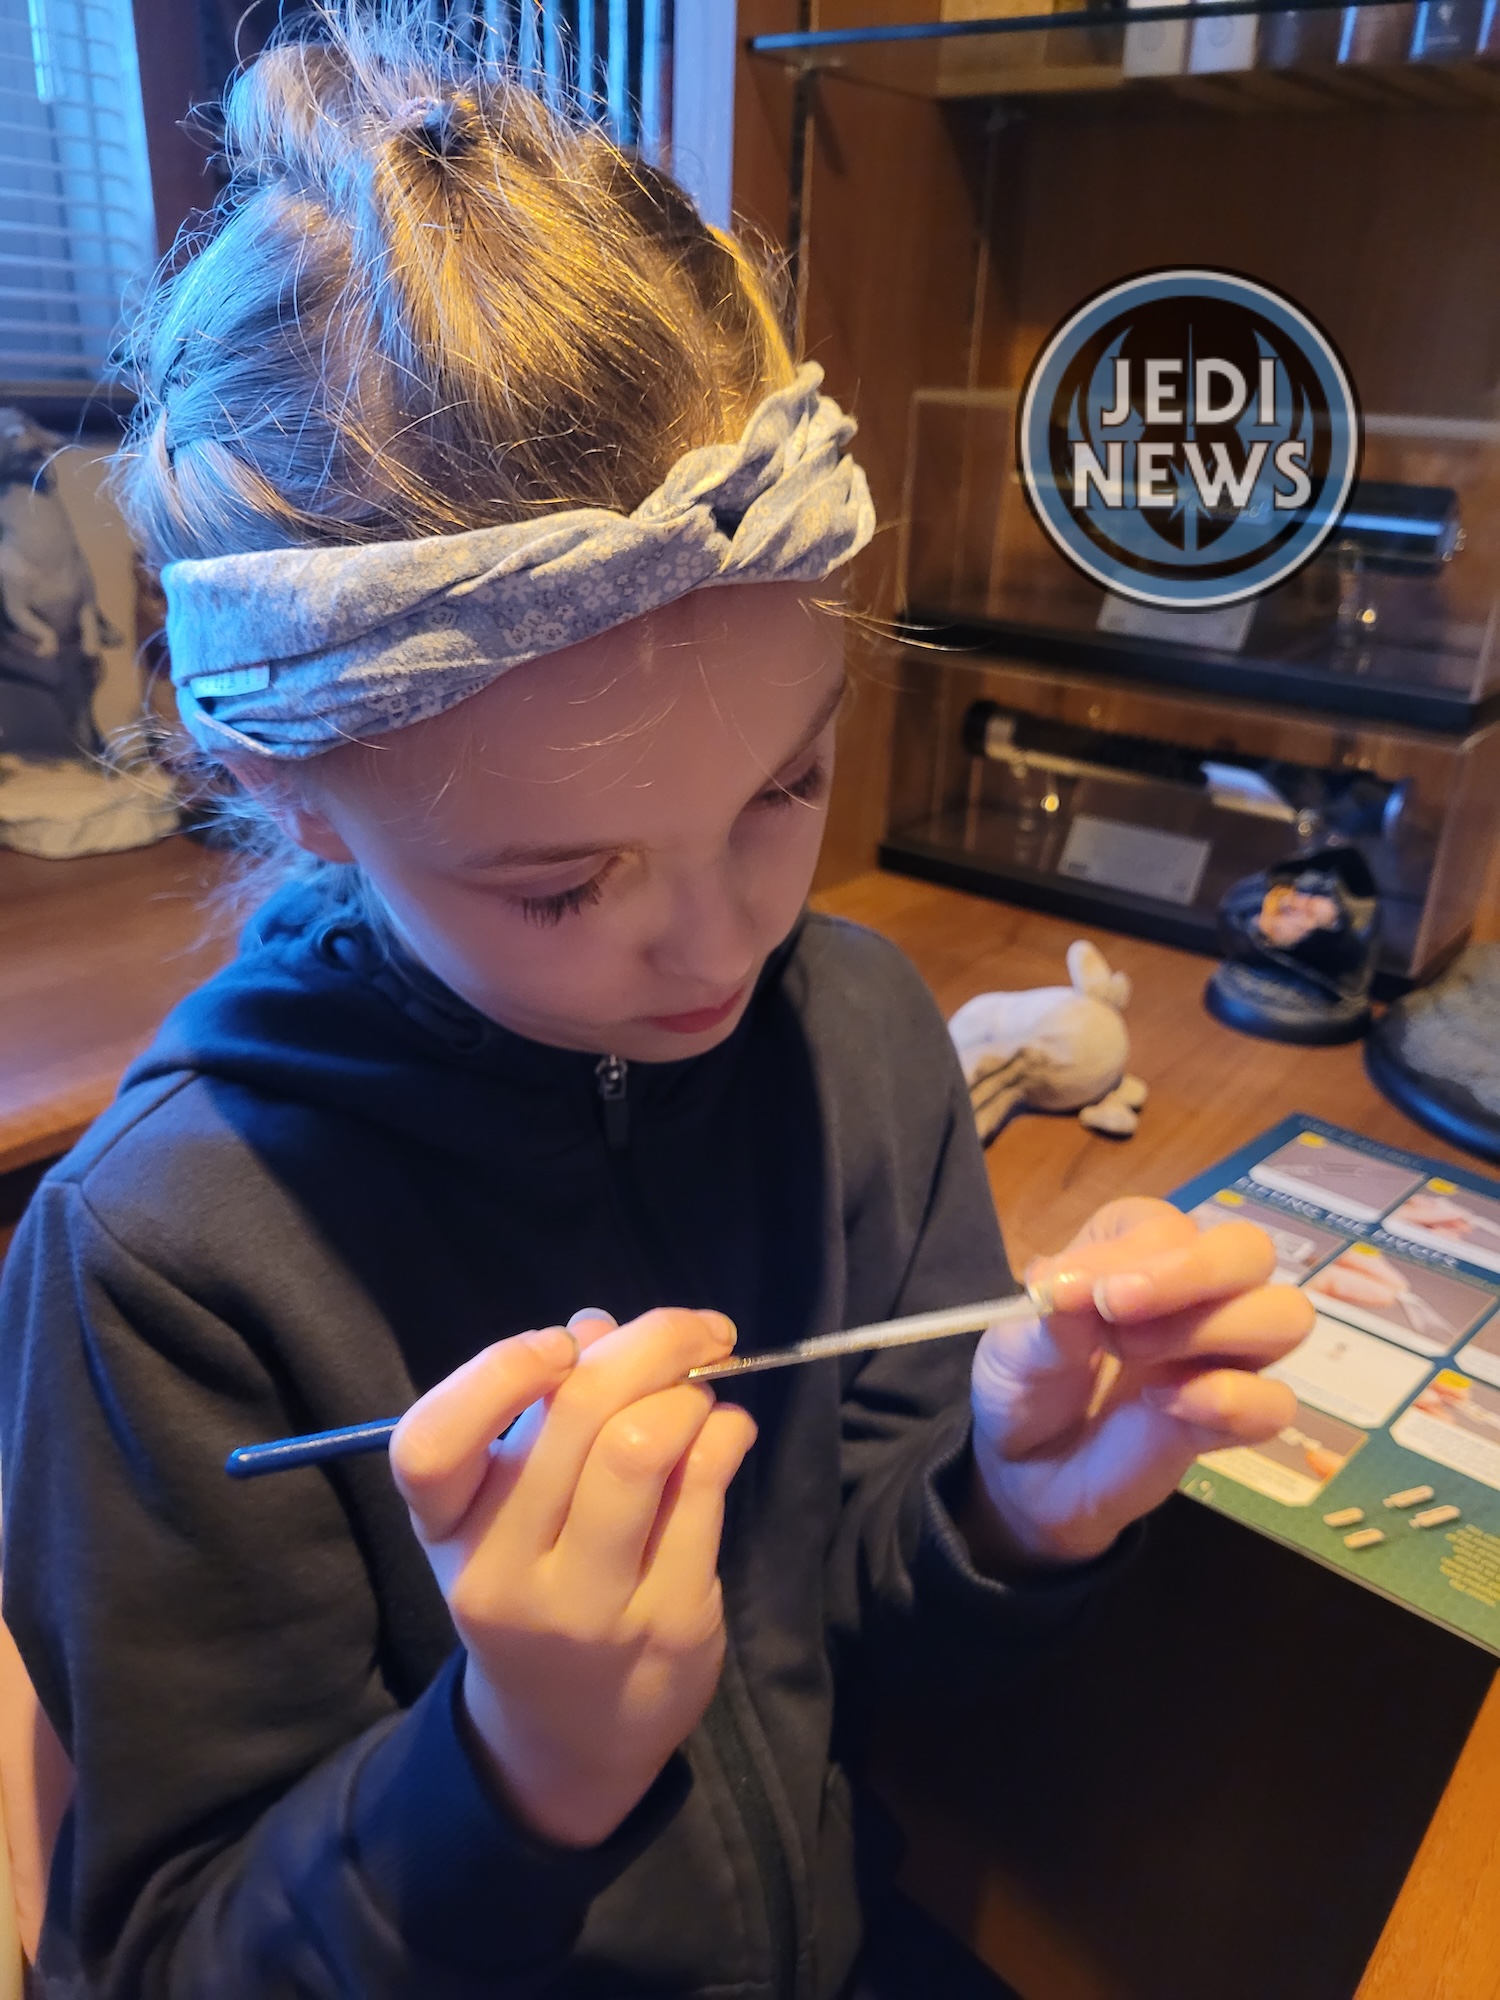
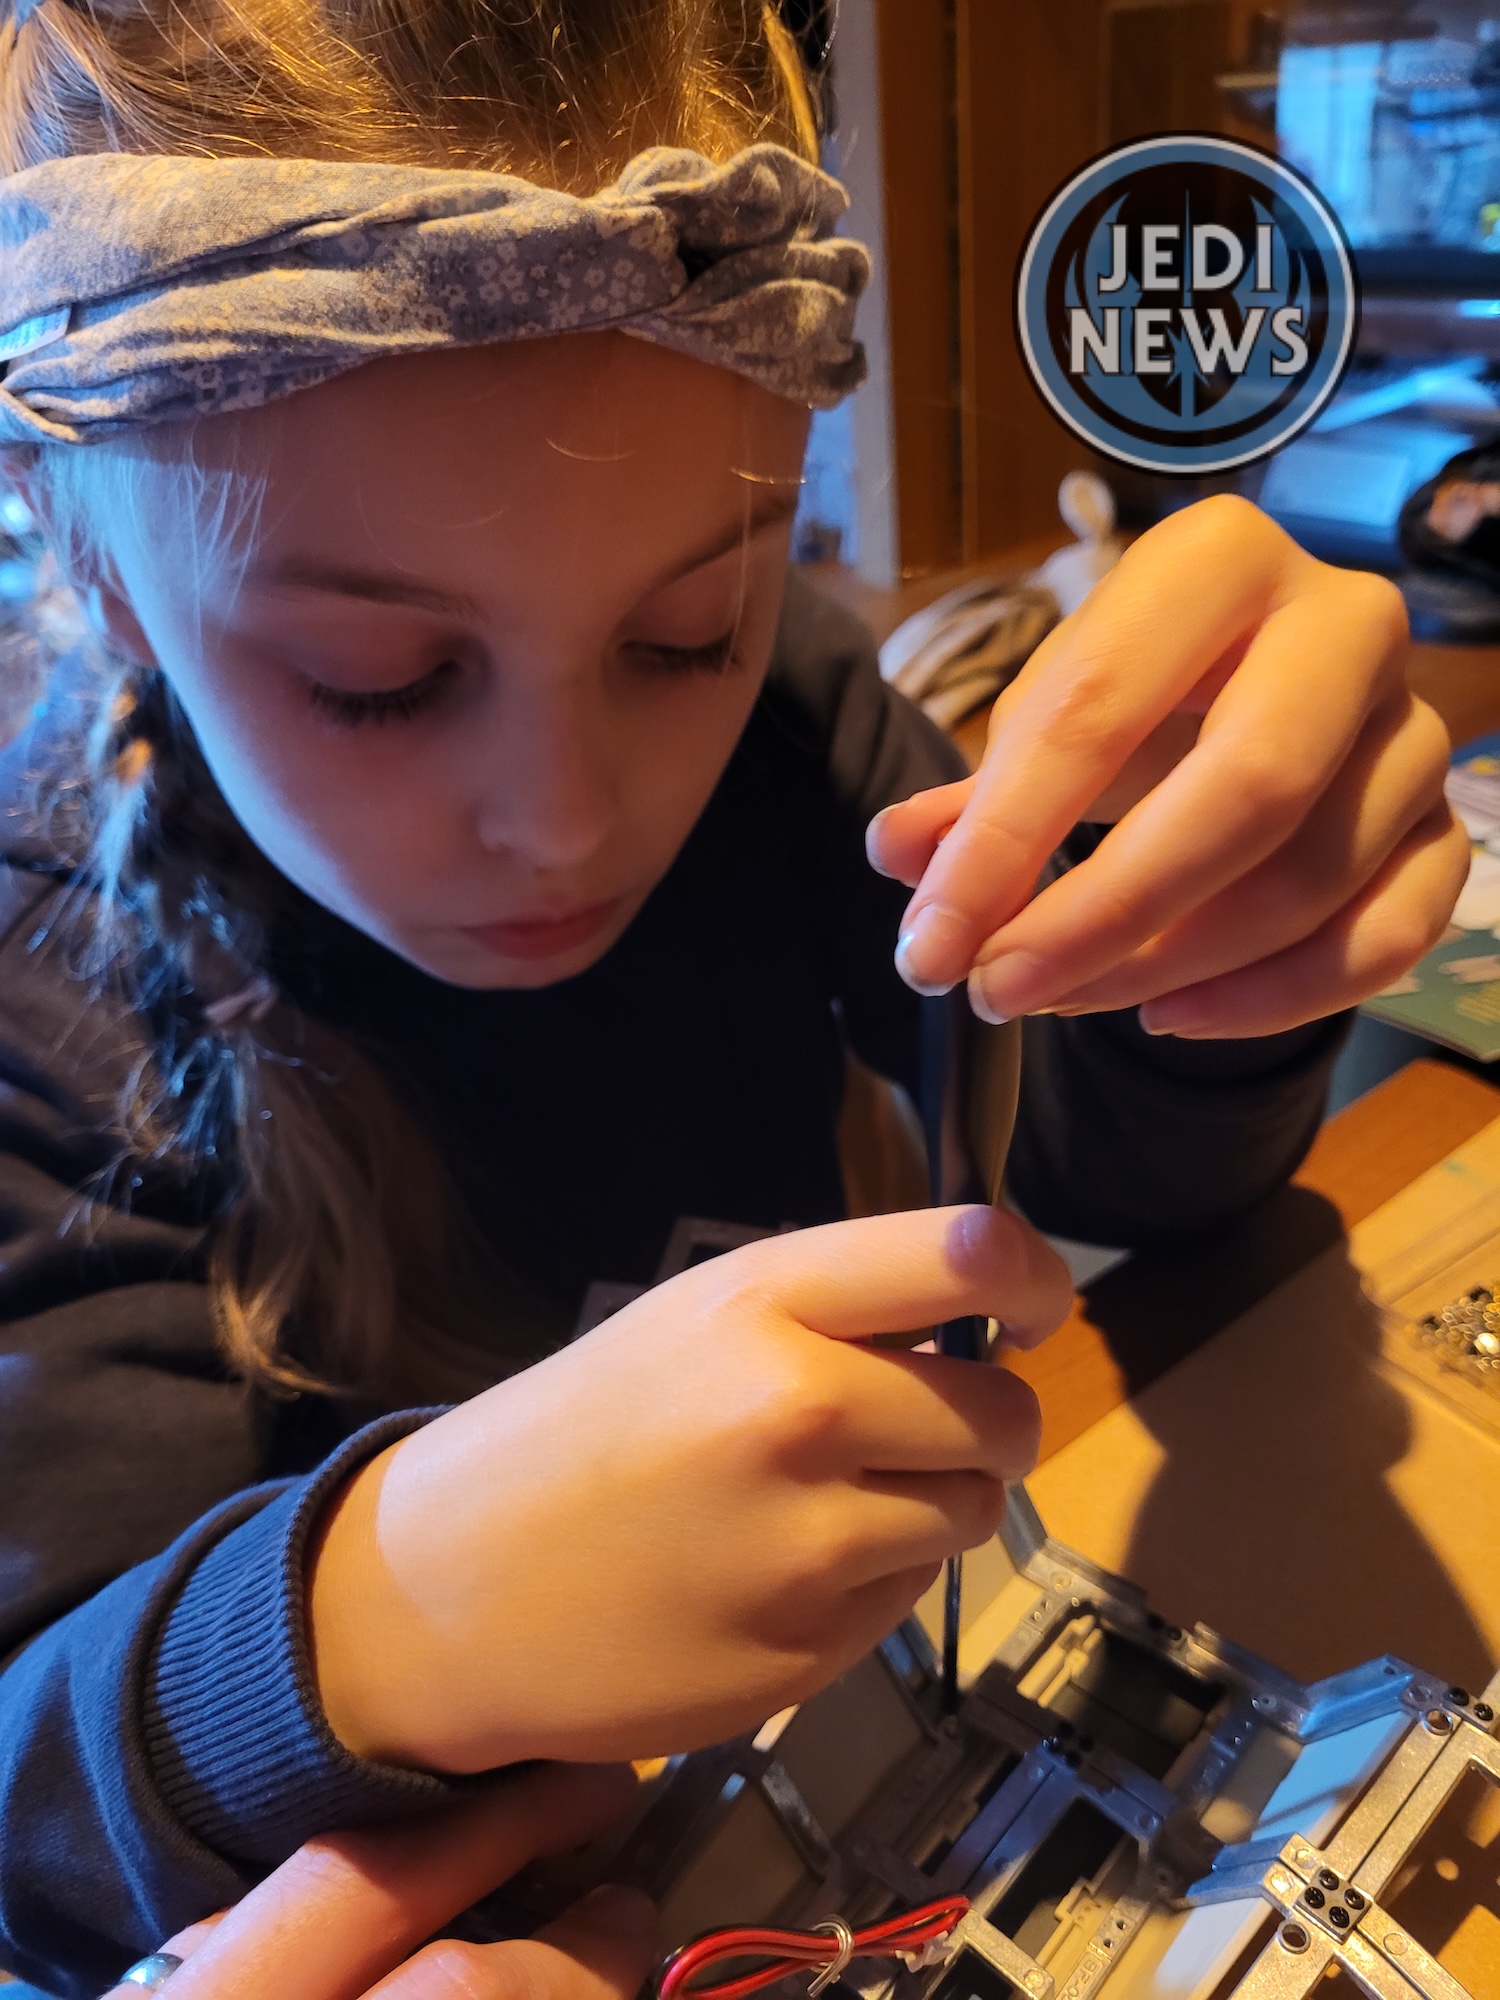
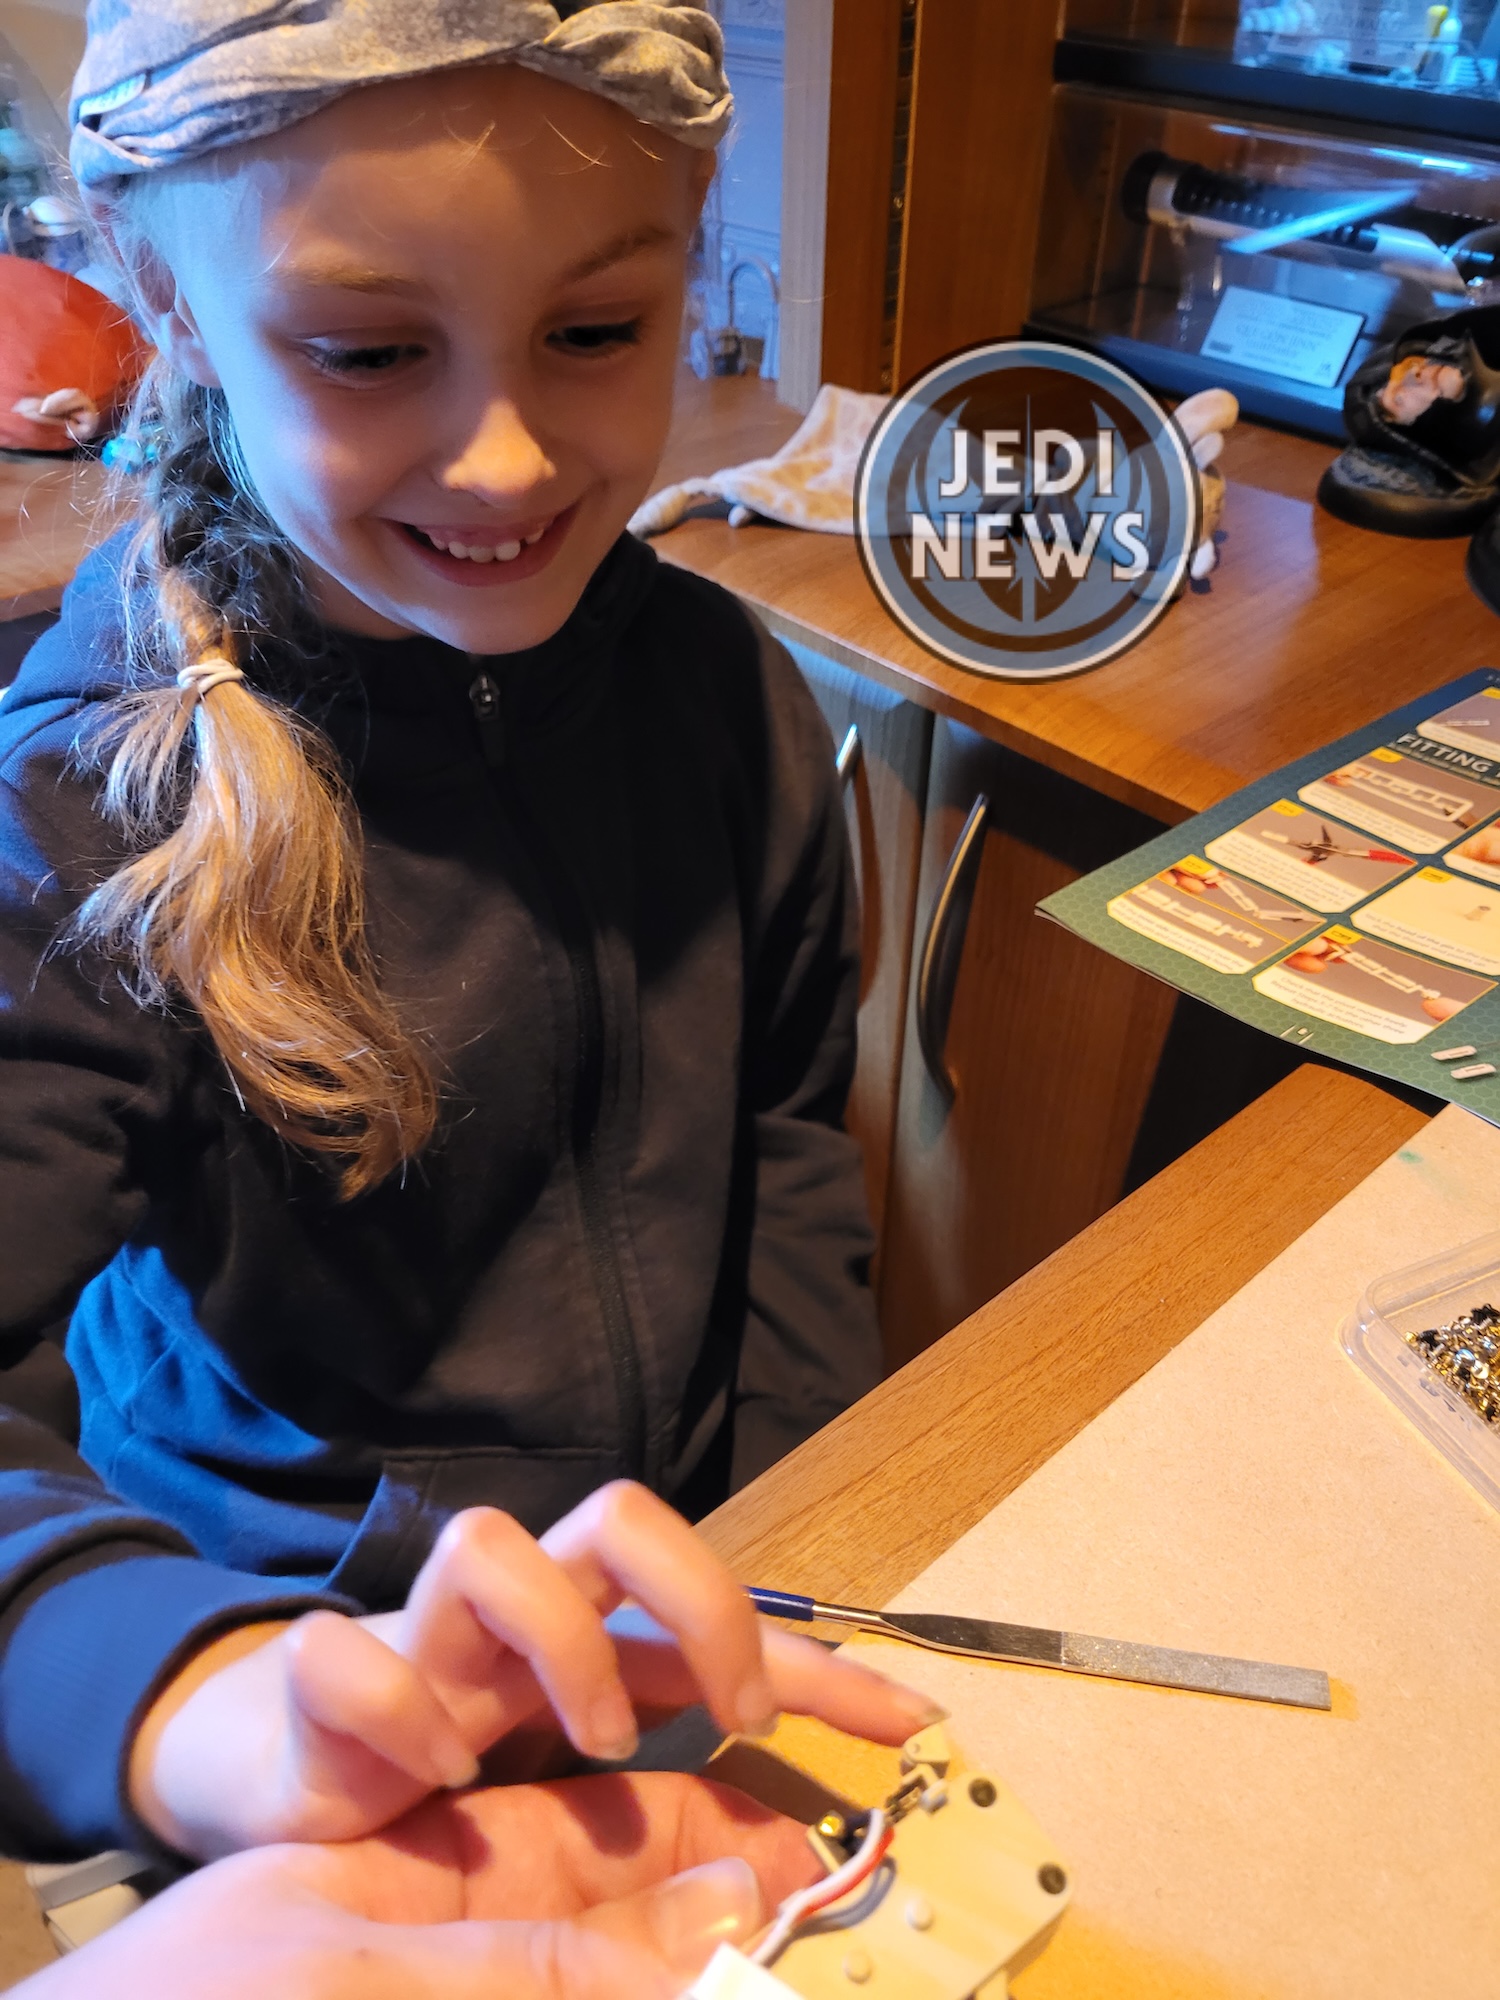
It was then time to attach the ramp to the frame. Ember immediately took charge and had the thing screwed together before I could even say pause! It was straight onto the motor ramp. I had a bit of trepidation with this as there was another pivot pin, but this one was far bigger and easier to fit. Now this is where things started to get frustrating. You must glue the pivot to the ramp and then screw the motor in. I’m not sure how well the glue has set because you can’t test it as you risk breaking the motor. You also have this same problem when fitting the actuators, which now I wish I had done first. Gluing them in isn’t easy, particularly as the larger ones must be glued right next to the ramp! I’m just hoping the glue hasn’t spilled to keep the ramp closed. It would have been helpful to check this but for now, we must be patient until it gets a power supply. The actuators themselves Ember and I had to do together, it was a very big team effort to ensure everything went smoothly. By the end of it, it looked awesome, but Ember and I were both exhausted.
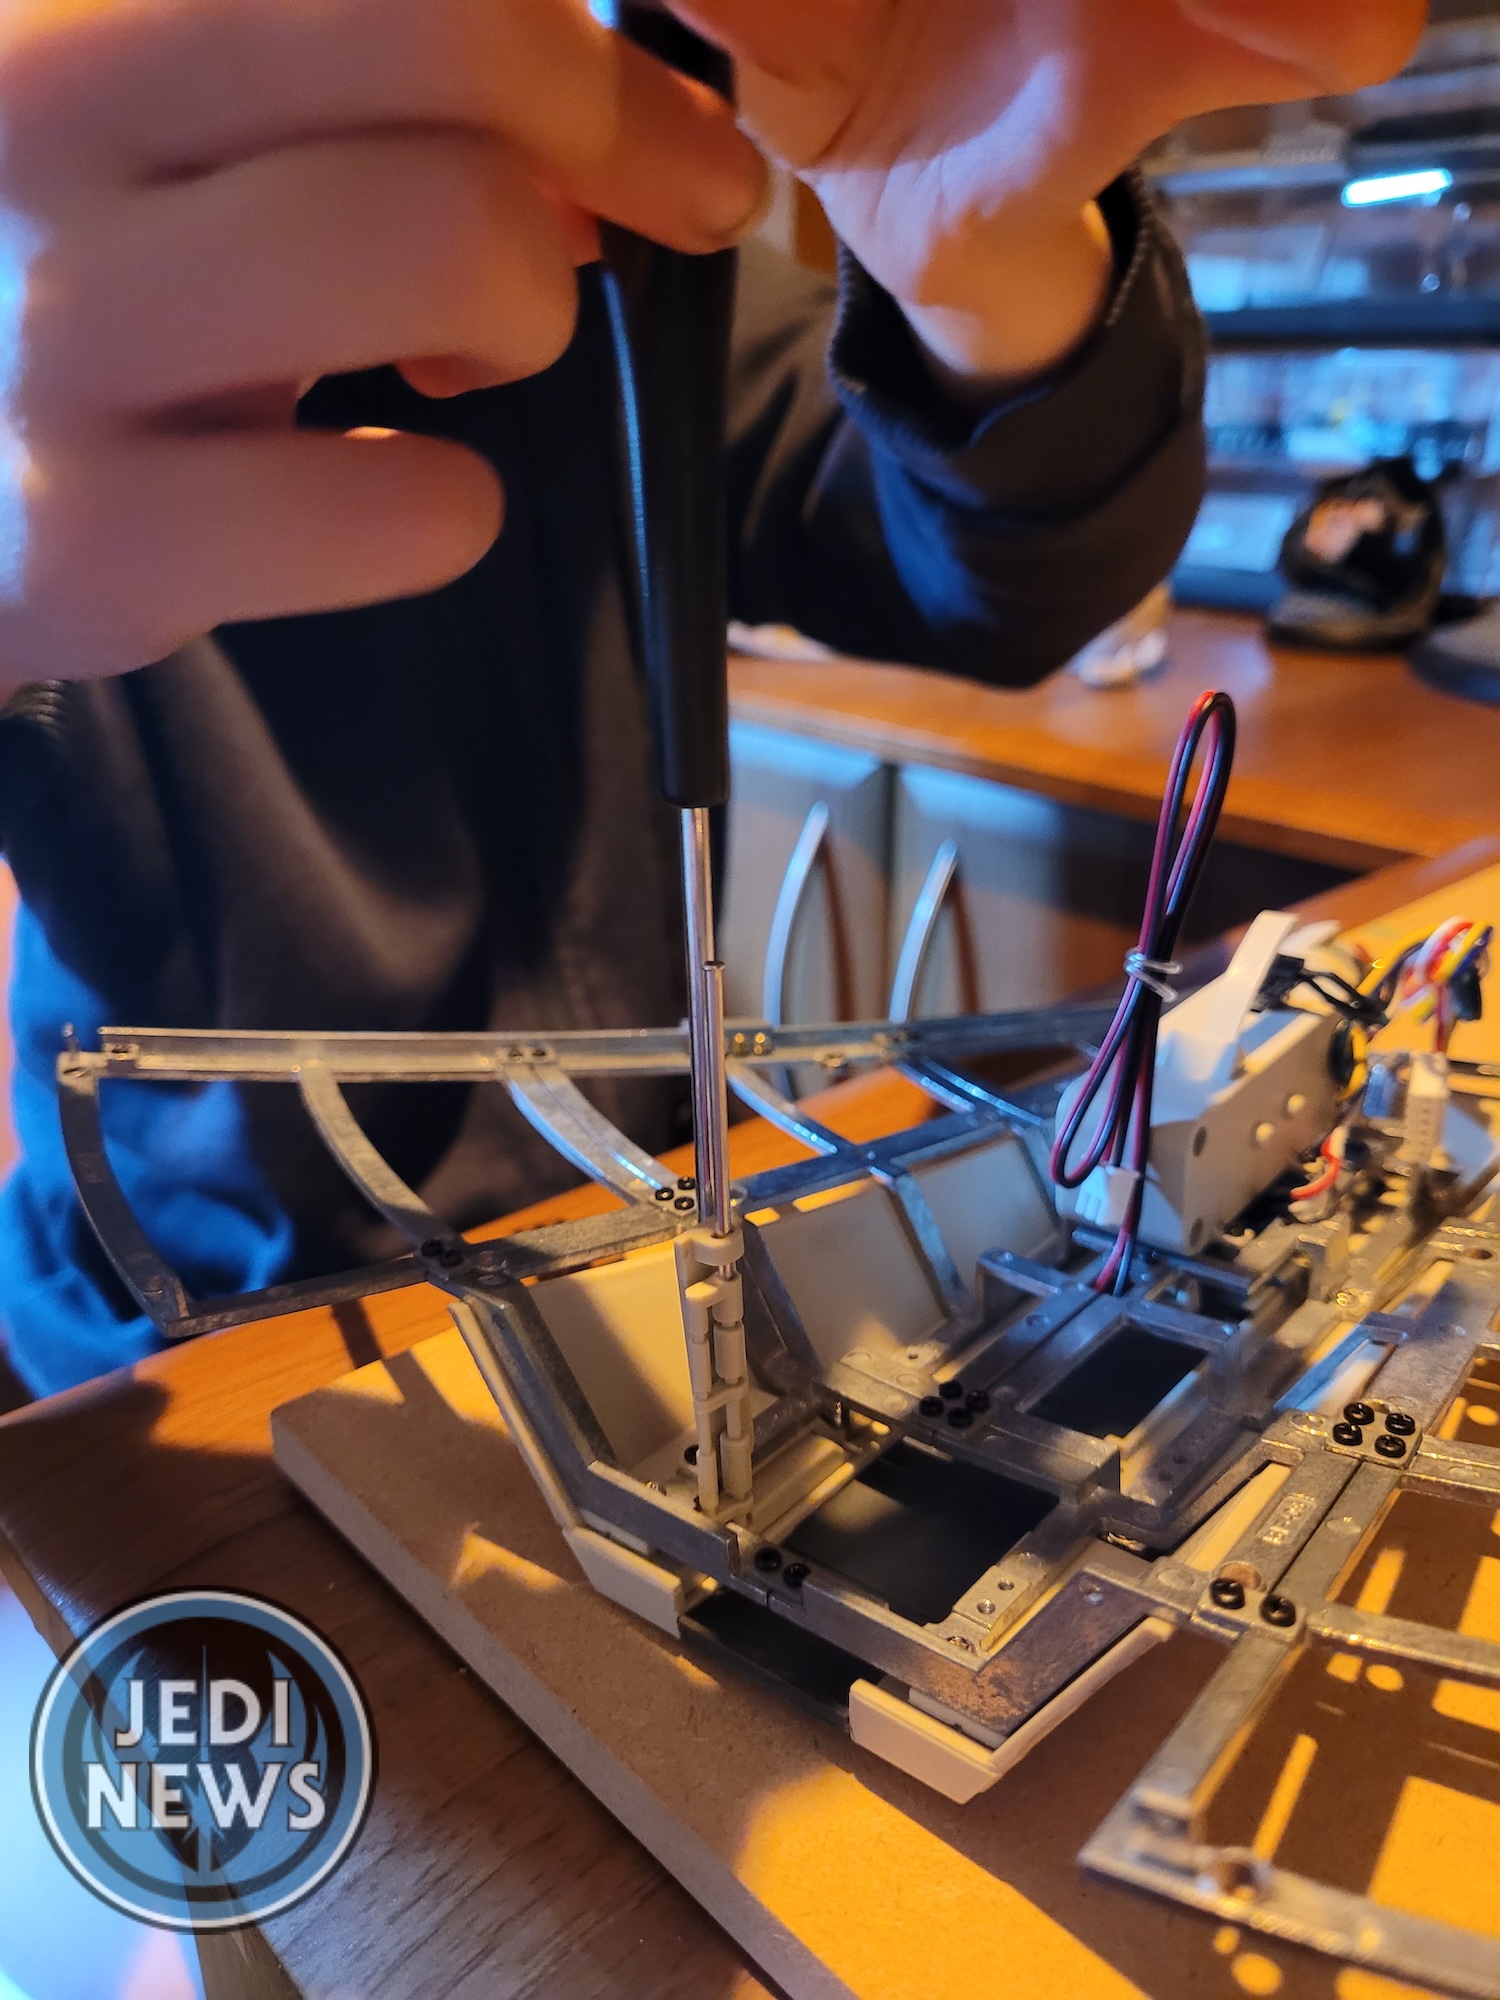
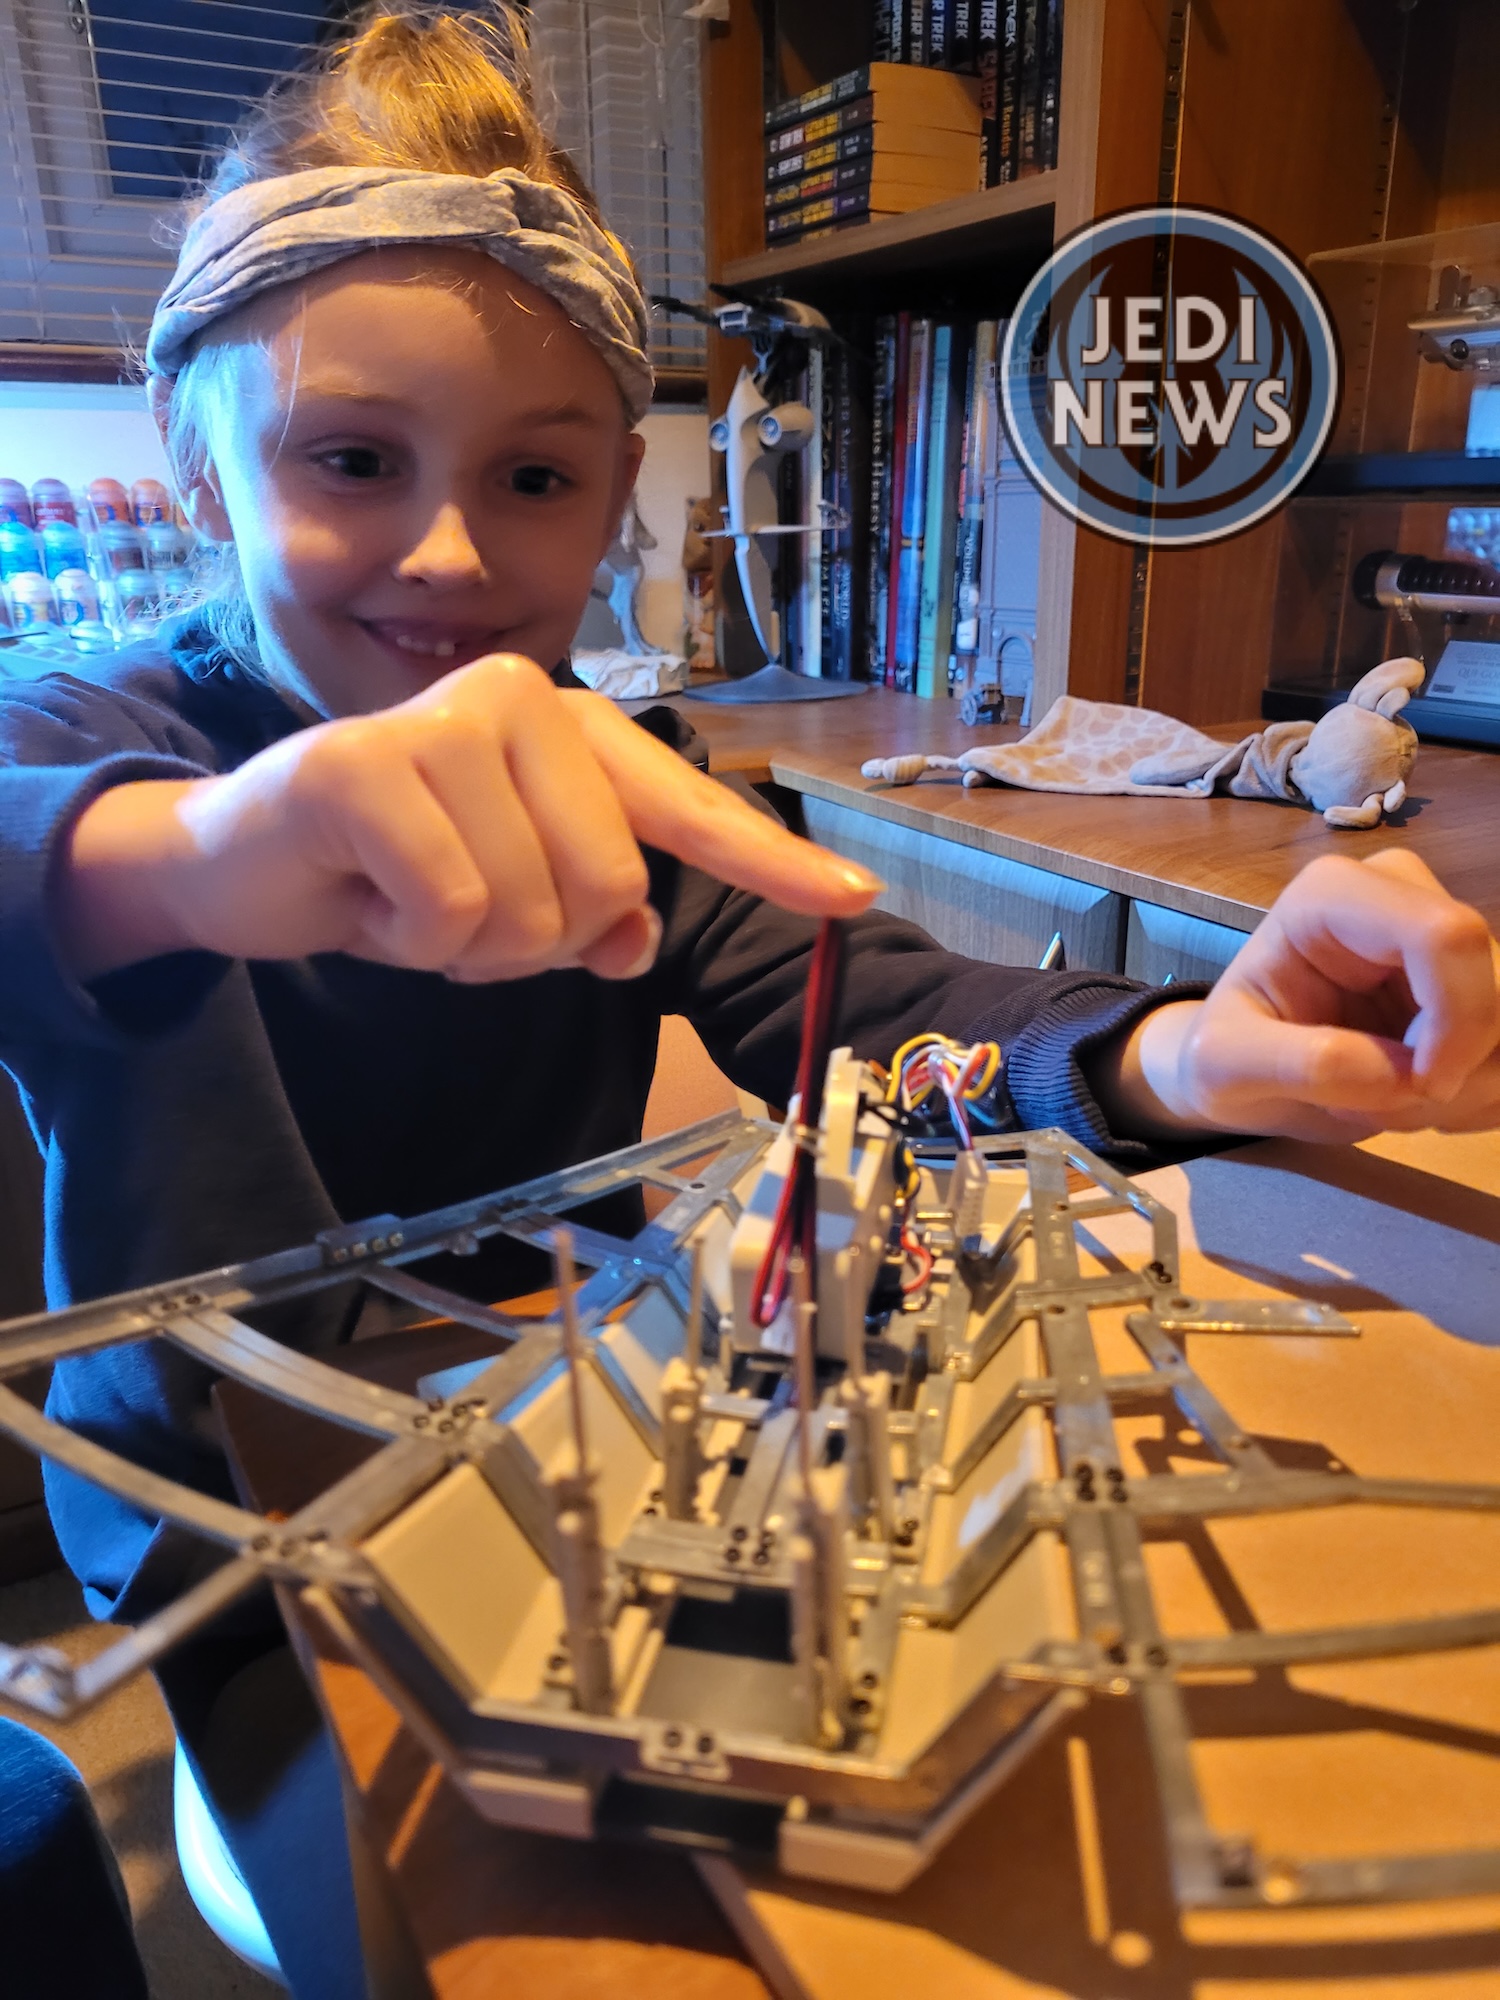
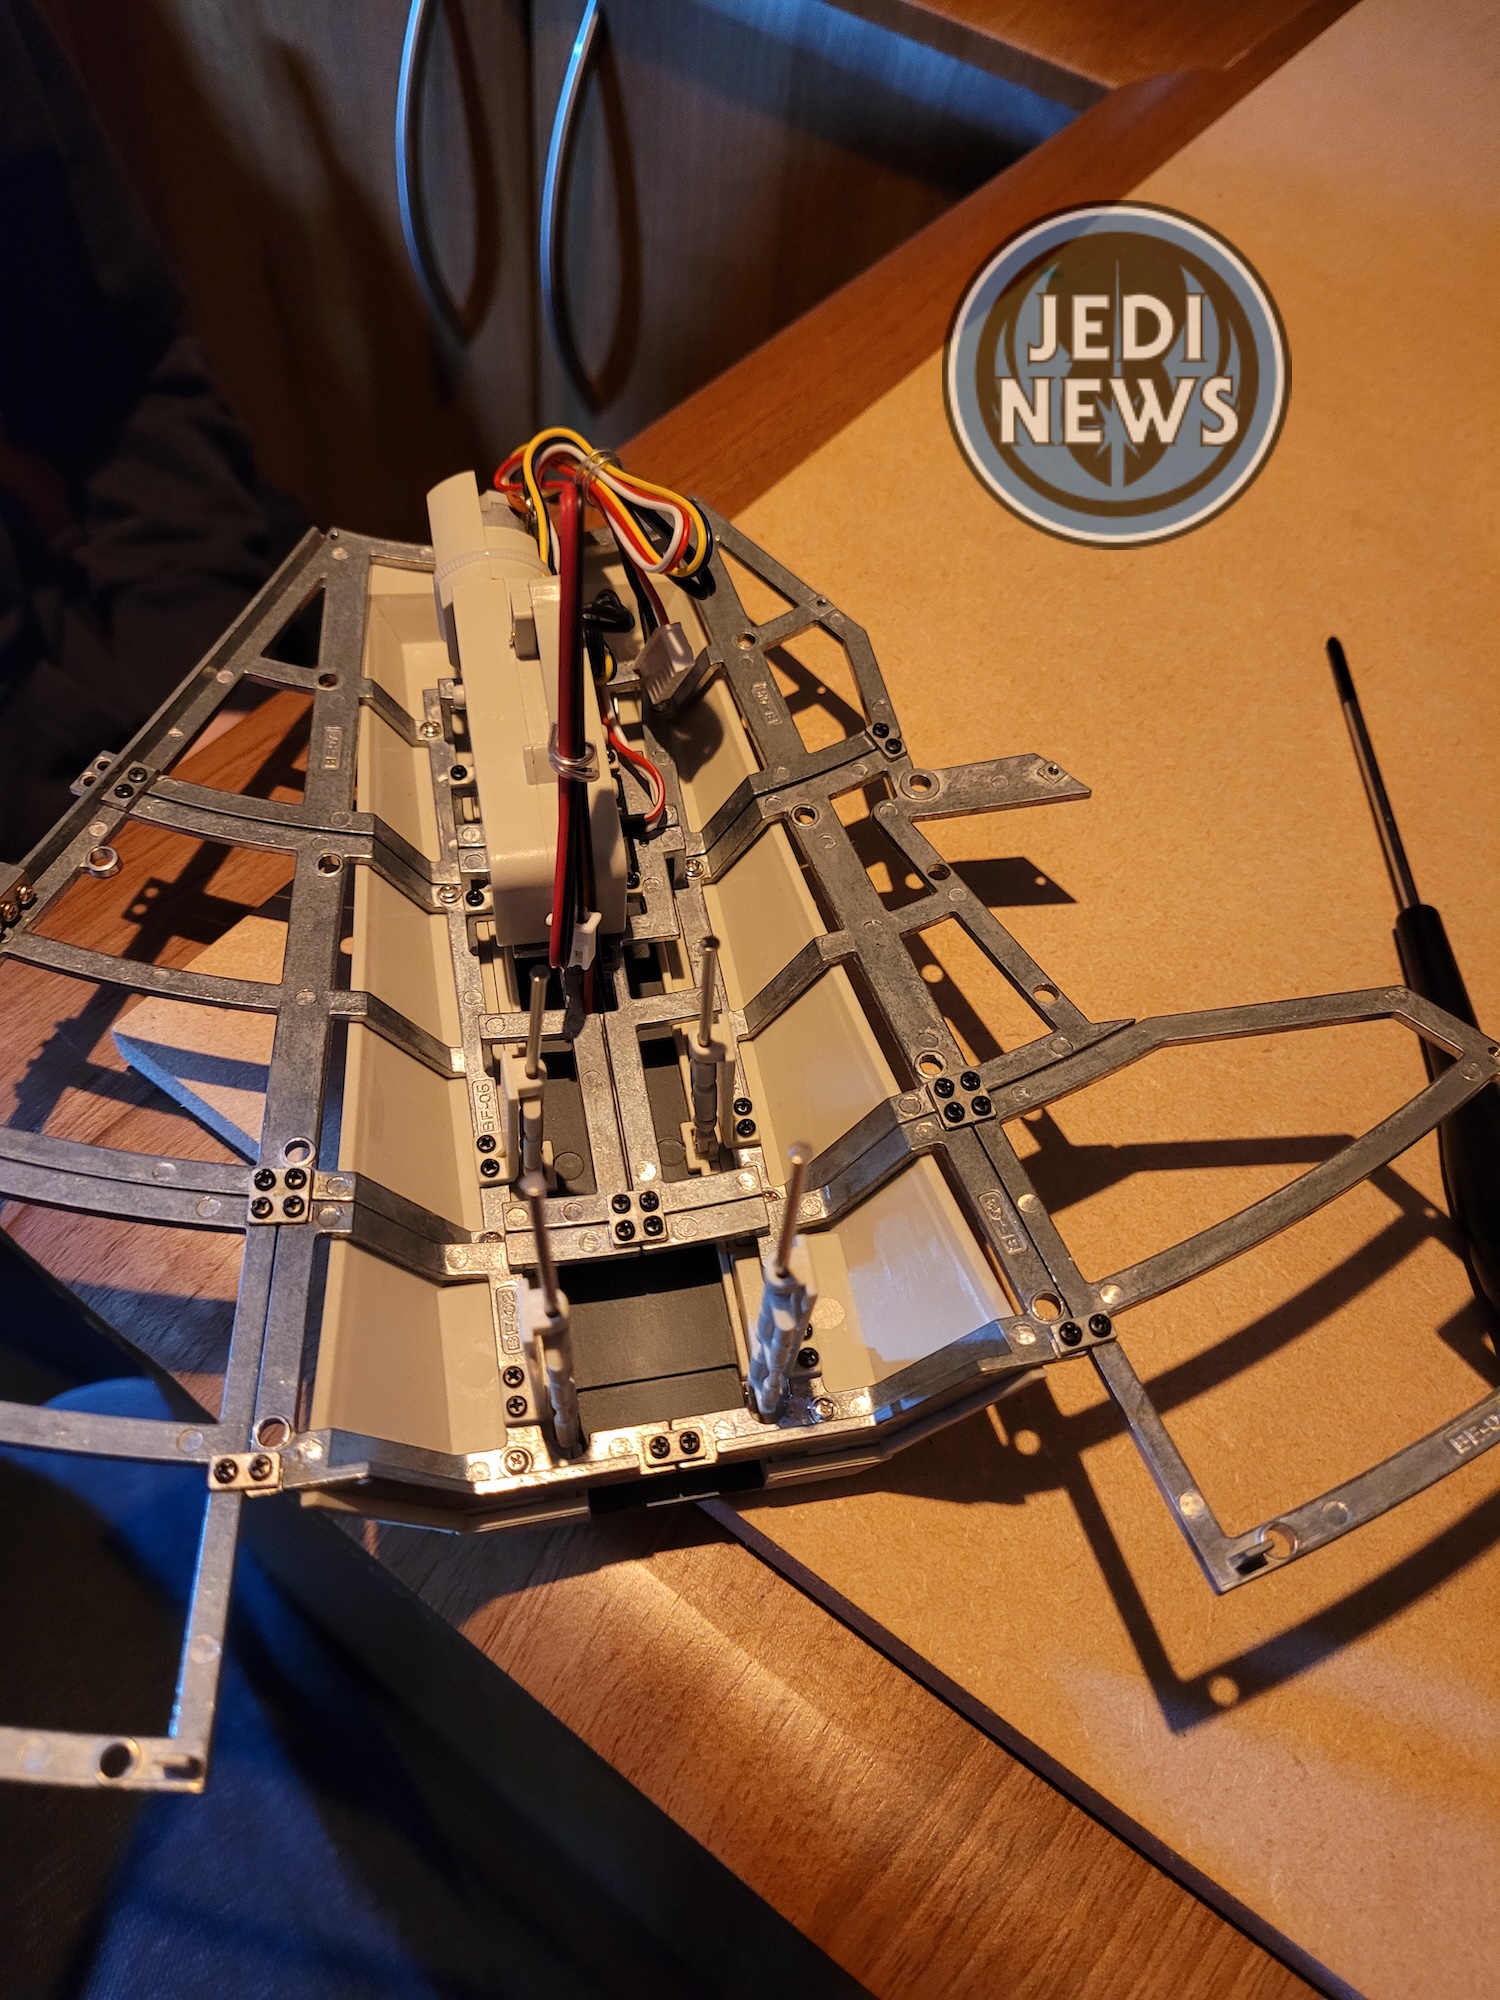
This is a very busy installment, which isn’t a bad thing, but I’m very glad we only completed one issue. There are a lot of little parts, lots of different parts and lots of parts that are easy to lose. If the construction had been any longer, I think Ember and I would have had to pause as I could feel both our frustrations rising from doing such intricate parts. It doesn’t help that we can’t check our work, check that the ramp is working yet, but then patience is a virtue (and one of a Jedi). Hopefully all will work fine when it comes to it as I know Ember wants to see it working. I on the other hand, knowing this is going to be wall mounted, am a little less concerned. I don’t imagine we’ll use this function bar when we’re building and testing it. A fiddly part of the series but we made it!
