



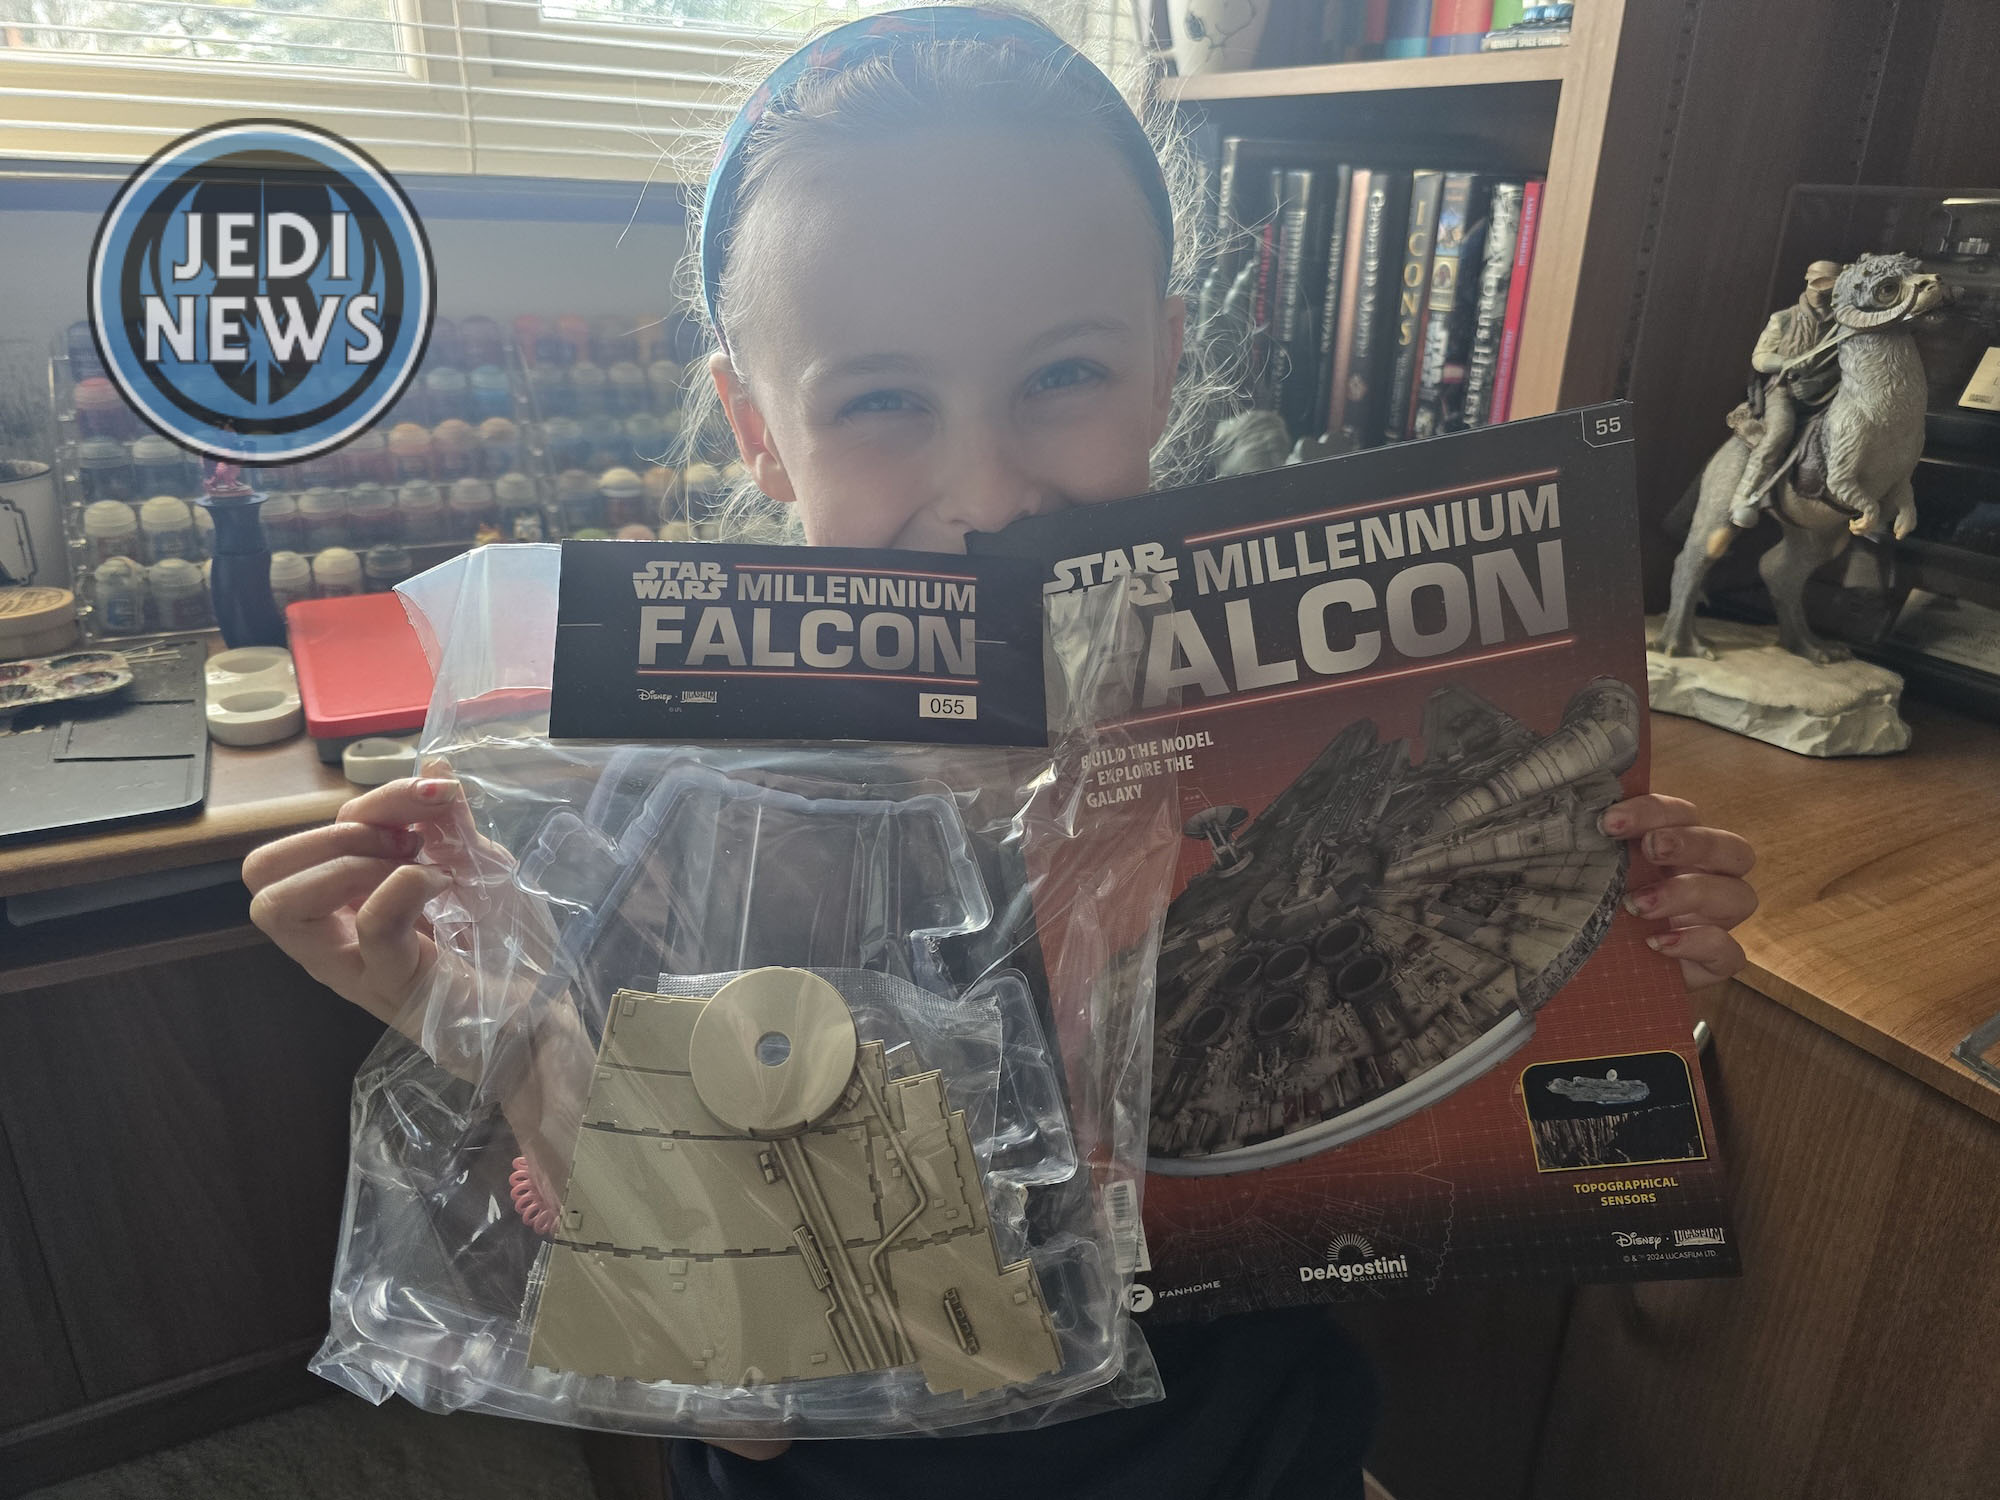
As I looked at what was to come next, I suddenly realised that I had already become somewhat acquainted with issue fifty-four of the Millennium Falcon builds from Fanhome. I’d had to take the support bolts out ten issues previously to allow my daughter – Ember – and I to continue with the build at that point. It explained the open parts bag that I had and calmed my nerves that some part had miraculously escaped and was now loose somewhere in my study! That seemed many, many months ago when we had had to do that. The build since then had come on in leaps and bounds. The previous installment had been perfect; lots of small things that needed doing that would keep the attention of an eight-year-old. We had a jig for our upper hull, more recess parts and, of course, the ever-growing upper hull itself.
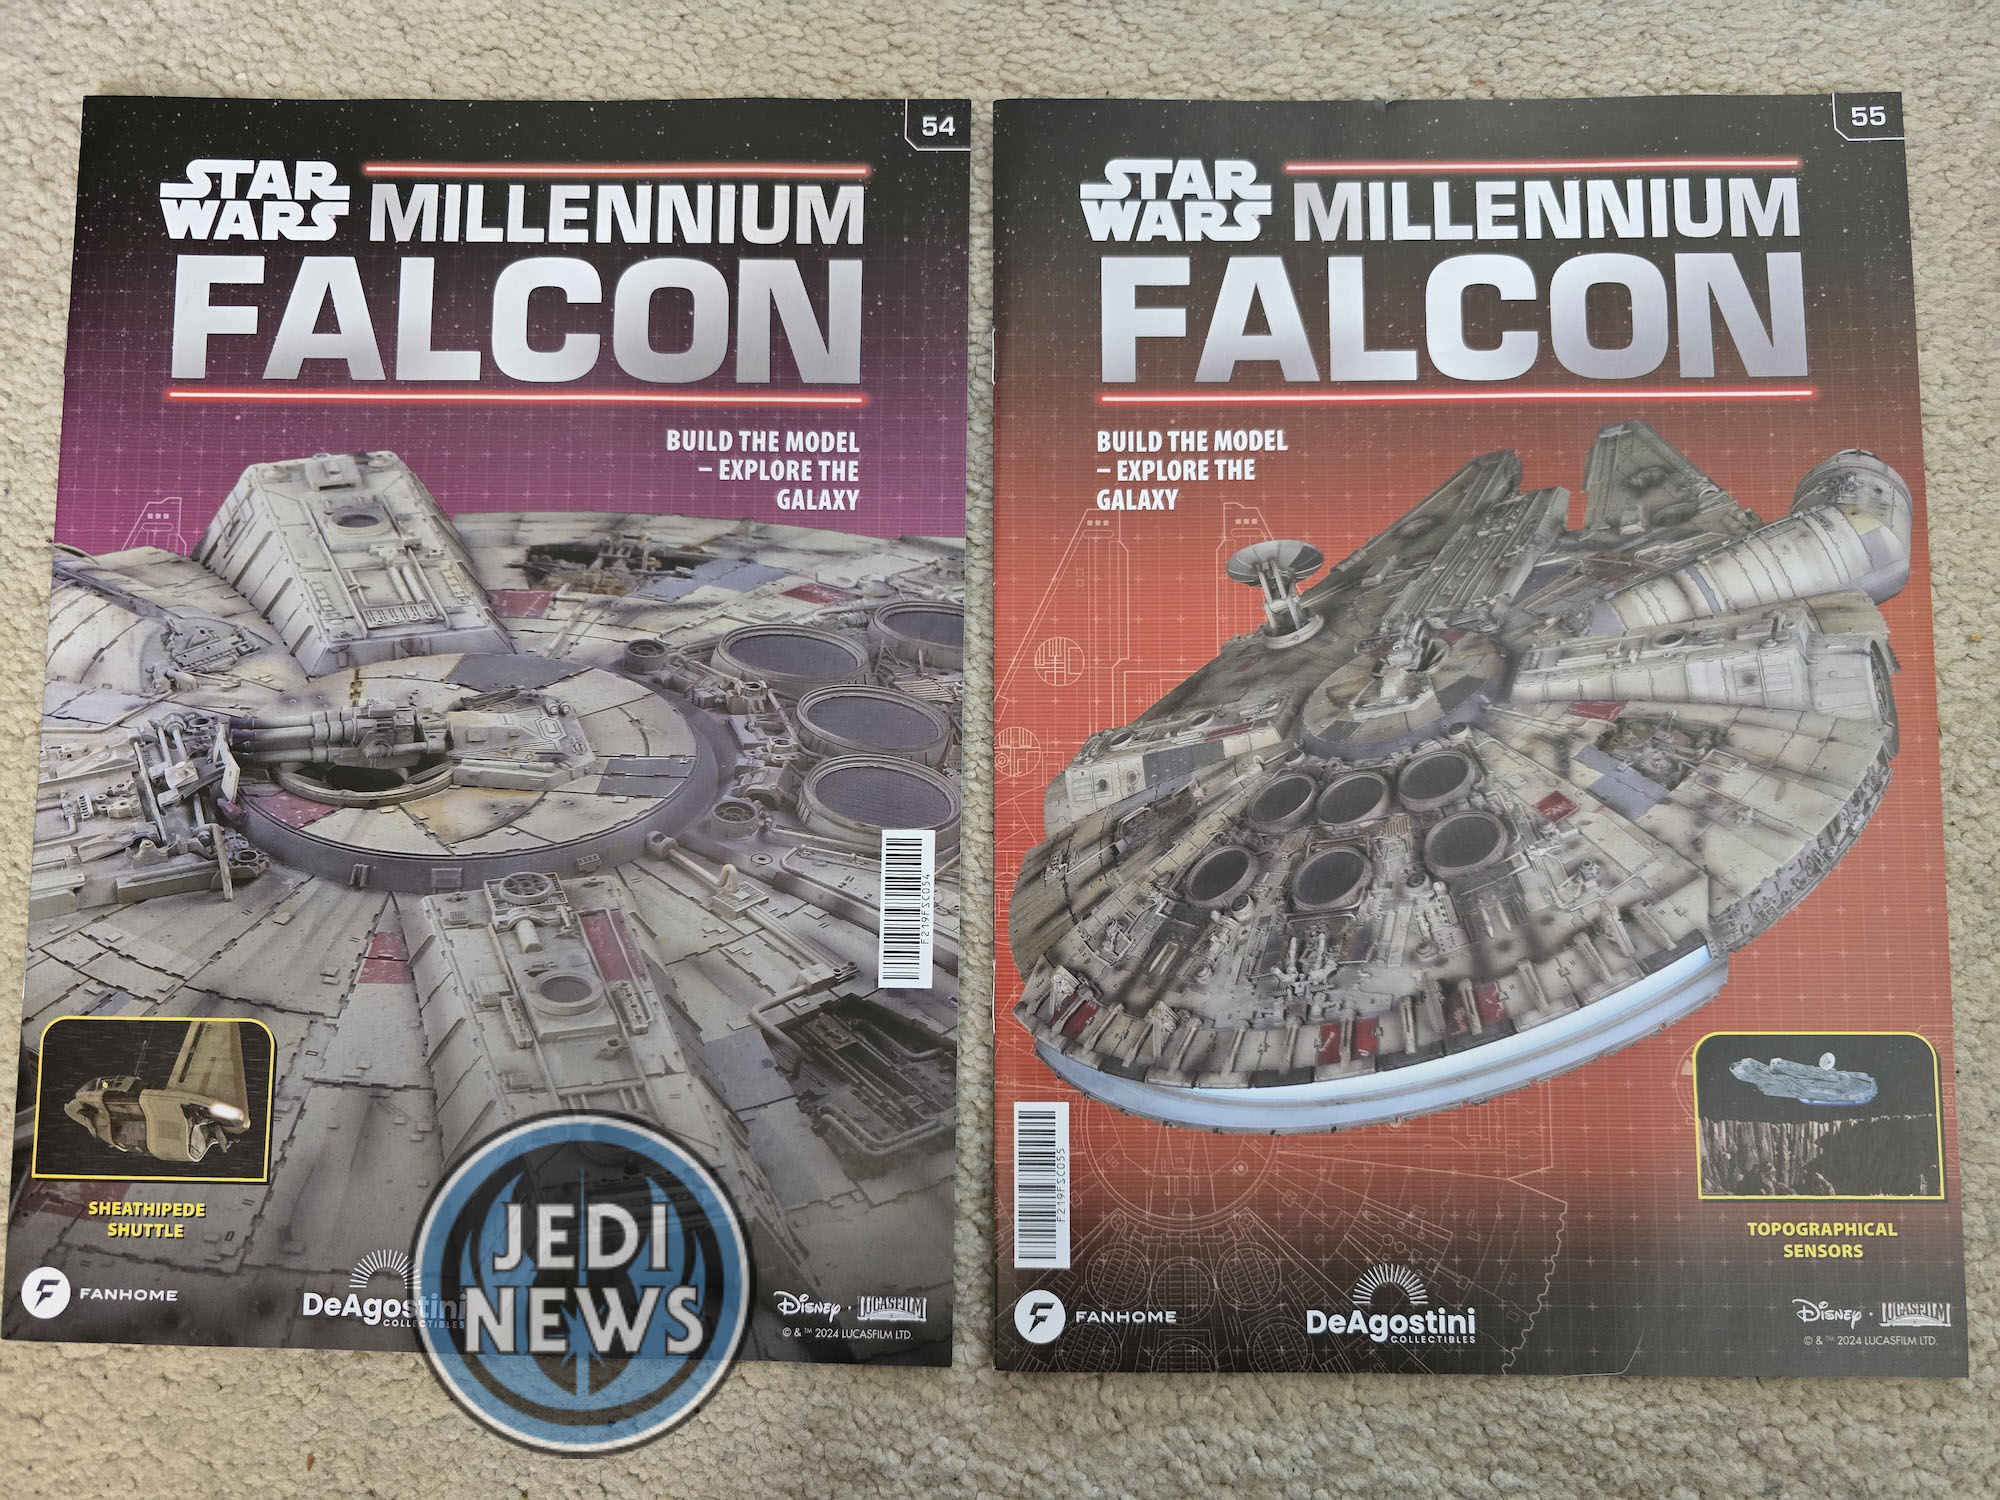
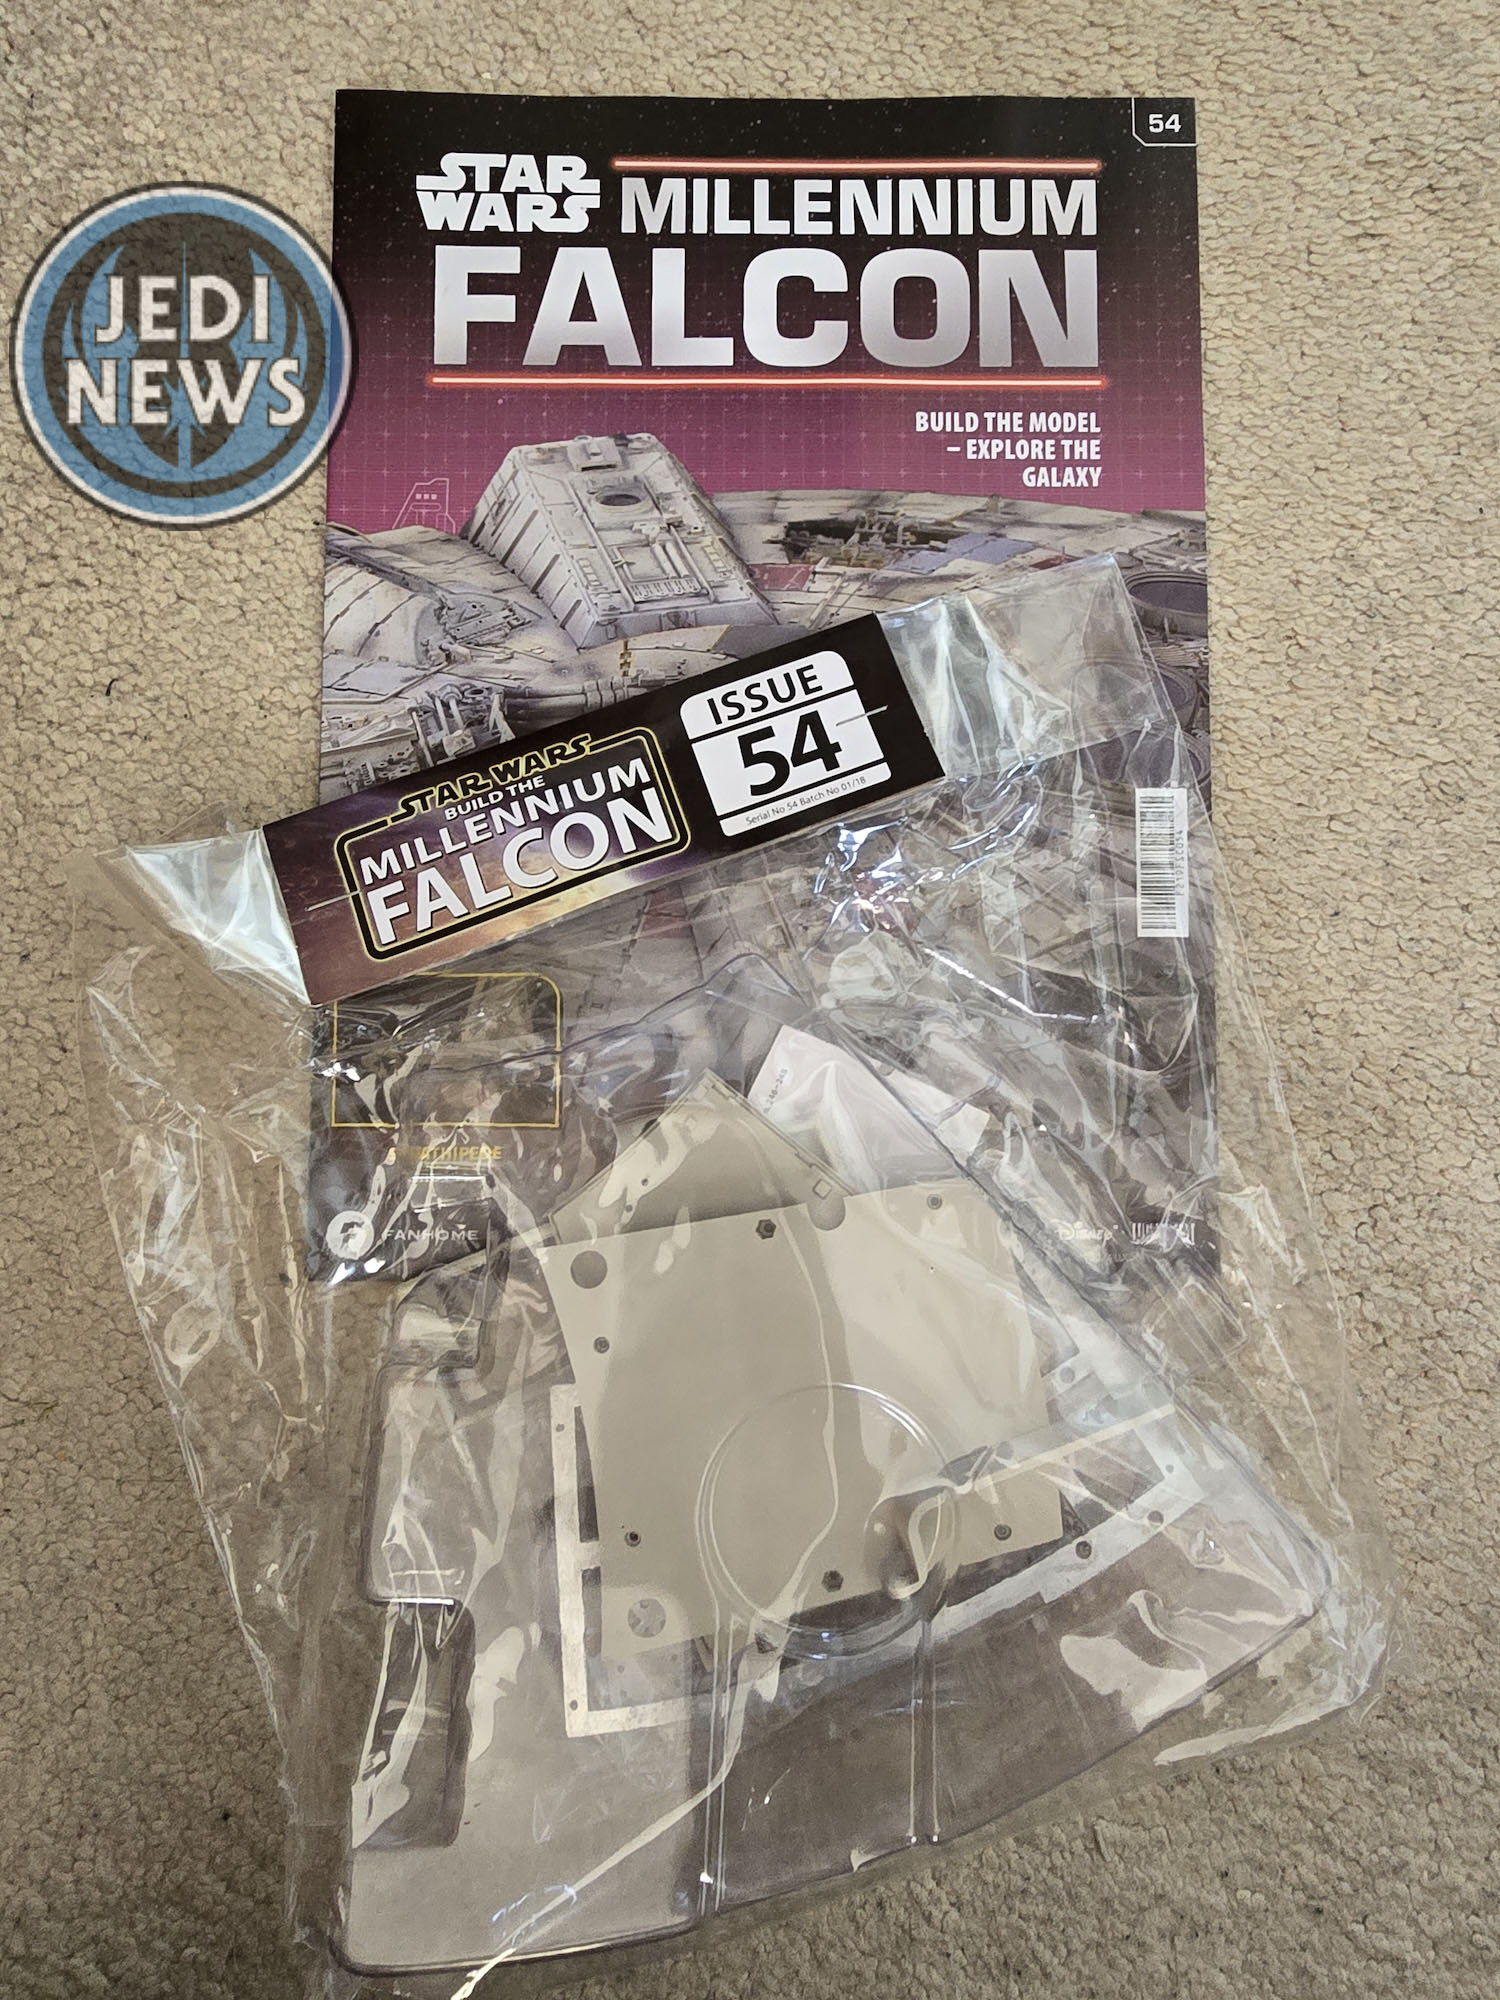
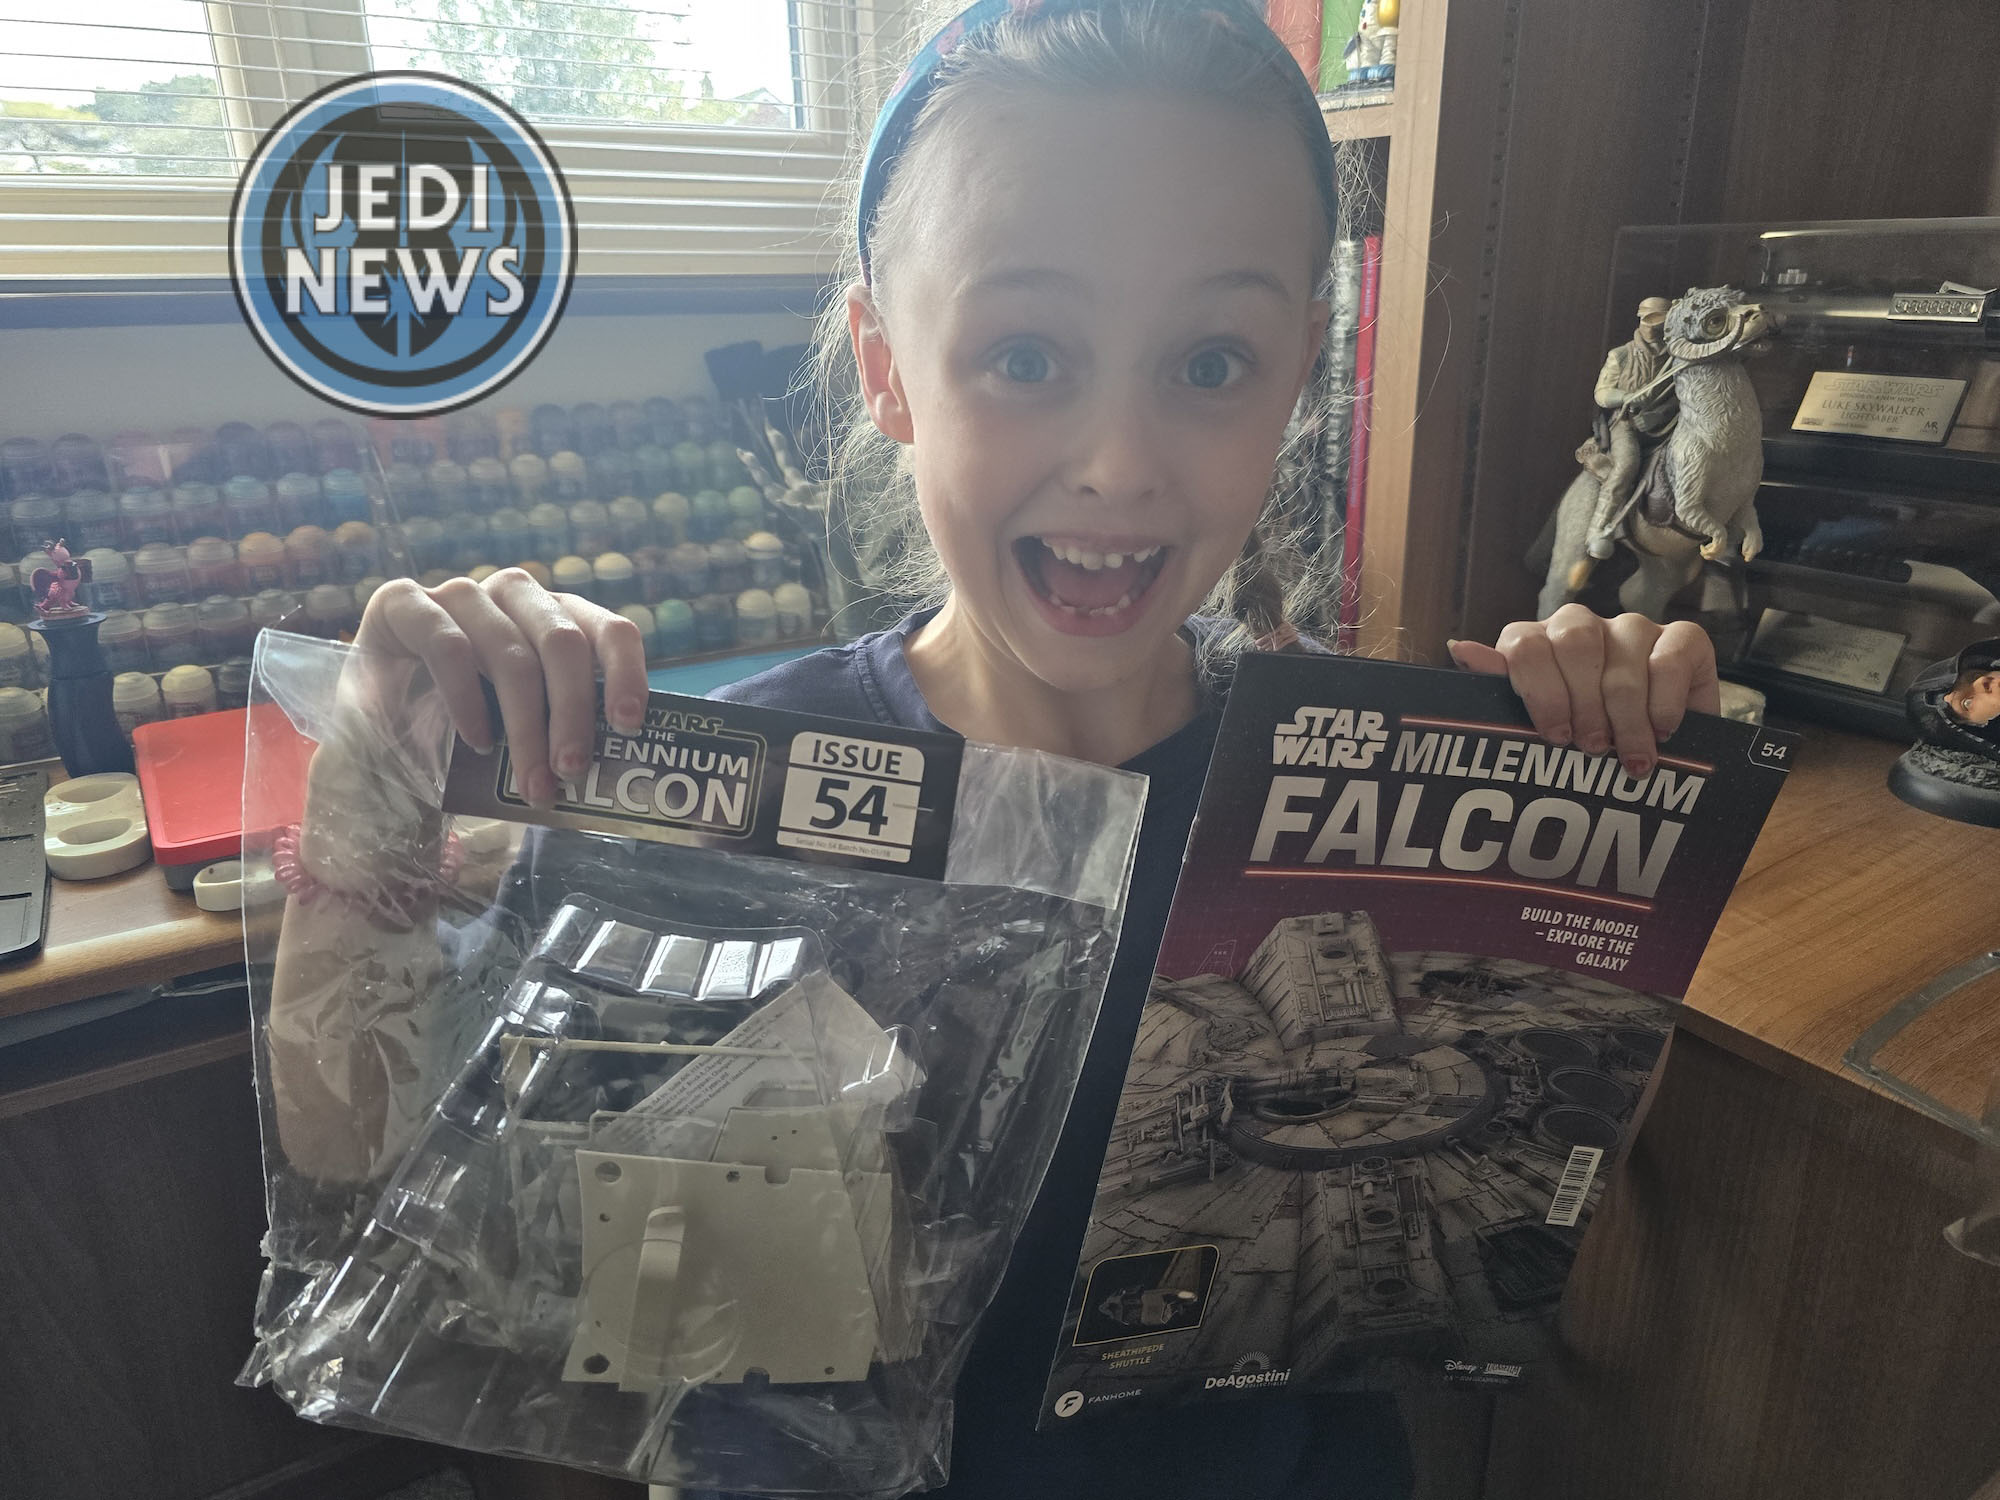
I was excited to begin this part and as any parent knows, forewarned is forearmed. So, like I have done since undertaking this project, I had a look through the issue to see what hidden surprises I might need to be made aware of for when I began the task with Ember. It seemed like a very straightforward issue. We would expand the jig (and I could panic that the space I had to work on this project was quickly diminishing) and add to the upper hull frame. Once this was complete, we’d be attaching a battery pack. This seemed to be rather short, although to find a battery pack that was provided with issue nine (yes, almost fifty issues ago… or one year!) was going to be fun. Continuing onto issue fifty-five, I found that it flowed perfectly on, attaching some more of the jig and hull and then fitting a couple of pieces back on the lower hull. I was sure Ember, and I could do this in one sitting.
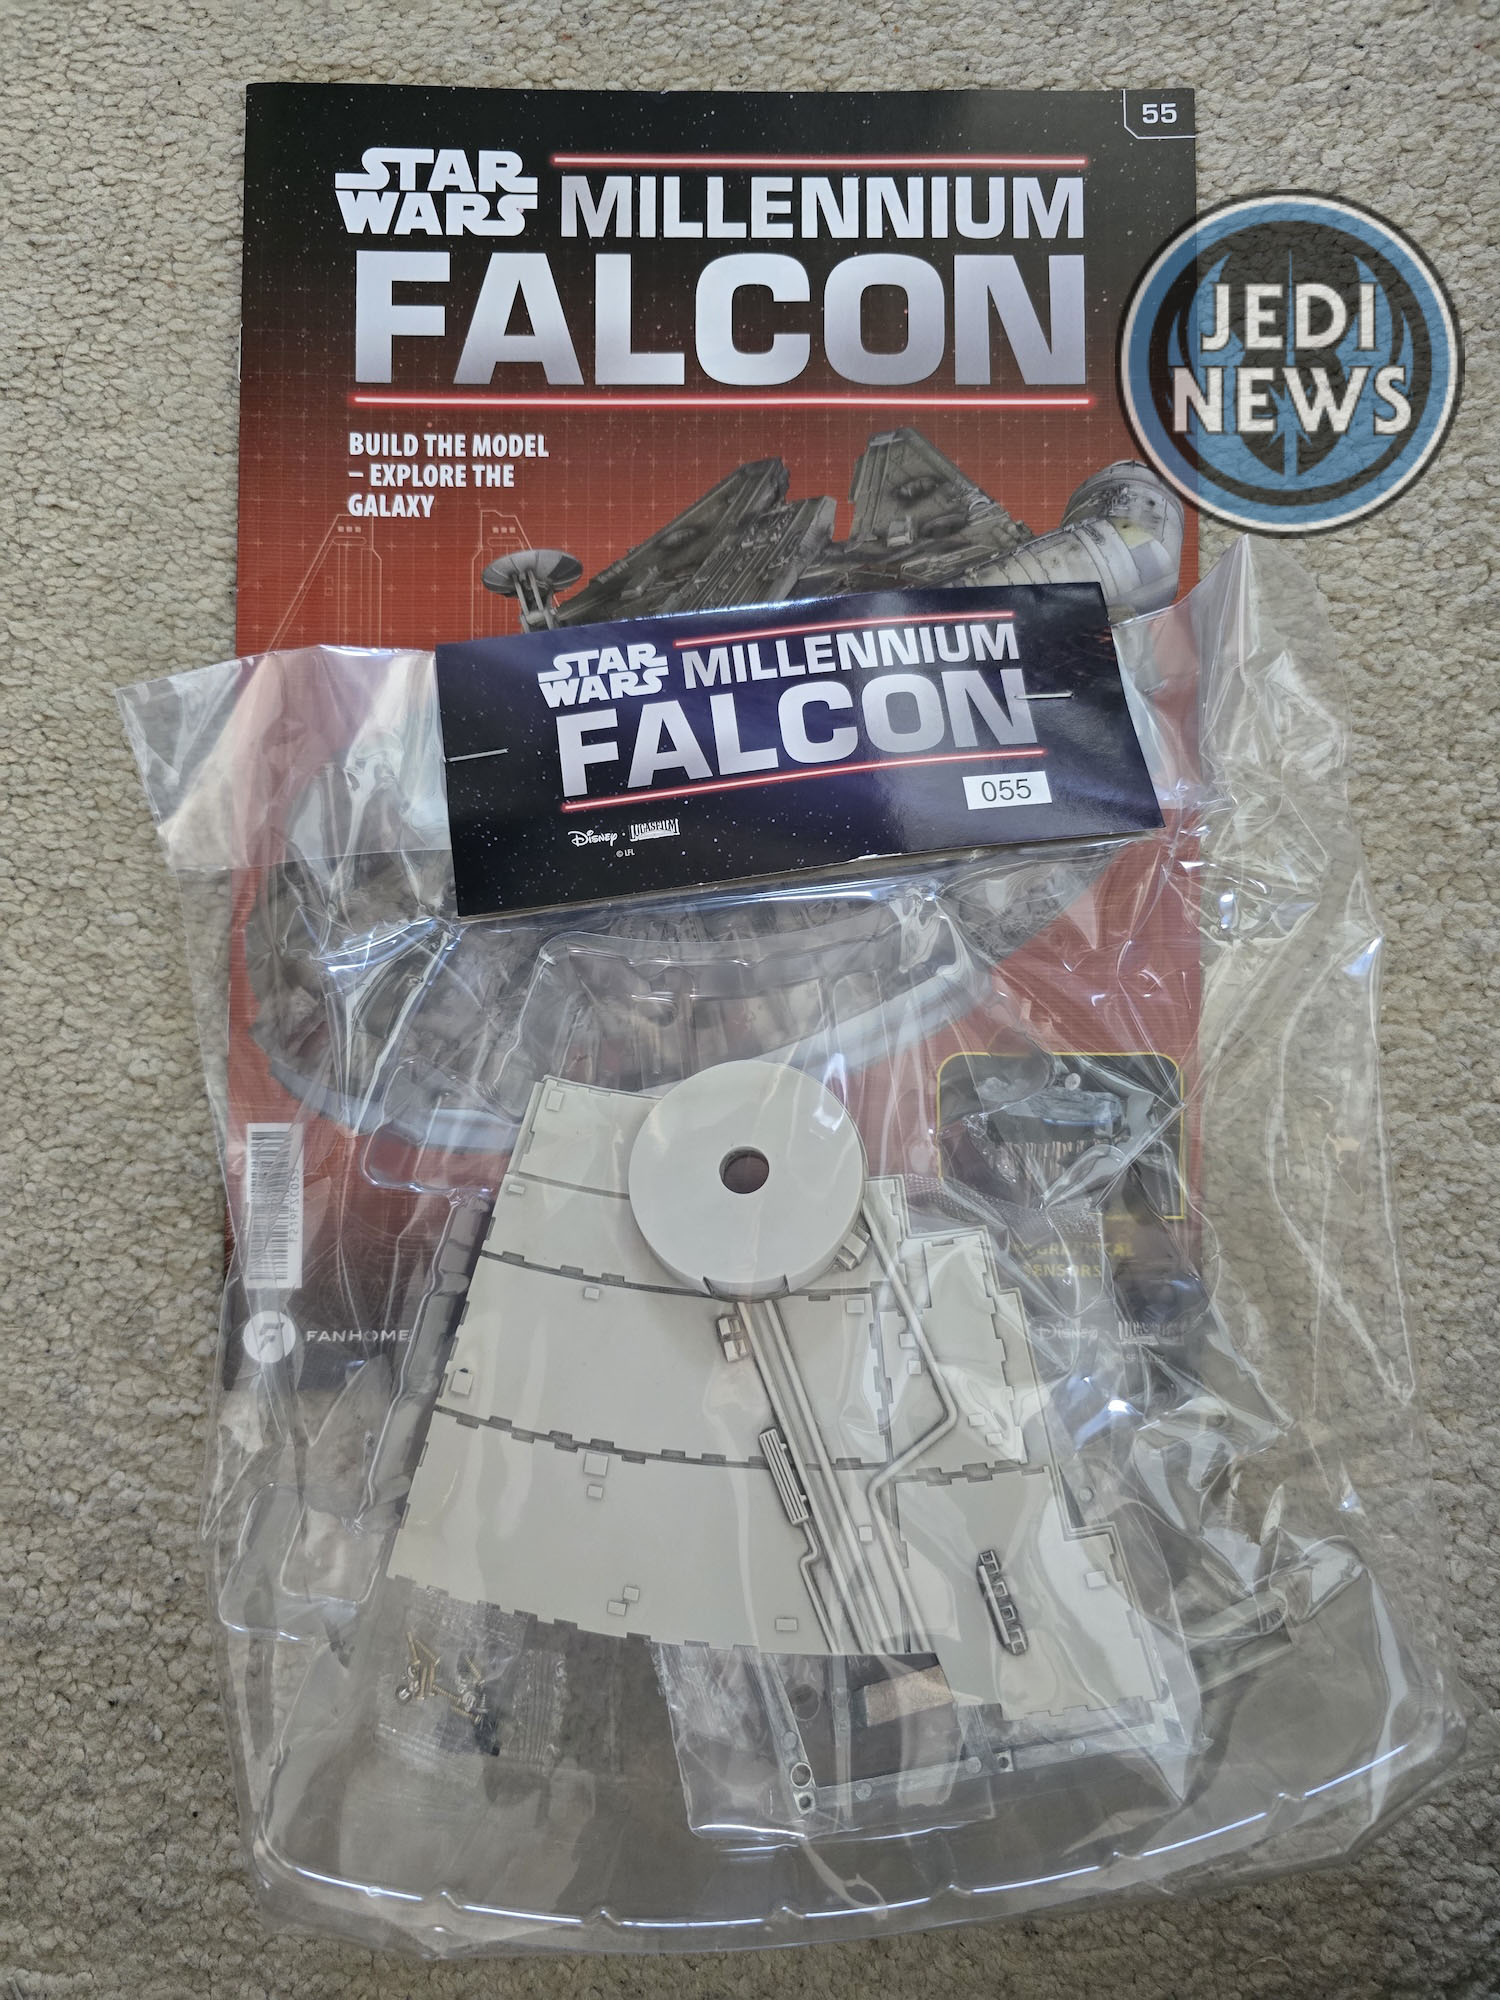
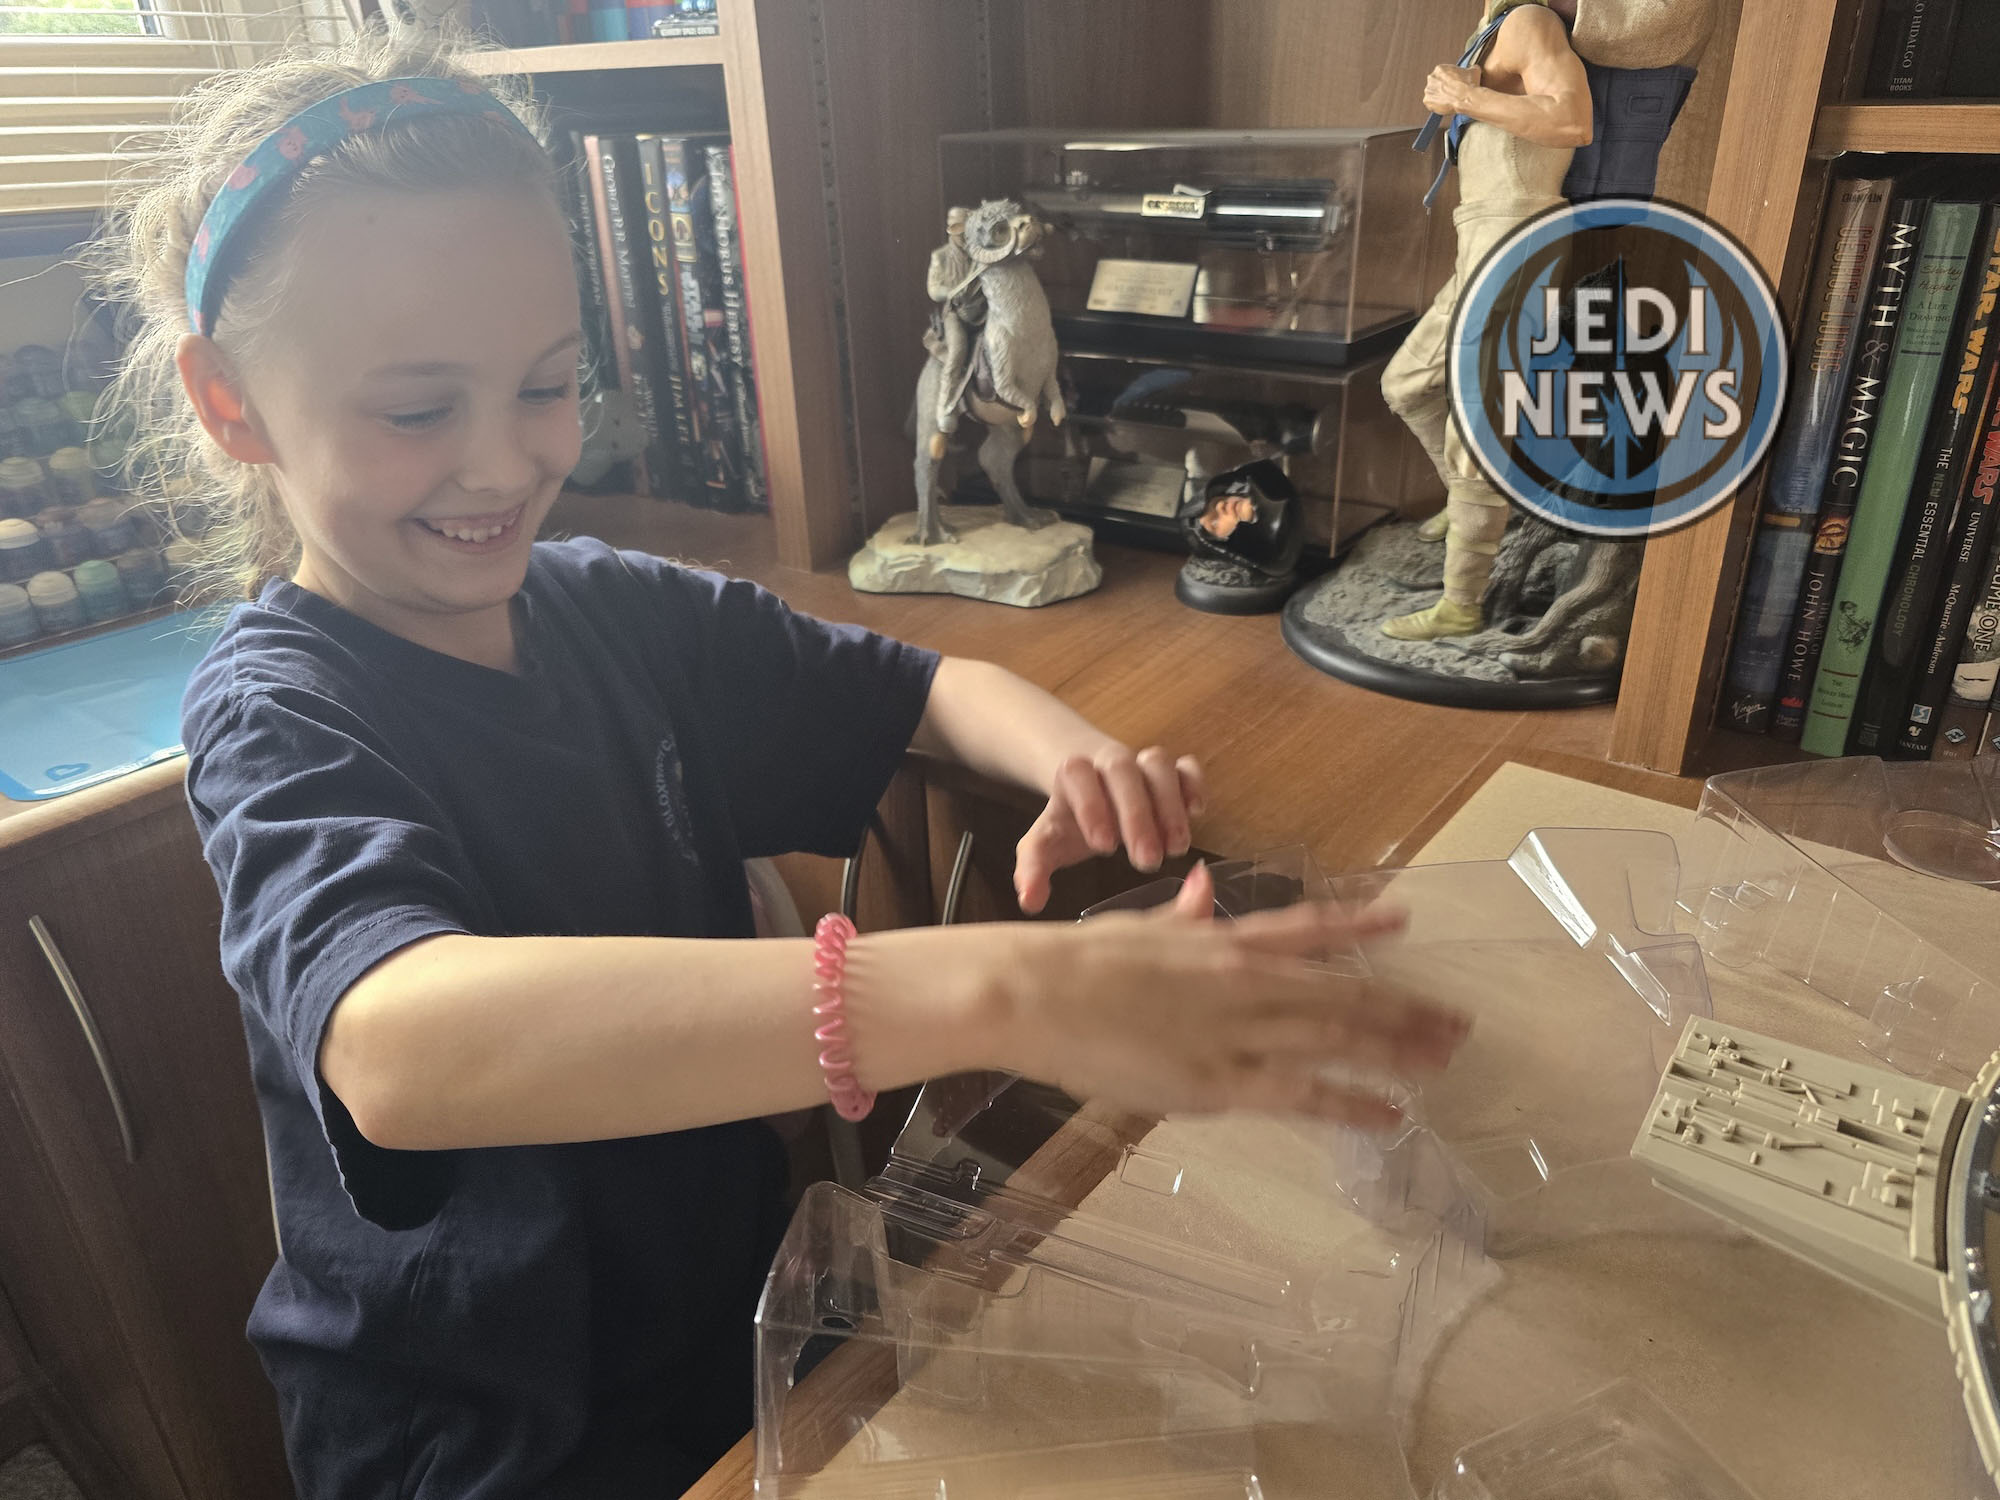
However, the extra issue also came with some preparation. The recesses. We would be fitting these, and they needed undercoating. I’ve mentioned this a lot in my reviews, when this project is done, I want it to look like the model has come straight out of ILM. With this in mind, I know I want to paint the model with Archive X paints. Ember and I are going to be learning how to use an airbrush over the summer and having spoken to Josh Wraith (who has created a painting guide using these paints), he painted everything once the model was assembled. While I was happy to wait, I also know the benefit of having a darker colour already on the model to help take the new paint. In other words, I wanted to give it a spray of black, so it was somewhat ready. Not wanting to use an airbrush for such a quick bit of undercoating, I used a general black spray, so the recesses were easily reached. This will be changed once the model is complete, but I felt better knowing that an area that might be a struggle to reach was primed and ready to go.
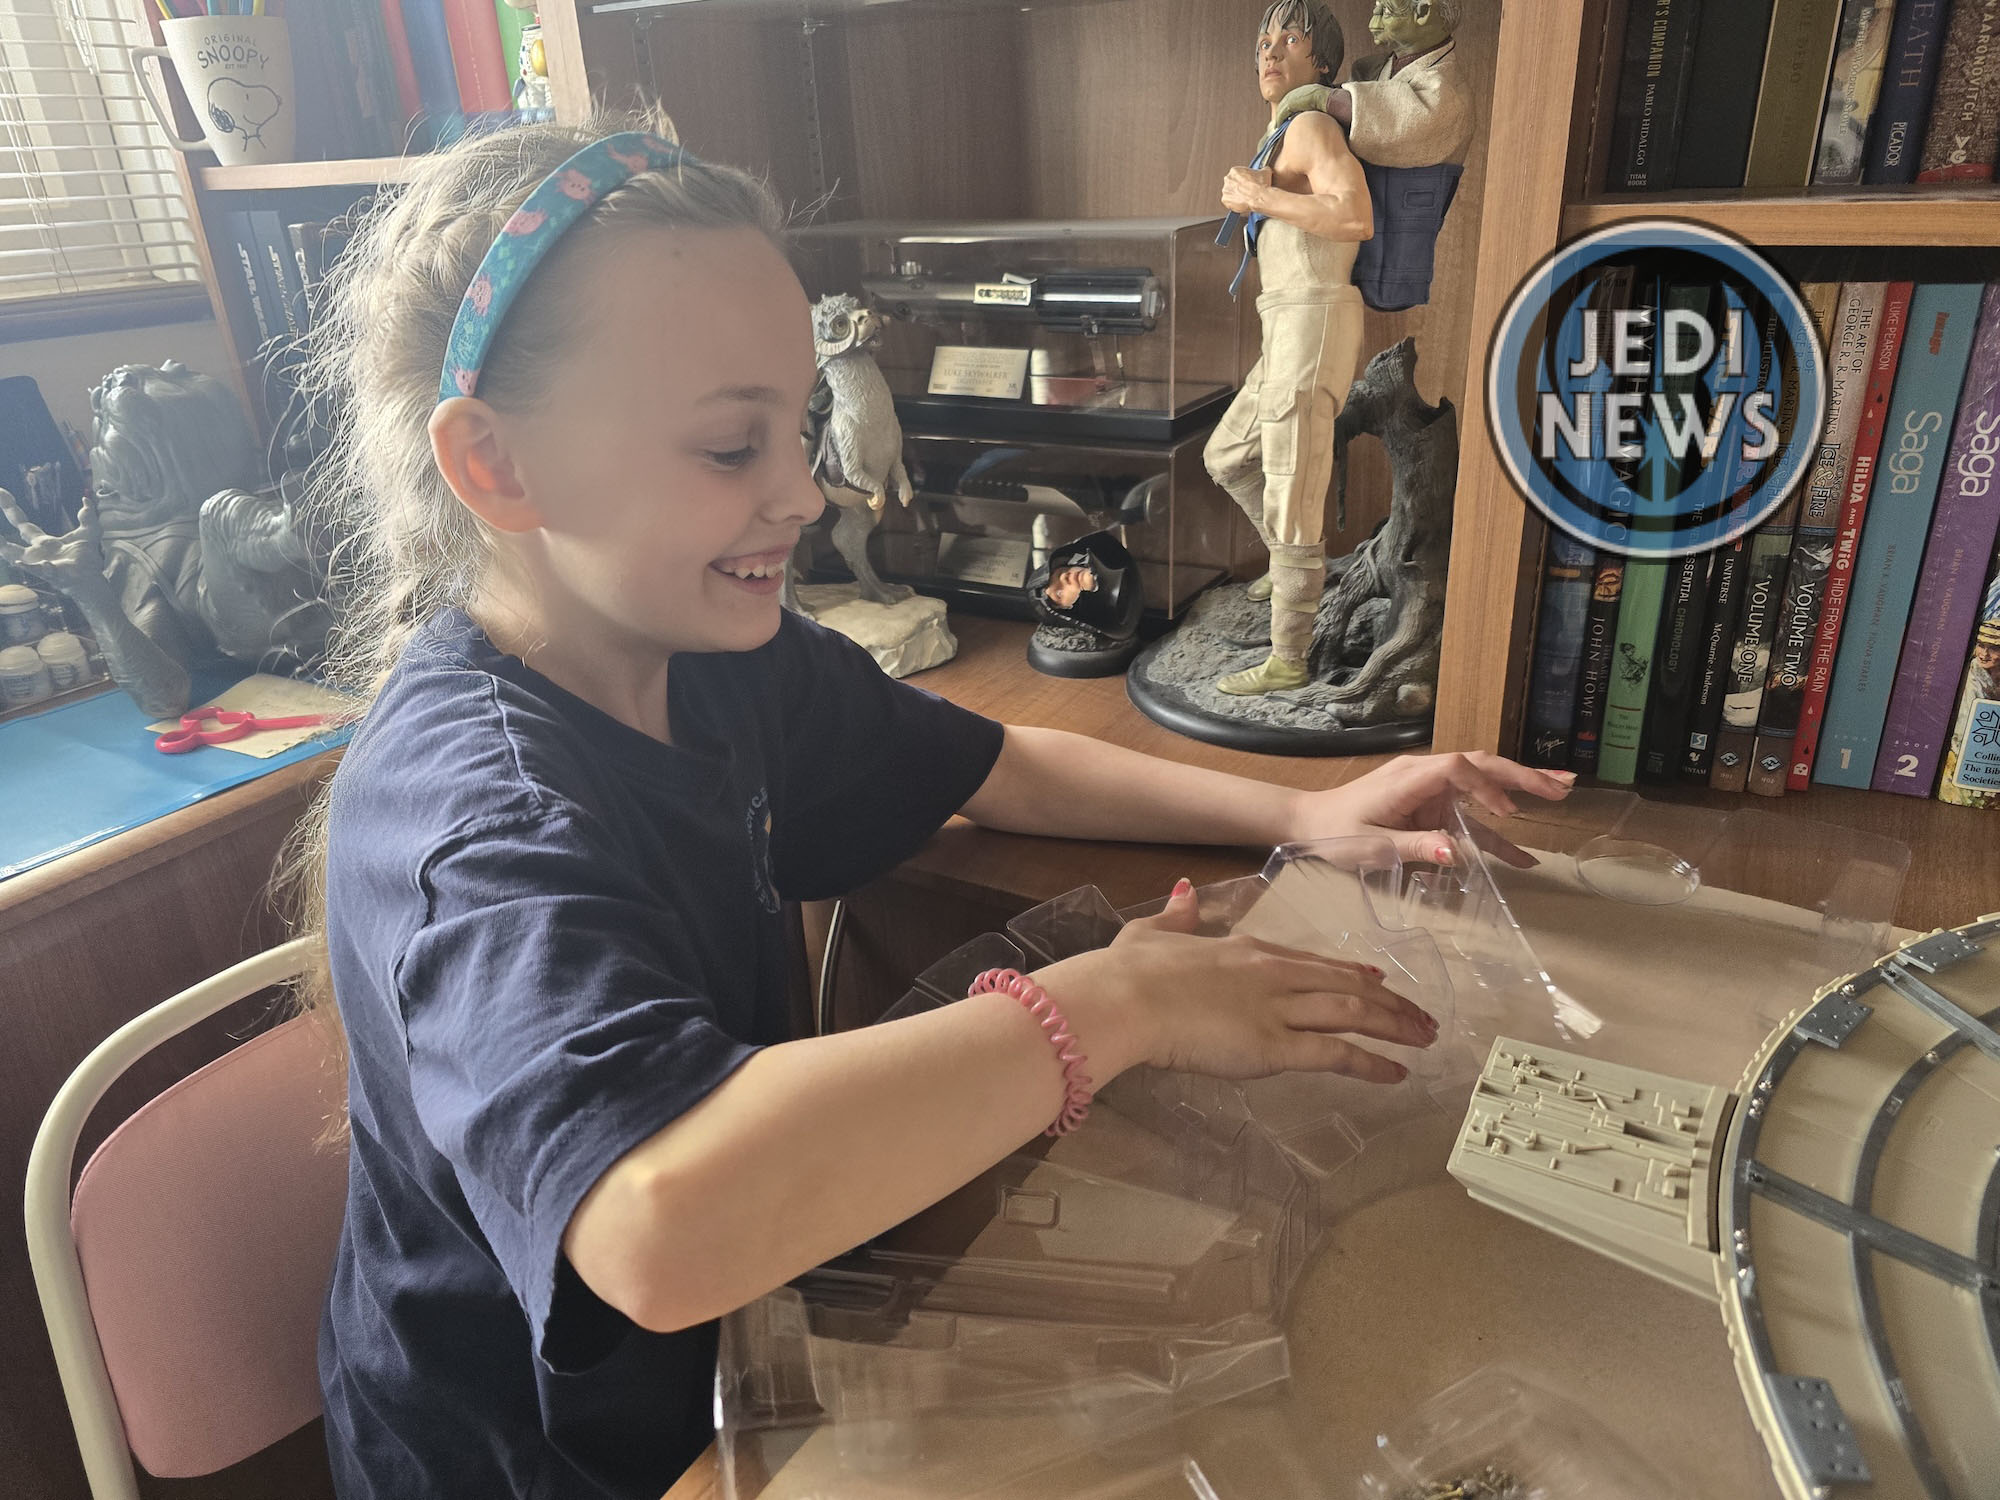
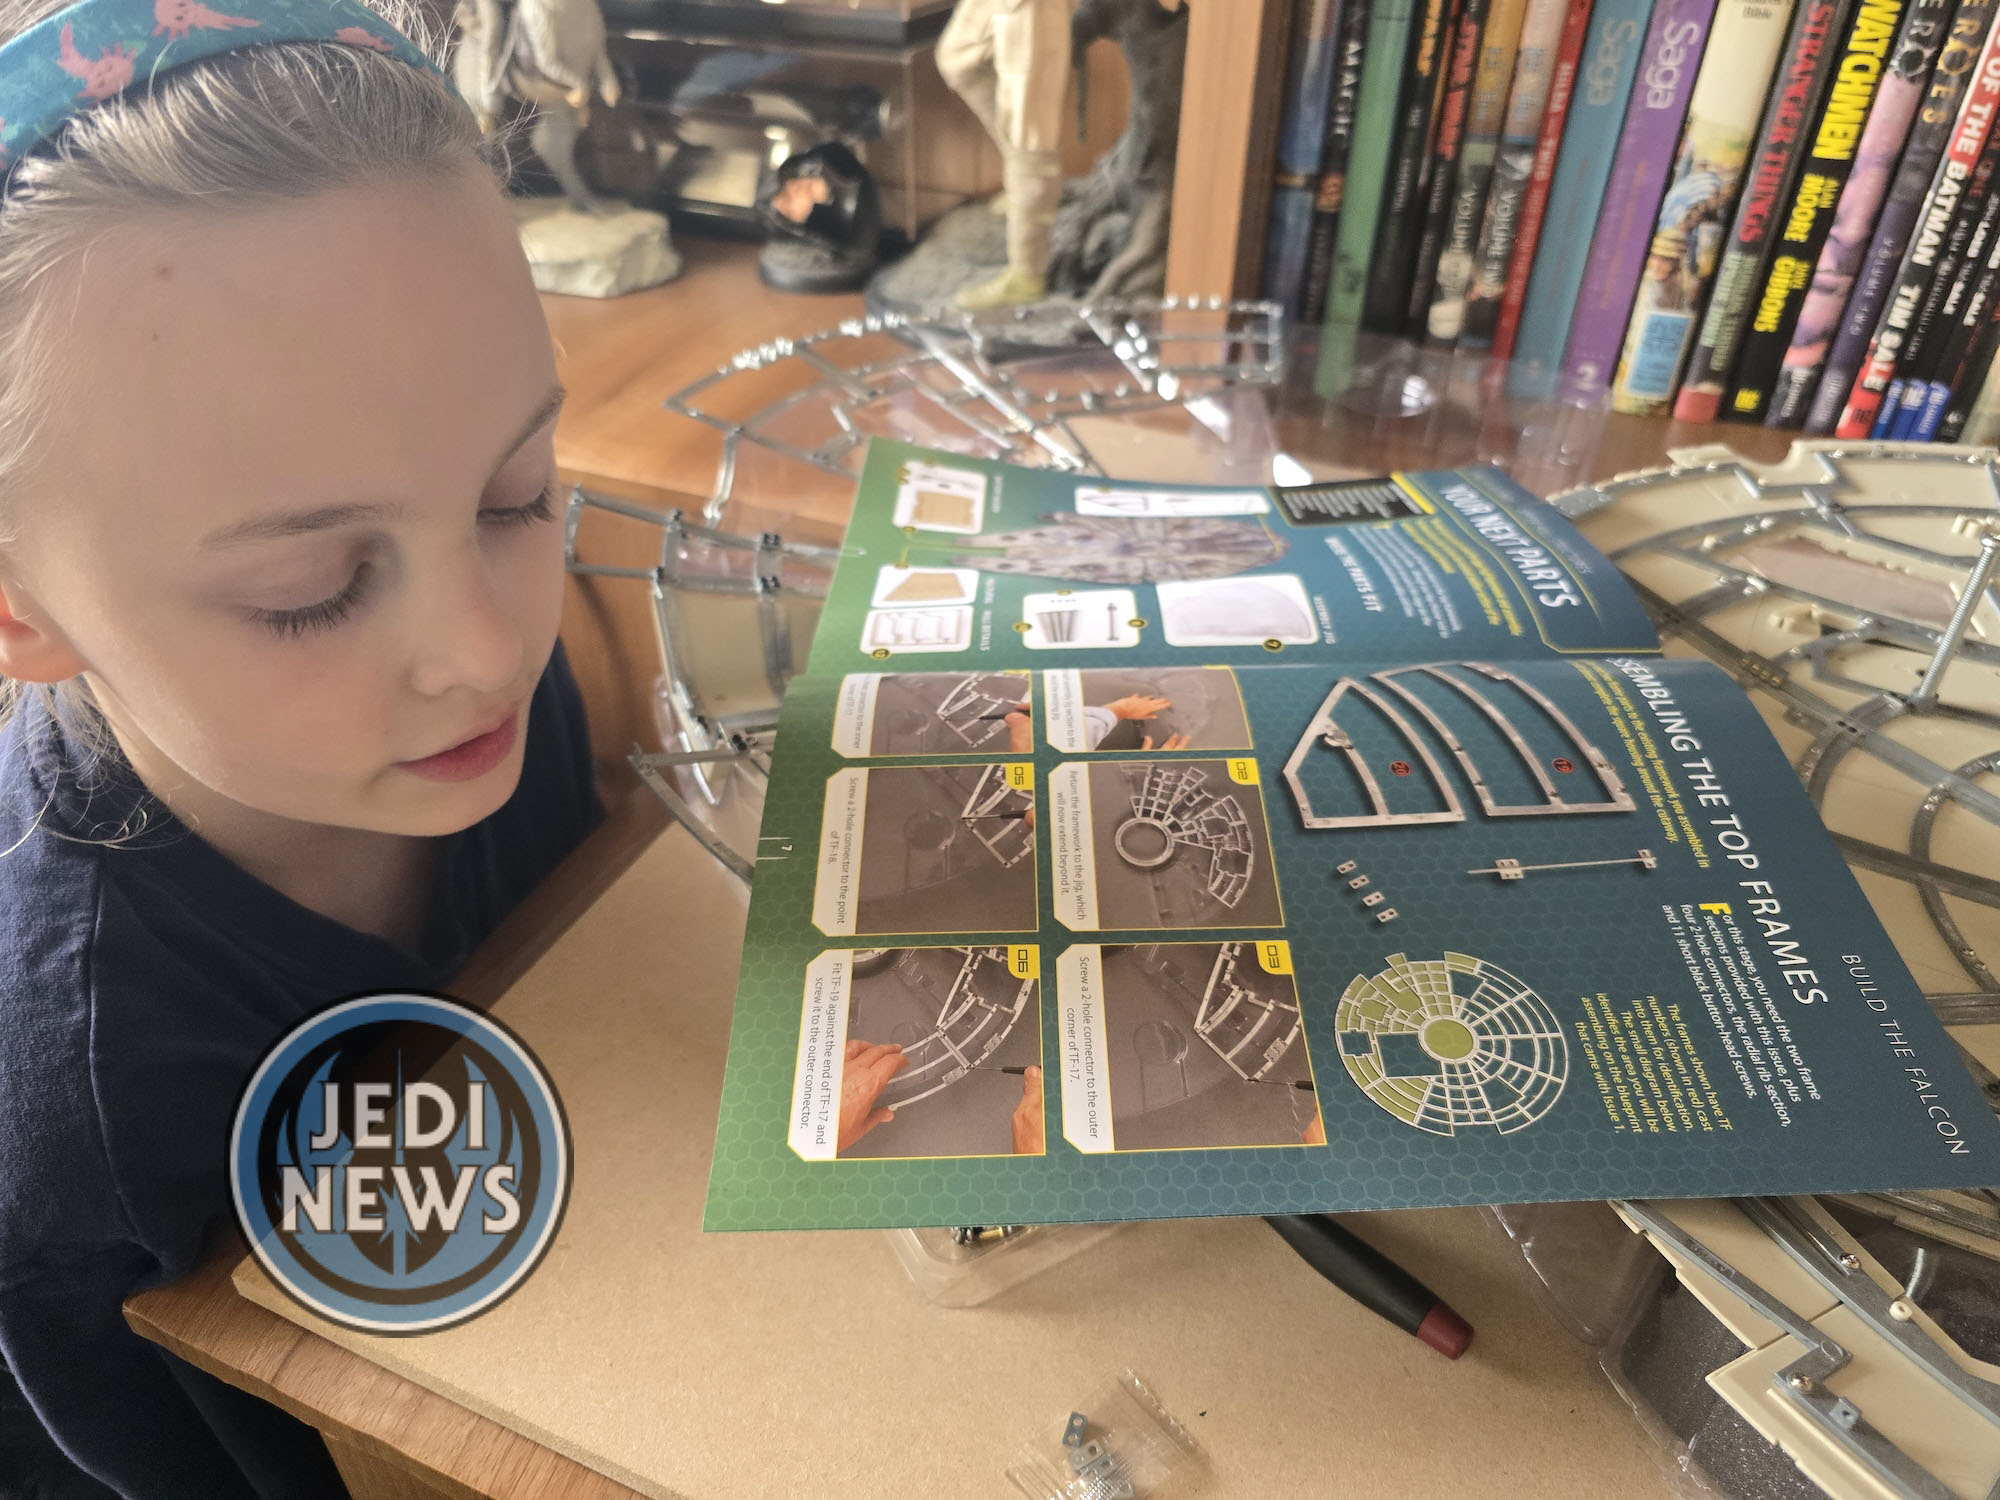
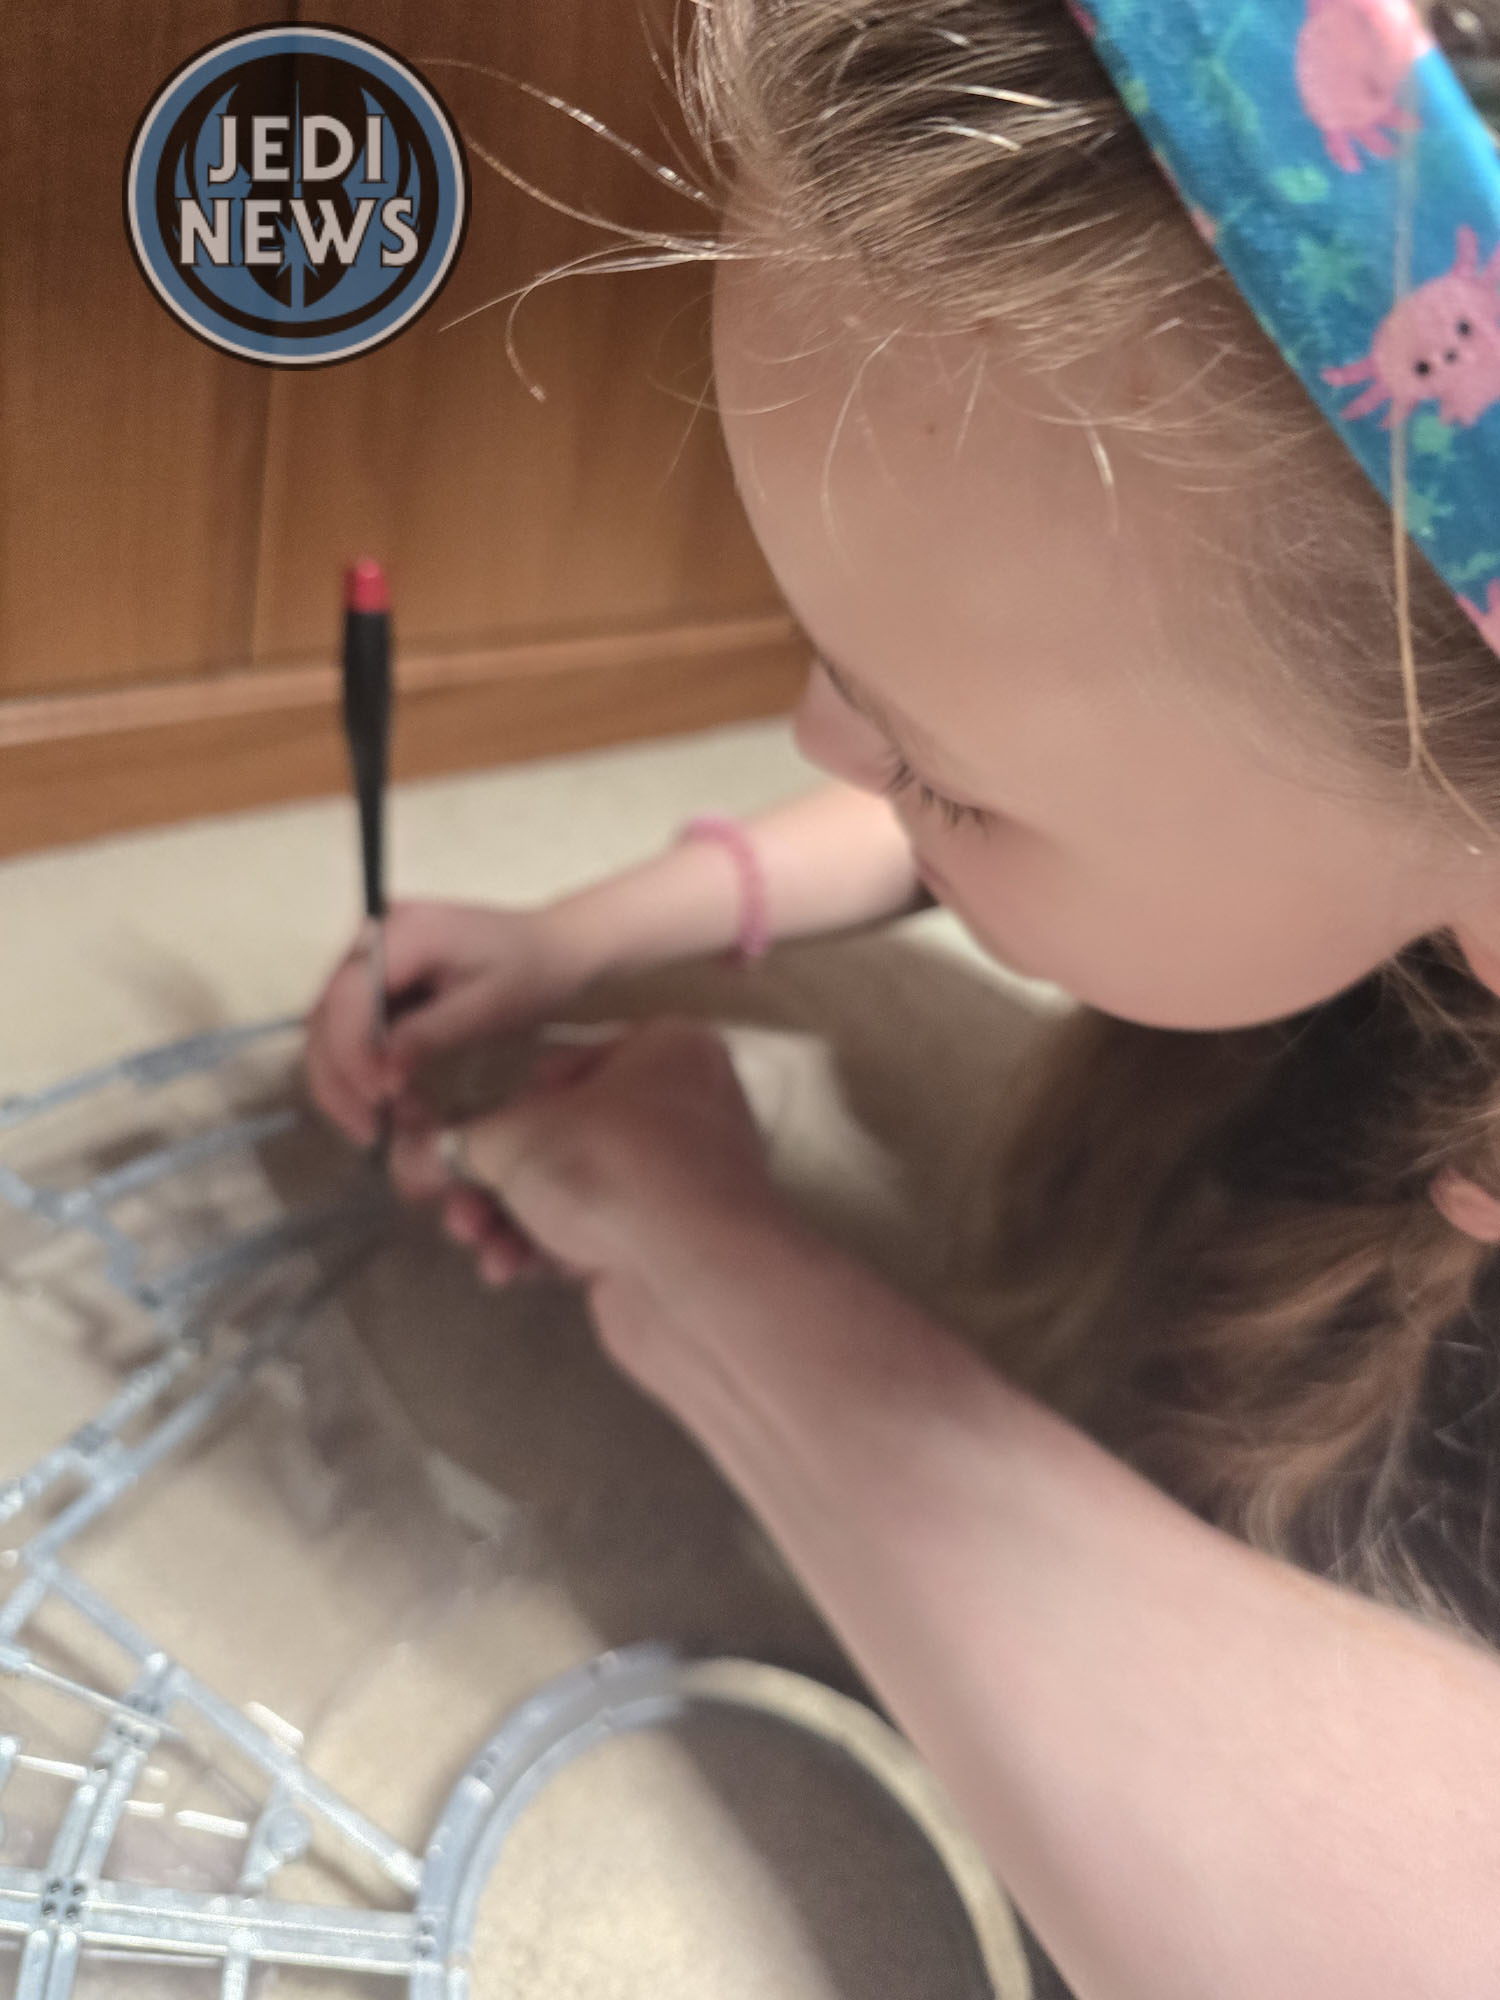
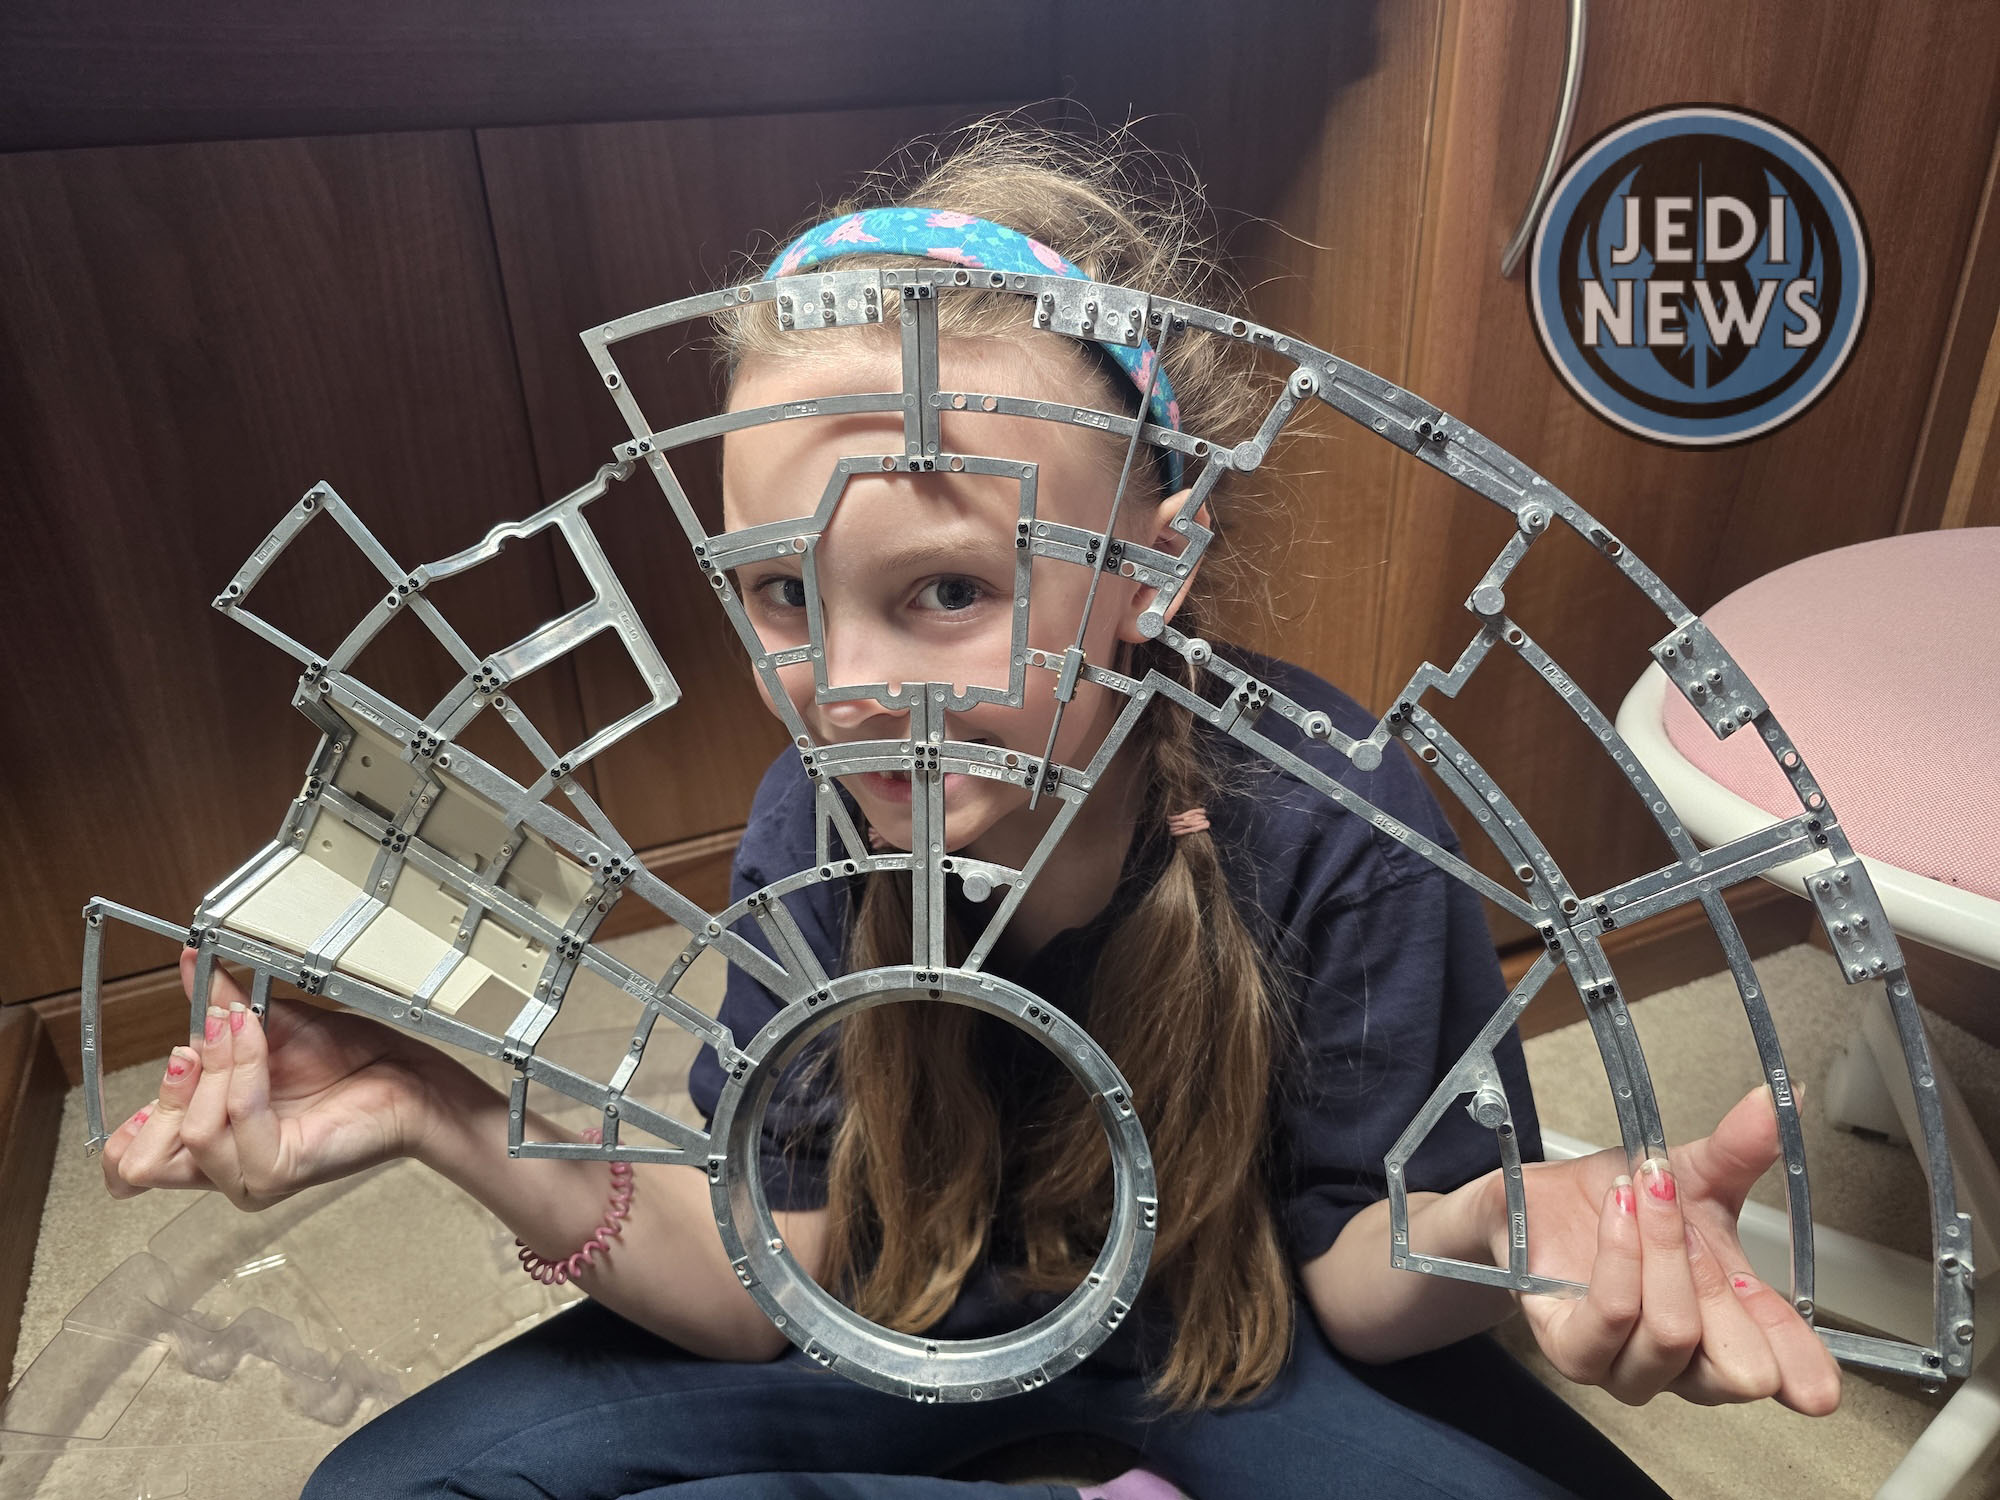
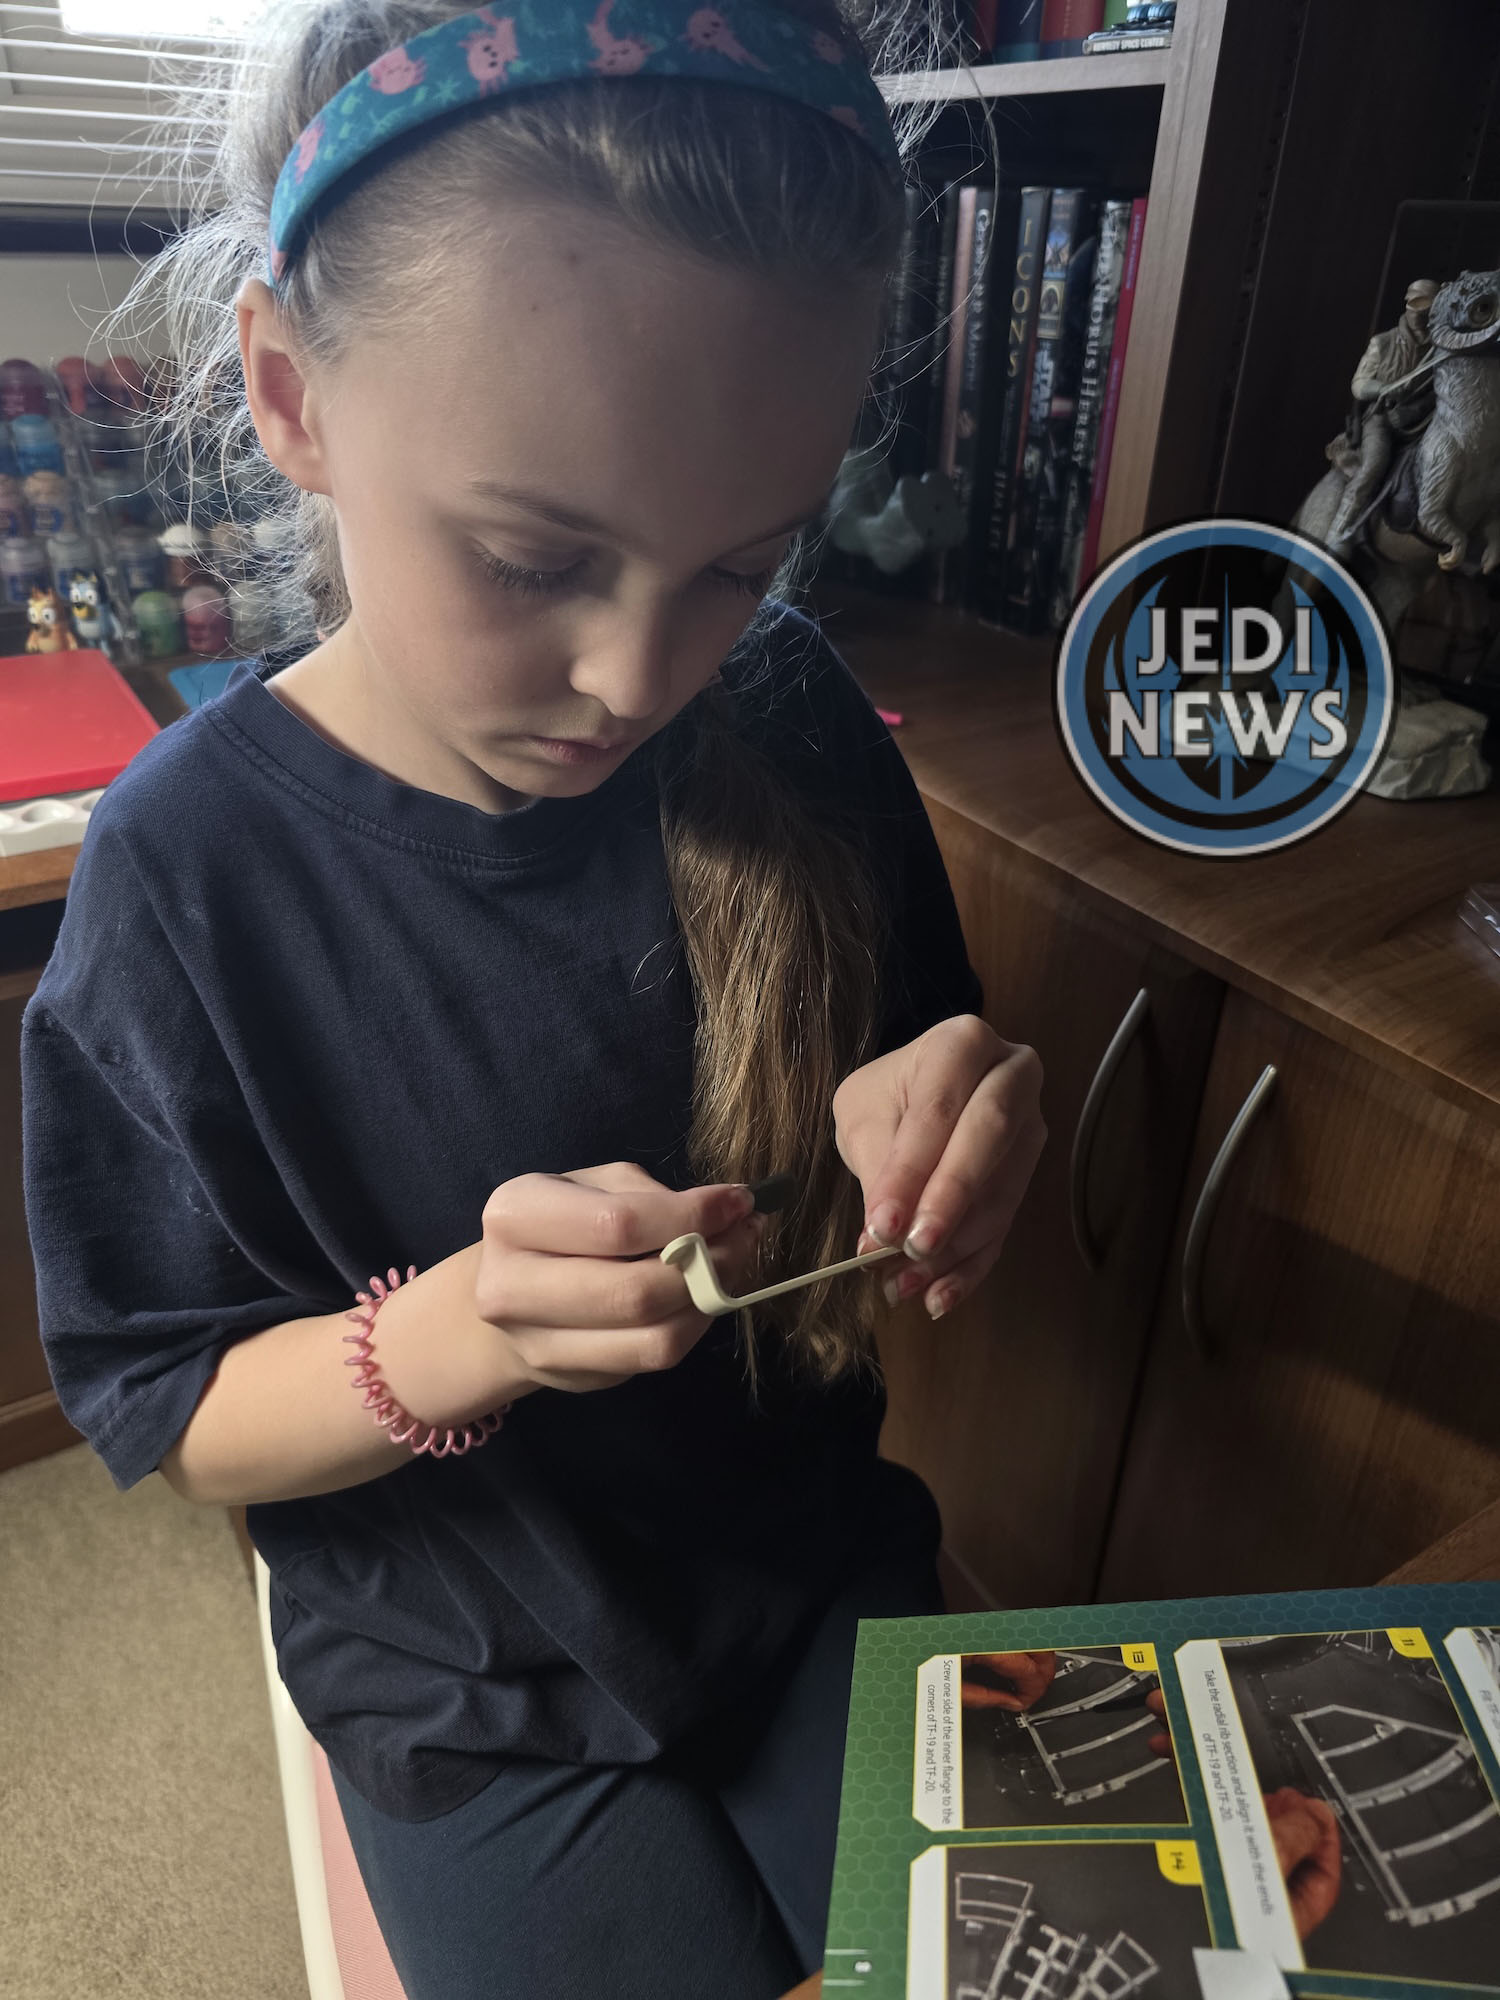
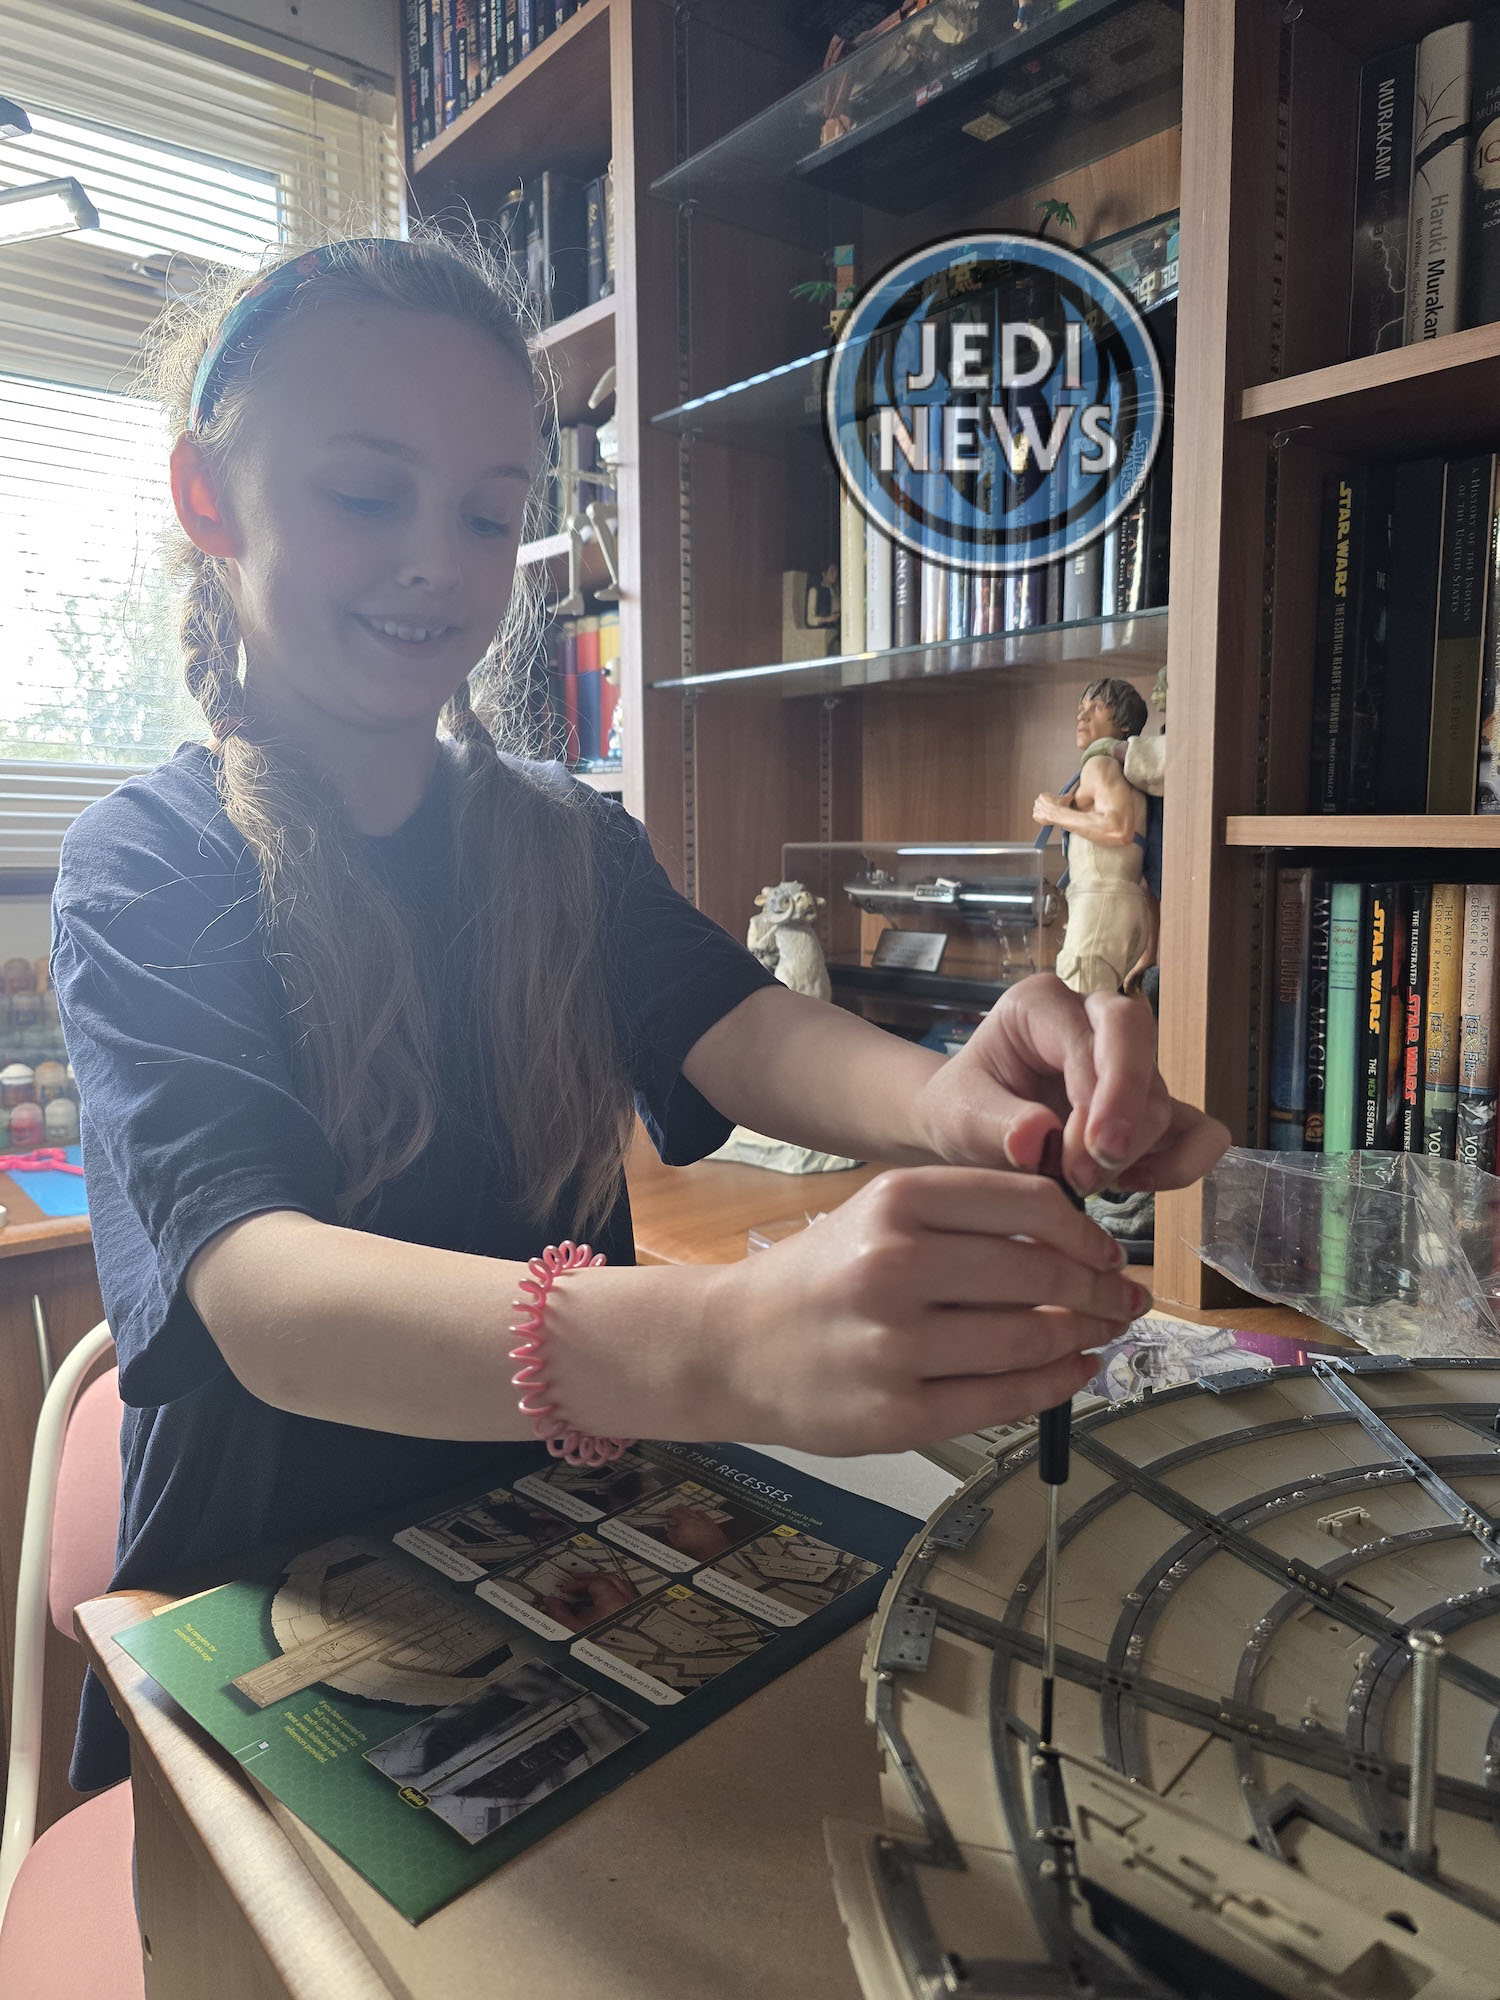
With that done, there was nothing left for me to do. It was onto the construction. As soon as we placed the extra jig from issue fifty-four, Ember and I realised that we just didn’t have enough space to work where we usually do. With some quick improvisation, we started to work on the floor. It was easy enough to do but has certainly got me thinking ahead, the lower hull needs to move somewhere else until we finish the top hull. With the jig attached, we worked quickly through assembling the frame. Ember has always been in her element doing this and she happily sped through the assembly. Make sure you screw both screws into the inner flange for step thirteen. It can very easily misread that you’re screwing in one screw, but you definitely want both in to give the structure some more support.
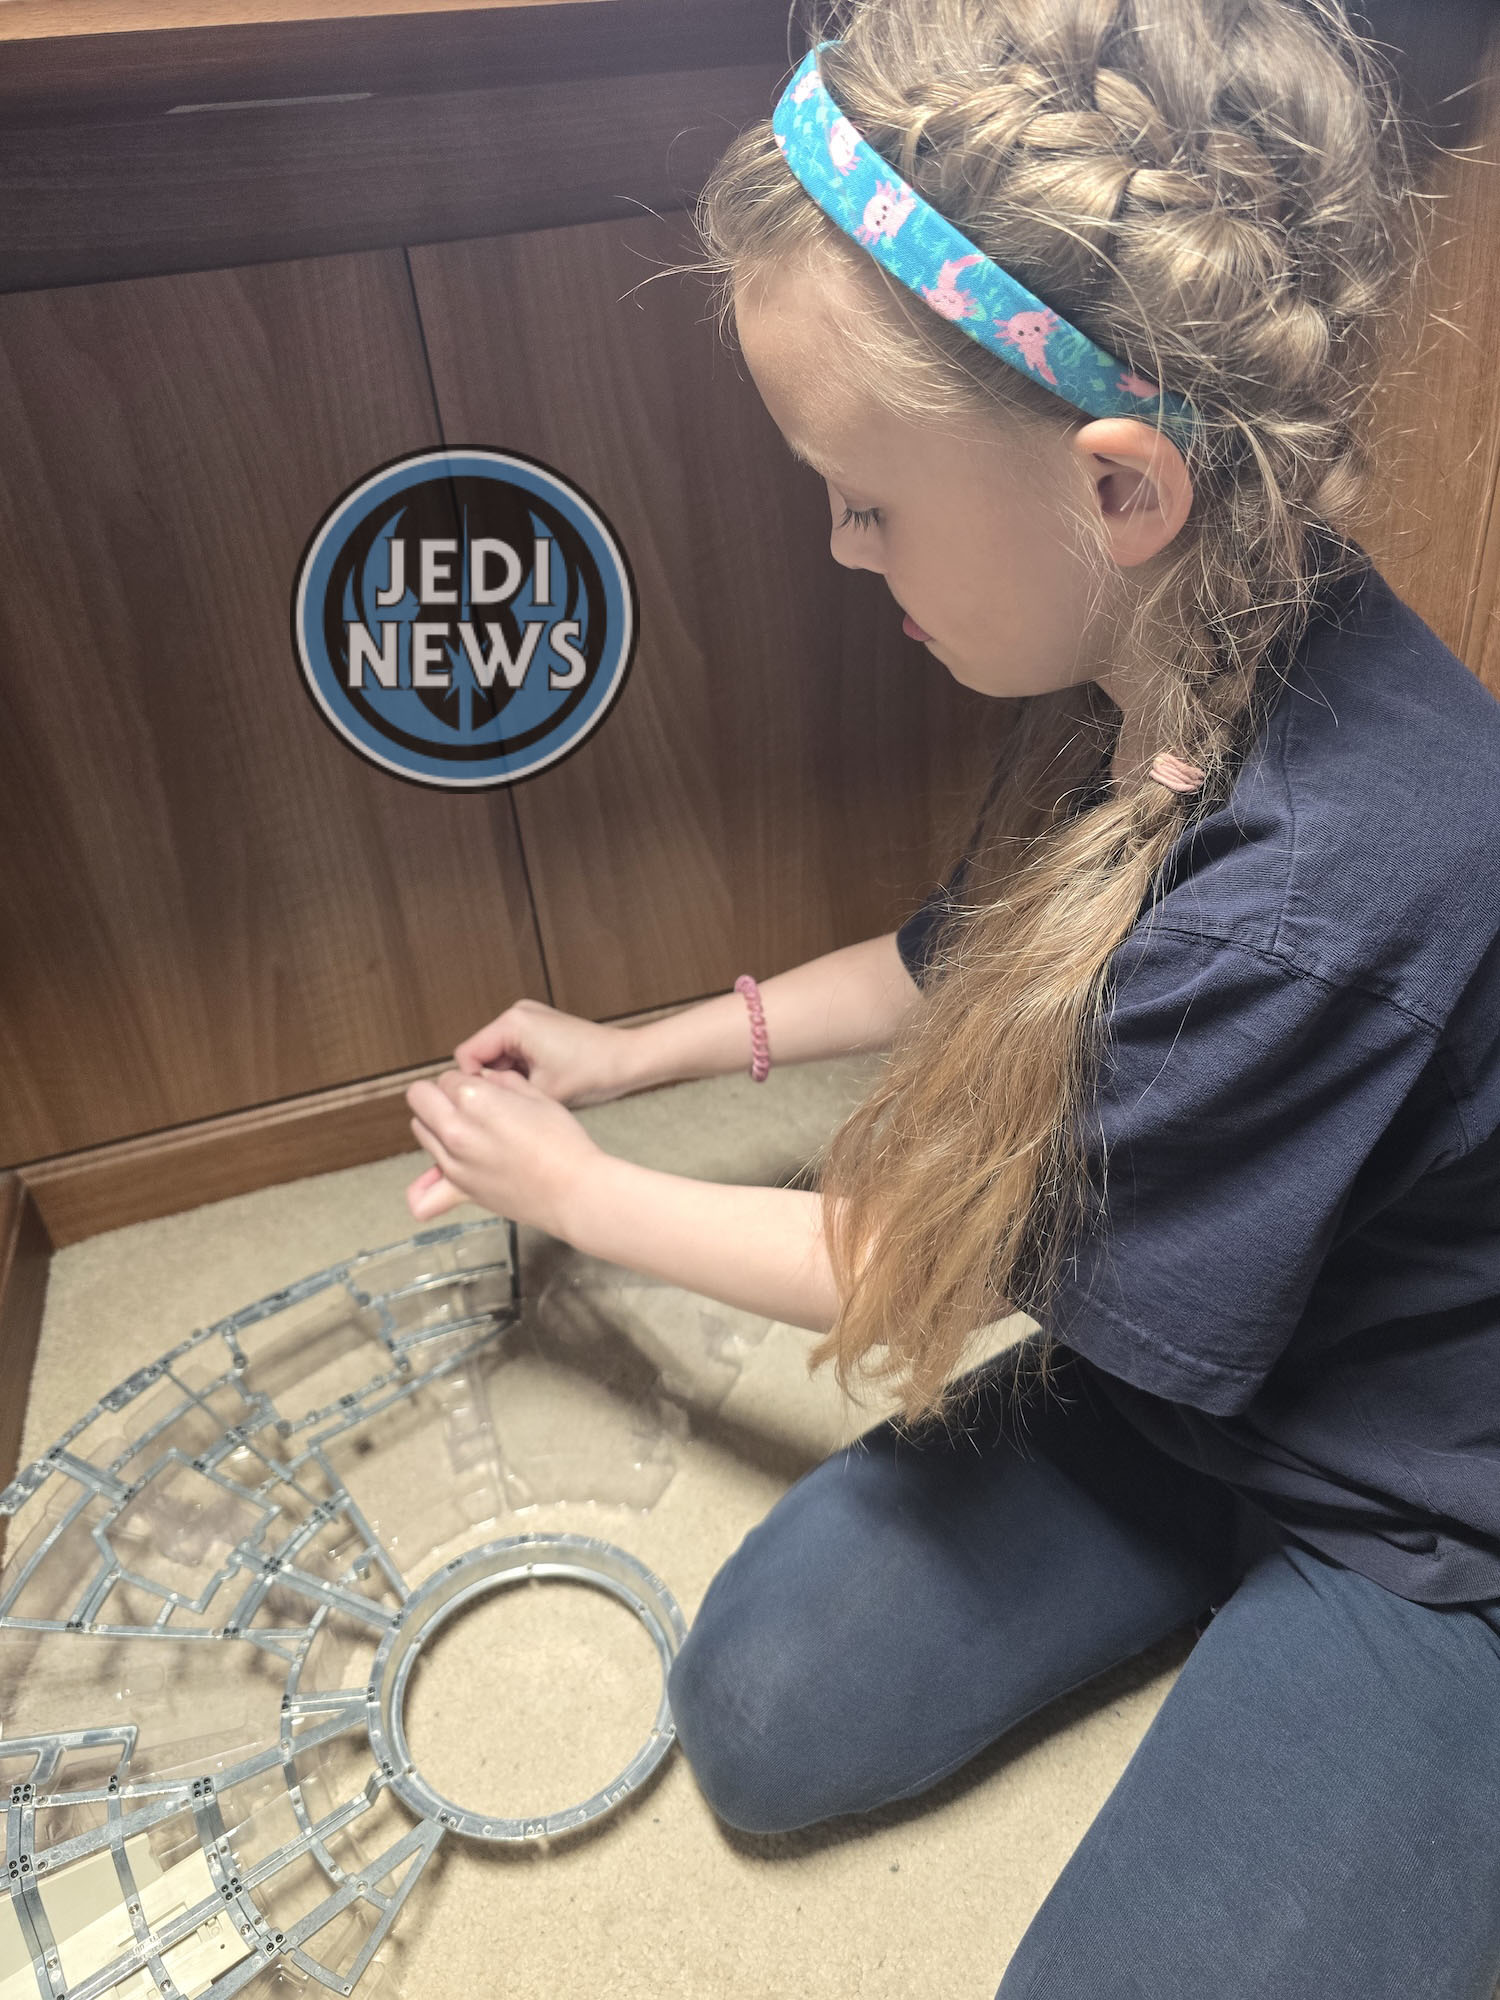
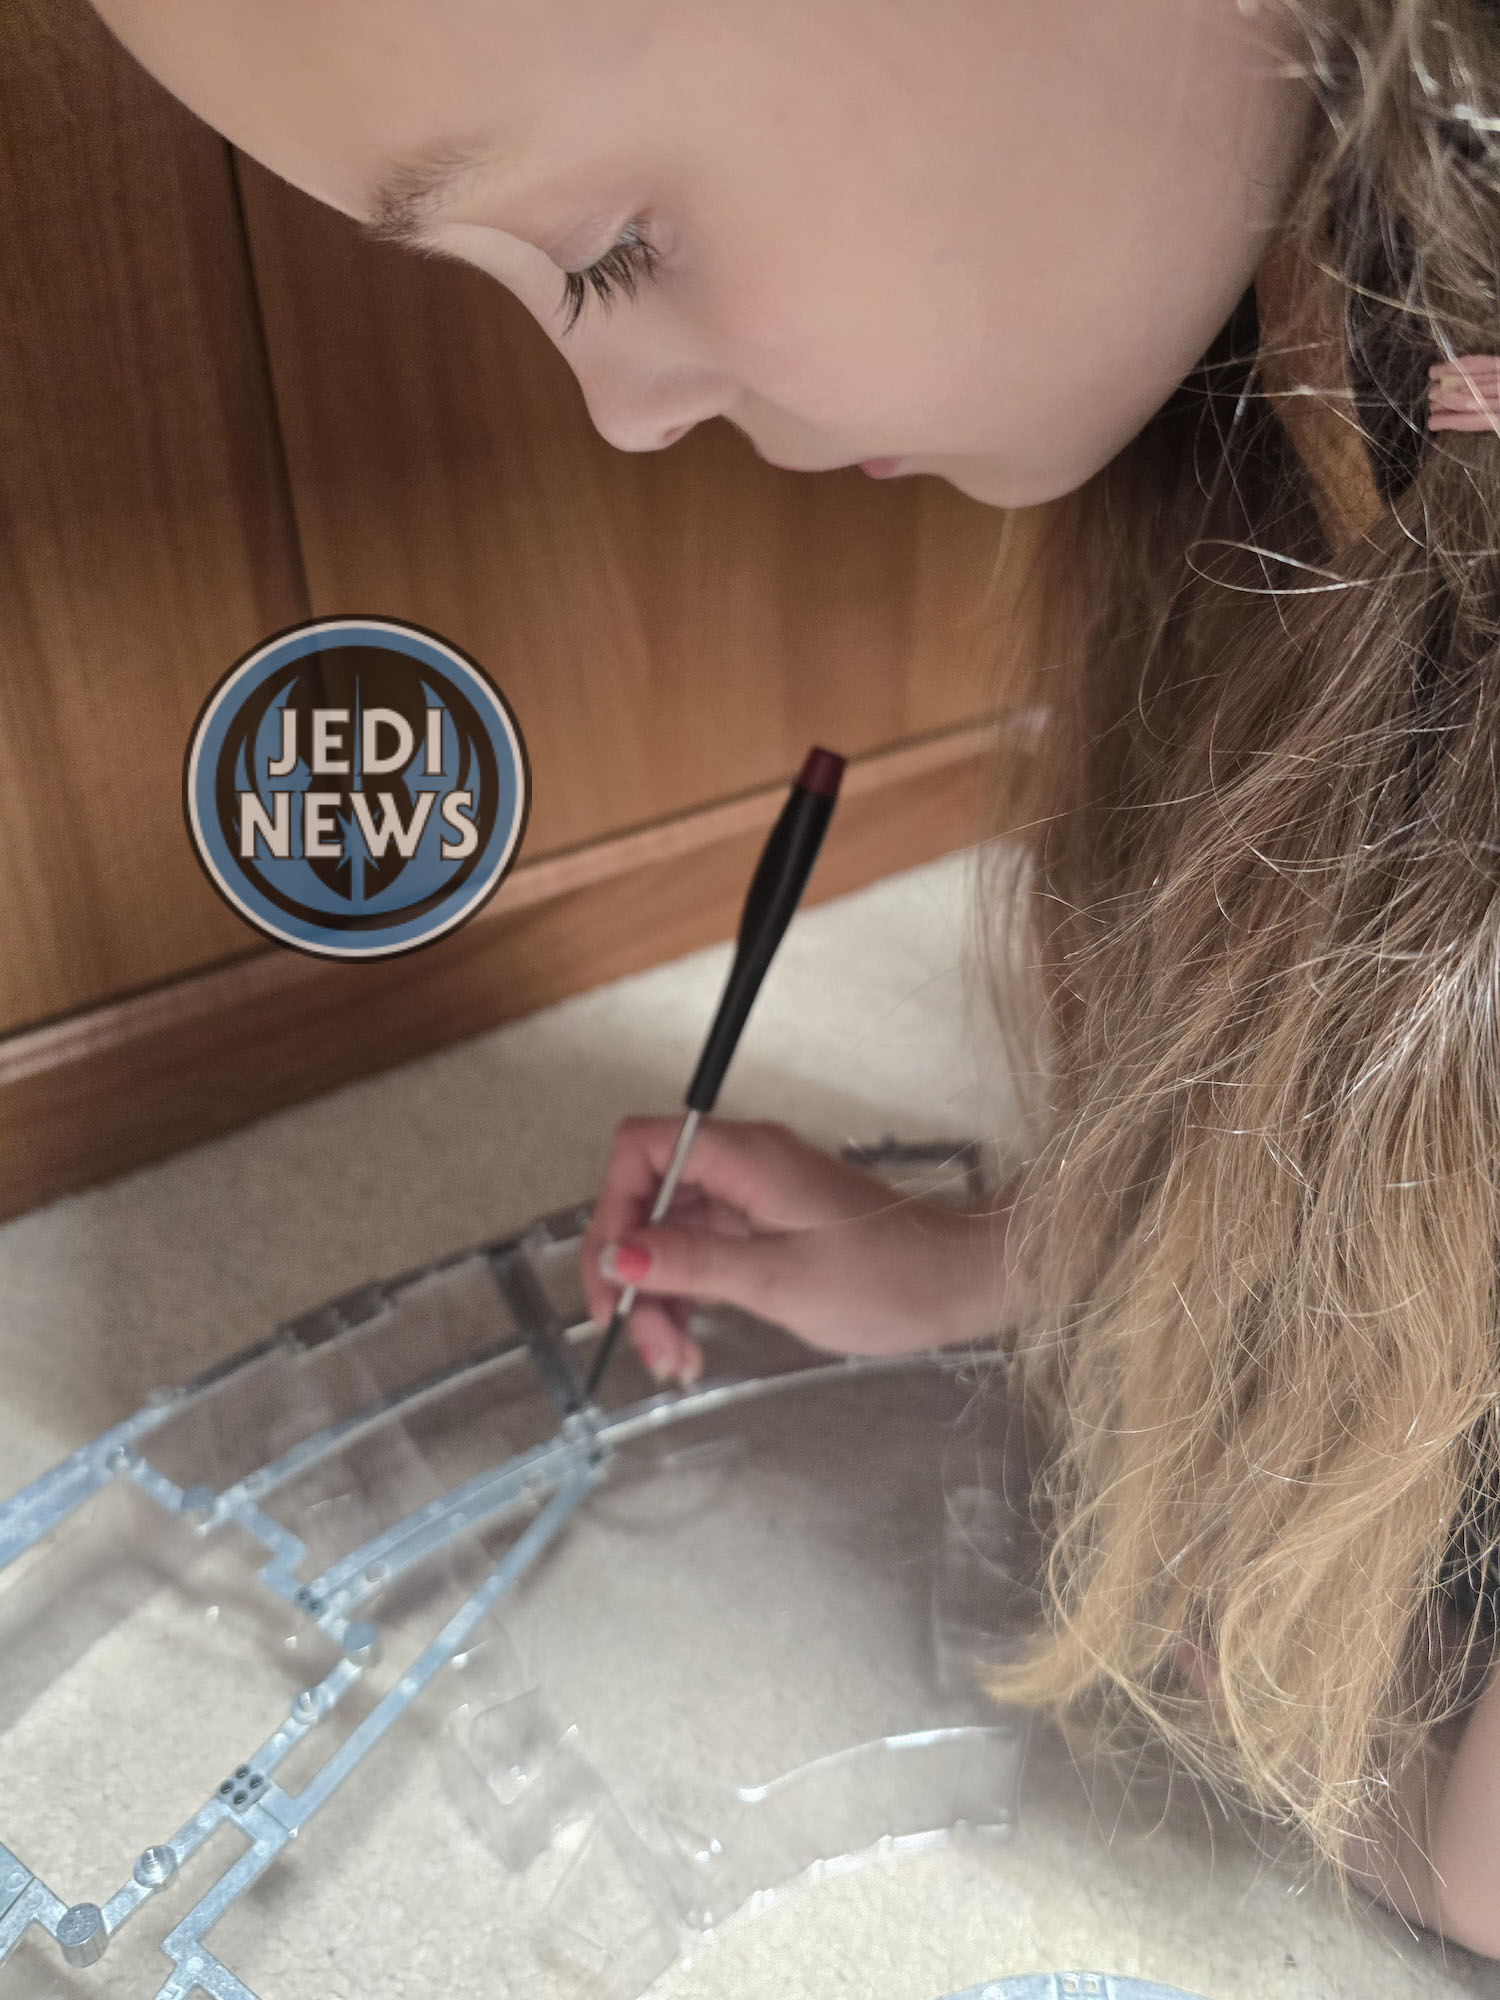
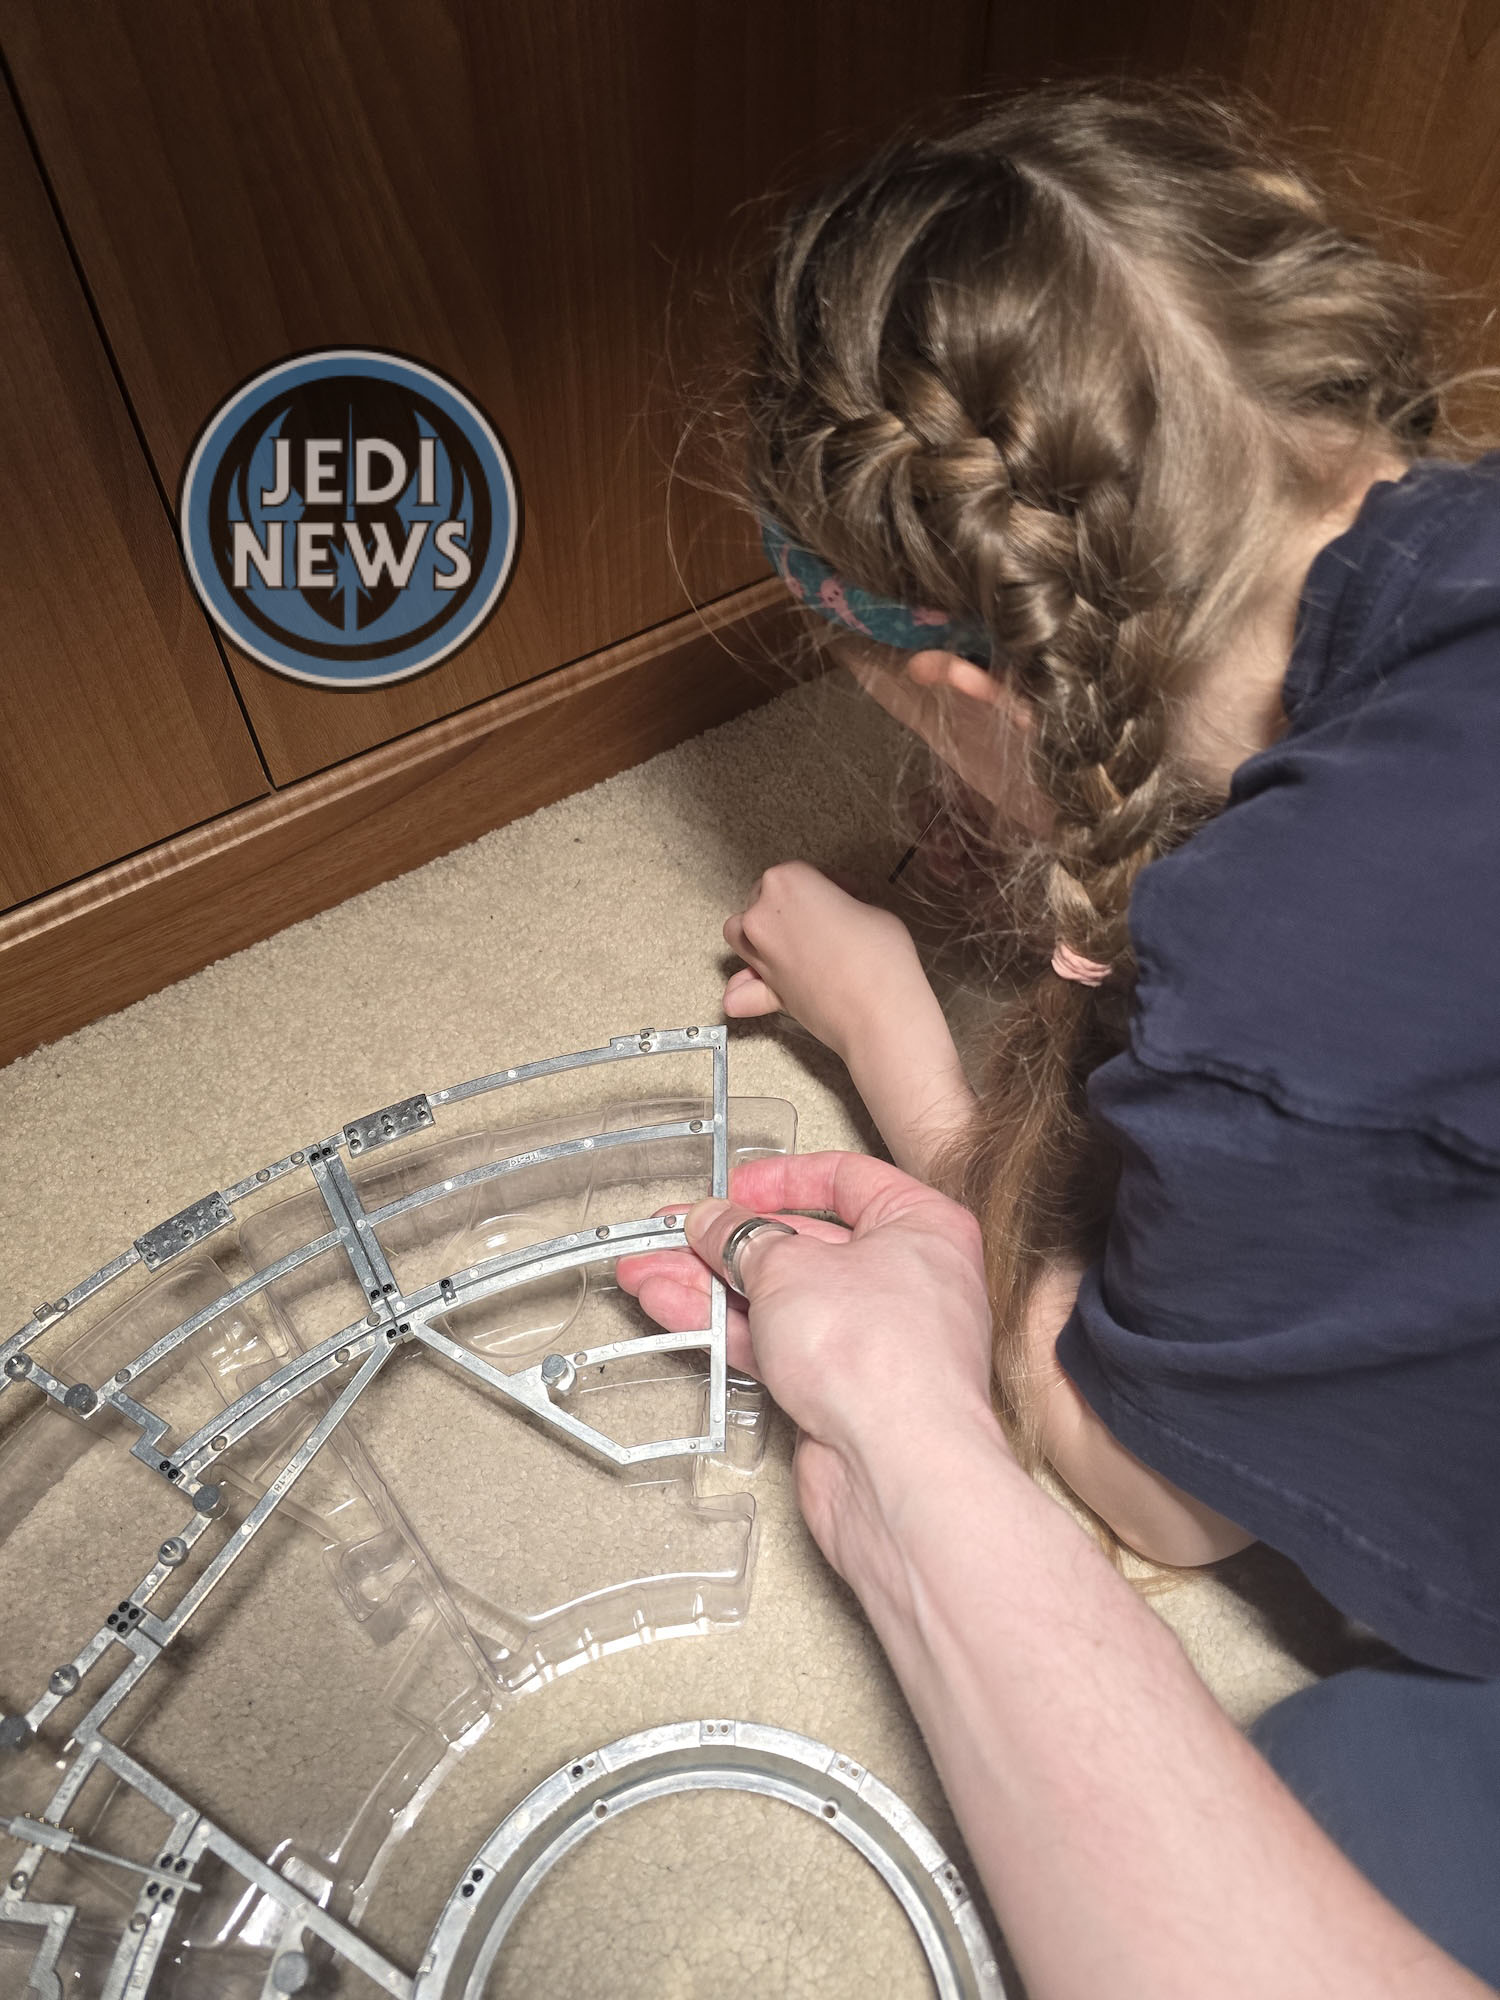
With that done, it was onto the battery pack. Ember is eight years old; stickers are her zone of expertise, and she quickly had the protective pad on and ready to the support structure. Then it was skewing the whole contraption onto the frame. It took me a moment to realise that you want to flip the assembly over before screwing it in. With that done, it was onto the next issue.
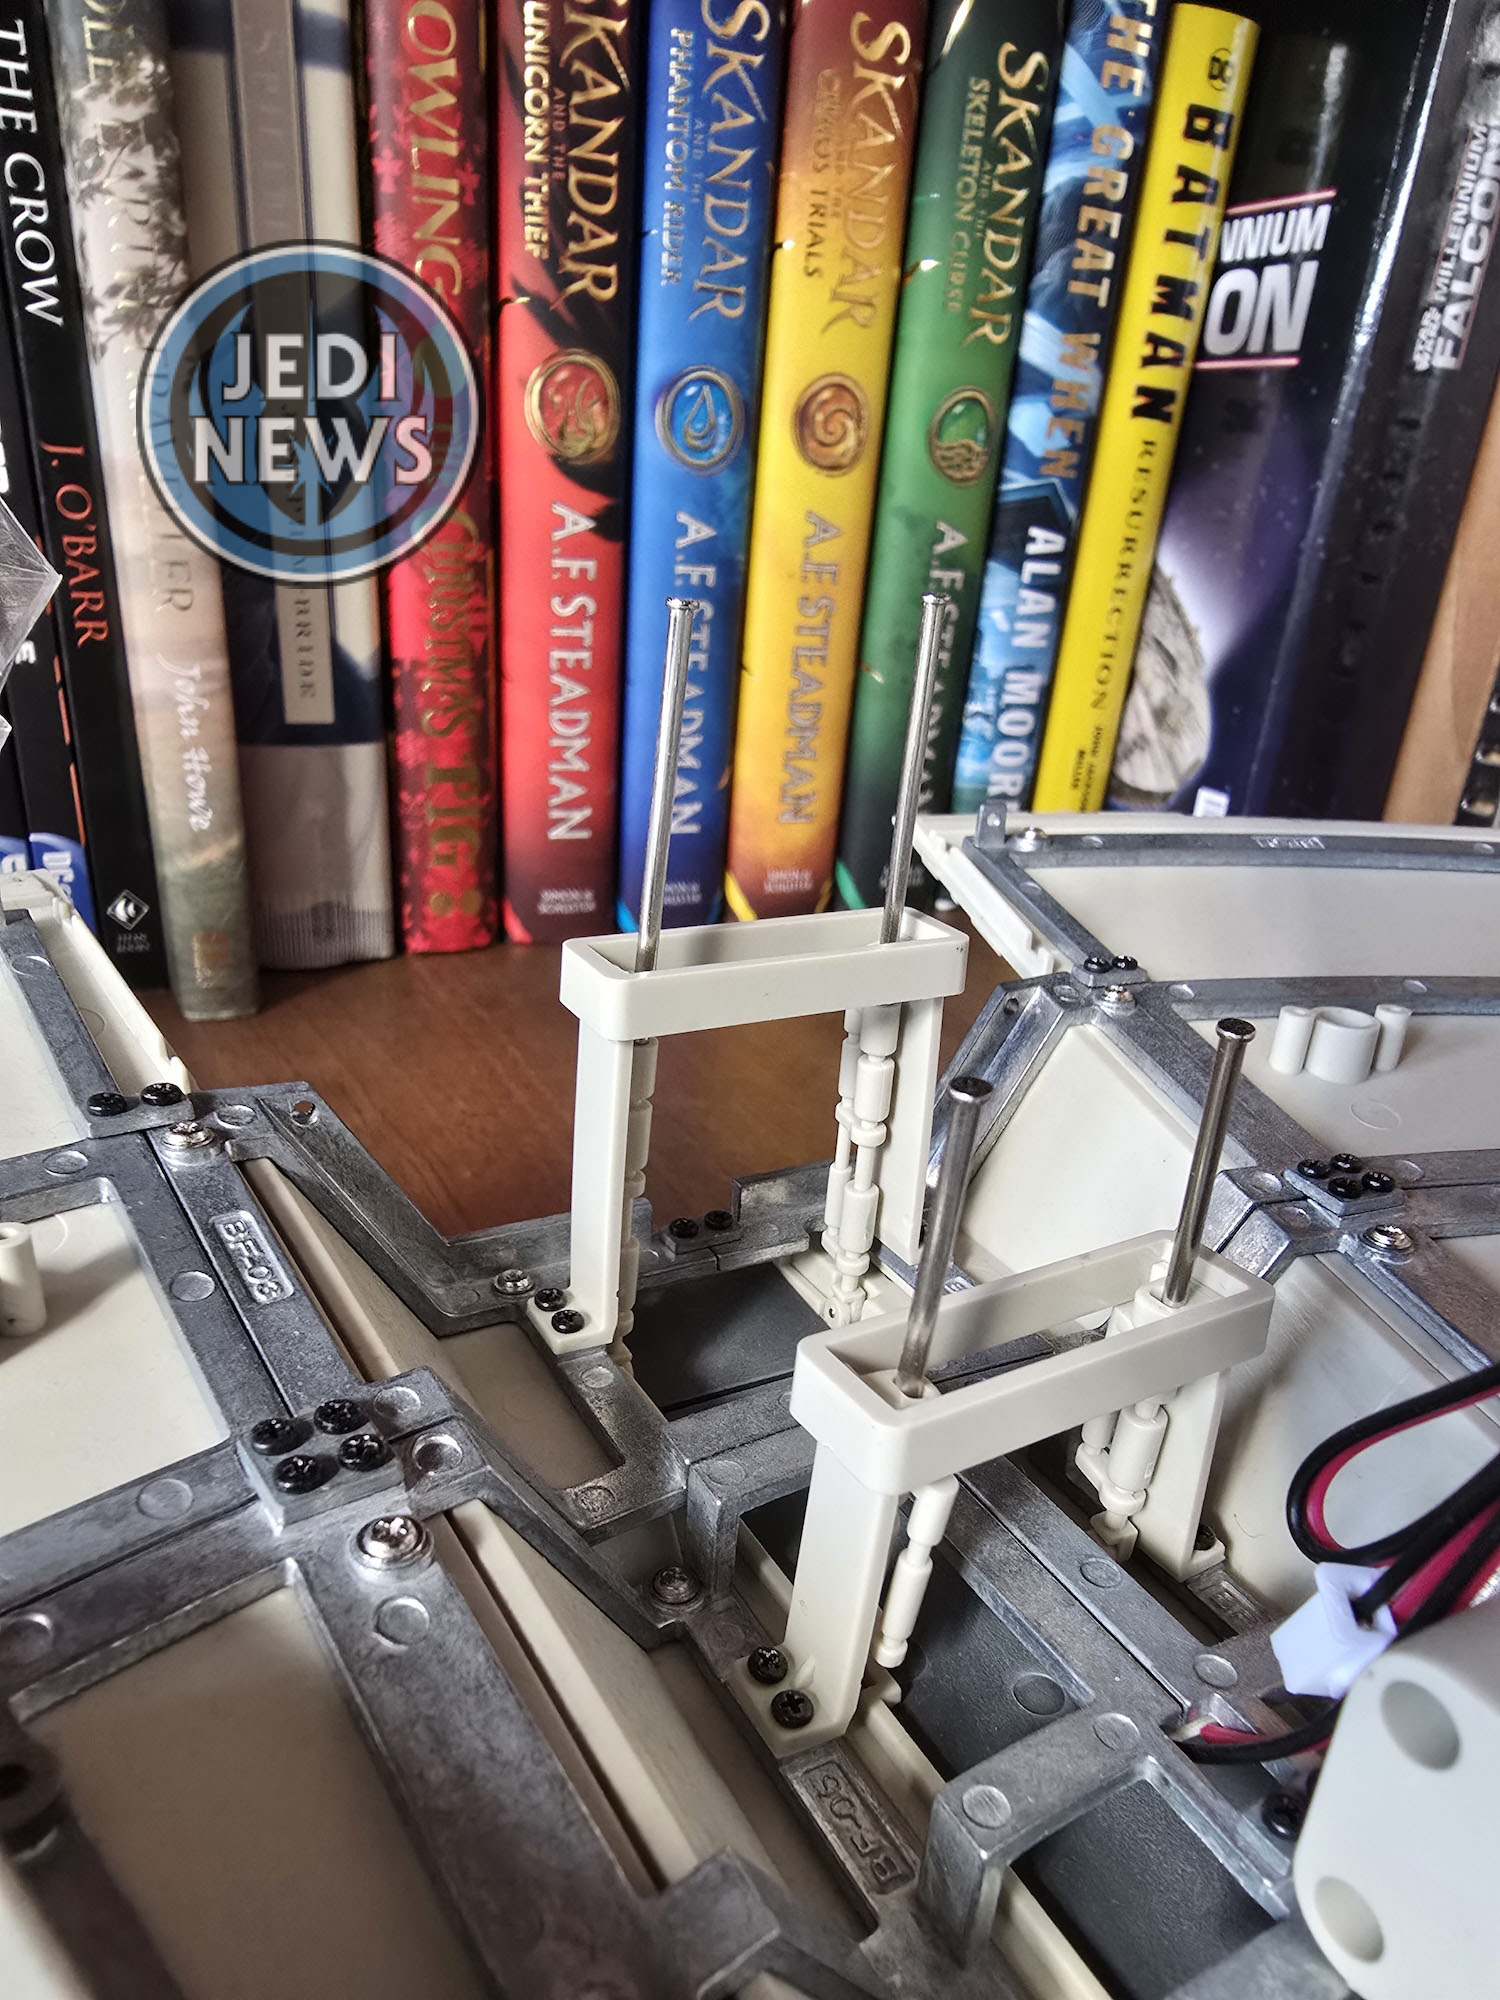
If I thought we were lacking space before, now we were having to add another section onto the jig. This was getting out of hand! Ember and I quickly assembled the rest of the frame that was needed and then we were done with the upper frame. At least for now. The next part saw us returning to the lower hull, adding some actuator braces onto the ramp. Always make sure that you read the yellow blurb under each title as I almost missed the part about gluing these on. We found that the furthest out mount was very tight and literally clicked into place. The one closer to the center of the Falcon was not tight at all and required me to move the pieces into place to make contact. The glue did the trick and held everything together.

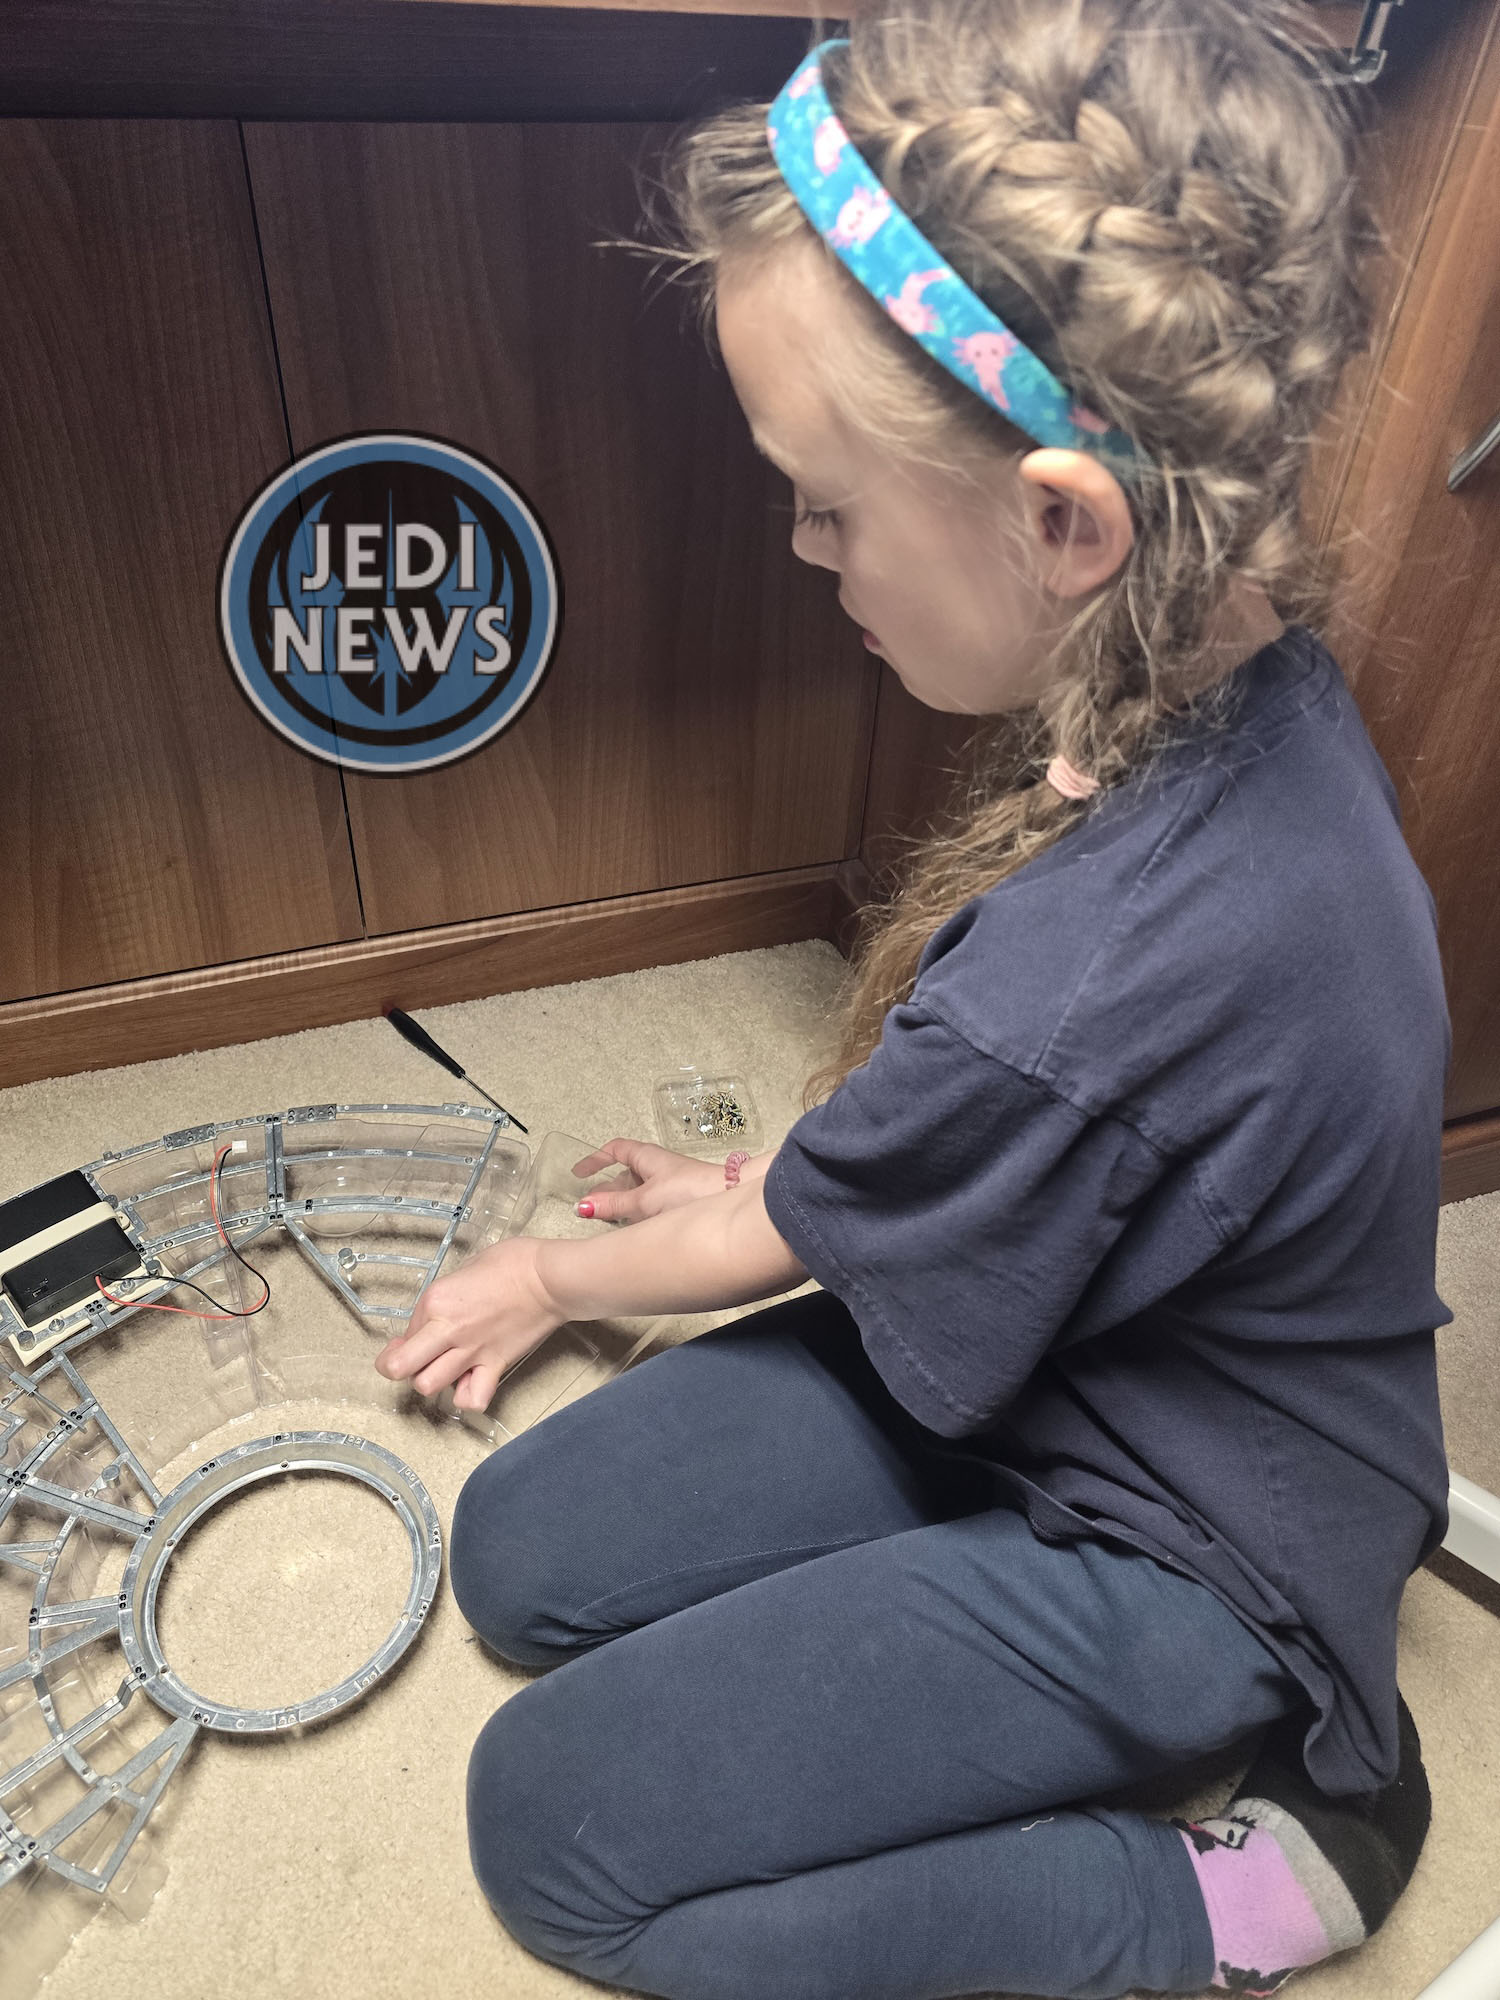
Finally, the recesses that I had undercoated earlier were screwed onto the lower frame. Because of how this was done, we didn’t need to flip the Falcon, which was certainly a good thing as we had the lower hull on our work area and the upper hull on the floor! I had Lando echoing in my ear about running out of room!
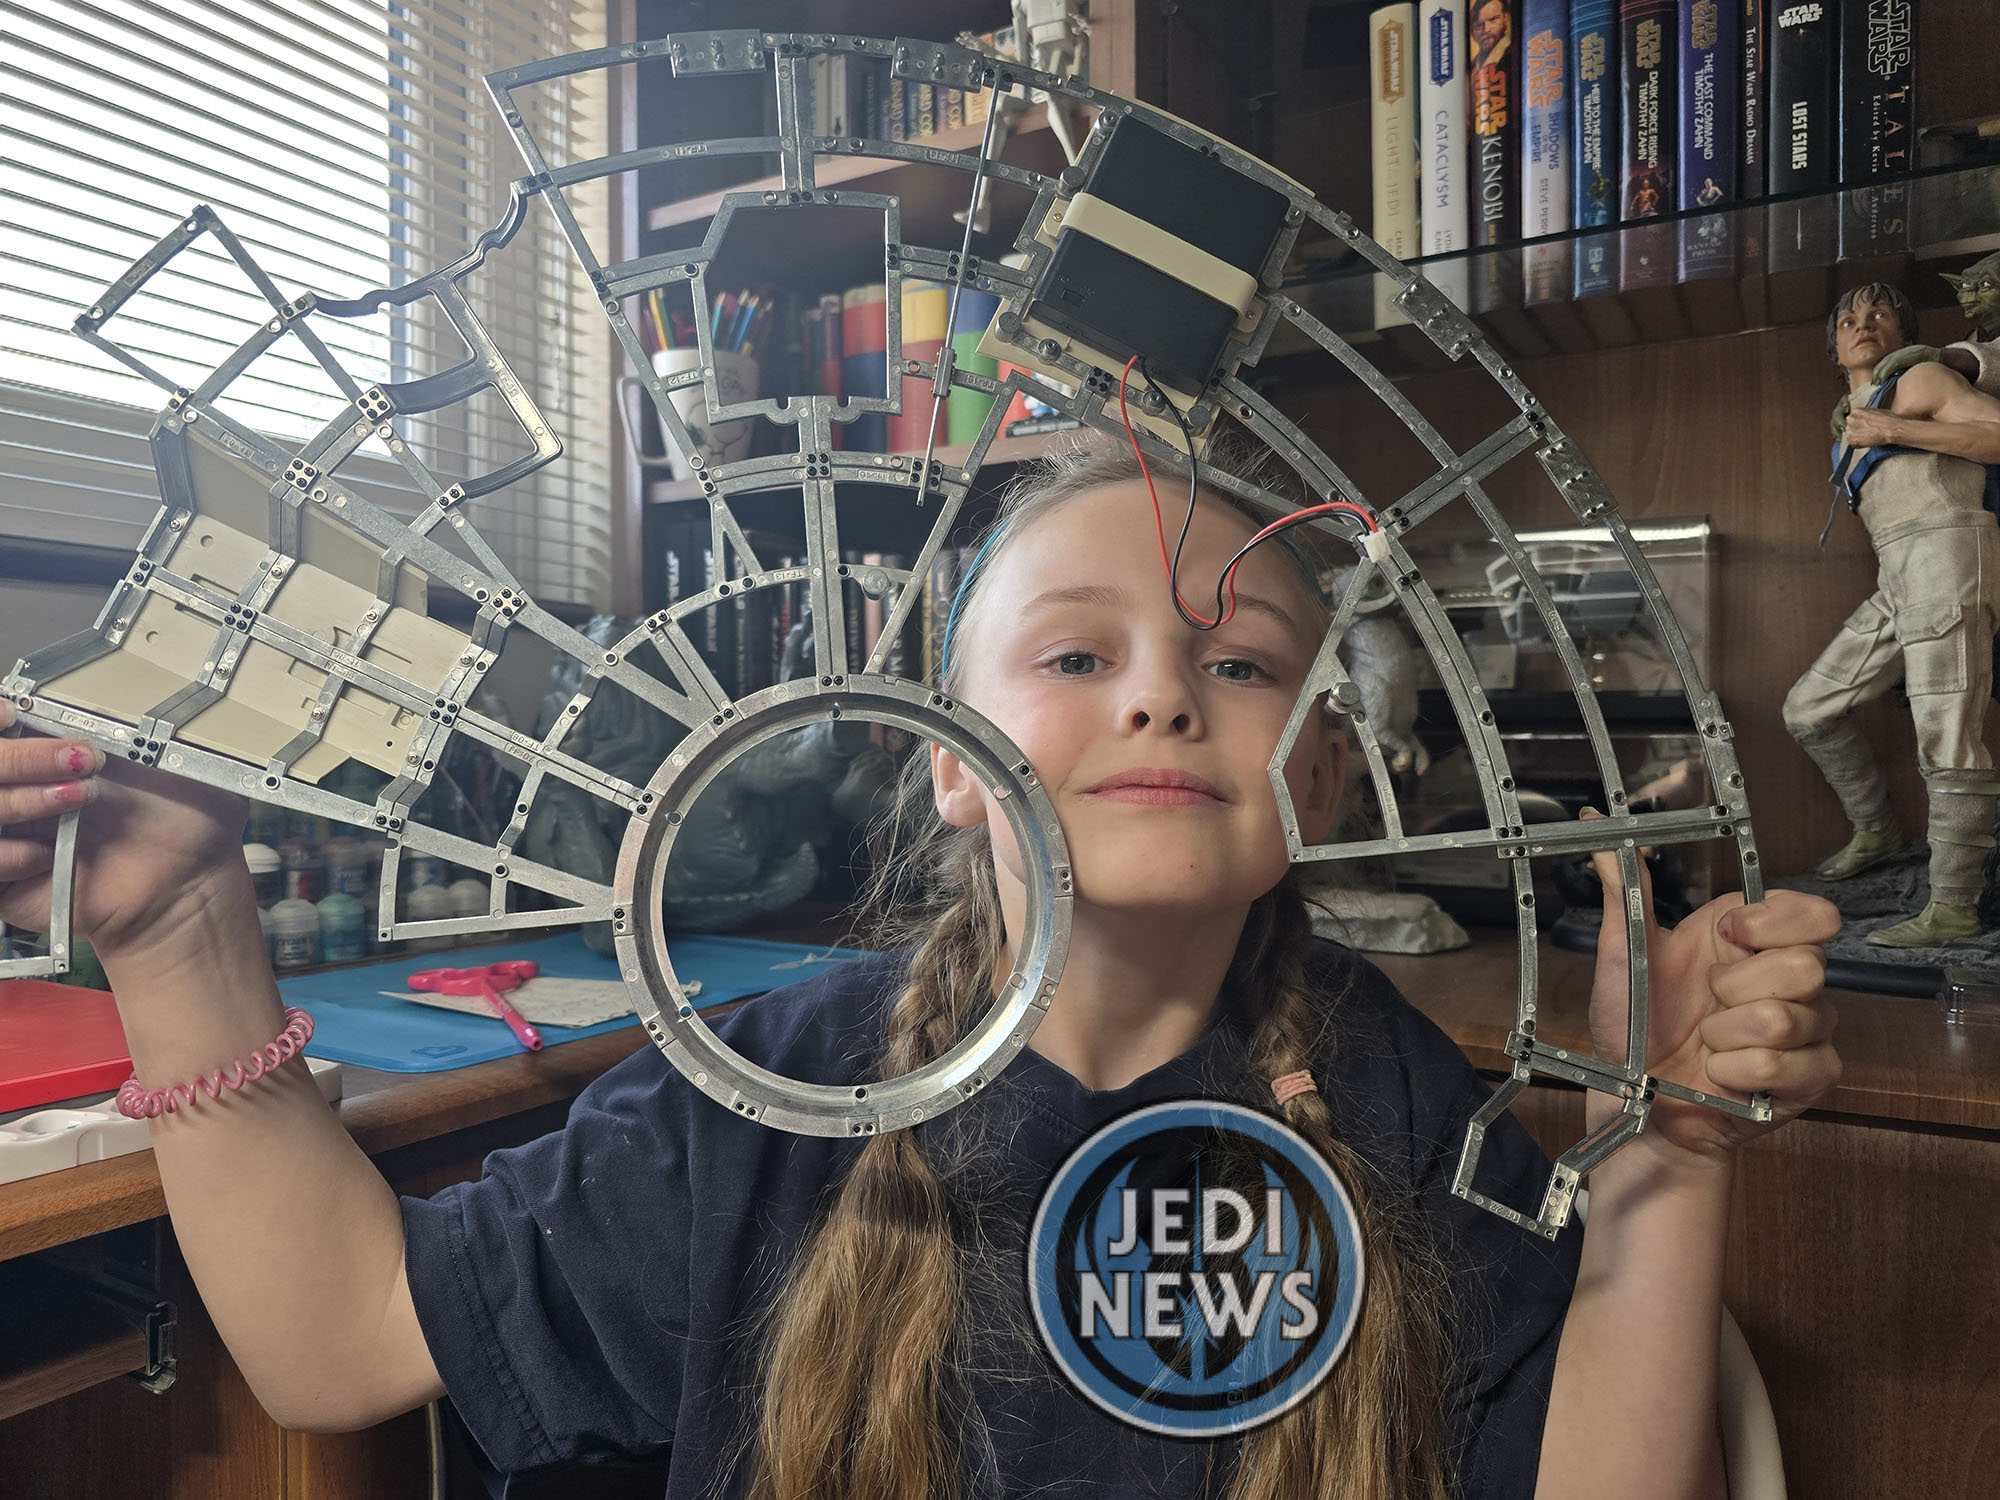
Issue fifty-five felt very short and I’m glad we combined it with the previous installment. The first I think we could have happily done by itself as Ember was flagging a little towards the end. All the quick movement around was not helpful for her and it reminded me why I try to be prepared when doing a project like this with a child. Because of that, I was also a little flustered and some of the instructions weren’t quite as clear as they have been previously. When I carefully reread them, they made sense. If you skim the pages though, it would be easy to make some silly mistakes. Only my knowledge of what we had done previously made me realise my mistakes before they became a problem. All in all, two issues I have enjoyed but now I need to go and figure out how I’m going to get more space!
