



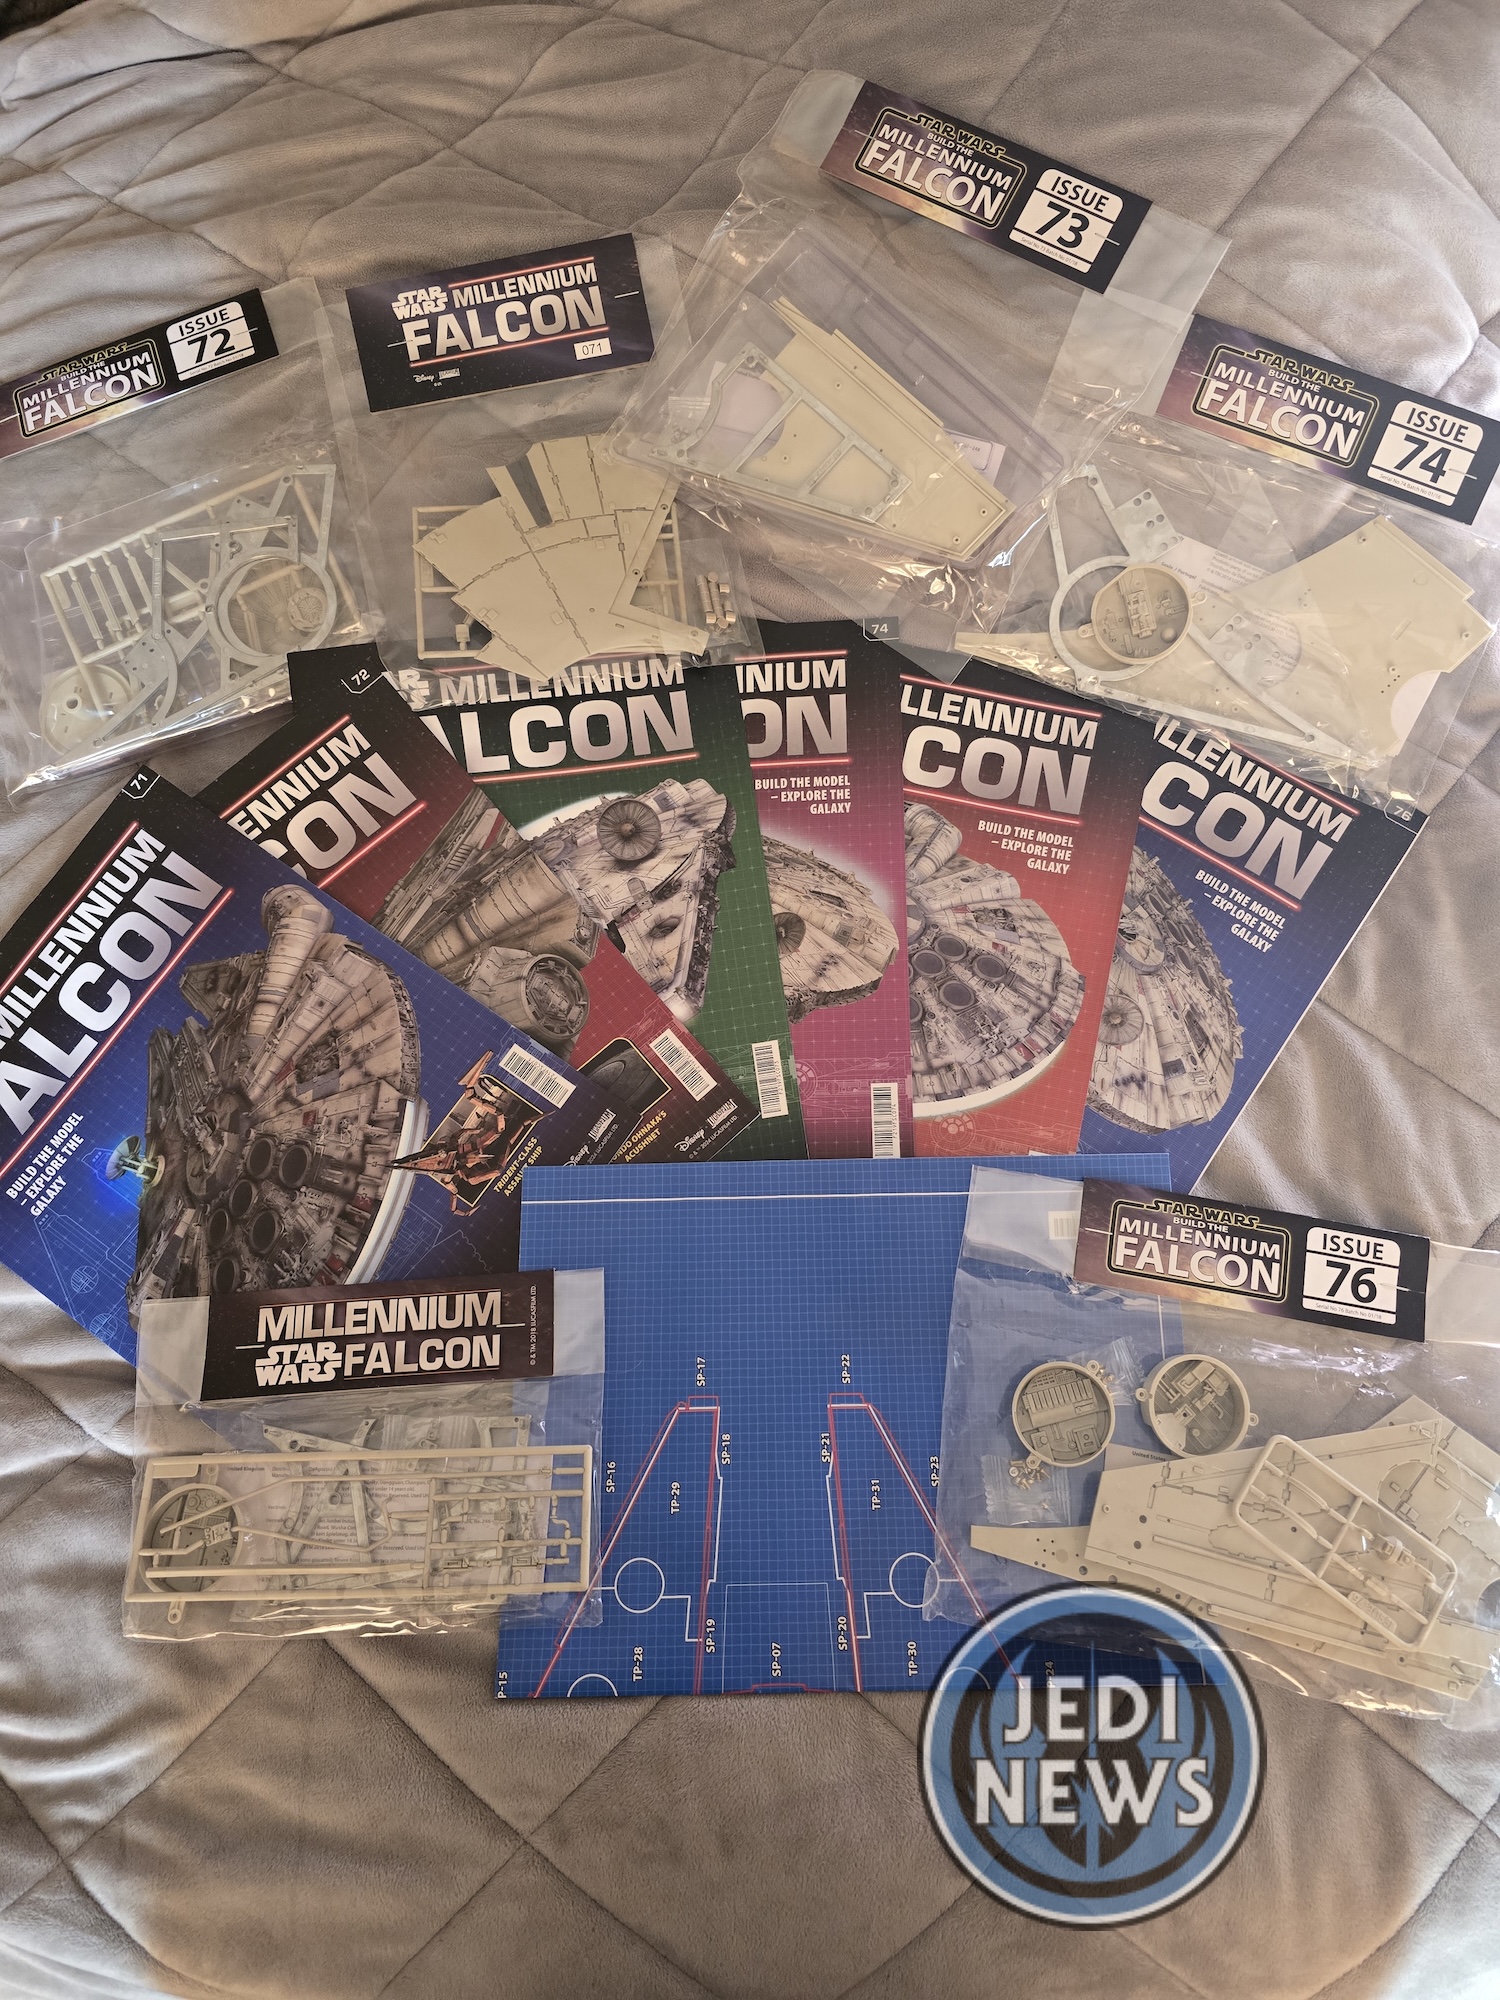
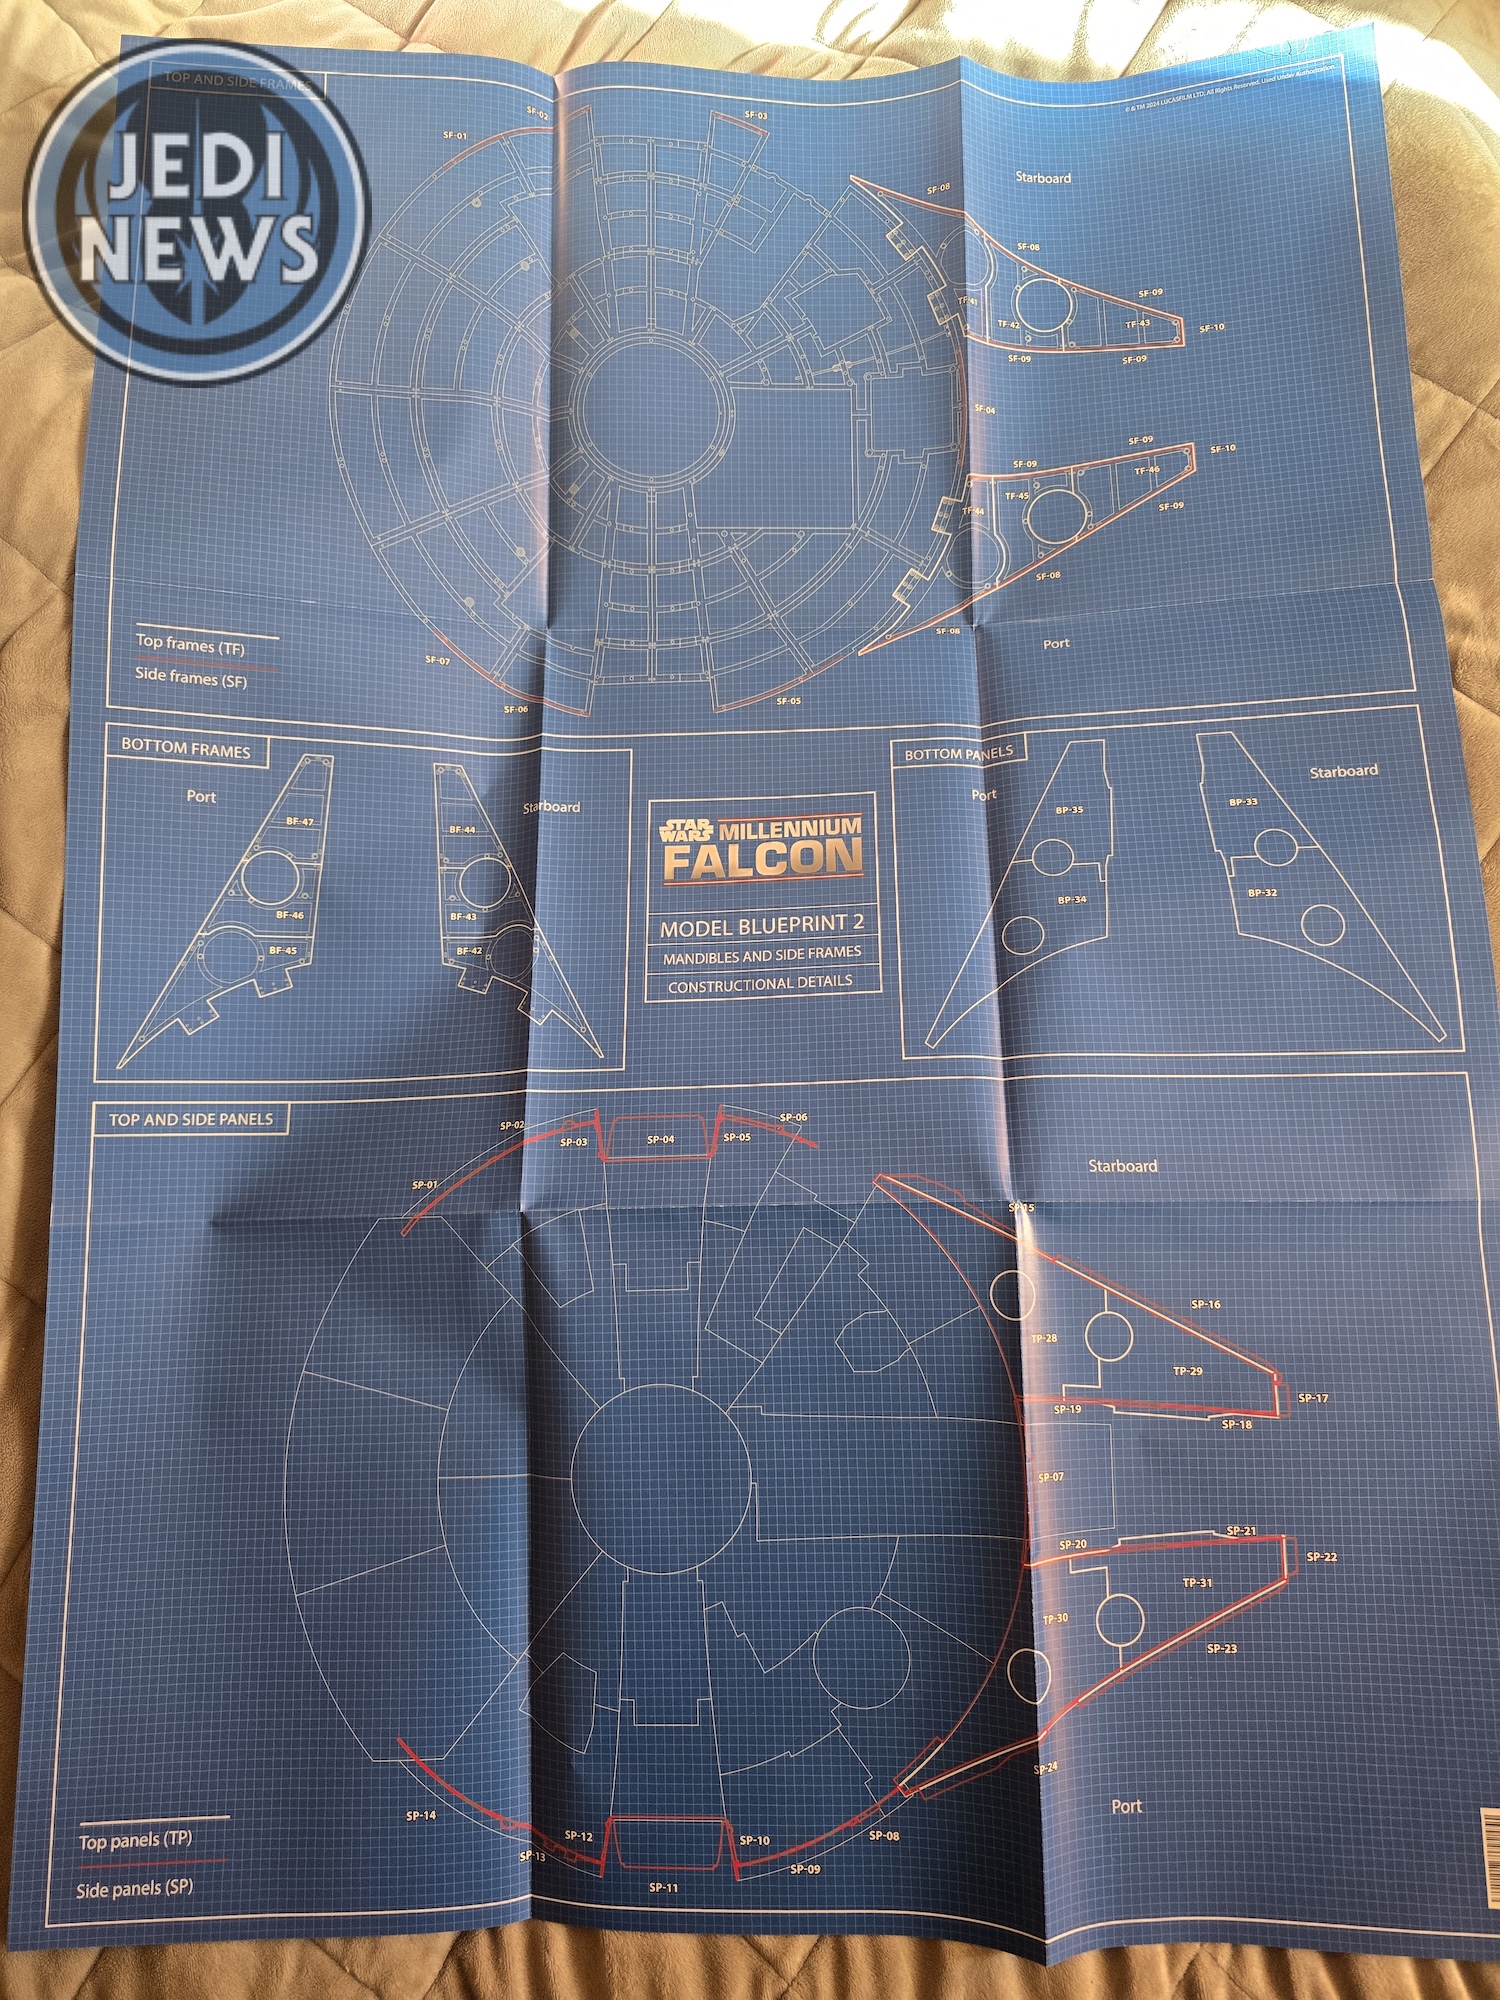
A new delivery, a fresh box, the start of five new issues. I say five but it’s actually six. This box was delivered without issue 71, meaning that there would have possibly been a delay in building if there hadn’t been the delays a couple of times before. Thankfully, when the box of missing issues arrived, 71 was included, meaning no delays! The box had everything expected but also an addition: model blueprint part two. It’s clearly for referencing parts for the mandibles and dome of the outer rim of the ship but I’m sure it will be referred to in one of the magazines that has been delivered.
The last delivery had ended with Ember – my eight-year-old daughter and co-pilot on this project – and myself adding detail to the plate that fits between the mandibles. I was not too sure where we would be heading next, but I was eager to carry on with our journey. This issue marks the two-year anniversary of when Ember and I first started this project. There has been one delay but apart from that, this project has been a huge project that we have been able to enjoy and learn together. The fact it is lasting this long really is a testament to what you get for your money. Yes, it is a lot, but it’s something that lasts a long, long time. When we started Ember was six and the fact that she will be turning nine soon really shows how much she has grown with the project itself.
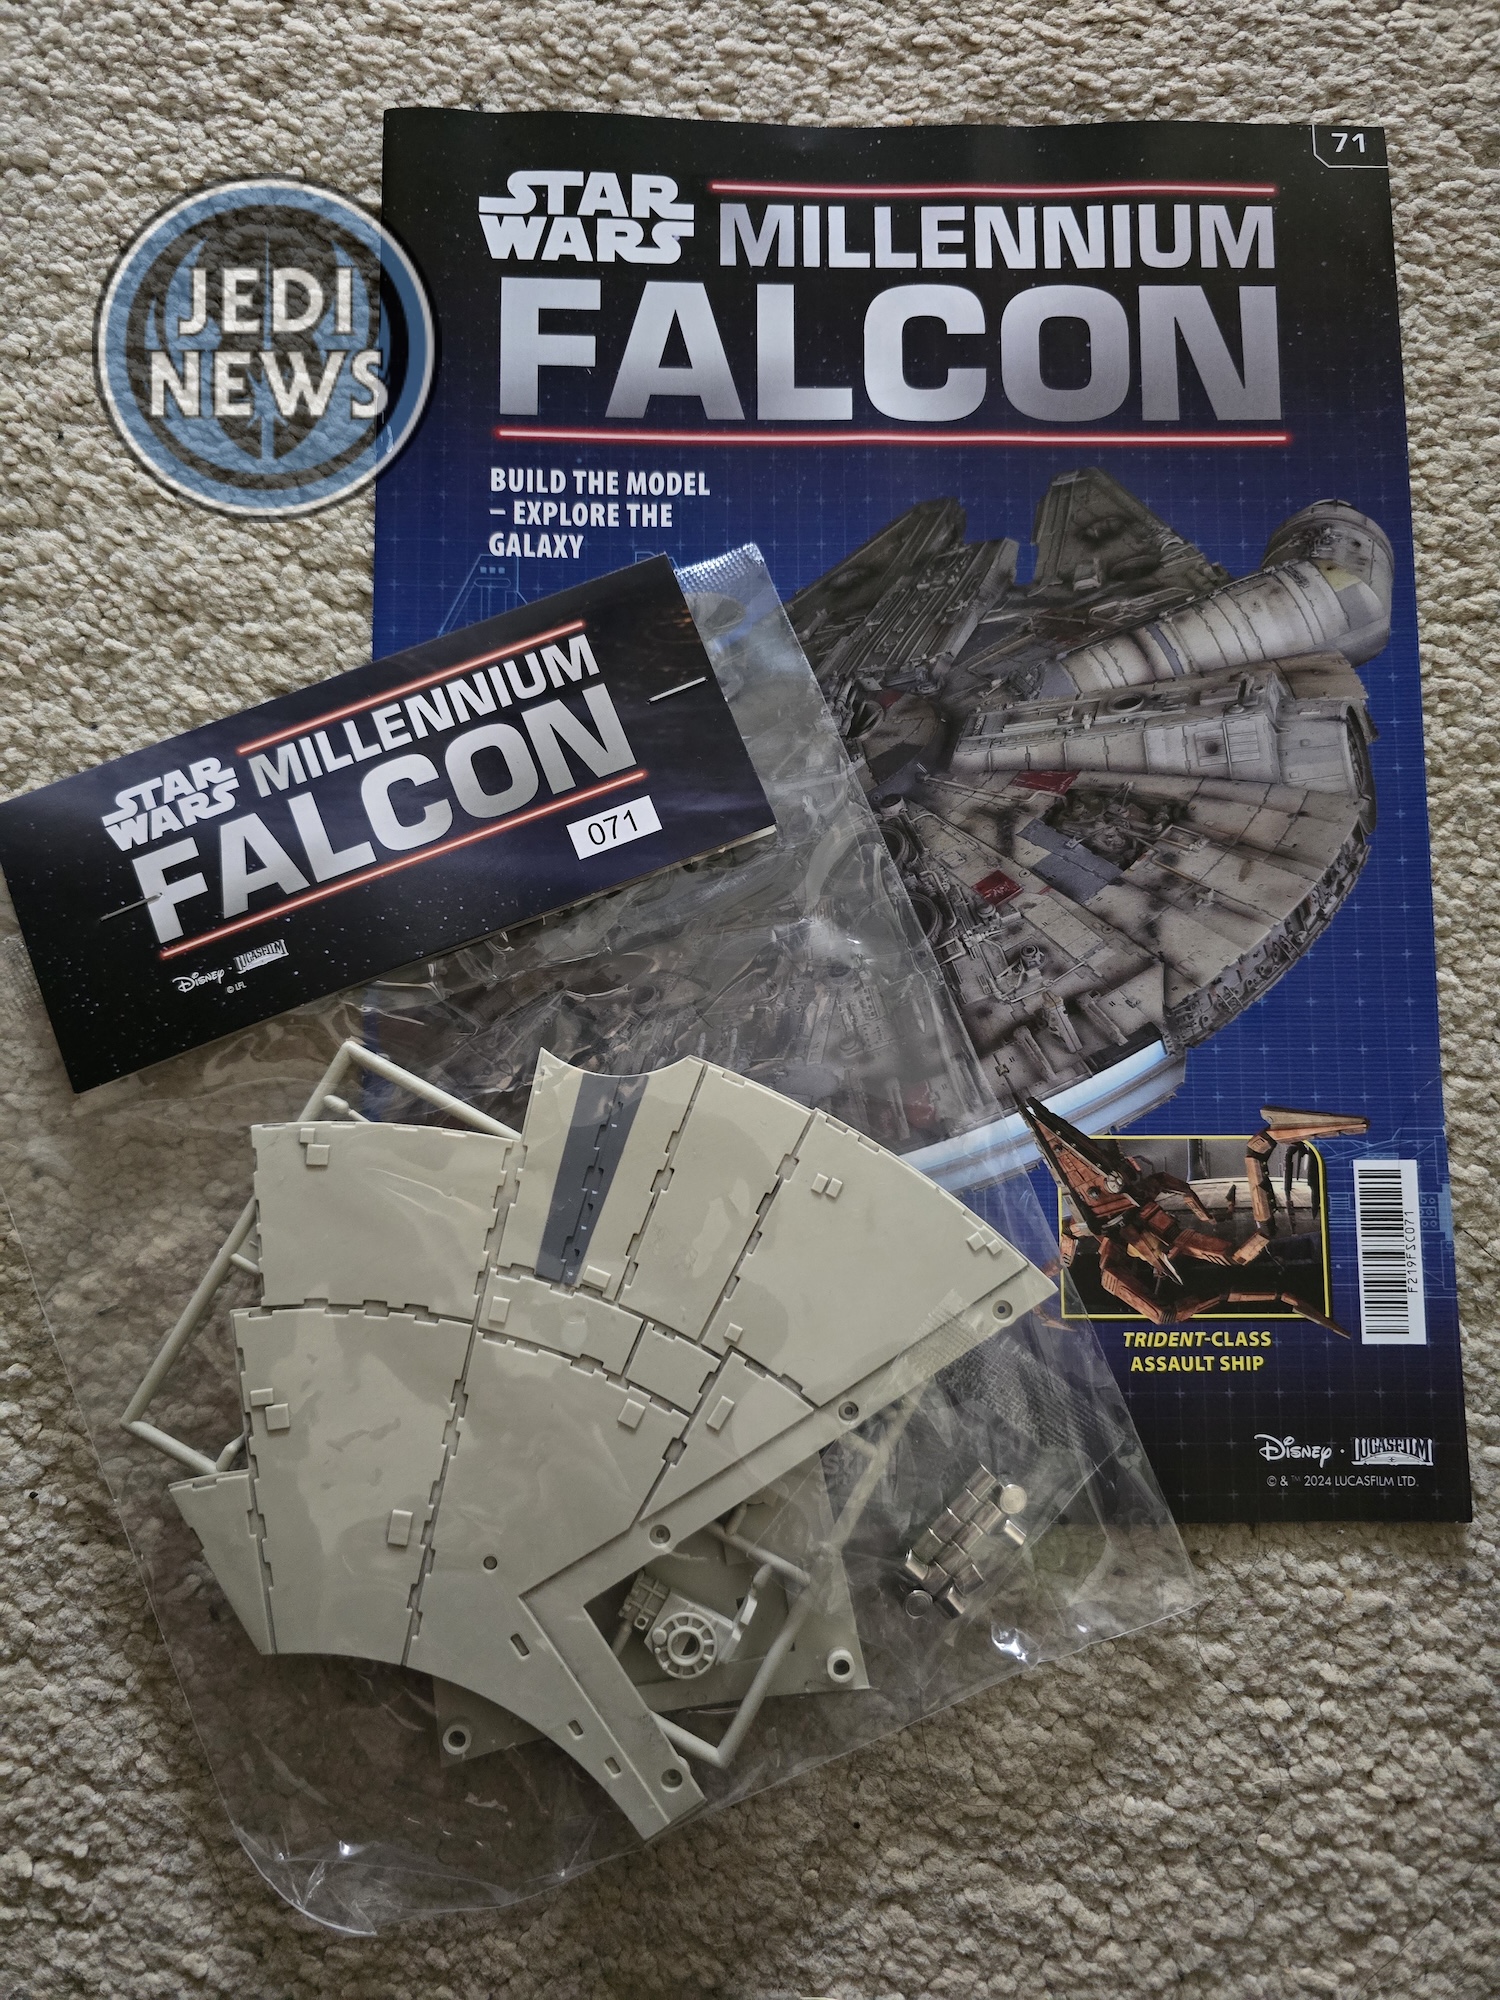

With no idea where we were heading with this installment, I scouted ahead to prepare anything that might cause Ember and me any trouble. Last delivery, I remember some of the magazines being very short in terms of building, yet this next installment more than made up for it. This was going to be a busy issue! First, we would be adding magnets to the piece we did in the last installment, then assemble the cover (with more magnets, screws and some gluing), then add on even more details and finally add even more magnets. A total of forty-six steps in all. While nothing needed preparing – it rarely does in these latter magazines – that was a lot of different things to do. It was definitely going to keep Ember and me on our toes!
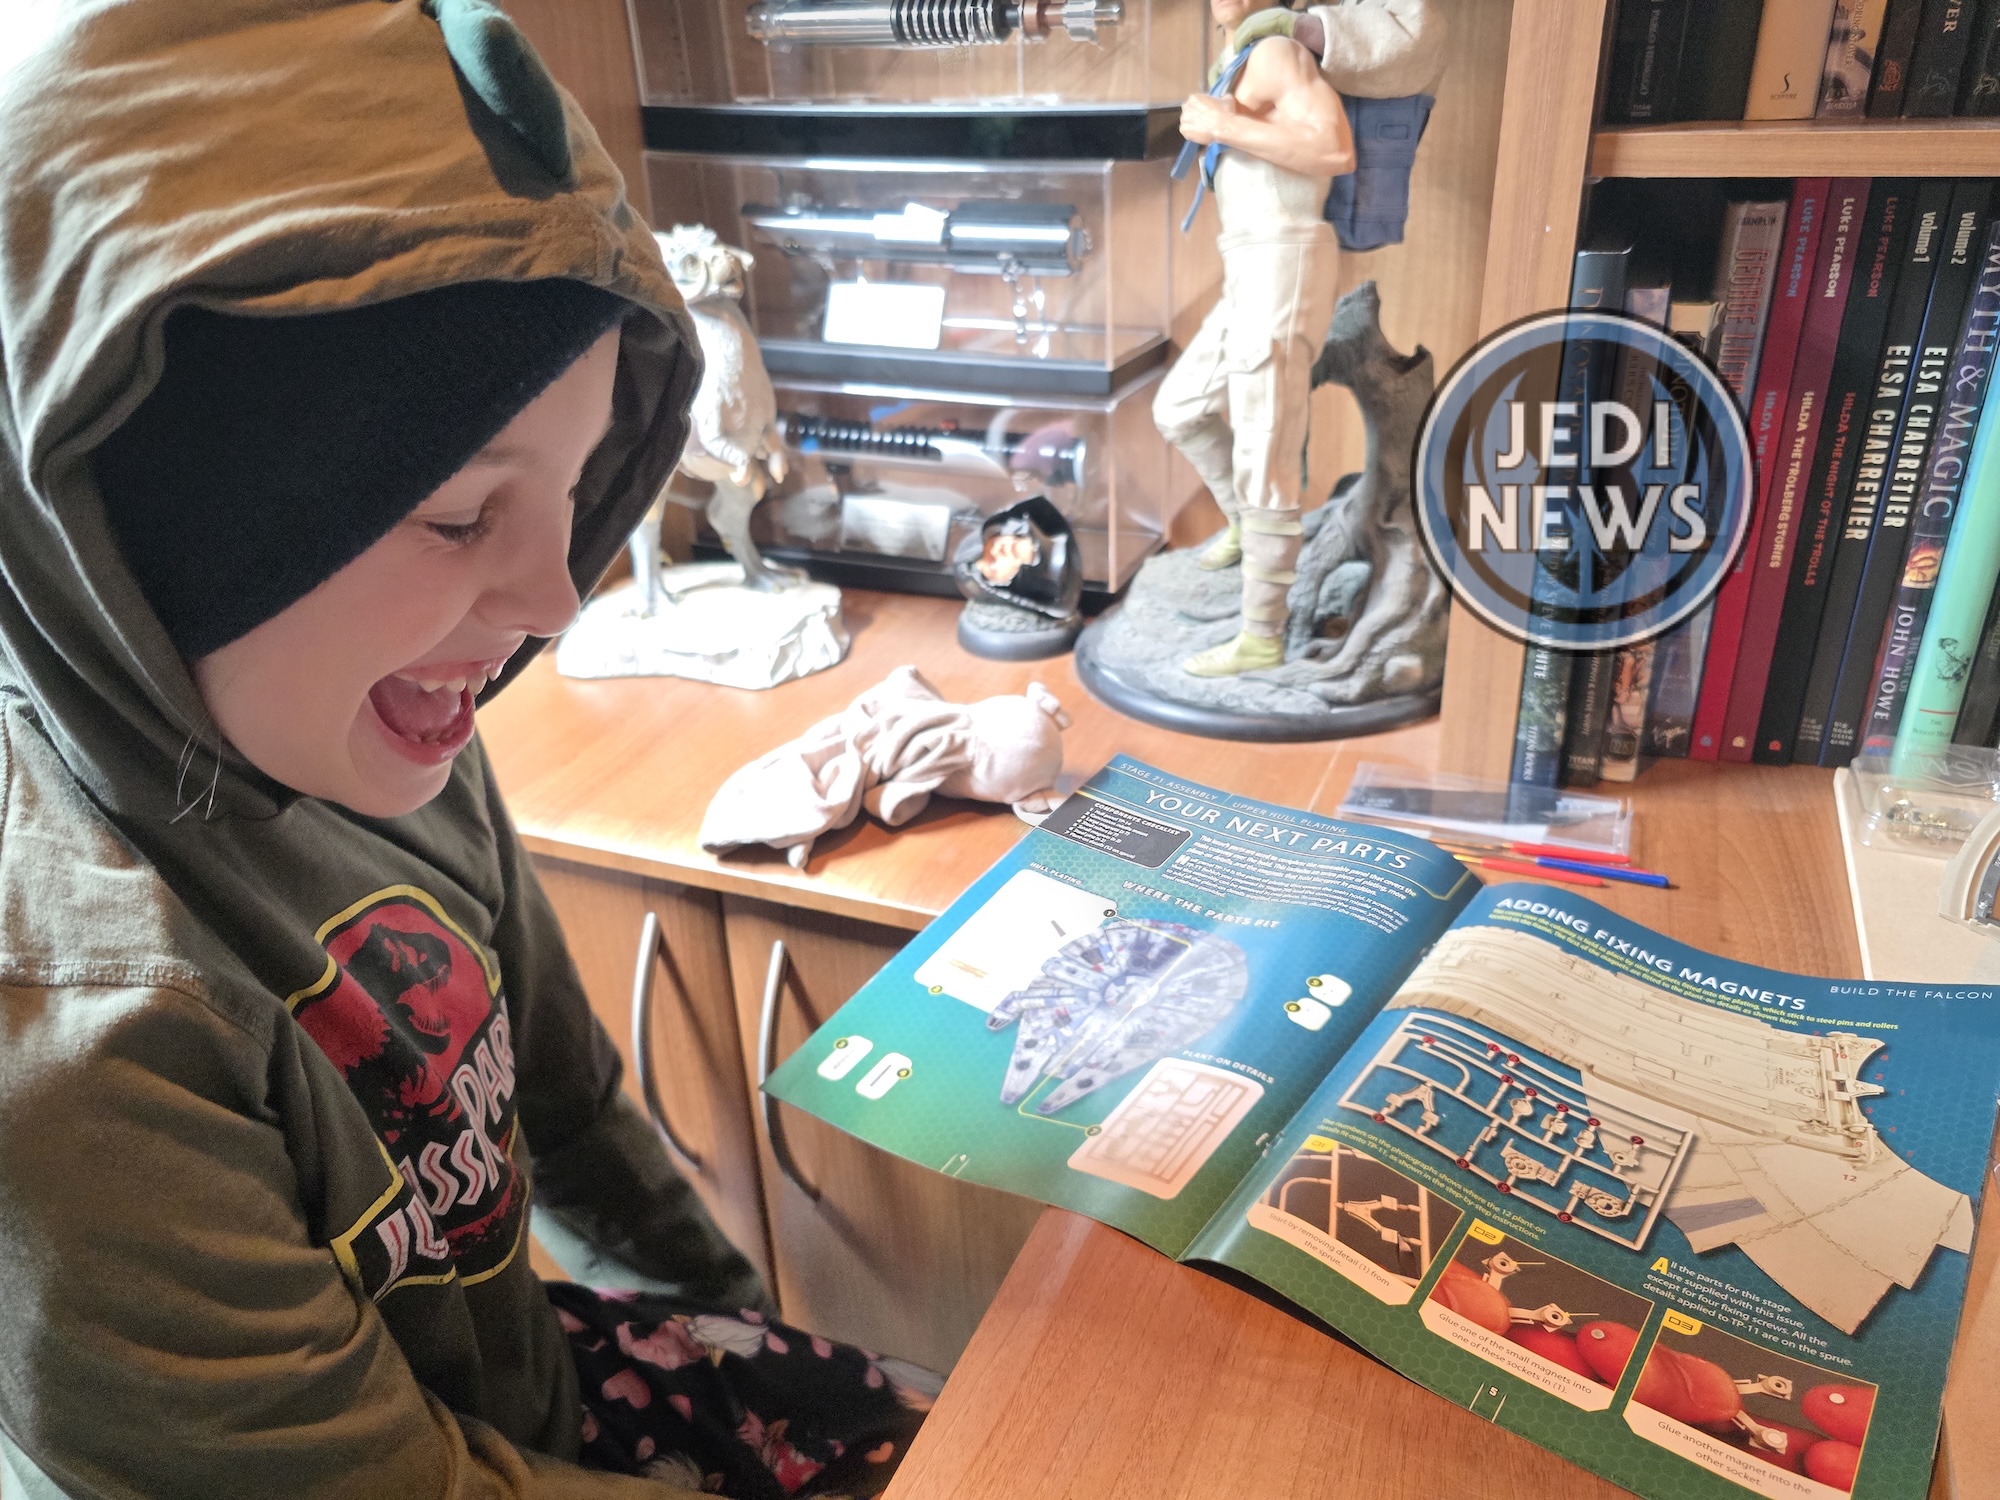
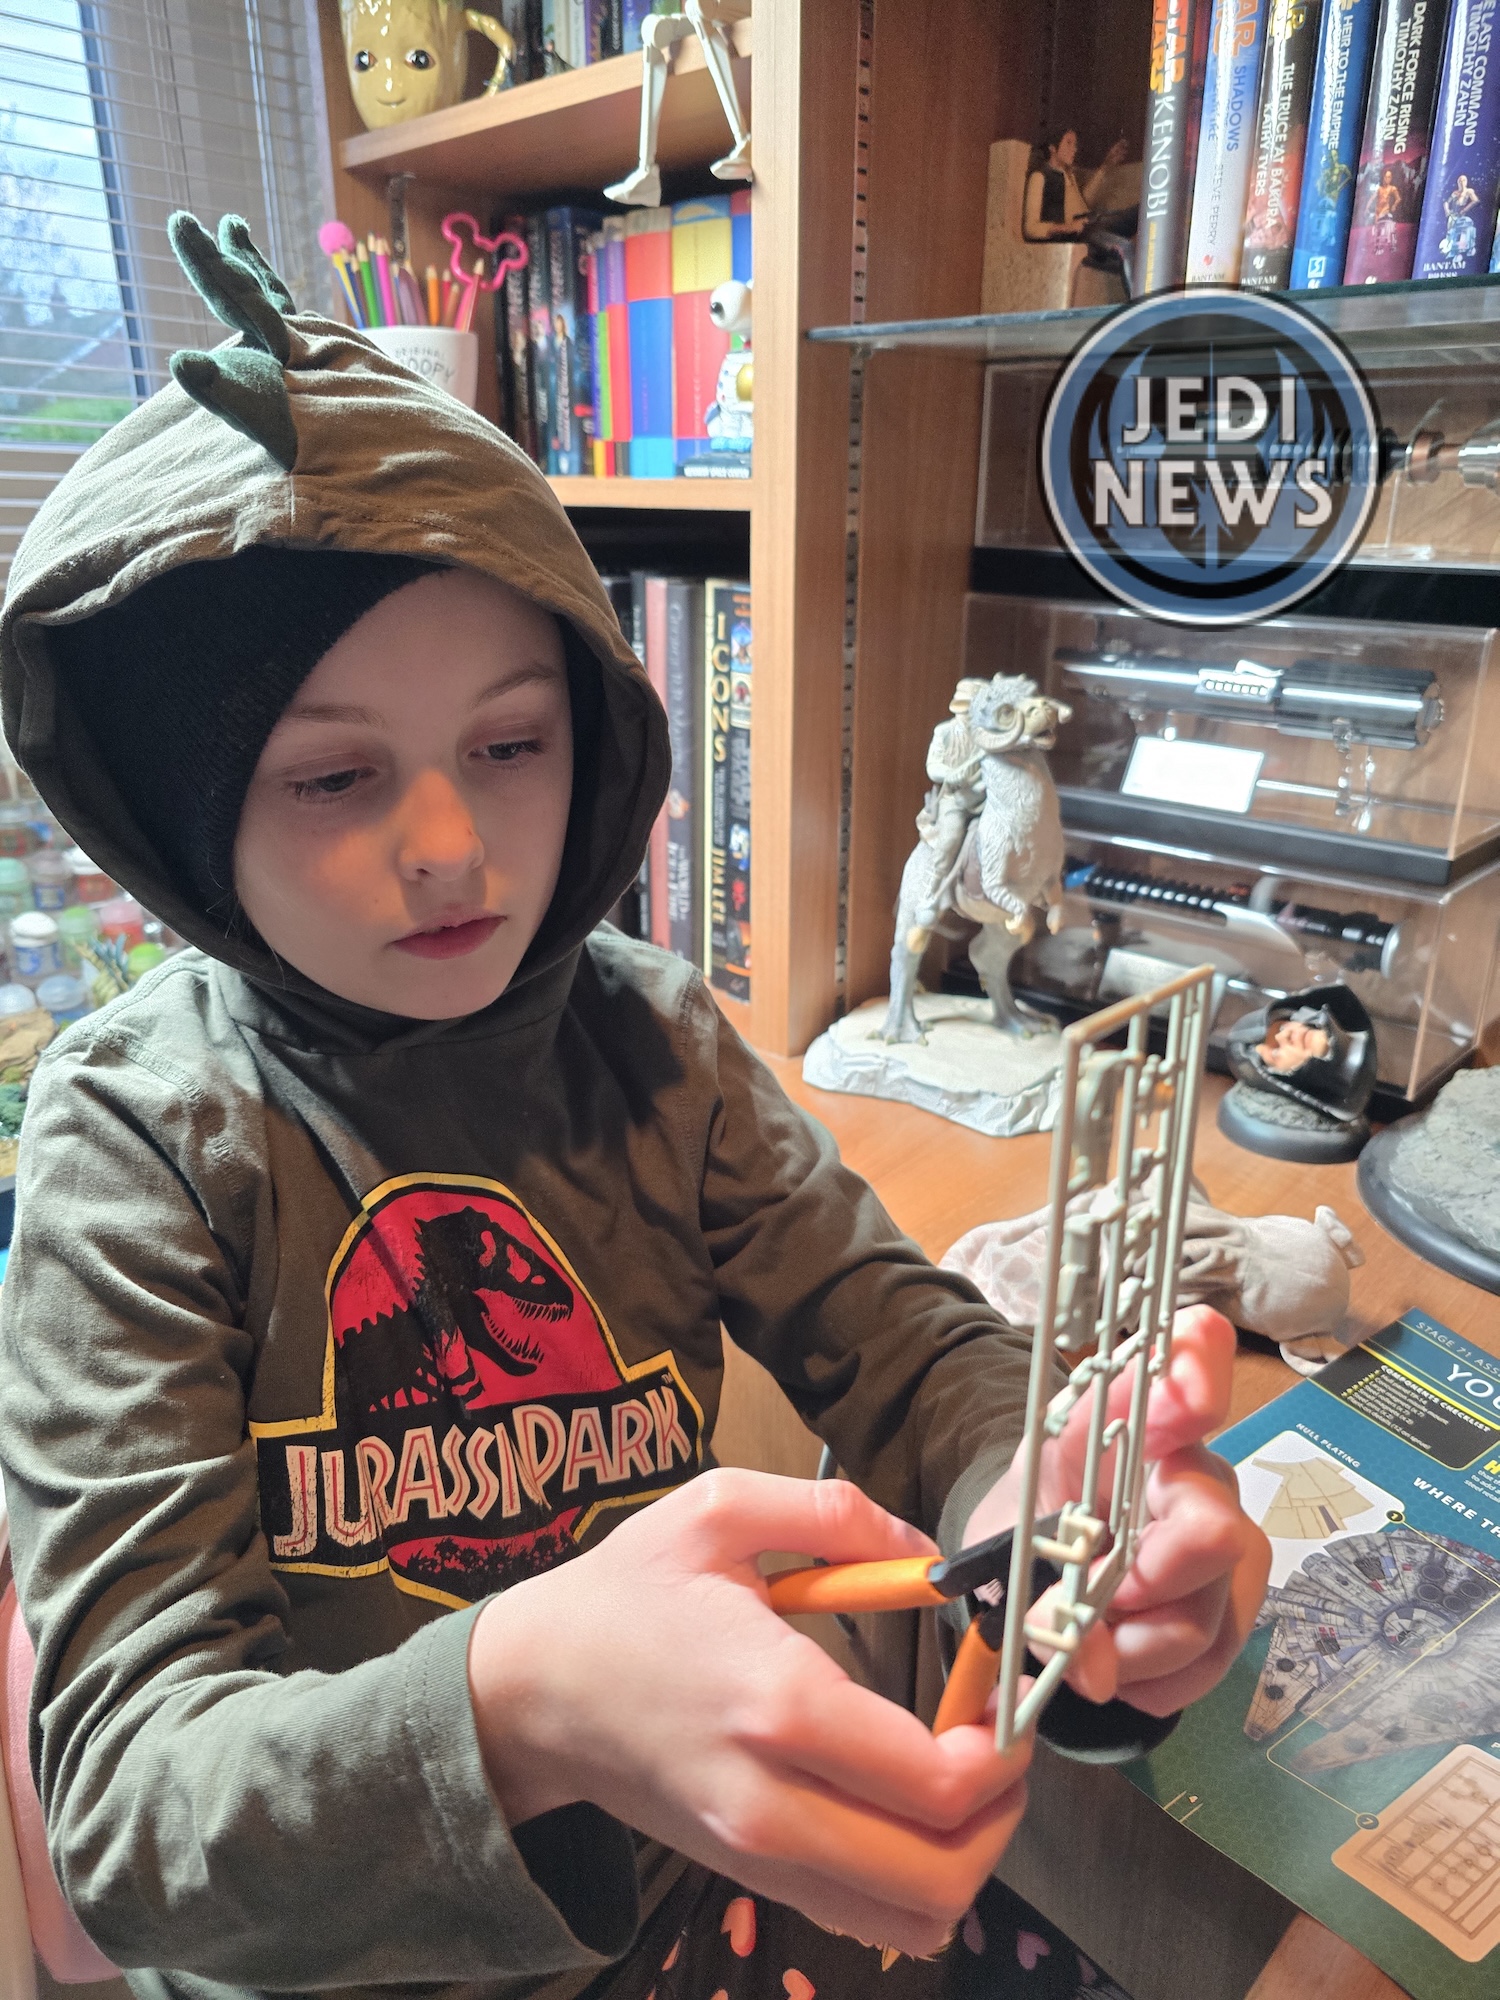
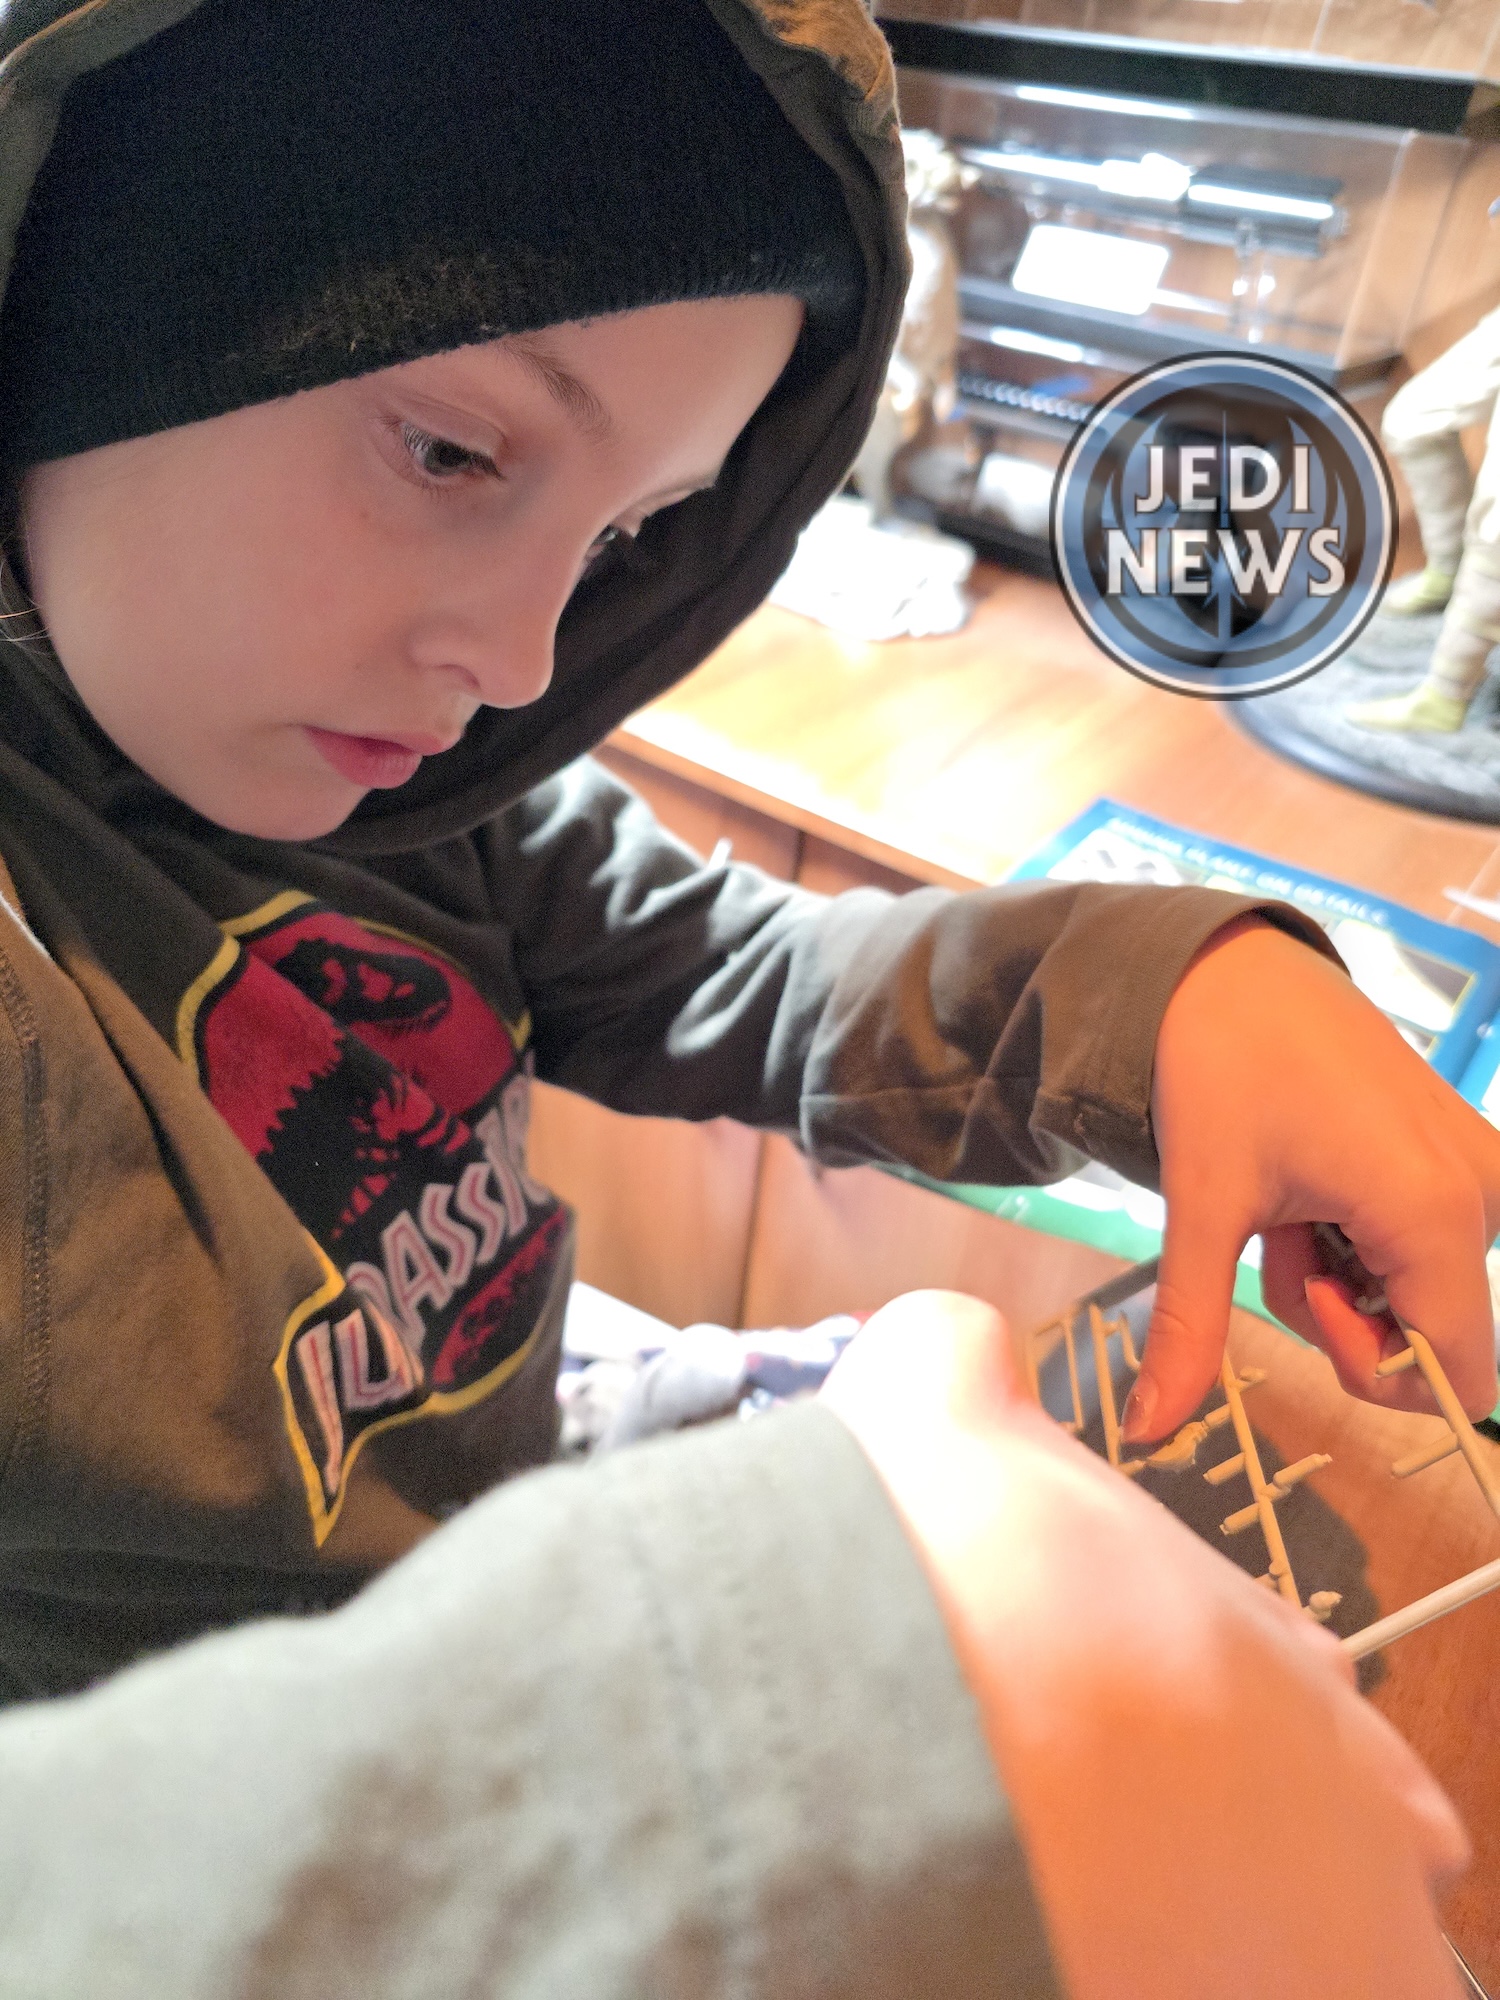
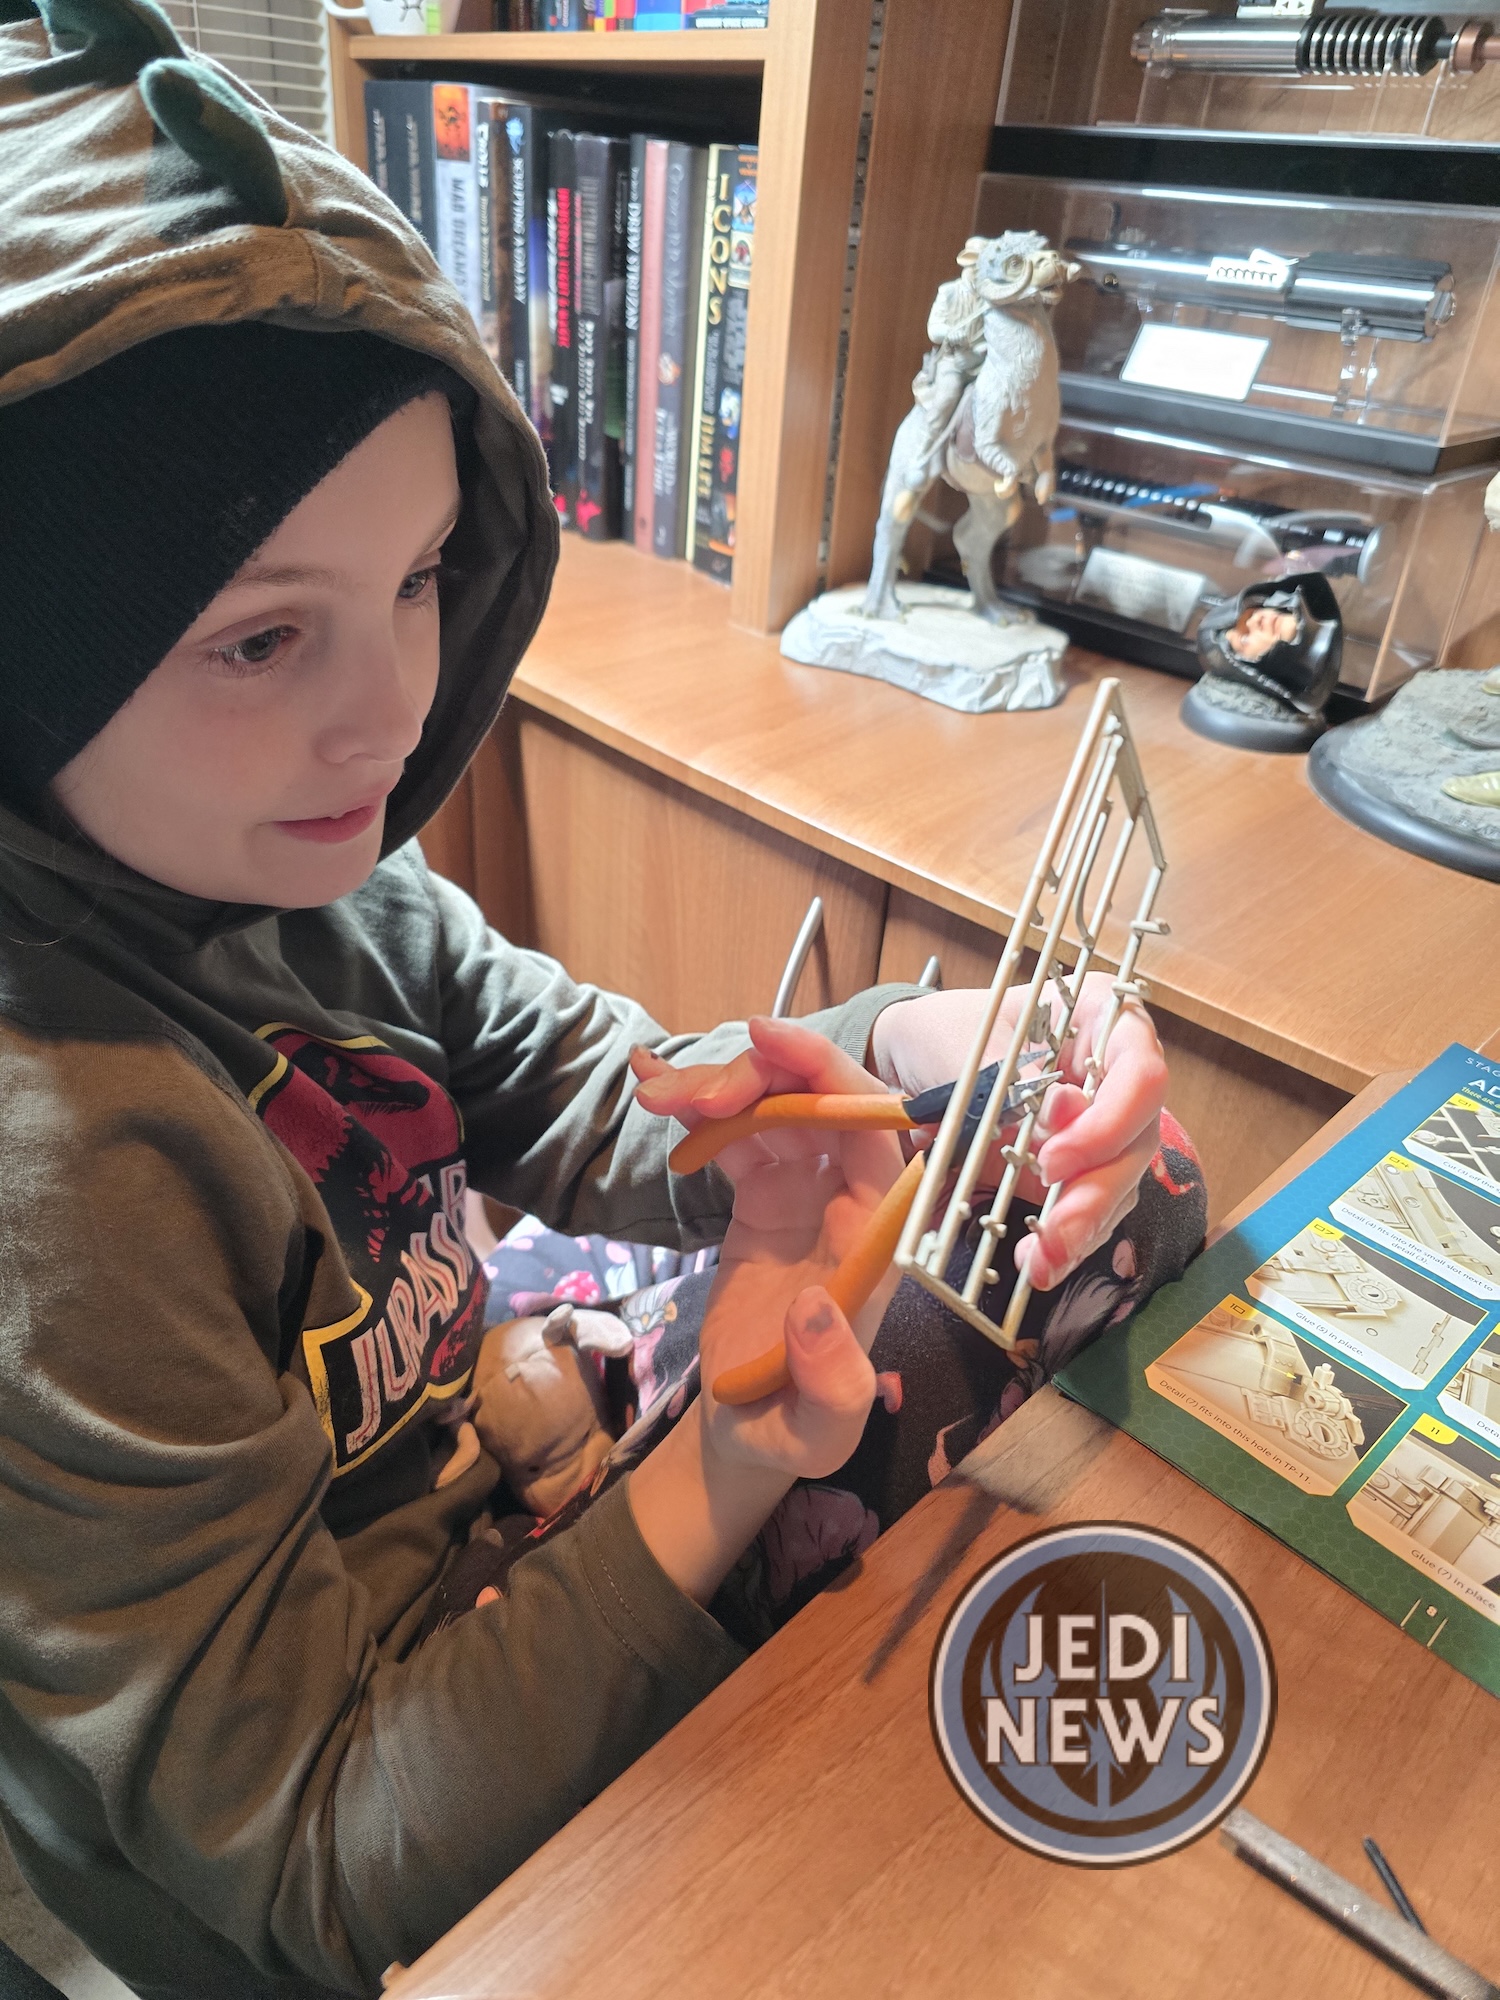
With nothing much to do, it was time to get all the pieces, my clippers and glue, and sit down with Ember and see how we got on with it all. It started all fine, Ember was straight away clipping the first piece, filing it and then handing it to me to fit the magnets. Now there is a slight issue with the magnets, they’re tight to fit. Now of course, you sort of want them to be tight to keep them in, but they were a little overtight. I had to file some of the plastic to ensure that they would fit. I ended up having to push them down onto some wood to make sure that they sat flush. Not too big of a deal and when they were flush, I was rather pleased with it. Screwing the two pieces of the covers together was also straight forward. Ember knew what she was doing and the two pieces came together in no time.
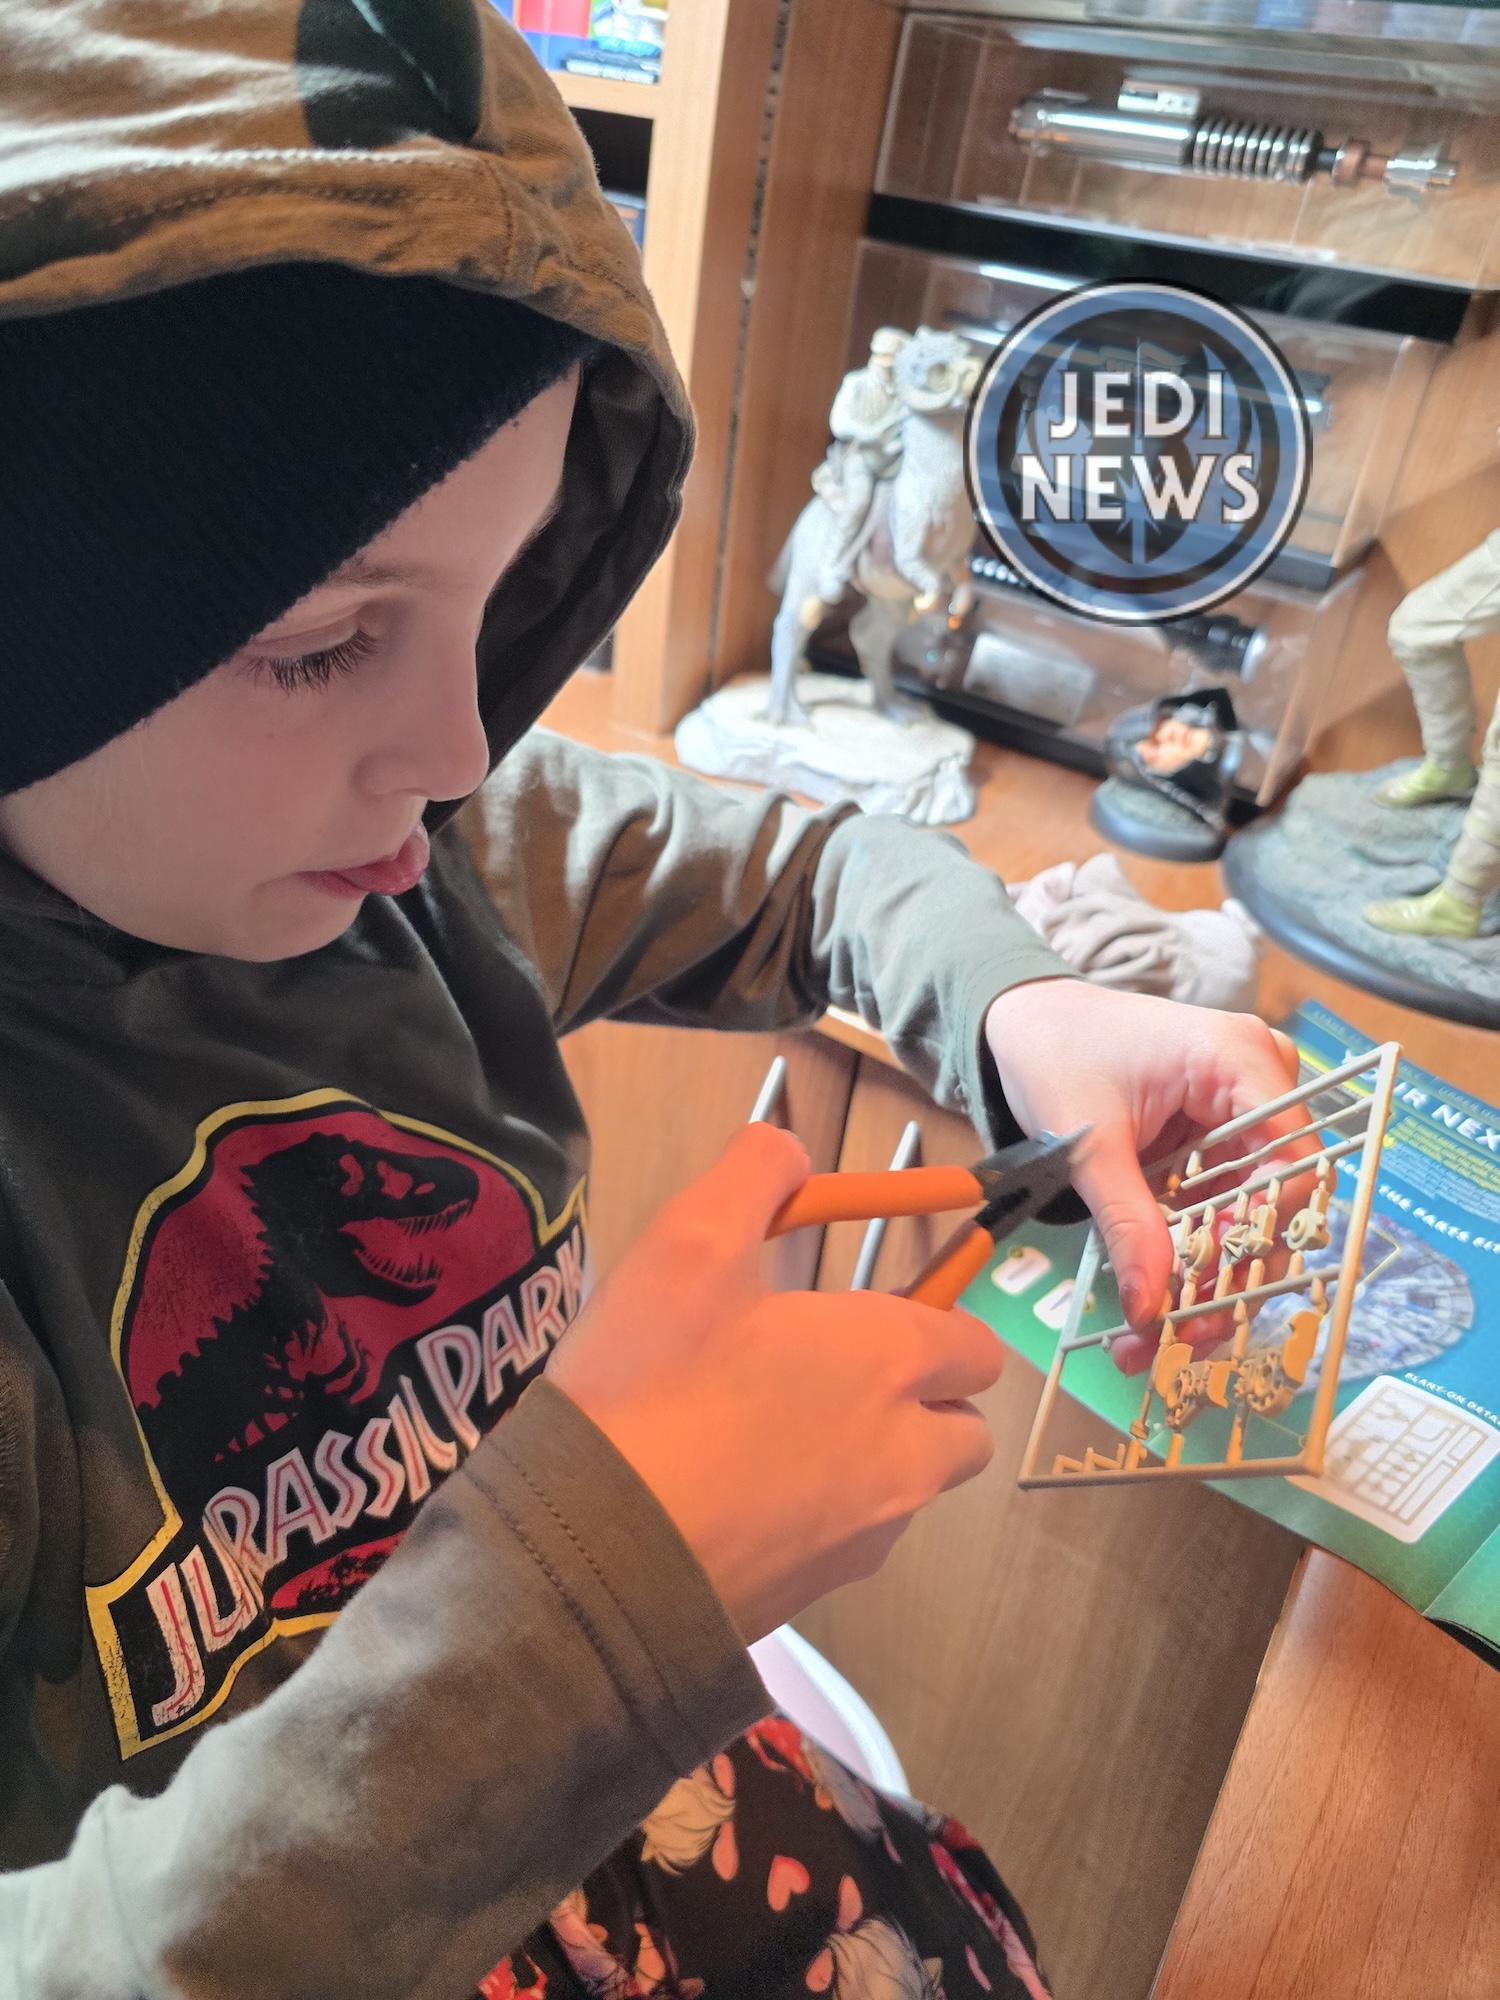
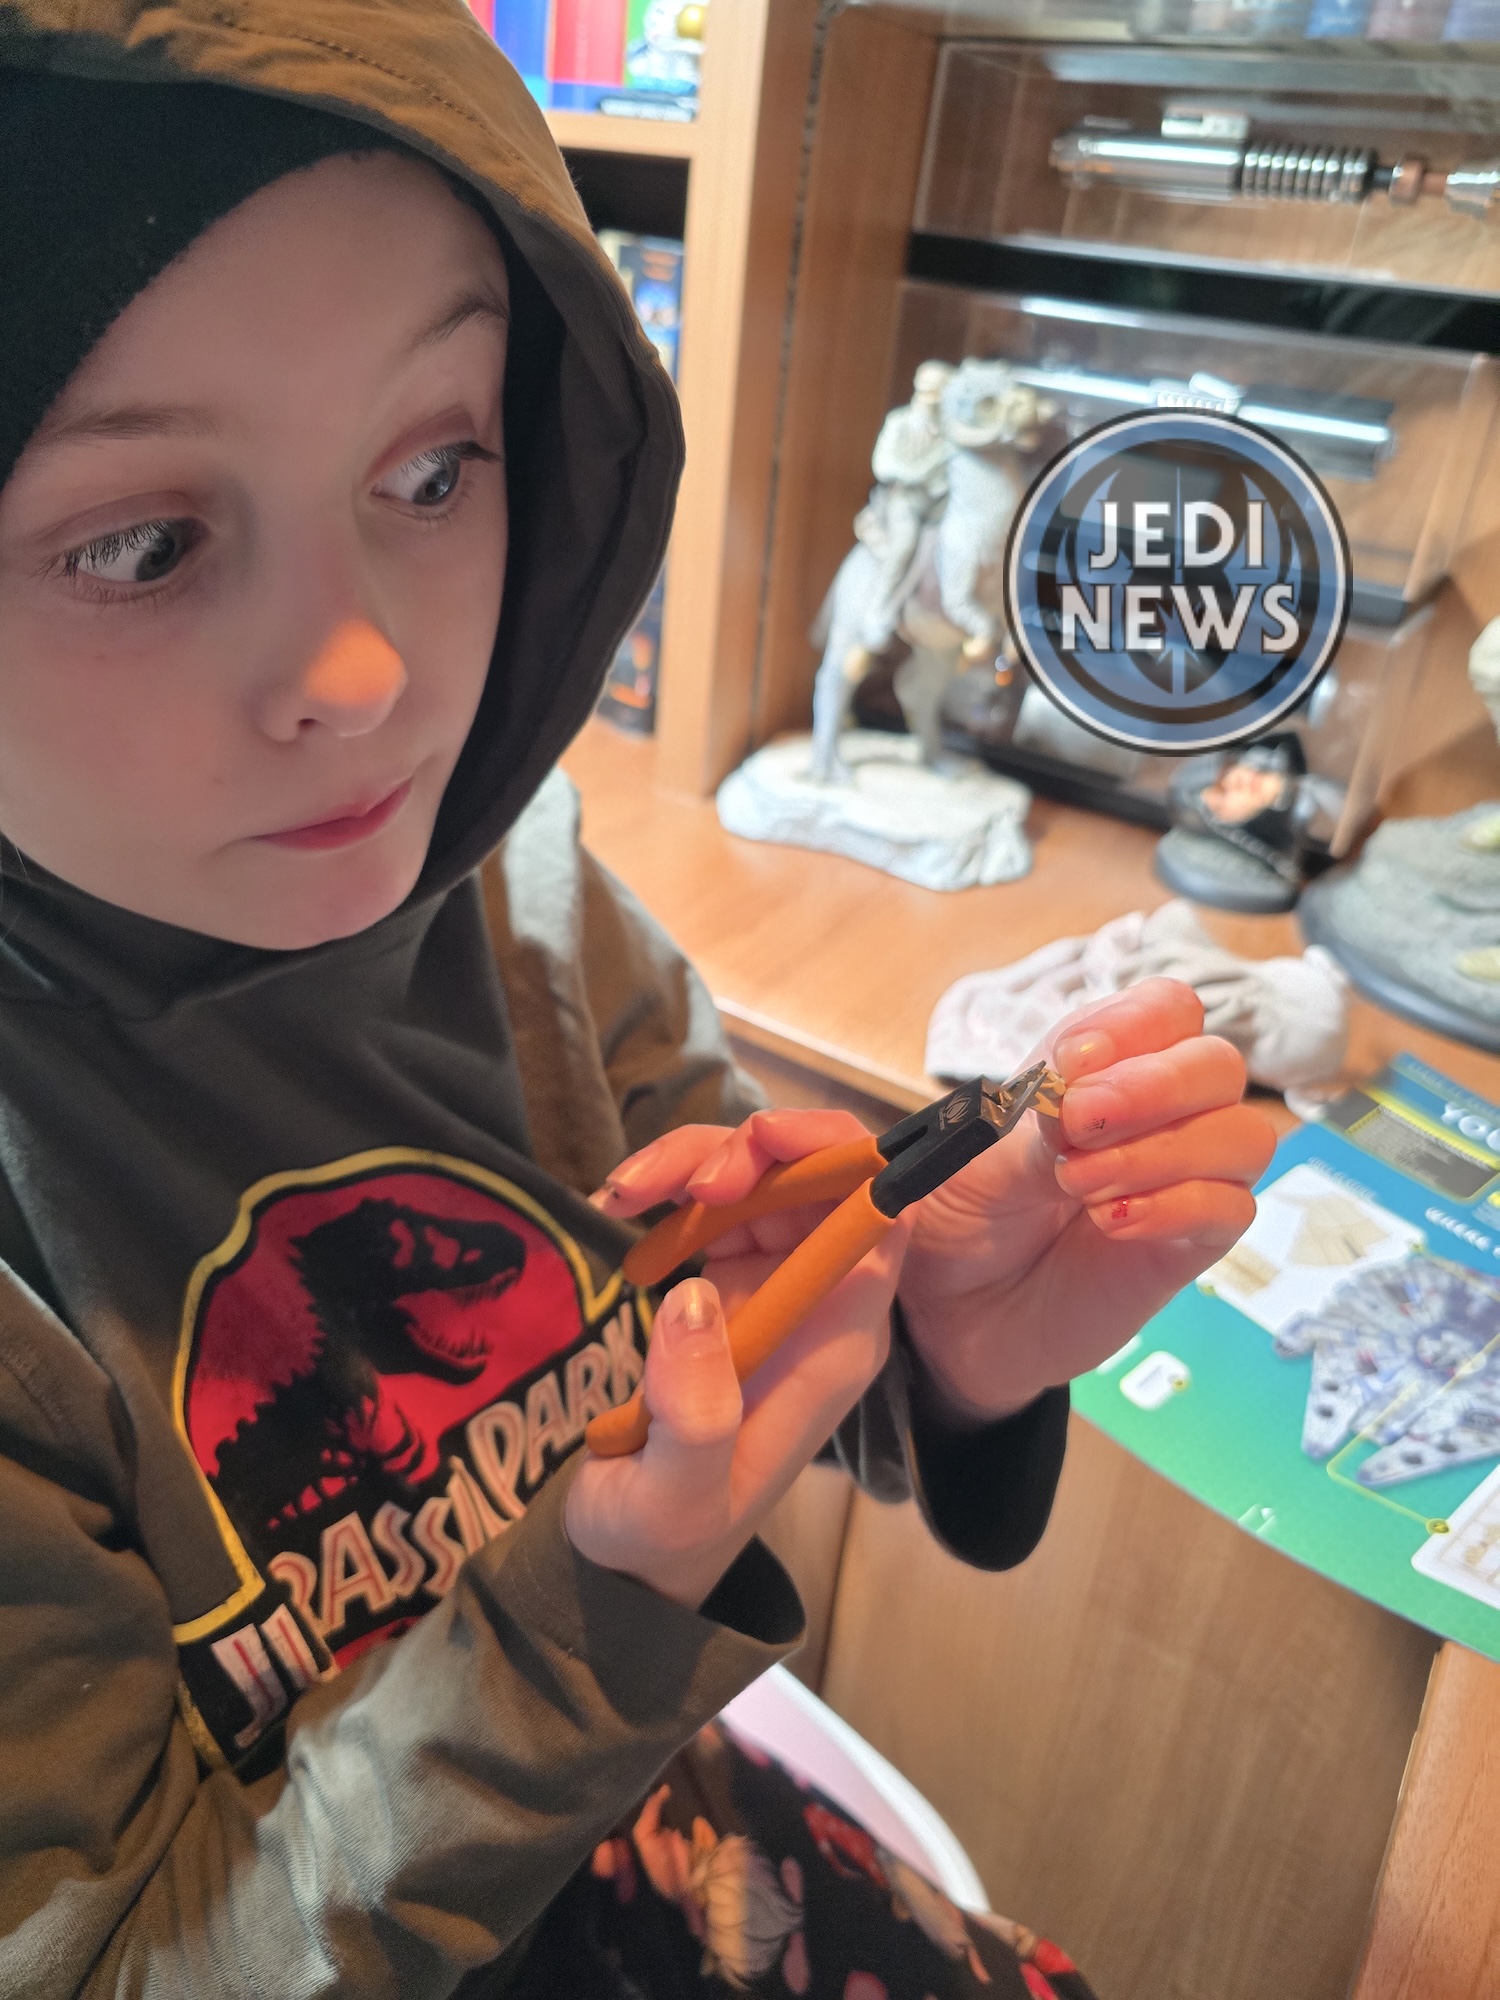
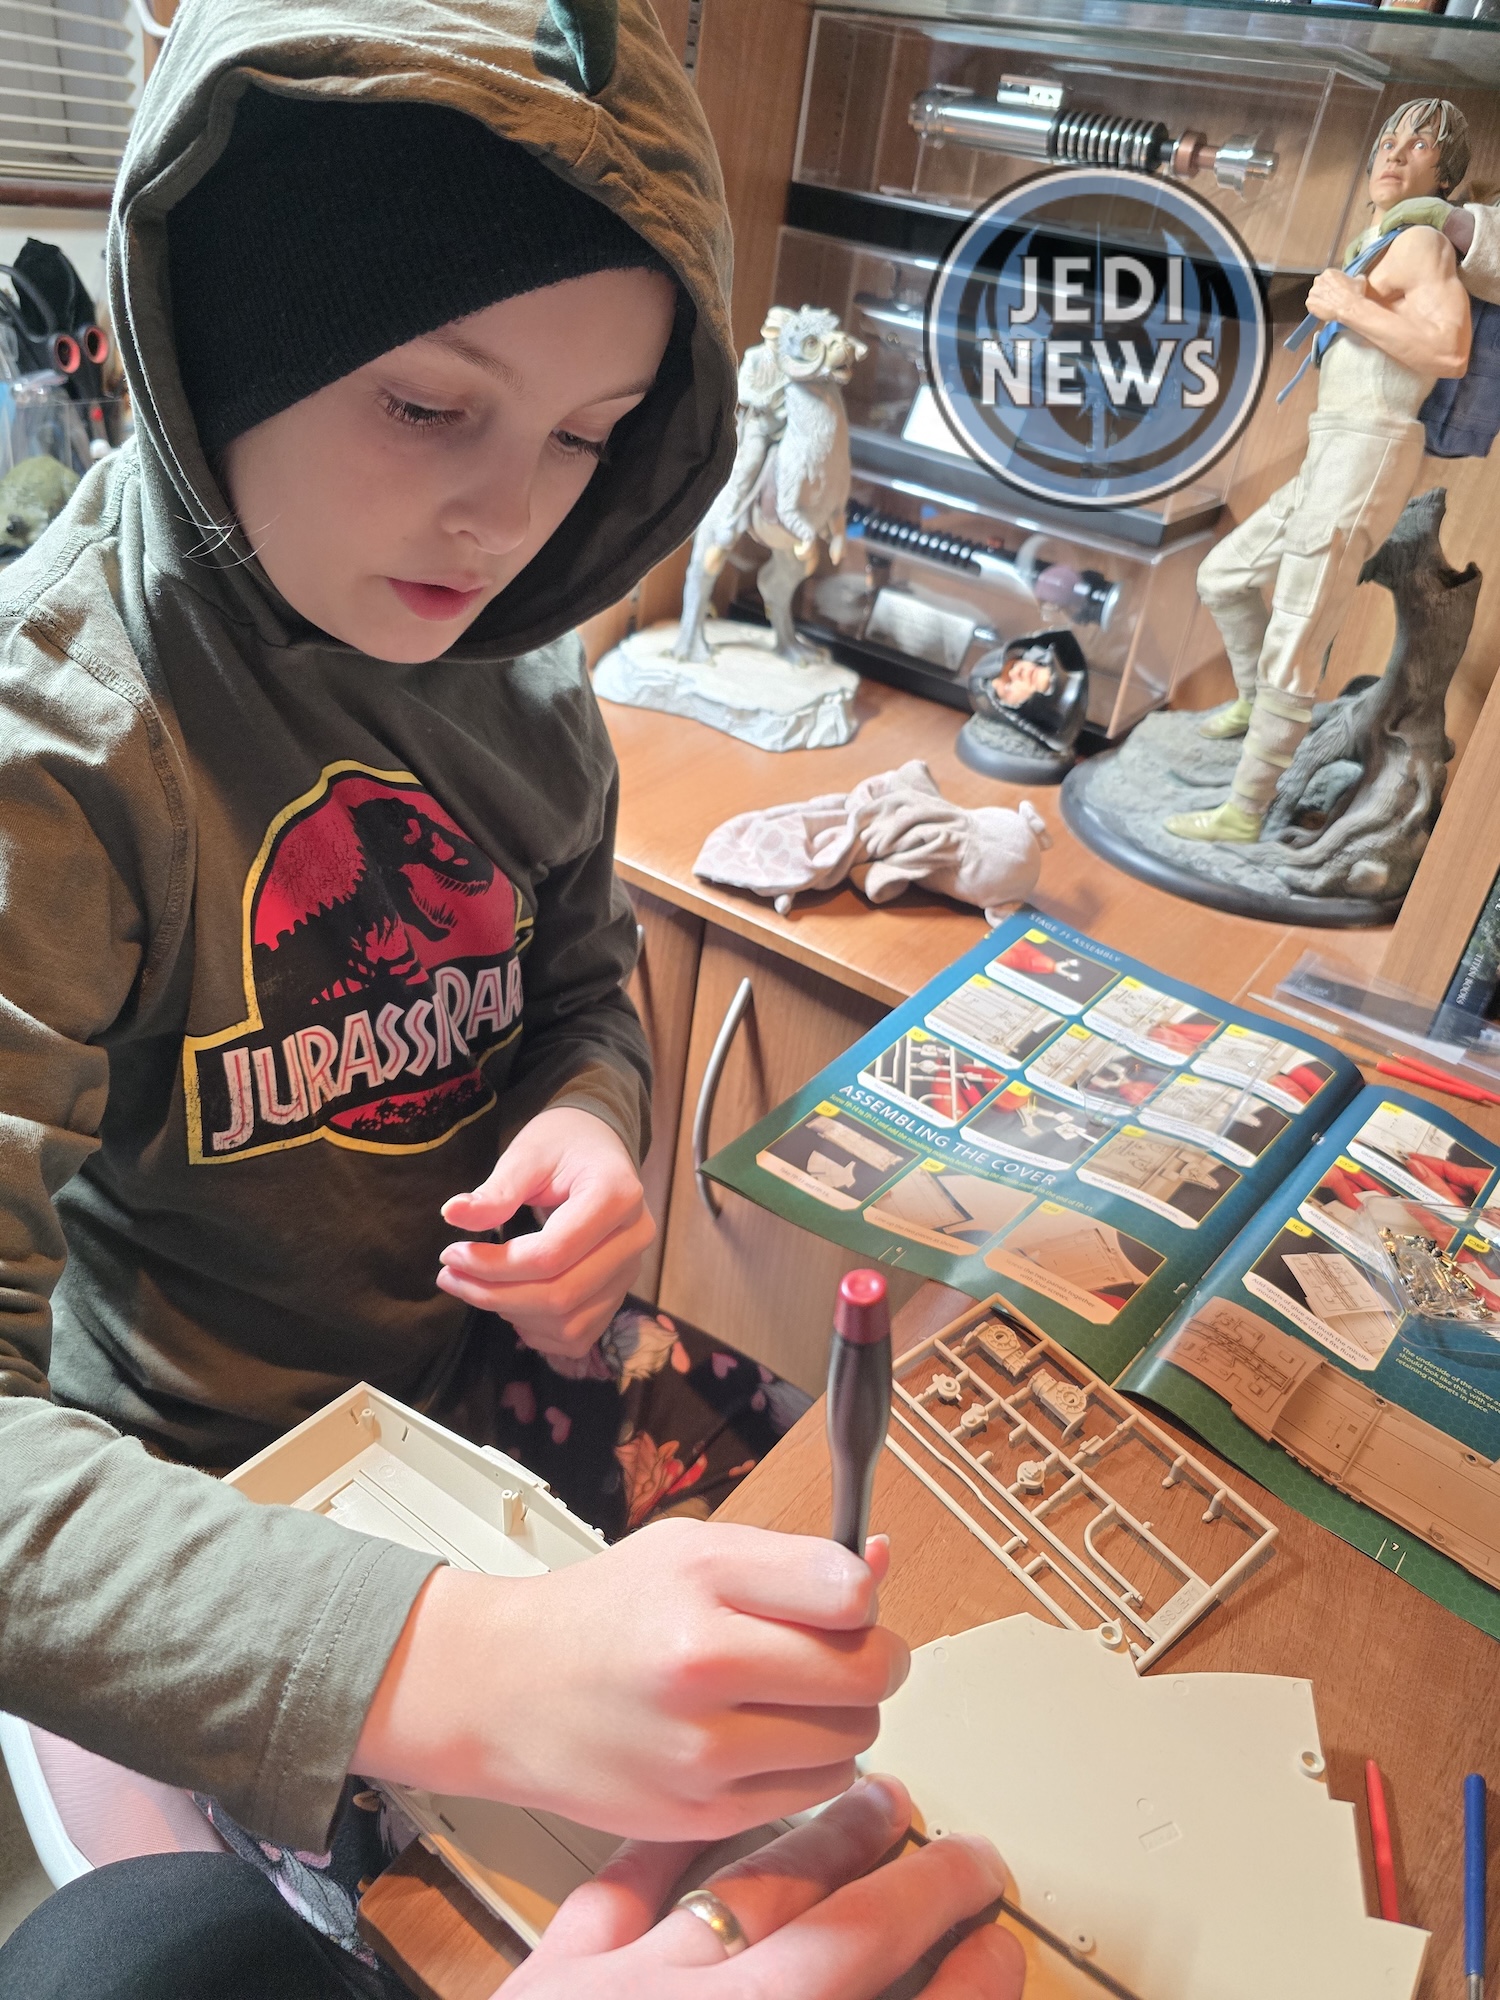
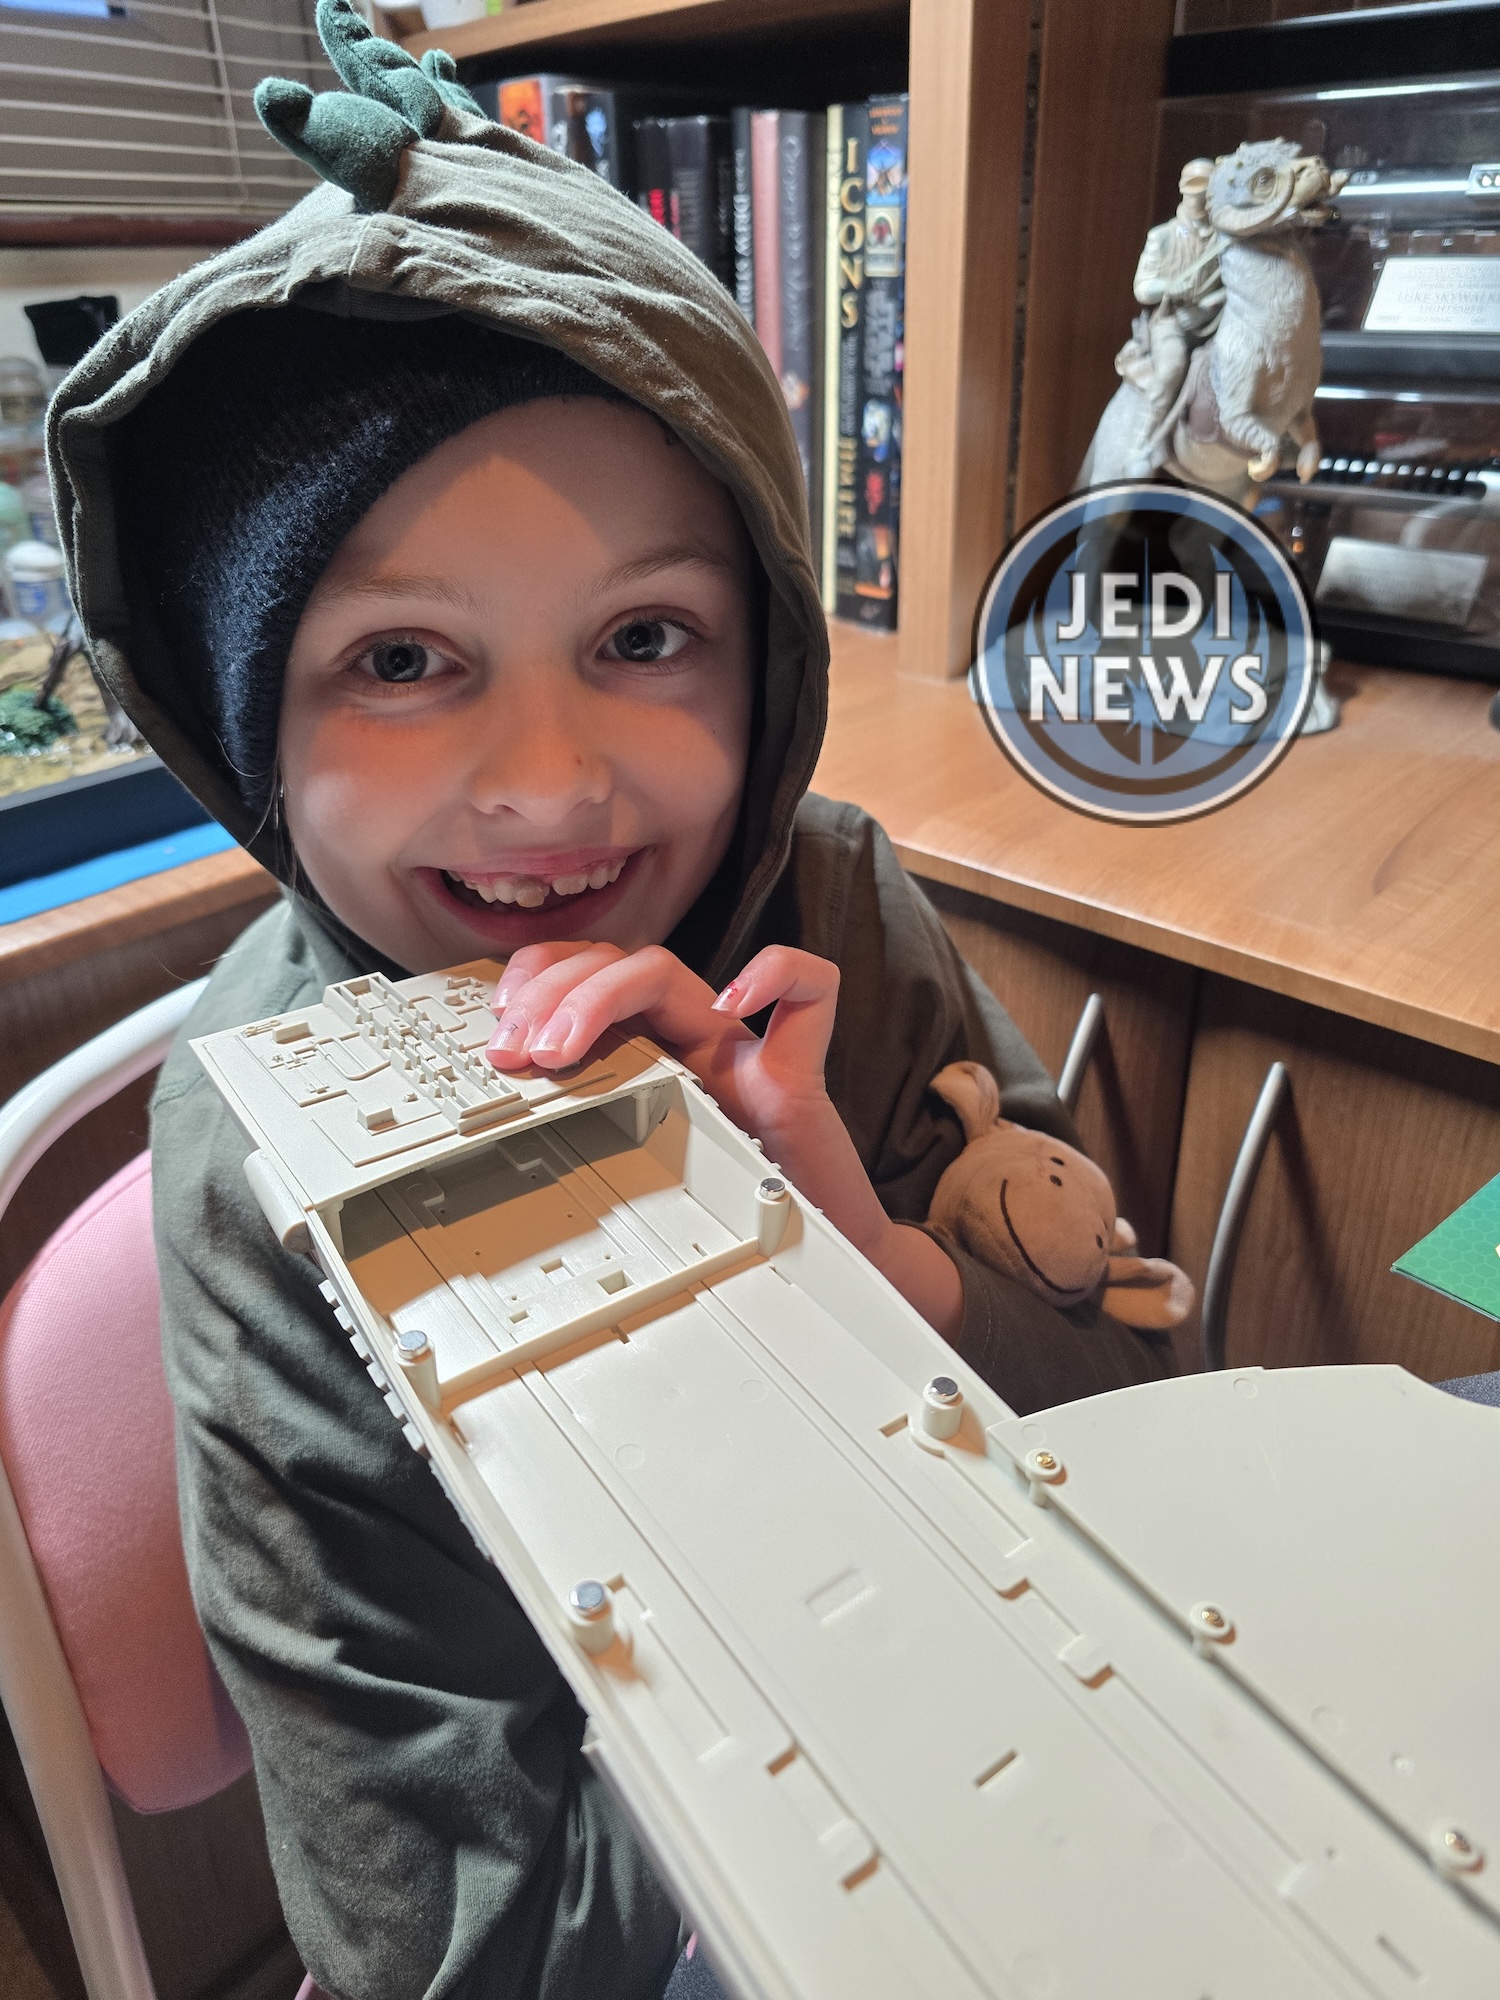
Then came the problem. Adding bigger magnets to these two pieces that we had just screwed together. First, I added the first magnet without filing some of the plastic. I quickly realized my mistake, but it was too late. So, I flipped the piece over to try and use some wood to push it down like I had with the smaller magnets. But… last magazine we had added lots of details – lots of breakable details. It was just a bit of a mess. Now knowing what I’m doing, I would have added the magnets before issue seventy and saved myself some frustration. There was me getting all hot and bothered, and Ember was having the best of times with the remaining six magnets, thinking everything was going swimmingly. Go figure! I will say that there are seven magnets and seven rollers that look identical in the bag. Make sure you sort them out to the ones that are magnetic and the ones that aren’t. I filed the remaining sockets, but they were still tight, and I would advise you to add the magnets before screwing the pieces together, it will make things a little easier. It also doesn’t help that they don’t sit flush, so you are questioning yourself as to whether they have gone in far enough.
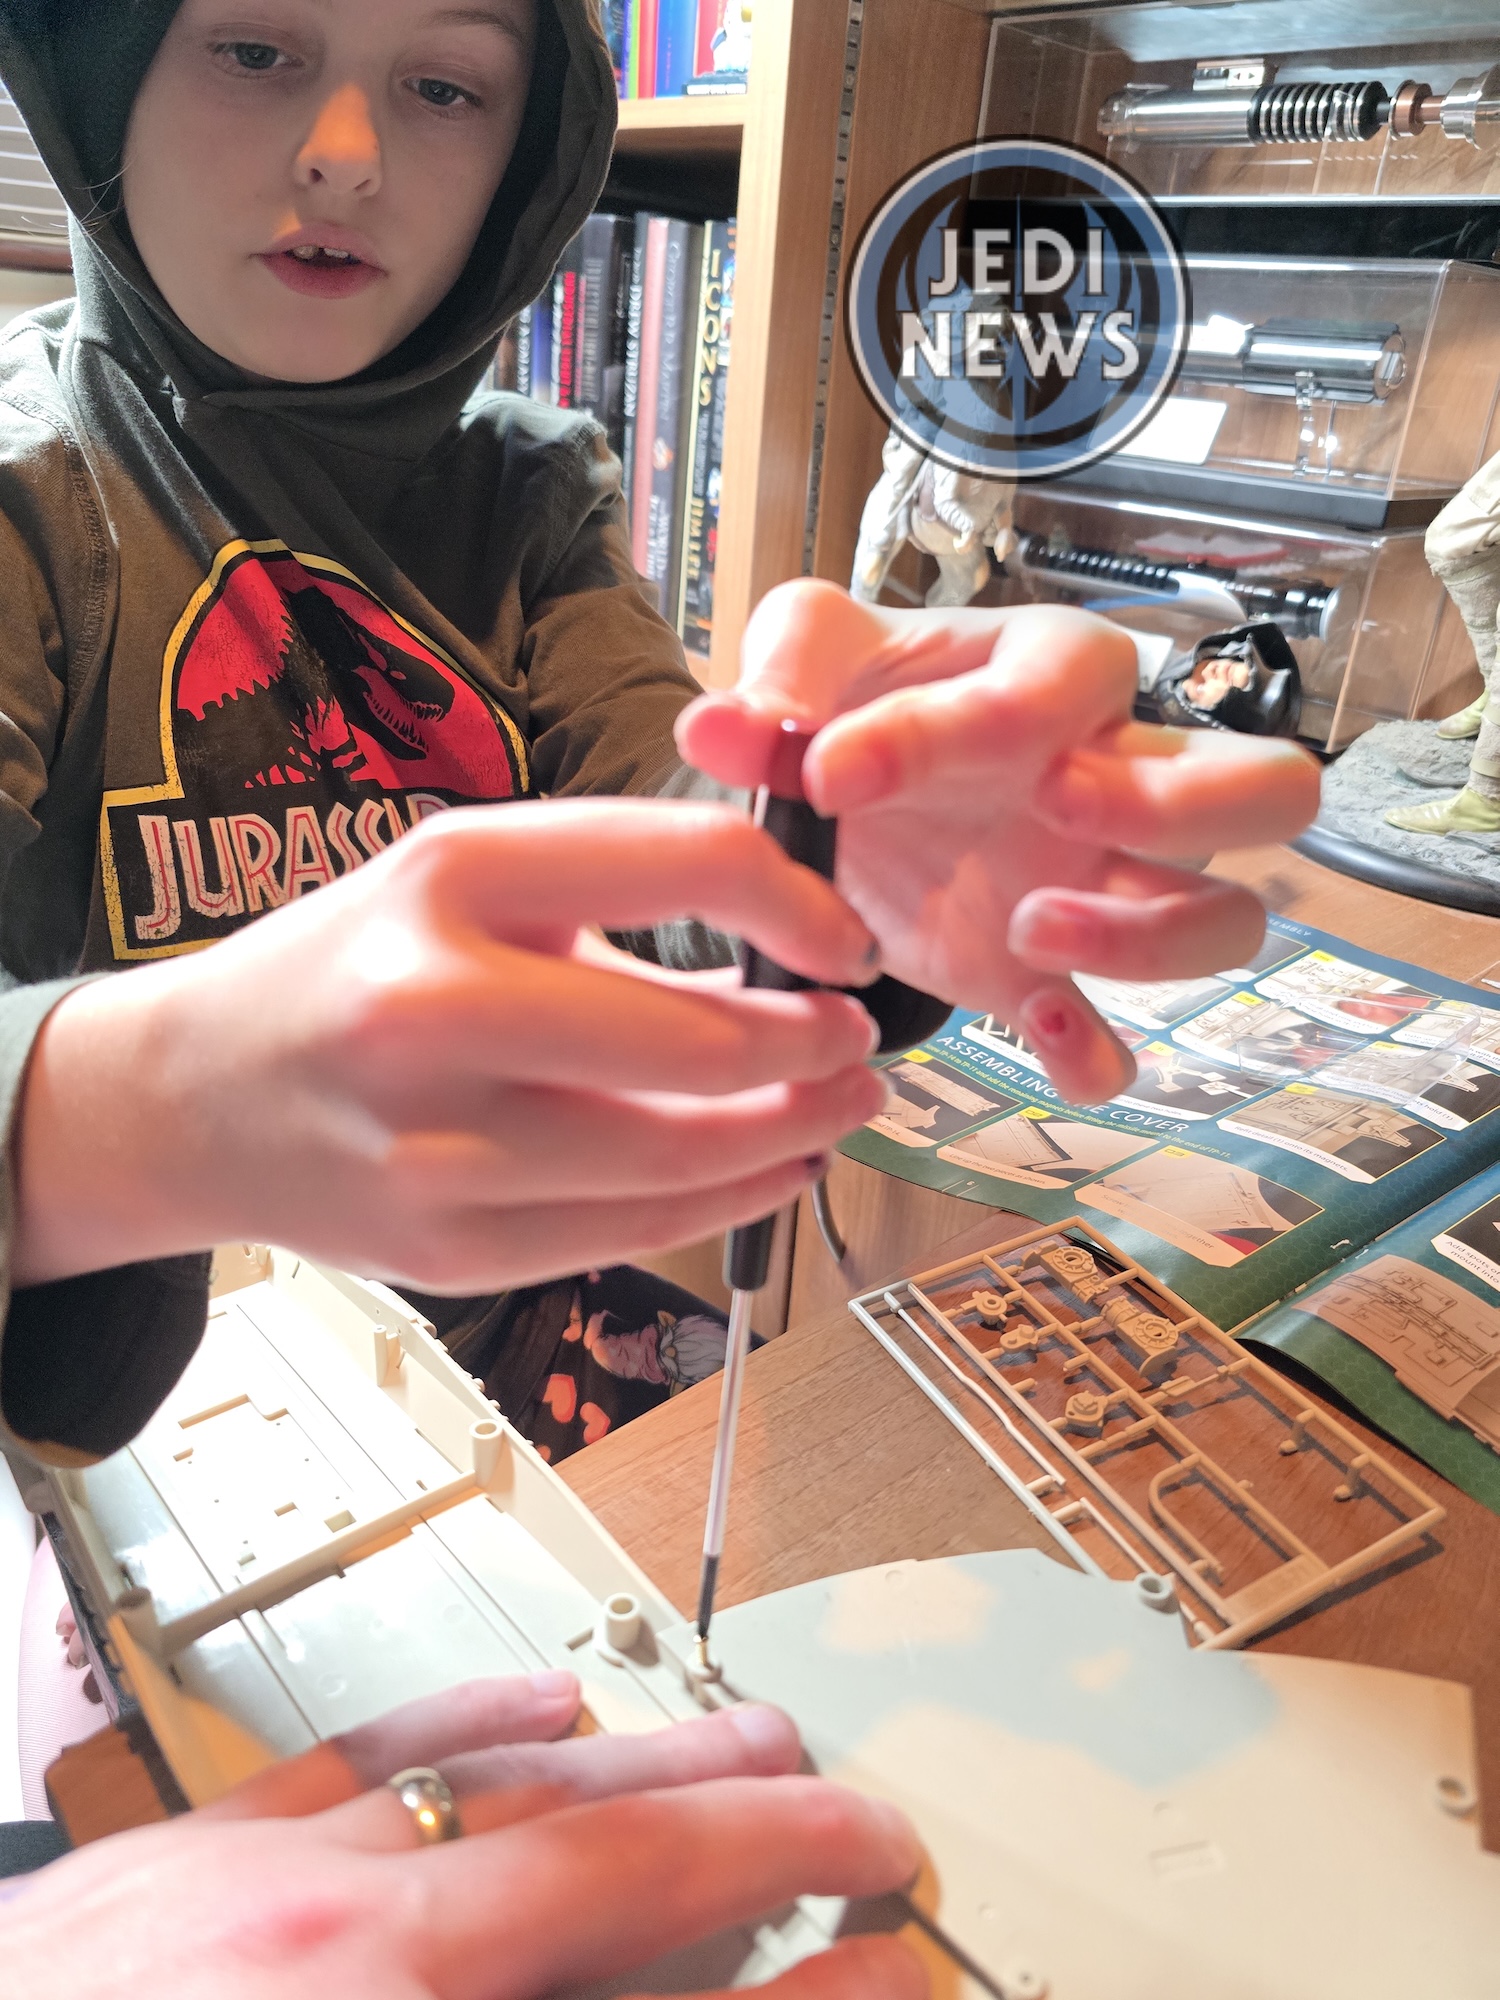
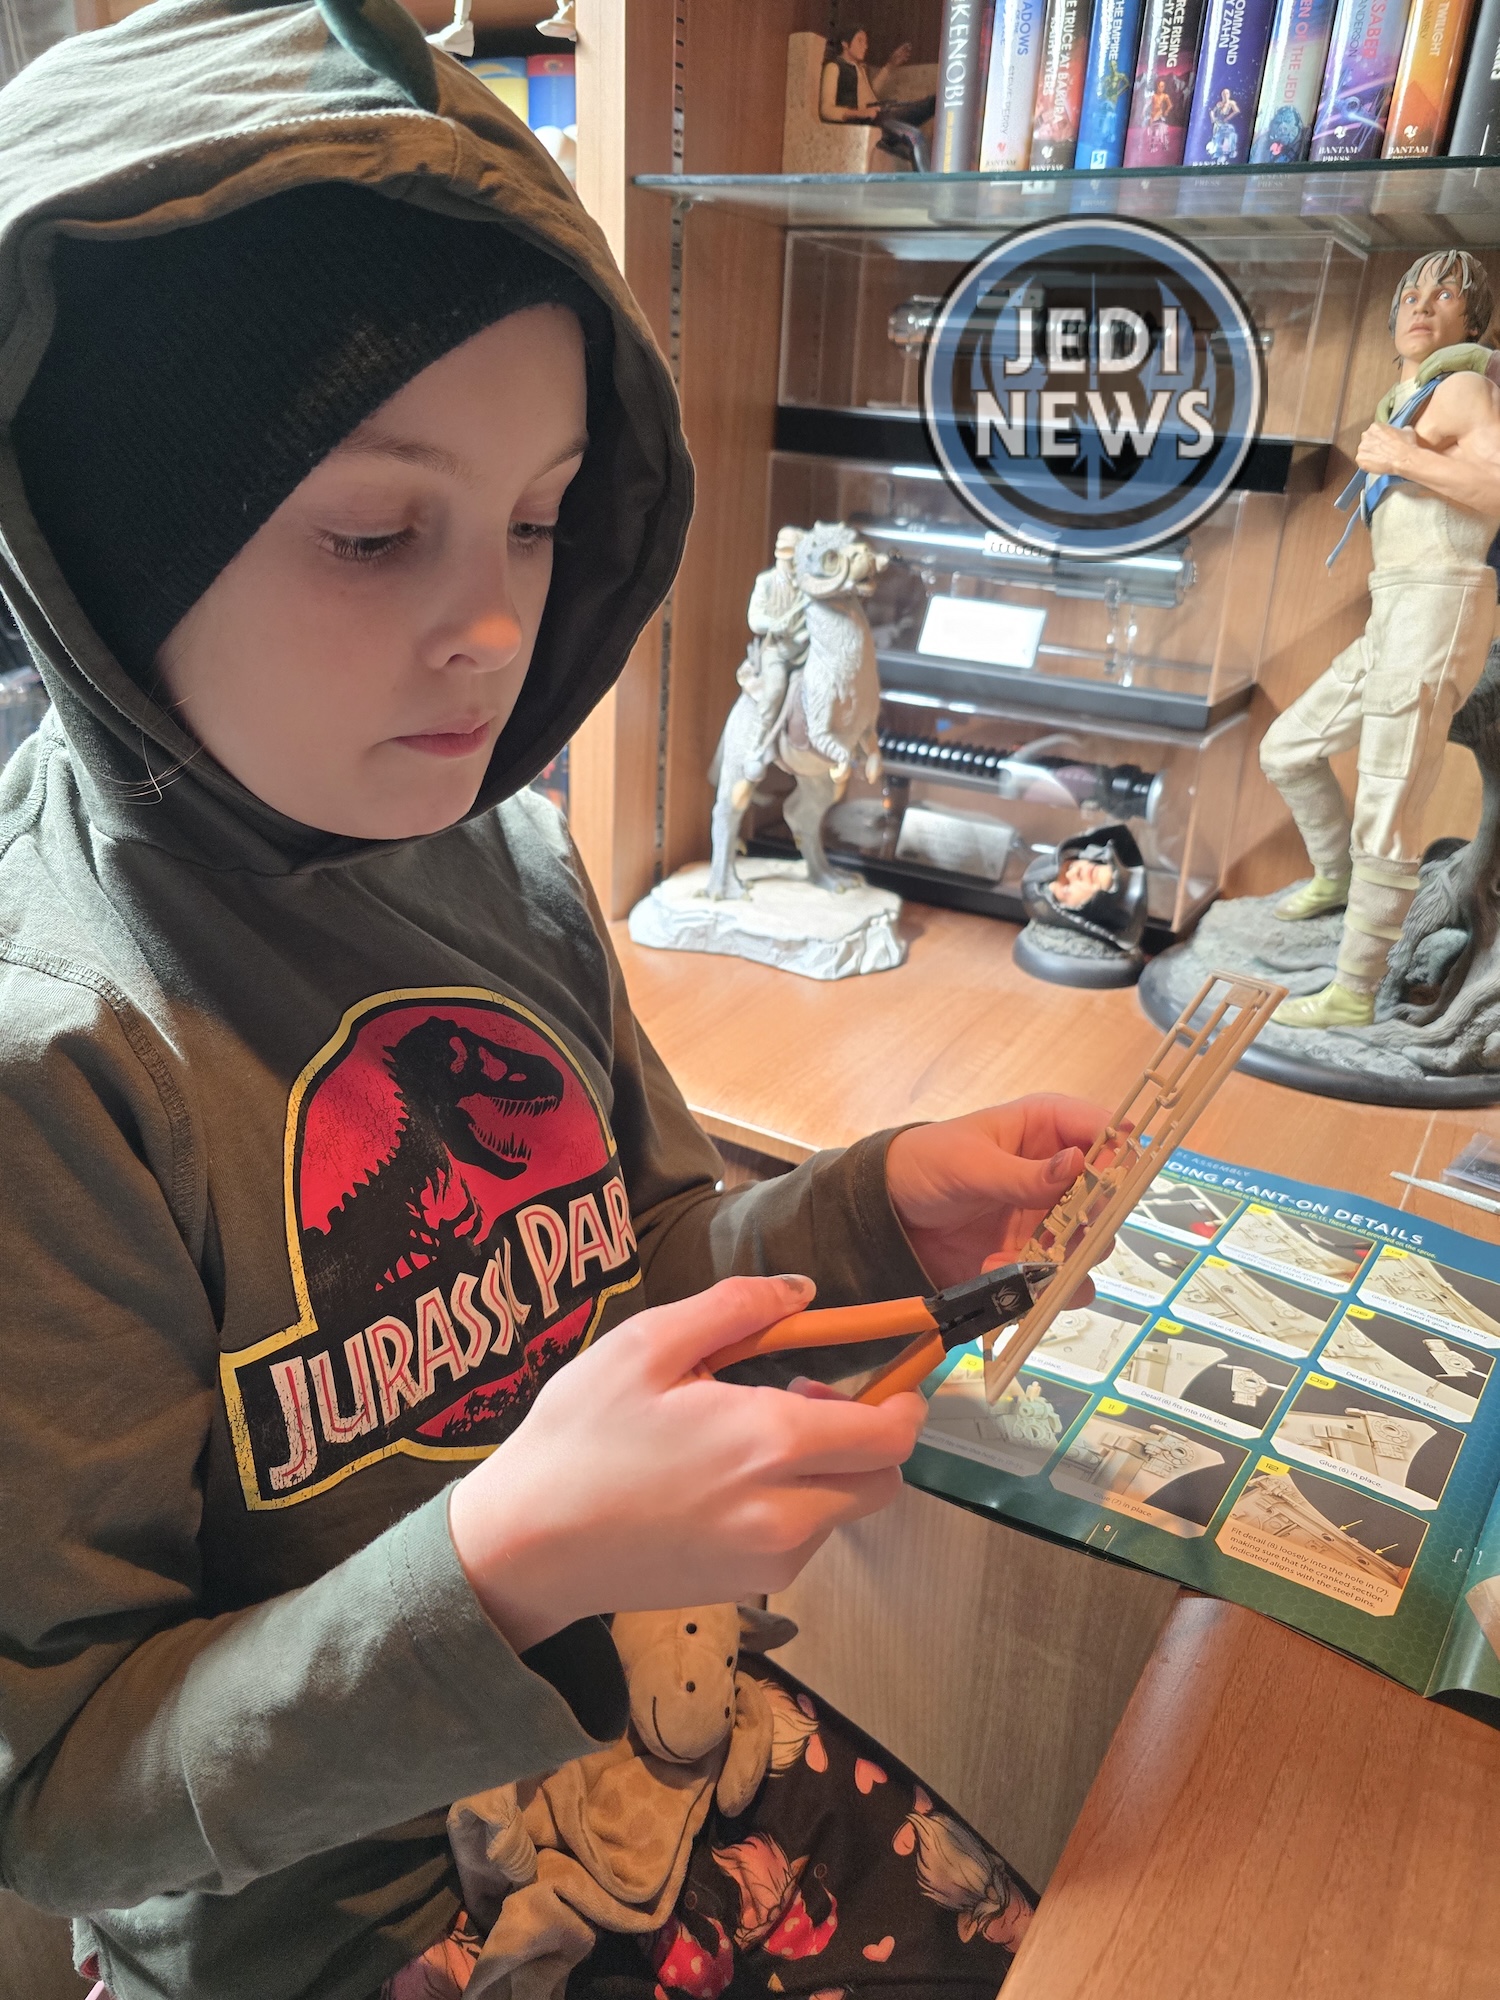
With the headache over, a quick glue of the missile mount was like a walk in the park. Then it was onto adding more details. Ember and I quickly fell into routine, her clipping and filing, me gluing. We had our mojo back. It was going really well, and I could tell that Ember was really enjoying this installment of the build. This all went well. Then it was adding the rollers. After what had just happened, I was not looking forward to this. To my utter delight, these weren’t going into plastic but metal and they fit like a dream. It was the easiest part of the build. We had to wait for the glue to dry before testing to see if everything fitted right, but thankfully it all did.
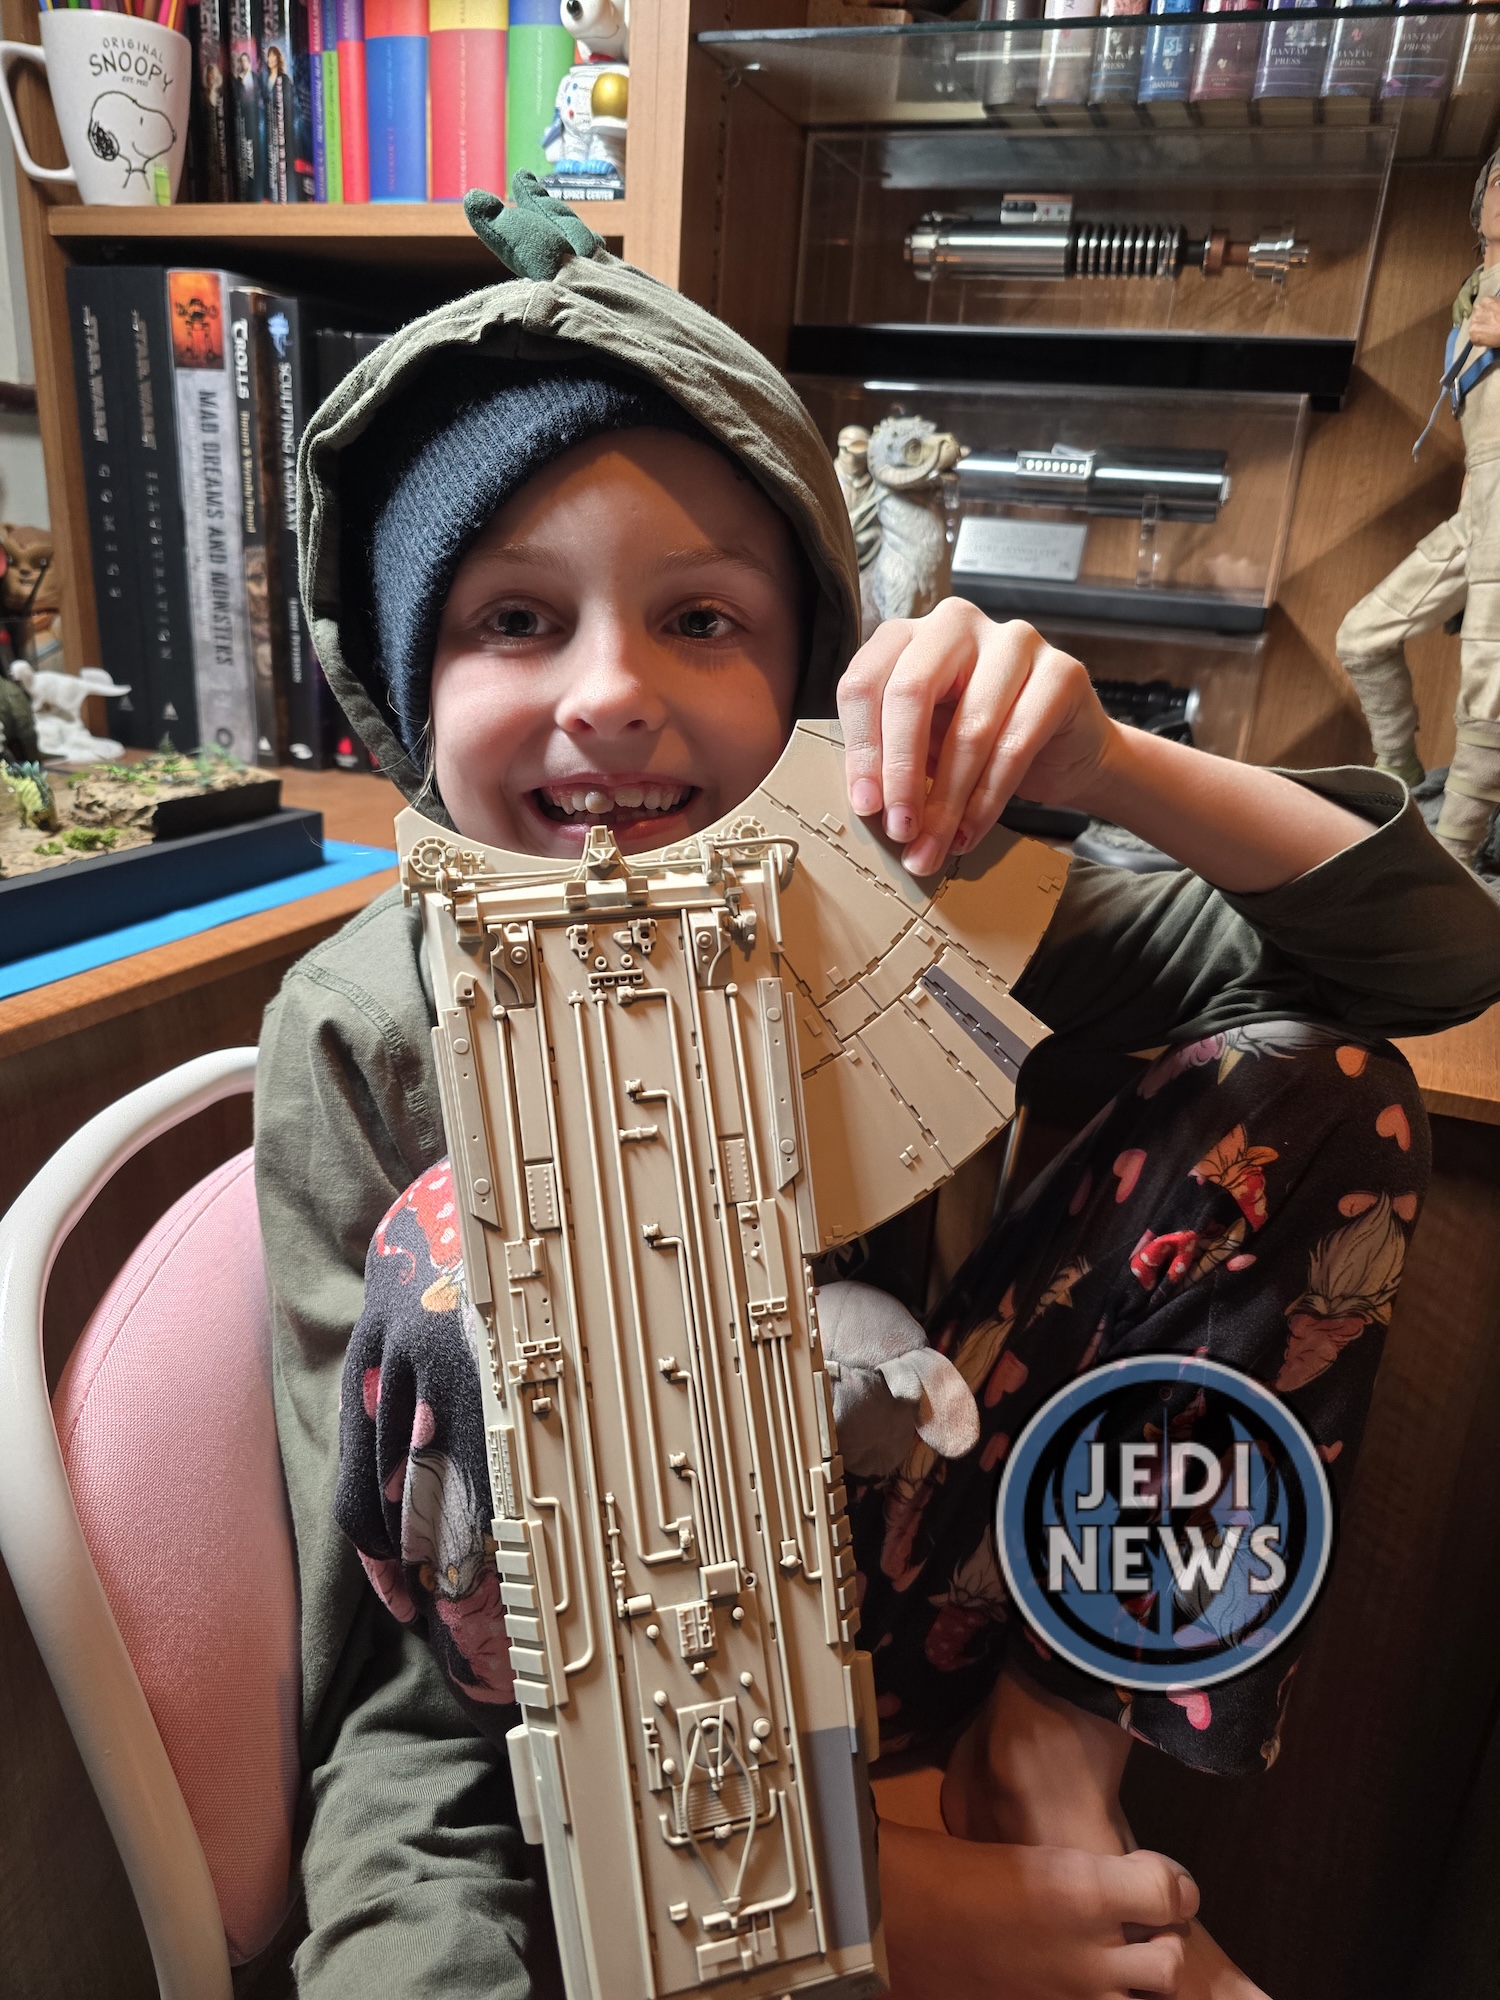
This was a long magazine. While I could see Ember was really enjoying it, she started to flag towards the end – thankfully the build got very easy at this point. Ember loved the build; there weren’t any issues for her! I on the other hand was a little worked up over the fitting of the magnets. The magazines could have definitely been shifted around to get the magnets in before the details. That said, we got there and it was lovely to see Ember enjoying herself so much. Hopefully the next issue will be a bit calmer for the both of us!
