



After the skill heavy issue seven, it was once again time to delve into the two next issues. The build, while taxing at times, has been thoroughly enjoyable. I’ve been building it with my seven-year-old daughter Ember, who – every single issue – has been excited to construct more of this legendary ship. As always, I thought I’d check through the issues first to see what I was letting myself in for and if I needed to get anything ready.
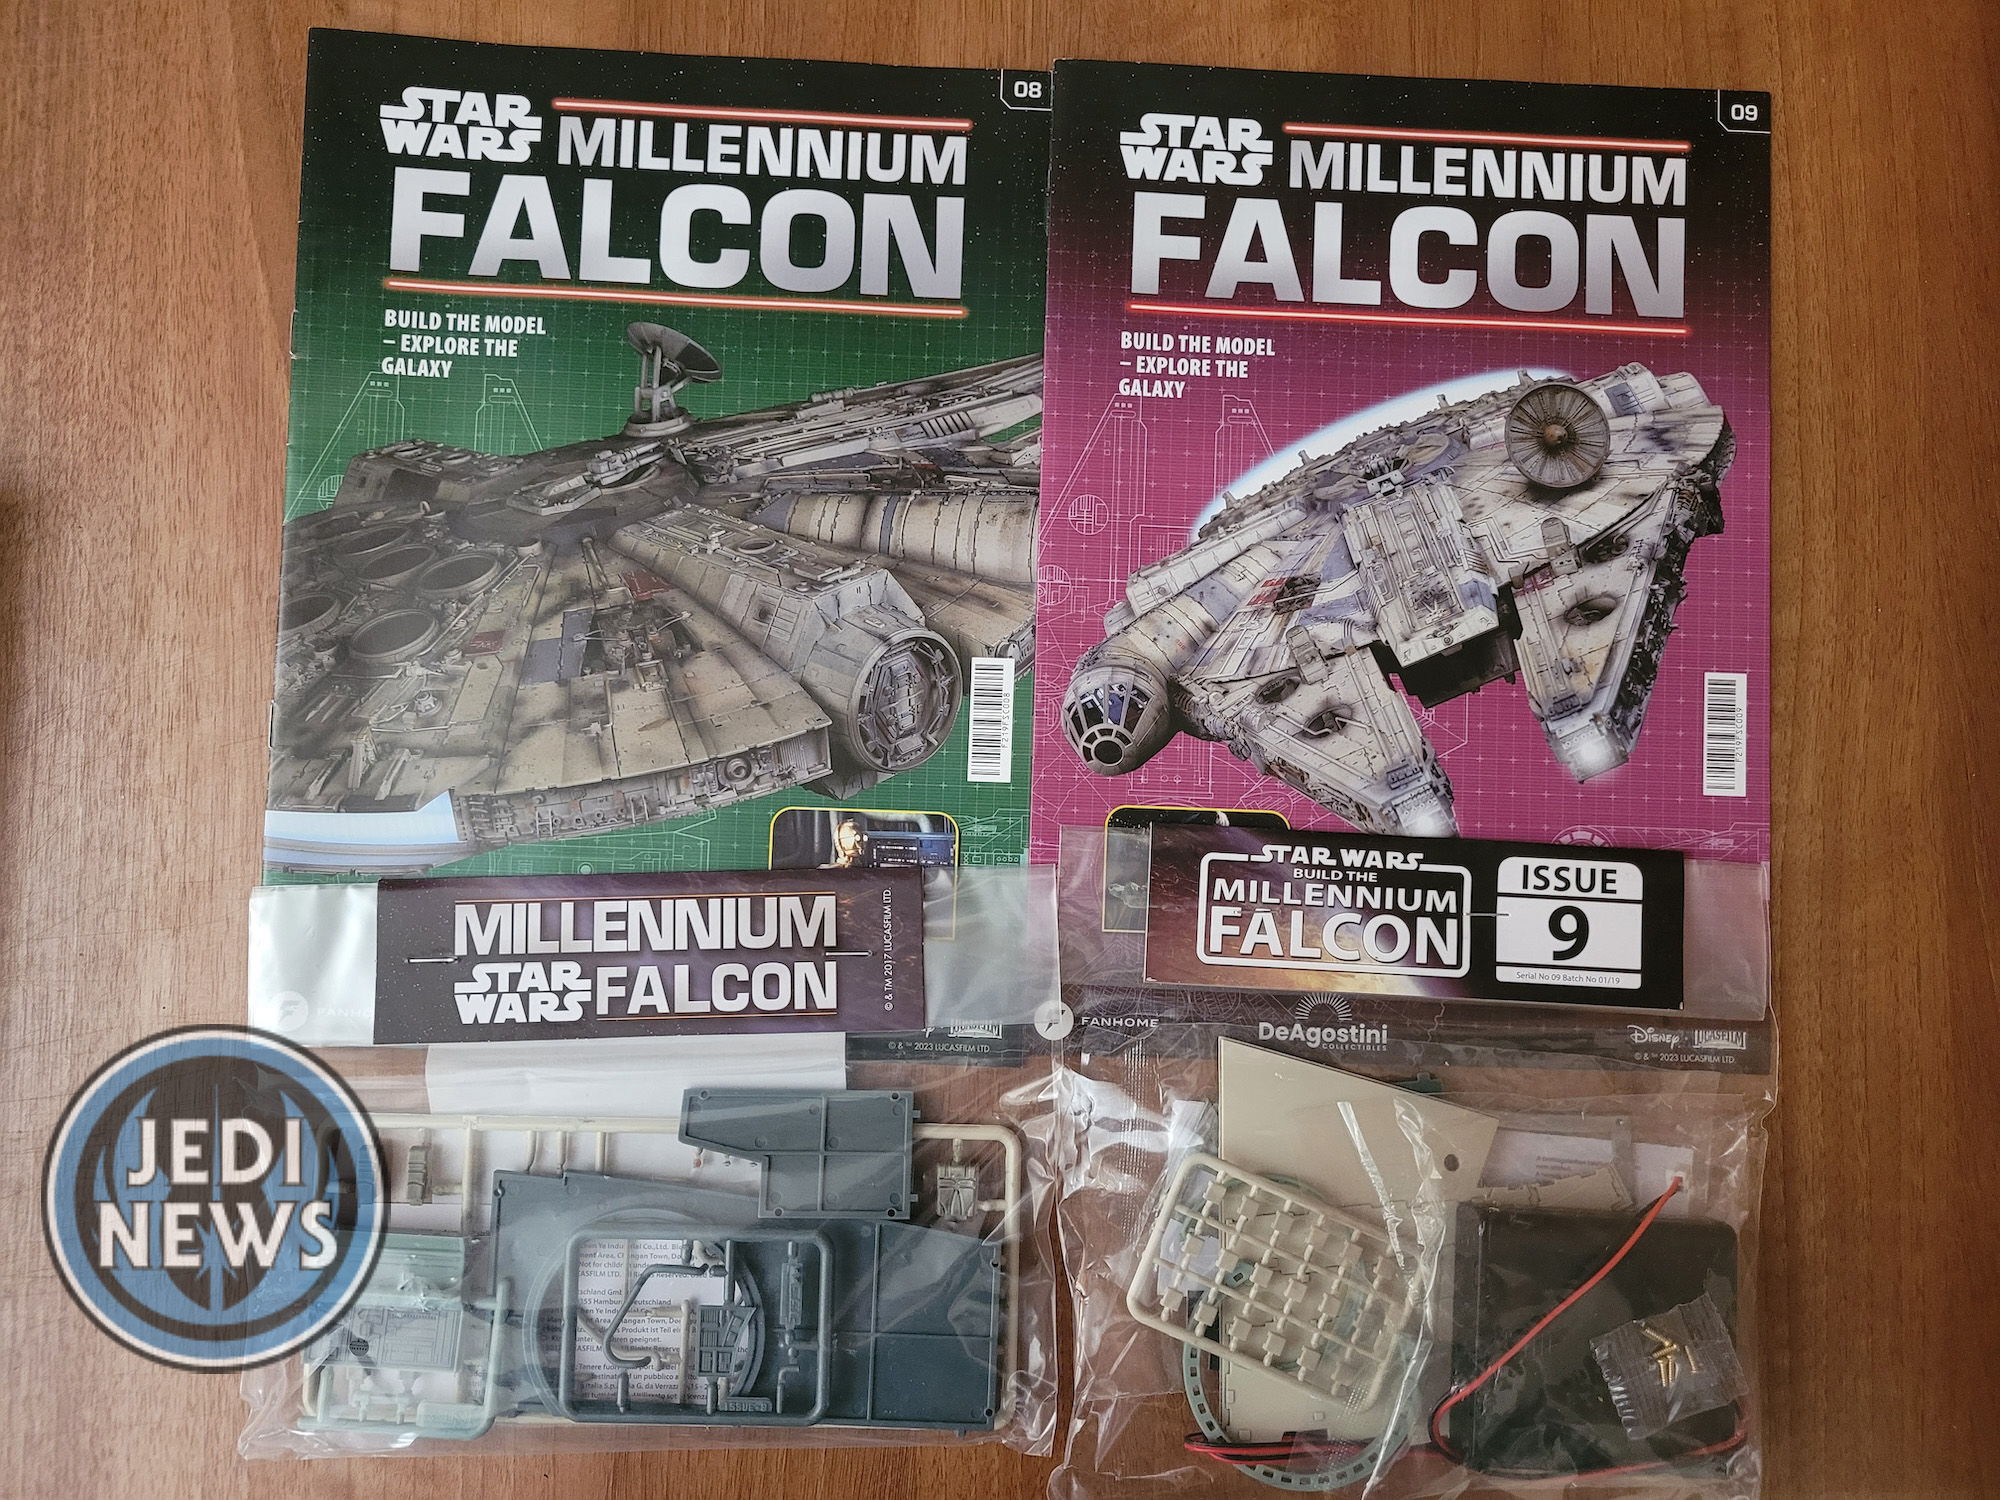
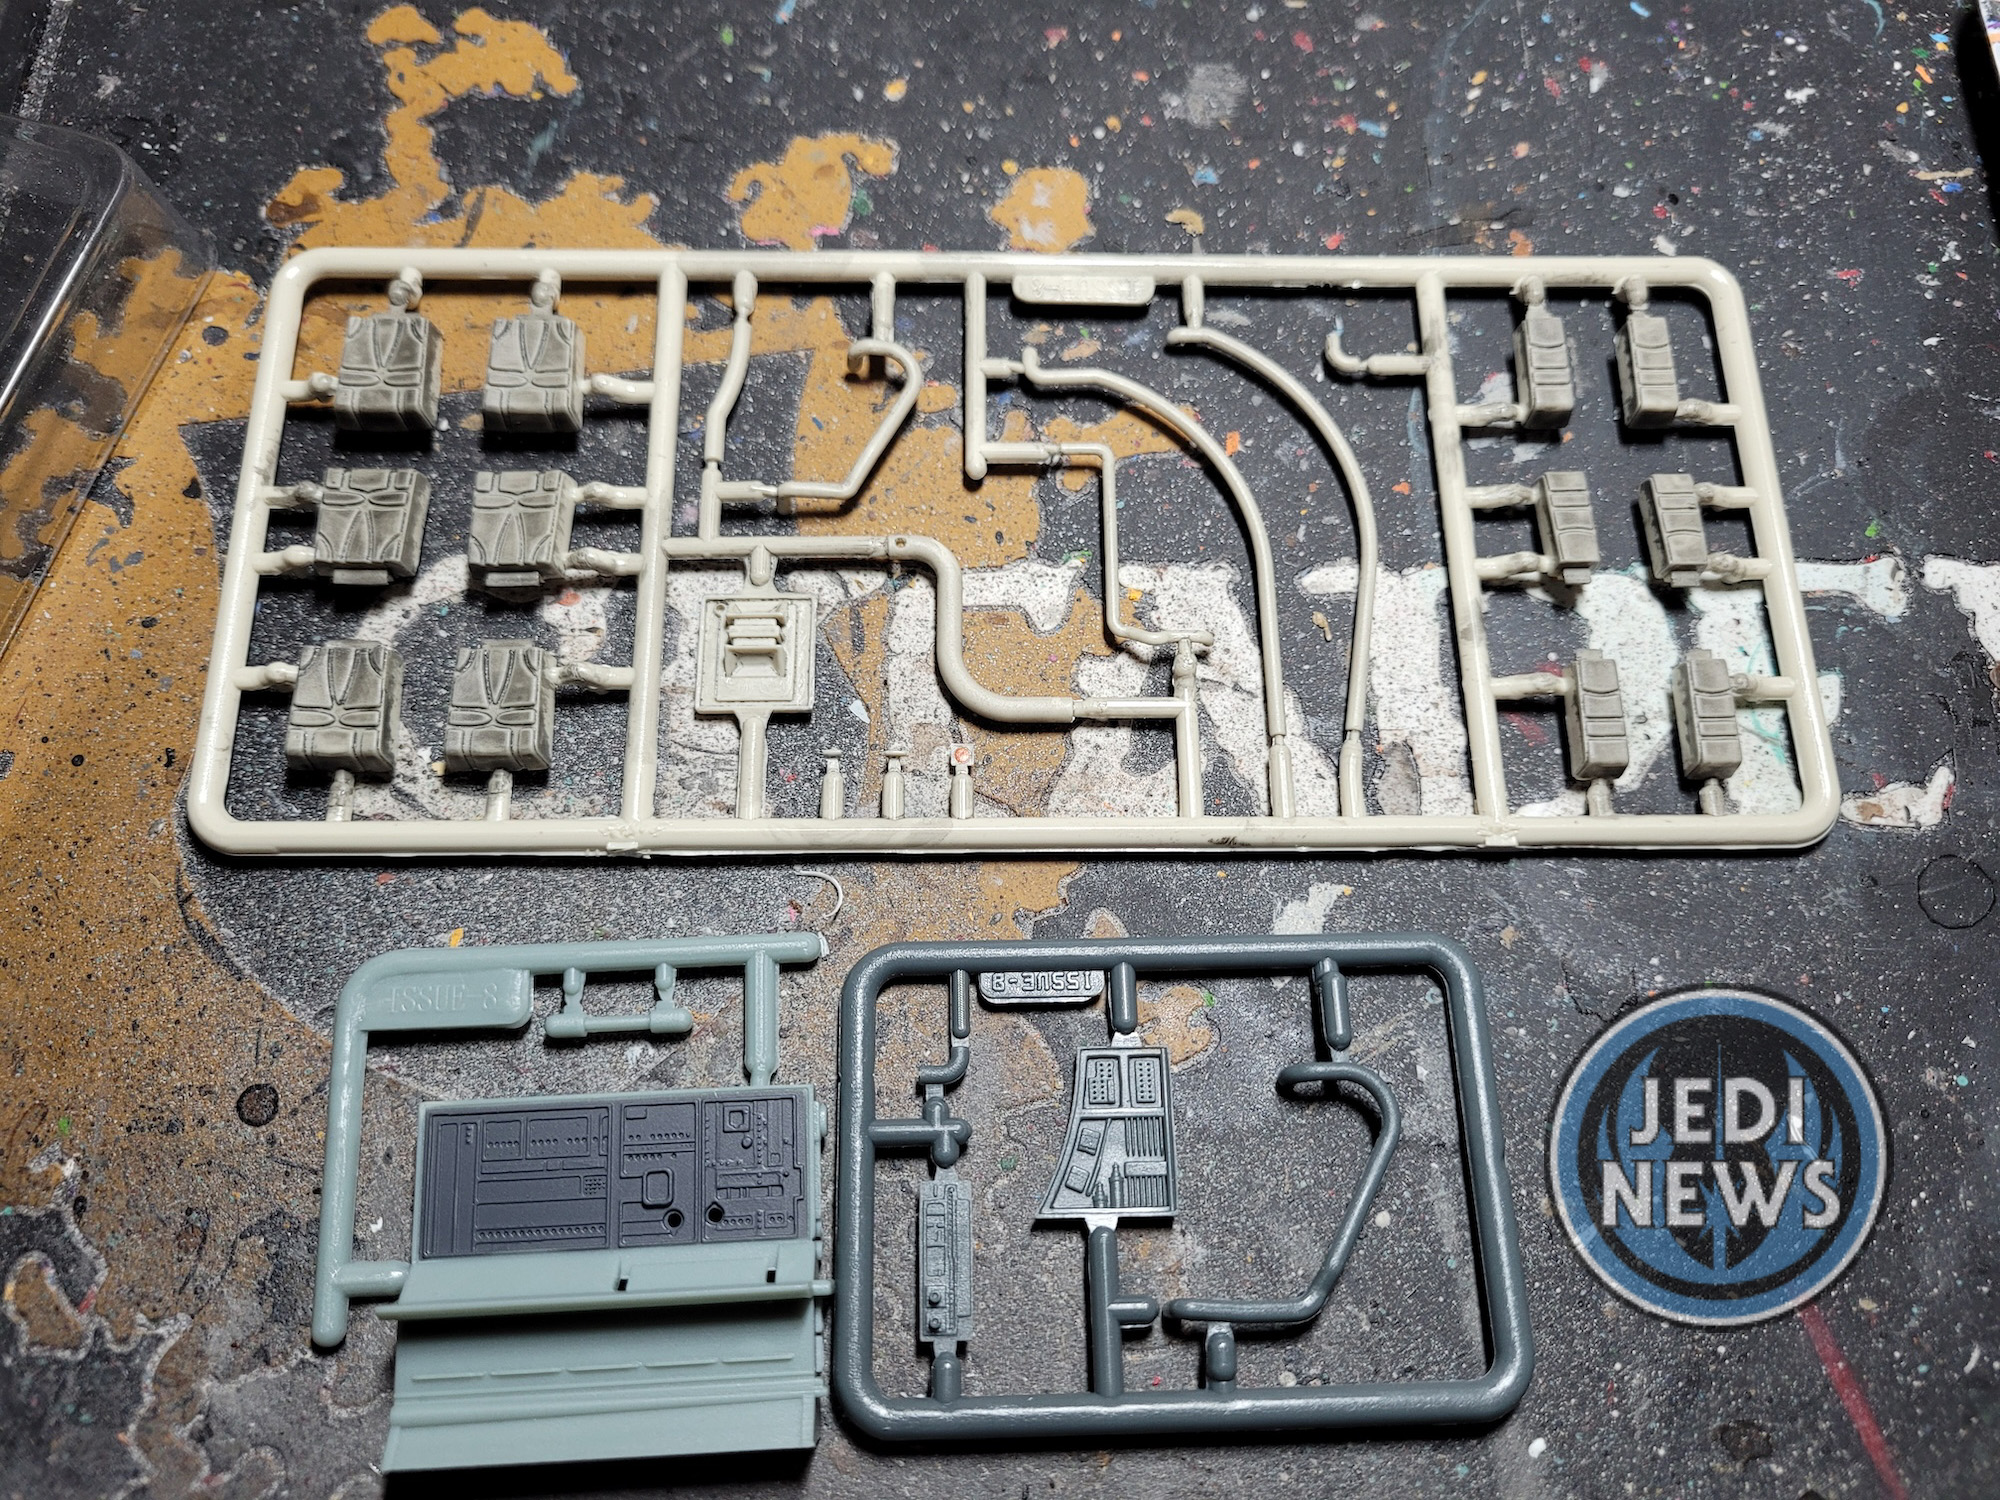

For issue eight, the first thing I noticed was making the technical station. There looked to be a lot of fiddly components here. Ember was looking over at my shoulder and instantly said, “Daddy, that one I’m leaving to you.” It was actually a really great moment, realising that I could give her a bit of control over what she could and couldn’t do. To be honest, I looked at the guide briefly and wondered how I was going to manage all that! After this it would be using a painting wash, something that Ember had yet to do. With last issue’s dry brushing, which Ember really enjoyed, I thought this would be a great next step for her learning different techniques. After that it was returning to the skills from the previous issue: clipping, filing, and painting. Perfect! Looking onto issue nine… well… this was the part I knew Ember had been most excited about! The lighting! No questions, we’d be doing that together! After that it would be dry fitting the cockpit to the passage tube and some fiddly detailing. This might be another part that I need to step in on, but I thought I would say how Ember was and if she felt confident enough to try it.
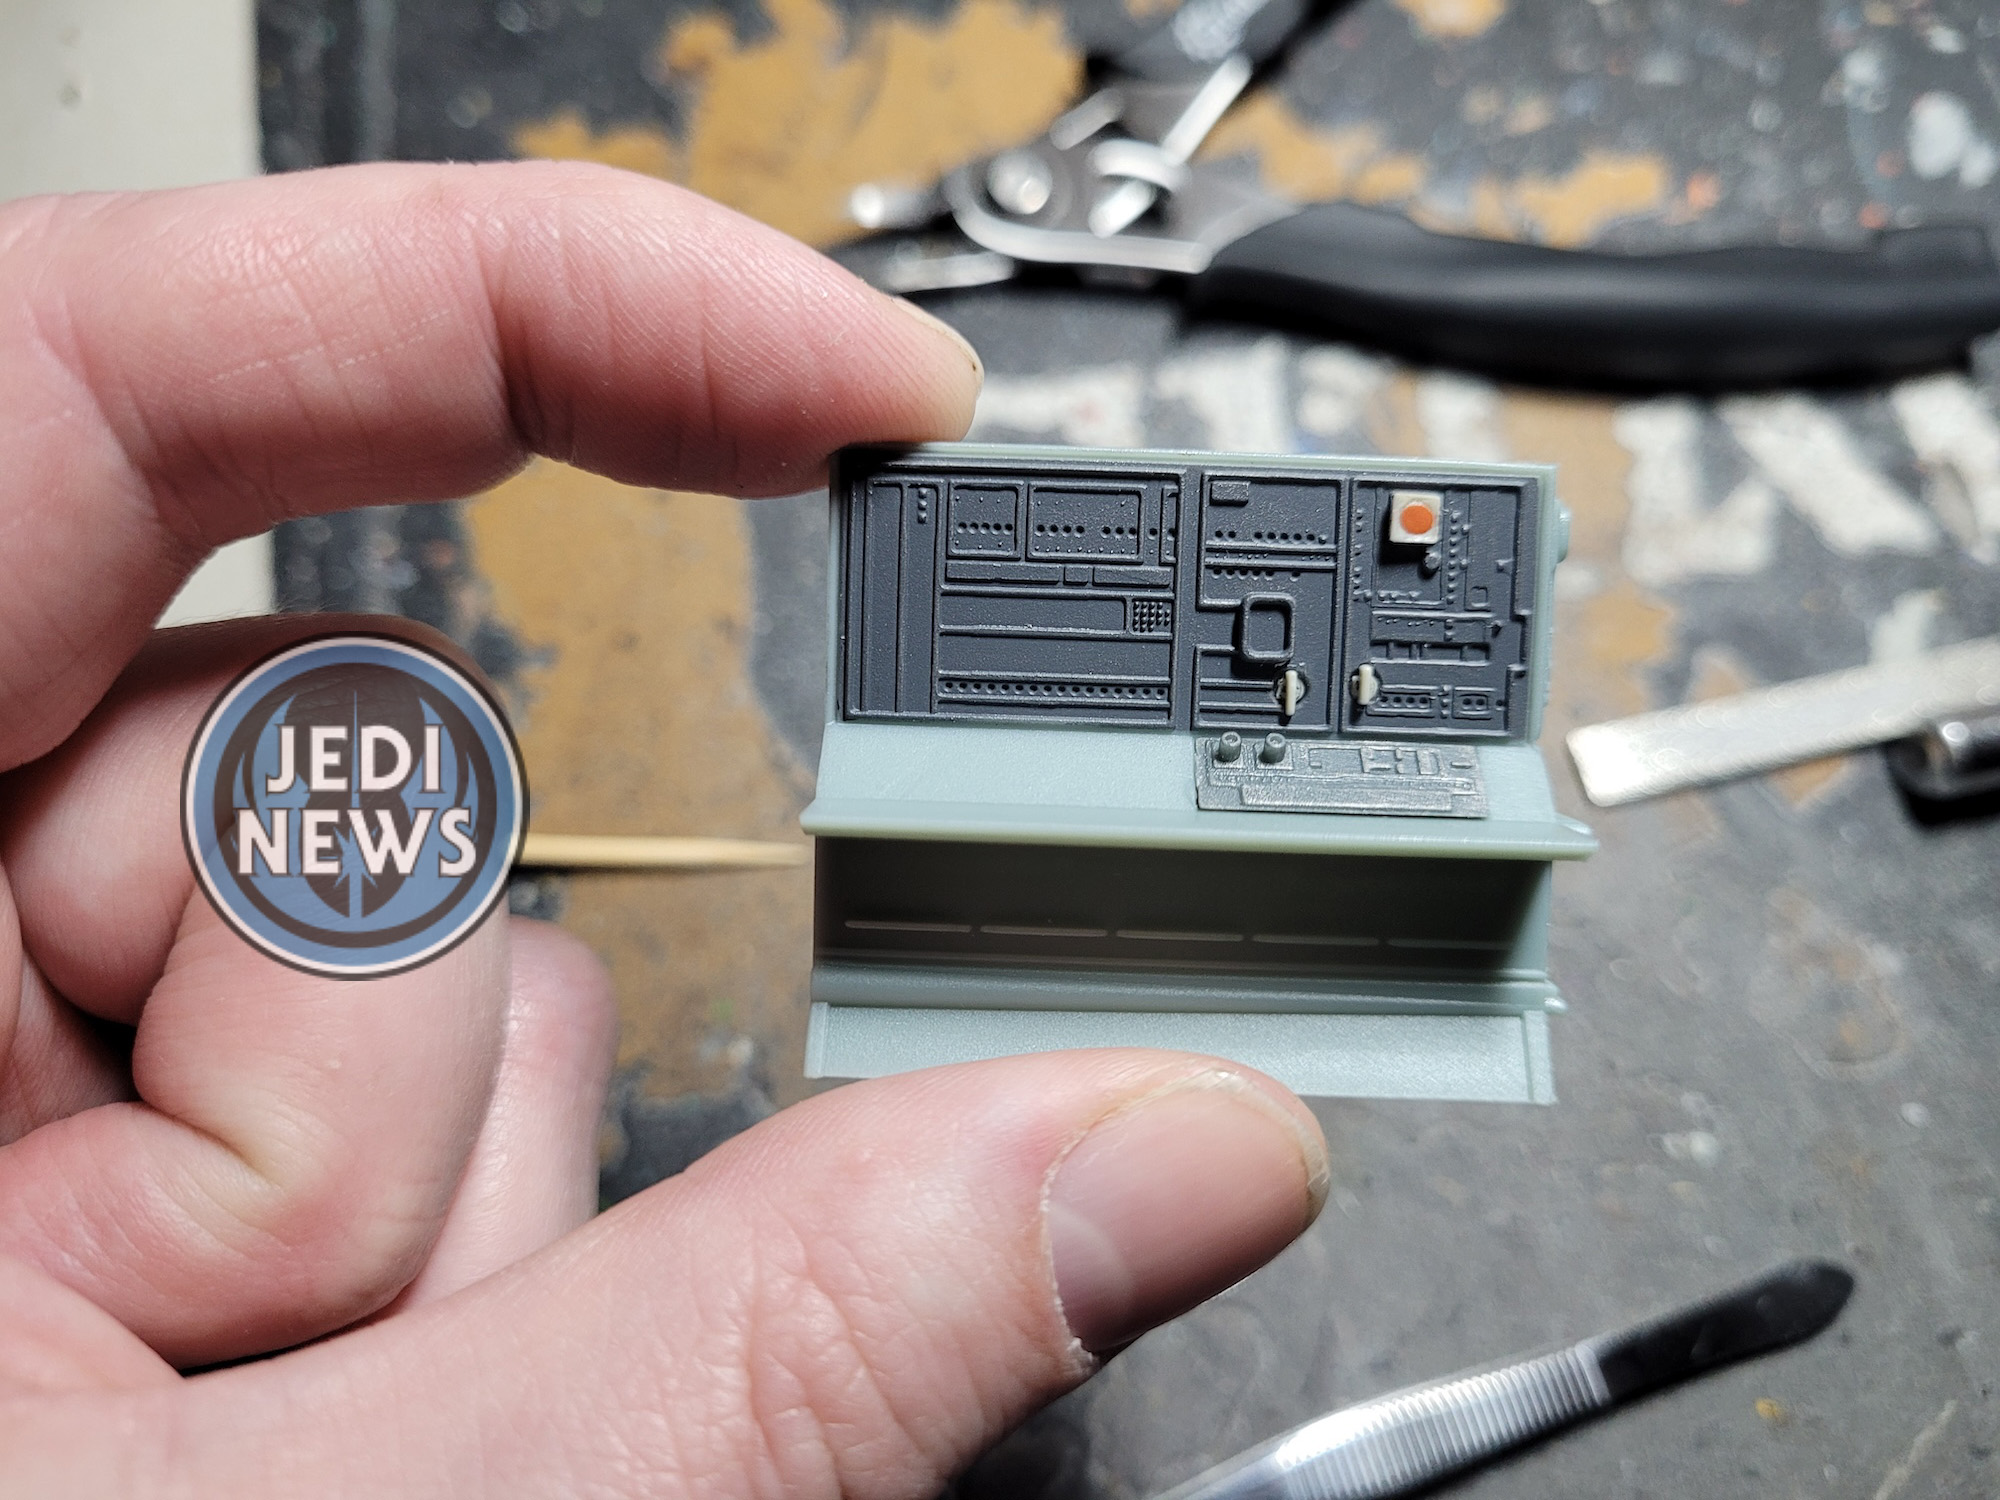
It did mean that I did get to tackle the first part of issue eight by myself. Now I have been enjoying doing this with Ember. It’s a rather unique experience for some daddy/daughter time, one that I hope she will remember as she continues to grow. However, to have some time flying solo (honestly, no pun intended) was actually rather welcome. Making the technical station starts with painting or at least dry brushing. I thought I’d start with just the latter, dry brushing with Citadel’s Leadblecher to pick out the details. It certainly brought the detail out but as I looked at it, it just didn’t look right. I think it’s one of those things that I will go back and repaint. I don’t expect to look inside the Falcon much when it is complete (I’d like to wall mount it), but looking at the photos in the issue, you can see the grey needs to be darker and the panelling black. I’ll need some time to research some more angles of the photos and maybe pick out some of the lights as well. Then it was time to clip everything out and glue it…. simple?
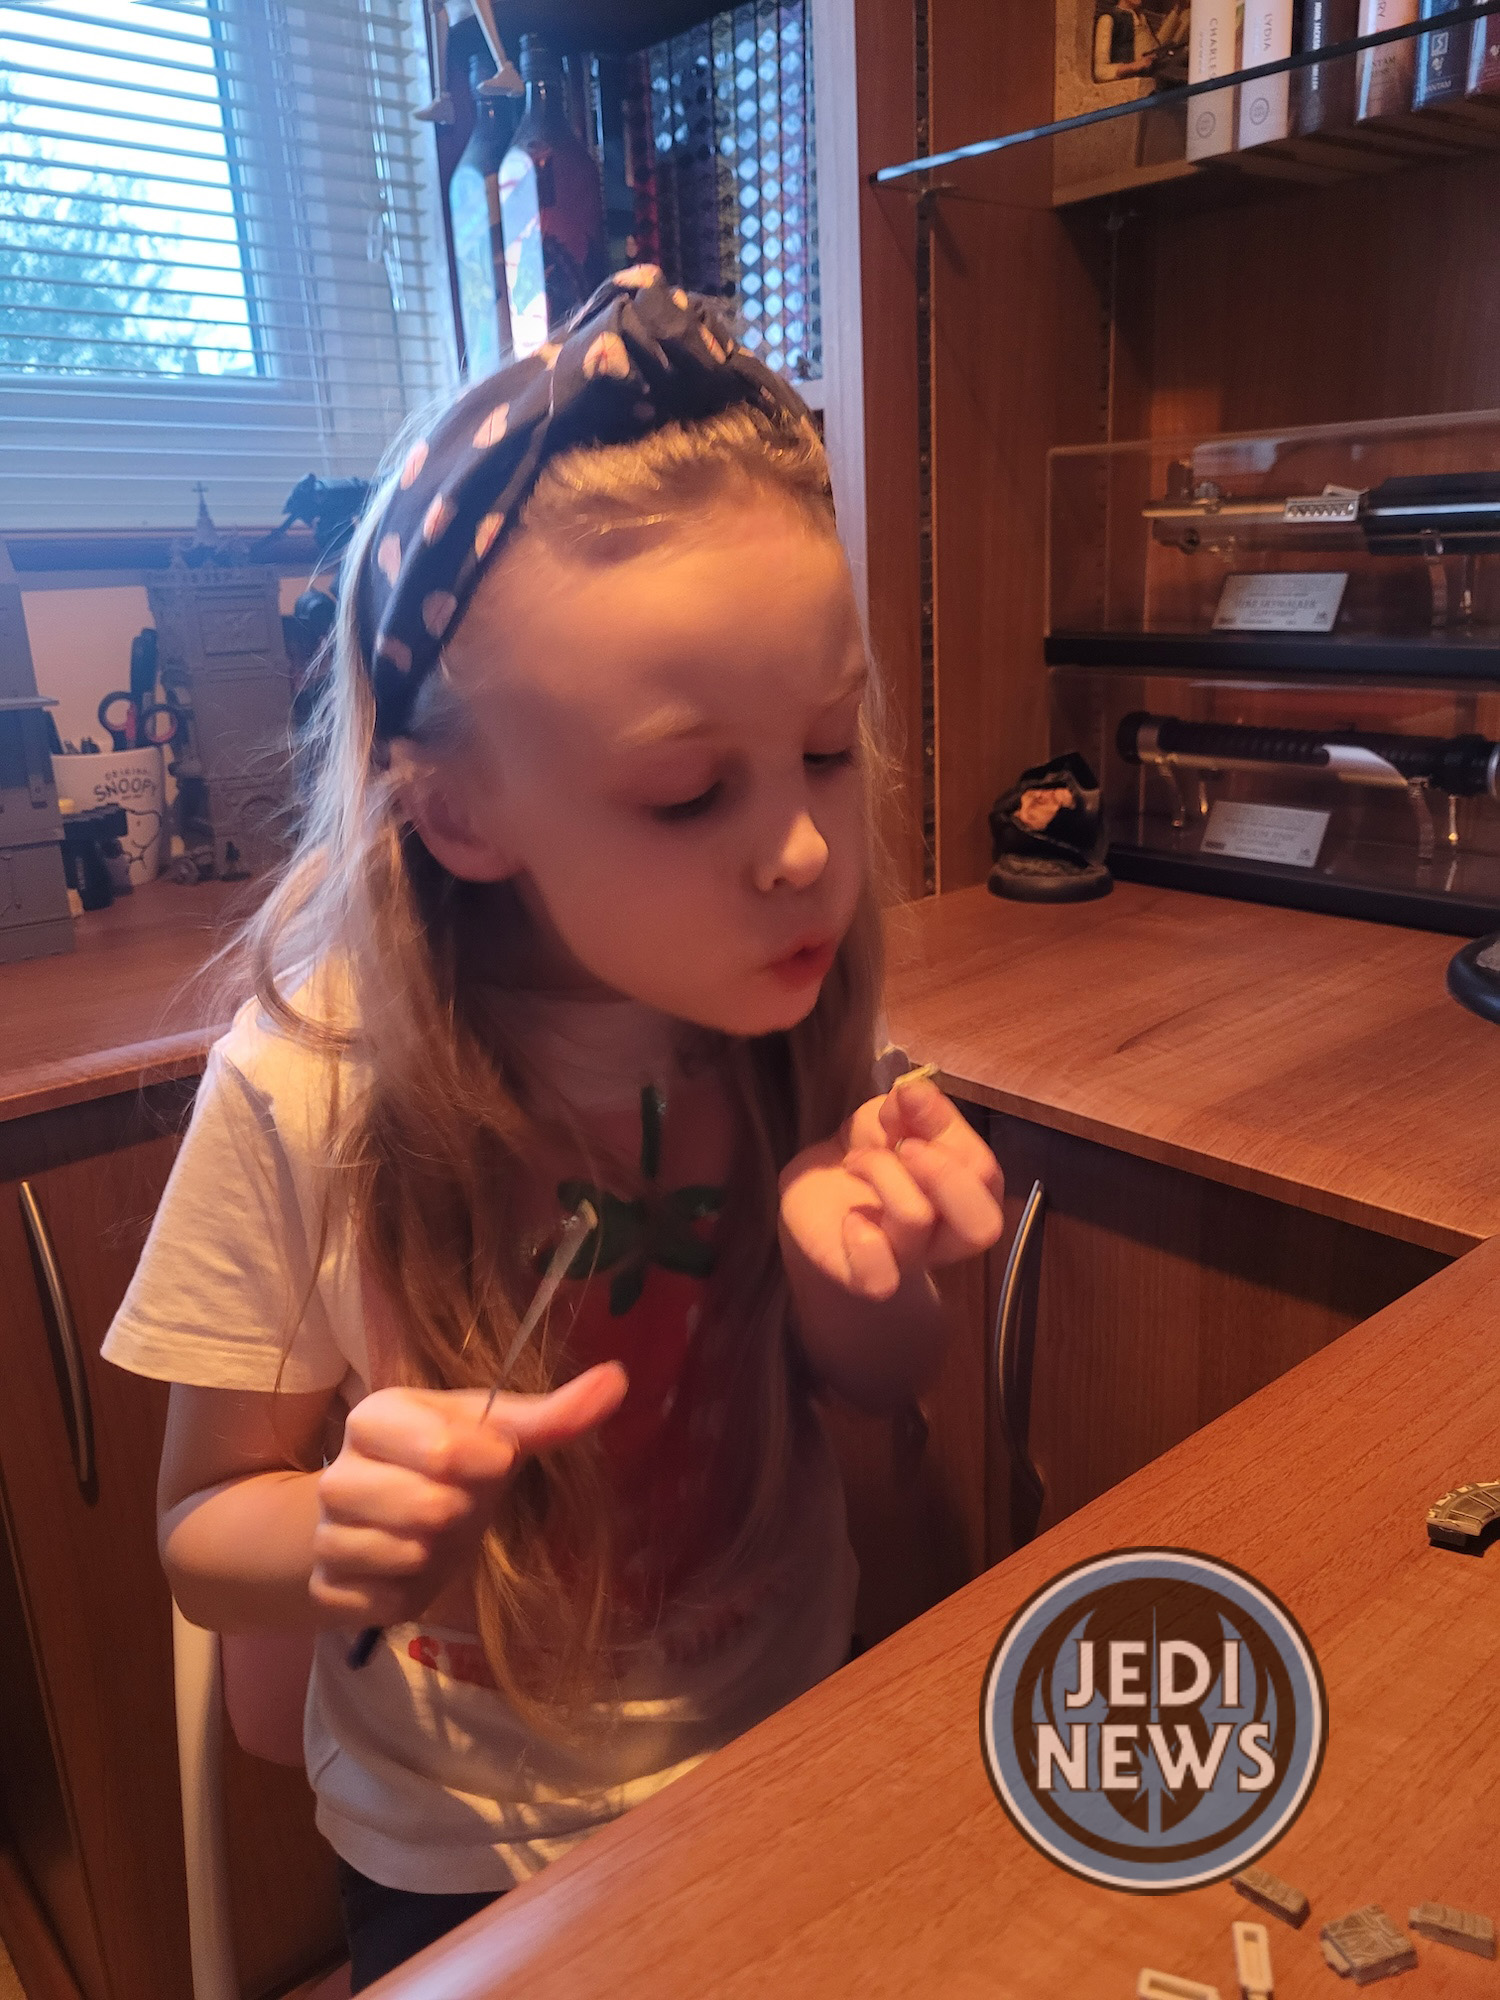
While the orange display panel was easy enough, the small instrument panel simple, the white controllers were to say a nightmare. They are small, very small. I clipped them out as carefully as I could and realised that I would definitely need tweezers to help place them in the holes. First step was too dry fit them, ping! One shot out of the tweezers while I was trying to do this, falling onto the floor. I looked in horror; I have a beige carpet. This was like looking for a needle in a haystack. I couldn’t believe the smallest piece of – well – anything, I had lost on the carpet. I searched and searched and could not find the piece. After half an hour, I had almost given up and found it nestled in the carpet. It was a miracle! Being ever so careful, I tried to dry fit it again, ping! Oh, come on! This was ridiculous. I’d just about had enough after the first search, yet somehow after five minutes I’d located it (a little easier than the first), and was back at my desk. The first thing to point out here is that I had been feeling slightly guilty of not having Ember with me, even though she said she wanted me to do this part. After losing a piece twice, I was very grateful she wasn’t! Although, I didn’t know if I wanted to be here either! Secondly, as I sat down and thought how on earth can this happen twice, I realised that the holes in the panel were not big enough. Widening them with a circular file, they slotted in the first time! So please don’t make the mistake I did! Widen the holes! I didn’t waste any time, I skipped step three, went straight to step four, and glued these controls in: permanently. My face looked exactly like Han Solo’s when they destroyed the TIE fighters following our heroes in A New Hope. I slumped in my chair, exhausted, but proud. Phew!

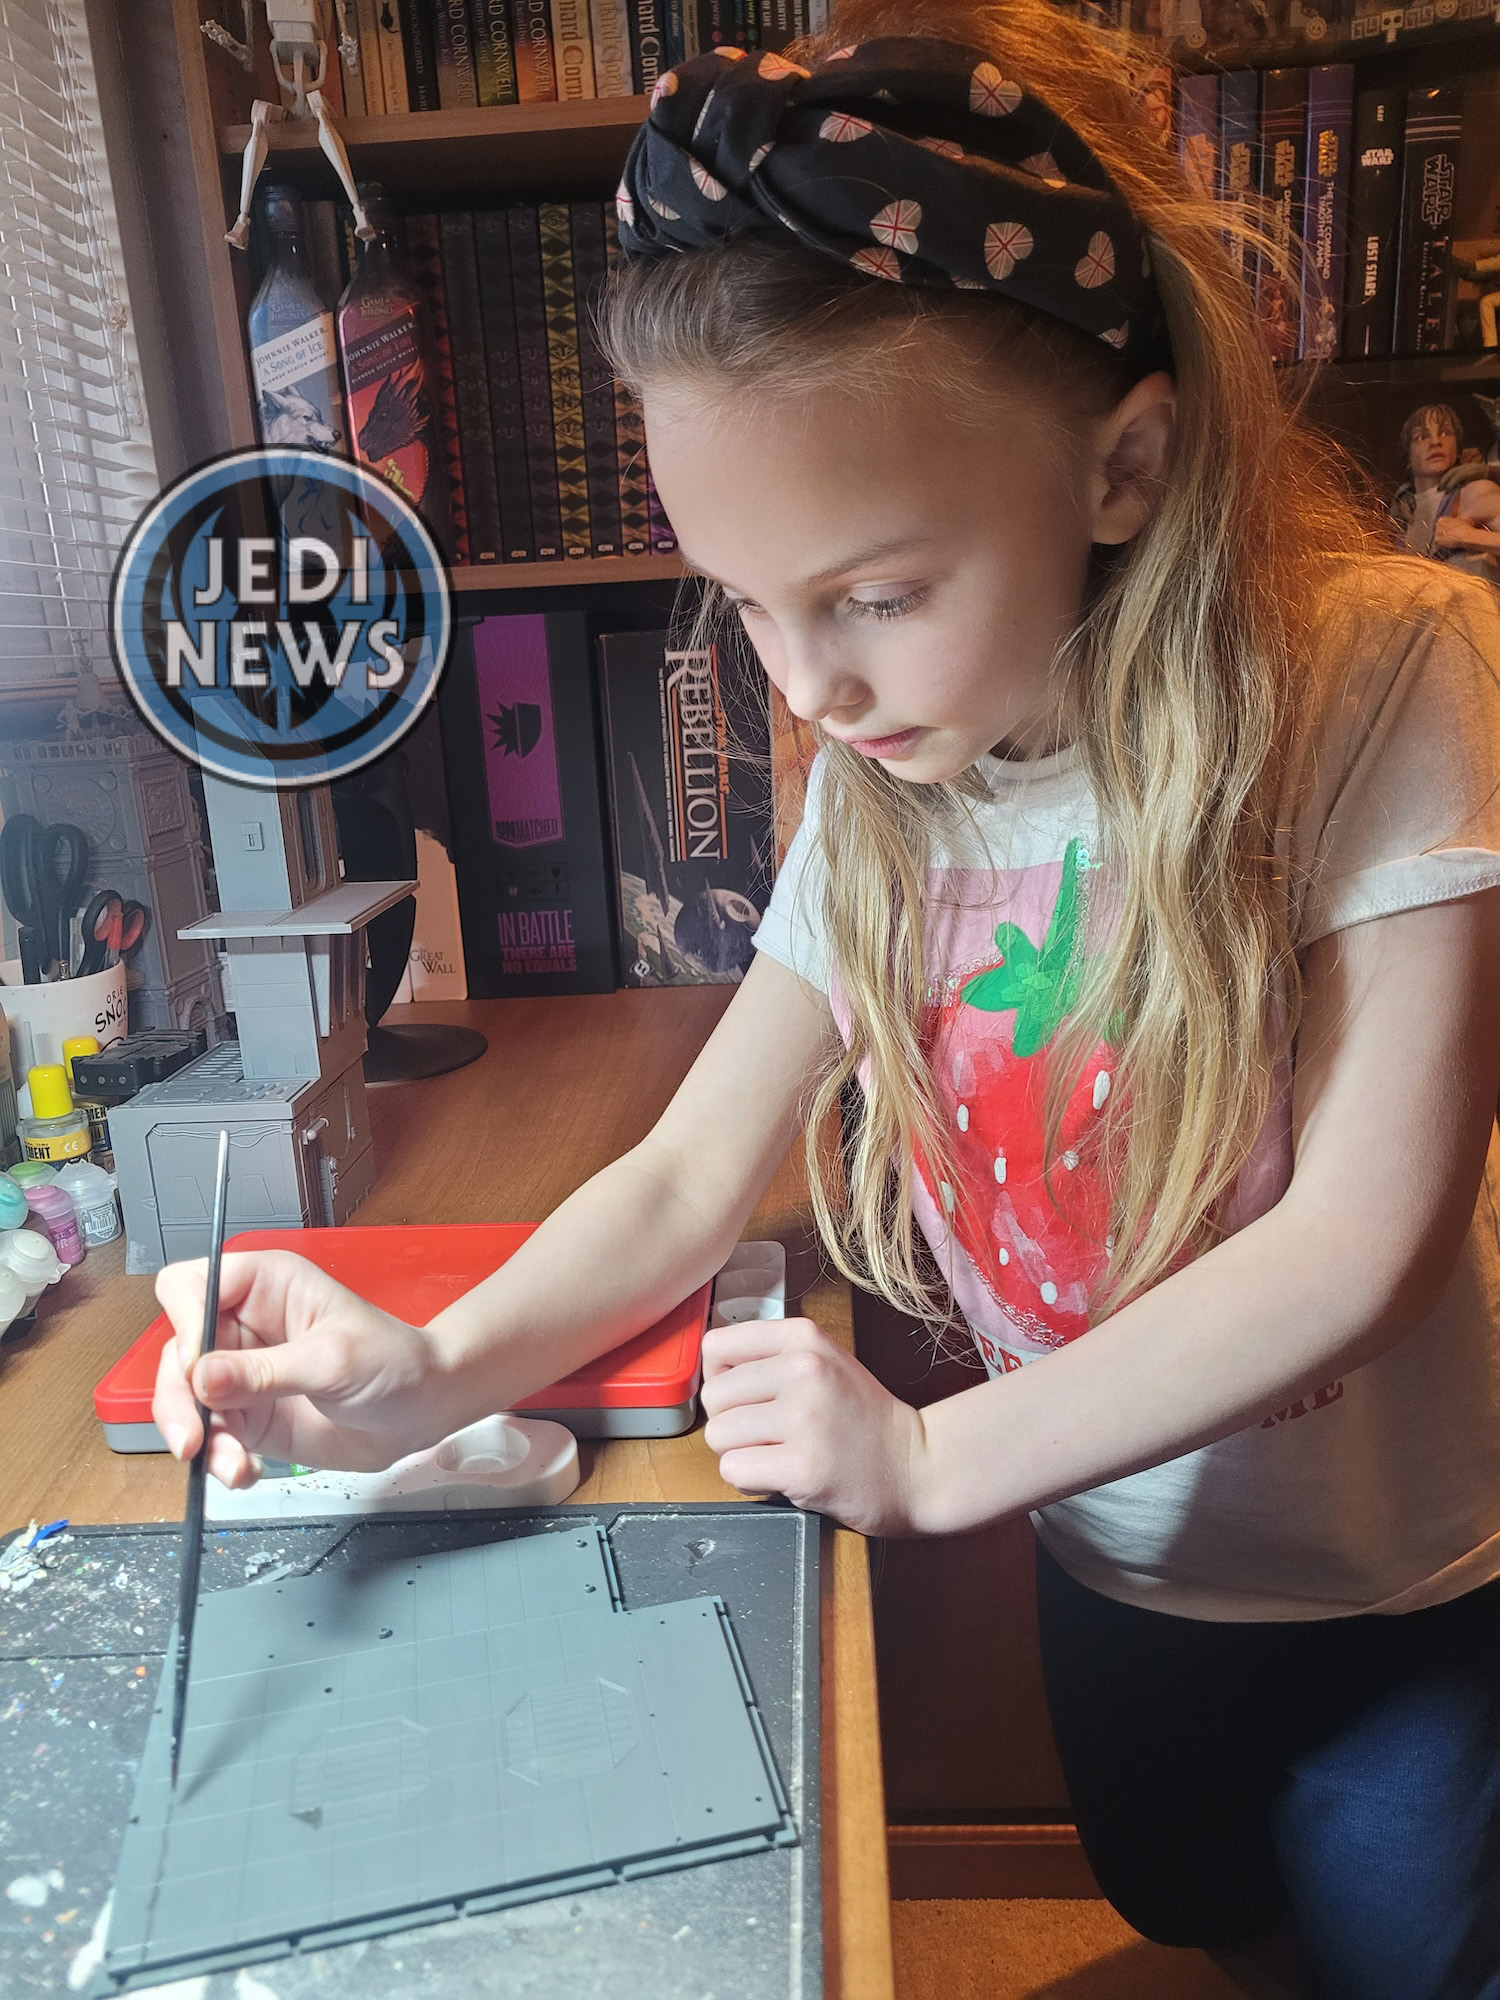
Then I remembered that was just the first part of the issue and it was time to bring Ember back in! It was onto the hold floor. I had actually done a slight bit of prep work for this before Ember actually joined me. Realising that we were going to be using a painting wash on the floor, and that I would be using a painting wash with a seven-year-old for the first time, I knew I needed a way to bring back the original floor colour if I needed to. This meant that the floor needed painting. It would hold the wash better, but it would also mean that any mistakes that were made wouldn’t be an issue as I could just paint over them. Furthermore, having done the technical station and realising that I wanted to repaint it, I was starting to realise that my own painting skills with models could actually be invaluable for the interior. The interior wasn’t constructed for the studio scale model (except for those parts that had windows, like the cockpit) for filming, so I didn’t need to match things up colour wise. What I did need to do was make it look authentic. I knew how I could do that. I still wanted to stick to true ‘Star Wars’ colours, so I got some Archive X Lark Dark Grey paint and put a base colour over the floor. As soon as I started, I knew I’d made the right decision. This wasn’t going to simply be a wash with Ember, I was going to bring back the dry brushing skills she’d learnt last issue and apply them here – hopefully with an effect that she’d be proud of.
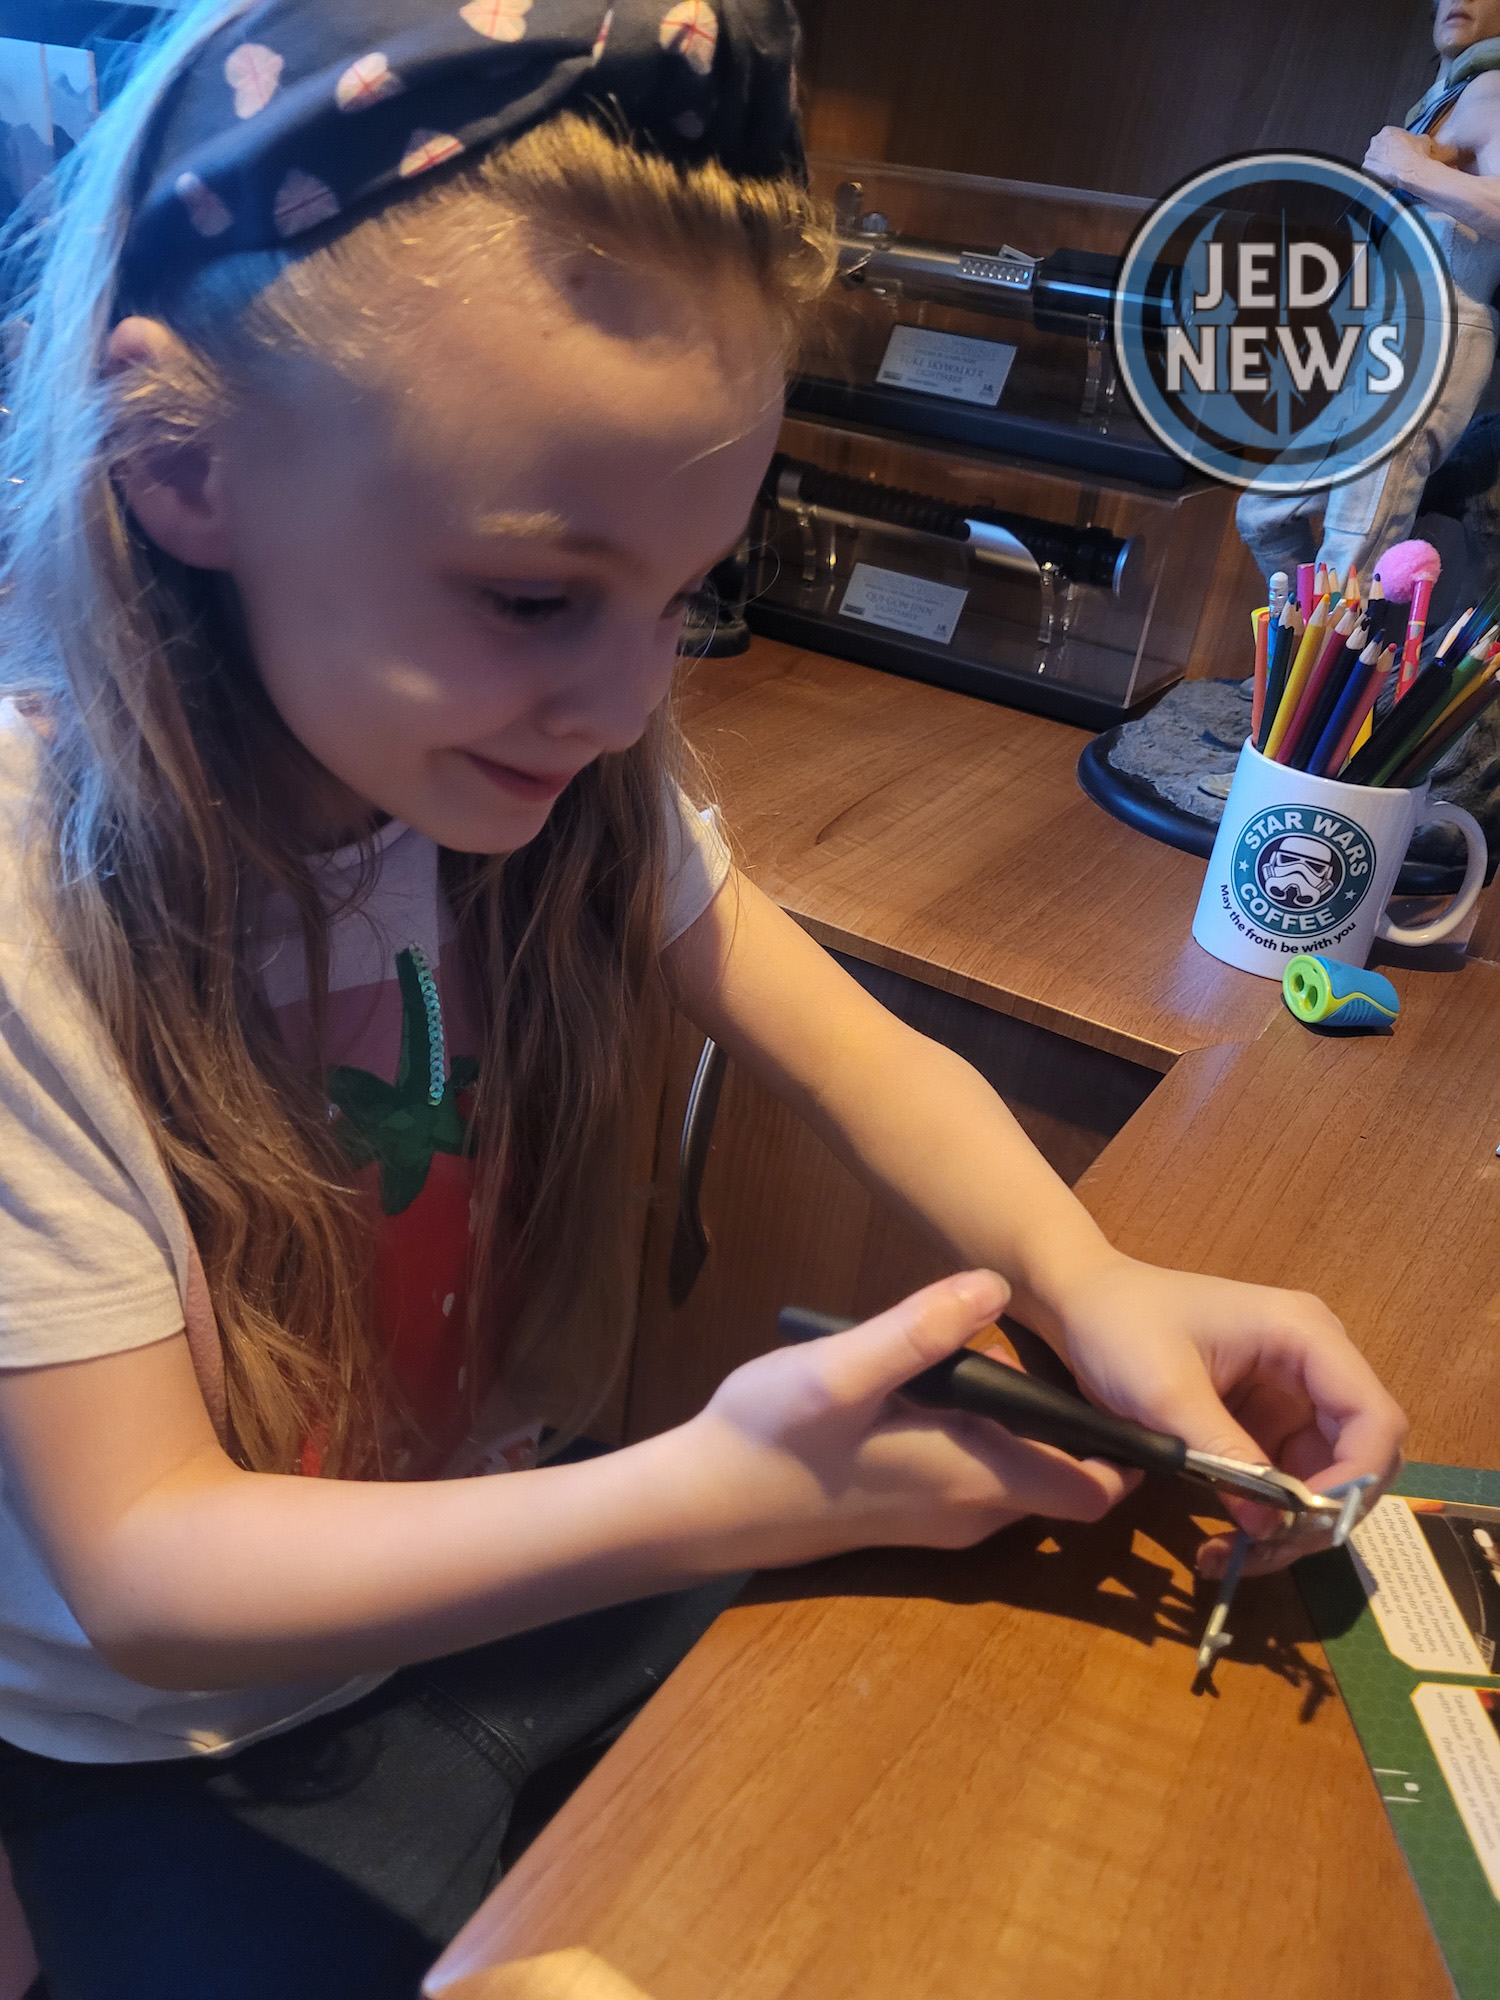
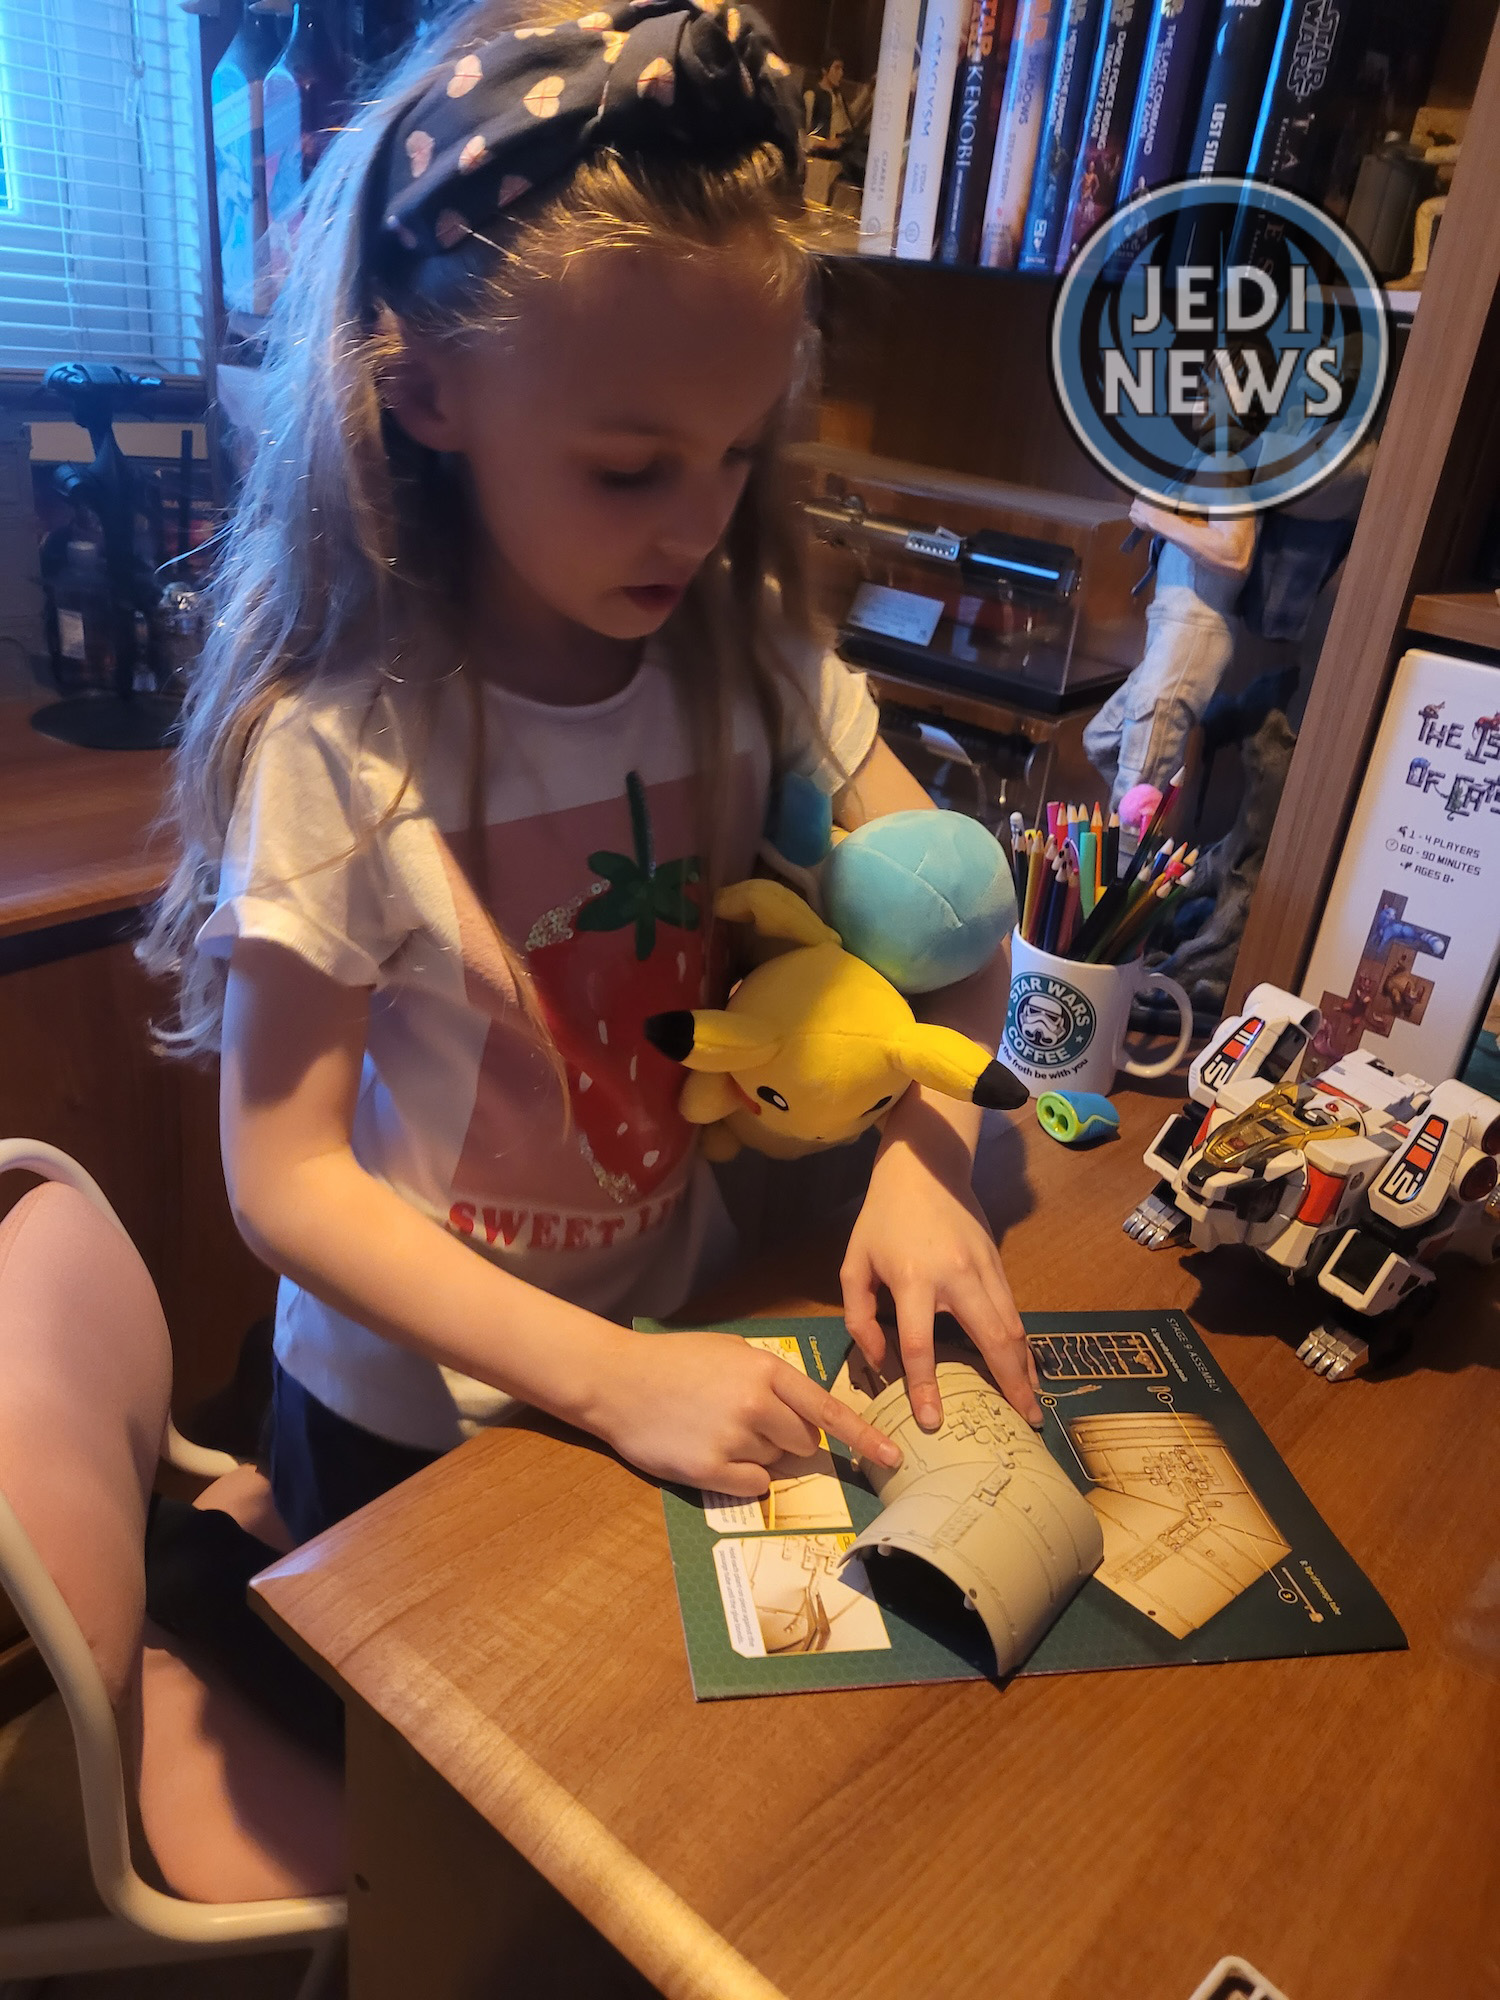
Before we added a wash, we prepared the seat support and fitted the seating. Ember loved doing all the clipping and filing. For the small pieces of cushion, I would advise filing the inserts into the seat, they will fit a lot easier. I was going to start painting but realised this was going to be a huge job, one I’d want to spend some more time with. Ember and I assembled everything, although we didn’t bother screwing in the support (it needs taking out again and I wanted to paint some parts between issues) and left everything to dry.
Then it was onto the washing, which considering the care and detail needed for the rest of the issue, was a welcome relief. Ember loved this and because I prepared it, she didn’t need to be too careful and I, as a parent, could relax a little.
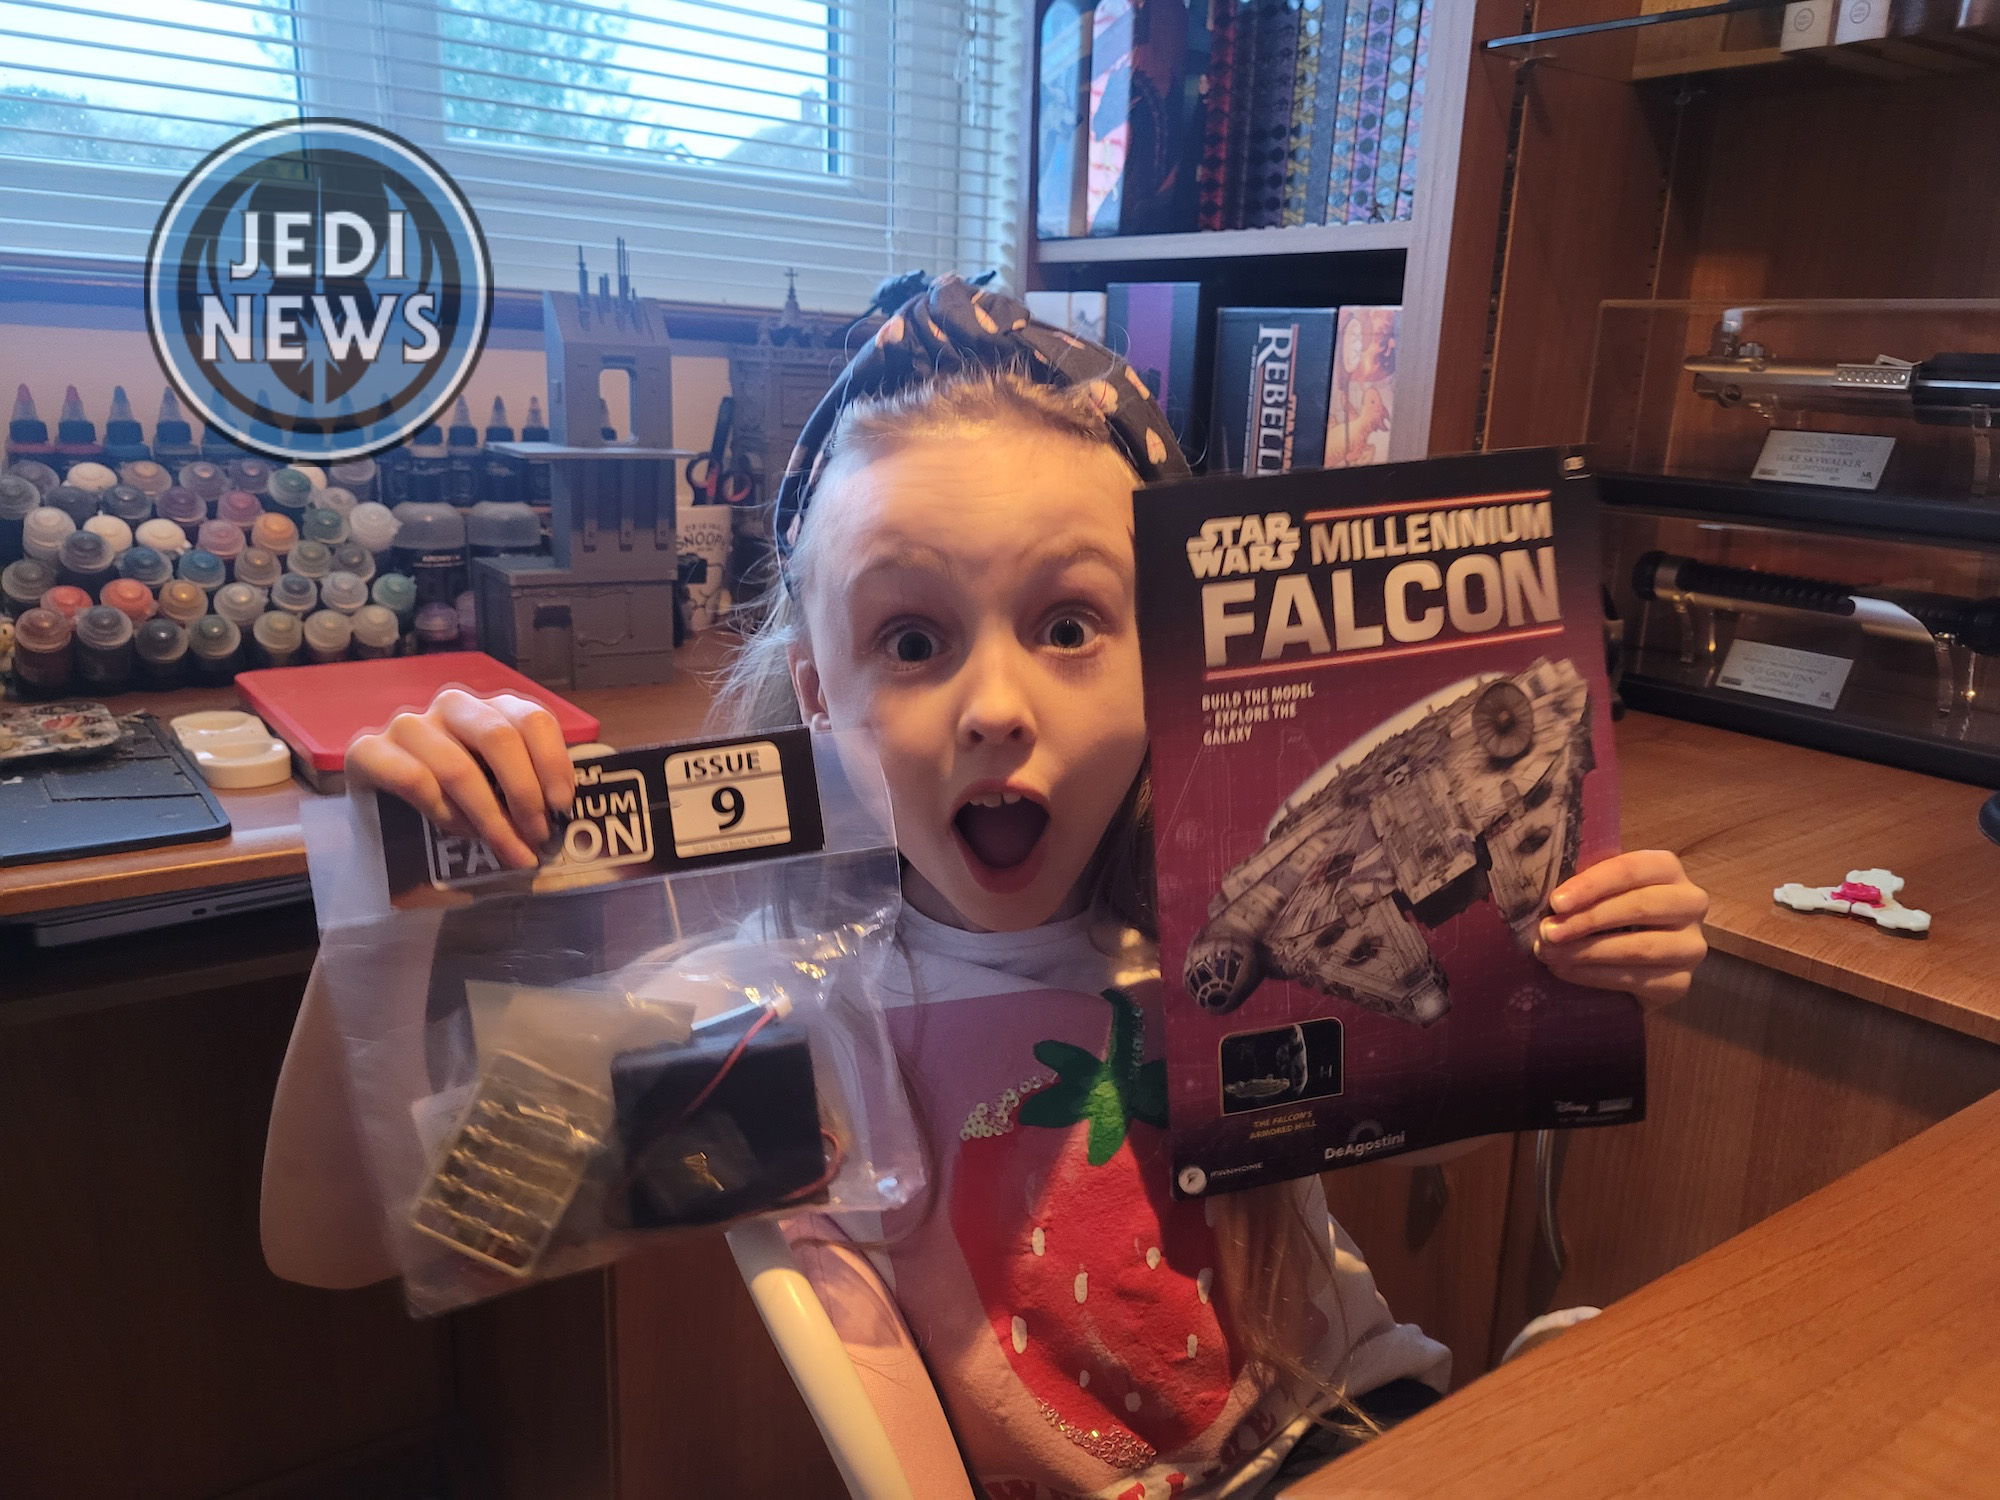
Then it was onto issue nine. Ember saw the battery pack and could not contain her excitement. She loved fitting everything, but the most precious moment was when she switched the light on for the first time. Her face was a picture! You could see how much she loved seeing the cockpit come alive! Even I felt a sense of pride. It felt this was the right issue for the pack to arrive, to see what the hard work of all those issues had achieved.
One part I hadn’t noticed was placing the light proof stickers and I came back to this after Ember, and I had completed the rest of the issue. This had been a very long session, they seem to be getting longer, no bad thing, and I knew Ember was waning a little. We moved straight onto the last part, which was detailing the passage tube. A word of warning, some of these pieces are going to try and break, particularly part two. We had it snap on us, but gluing both parts in, we were able to, thankfully, repair the damage. This is certainly one where I had to take charge. Ember placed the glue in the slots and quite enjoyed finding where the pieces went for me. The end result looked amazing, and I had a big fanboy moment seeing the hull of the Falcon looking like it should!


These have been two very busy issues, even where a whole section is turning on some lights. The sense of pride from seeing a lit cockpit was amazing, for both me and Ember. Seeing the hull looking like it does in the films, was amazing. Seeing my daughter’s face and her enjoyment was amazing. The build up from where we started to now is just the right level and I can see how Ember’s stamina is building with each issue. When we finished these two issues, Ember still wanted to carry on (well she hadn’t done that technical station!). It is these issues that have made me realise that I can bring some of my own talents to the painting aspect of things, which I will start doing before we move onto issues ten and eleven. I can’t lie, I’m quite excited to see how it turns out. The fact I can also share these skills with Ember just adds to this excitement. These are two very strong issues and I keep staring in wonder at what my daughter and I have achieved so far.
