



The last installment of the Millennium Falcon had been a fantastic session that had been slightly dulled by one of our engine light strips not correctly working. This close to the end, it is frustrating to have something like the lighting go wrong. For me, on a project of this size and expense, it is a good judge of how a company handles situations like this. As soon as we had finished the last magazine, I emailed Fanhome explaining the problem. They were very quick with their response and told me a replacement would be sent in the next few days. That was something and put my mind at ease that we would have a Falcon up and functioning in no time – not like taking the thing to Cloud City and getting swindled.
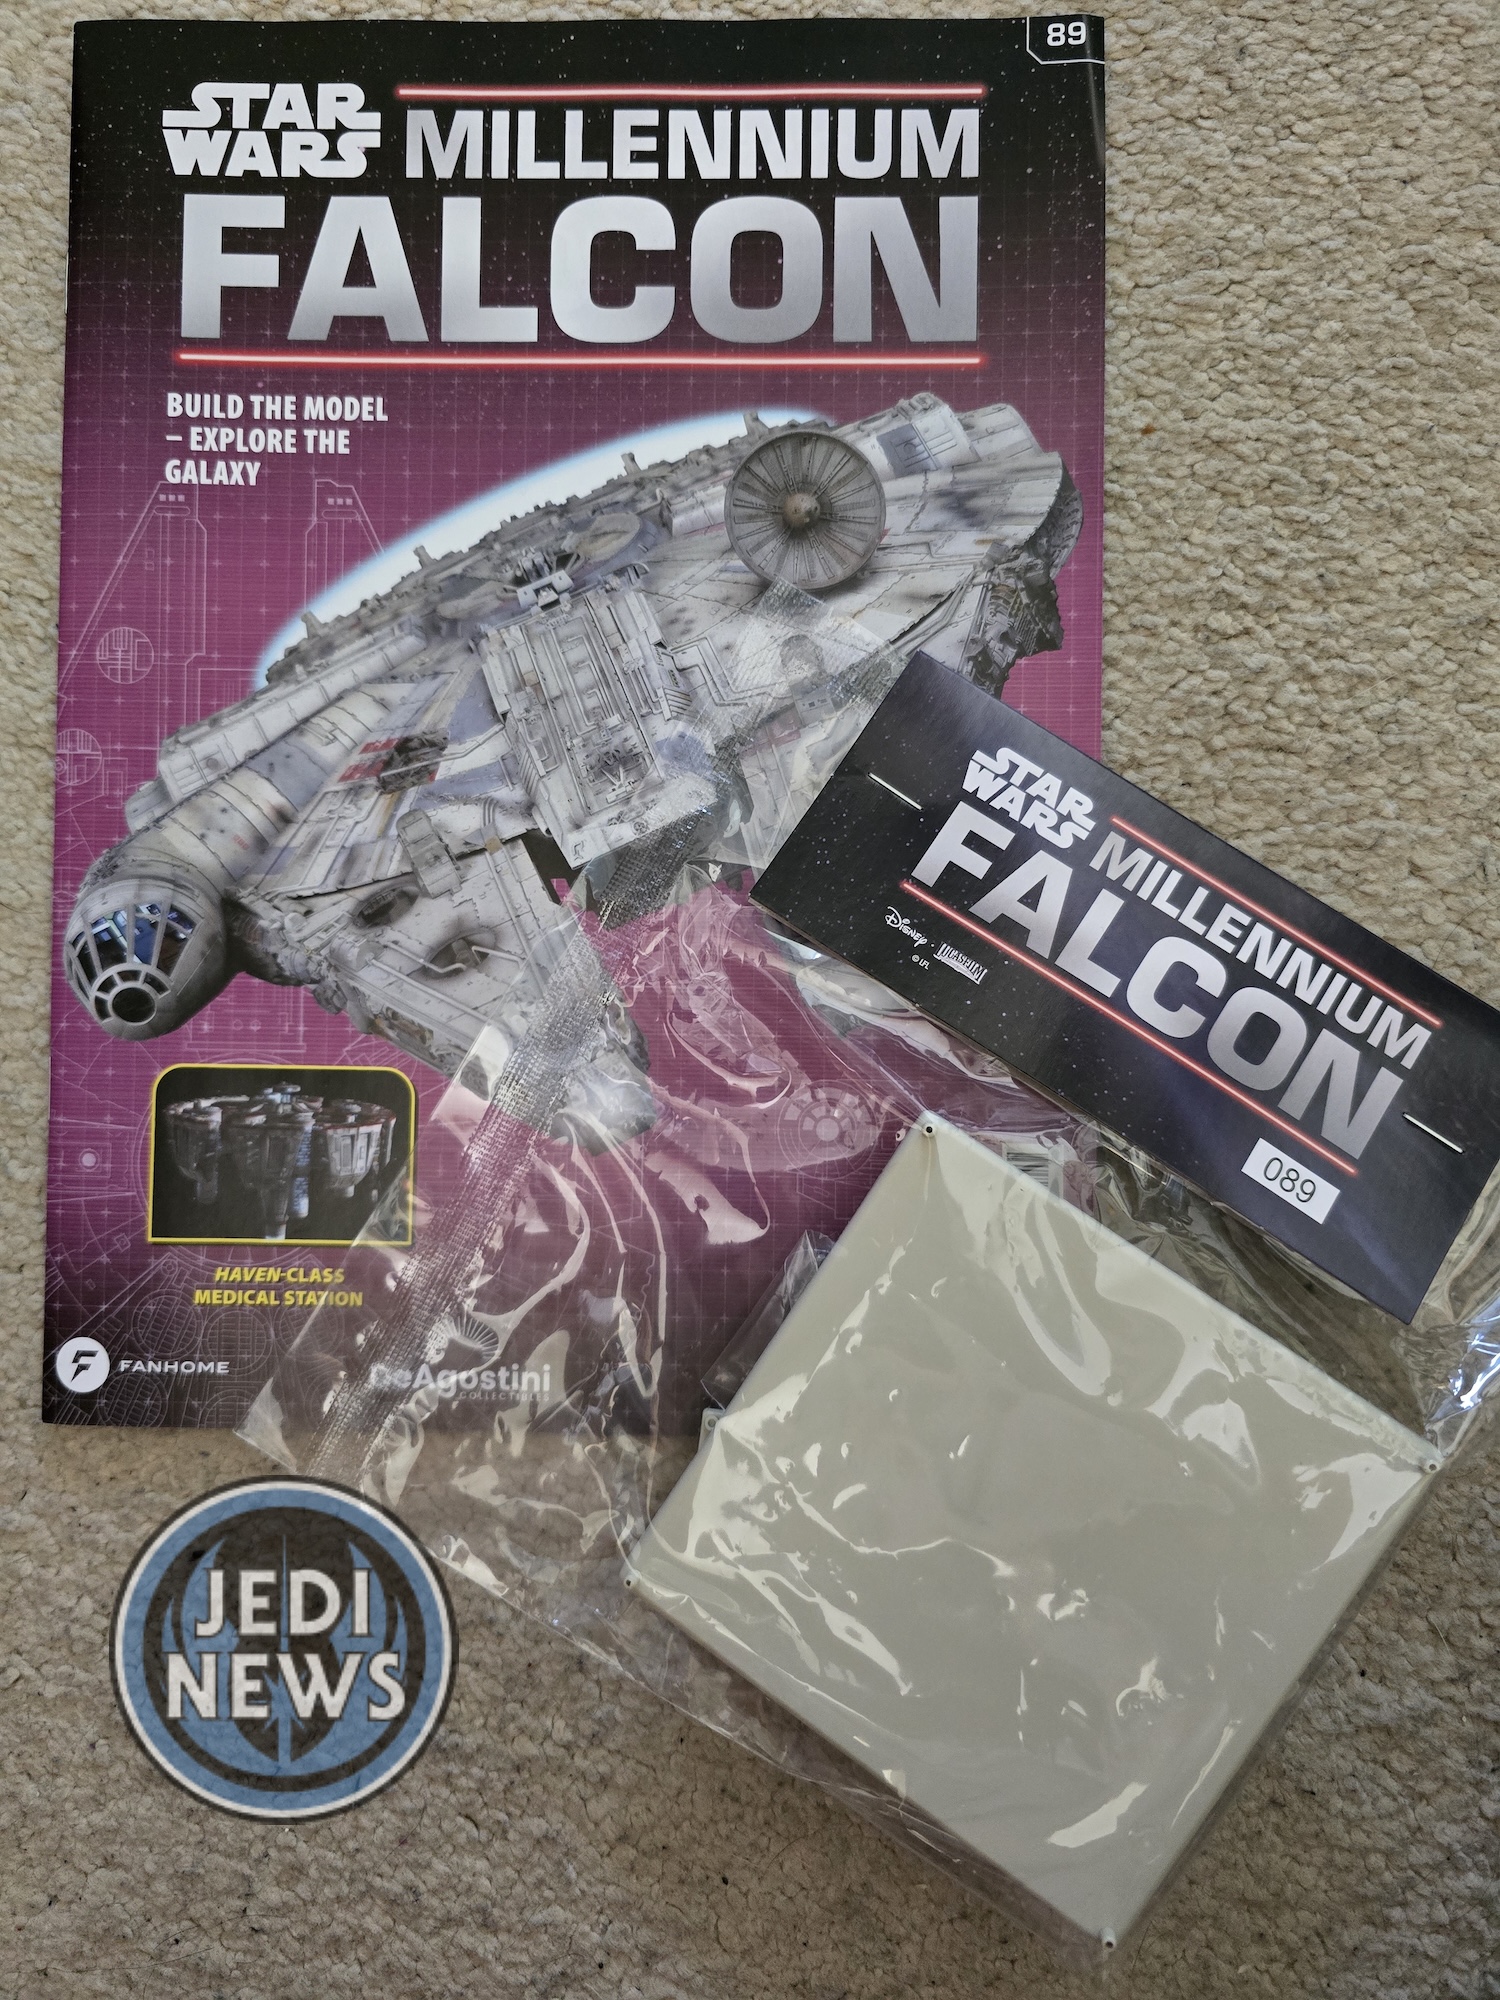
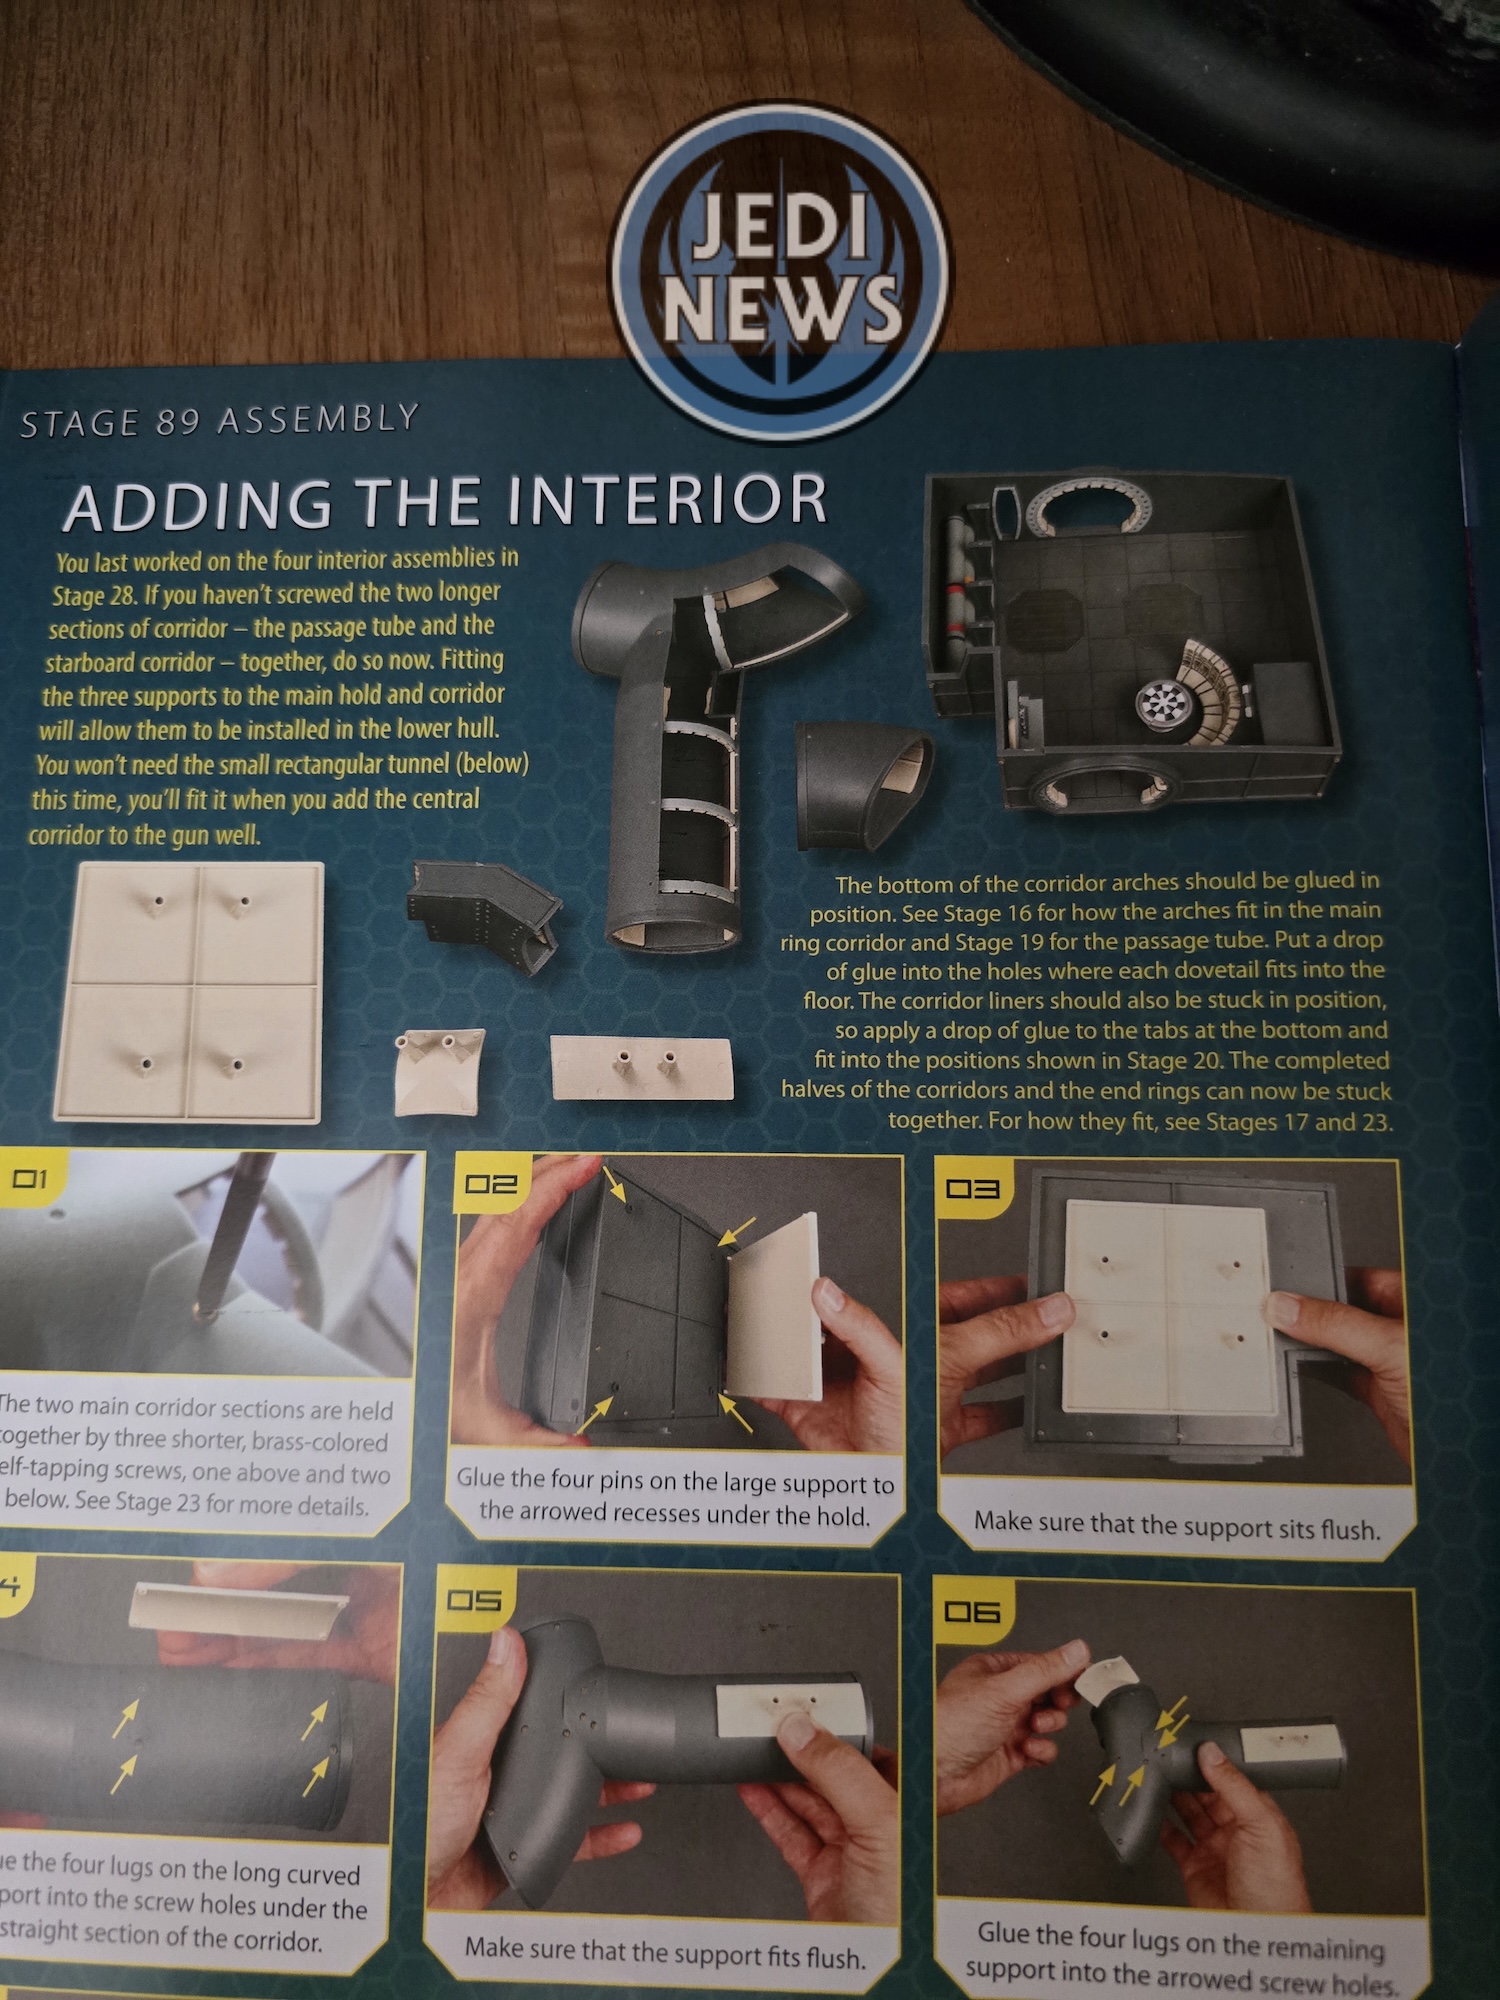
While waiting for the part to arrive, I thought it might stall our project for a little while. I see ‘our’ because I have been doing this entire project with my nine-year-old daughter (Ember) since the very beginning. Not only is a project of this size a sizable investment of time and money, but when you are a parent trying to do it as a bonding exercise, it can become a project of foreseeing the future and the problems that might come along. With this in mind, I decided to have a quick look at the next installment to see if there was anything I could get ready while we waited for the part. I’m very glad I did. It turned out that part eighty-nine had nothing to do with the engines but sorting the interior out: perfect! If all went to plan, we wouldn’t even notice waiting on the part.
Like I say, as a parent doing this project, you must try and get everything ready ahead of time to limit a lot of downtime. The interior of the Falcon was certainly going to need me to do that. I could see from the magazine that we would be fitting the turret well and a lot of the interior that we had constructed…
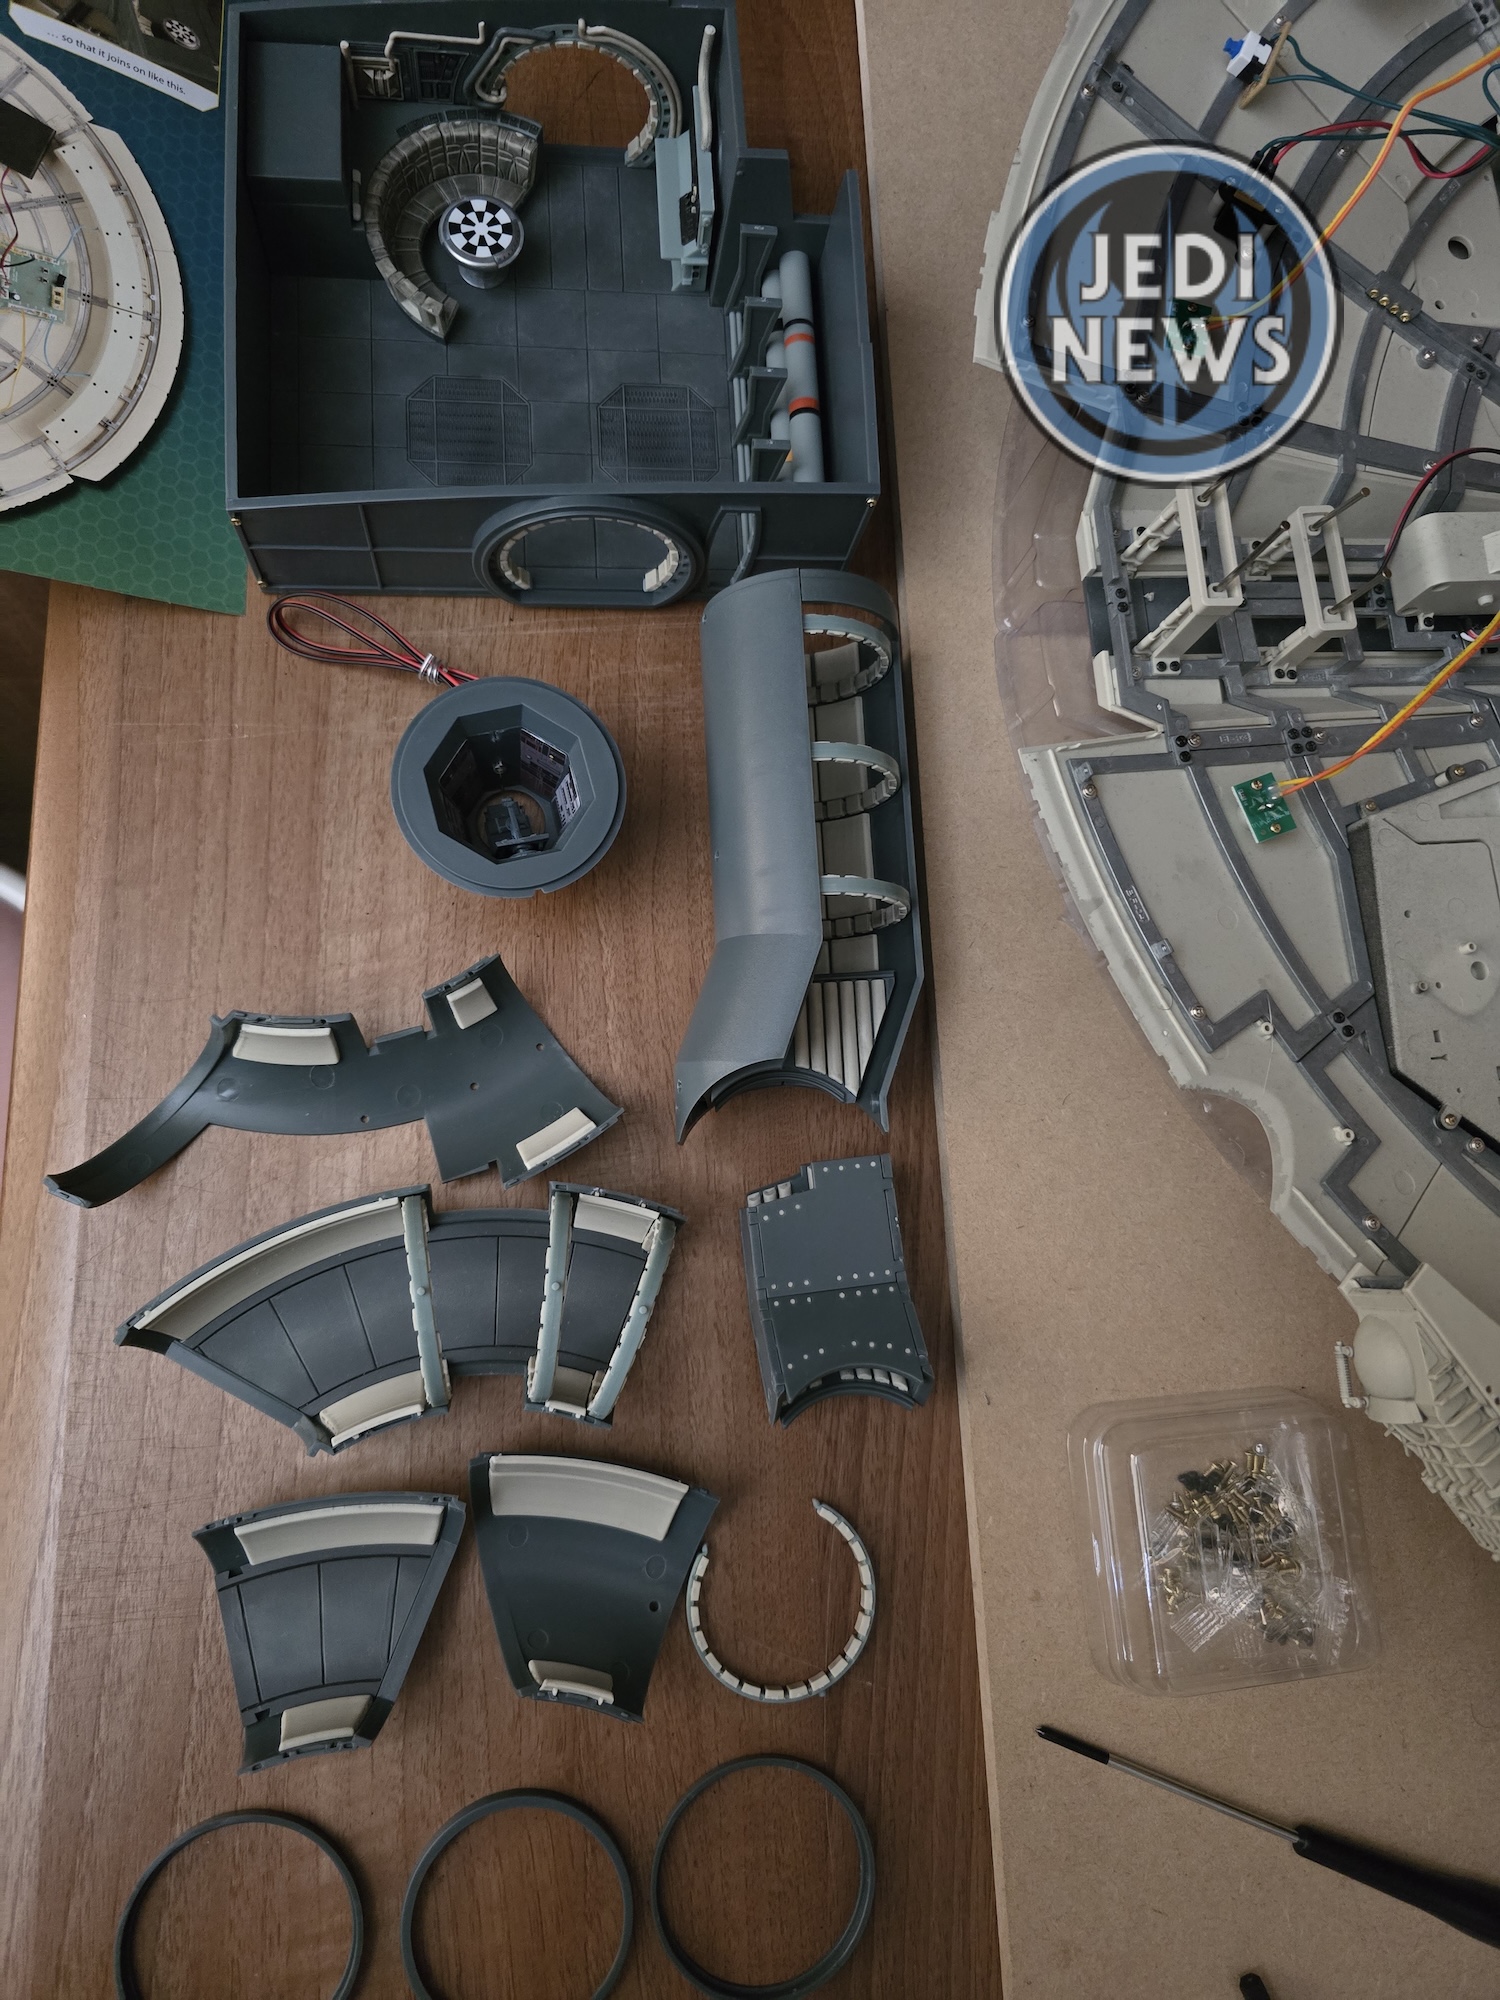
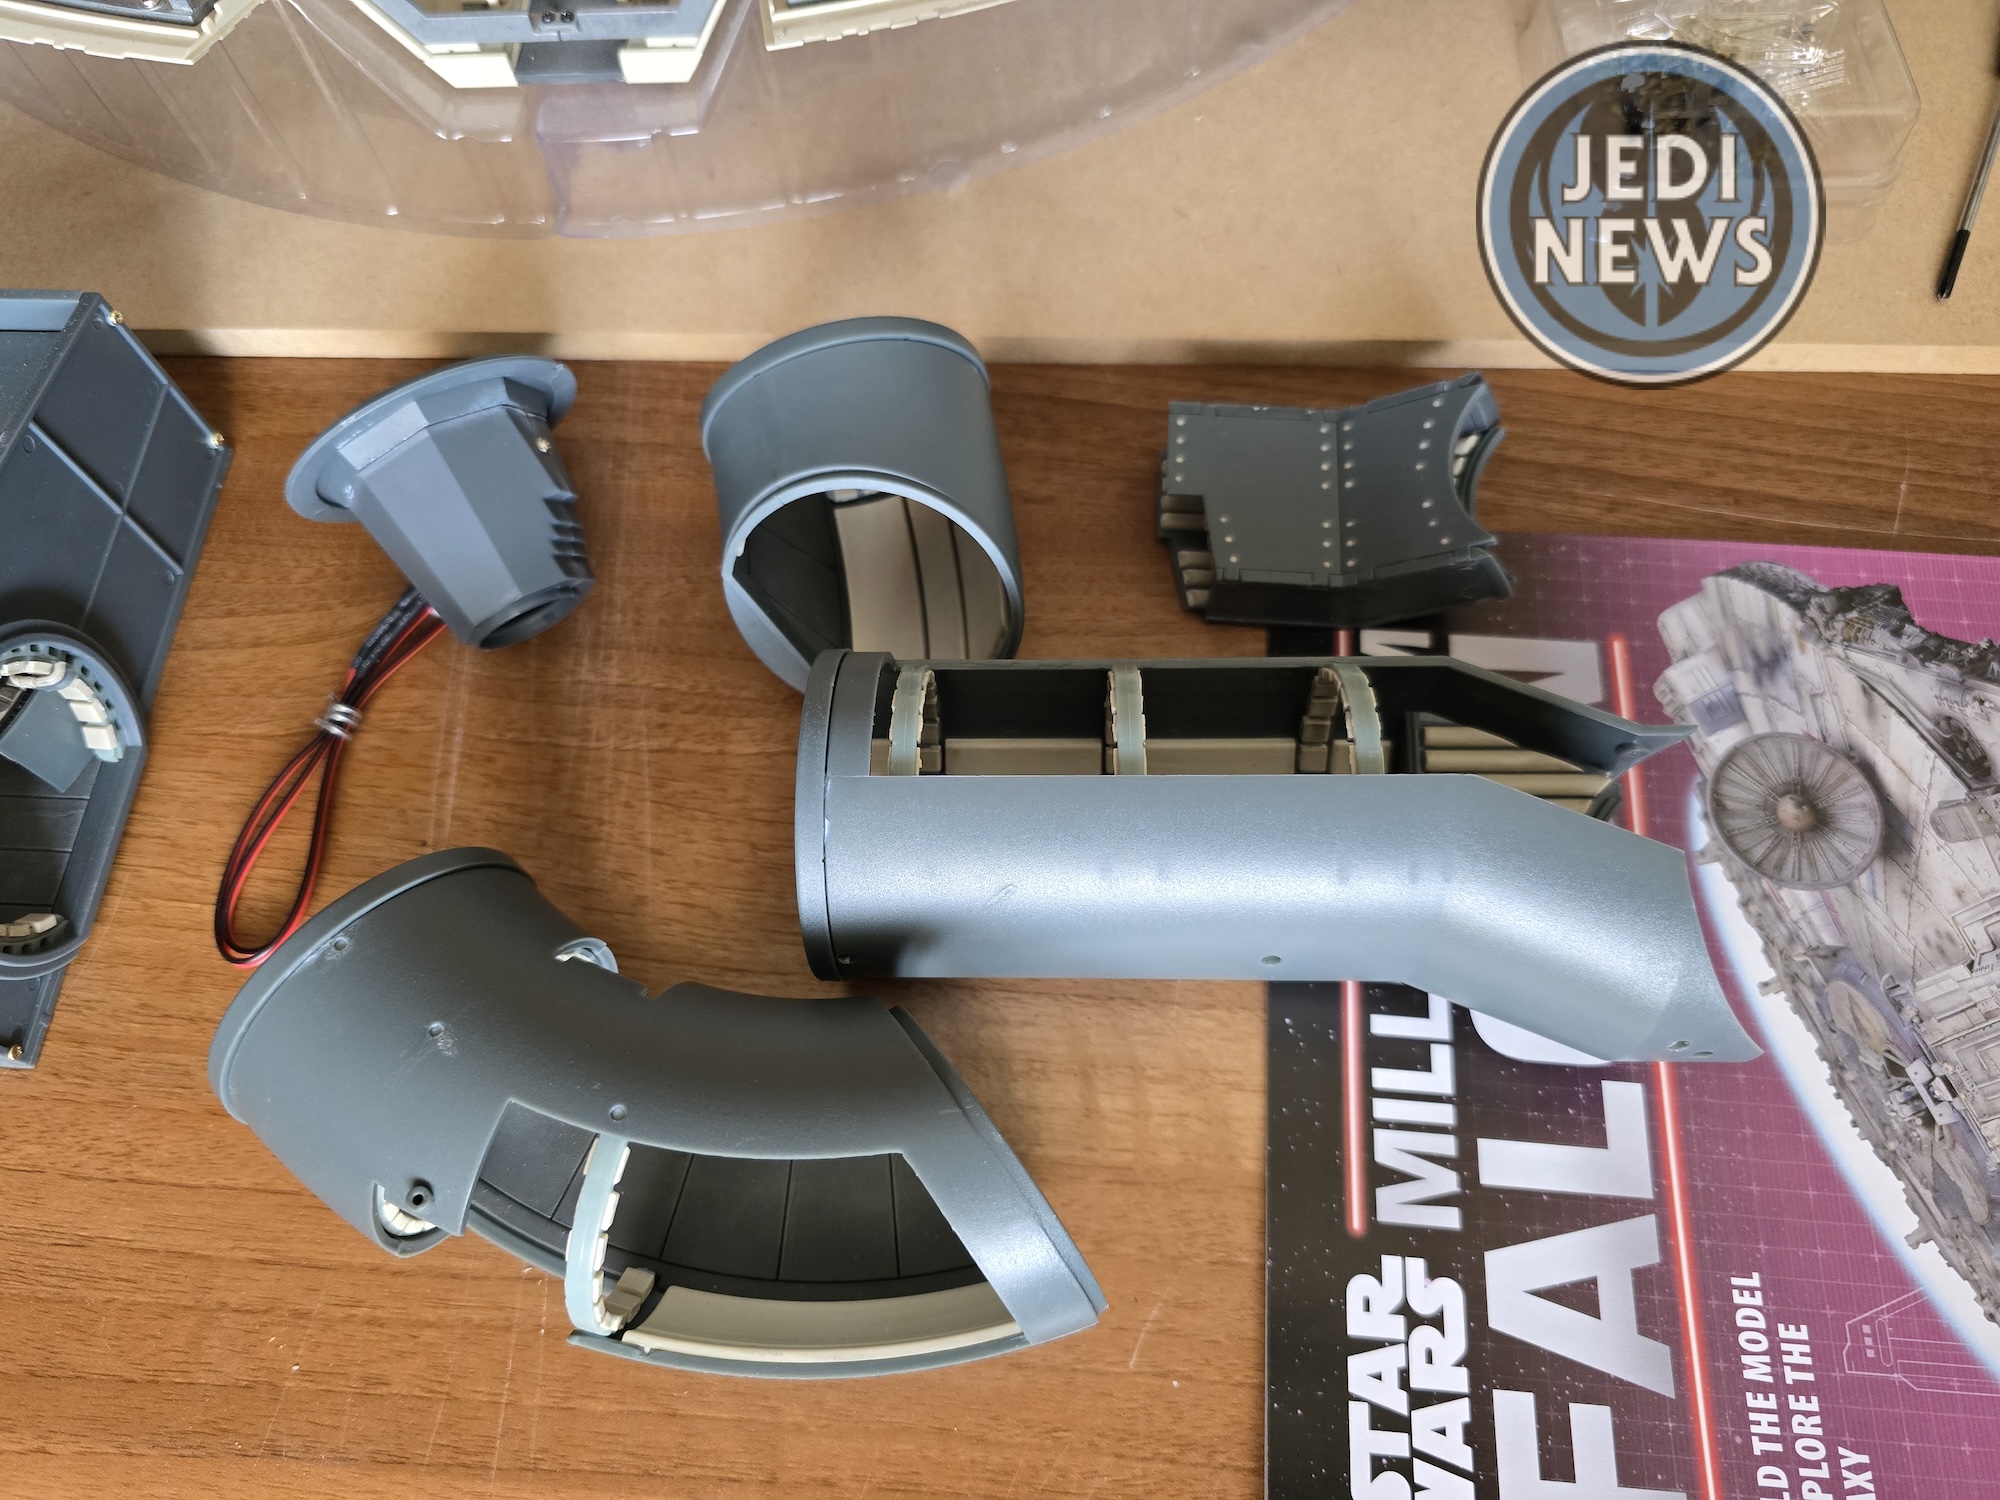
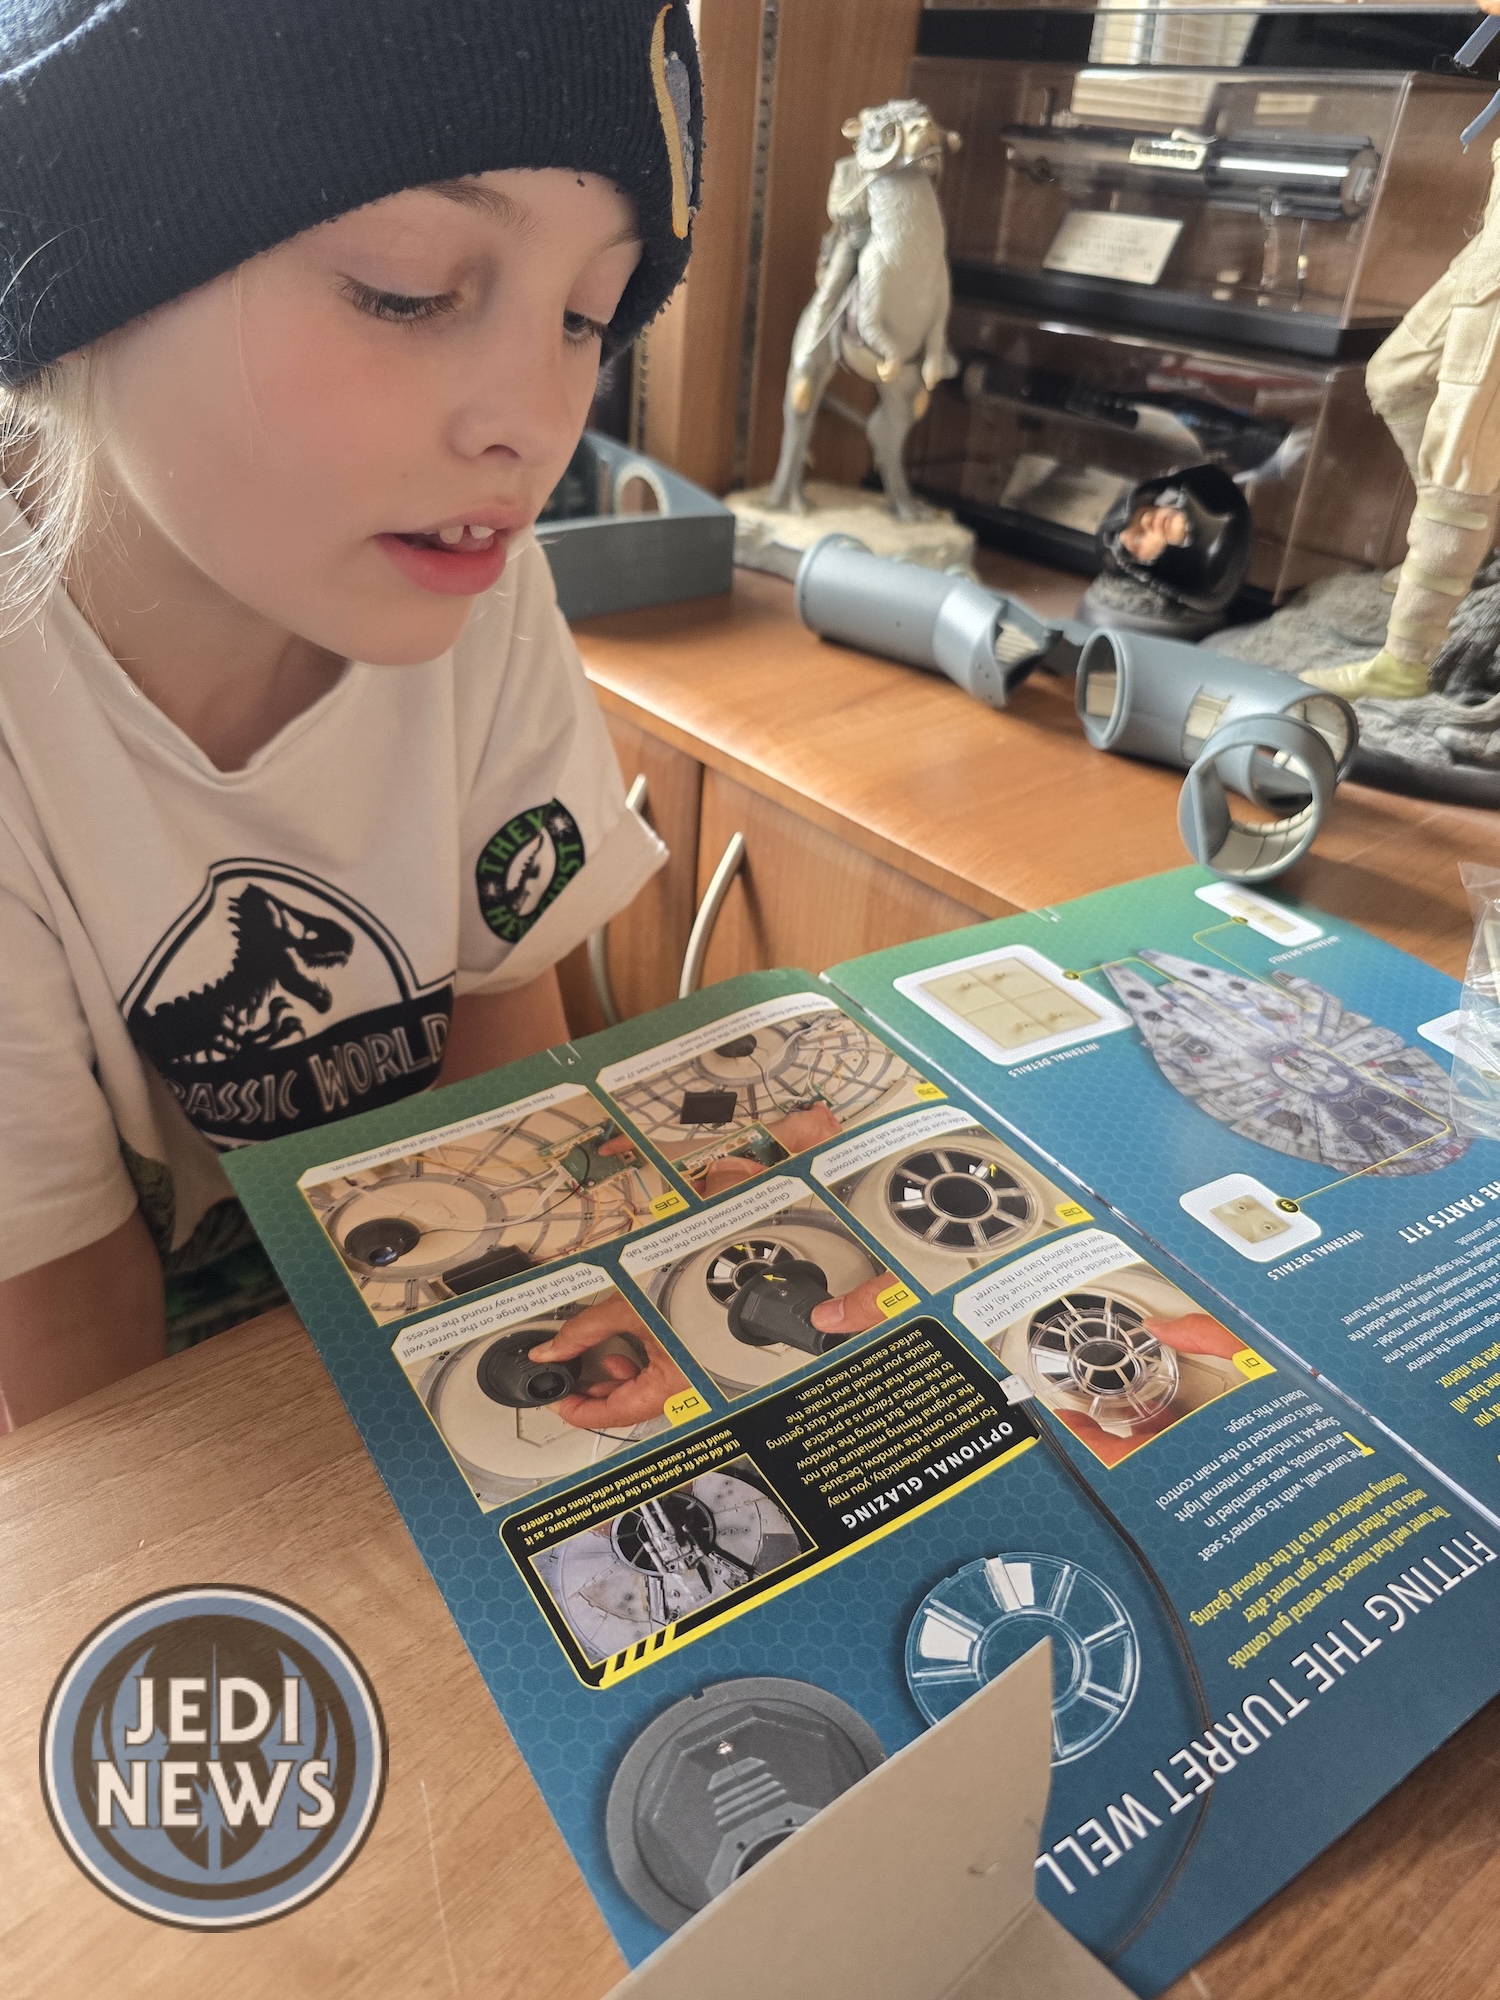
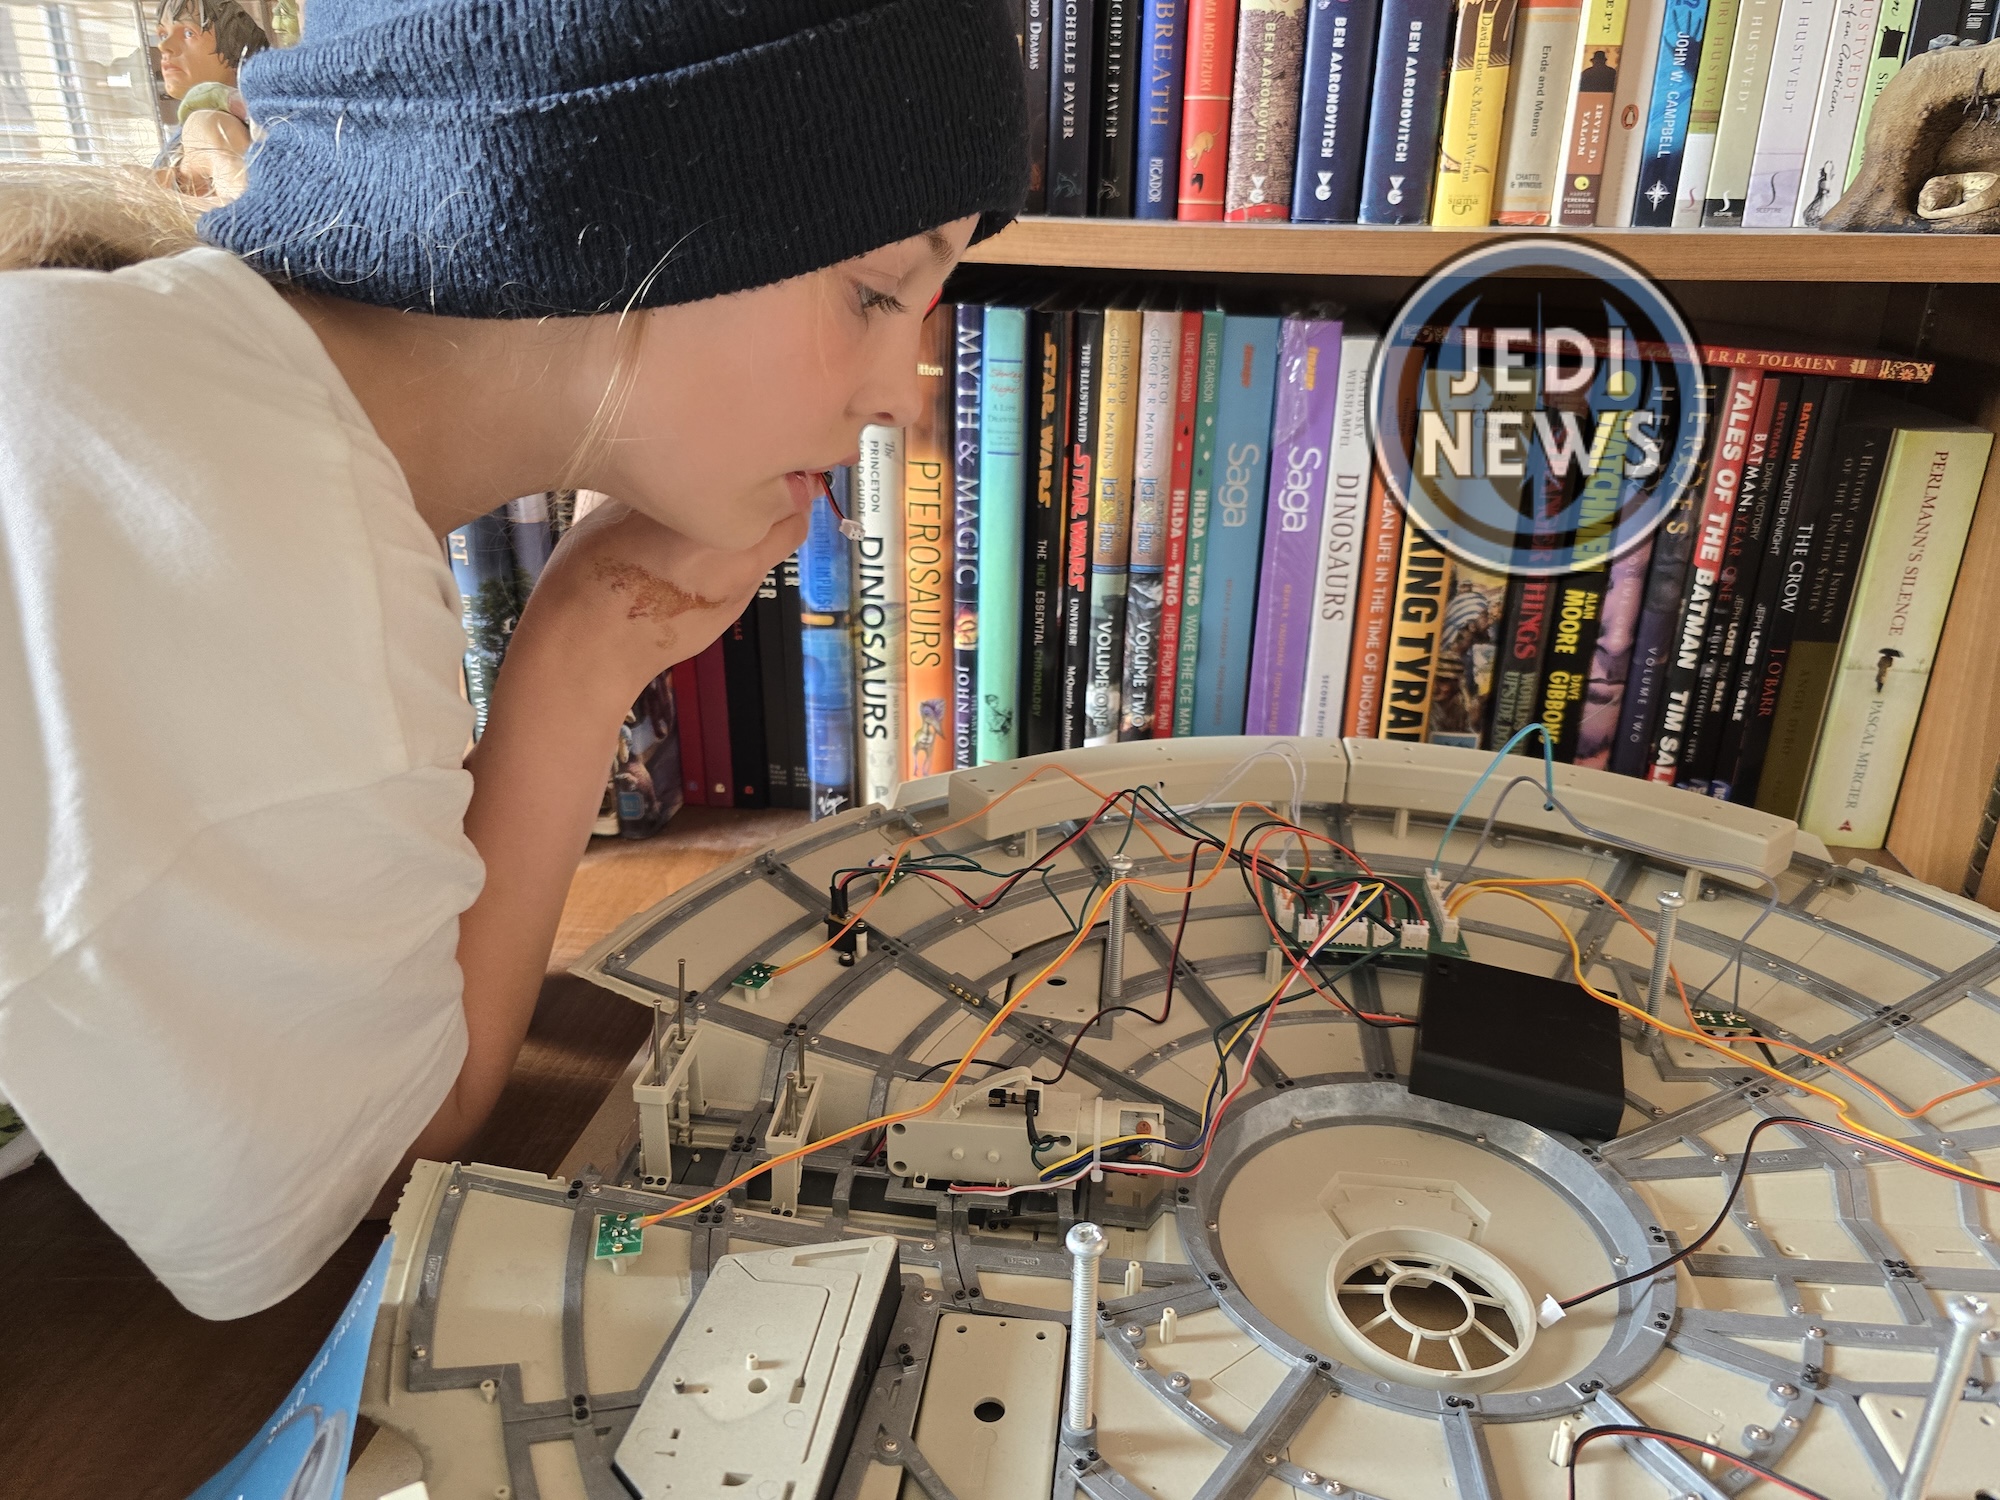
… turns out a long, long time ago, in a galaxy – well ok in the same galaxy, but it had been a while. The magazine even states: these pieces that we completed in issues twenty-three and twenty-five. That’s over sixty issues ago, my guess, over a year and a half ago. Not quite a lifetime but certainly a long time, particularly from Ember’s point of view. The first thing to do was to locate all these parts and make sure that they were ready for us to fit them. Thankfully I’d placed everything in a box to make sure these were easily accessible when the time came, but it almost felt like going back into a time capsule. Ember was seven when we had done these. She had developed her skills a lot since then!
As I stared at the parts and then stared at how they looked in the magazine, well, there was a bit of a difference. There were two clear corridor parts and the hold. We didn’t have that: we had the corridor rings, the tops and bottoms of the corridors separated, our pieces looked all over the place! I read the instructions that explained that we could glue all these pieces together, but we’d have to go back and check on the instructions from magazines seventeen, twenty and twenty-three. I’m not going to lie; I found this a little frustrating. I remember when we did construct these, it said not to glue certain pieces together as we would need them loose later.


Now later is here and they can be glued together. It really makes no sense! As I predominantly do the gluing – as Ember gets a bit worried using superglue – I thought I’d go back and sort these pieces out before we started. It would also mean I wouldn’t feel too pressured to rush while she was there and I had a feeling I’d be going back and forth between different magazines.
The first thing I needed to do was go back to issue seventeen and the last set of instructions, ‘fitting the top of the corridor’. I could see why nothing had been glued because the magazine said you can glue, but it will be easier not to just yet. I’ll be honest, I can’t see what has changed that not gluing it has made it any easier. I did find that the arches we had put in so long ago actually do have a way of fitting, and it turns out we had ours the wrong way around. Thankfully this was fairly easy to sort, but again, there had been no mention of this when we were building it. With the end ring then glued on, this meant one of the corridors was now actually ready to go, leaving the small piece.
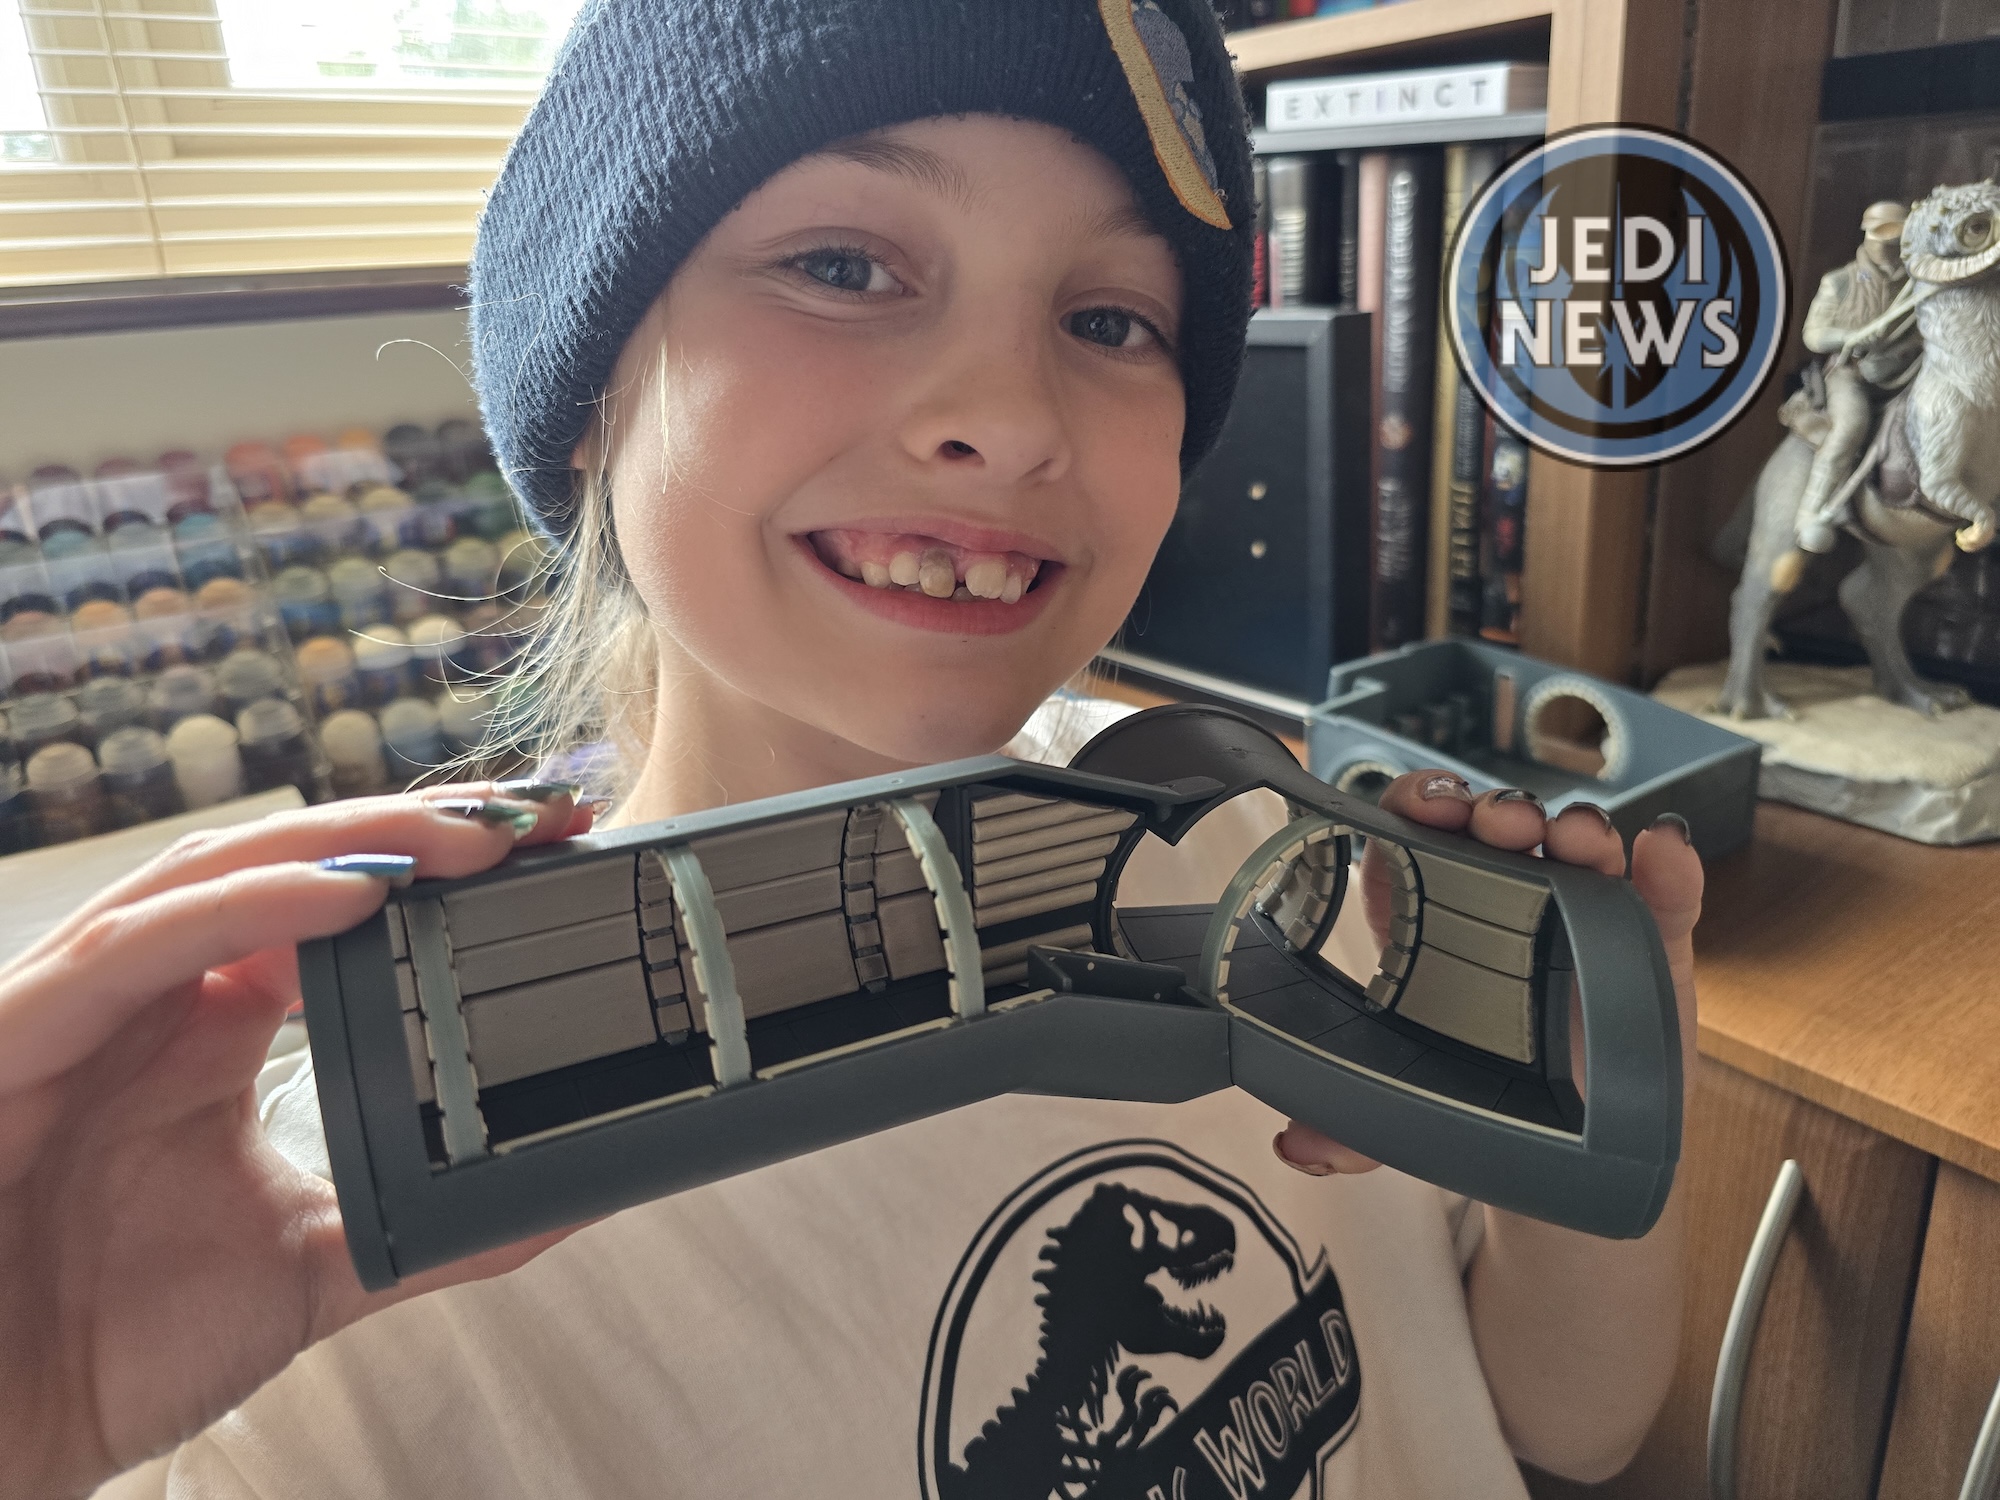
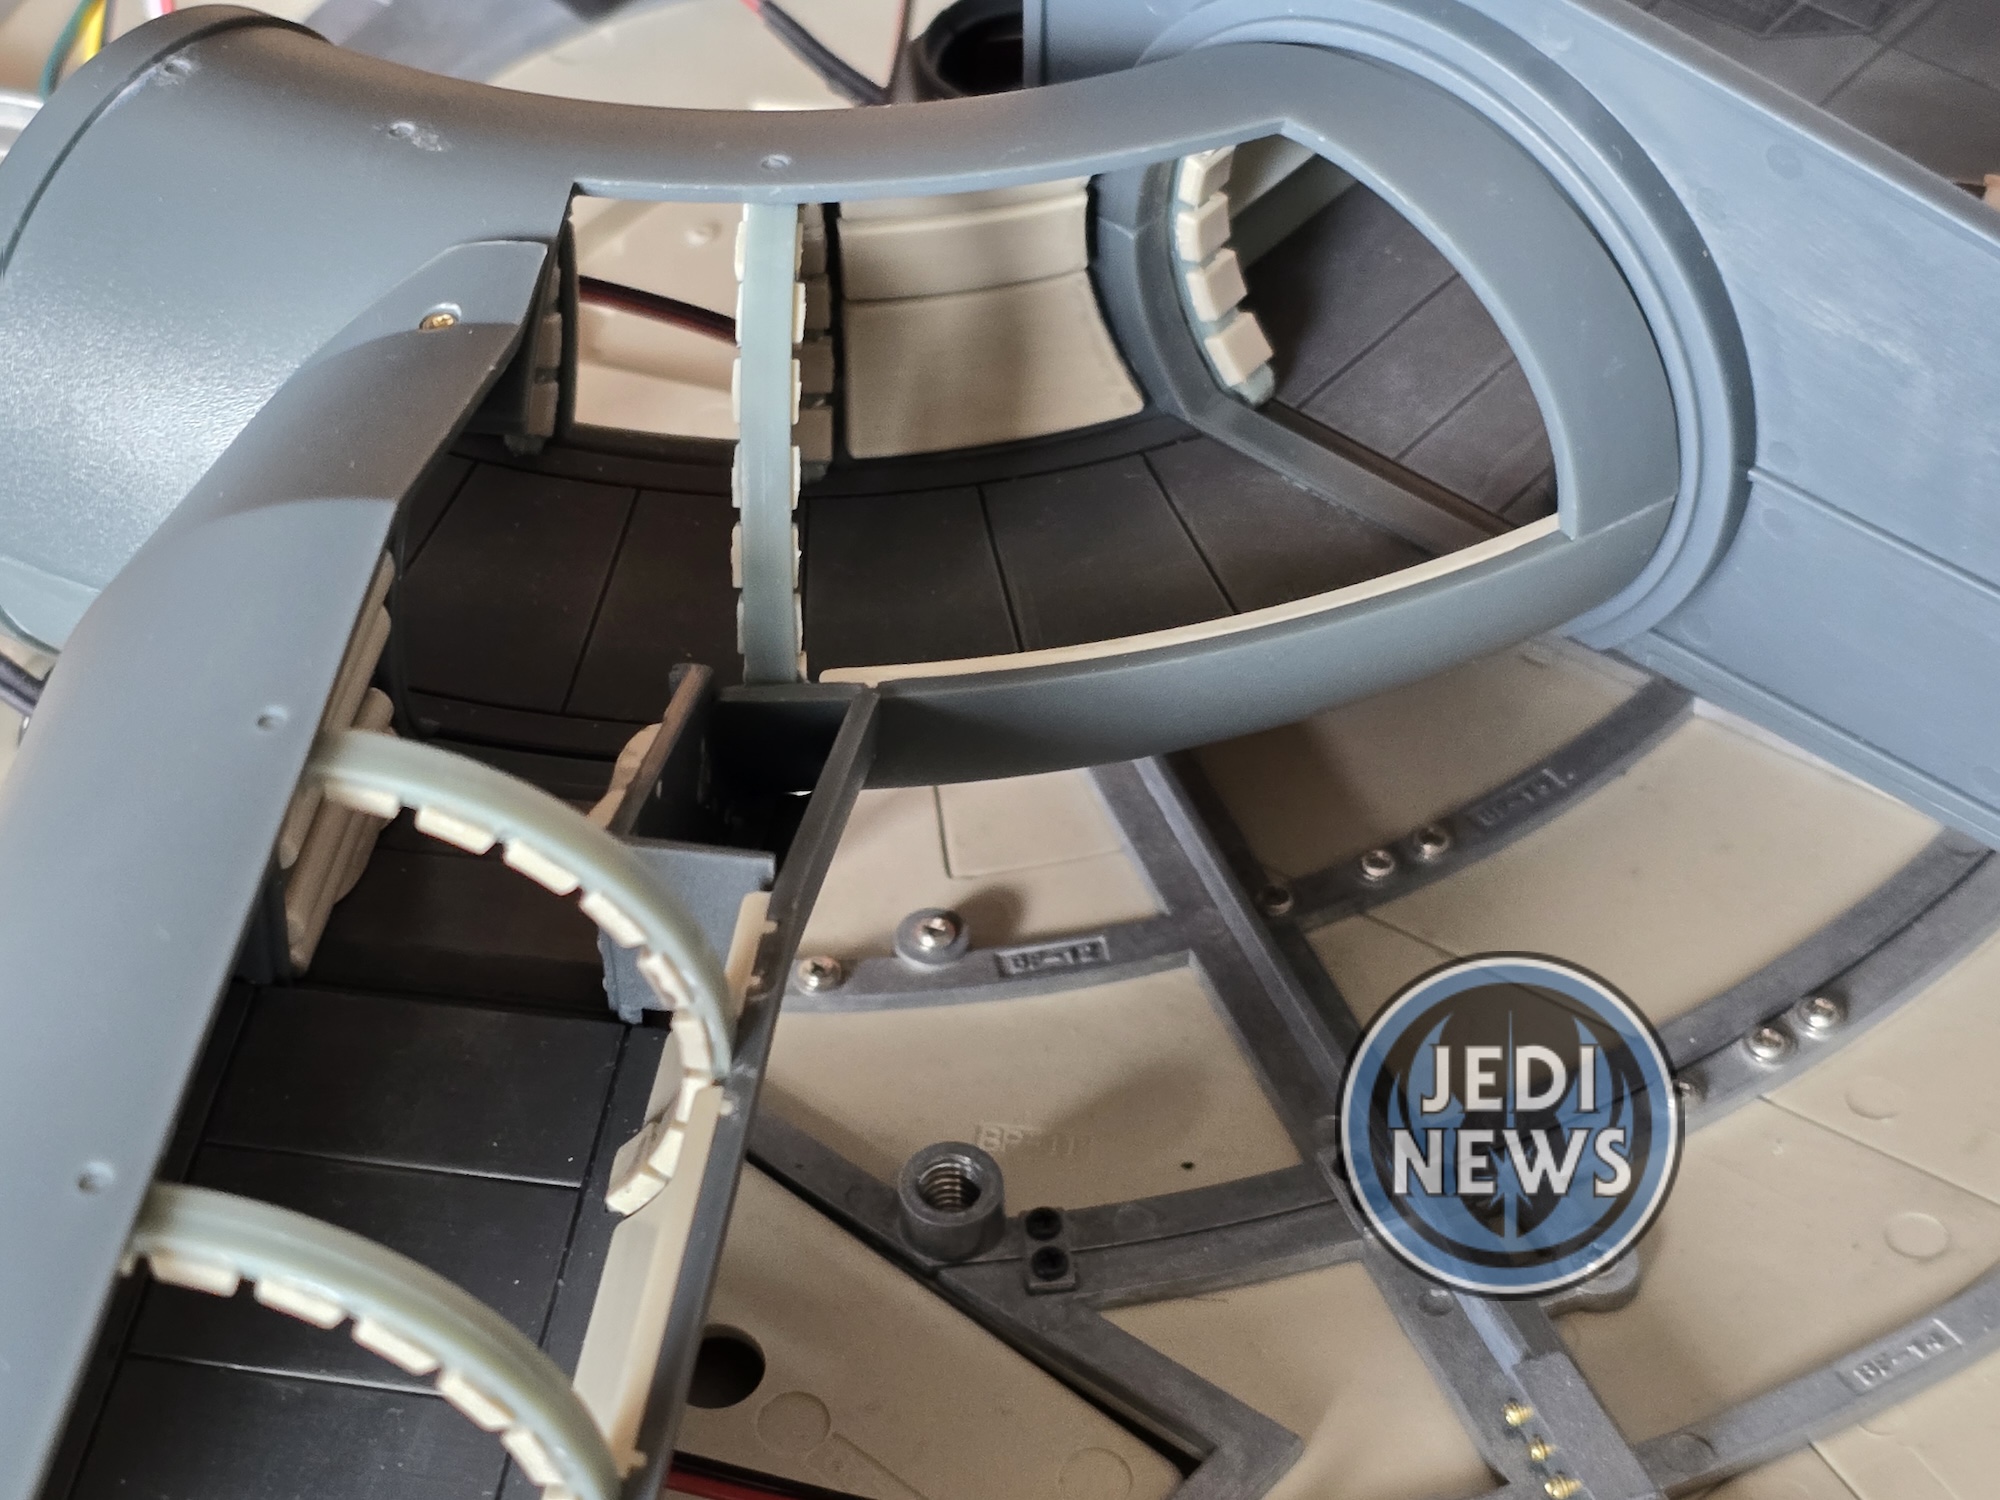
I grabbed magazine twenty-three that the current installment mentions to find it talking about the longest corridor piece, the one I thought looked complete to me. A quick scan told me that actually there should be an end ring glued onto this piece as well! Again, the original instructions say not to glue this on. I’m seeing a pattern. With this done, I just needed to sort the smaller piece out. This can be found in magazine twenty-eight. To be fair to the writers, here it says to dry fit before gluing, so the presumption is that I think you glue, but I probably thought why would we until we bring it all together – more fool me. This was an easy one: a bit of glue, place the arch and then the end ring. With that, the pieces were finally looking like they were in the current magazine. I’m glad I did this part solo, having to go from magazine to magazine and backtrack what had and hadn’t been done was a lot easier without worrying if Ember was going to get bored.
With everything all looking ready to go, I did one final glance over the actual magazine we’d be working on and noticed that there was a sign that said optional glazing. I had a look and it stated that for the turret well there was the option to add a window for the turret. The original model didn’t have it because of the glare but having it would help prevent dust. Oh practical versus authentic. I’m glad I spotted this before we began, as it’s something I did need to consider. At the end of the day, I wanted something as close to the ILM model as possible, dust be damned. And surely that’s what compressed air is for, right? Not only that, but as I’m planning on repainting the Falcon, I know masking the open turret will be far easier than having to mess with a window. Just to be on the safe side, I messaged Josh Wraith, the author of the Guide To Painting the Falcon with Archive X paints, in case there was something I hadn’t considered. His response was instantly to leave the window off. Decision made.
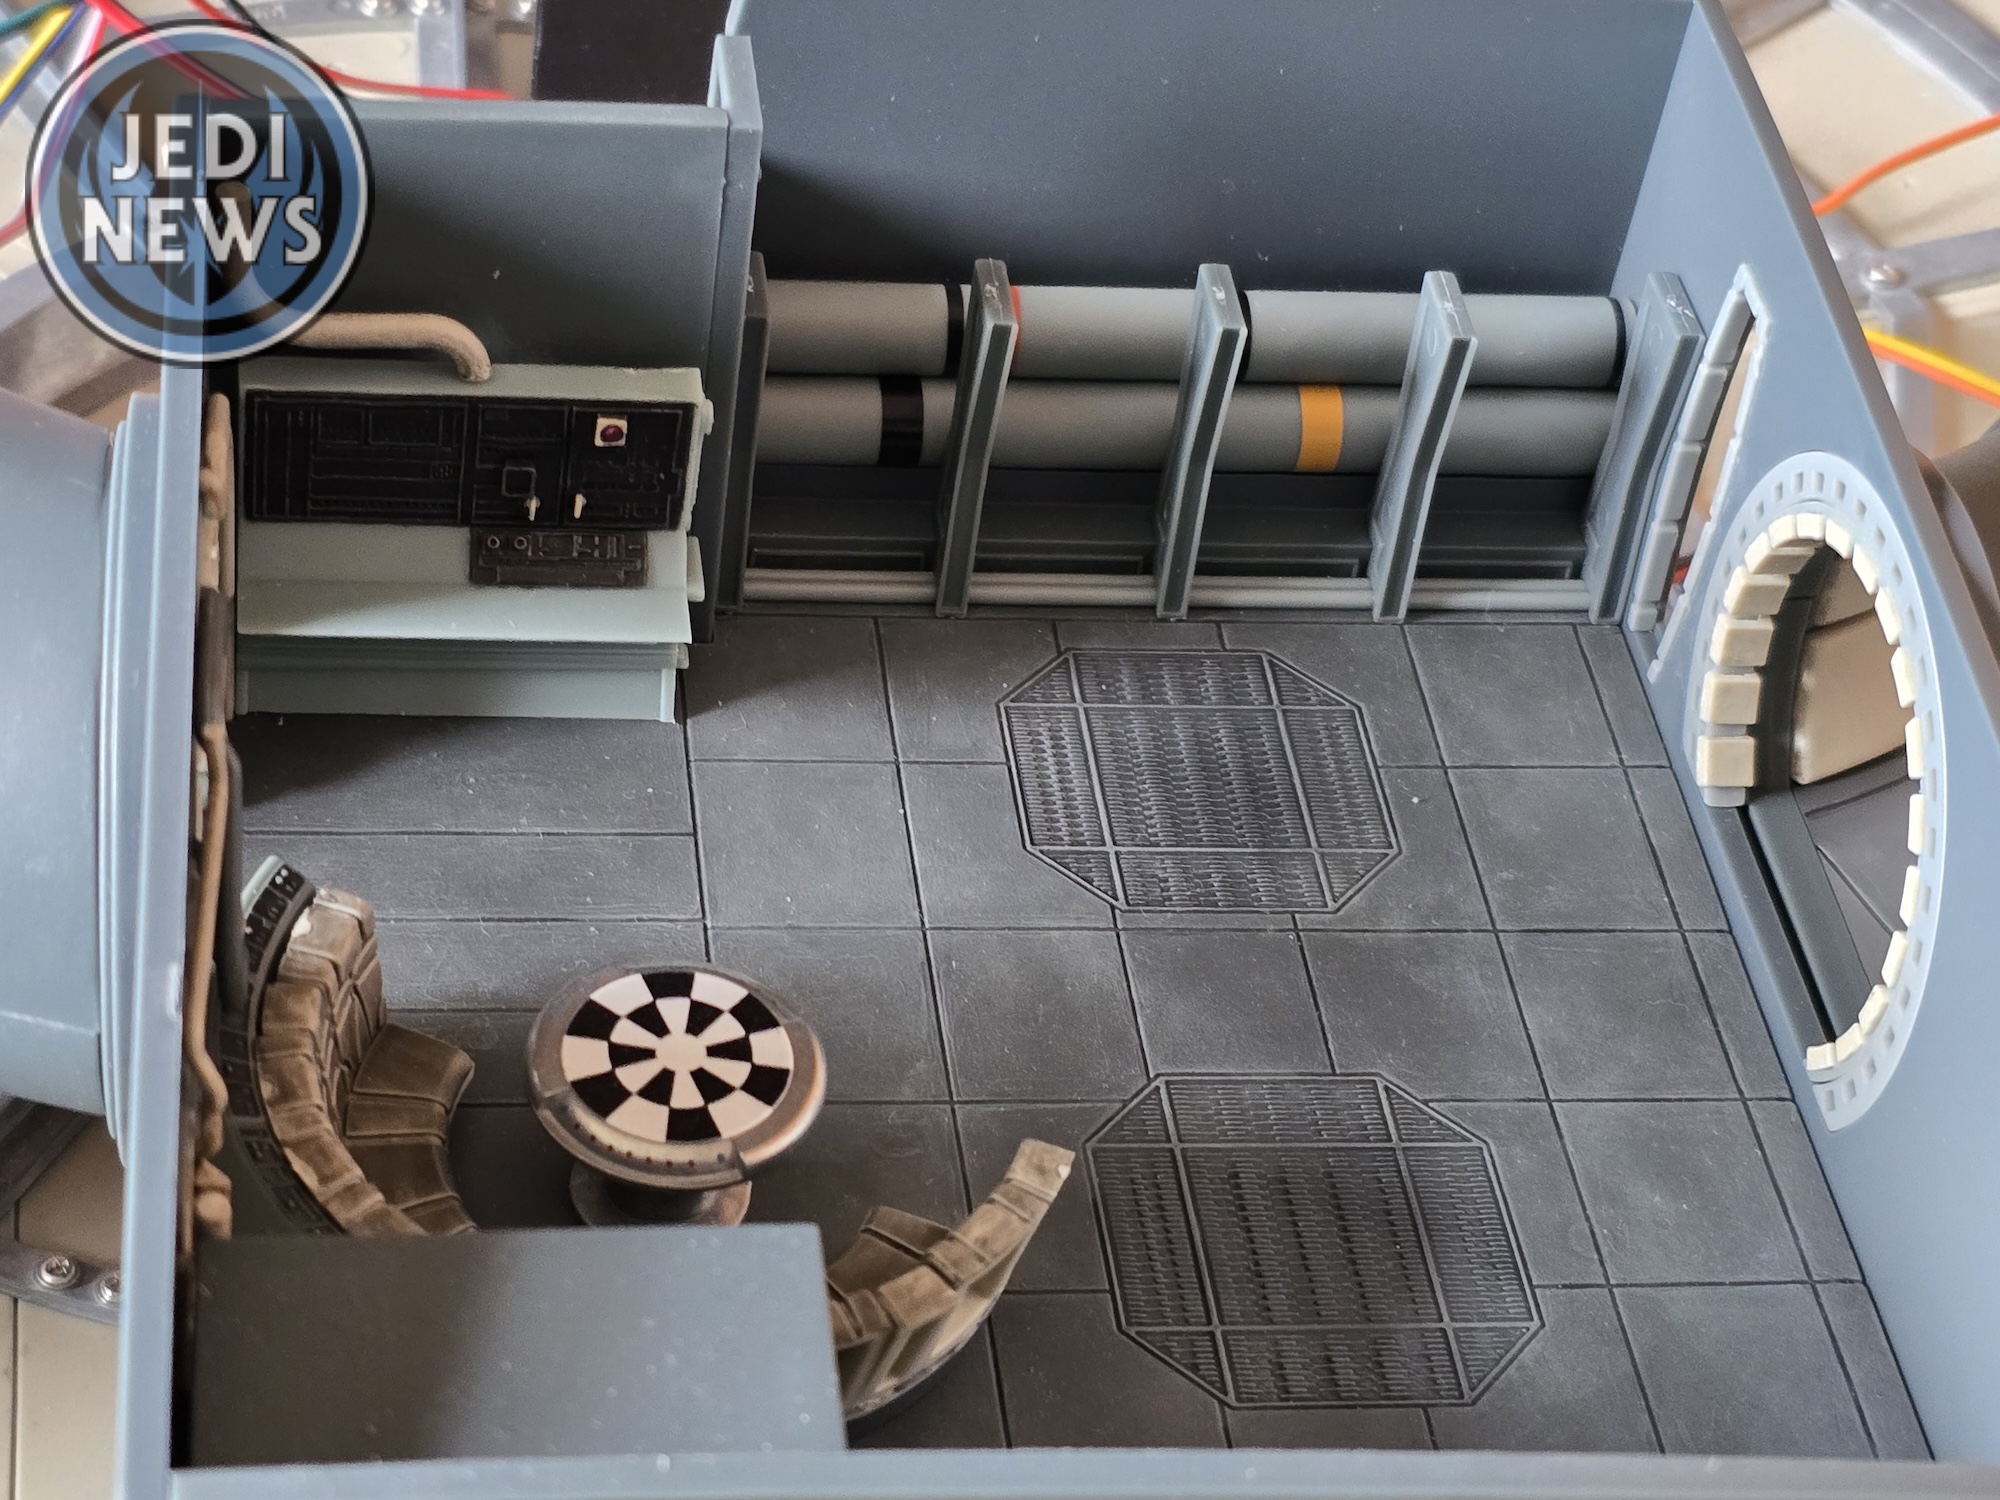

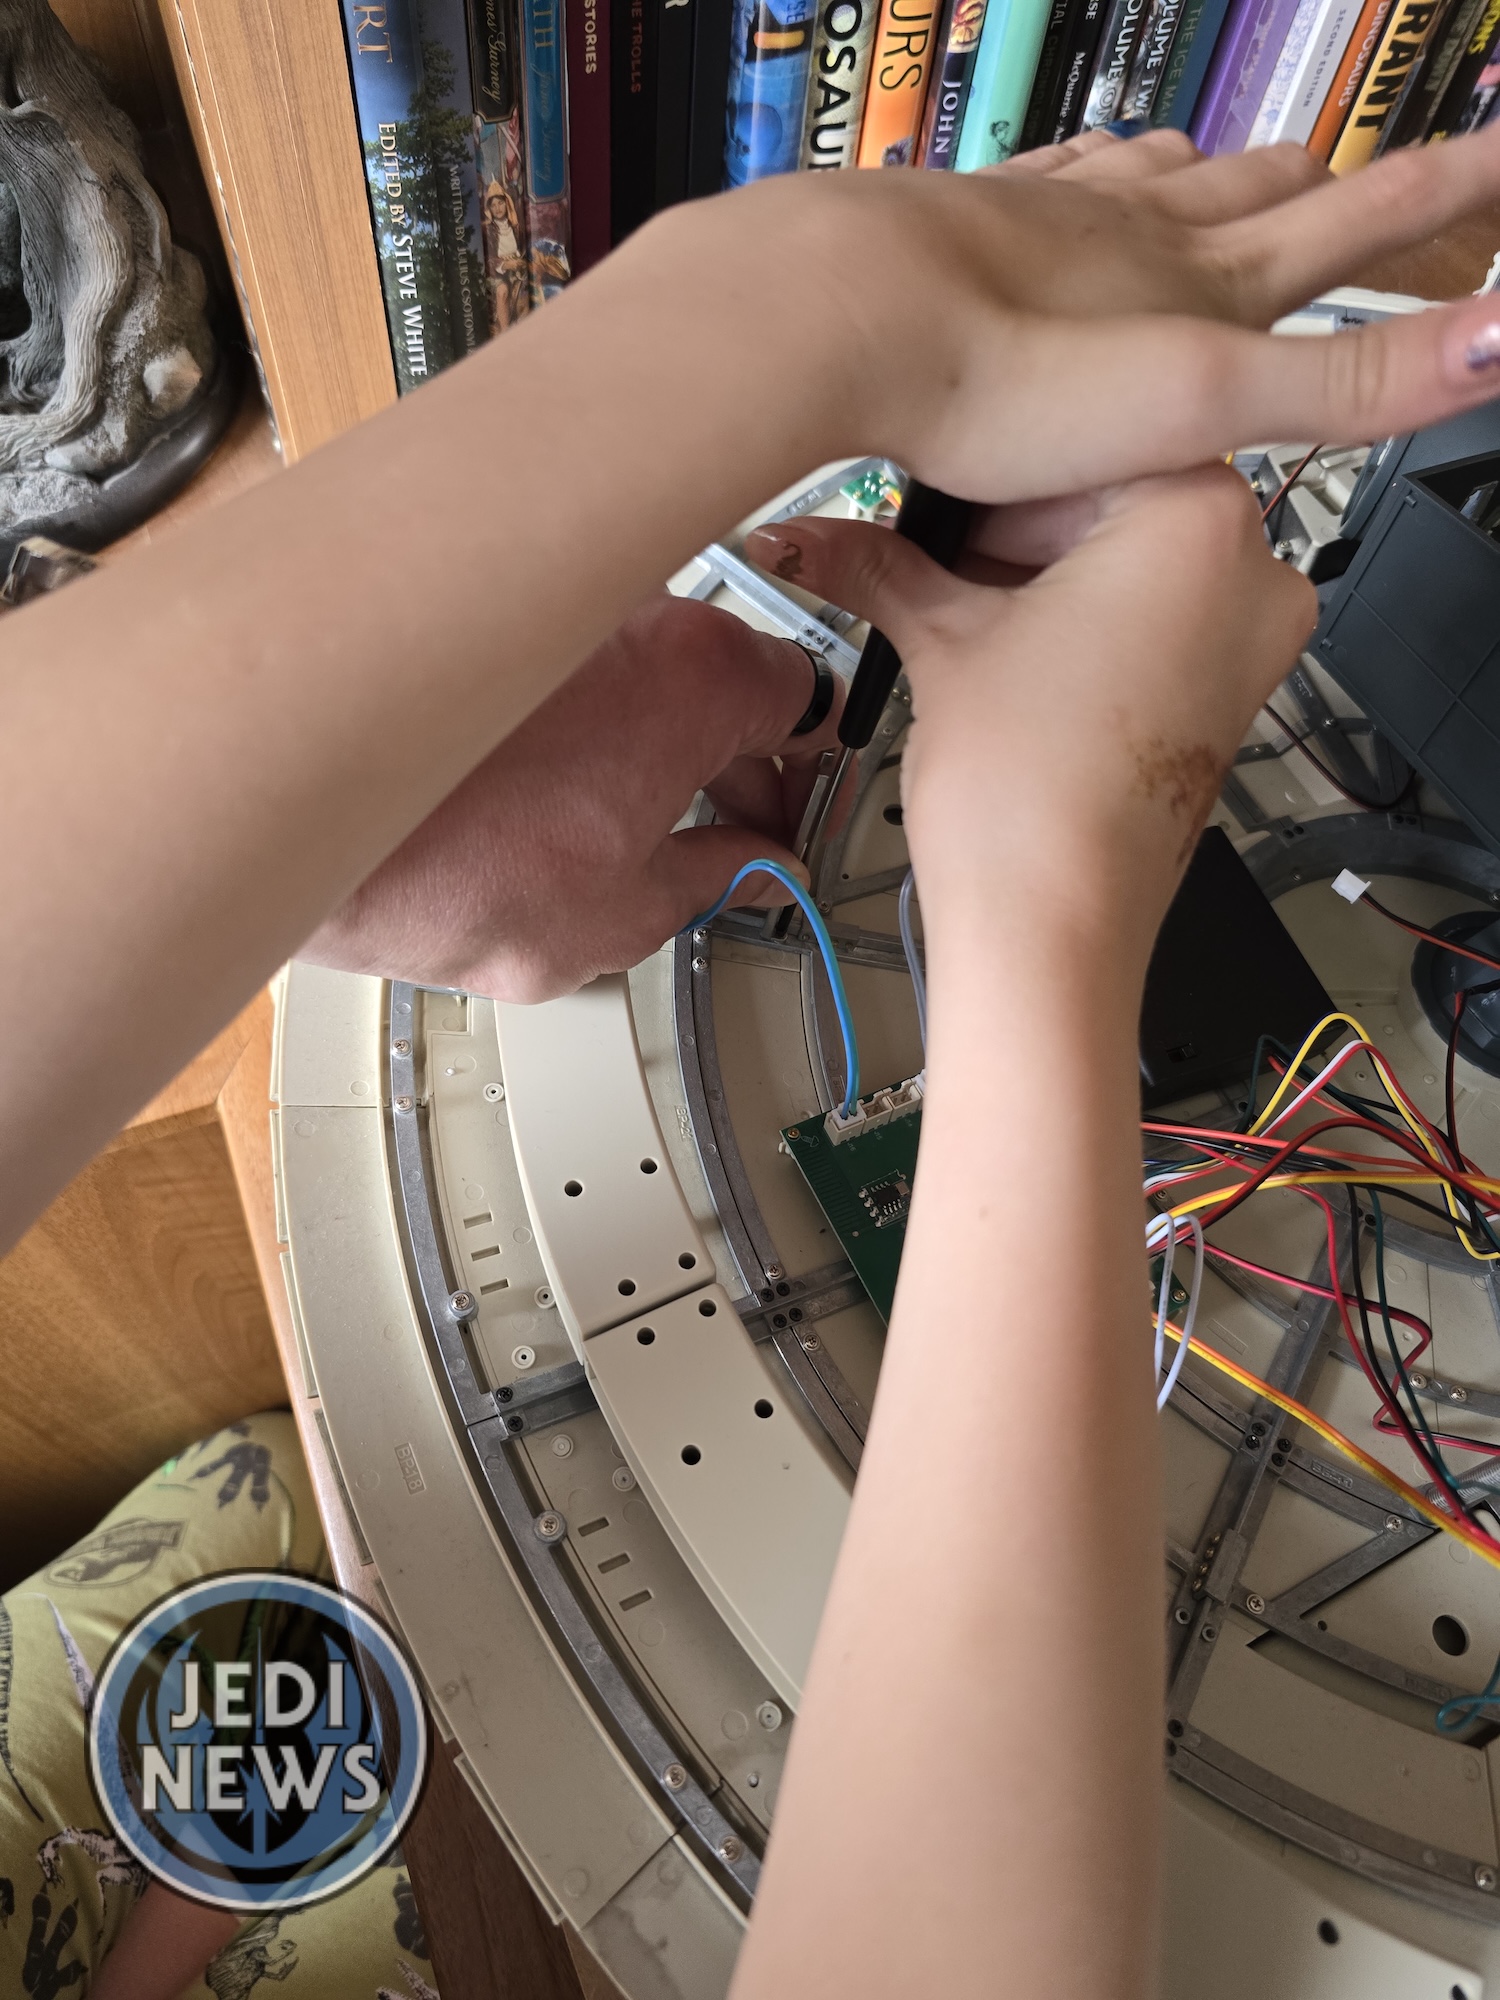

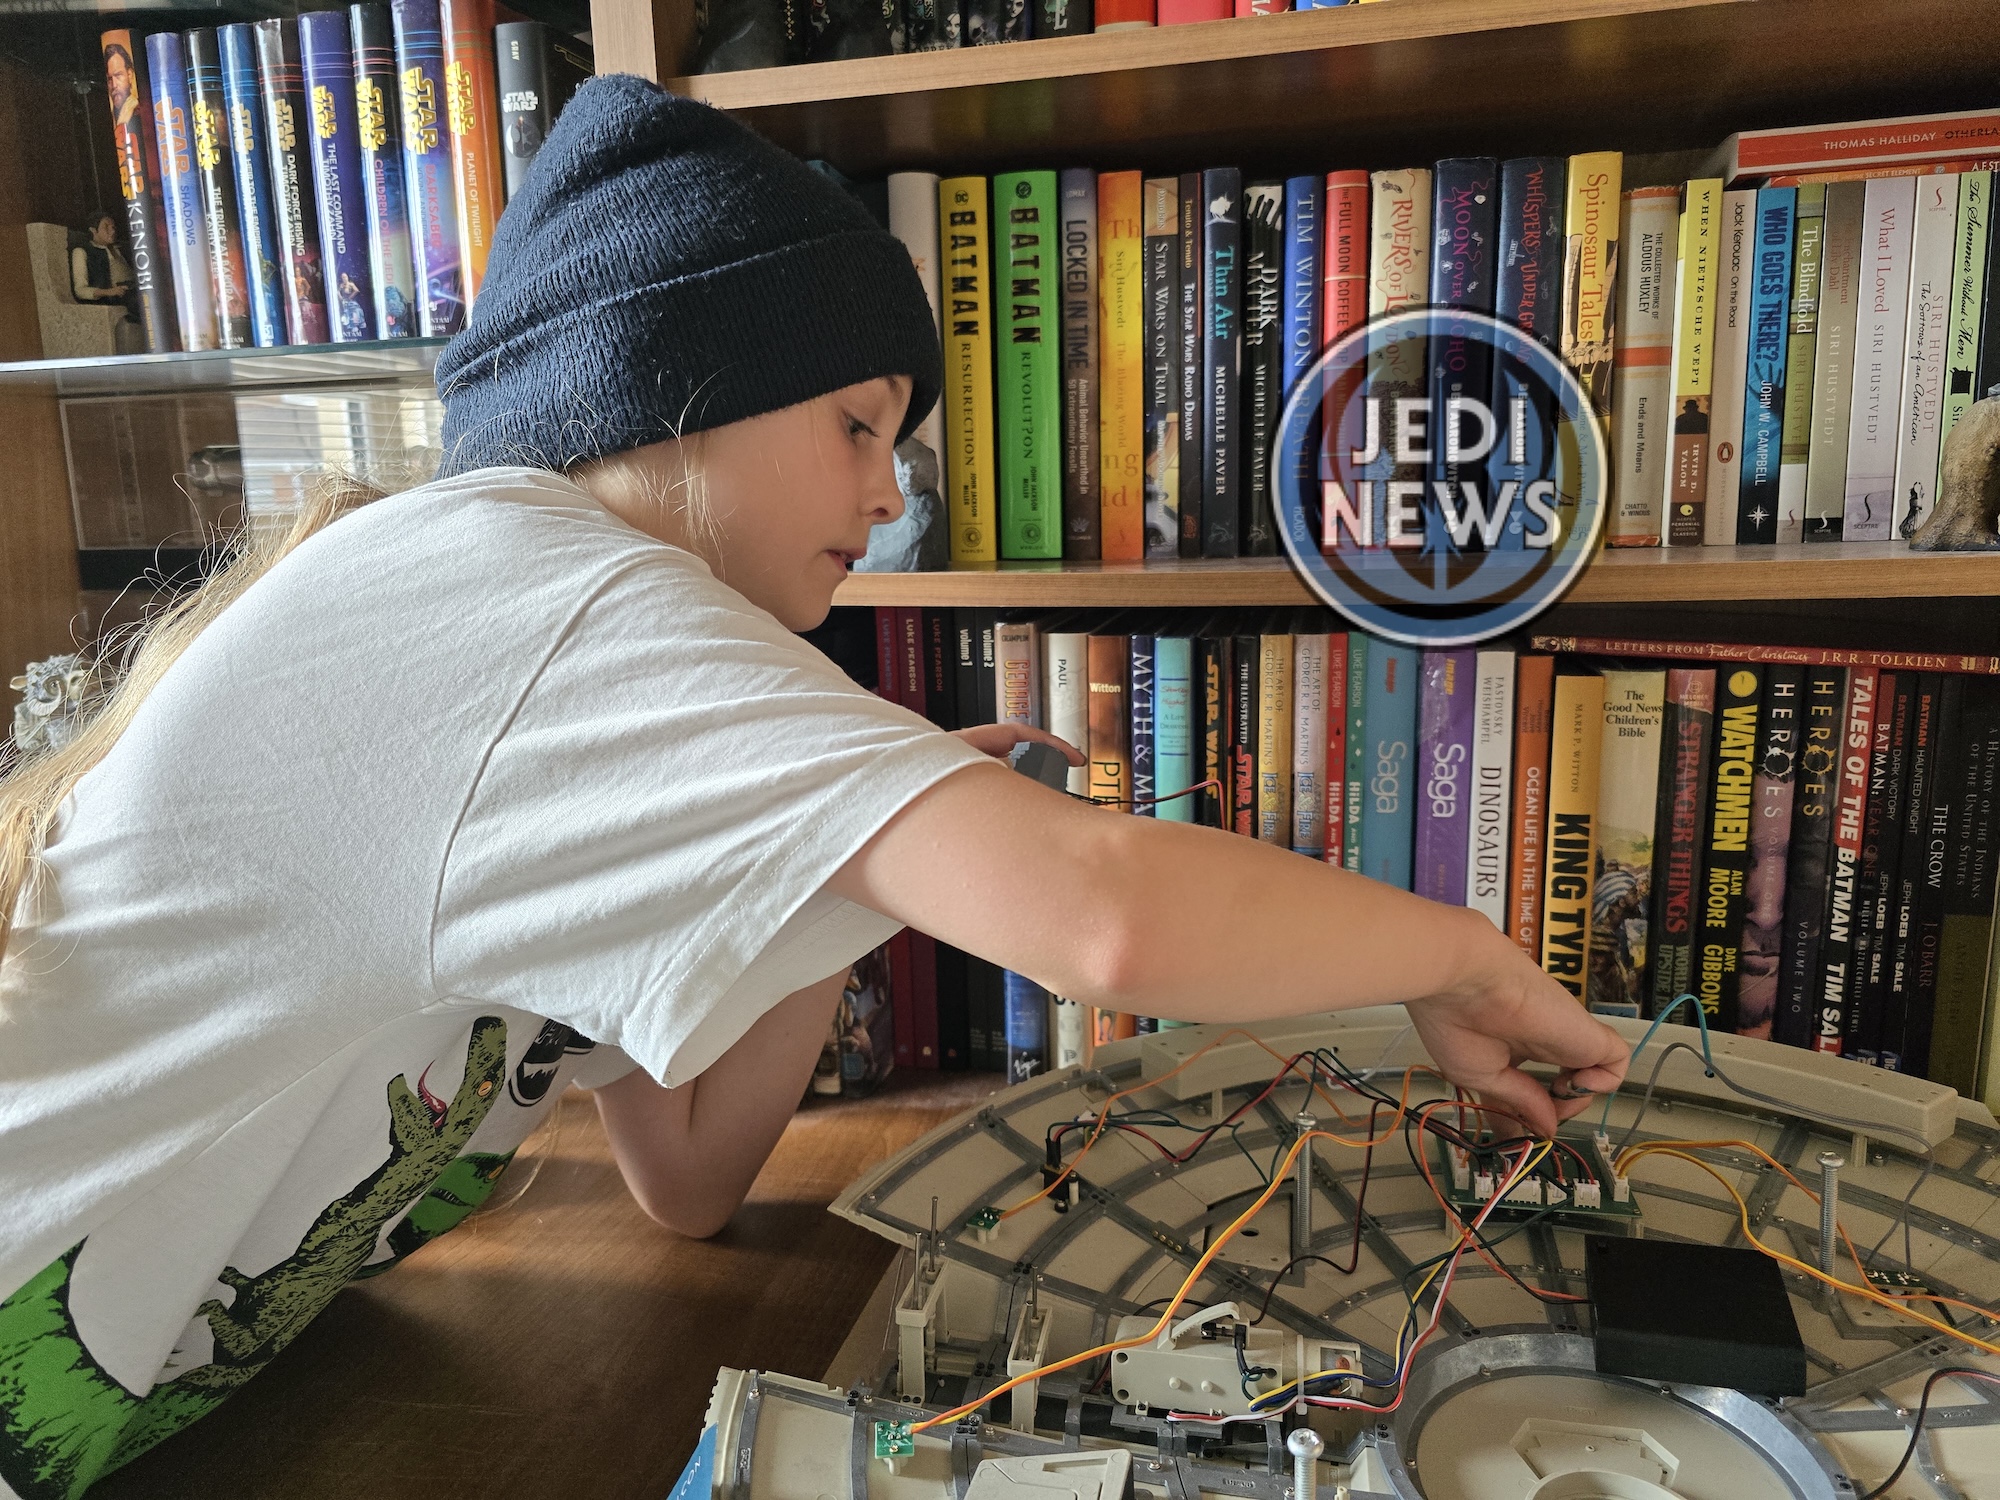
With pieces found, decisions made and a wave of old memories assaulting me, it was time to grab Ember and get started on this issue. The first thing to do was glue the turret into place and then test the electronics. Well once bitten, twice shy, Ember and I looked at each other and we instantly said the same thing “let’s try the electronics first!” That’s my girl! We have a really good understanding of what we’re doing with the electronics now, how to connect them and get everything lit up. So before adding that permanent glue, we tested the lighting. Thankfully, it worked like a charm. We glued the turret into place and then it was onto the interior.
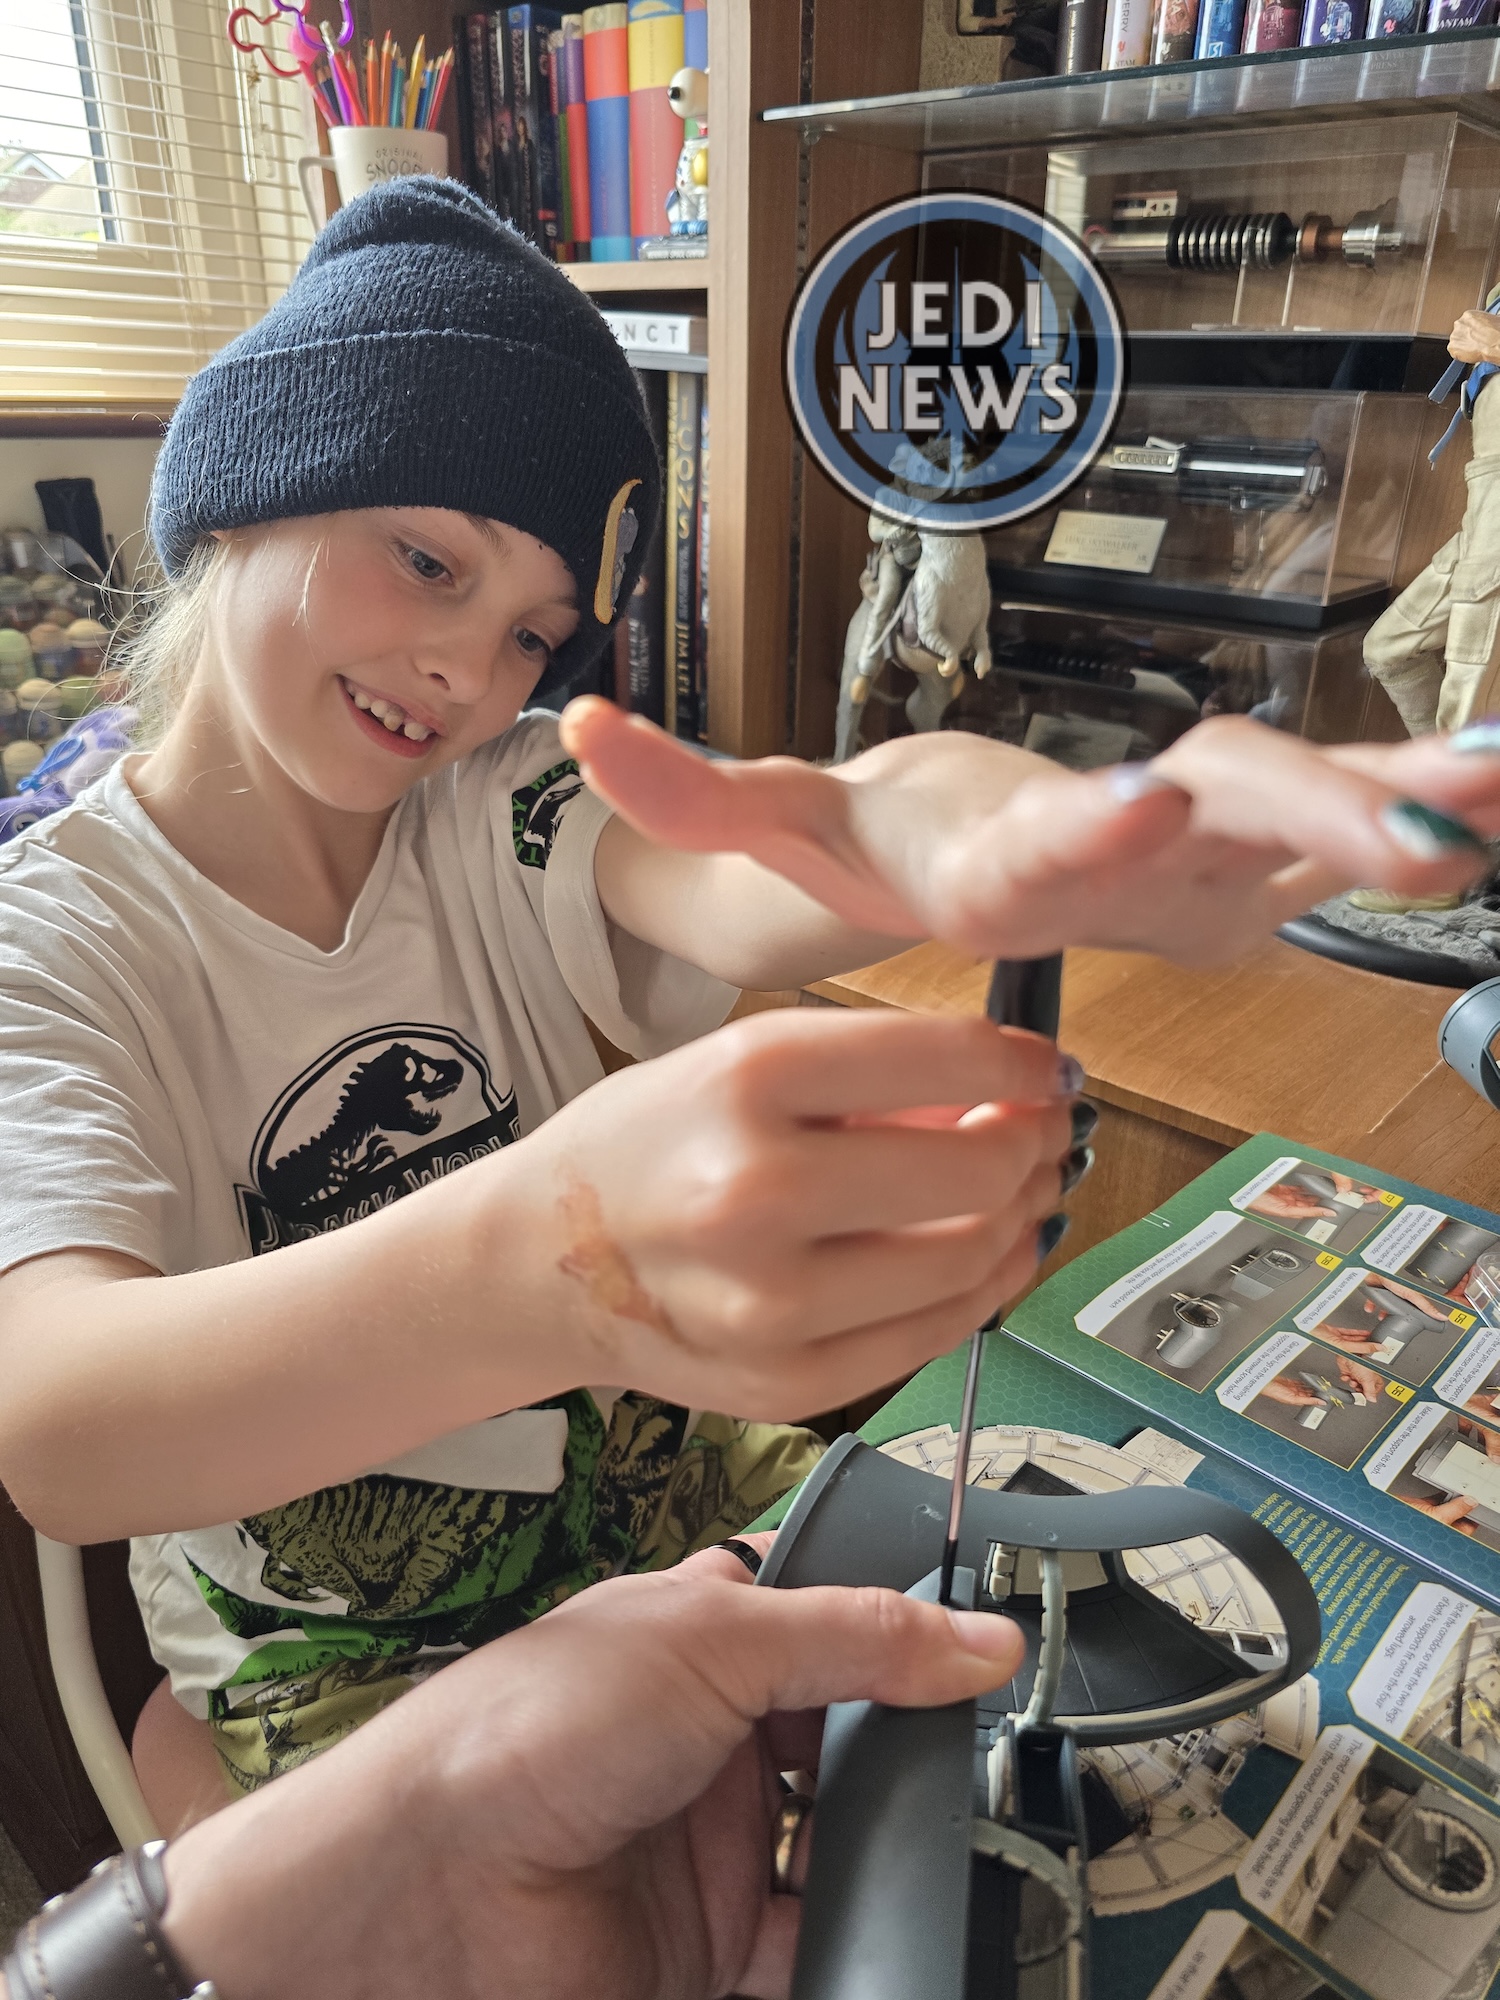
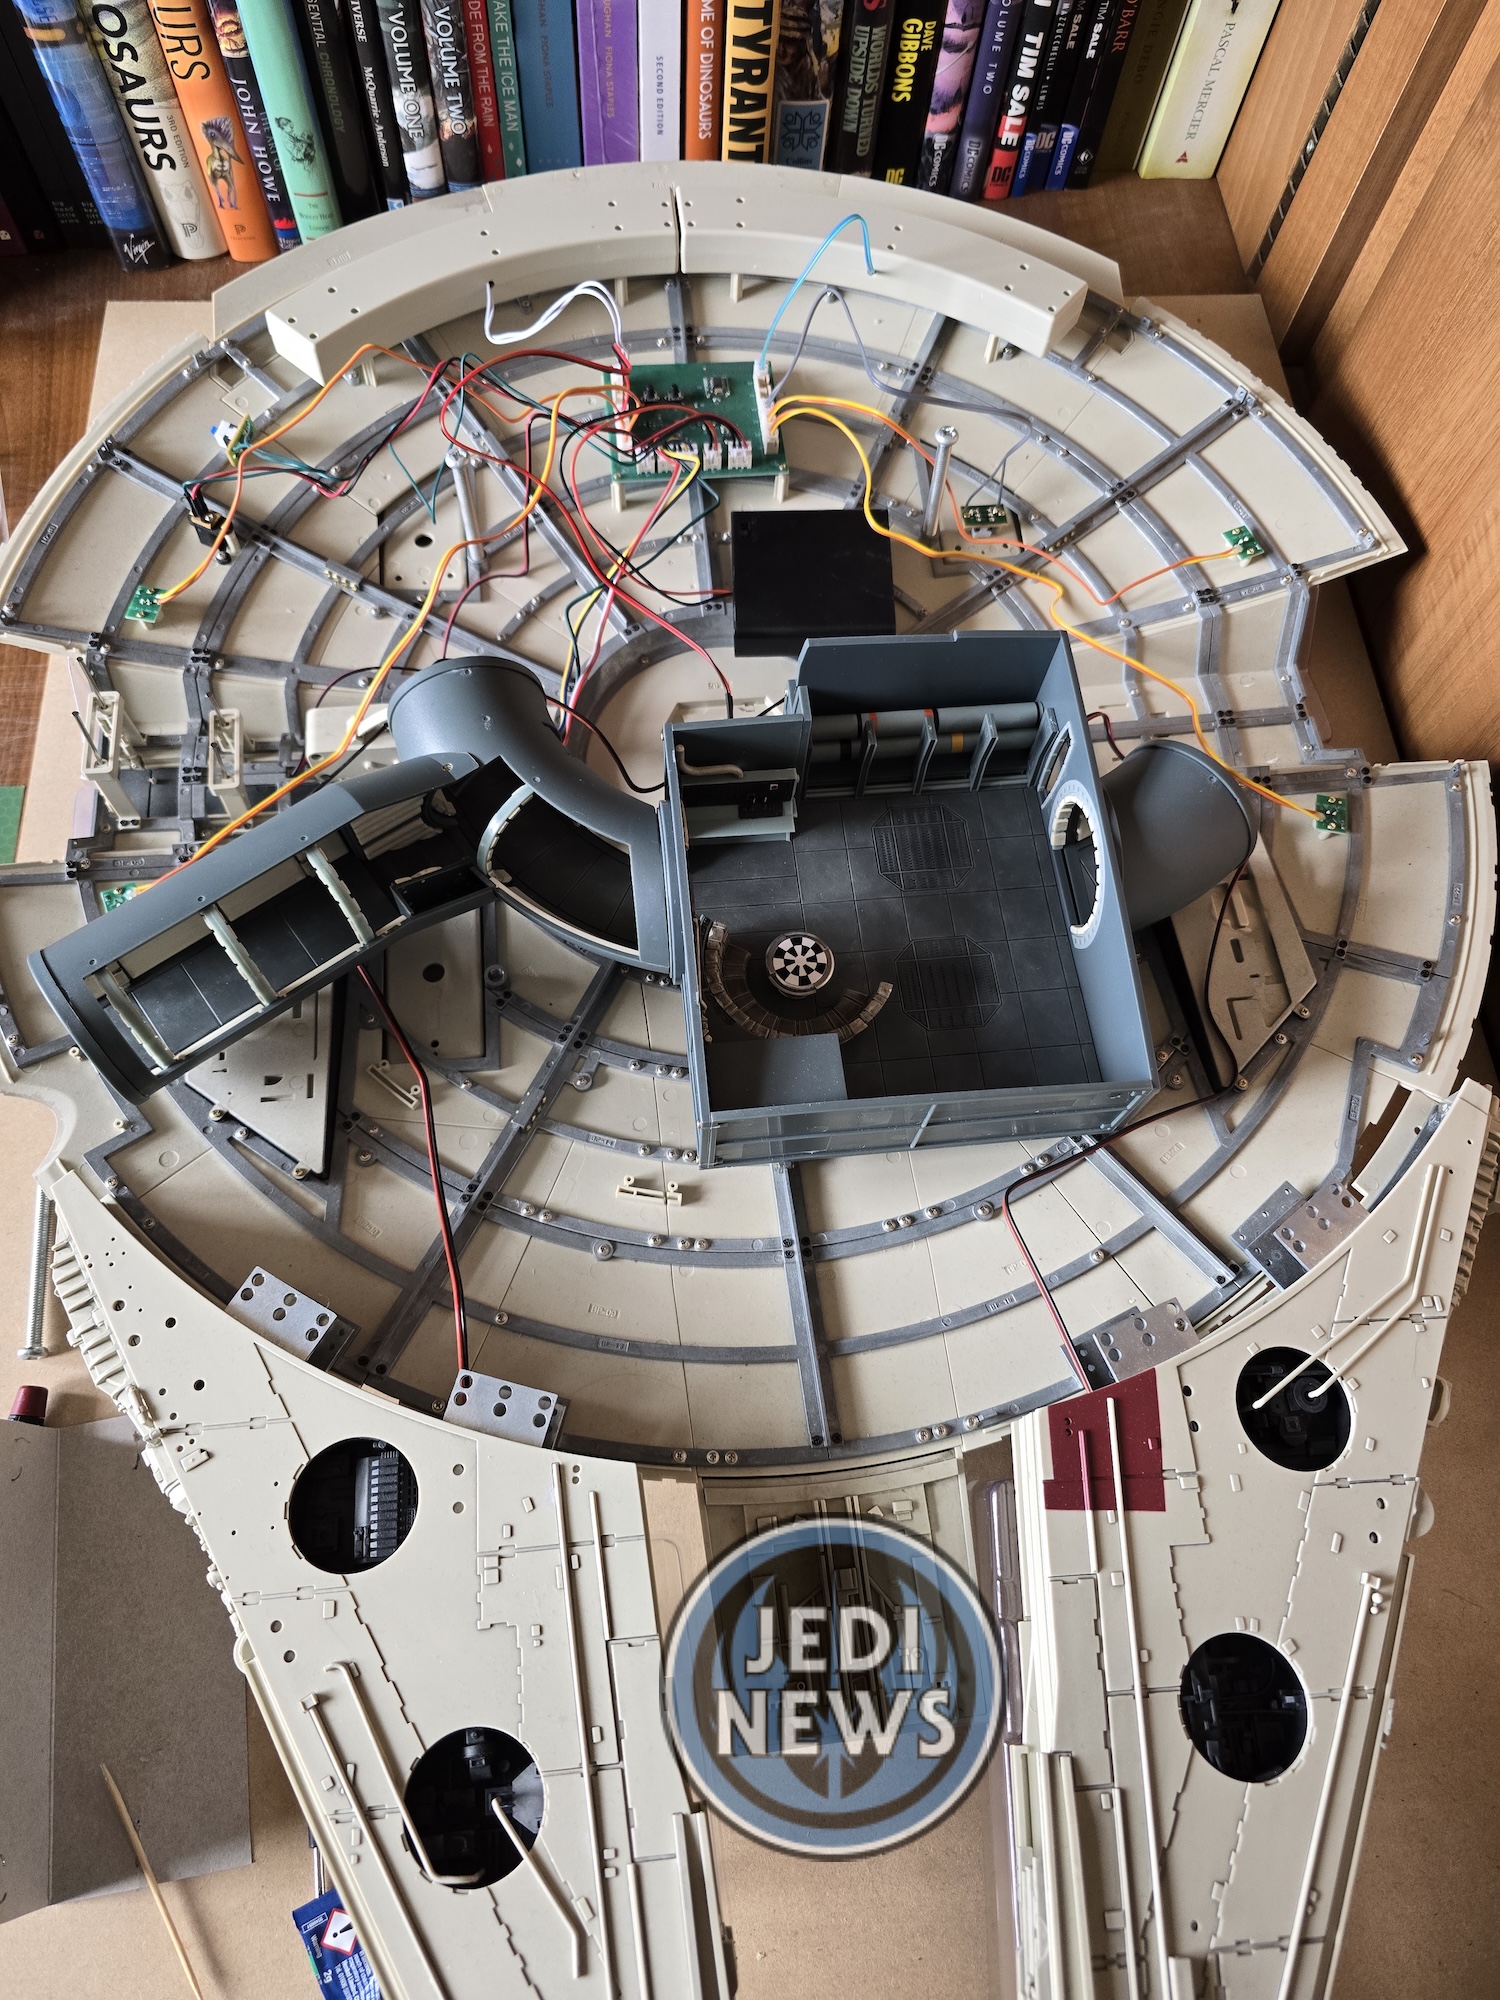
Having made sure the parts were now looking like they should, the first thing to do was attach the two main corridor sections. I could see Ember looking a little contemplative and she remarked that it seemed ages ago that we had done these, and she thought this was probably her favourite part of the project: the interior. Doesn’t that just figure, when that’s the bit that’ll be mainly covered up! But I was glad she had such fond recollections of it. I lined the corridors up and Ember quickly screwed them into place. I’m not going to lie, seeing the corridors connected was pretty cool! Once this was done it was a case of gluing the feet on.
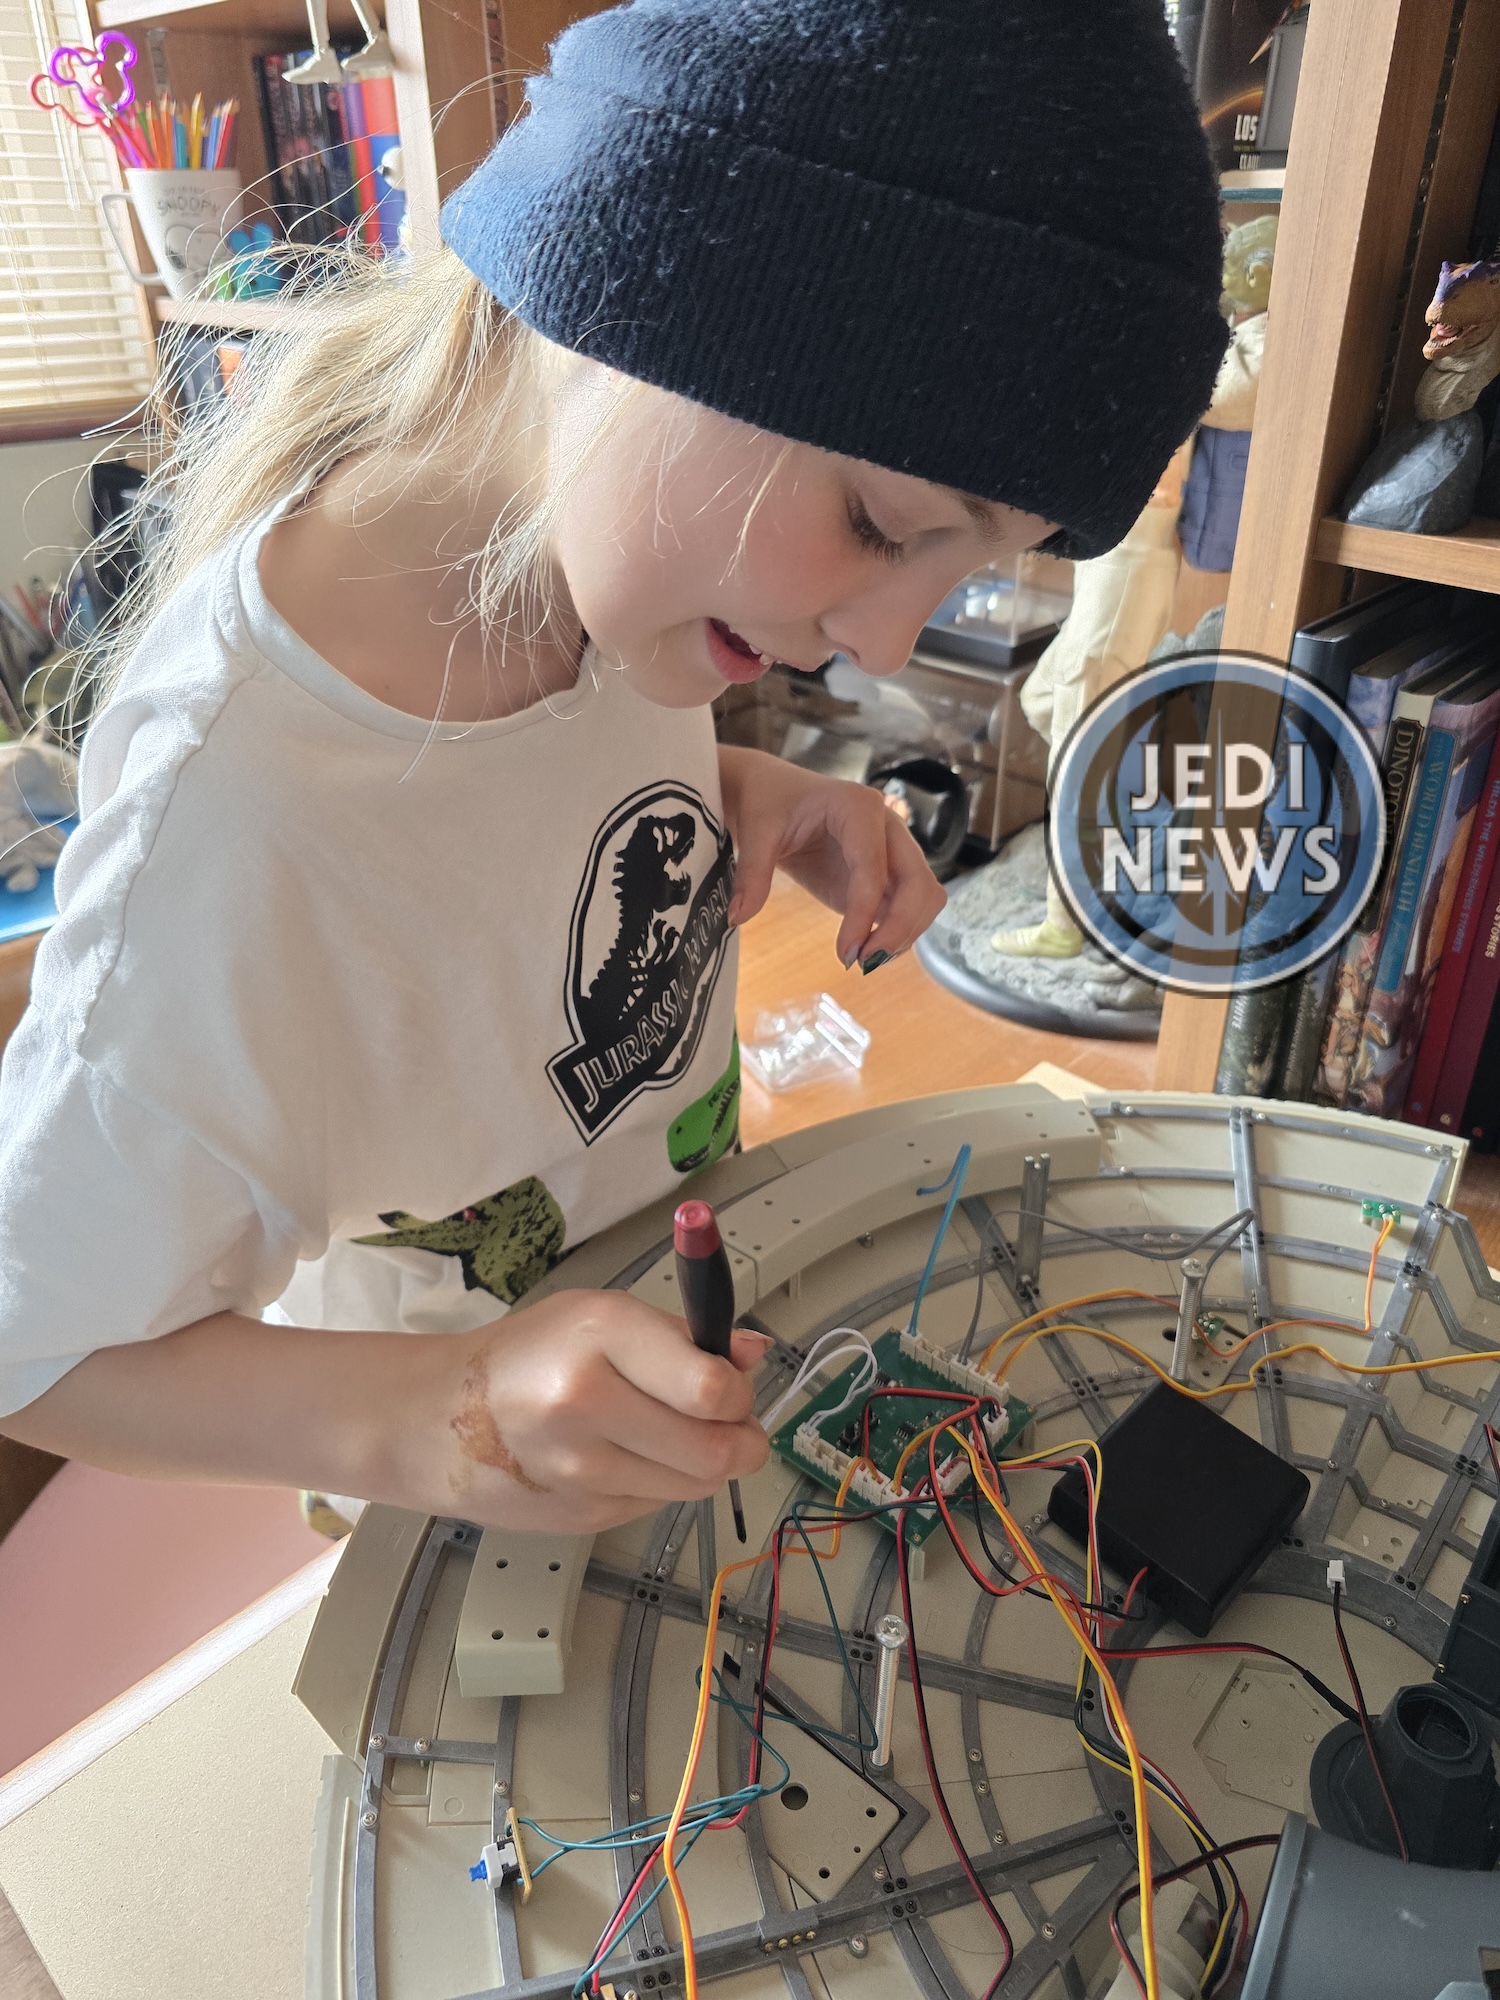


With this done, we could dry fit the corridor and hold onto the actual model and – well it looked awesome! Things were really starting to come together. It was strange to see the very earliest pieces of our work from years ago actually now taking center stage. It was a funny feeling that I won’t spend too much time writing about. Once the coolness had diminished somewhat, all that was left to do was add two supports. Ember was in her element, screwing these into place like a pro and telling me the black screws that are used for the frame are far easier to handle than any others. Talking like a pro!
With that, we had finished the current installment. It has felt very much like one of those sitcom episodes where they constantly look back at previous episodes. The nostalgia, the memories, we’re only talking a couple of years, but Ember has grown so much in that time as well as both of our skills to handle a project like this. There’s also that realization that this project is almost over, something that has been a part of our weekly routine for over three years! That’s a lot of time invested. This is a really good installment, bringing everything together. Now we just have to wait for our replacement strip, and we can push ahead to the last ten percent of this build
