



Let’s be honest, this delivery has been absolutely monumental in terms of this project. After almost three years, the Millennium Falcon looking like two halves of a burger and the insides spewed out everywhere, the starship had finally taken the shape that we all know and love. It had taken a long time, but it was time that was very well invested. Not only had I been enjoying the process, but my co-pilot had been with me every step of the way. That co-pilot was a little younger, a little smaller and a little hairier than Han Solo’s co-pilot; she was my nine-year-old daughter Ember. She has spent a third of her life working on this project and her skills, her confidence, had grown along with the starship. It has been incredible to watch.
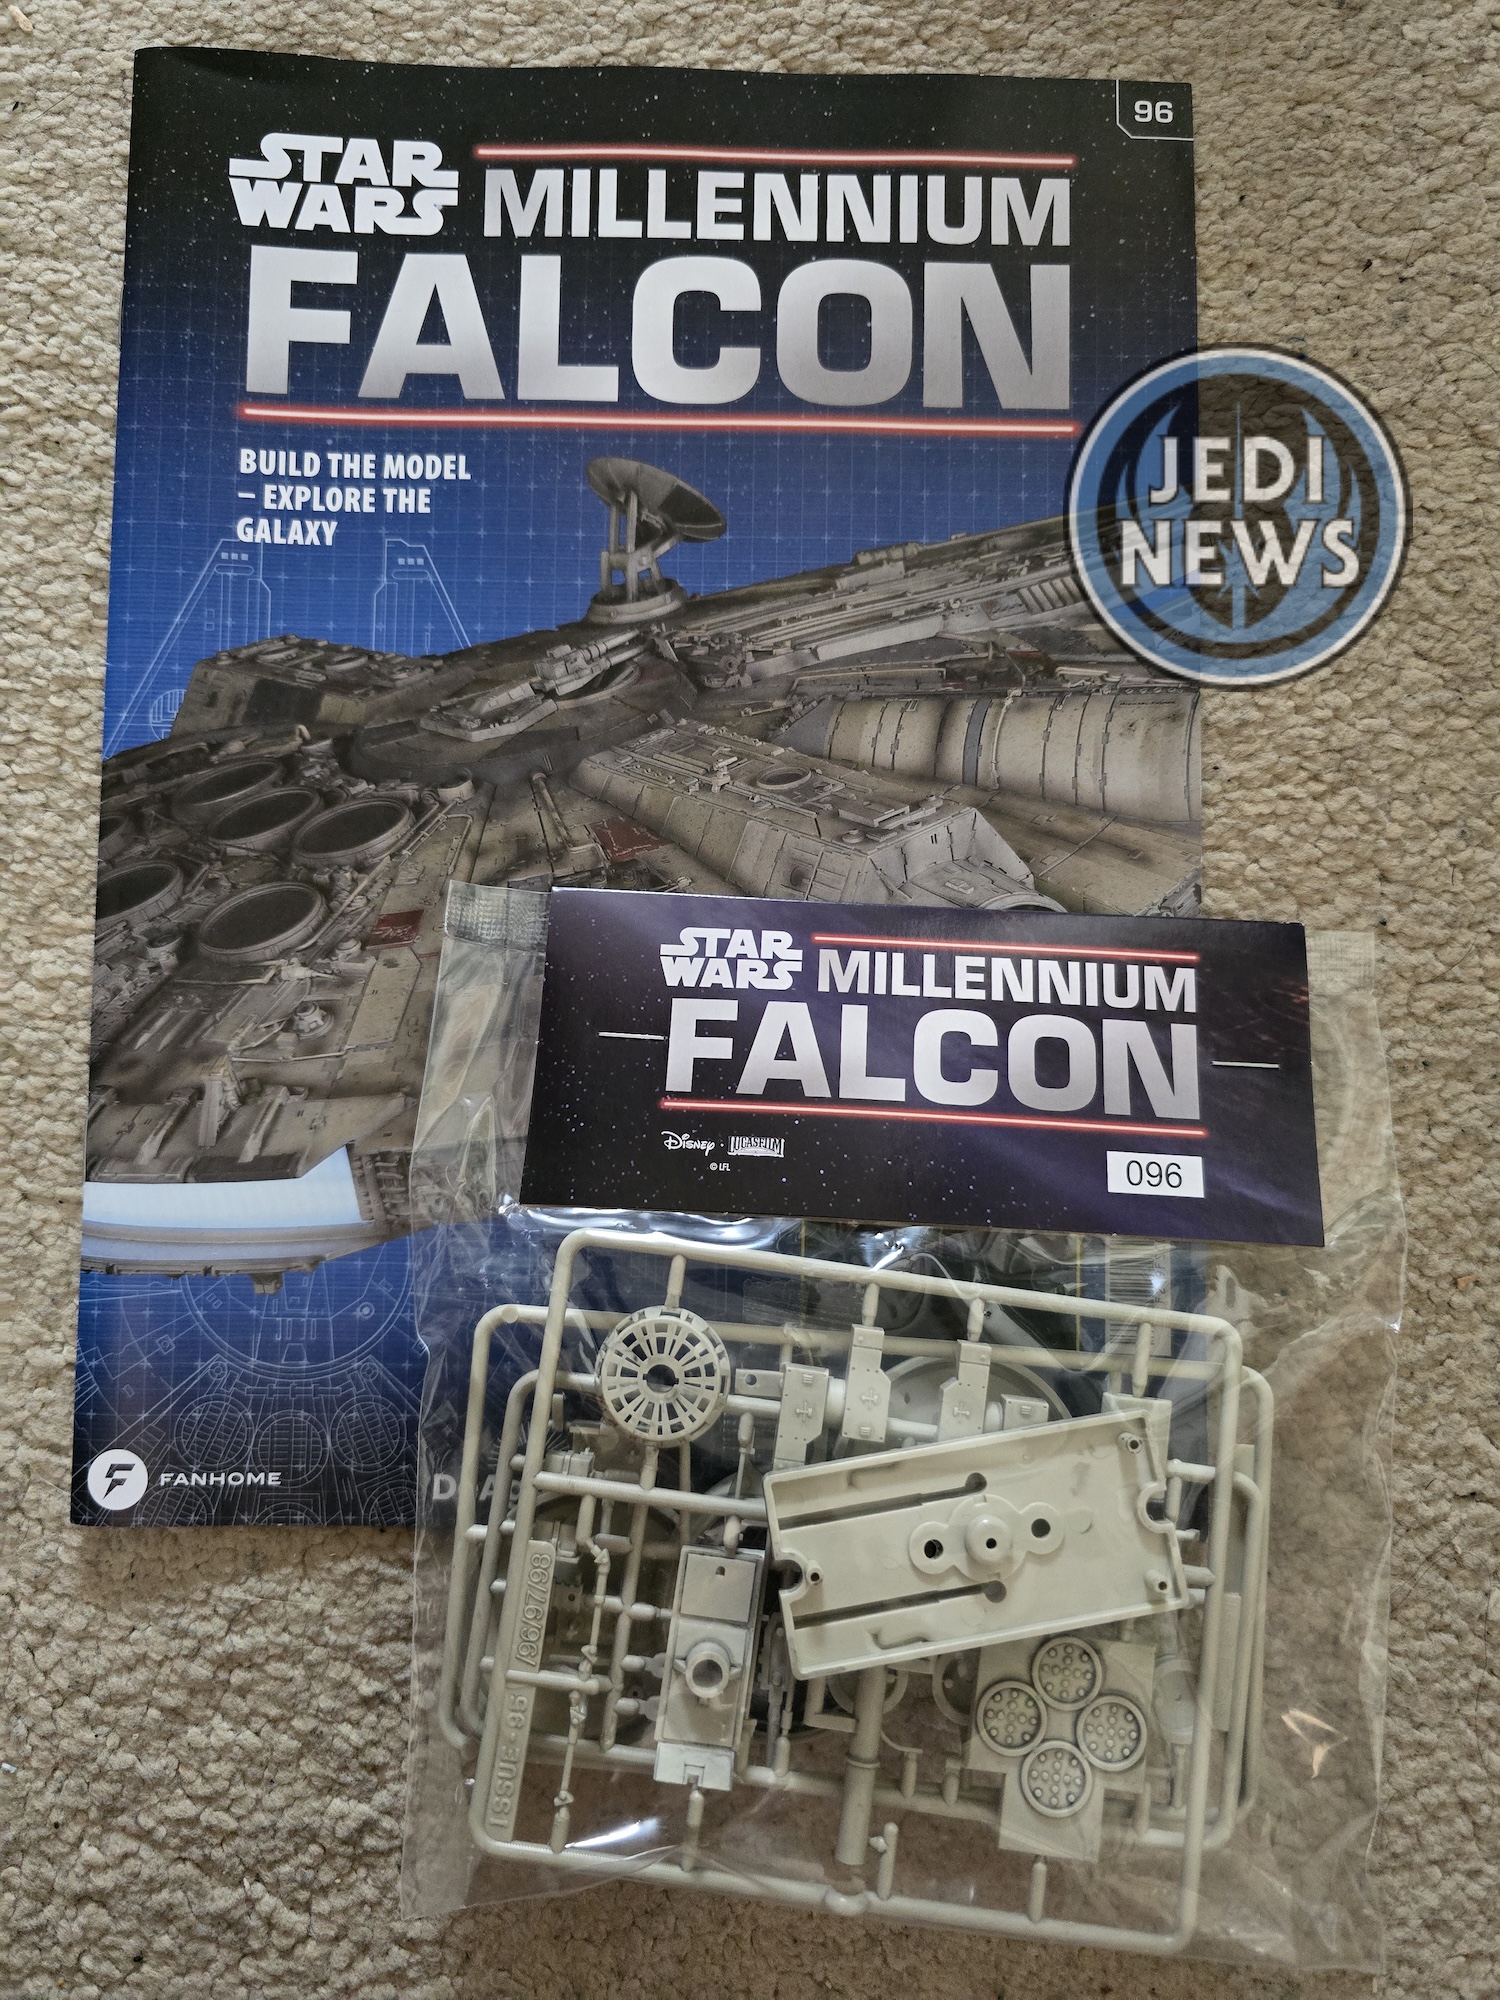
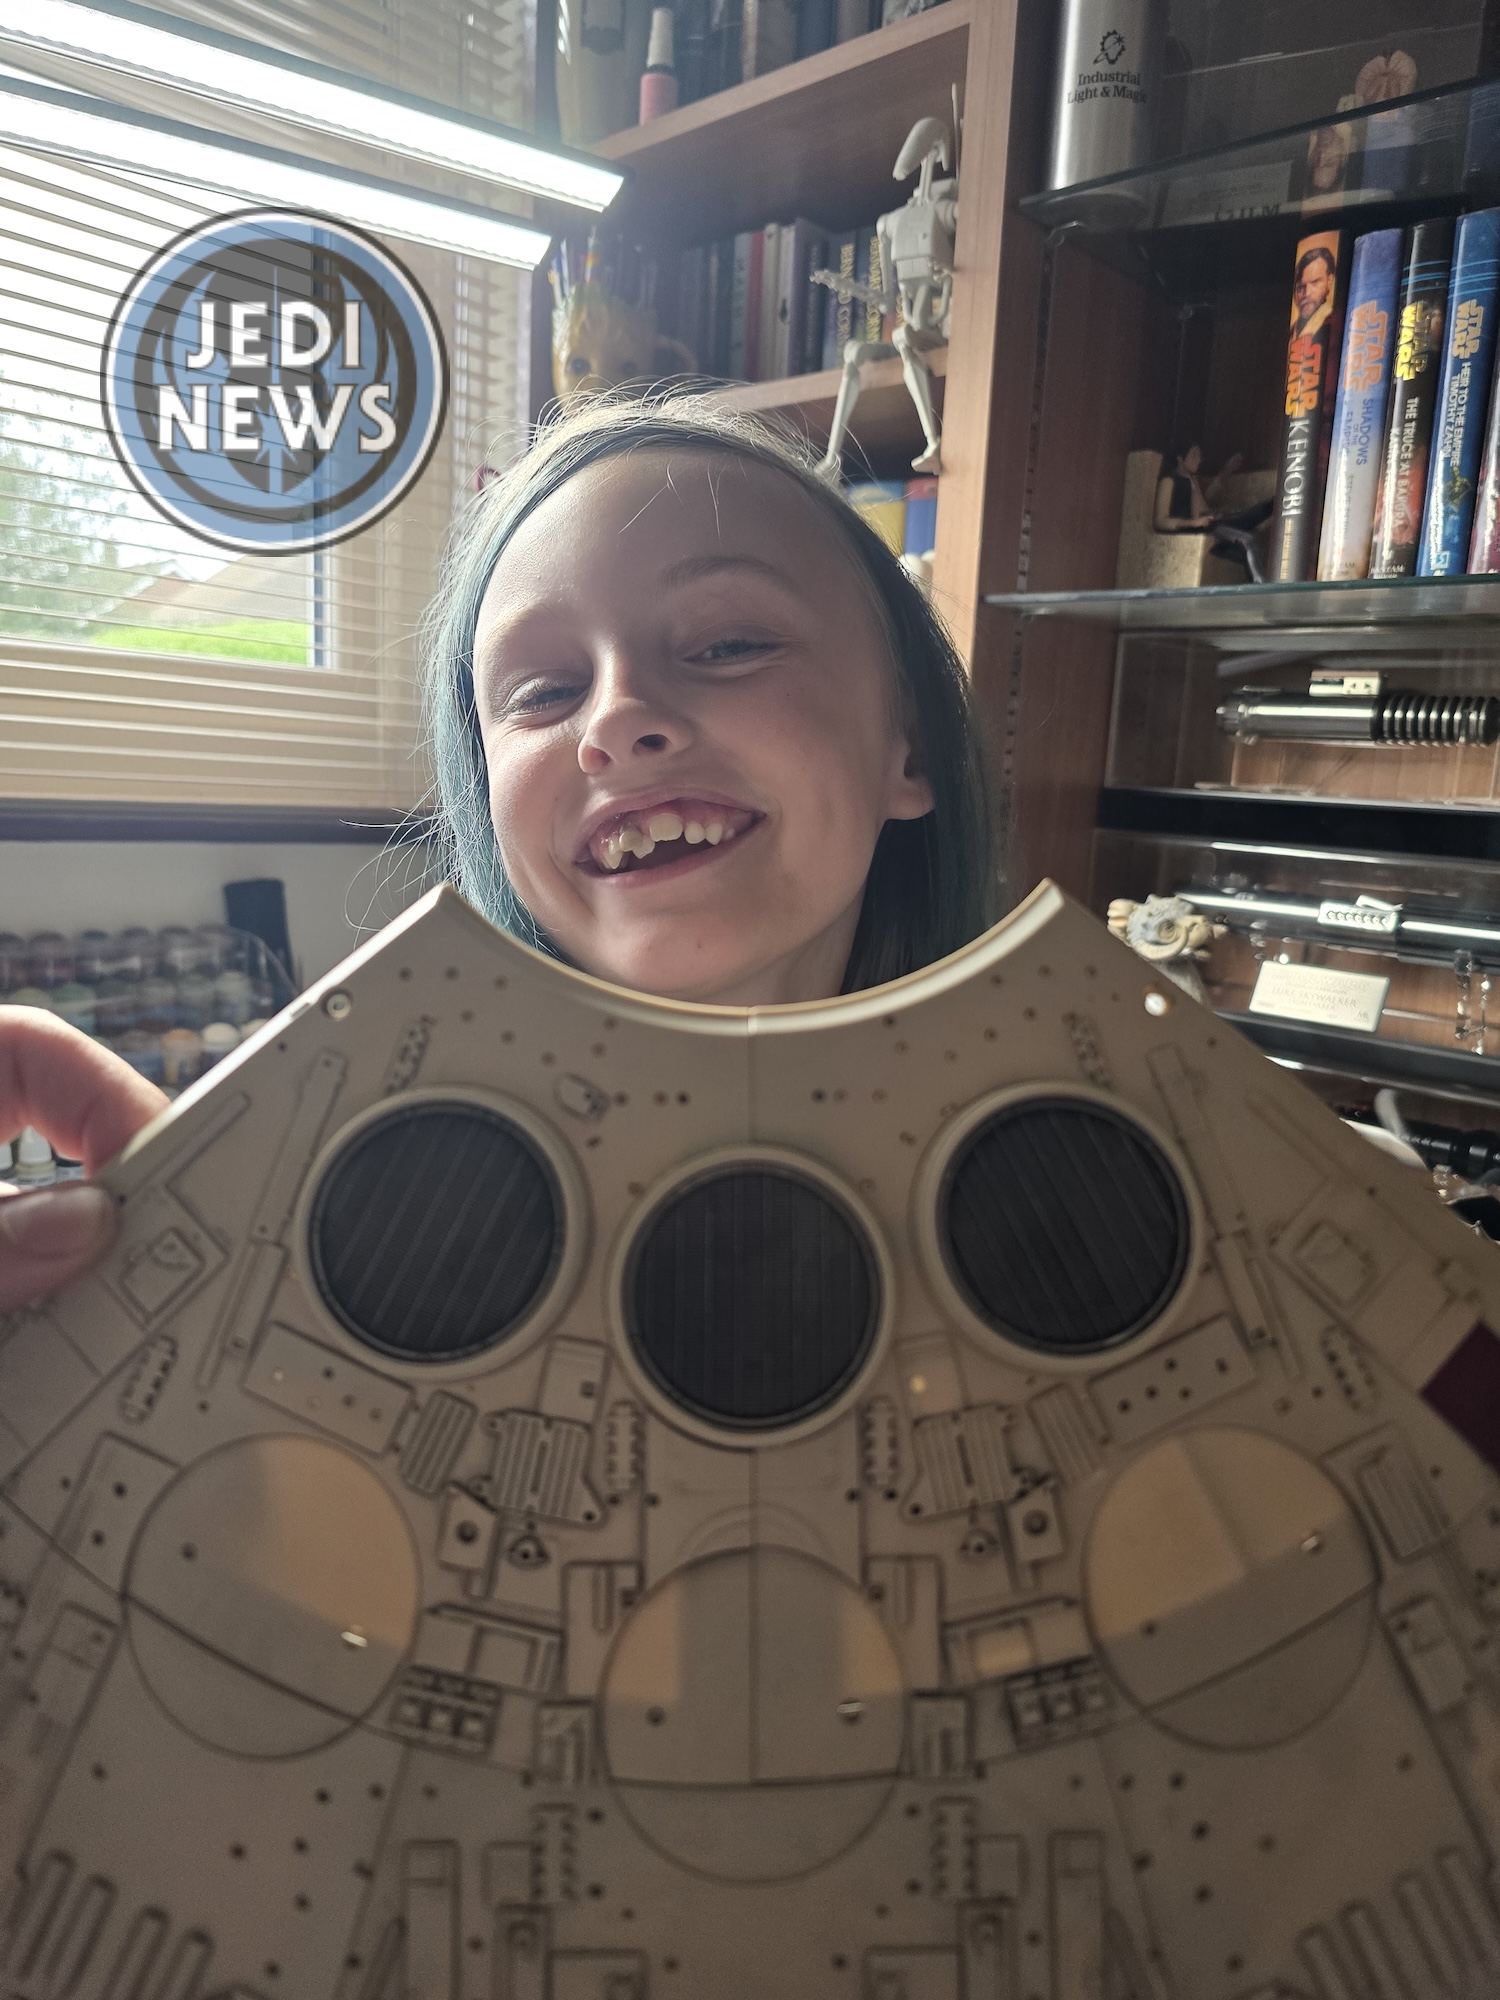
But we weren’t finished yet and we had this last magazine from the current delivery to finish. Last time, we had added the airlocks which had really solidified the shape of the Falcon. The look of the Falcon is absolutely there now but I knew that there was at least one thing that needed doing: the engines. I had been displaying the incomplete Falcon in my study with everything on, all the temporary plates so every time I walked in, I could just sit back and stare. It is something I’m finding myself doing probably more than is actually healthy to do. The engine plate was ‘on’ but there was one really easy thing to spot, which was the missing heat vents. I wish I could say this was so noticeable because of the films, but I think this probably has something more to do with the toys. Growing up, the vintage Falcon could have the engine plate removed so you could play with your figures in the interior of the toy – I now realise because of this project that the room is completely in the wrong place and if the actual characters were housed where the toy said, they’d probably be burnt to cinders by the engines. But I get distracted! The engine plate had six heat vents made of thin cardboard (maybe even paper) and were one of the first things to get destroyed on the toy. My nan brought my brother and I two secondhand Falcons and we never had the heat vents intact! It was this more than anything that really made me recognise these were missing. Other than that, we still had a quad gun to attach (that came all the way back in the very first issue) and I’m sure some extra details.
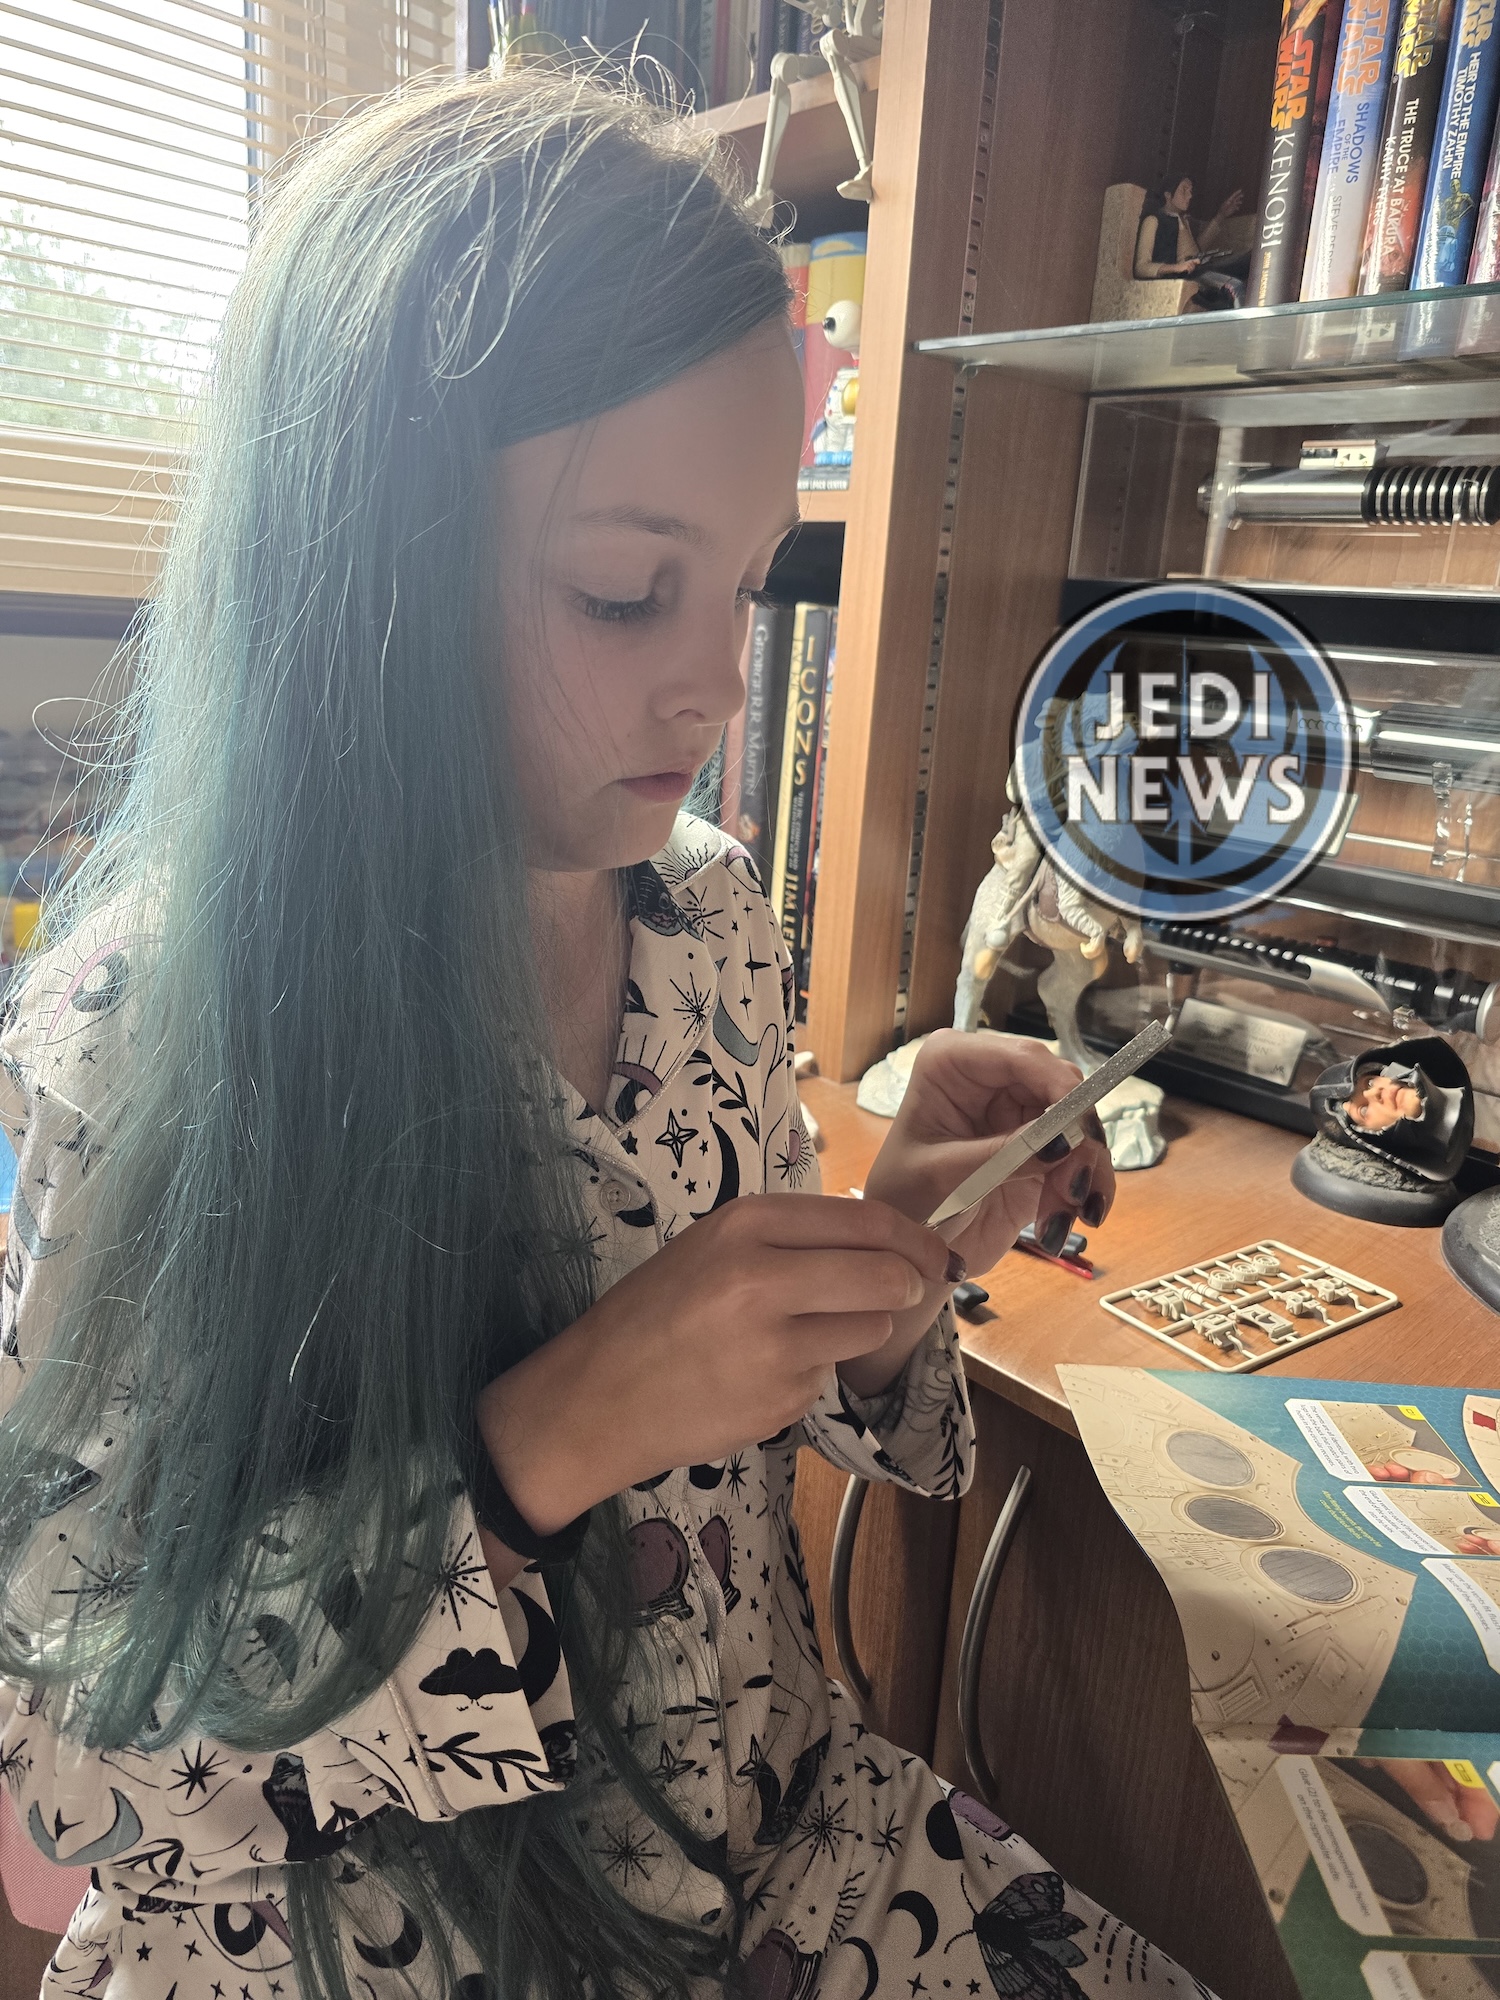
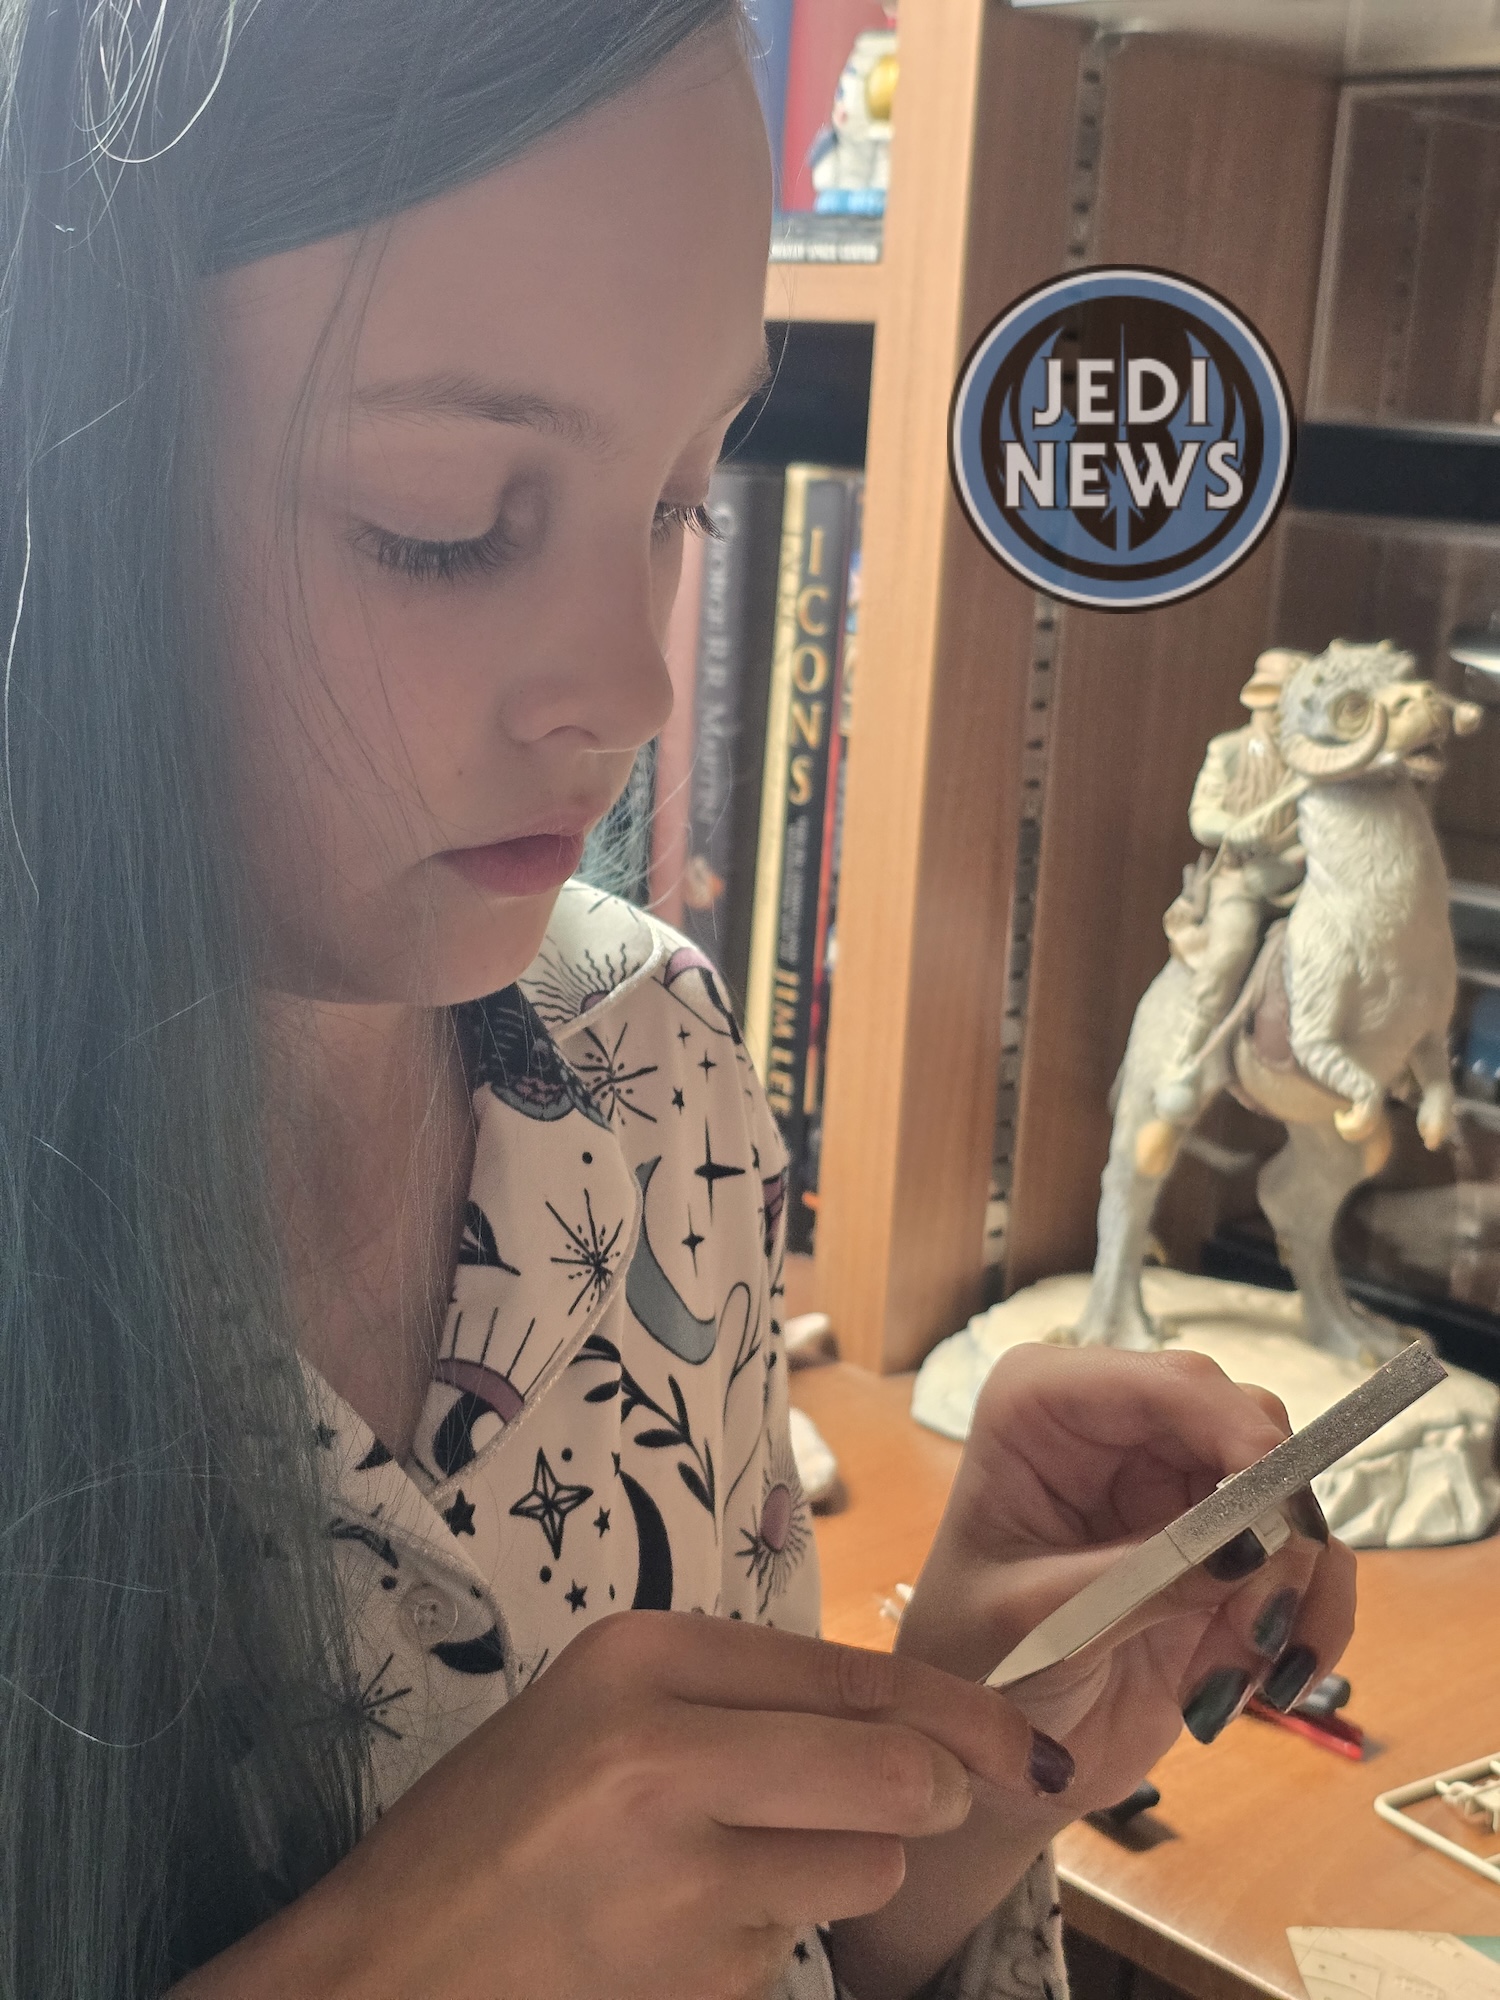
So, what would this installment have in store? Having started this project when my daughter was six, I always make sure to have a look through the magazine first so I can check what we are doing, what needs preparing for and to mentally prepare myself for what Ember and I will be getting into. Like the last magazine, the instructions were actually at the start of the magazine, rather than the end, which was an instant warning that this was going to be a long session. Not that we had another magazine to move onto until we get our next delivery! Looking through I could see that we would indeed be fitting the heat vents – well – at least three of them. Then we would be detailing the engine bay cover, fitting the engine bay cover and adding some details. In other words, a lot. None of it presented a problem until I did another quick glance. To attach the engine bay cover you need an Allen key… which isn’t included! I do have some Allen keys (thank you Ikea) but did I have the correct size? It would have been far easier for Fanhome to surely have included a small key for people to use, but hey ho. I went in search of the correct size one…
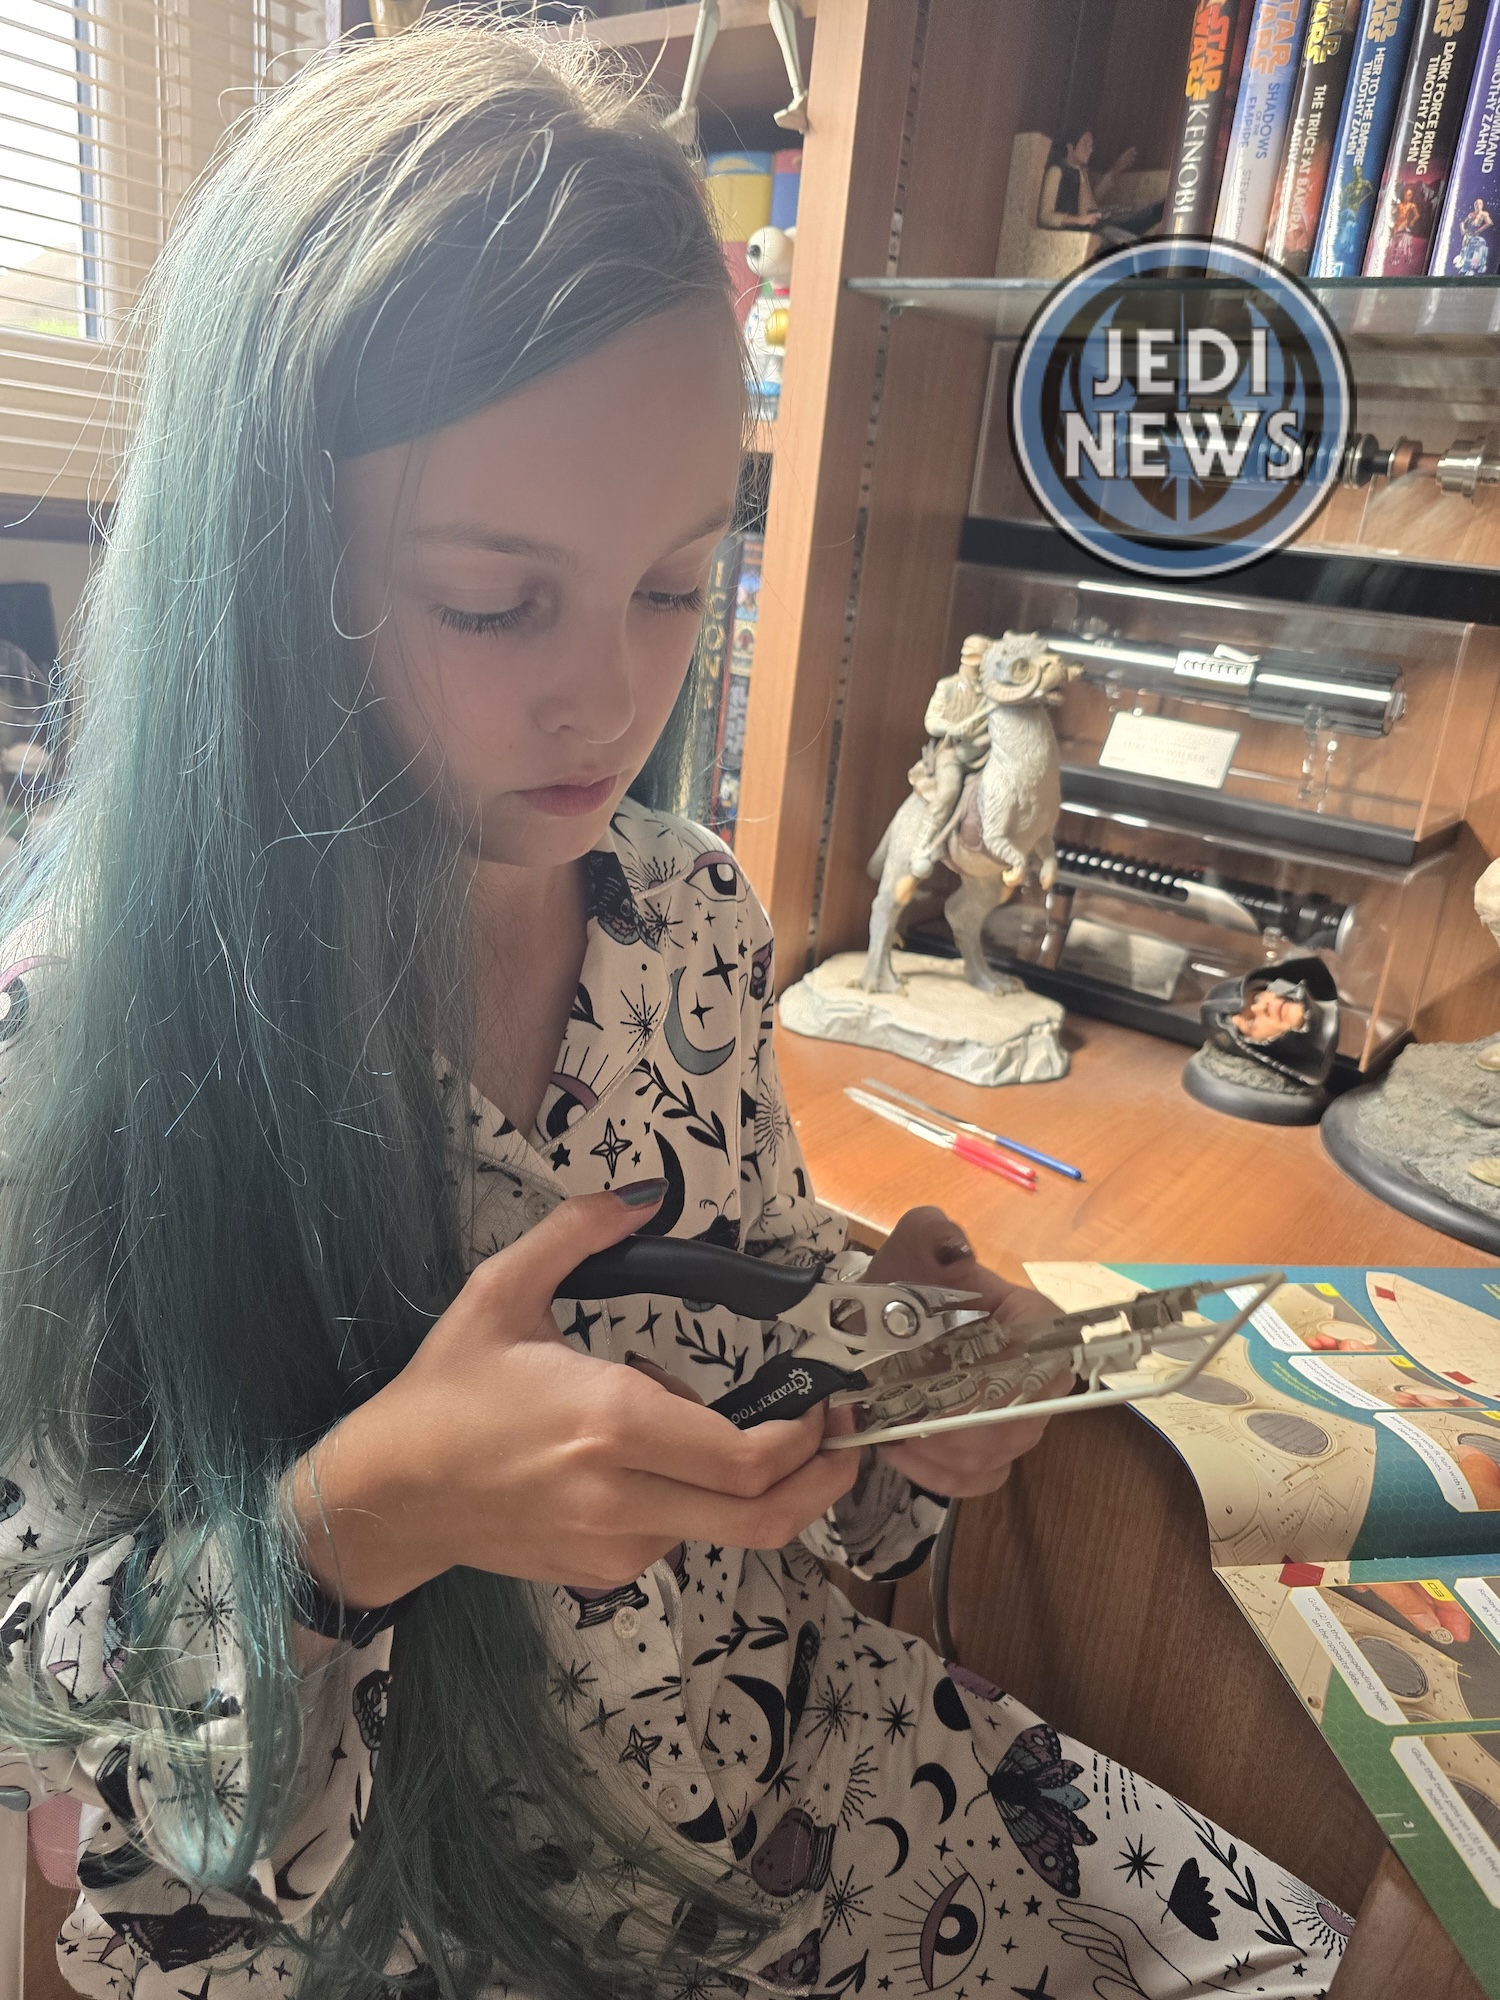
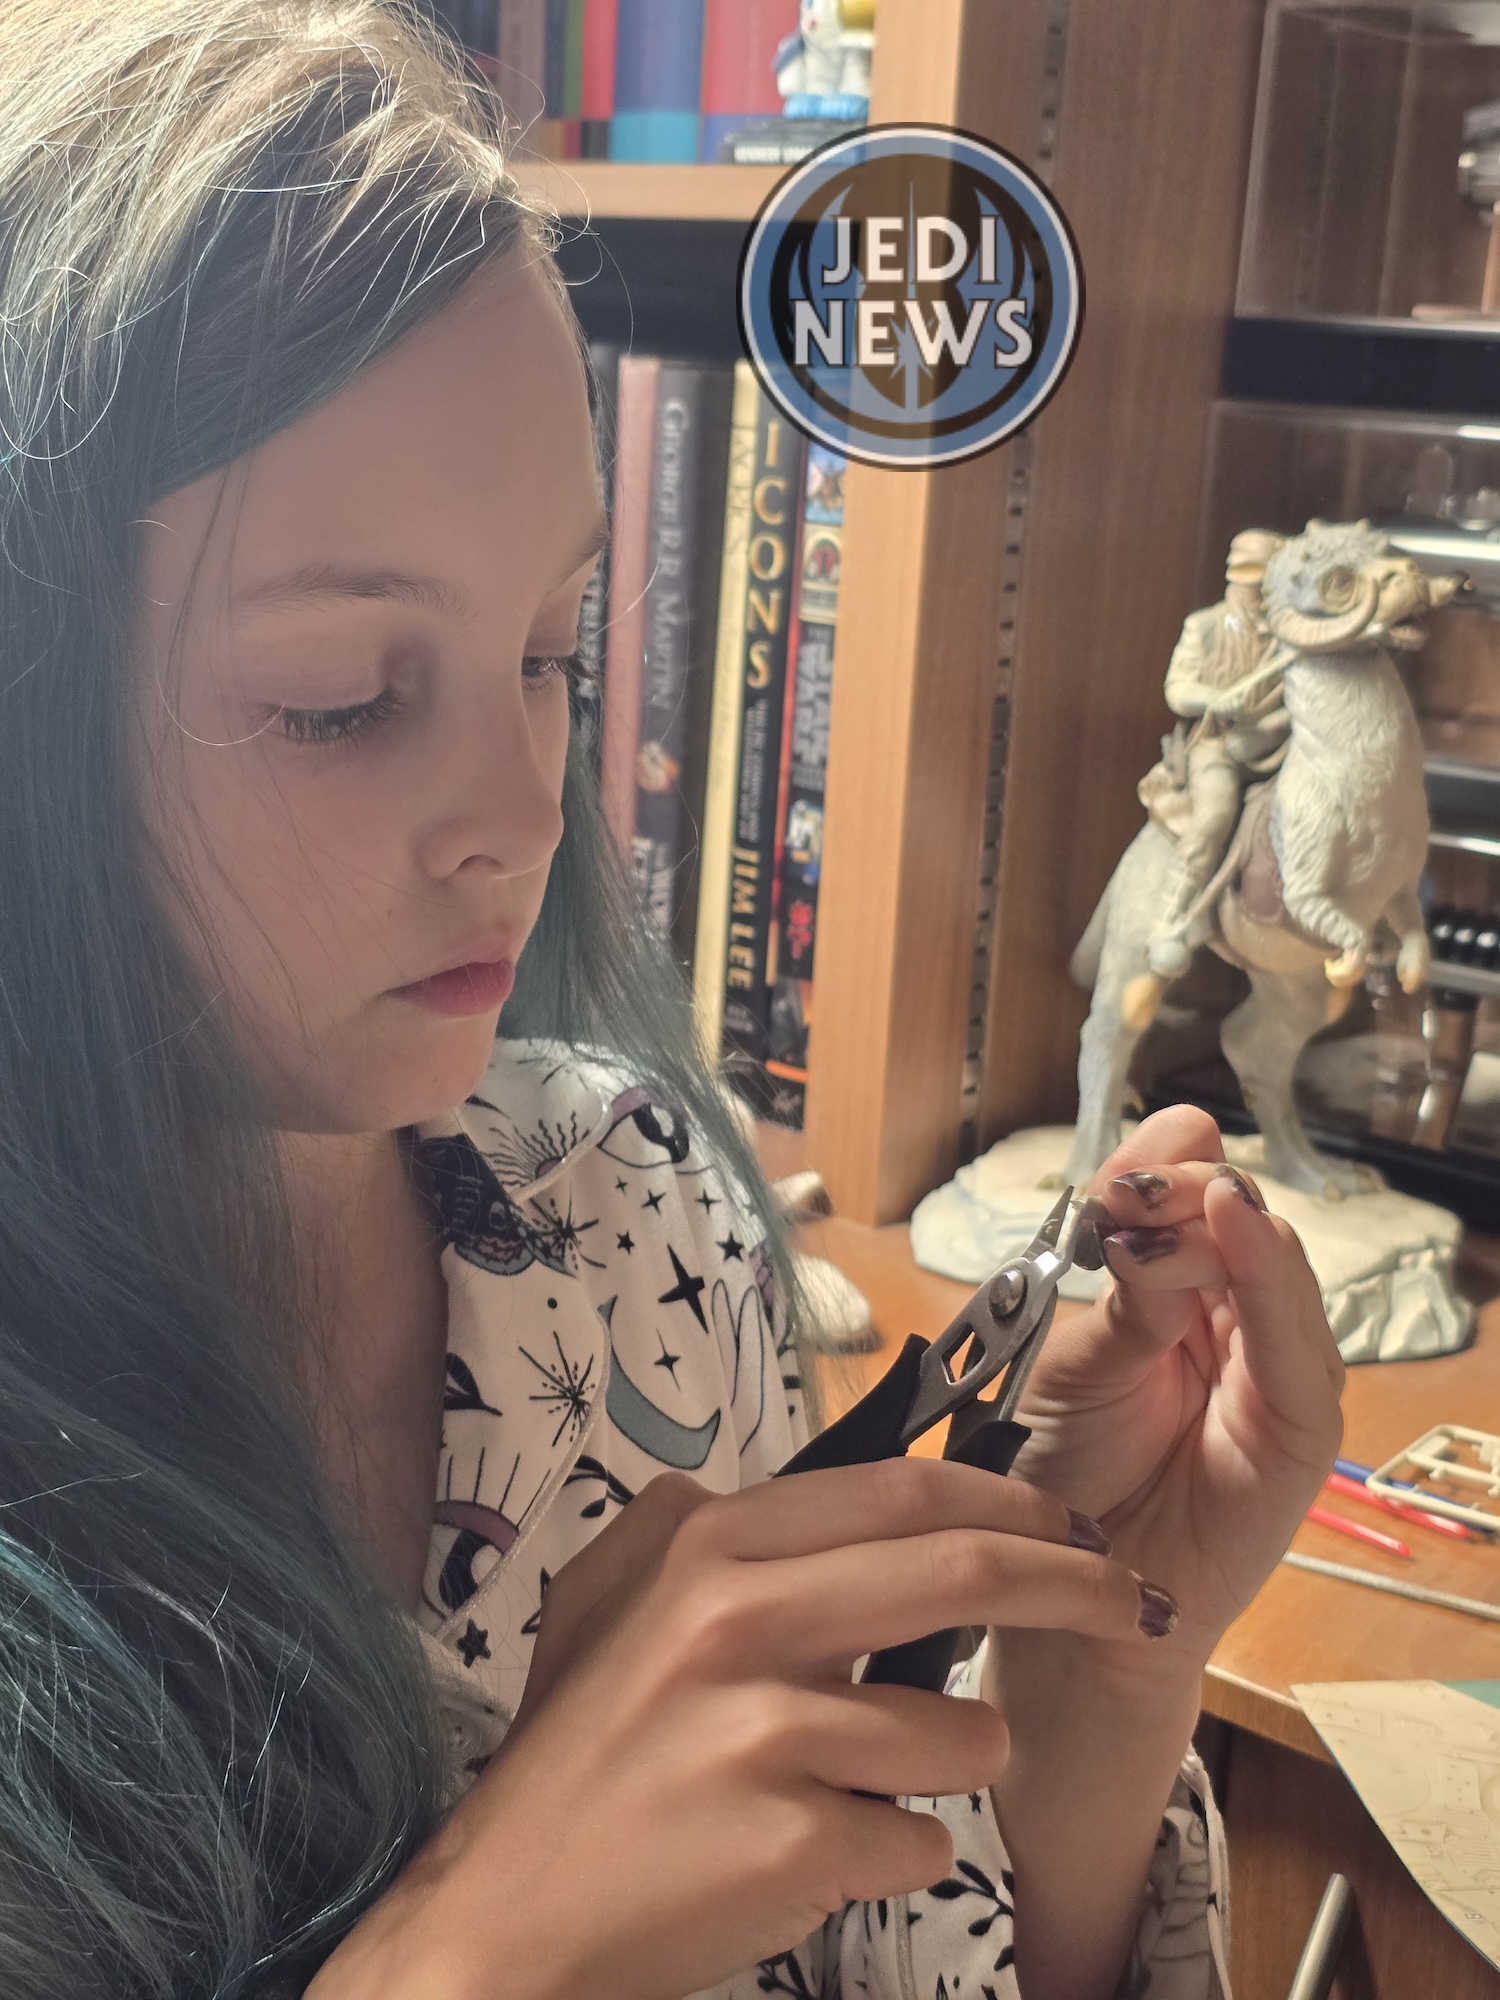
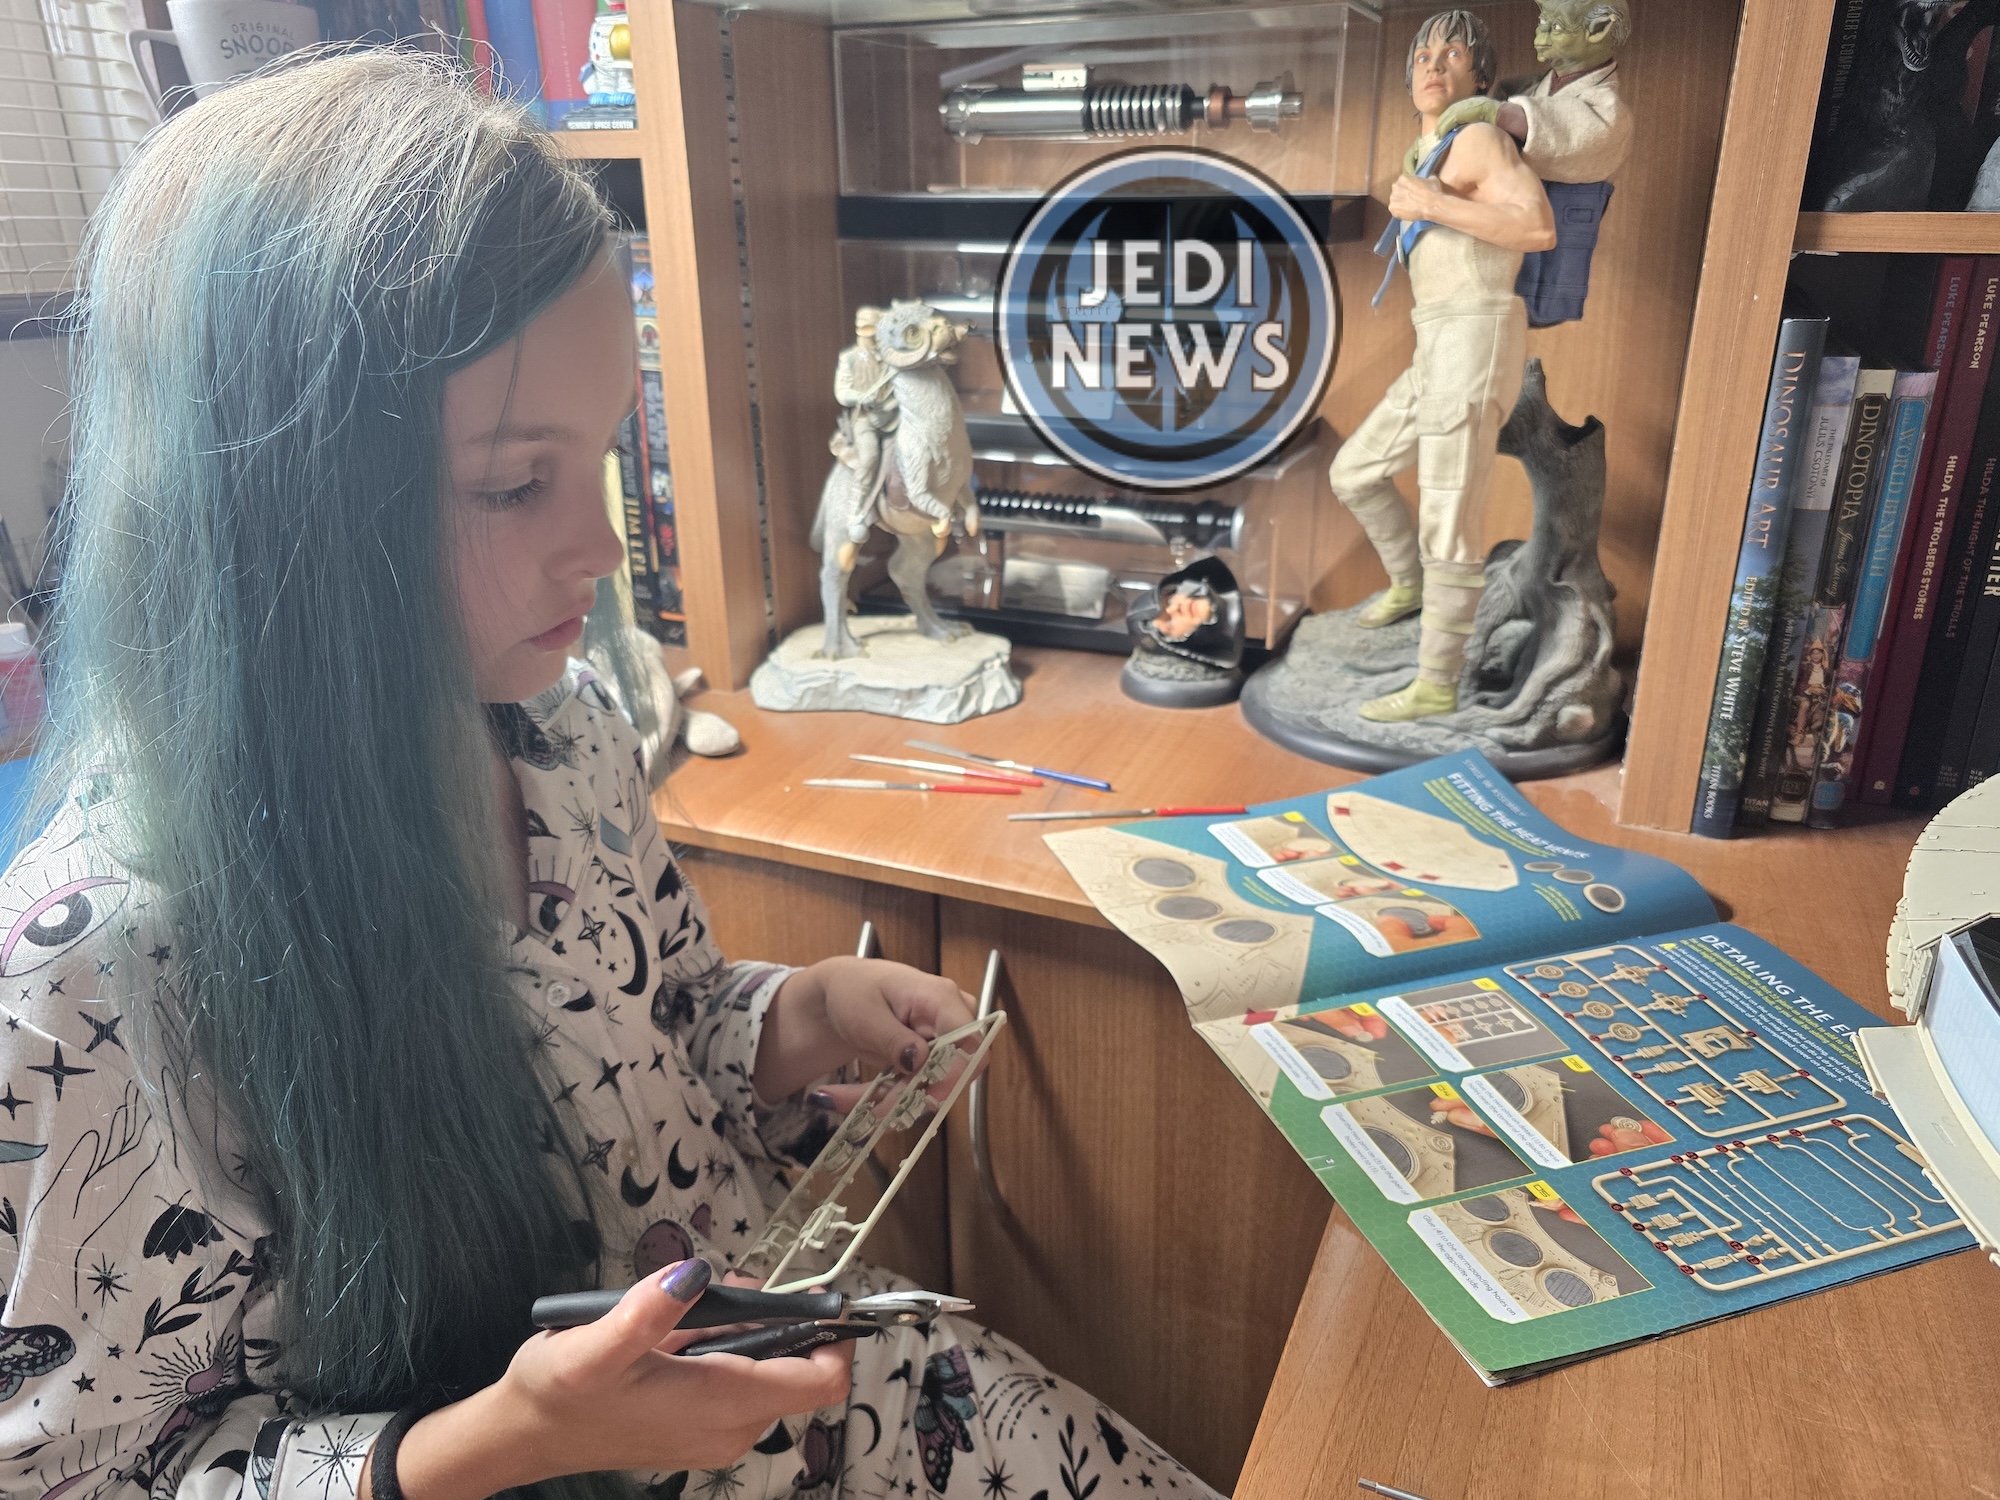
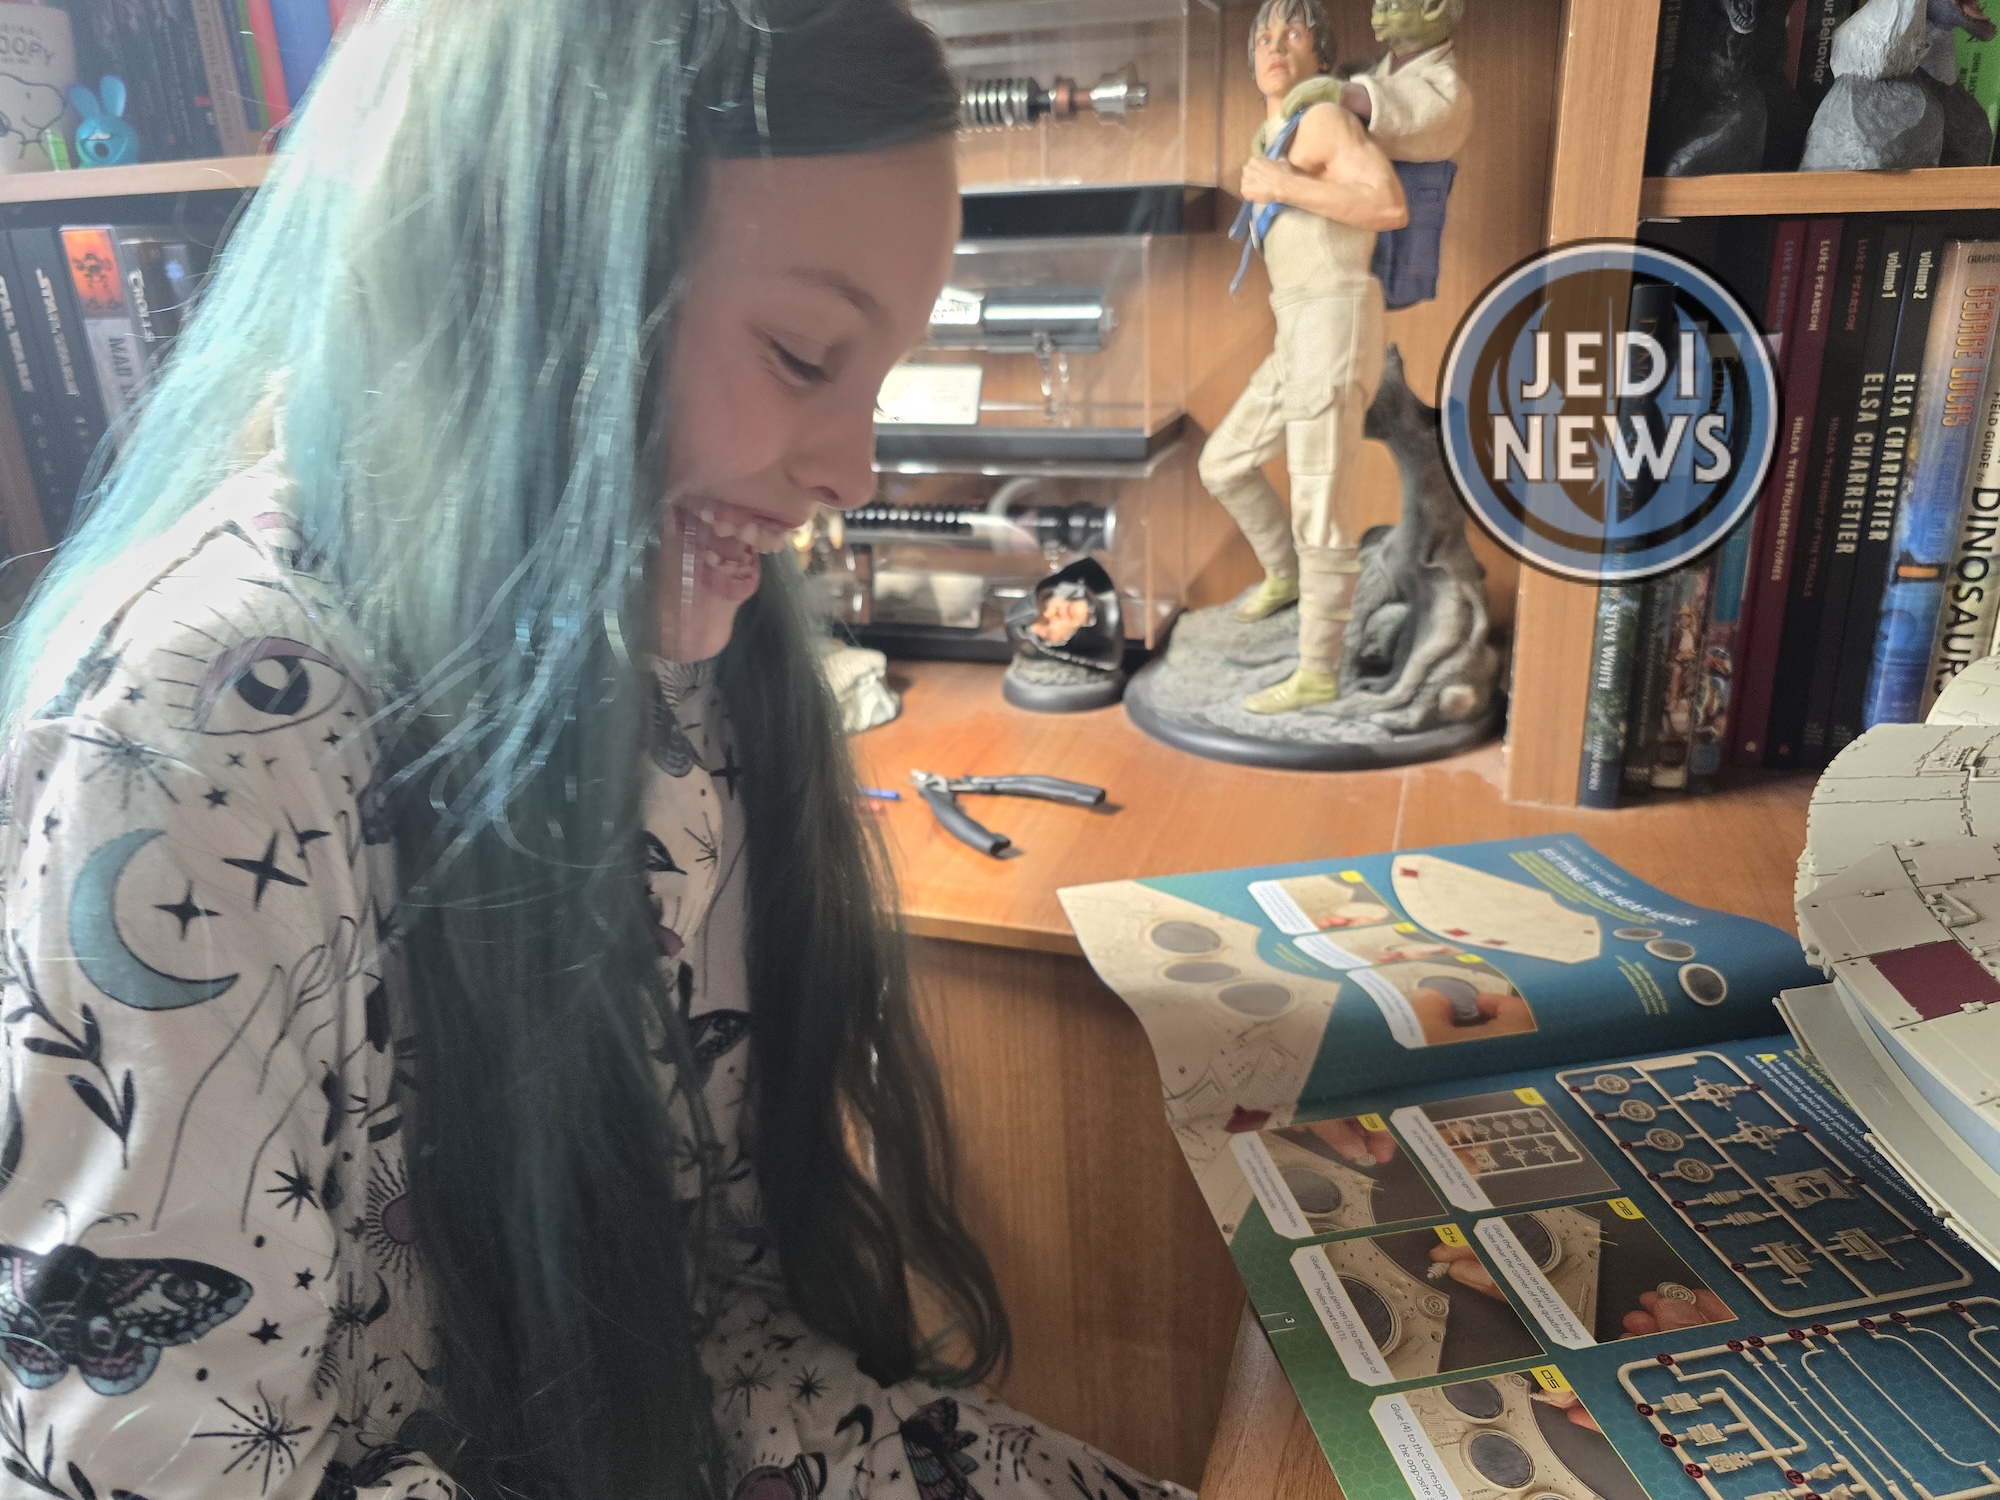
… Thankfully I found it, mainly because I had brought a job lot of hobby tools a while back. If I hadn’t, I would have been a little frustrated that I would have had to go out and buy one. With the key ready, I grabbed Ember and we were ready to go! We fell into our normal routine of Ember clipping and filing, with me doing the gluing. The first thing that we needed to do was glue the heat vents. The two pegs on each vent are different, and you will know when you have them the correct way around (the crisscross peg goes on the left as you are looking at the vent). The one thing I did find that I needed to do was add glue around the outside of the vents. Just gluing the pegs wasn’t enough and nowhere near enough stable for my liking. With this done, it was onto the detailing.
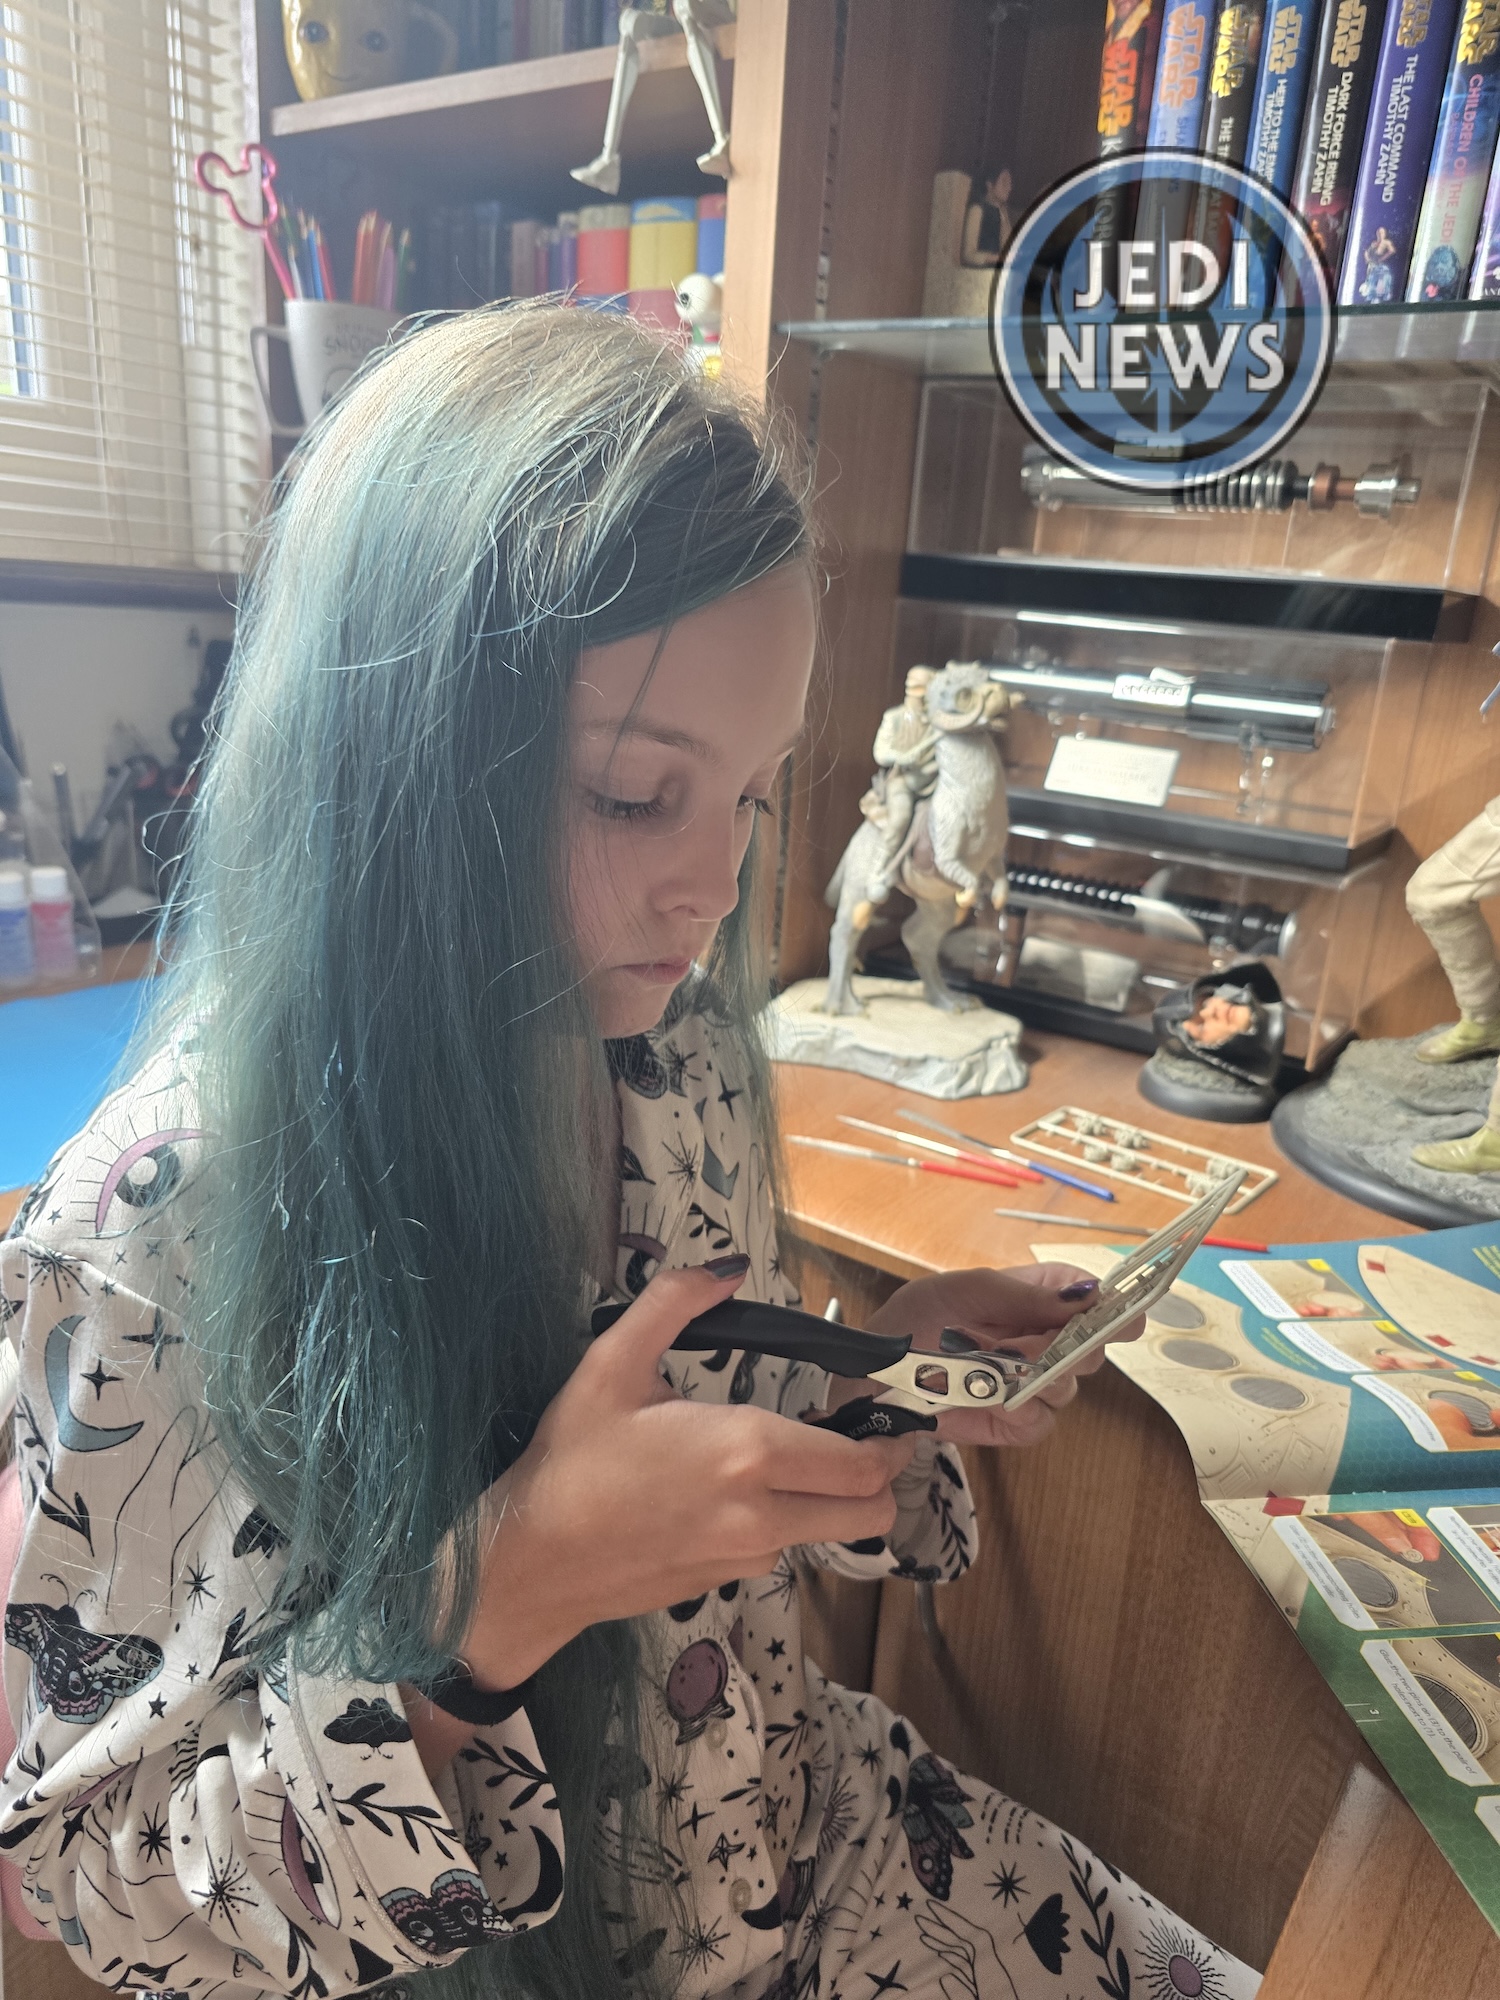
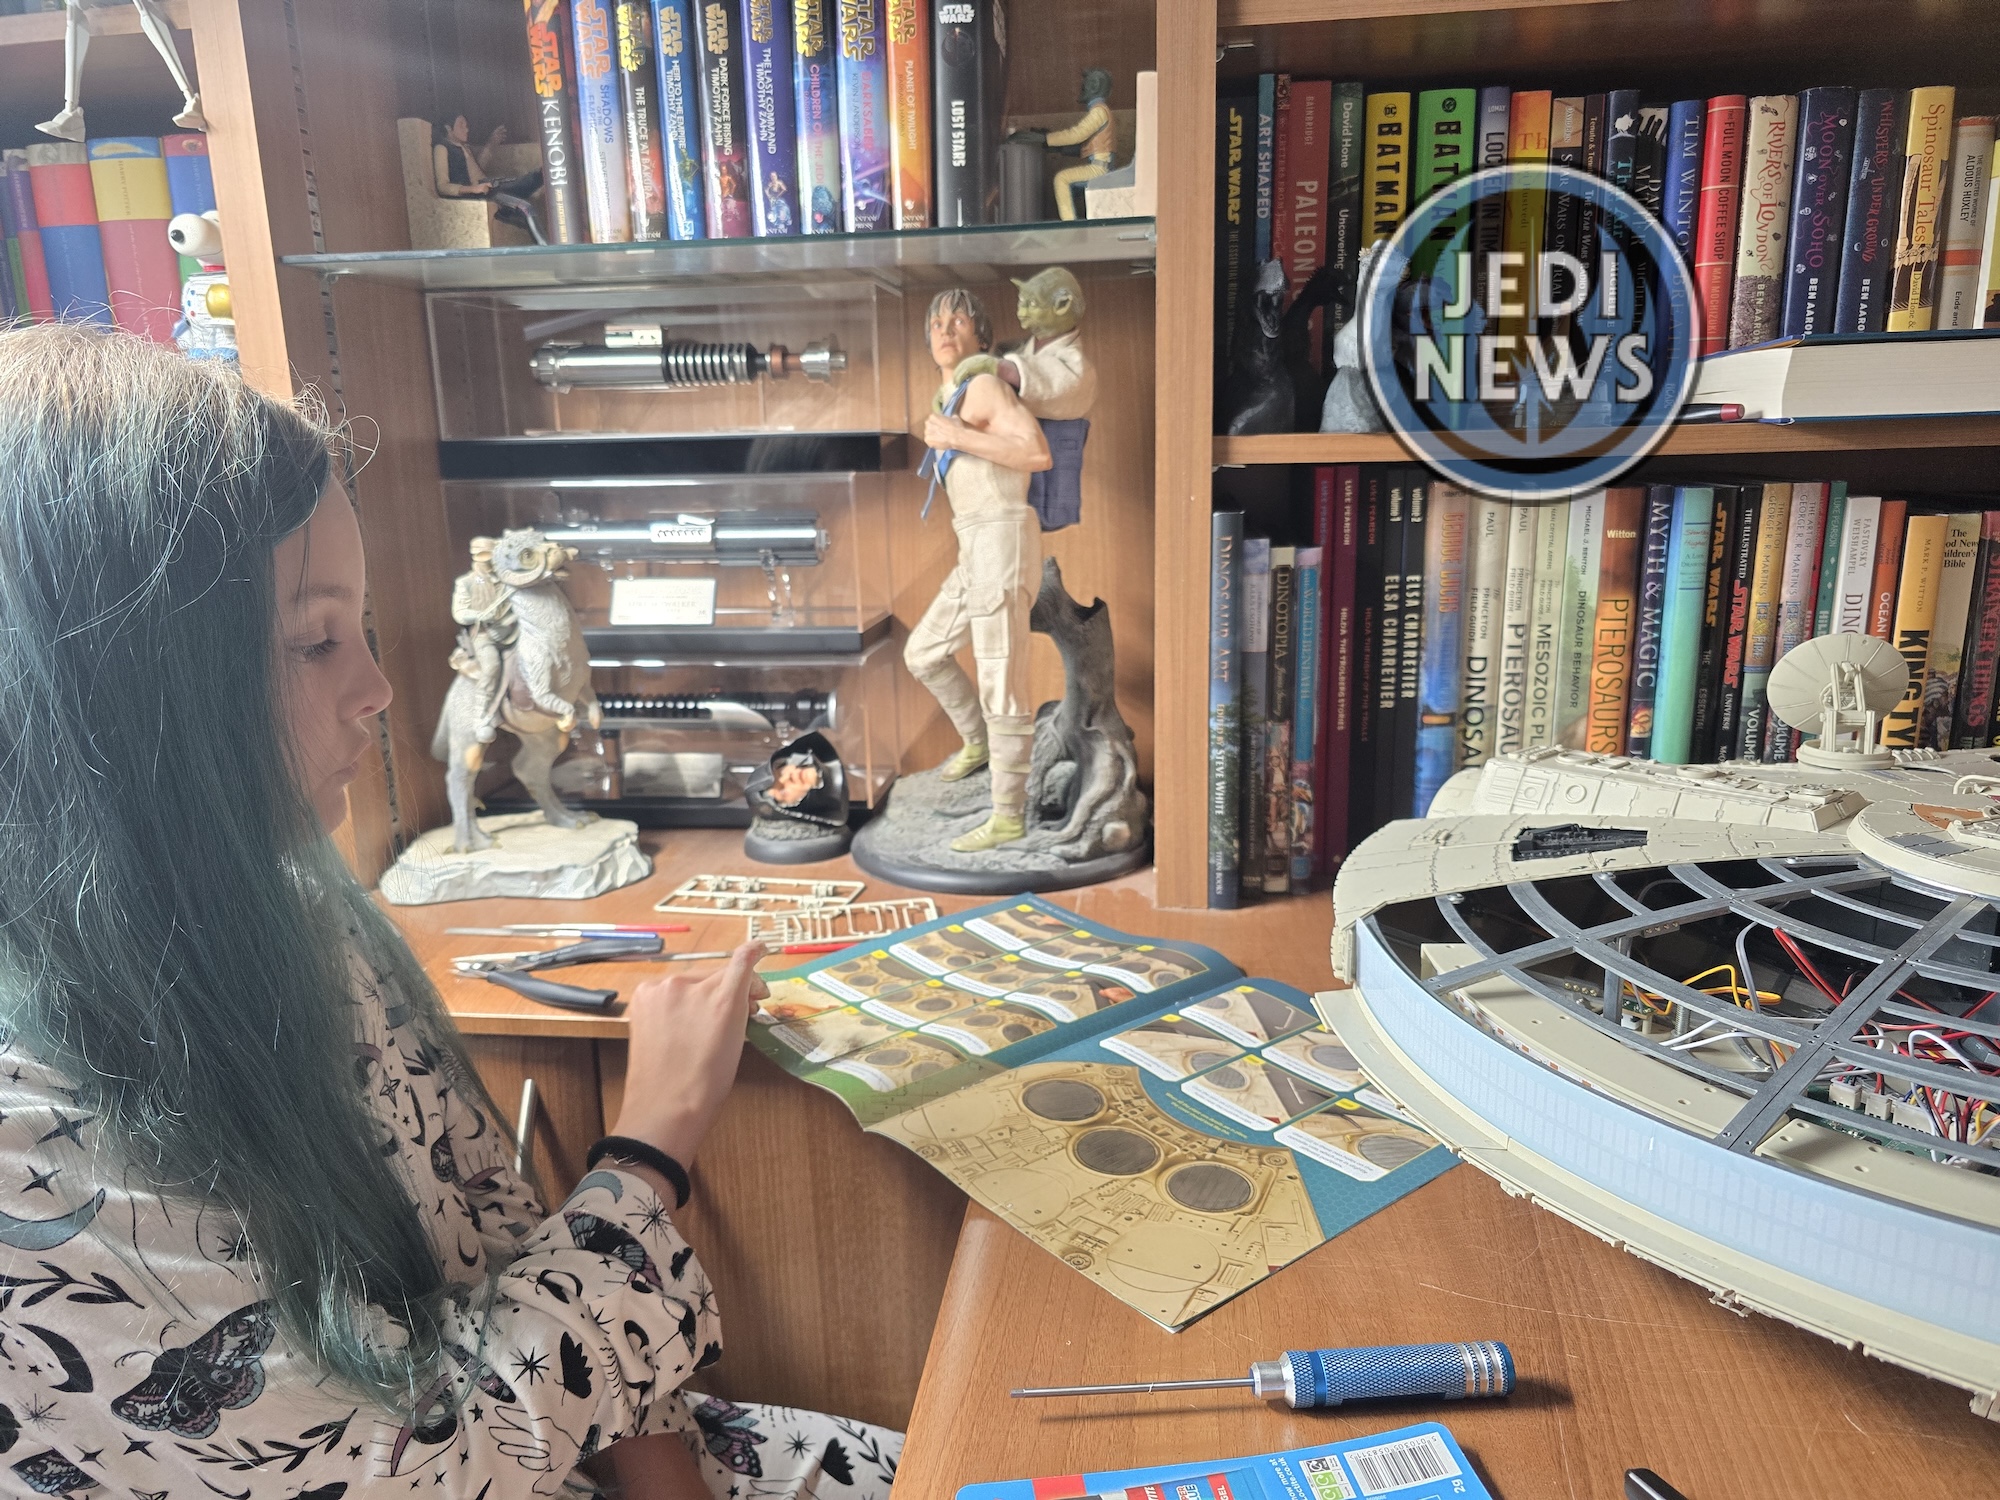
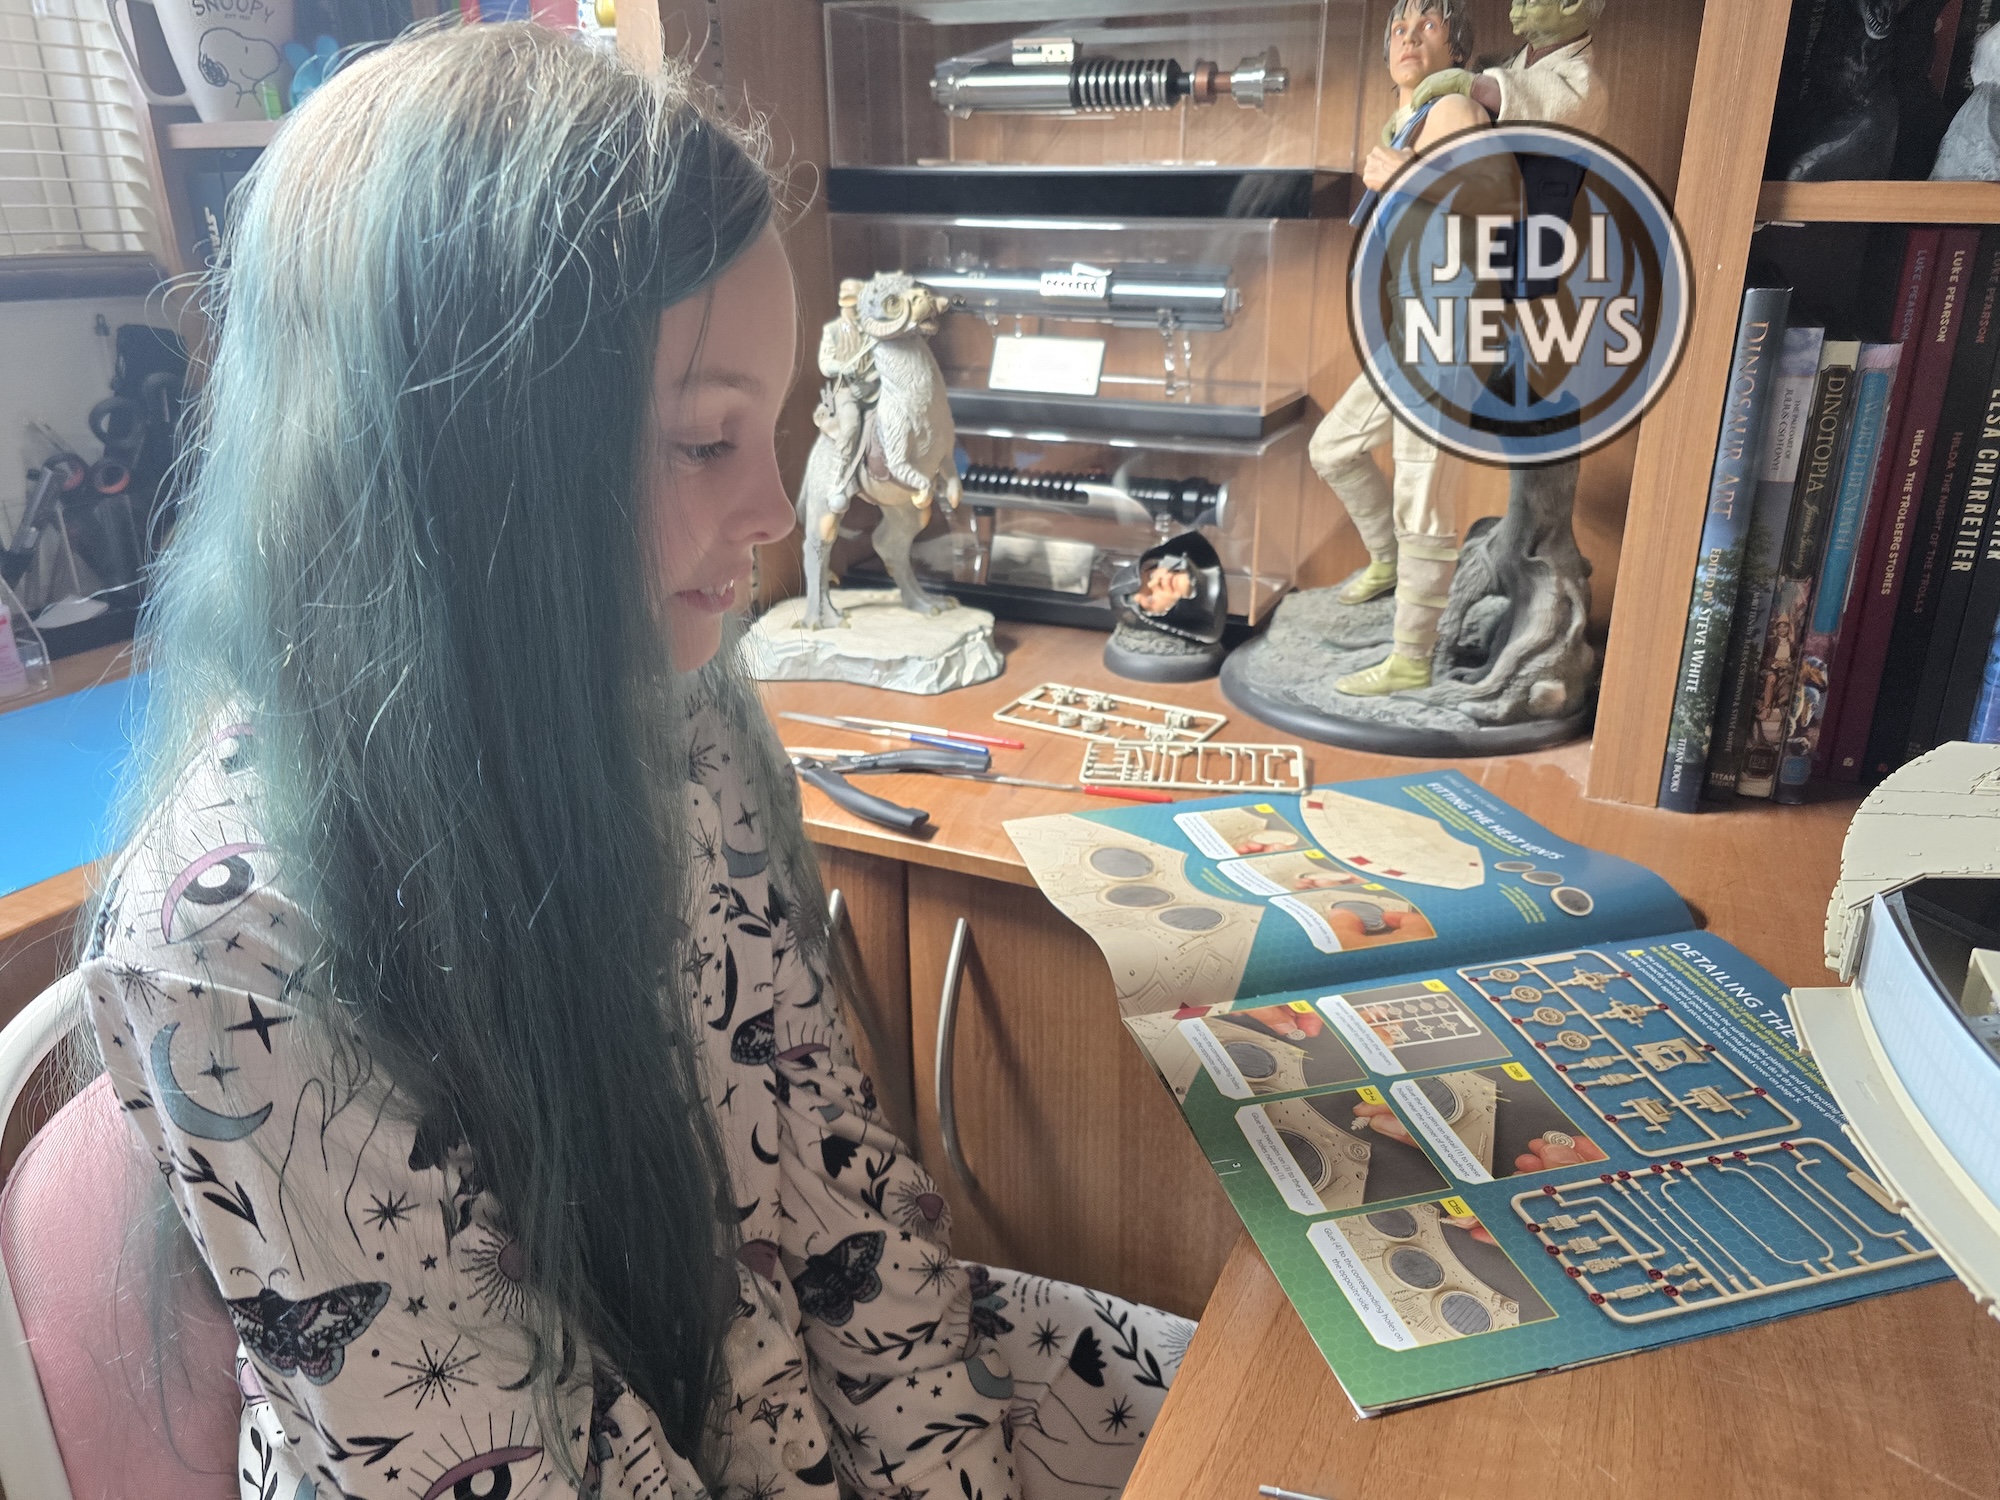
The joys of a nine-year-old who decides that for this installment, she is going to be a droid. She explained everything in minute detail and each step. I know some people worry about machines being more productive, but if this is anything to go buy, humanity is safe for a while longer! But Ember was enjoying herself and I was able to just relax and enjoy this precious time with her. All the pieces were fairly straightforward. The only time I had to get some tweezers, because the pieces were too small and the gap too tight, were for pieces 12 and 13. When we got to some of the thinner pieces, Ember handed the clippers over, not wanting to break anything. I think she would have been fine, but I think she needed a bit of a break – being a droid is hard work!
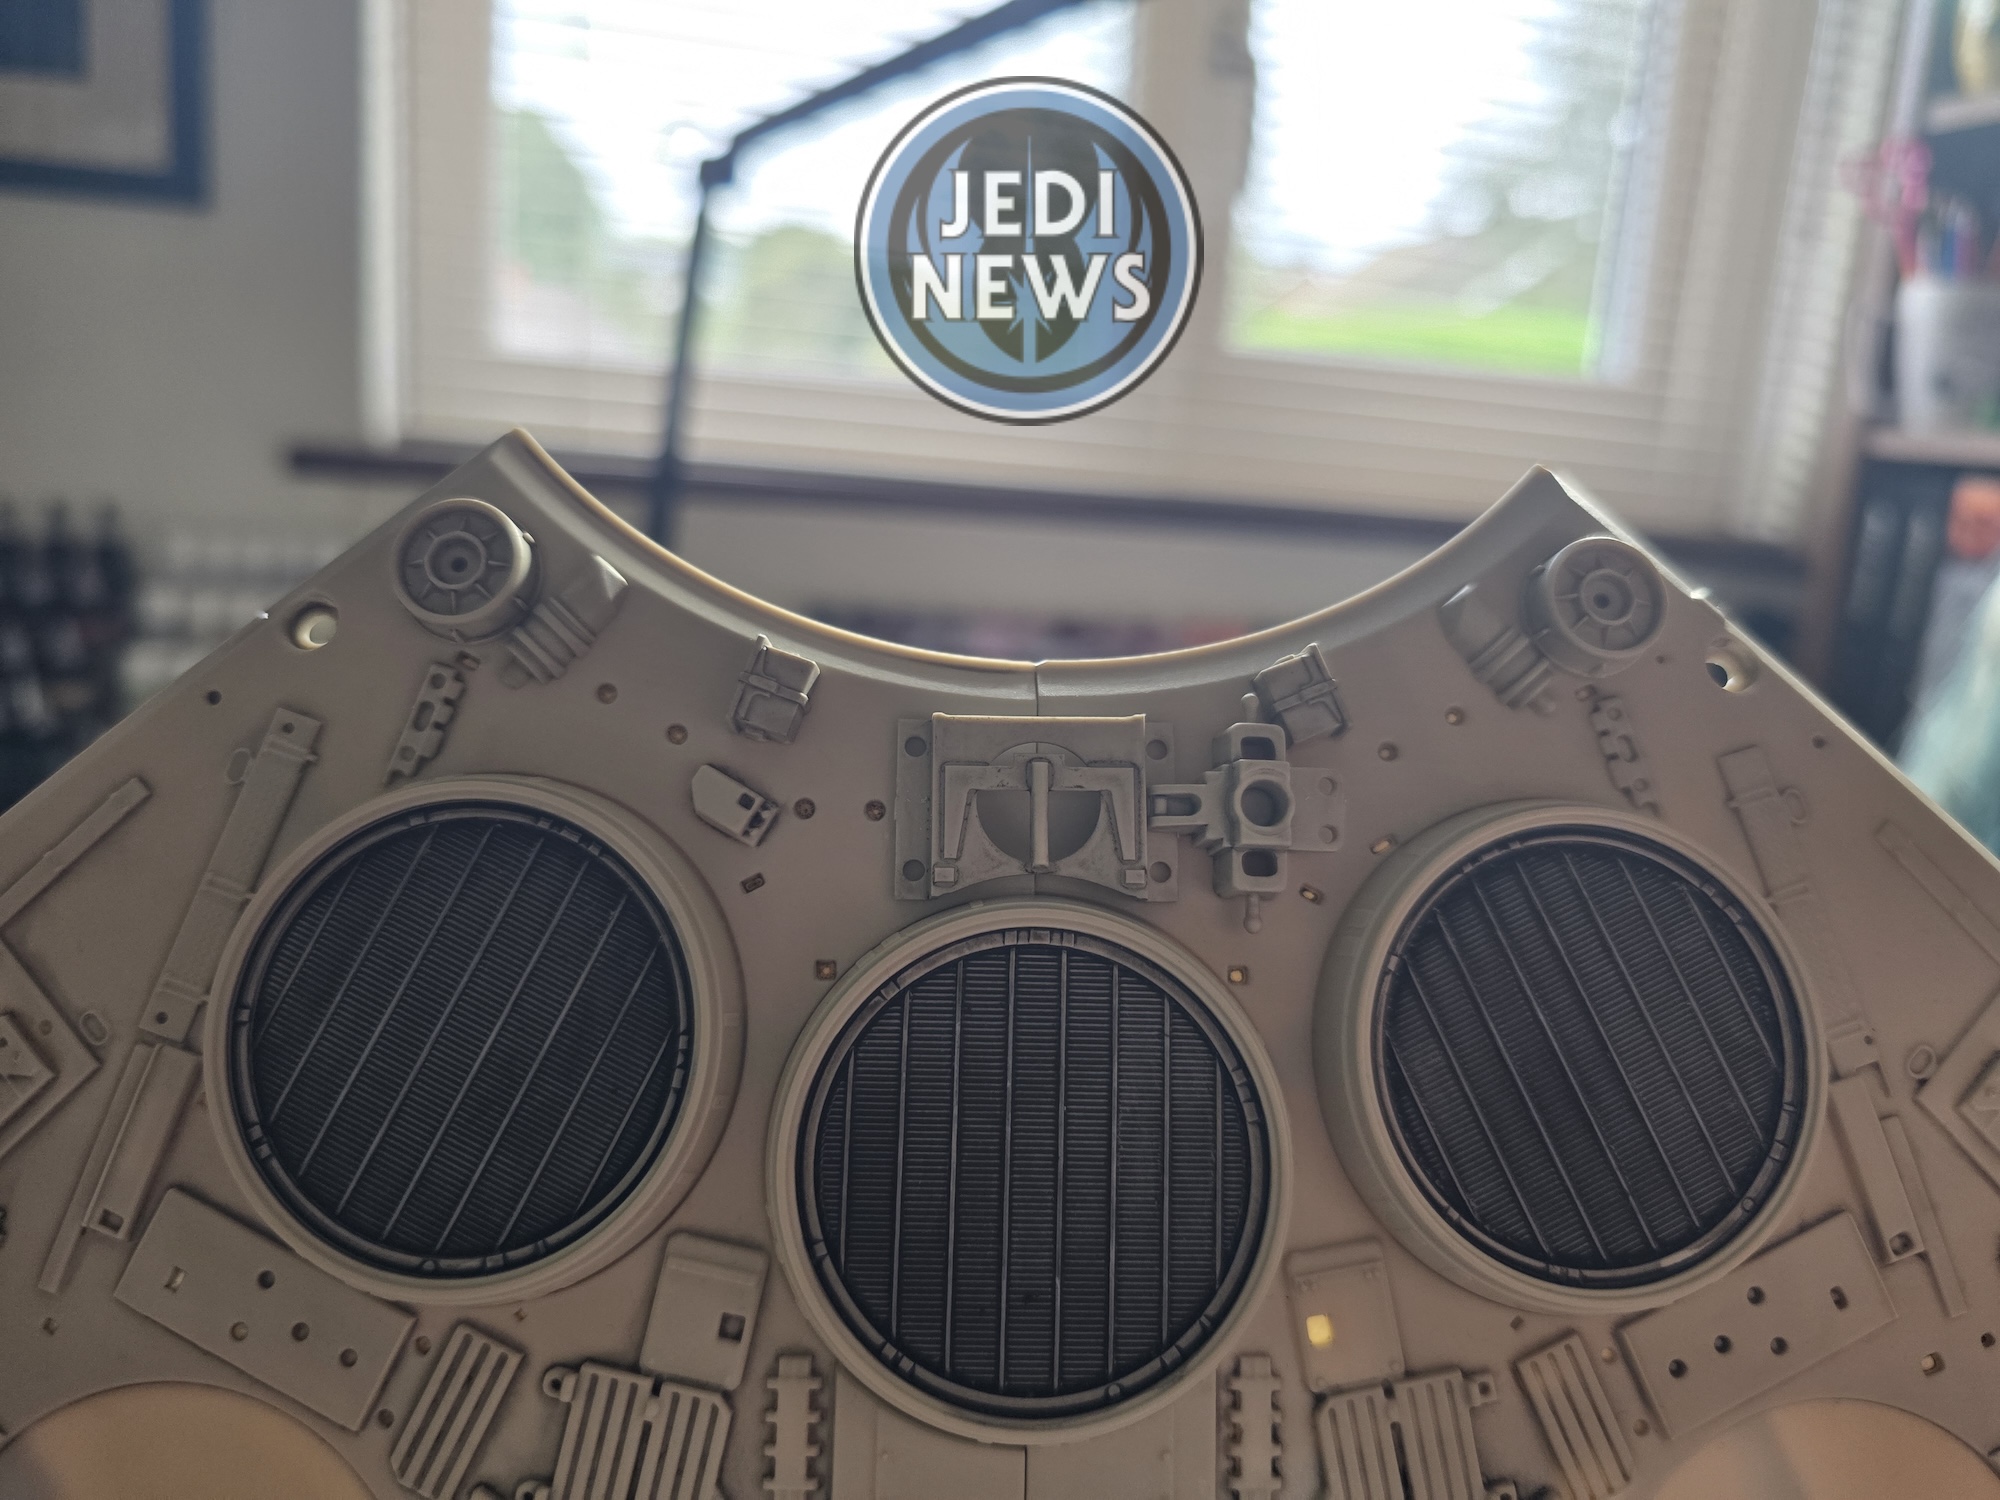

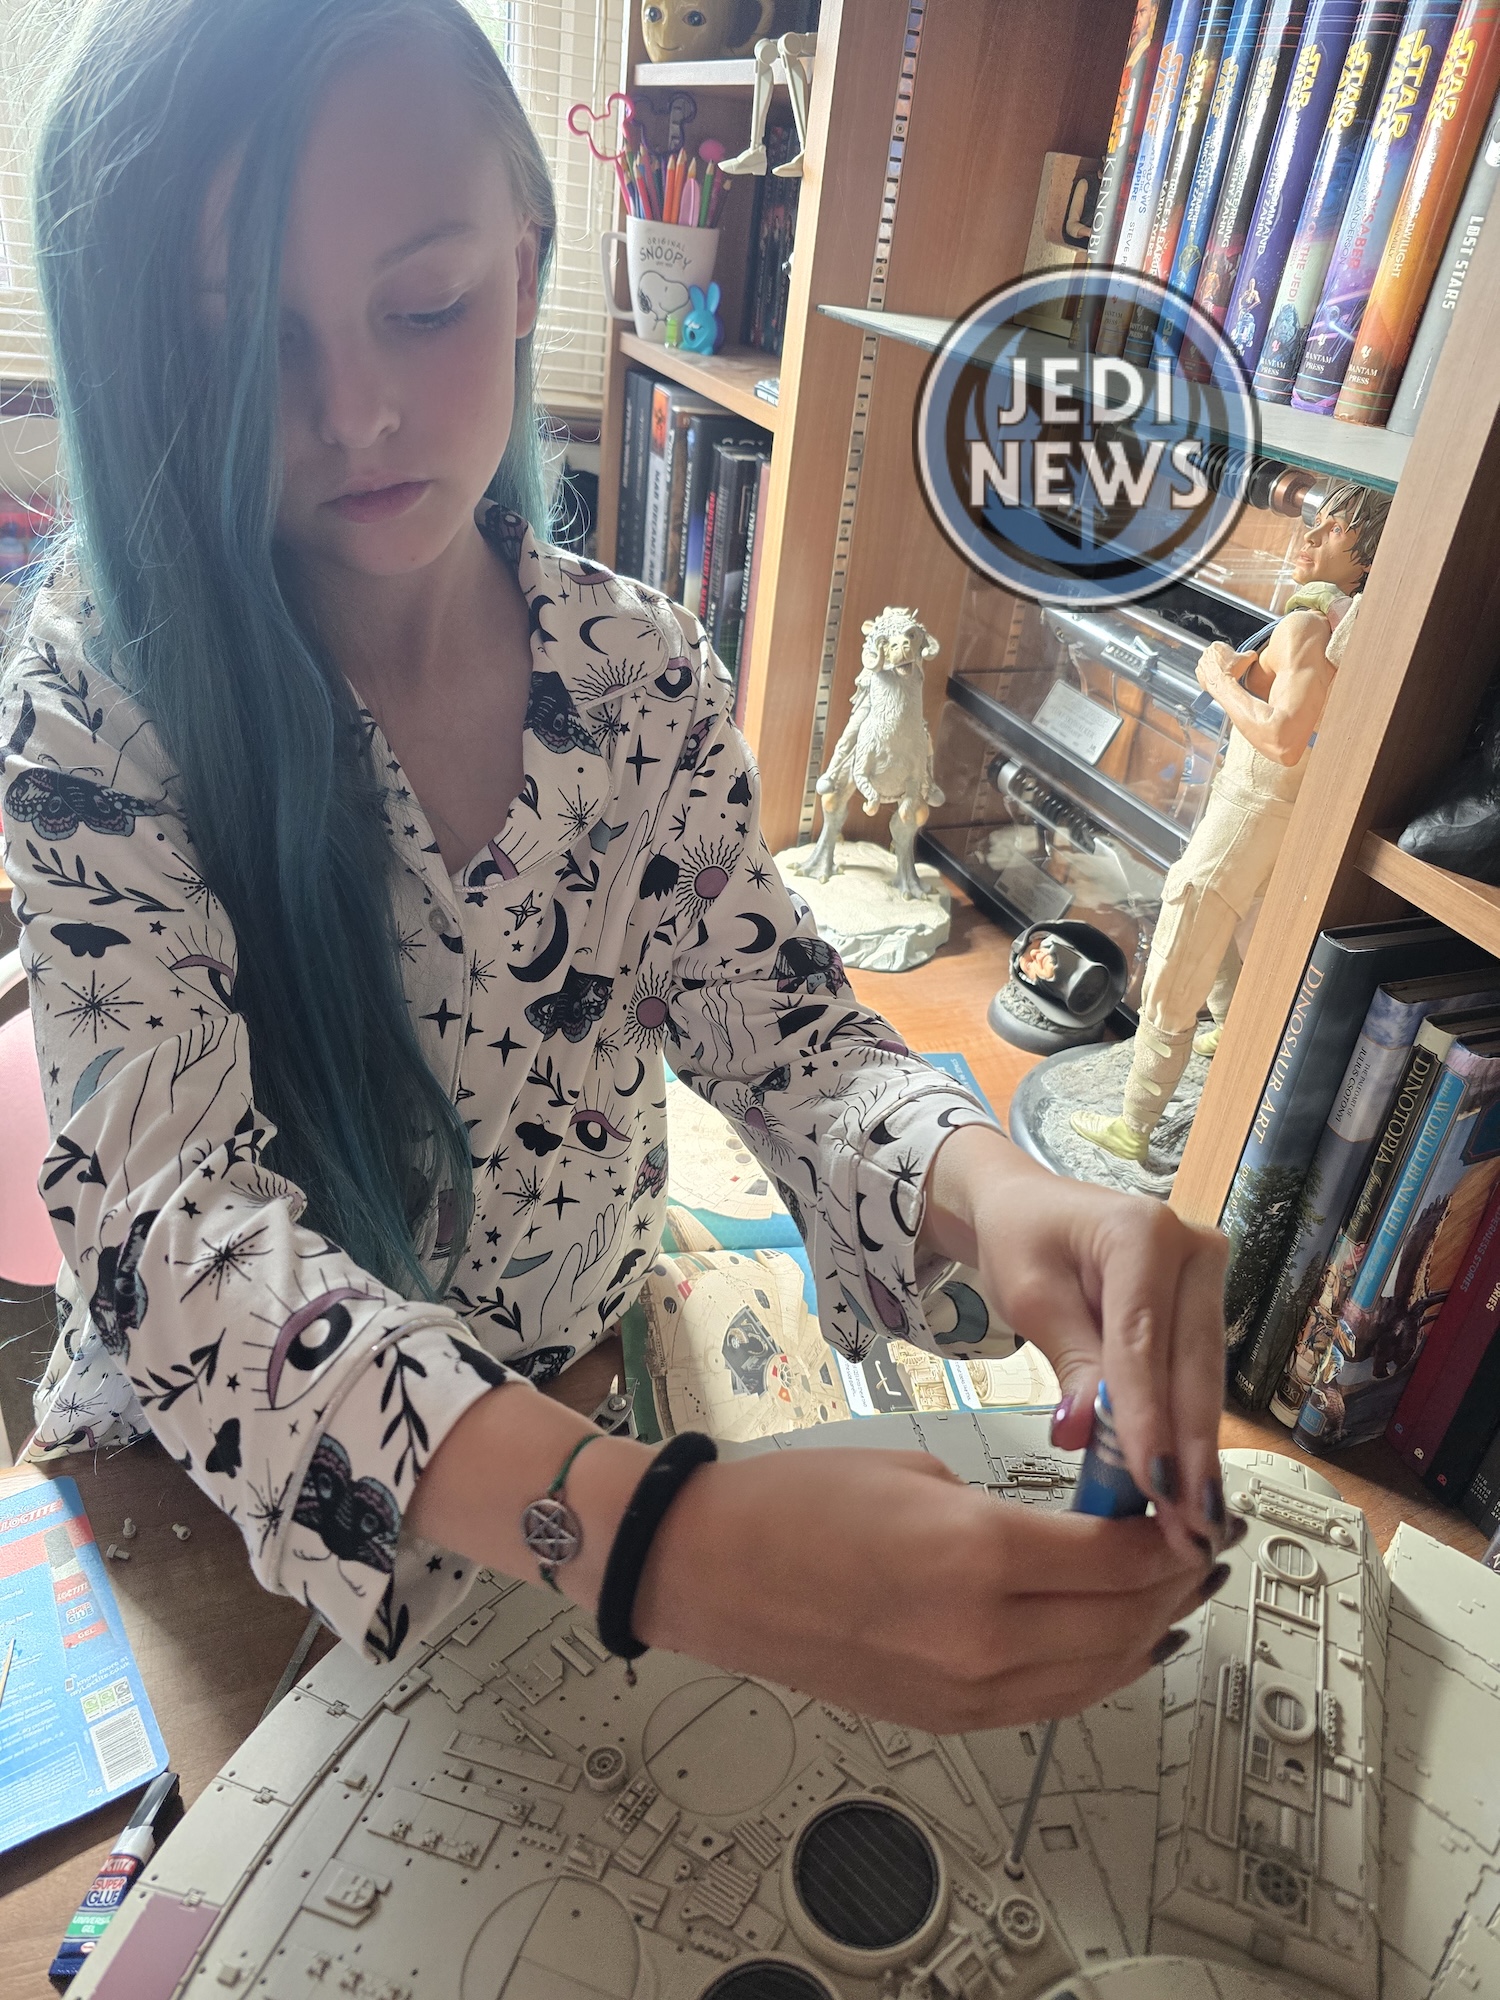
With the detailing done, it was time to use that Allen key and fit the cover. This required a bit of lining up and while some pressure is needed to start the screws, they won’t fully tighten, so be careful not to over screw these and mess up the thread. Thankfully, the magazine does come with two spare, which I do think is a good safety precaution. After this was on, it was three more details and the installment was complete.
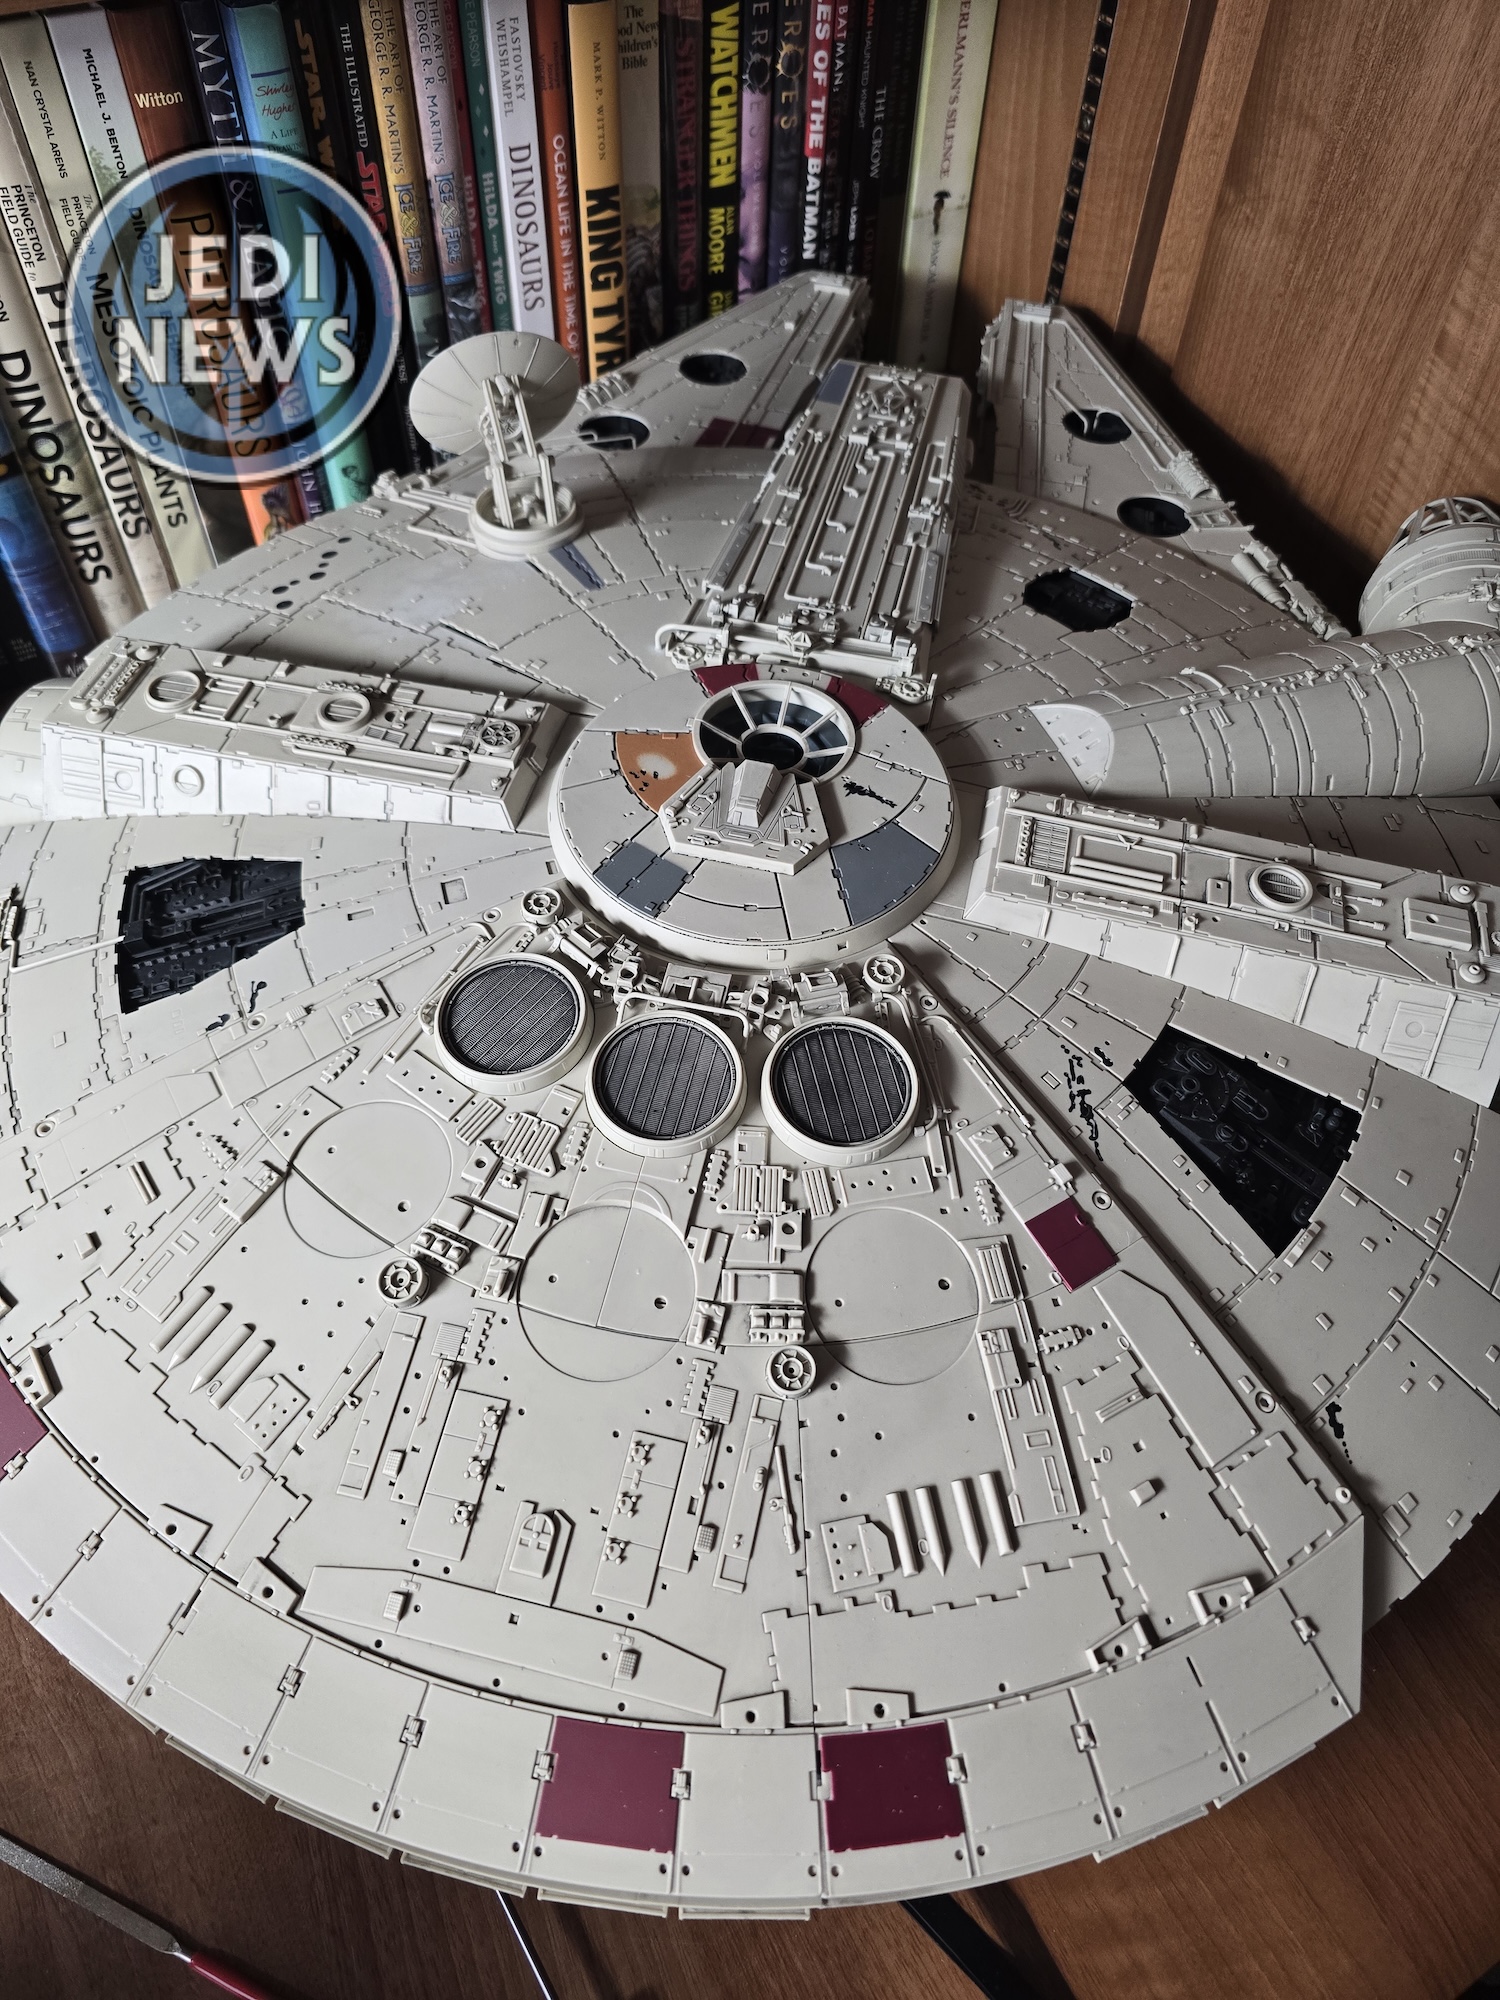
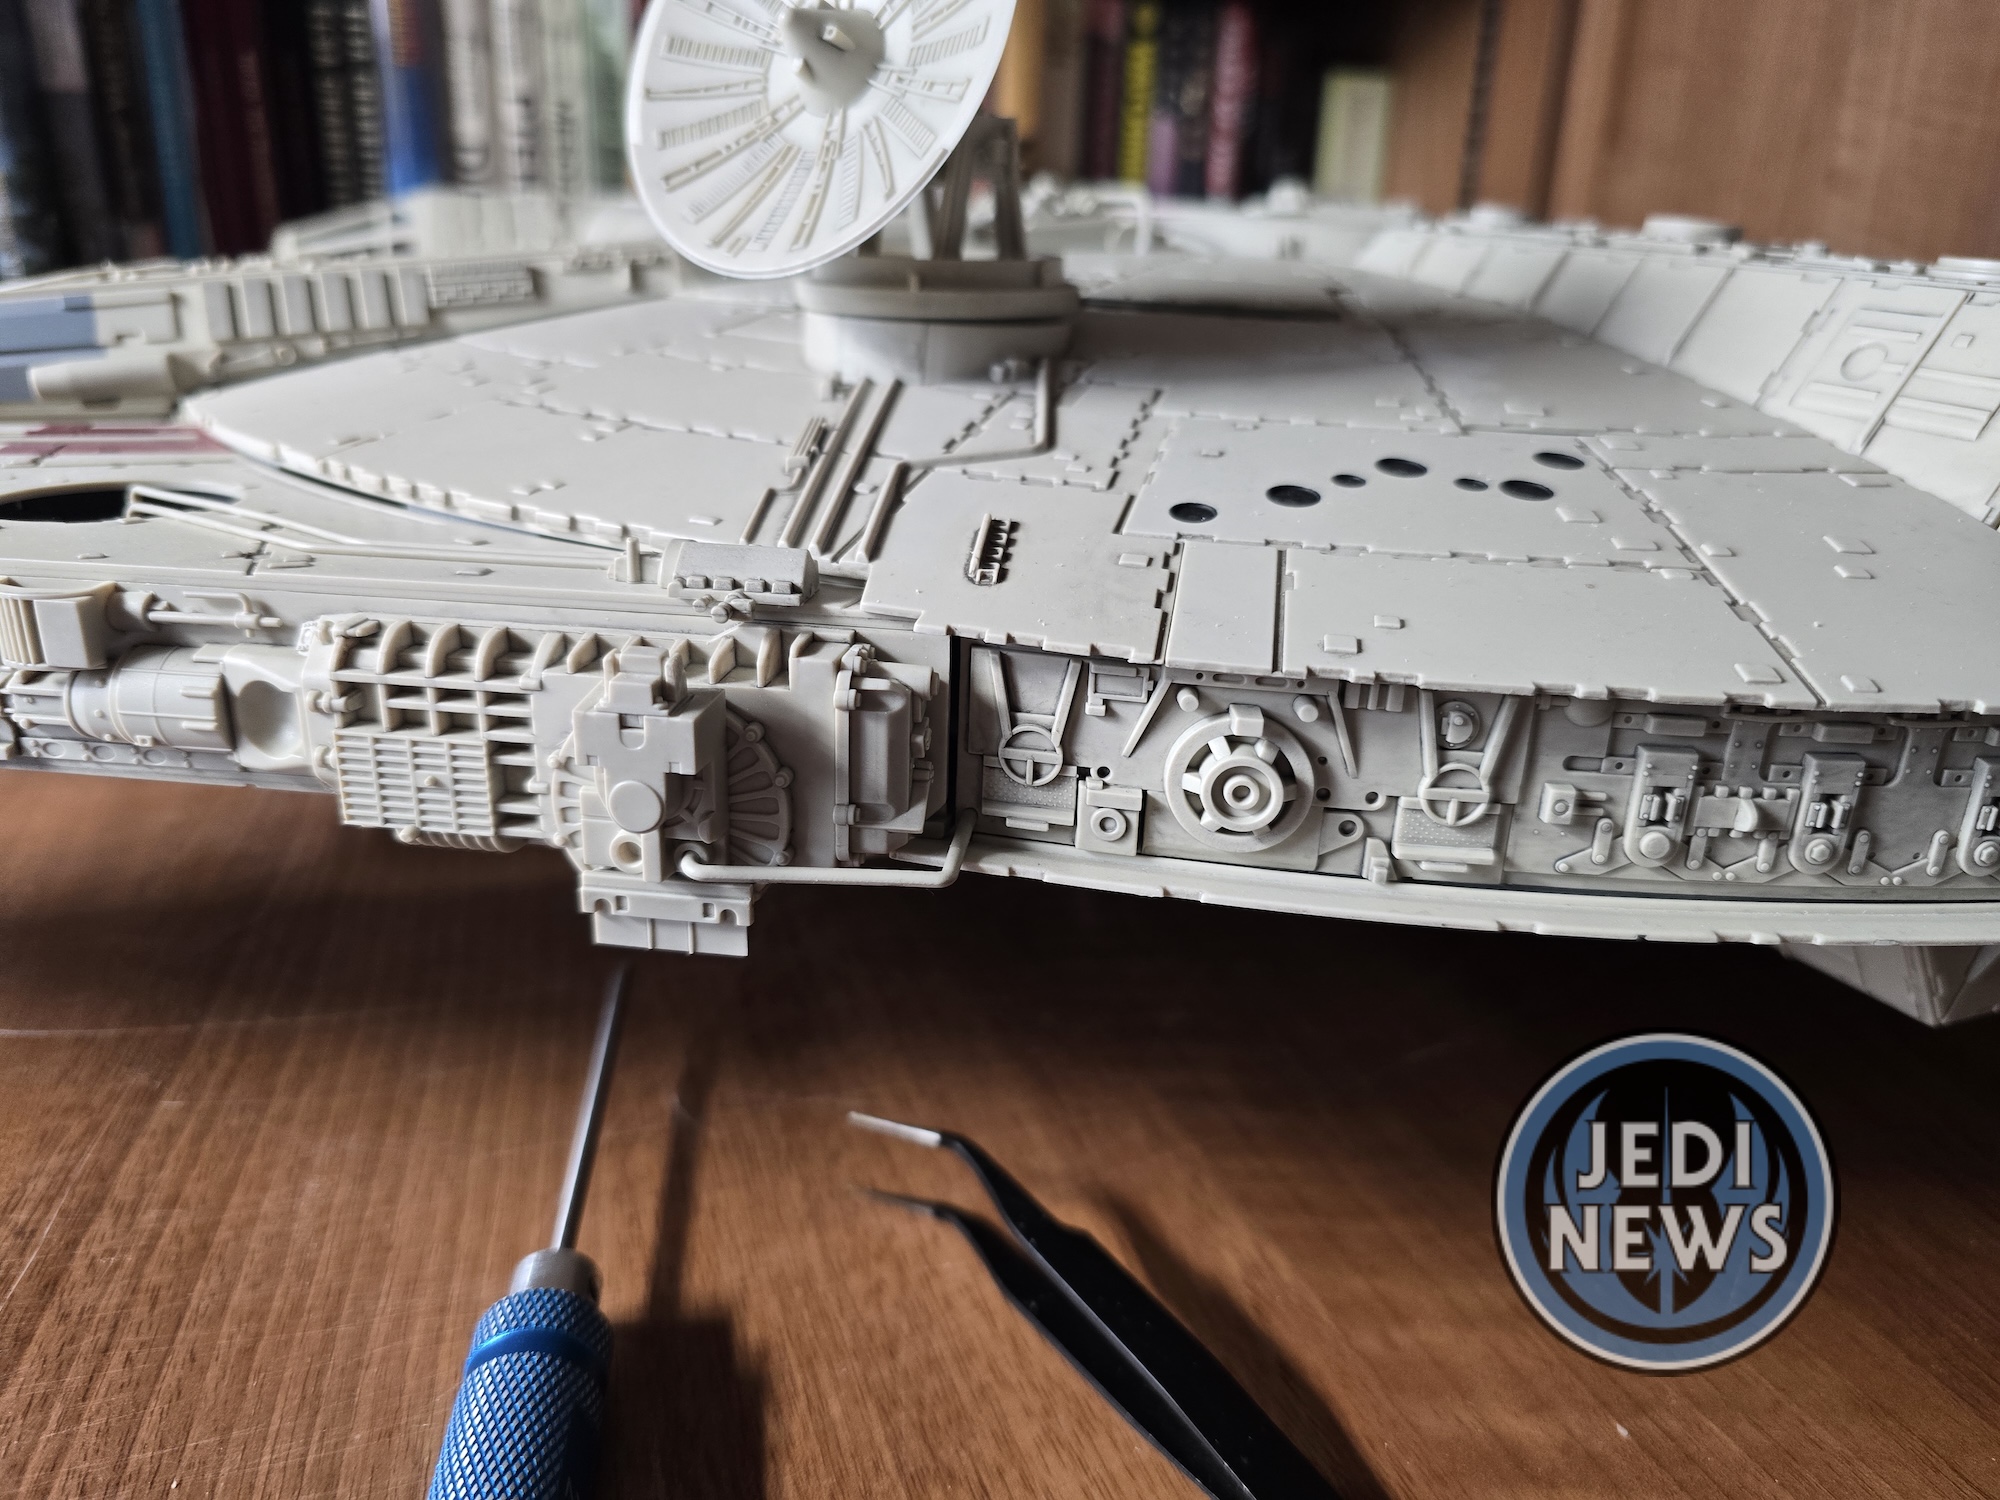
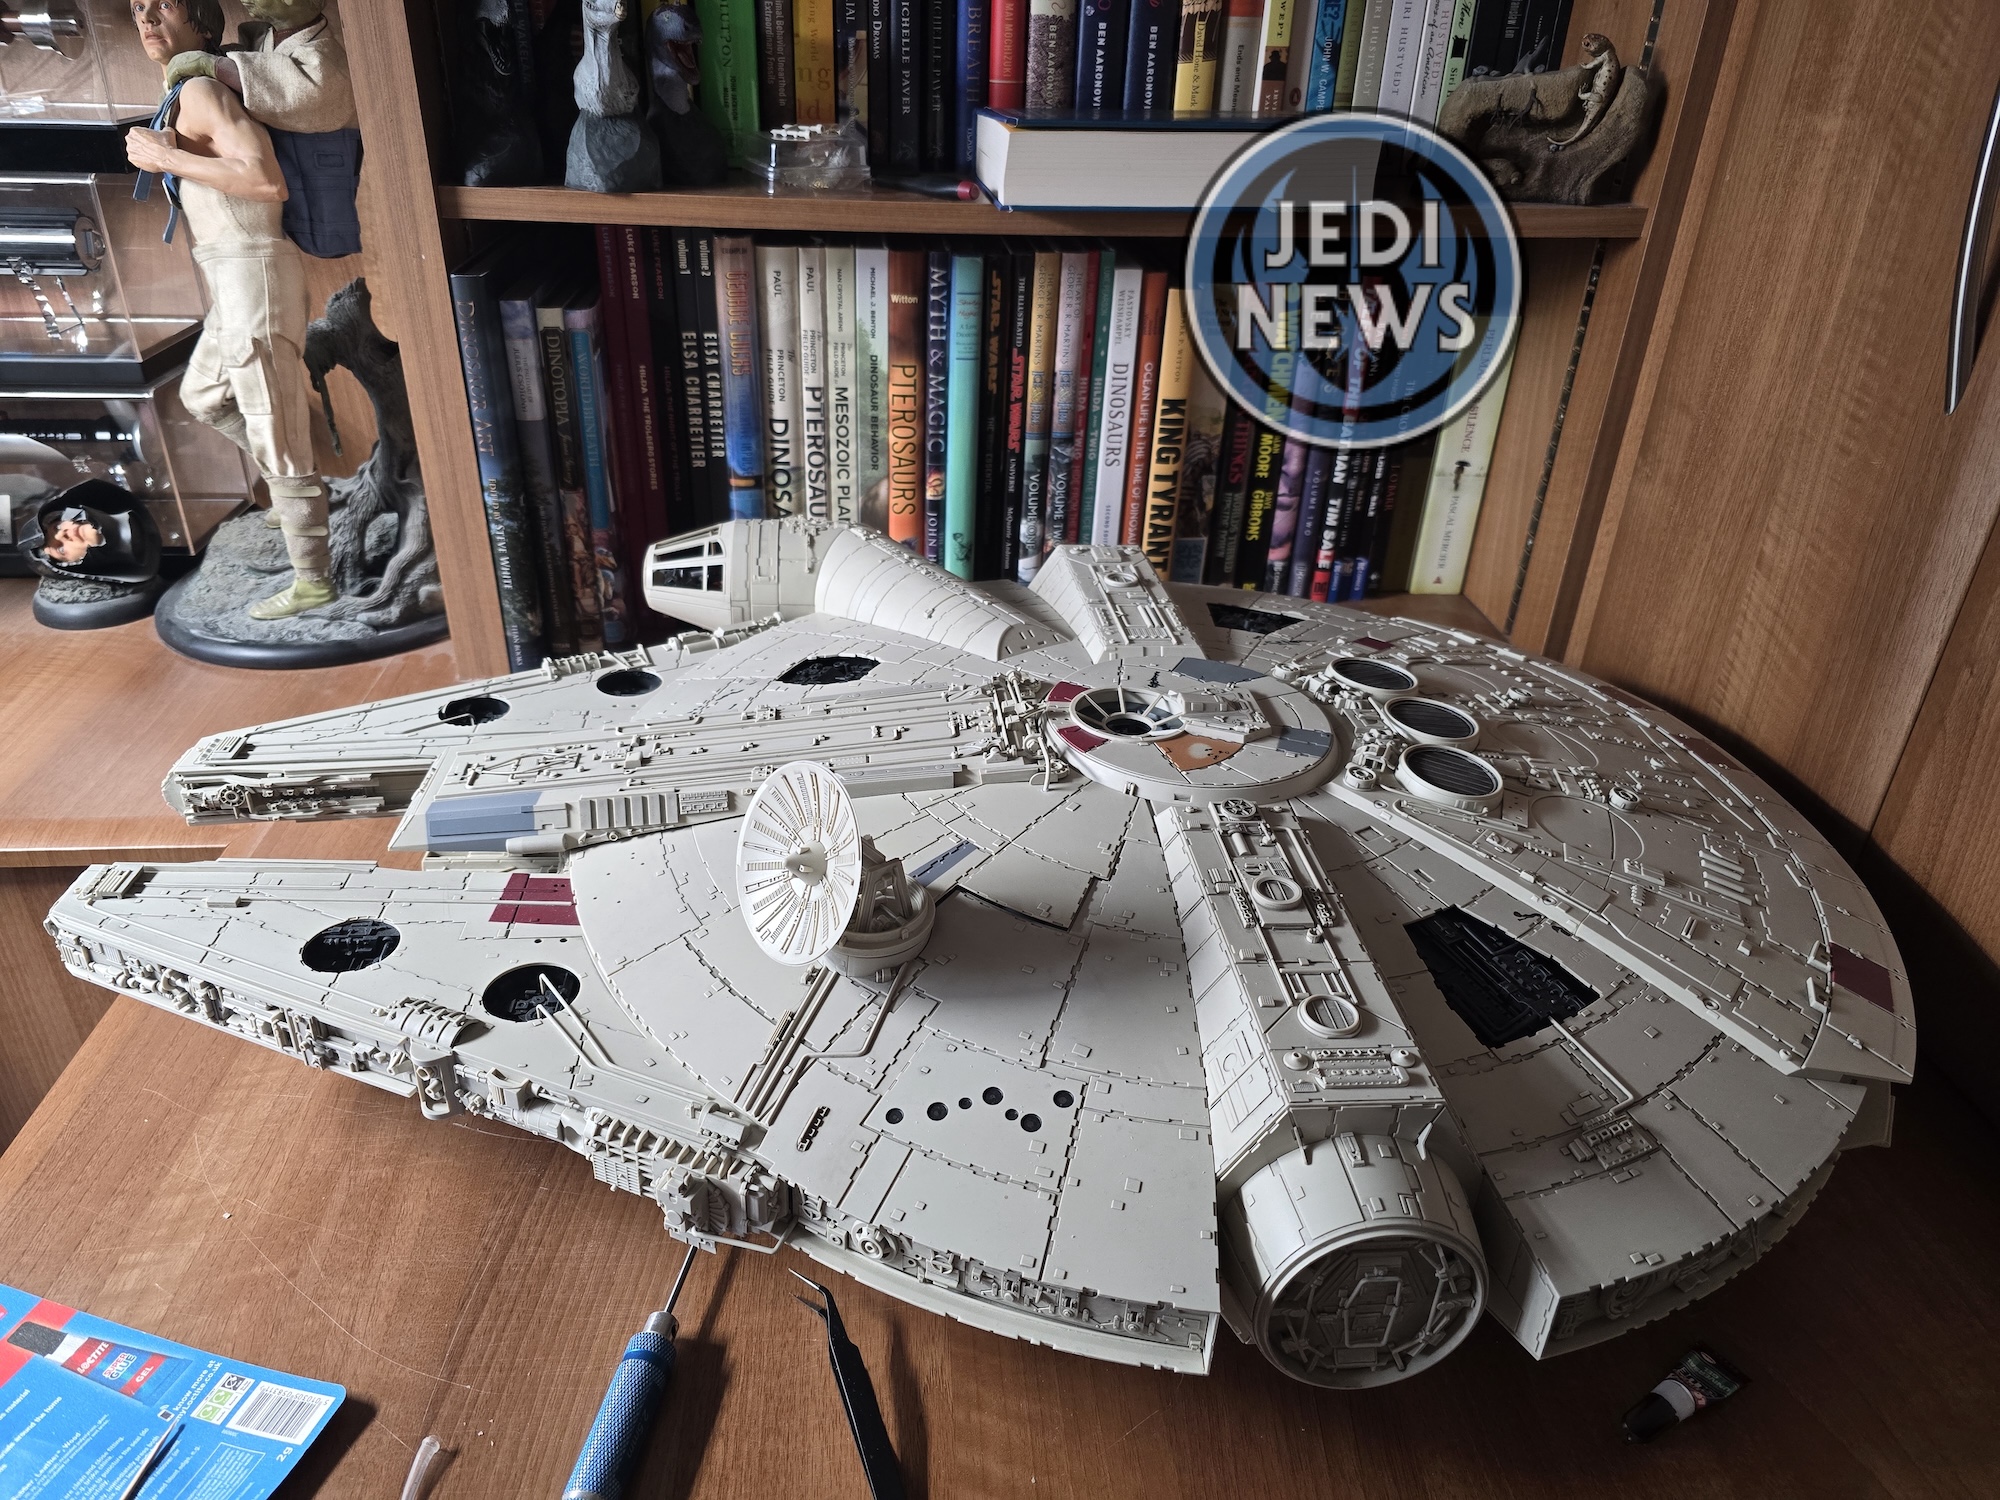
This completed not only the magazine but this current delivery. This installment saw the last big piece to be attached, although the three missing vents are very noticeable and I cannot wait to add them. The Falcon looks amazing. There have been a few people over to my house with it in this state and all I hear is amazement from them. This ship looks great and all the extra details just add to this beautiful model. With that, we await… the… last… delivery. I can’t quite believe I’m saying that. While there are a couple of noticeable bits – namely the other vents and the cannons – everything else looks as it should. I’m really looking forward to having the ship complete and on the other hand, I don’t know if I’m ready. One delivery – Four magazines – remaining!
