



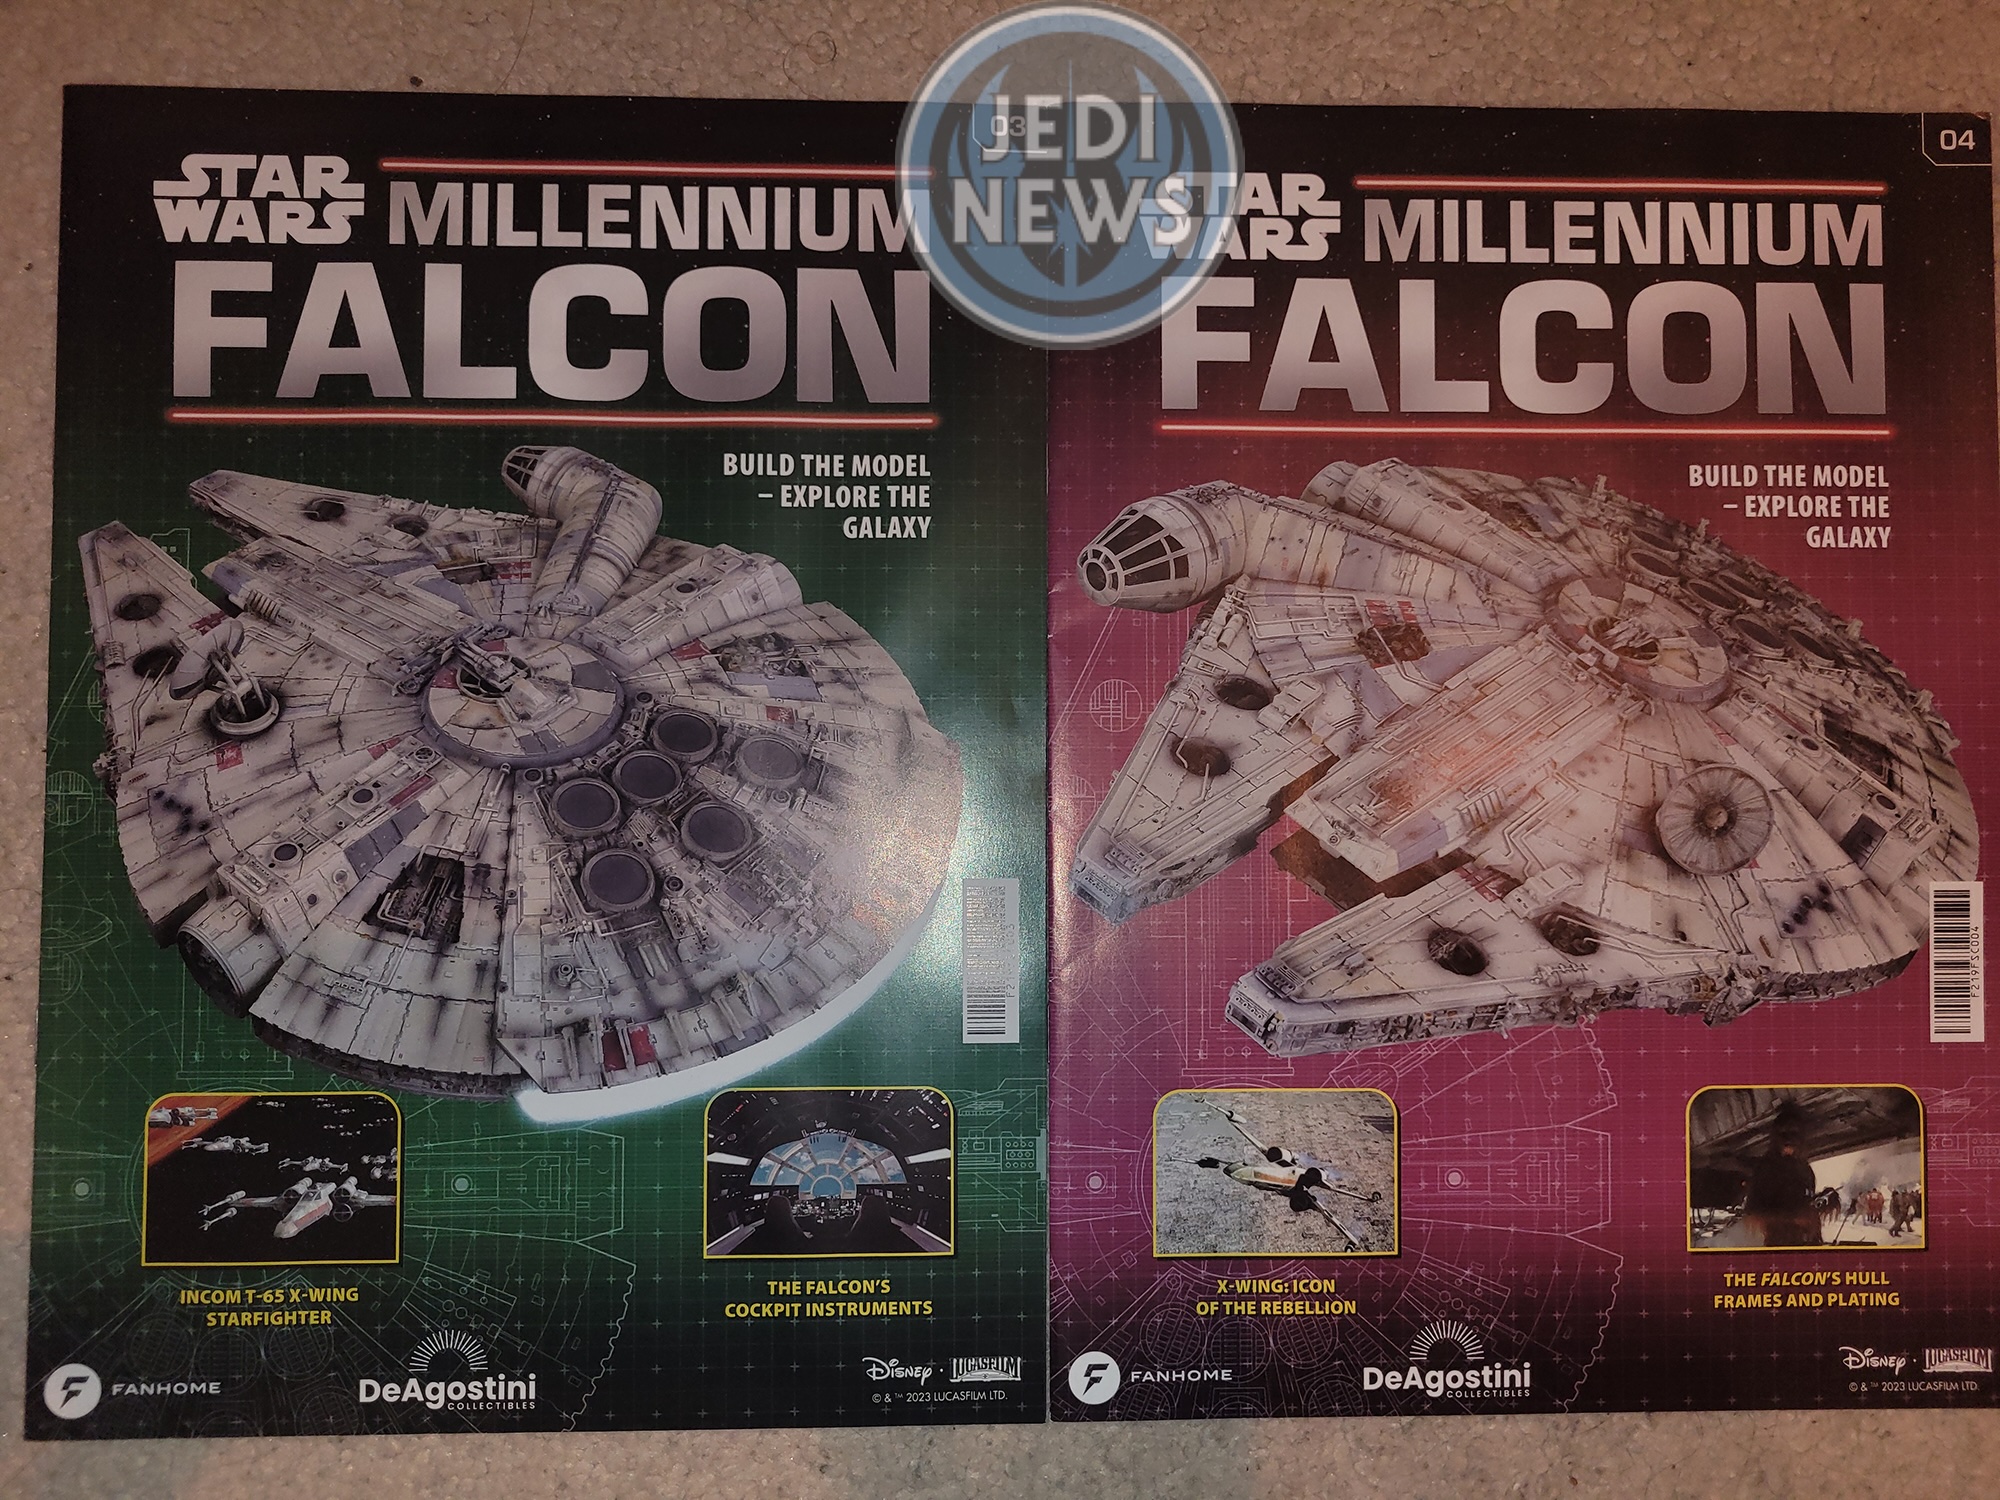
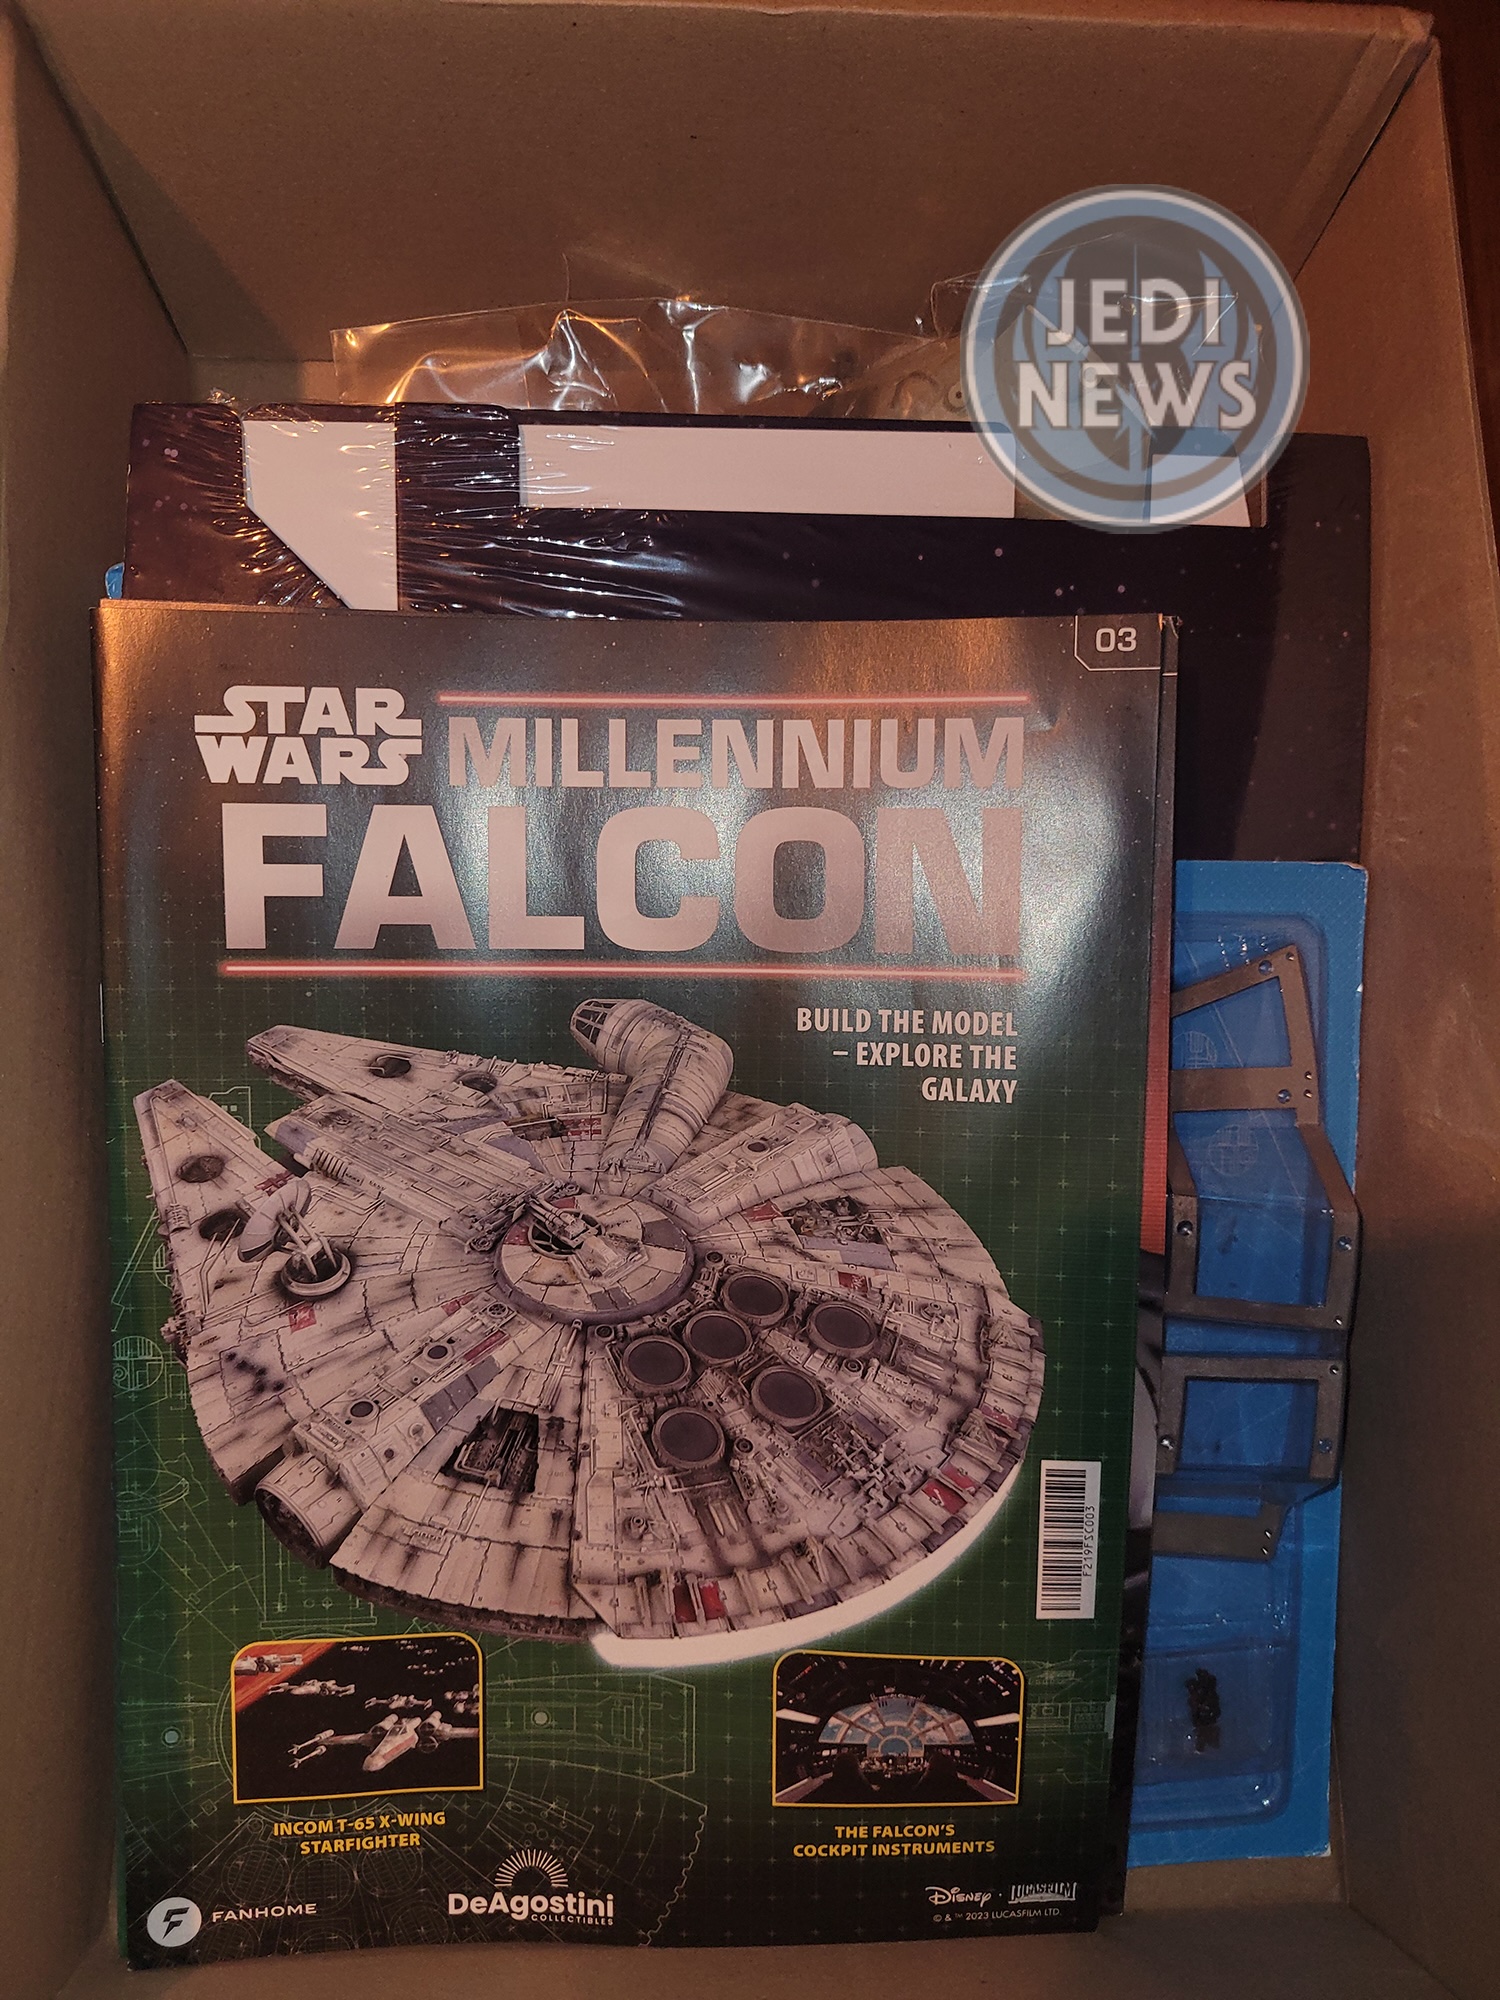
With the holidays come and gone, it seemed like a long time since my daughter, Ember, and I had last started on the monumental project of the studio scale Millennium Falcon from Fanbase. With the onset of the new year, a new box arrived, and I’d be lying if I didn’t say I was eager! Thankfully this box had not two issues (like our first box), but four issues and an organiser to hold all the issues in. As much as I was eager to get started, I was also very aware that I needed to pace myself! I could see these four issues going very quickly!
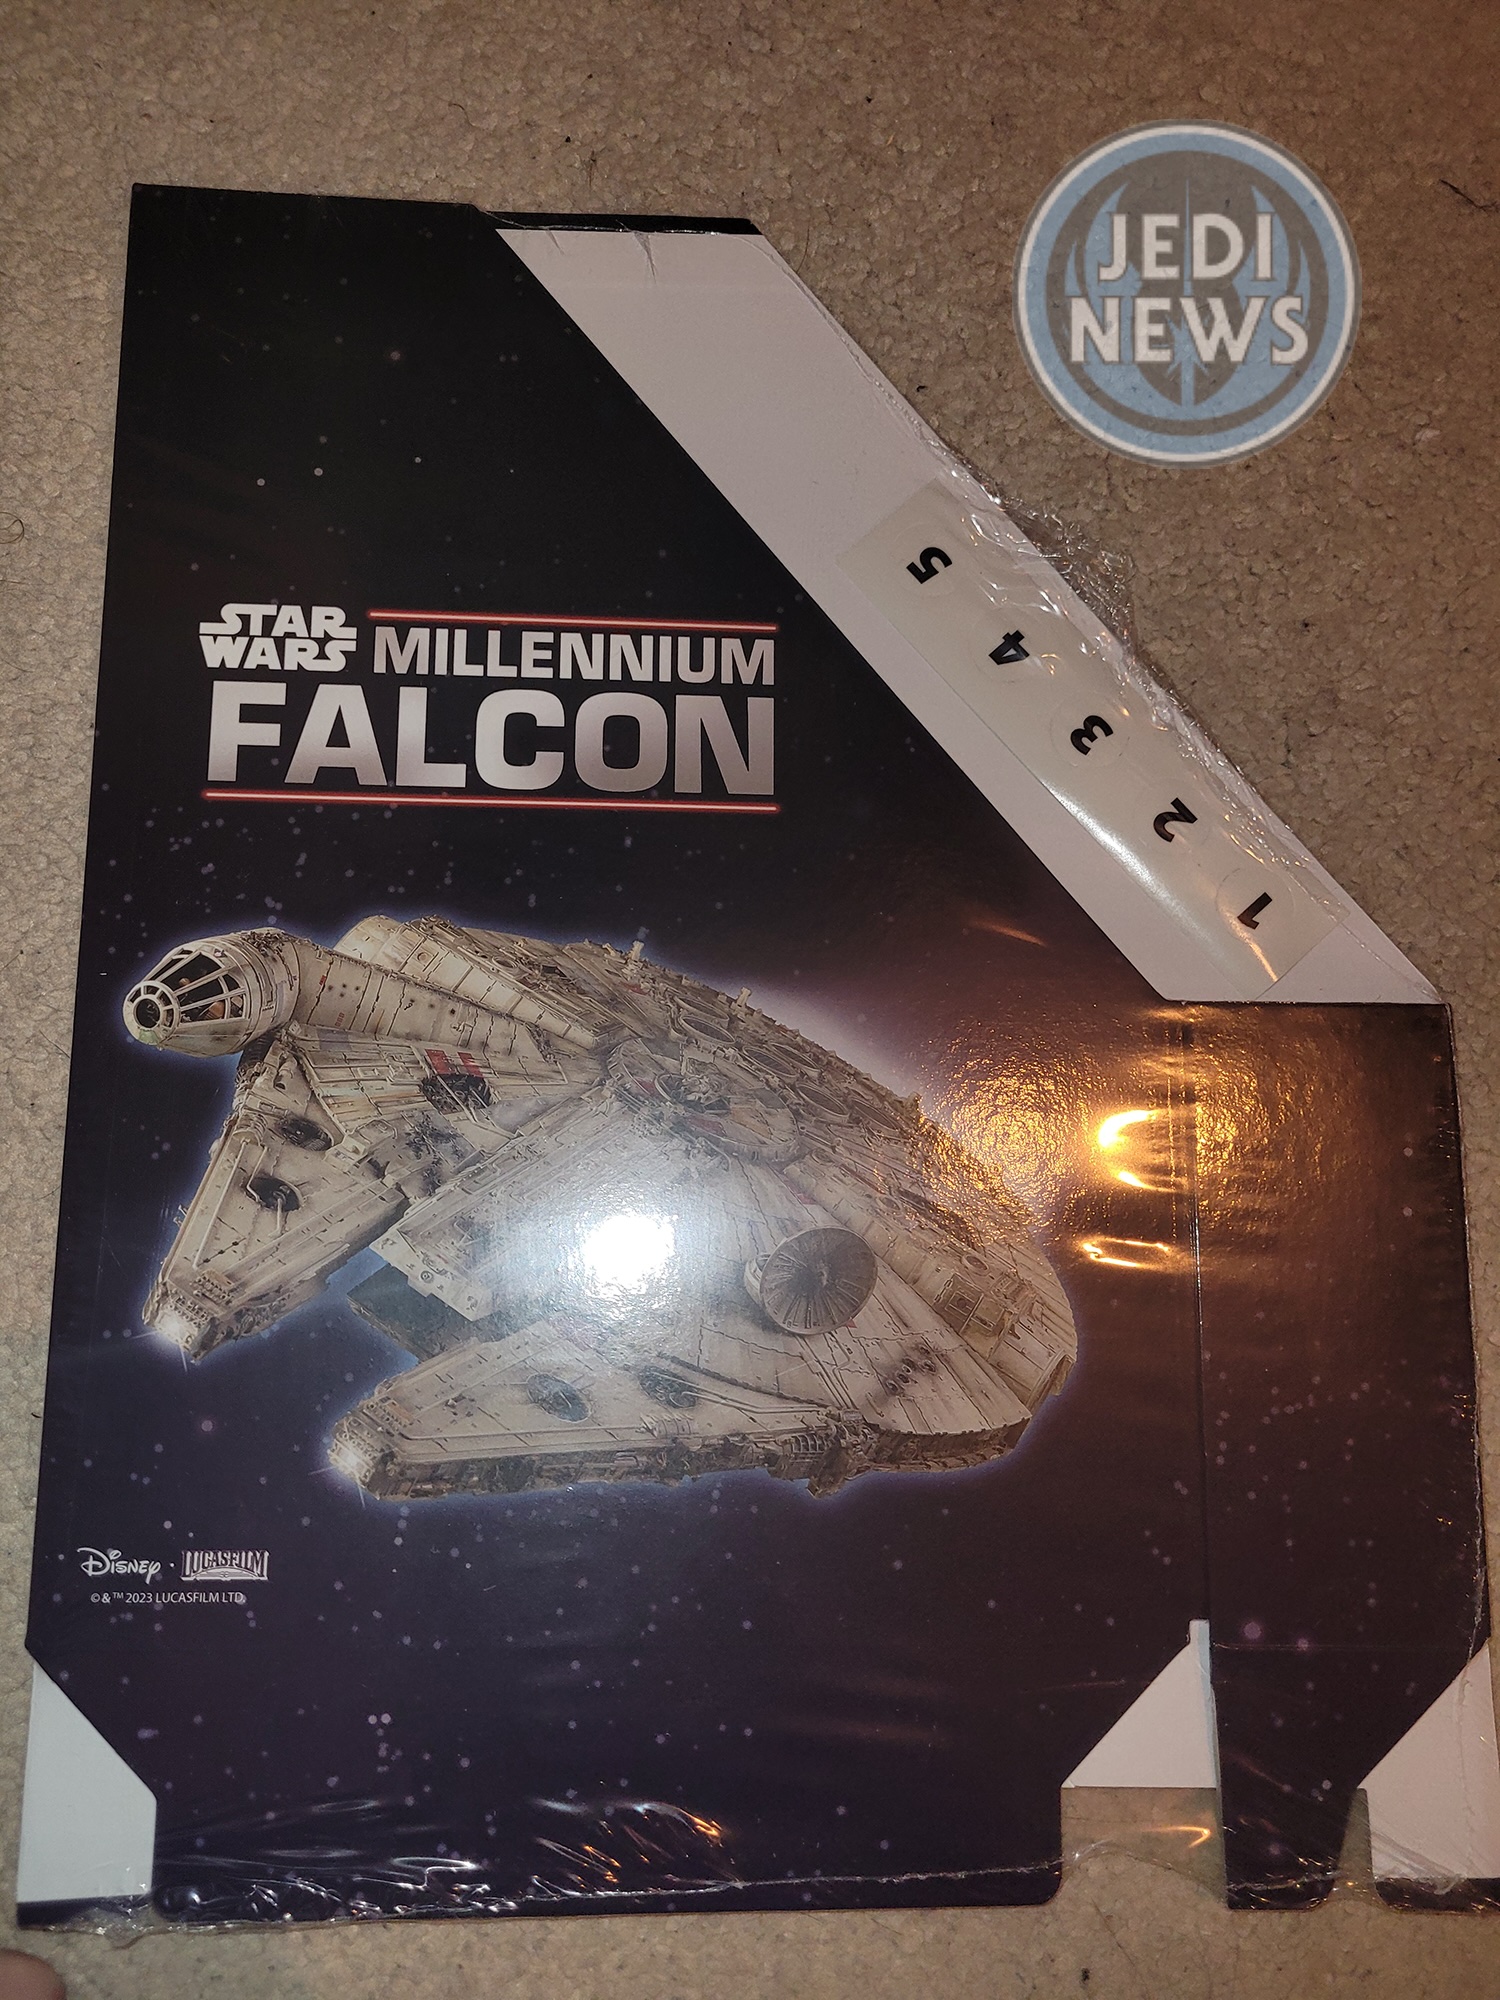
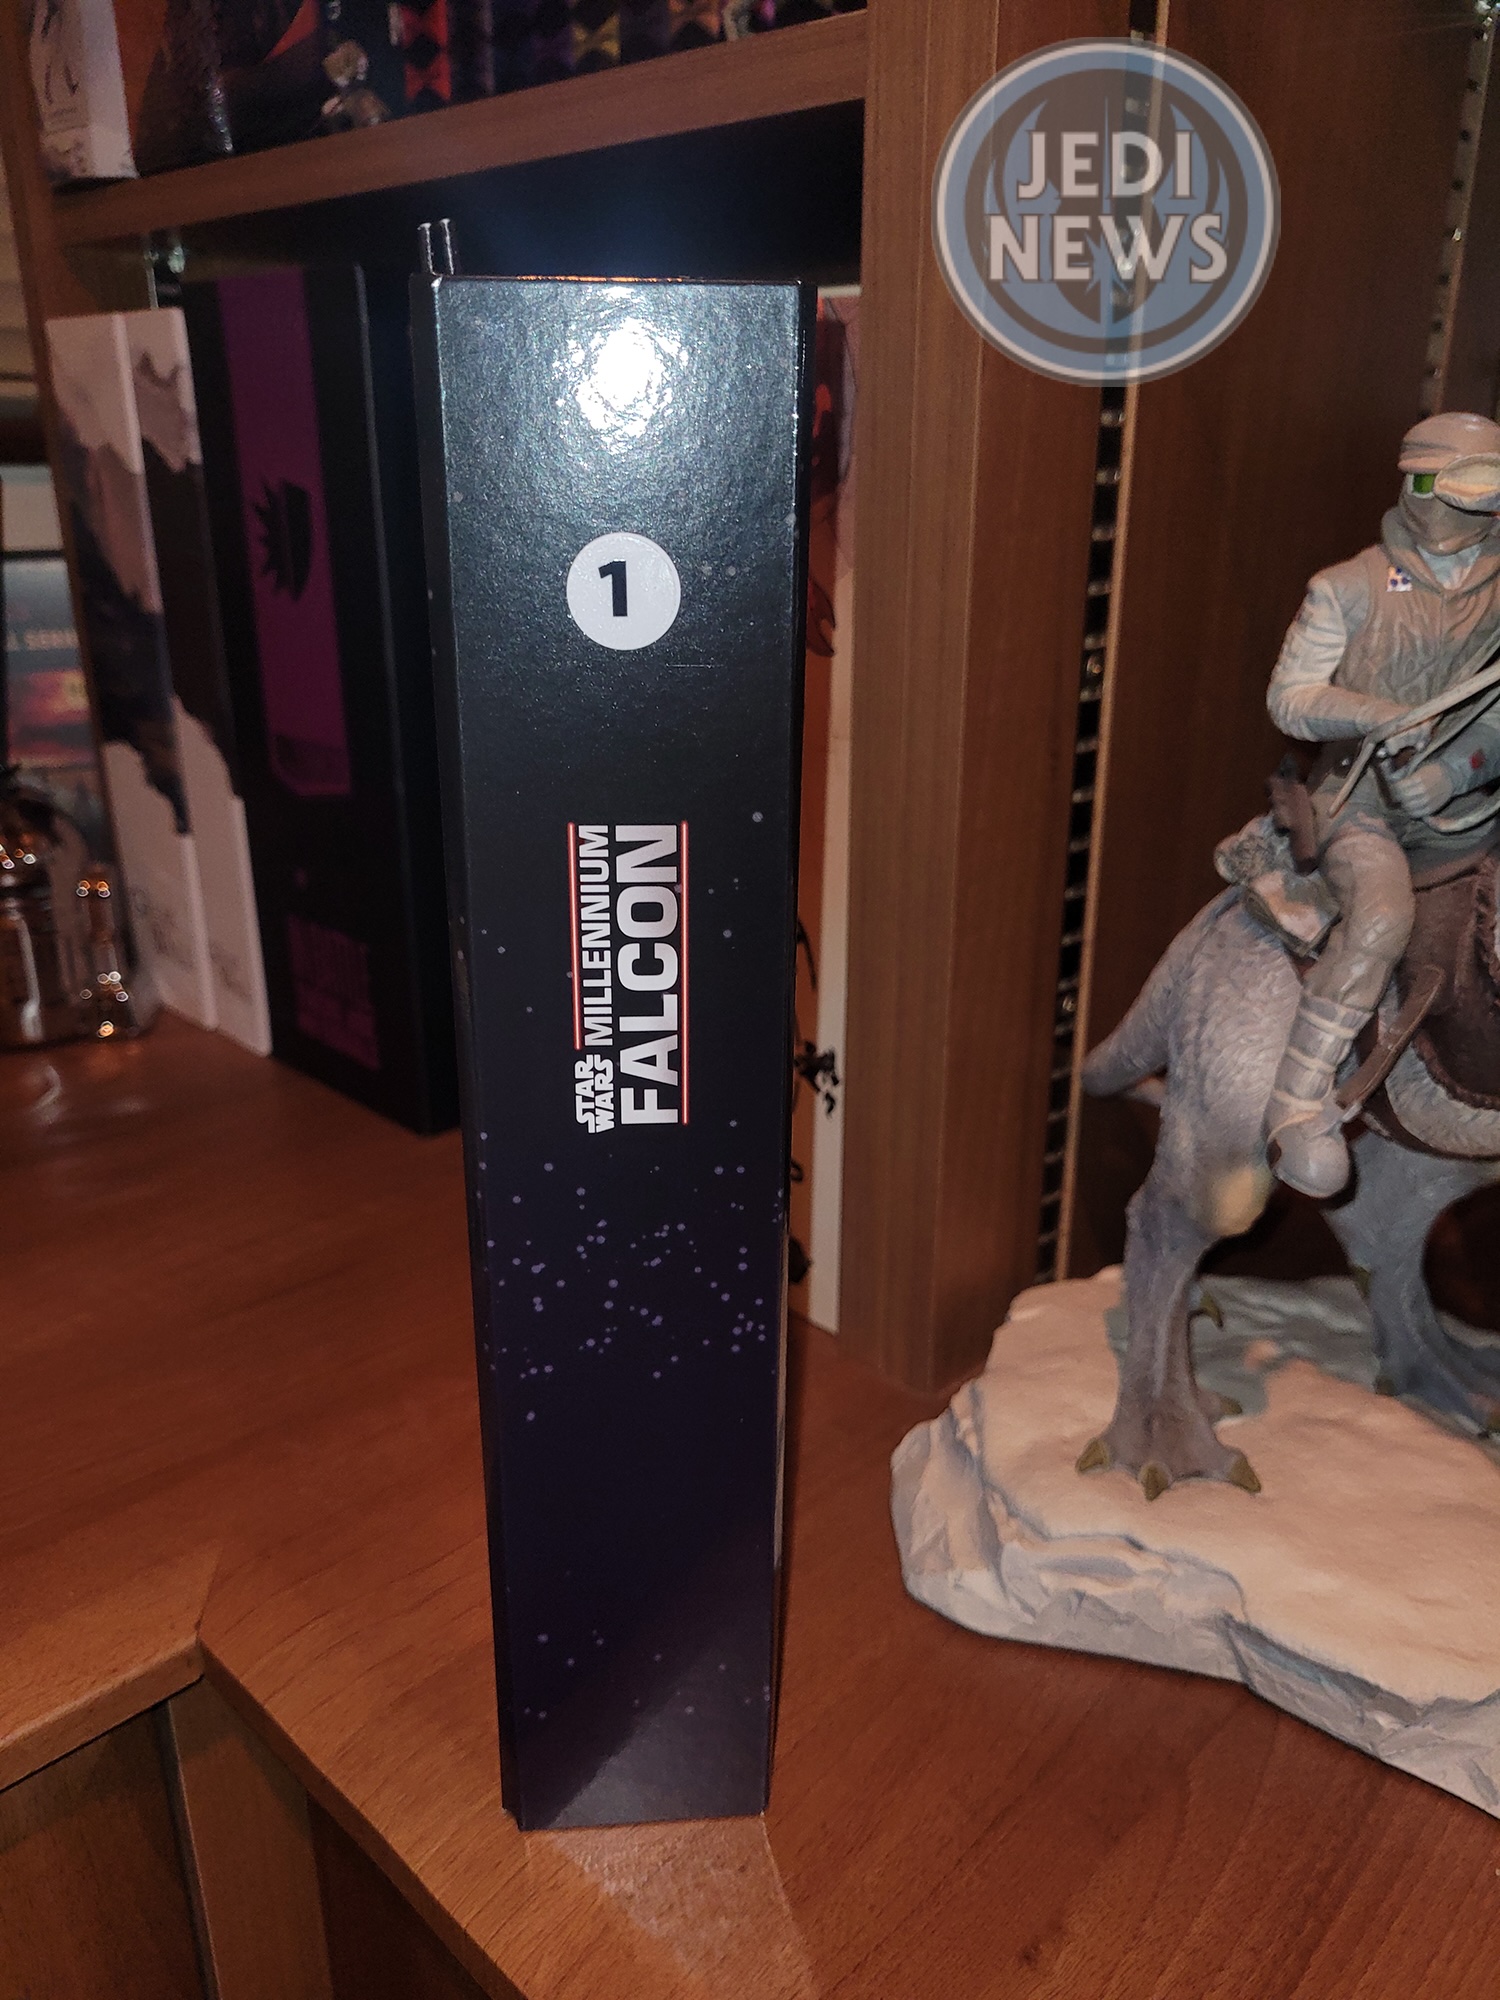
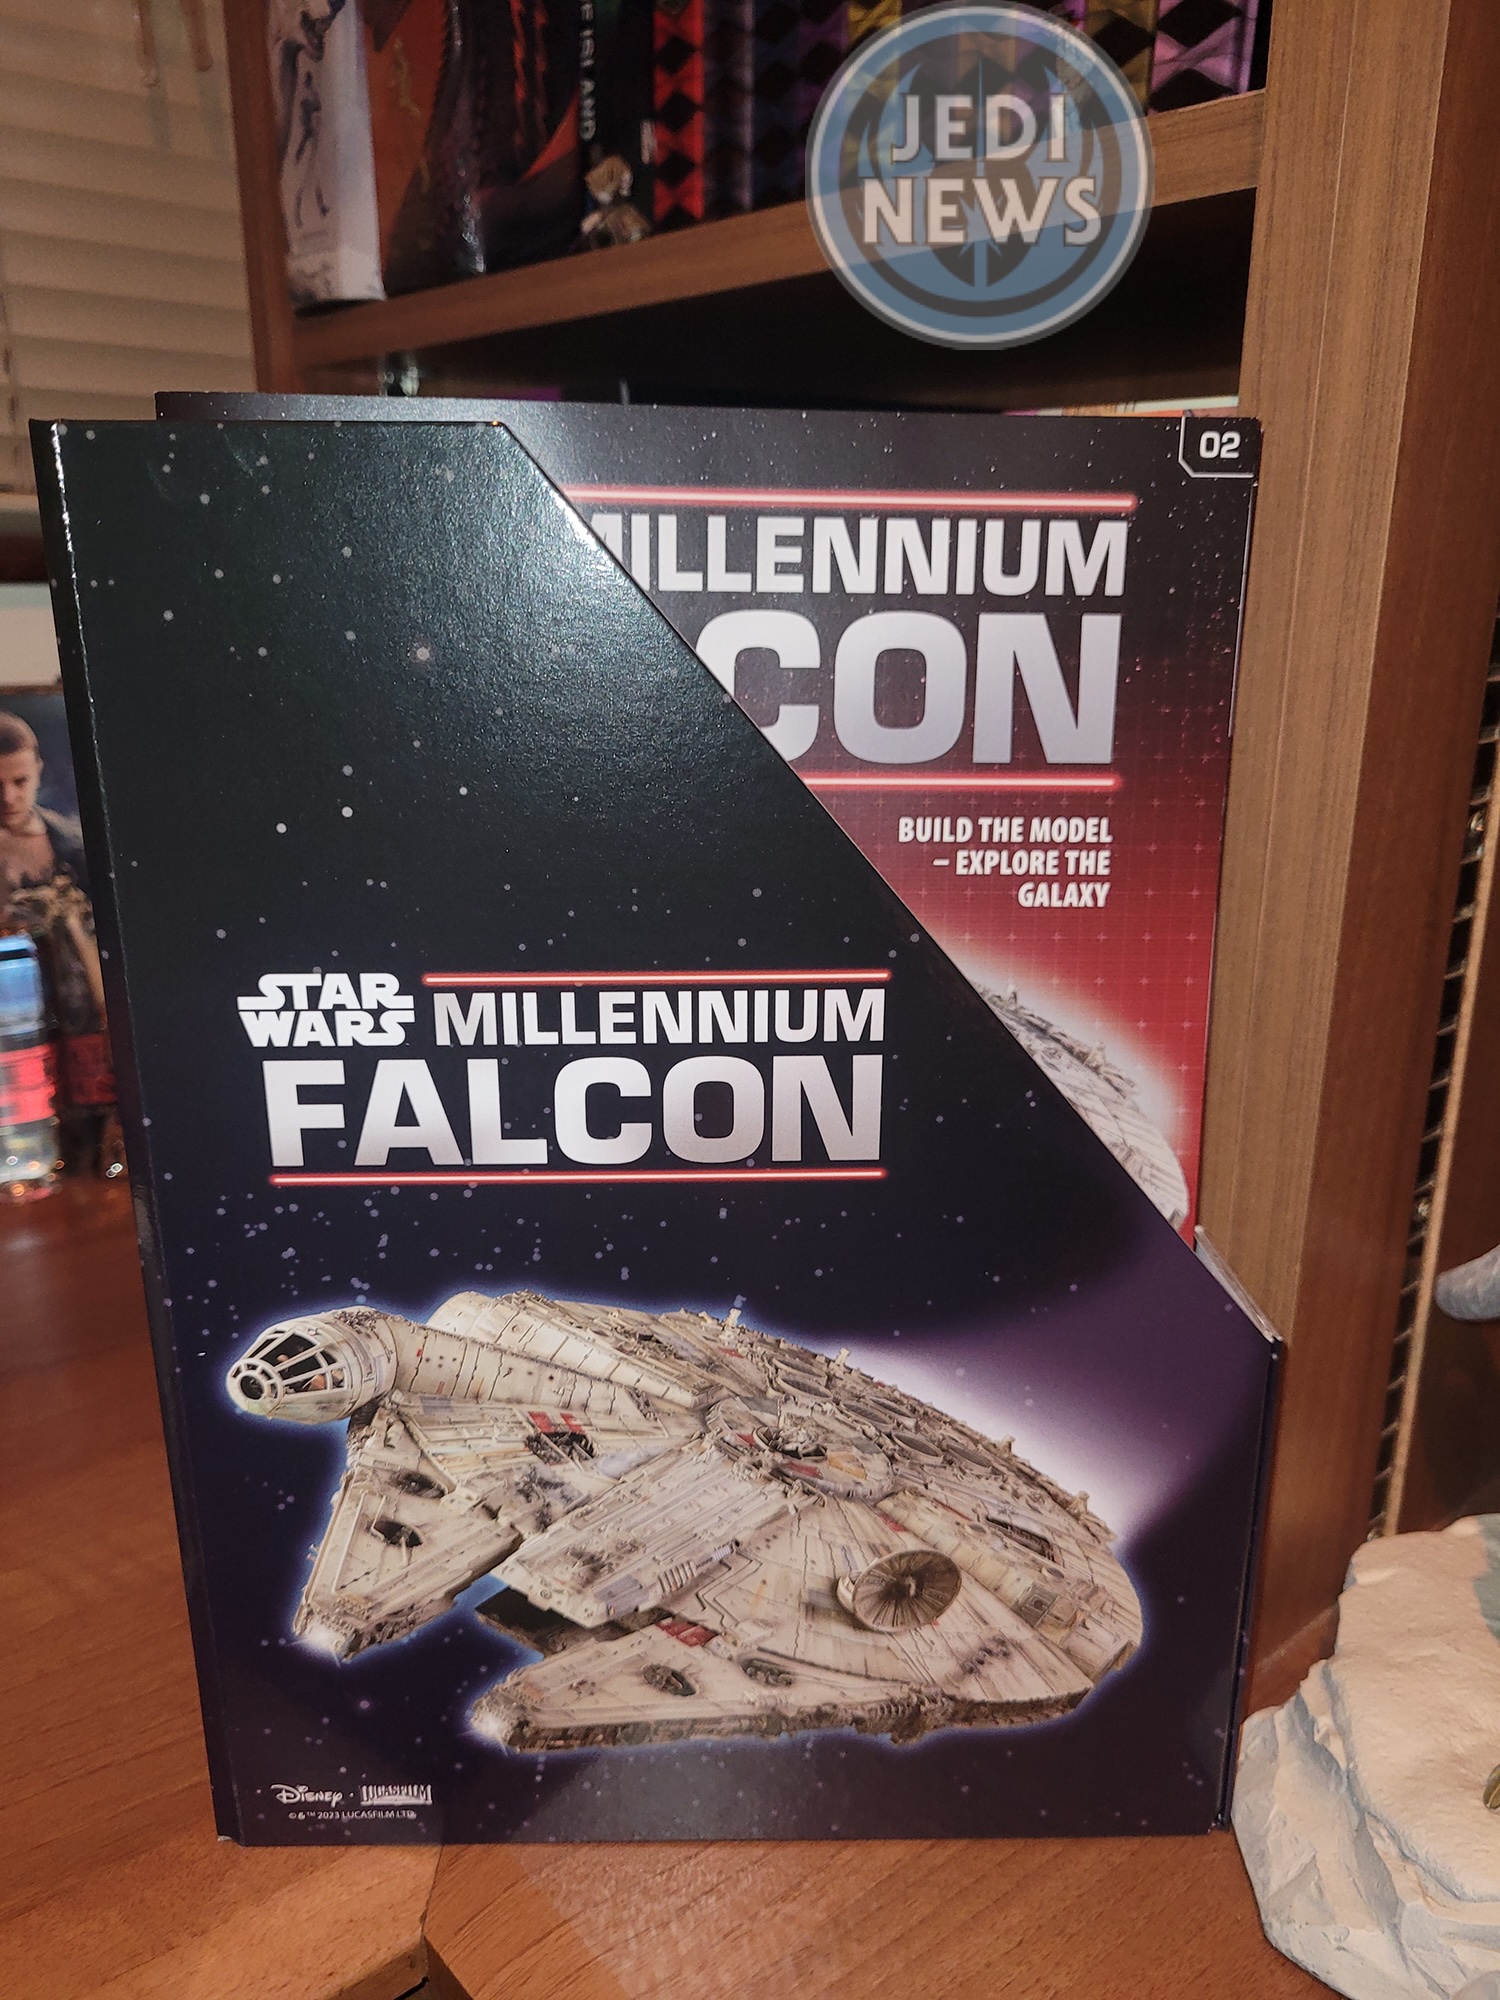
Let’s start with the organiser. I was very pleased to see one of these so quickly with the subscription. The build itself already takes up a fair bit of space as you’re assembling it and I have been a bit worried as to what to do with the actual magazines that come with each issue. Initially seeing the organiser, I was a bit worried it would just be made from thin card, oh how wrong I was. This is thick card that has a beautiful gloss finish on it, providing strength to the oragniser, which as I’ll be using it a fair bit every week or so, is perfect for its function. It also comes with five numbered stickers, presumably as we’ll end up with five of these organisers to store all the reading material in. In the past, I have collected ongoing magazines that are stored in binders. While this looks great to begin with, as you collect binders, they don’t fit brilliantly onto a shelf, skewing the rest of the shelf a little as they are not perpendicular to the bookcase. I’m rather happy that Fanbase decided to go with an organiser rather than the binder solution. My only complaint I have is that the magazines are every slightly bigger than the organiser in terms of height, I would have liked to have had them fully encapsulated to lend a bit more protection. But this is a very minor quibble of mine.
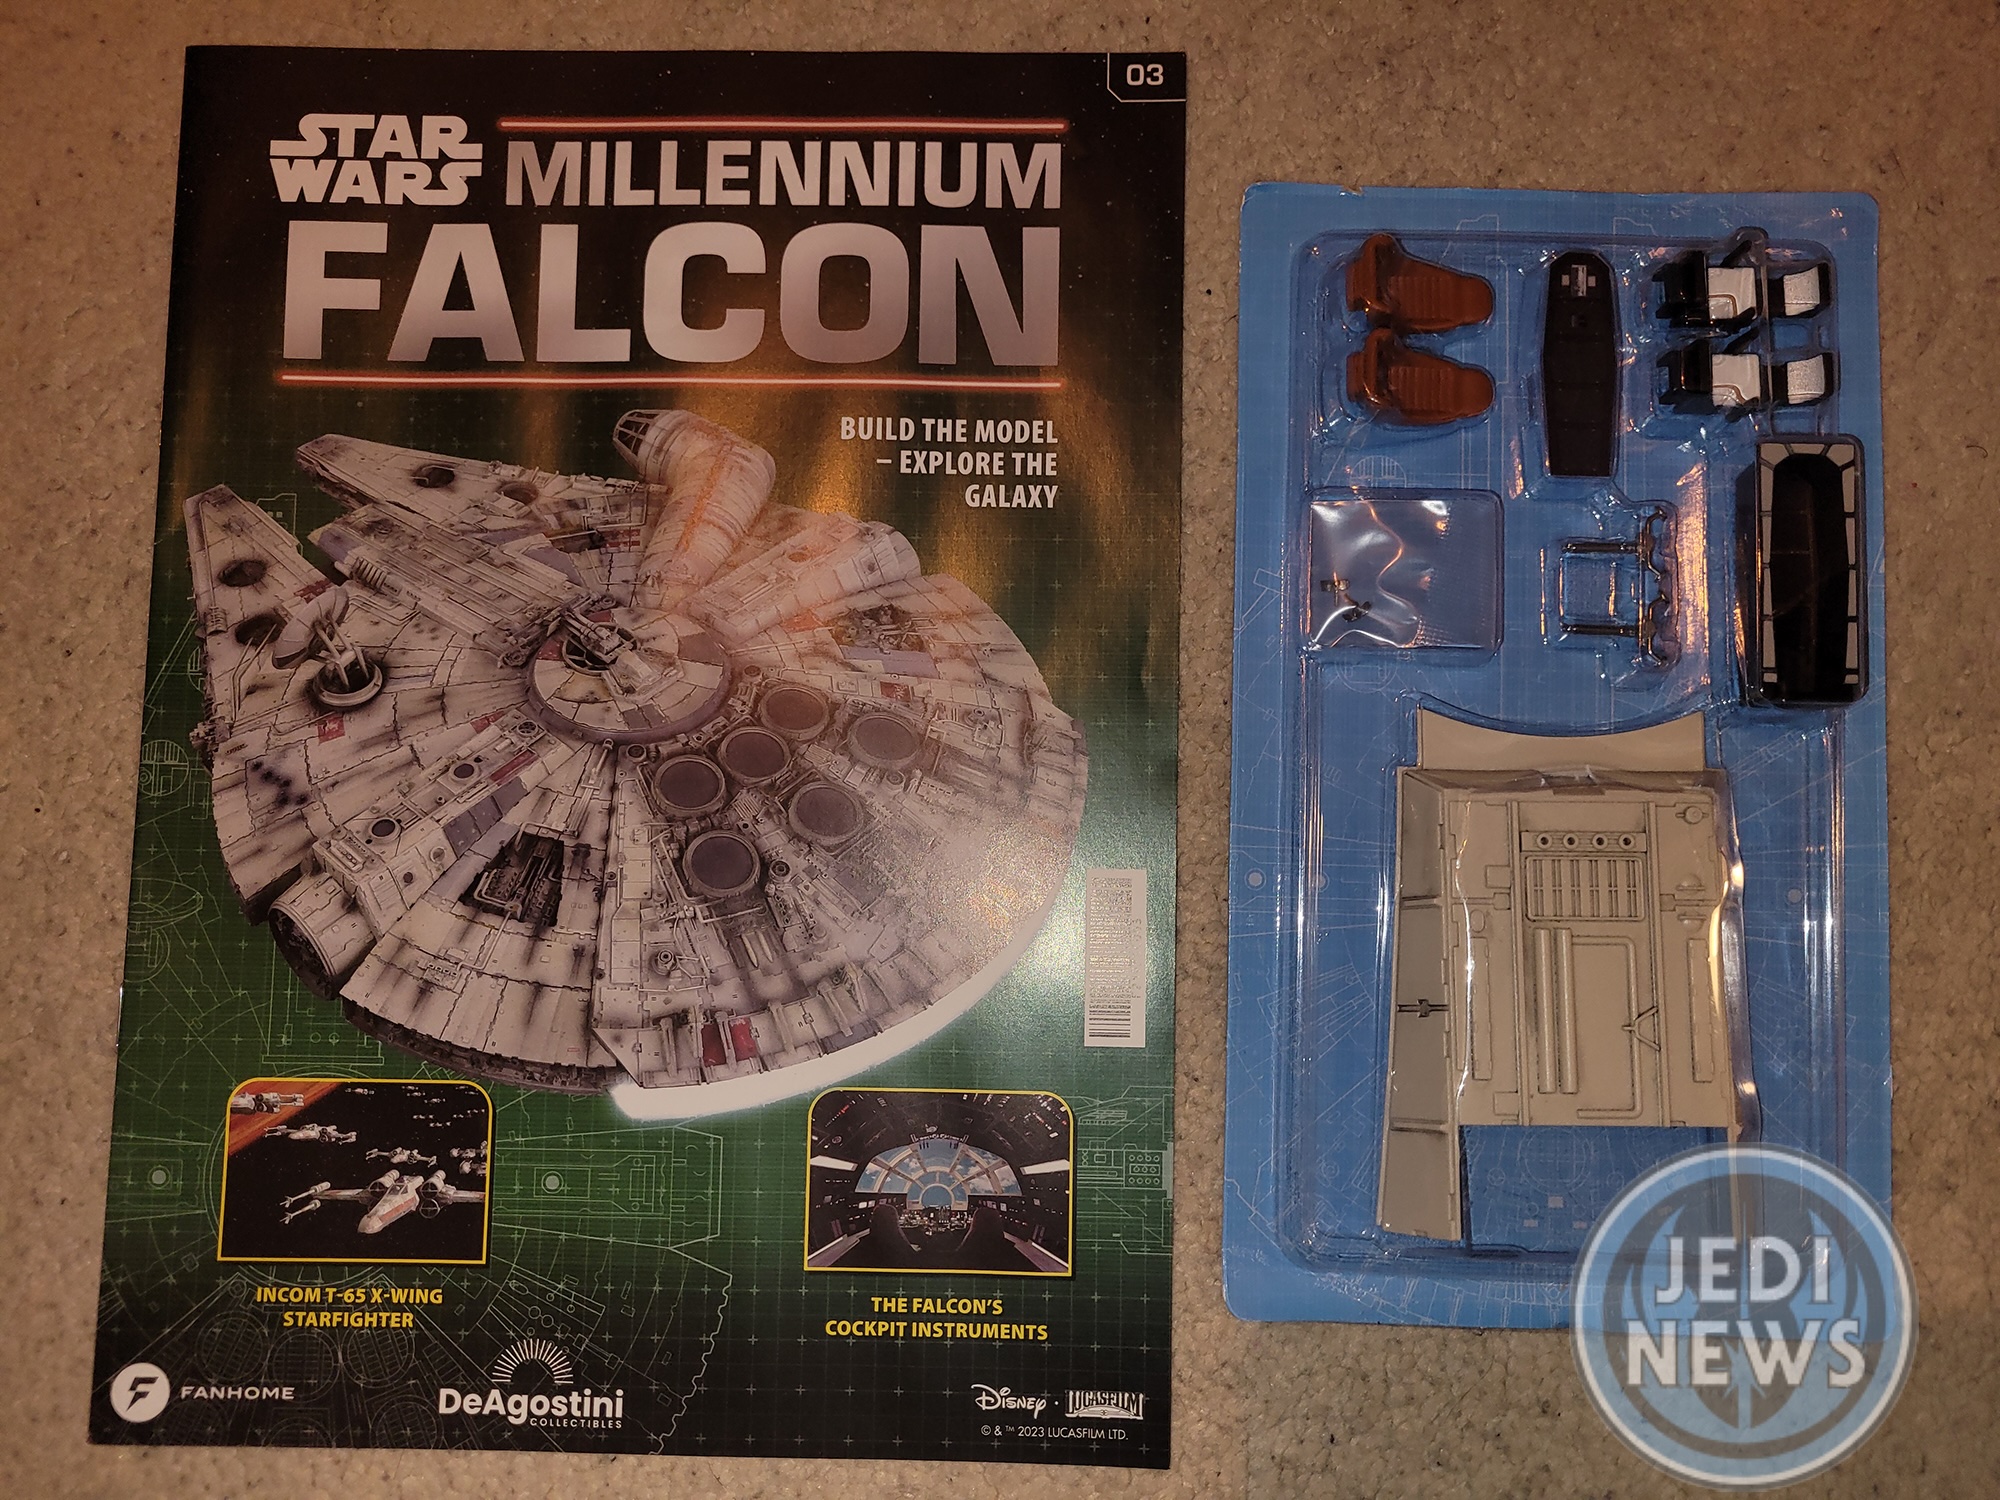
With the organiser assembled and issues straight away placed inside, it was to continue with the next part: issue three. Before I even thought about building the next part with my daughter, I had a quick flick through the assembly instructions to give me an idea of what I was letting myself in for: building the cockpit. The latter half of the build, which I’ll come to later, was something that looked absolutely perfect for Ember. The start, however, was certainly not for her and something I was dreading, stickers! I hate stickers at the best of times (I’m looking at you Lego). Trying to line them up just right, knowing if they are just slightly off that you’ll be looking at that mistake for a very long time, never happy with it. Obviously, I wasn’t let a six-year-old near such a thing nor watch her father sweat while trying to get it right.
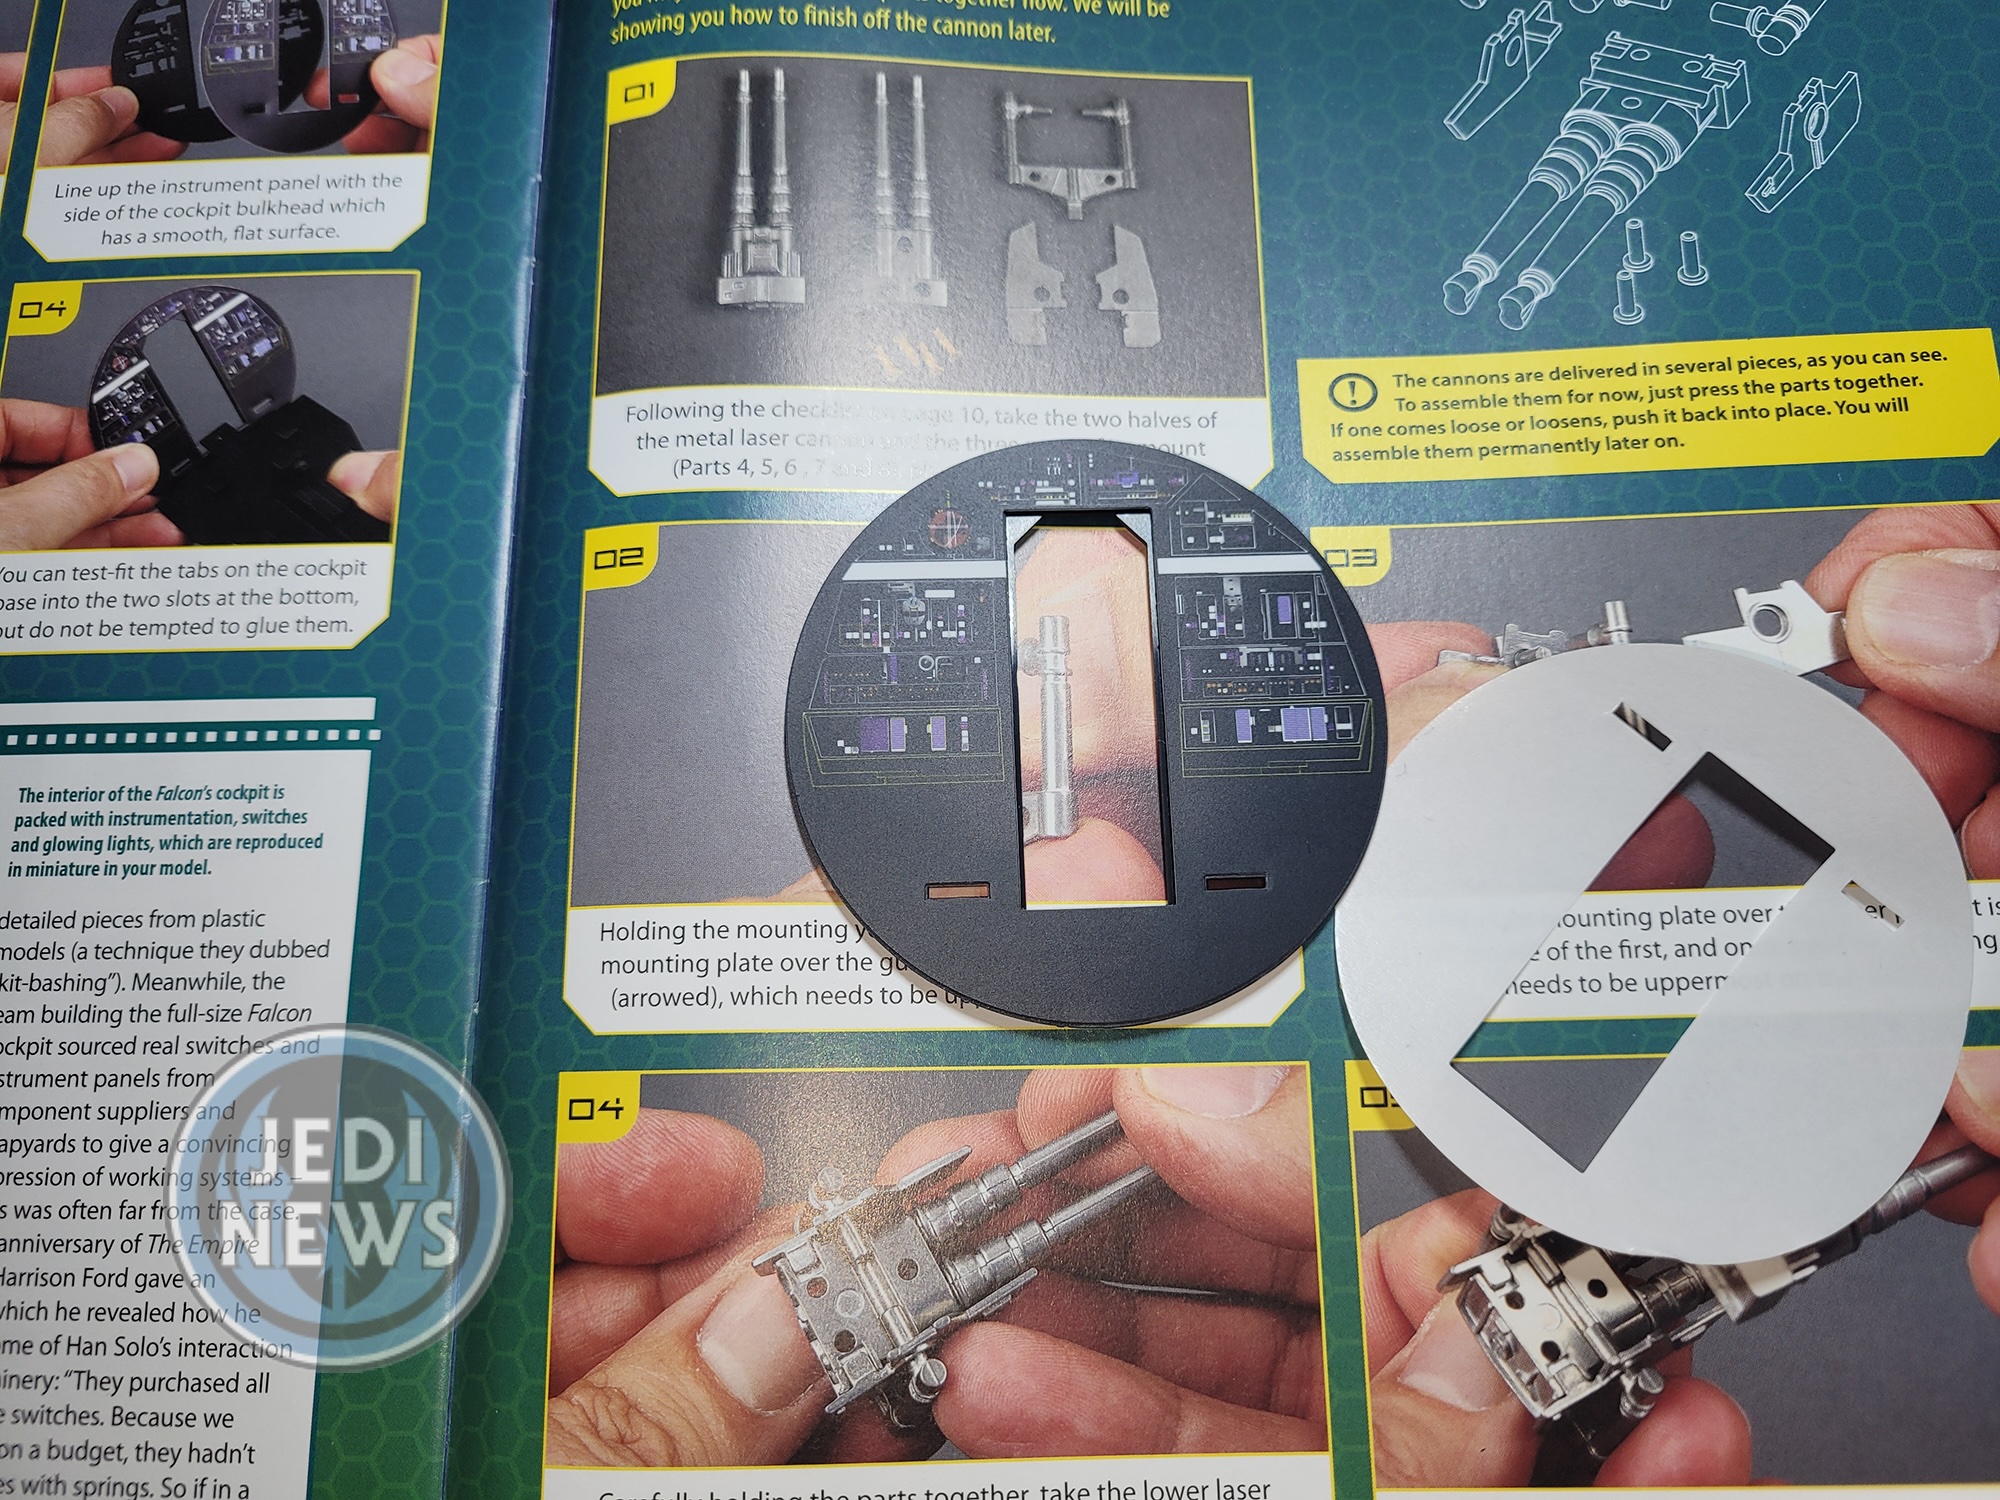

It was back to the parts I had and saved from issue one. Now in issue three, it tells you to look back to page 11 of issue one to know what to do. As there’s only ten pages to issue one, you may find this slightly difficult, so instead go to page eight! I was nervous and the sticker was difficult to peel but having three points to line up, the two slots and the doorway, does help to try and keep the sticker straight as possible. That only left one more sticker for this issue to do, the doorway. This is a very, very tight squeeze and in some ways that makes it worse than the bulkhead. It does go in with some care, I found sliding the sticker up worked well. The best piece of advice I can give is once the sticker is placed, use something thin to go around the edge of the sticker. Being a miniature painter, I had a brush, which I used the handle to ensure the sticker was properly smoothed down. With the hardship of that over, I was ready to bring my daughter back in to finish this build.
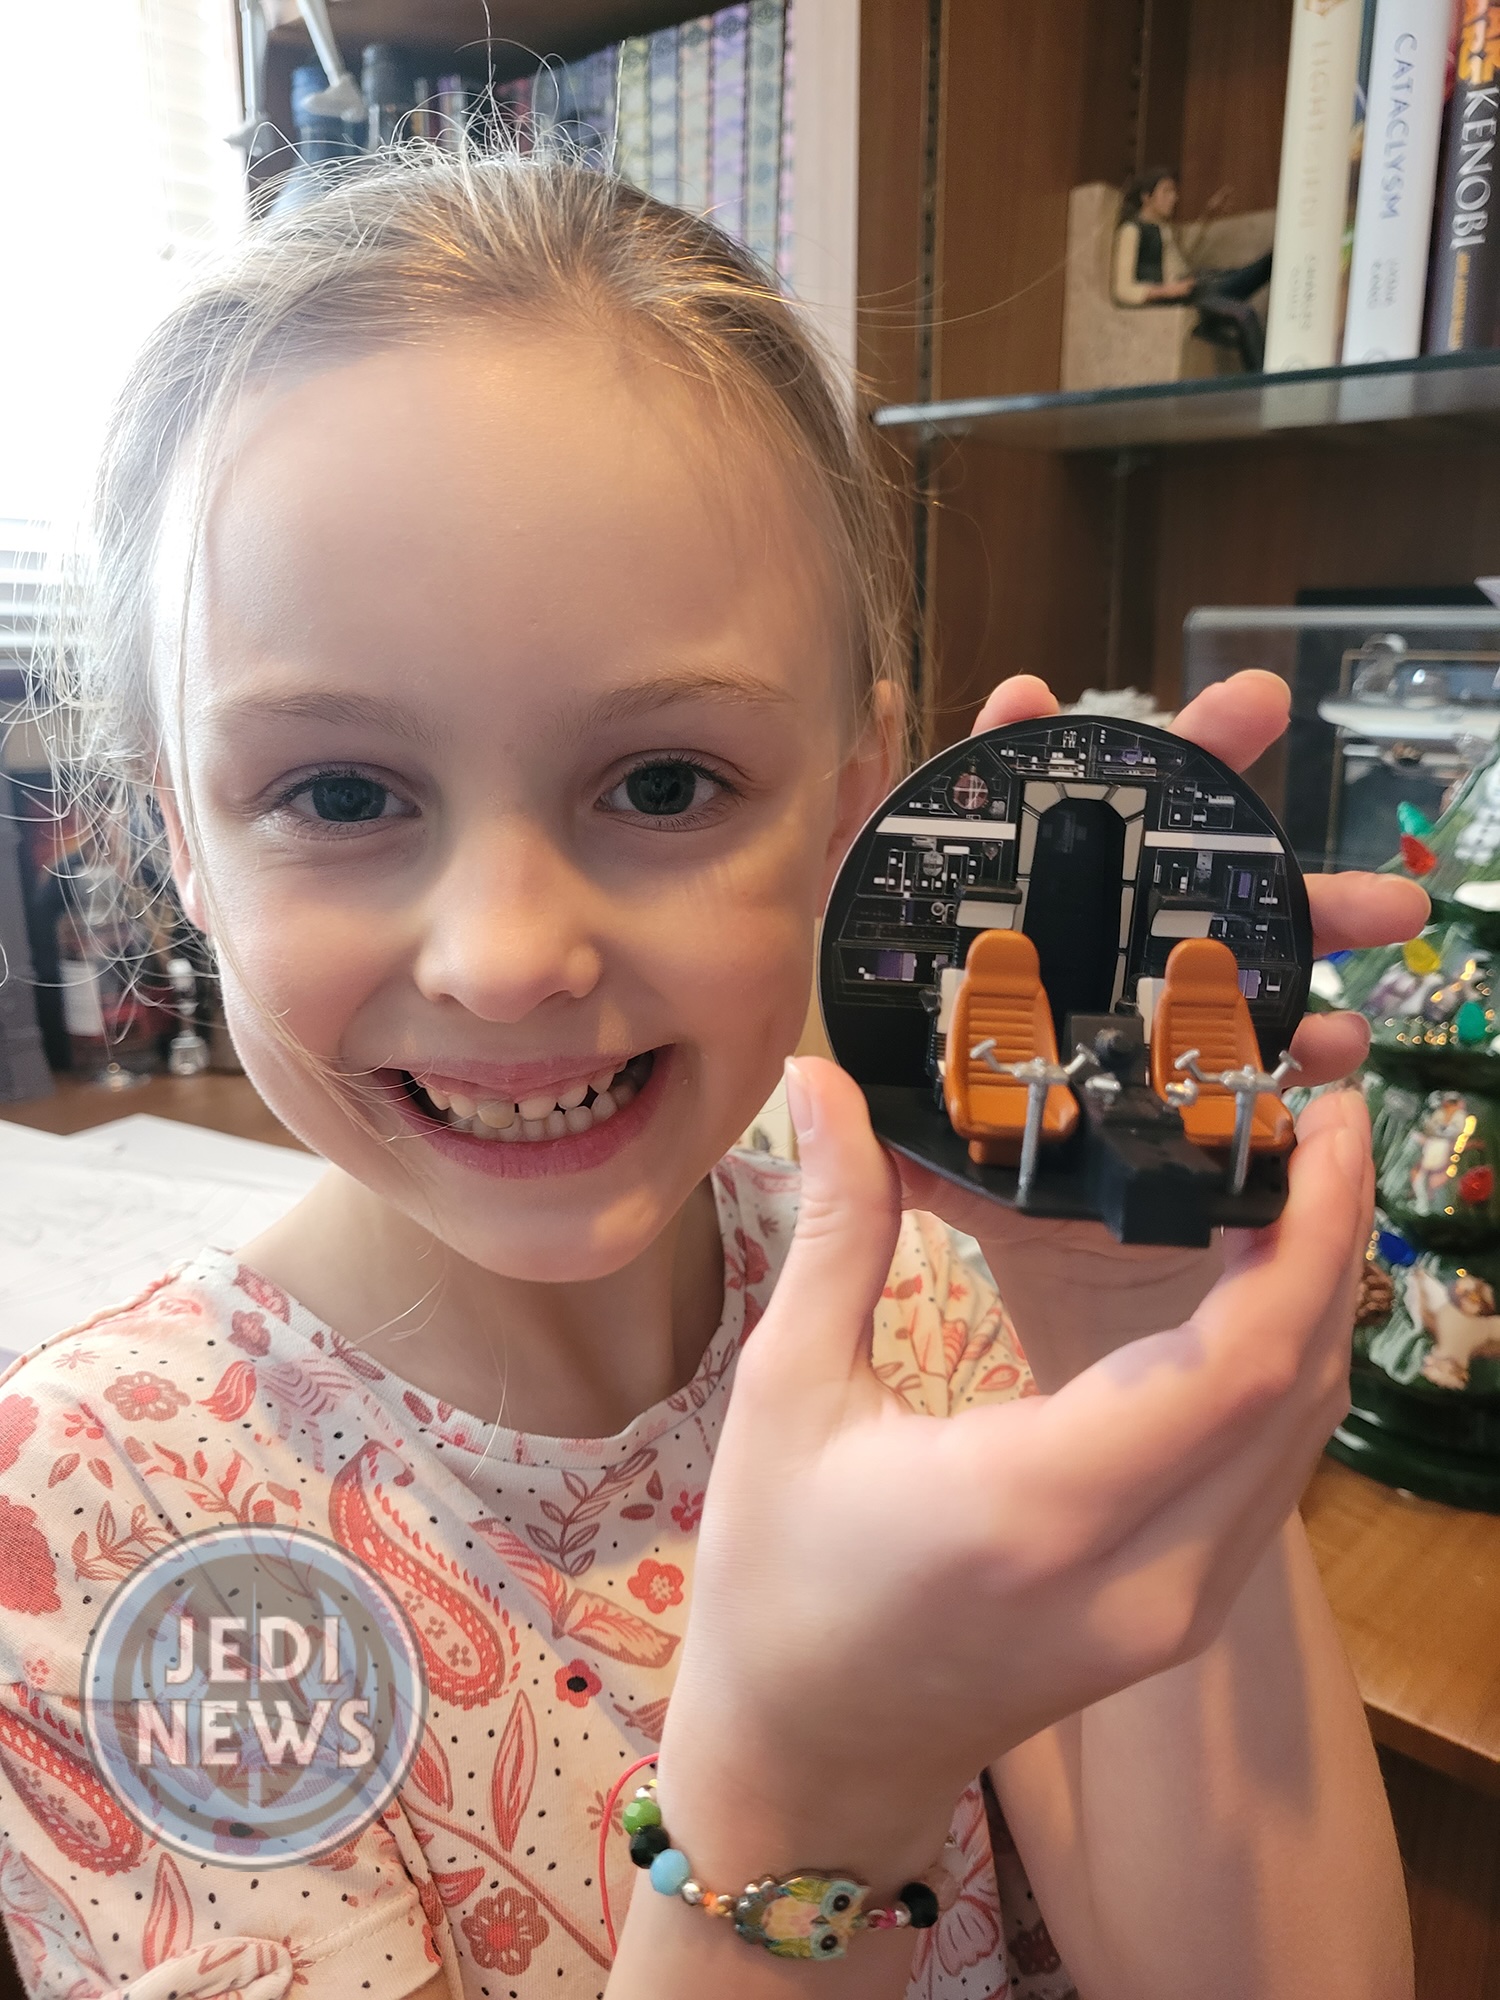
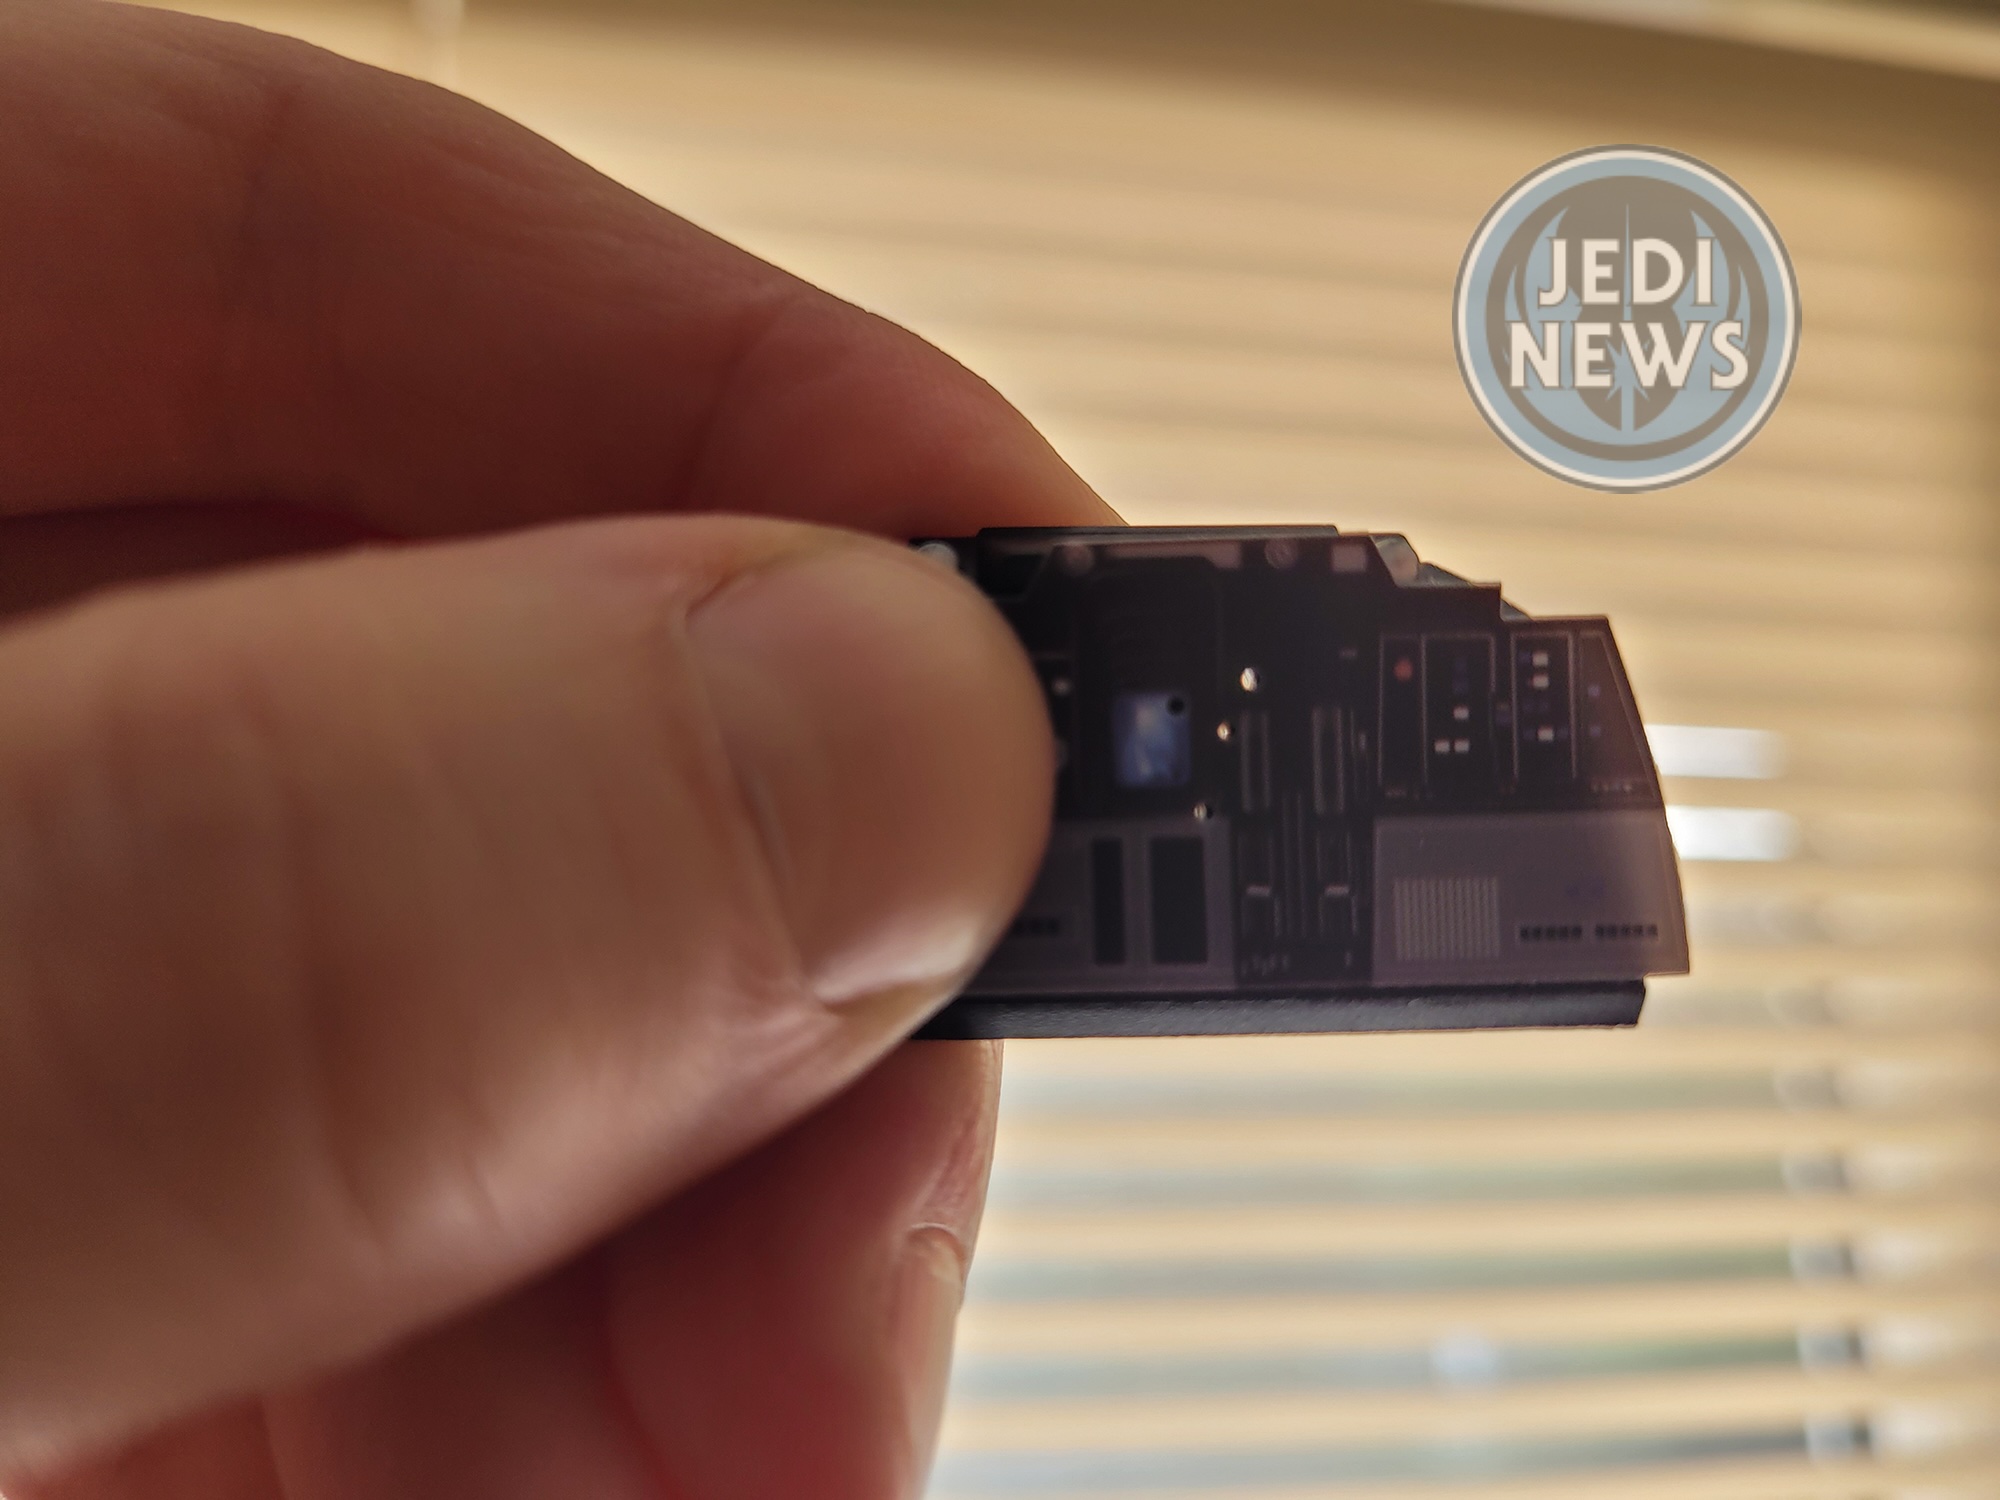
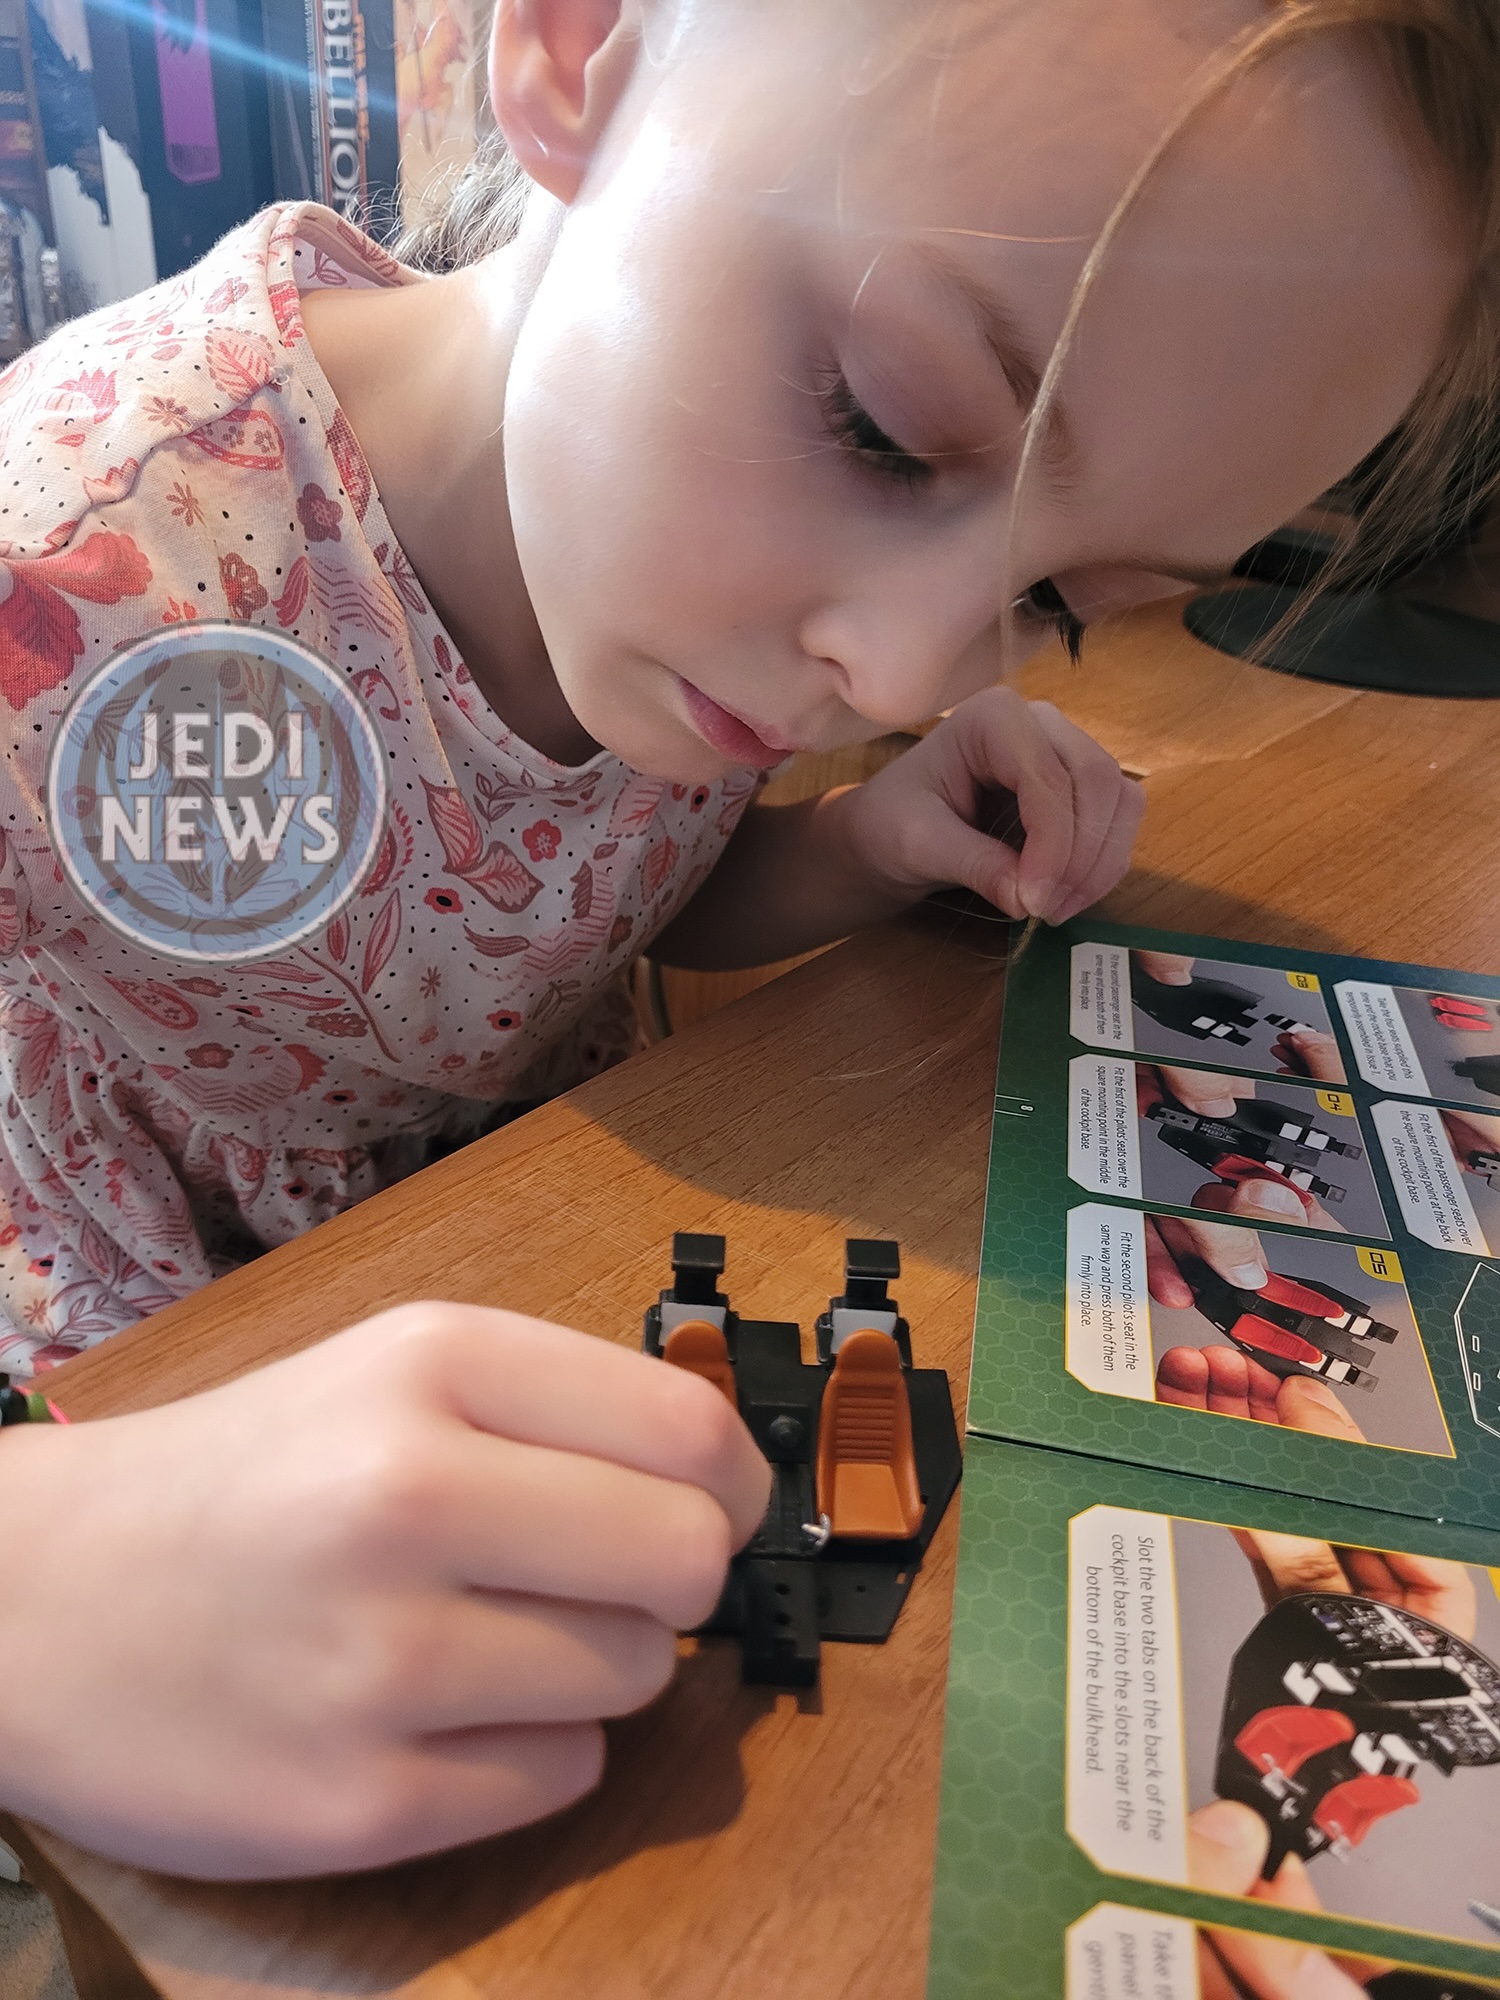
My daughter was eager to be back in the building seat. The rest of the cockpit build was actually a delight, mainly because there was two of everything to do. It meant that I could show my daughter what to do, where things went and how much pressure to apply before, she then had a go herself. As she has watched the Original Trilogy, she recognised the cockpit instantly, for her age this was a build she could really appreciate what she was working on. It was quick but she was really happy, particularly when I held the bulkhead up to the light so she could see how it would work when lit up.
As soon as we had finished issue three, she already wanted to move onto issue four. I quickly scanned the pages and saw we could finish the interior of the cockpit, awesome! Until I came to a sudden halt; I needed to fit another sticker from issue two onto the control panel of the cockpit. This looked like the worst one yet, with having to align a sticker with four small holes. And if I’m honest, it was awful. The sticker doesn’t completely attach to the console, I ended up getting four needles to ensure the holes matched up, but in doing so, the sticker hangs over one edge. I’m hoping when everything is finalized, this will all sit fine; only time will tell.
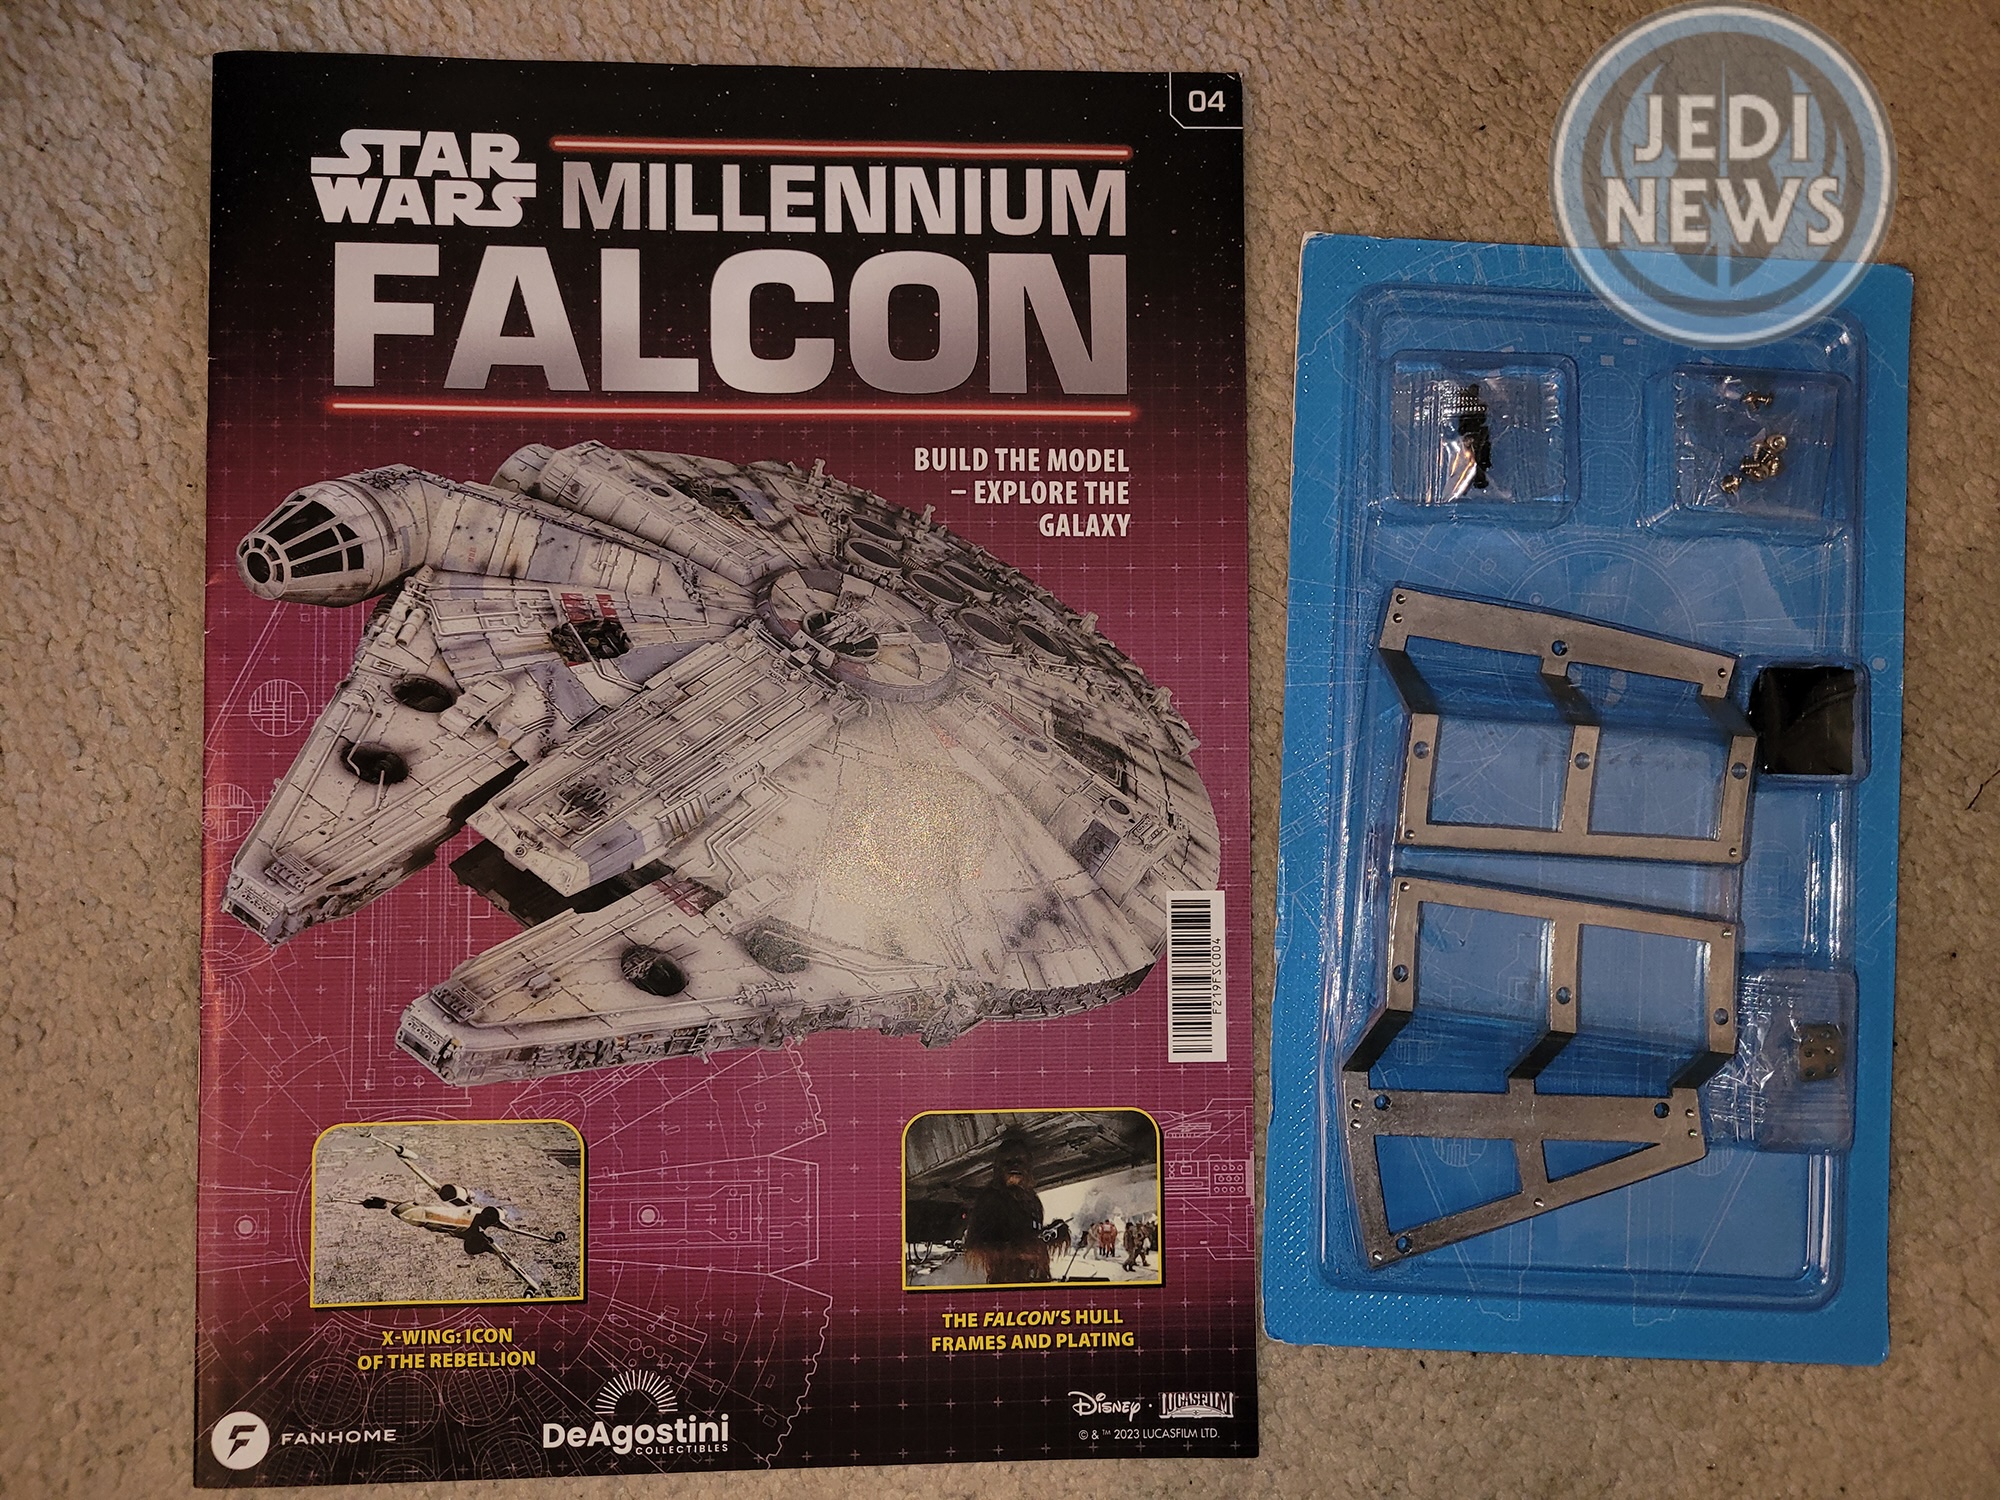
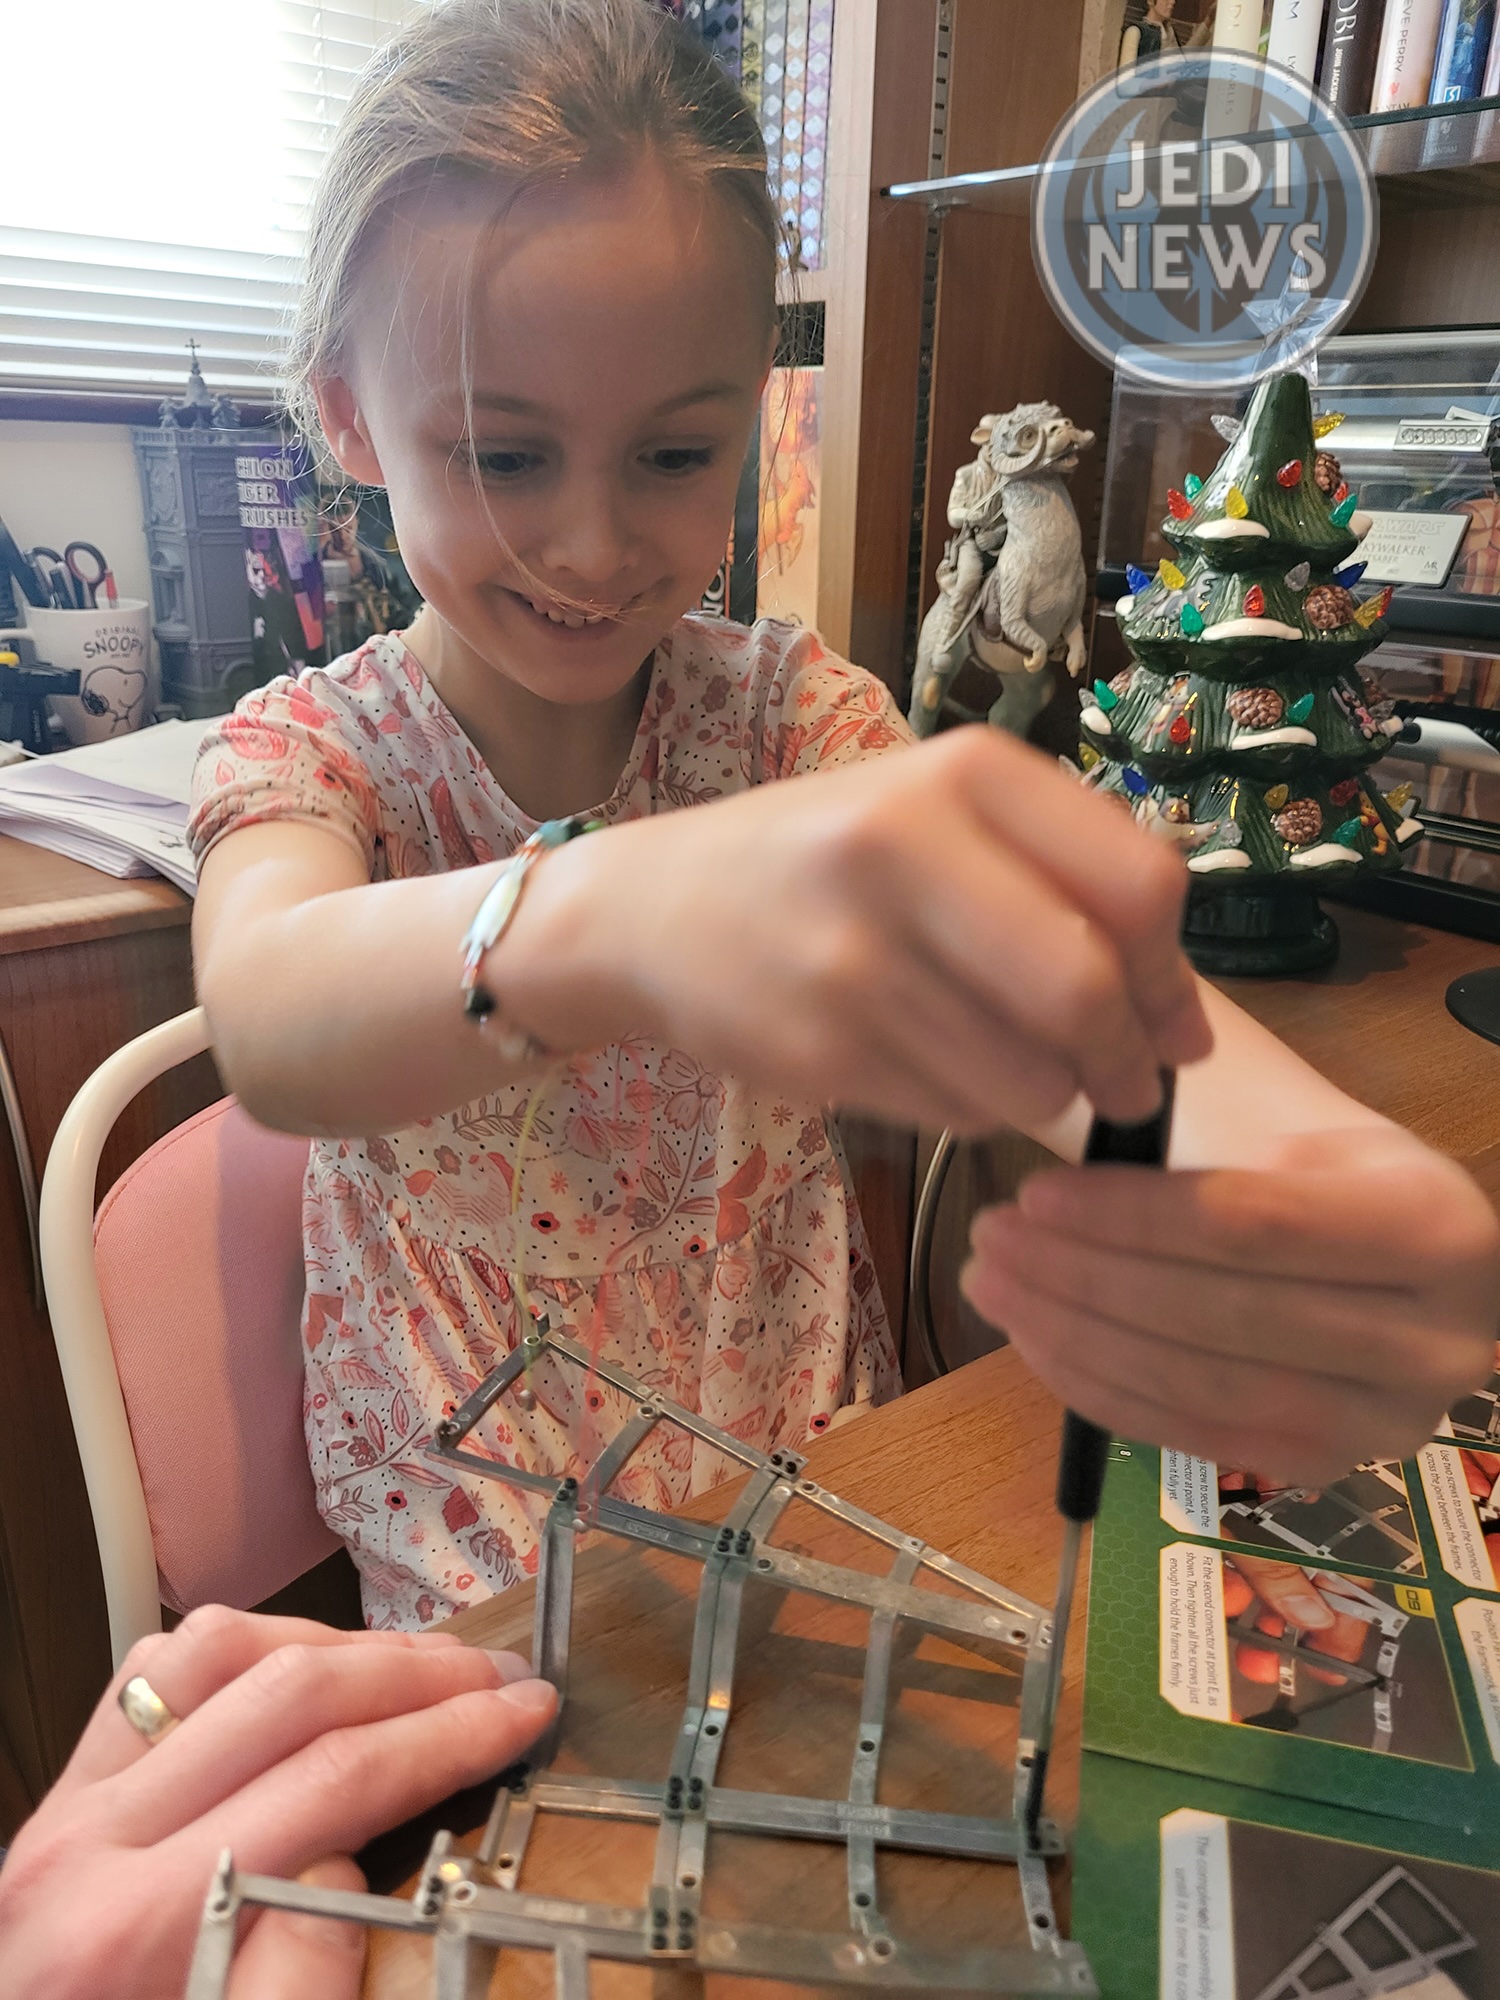
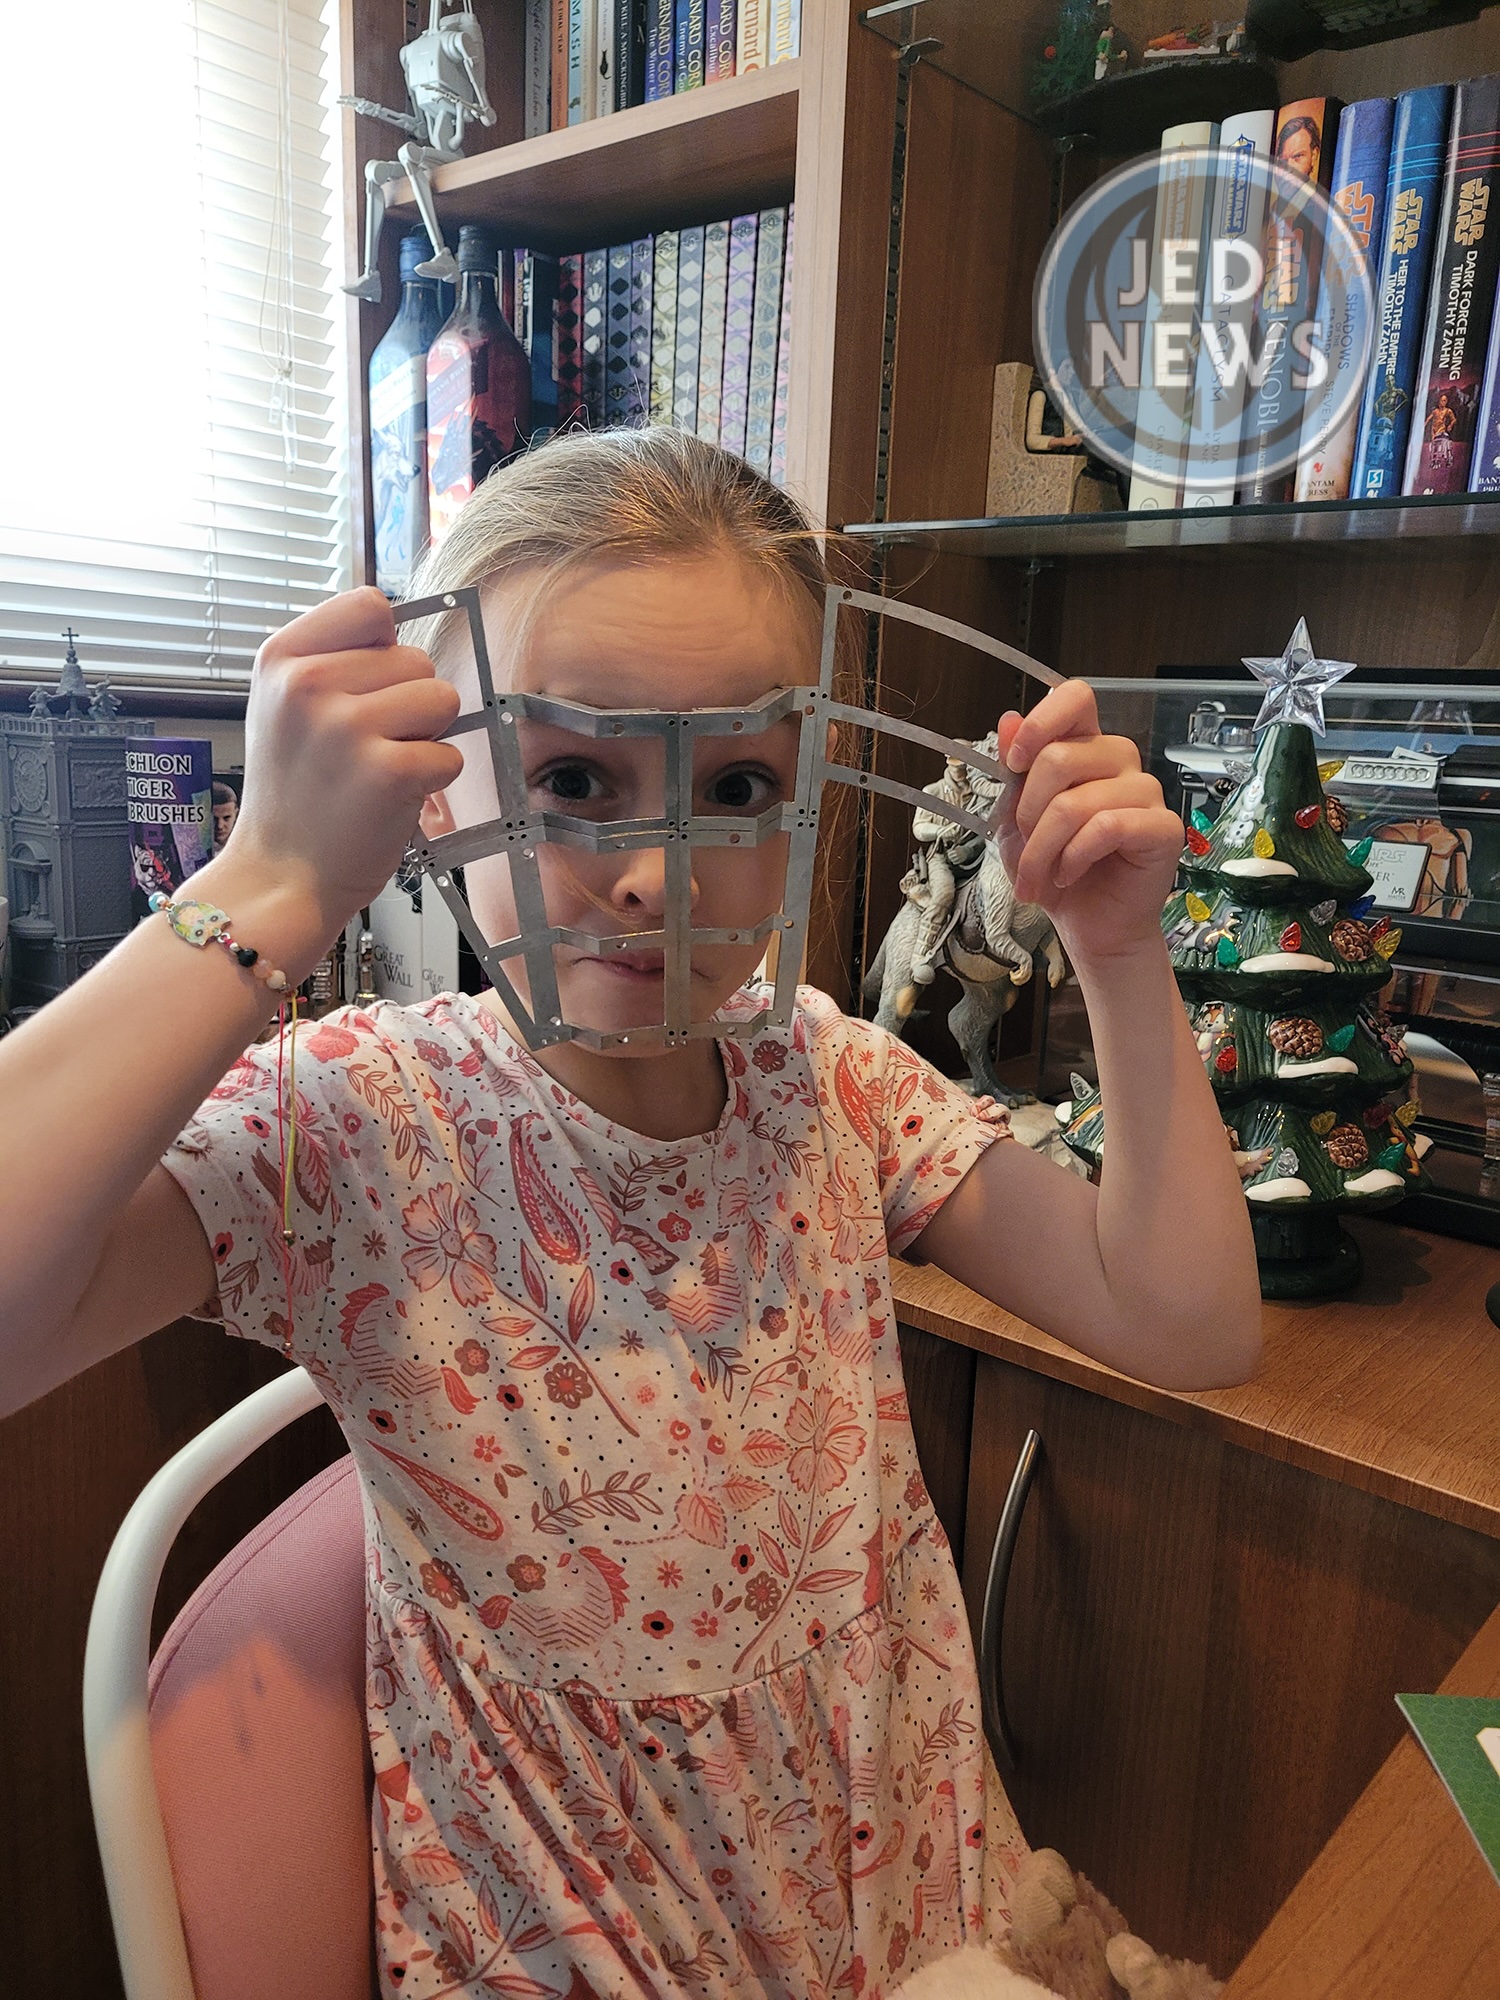
After that, it was a simple matter of attaching one piece to the front of the cockpit. Once this is done, the cockpit can be left alone until issue five. It was then onto more of the hull, which my daughter was really looking forward to. The construction of these in the first two issues had really impressed my daughter. She loved the way she could bring pieces together, understand concepts like stability and having a magnetic screwdriver (free with the issues) was one of the greatest things she had ever seen! The fact she could extend what she had already built was music to her ears and she was eager to get started. The build is so easy to follow. At six years old, Ember could read all the instructions, follow the instructions and the diagrams, knowing exactly what she needed to do at each step. I was slightly nervous with this part of the frame, as Fanbase have found some of their old stock they received from De Agostini have a faulty frame that can snap. Thankfully, now that they’re aware of the problem, this shouldn’t cause subscribers any more problems. Ember demolished the rest of this issue with ease. Once complete, she was able to attach a piece of the hull. Visually, like with the cockpit, she could see what we were doing and how it fits into the overall construction of the Falcon.
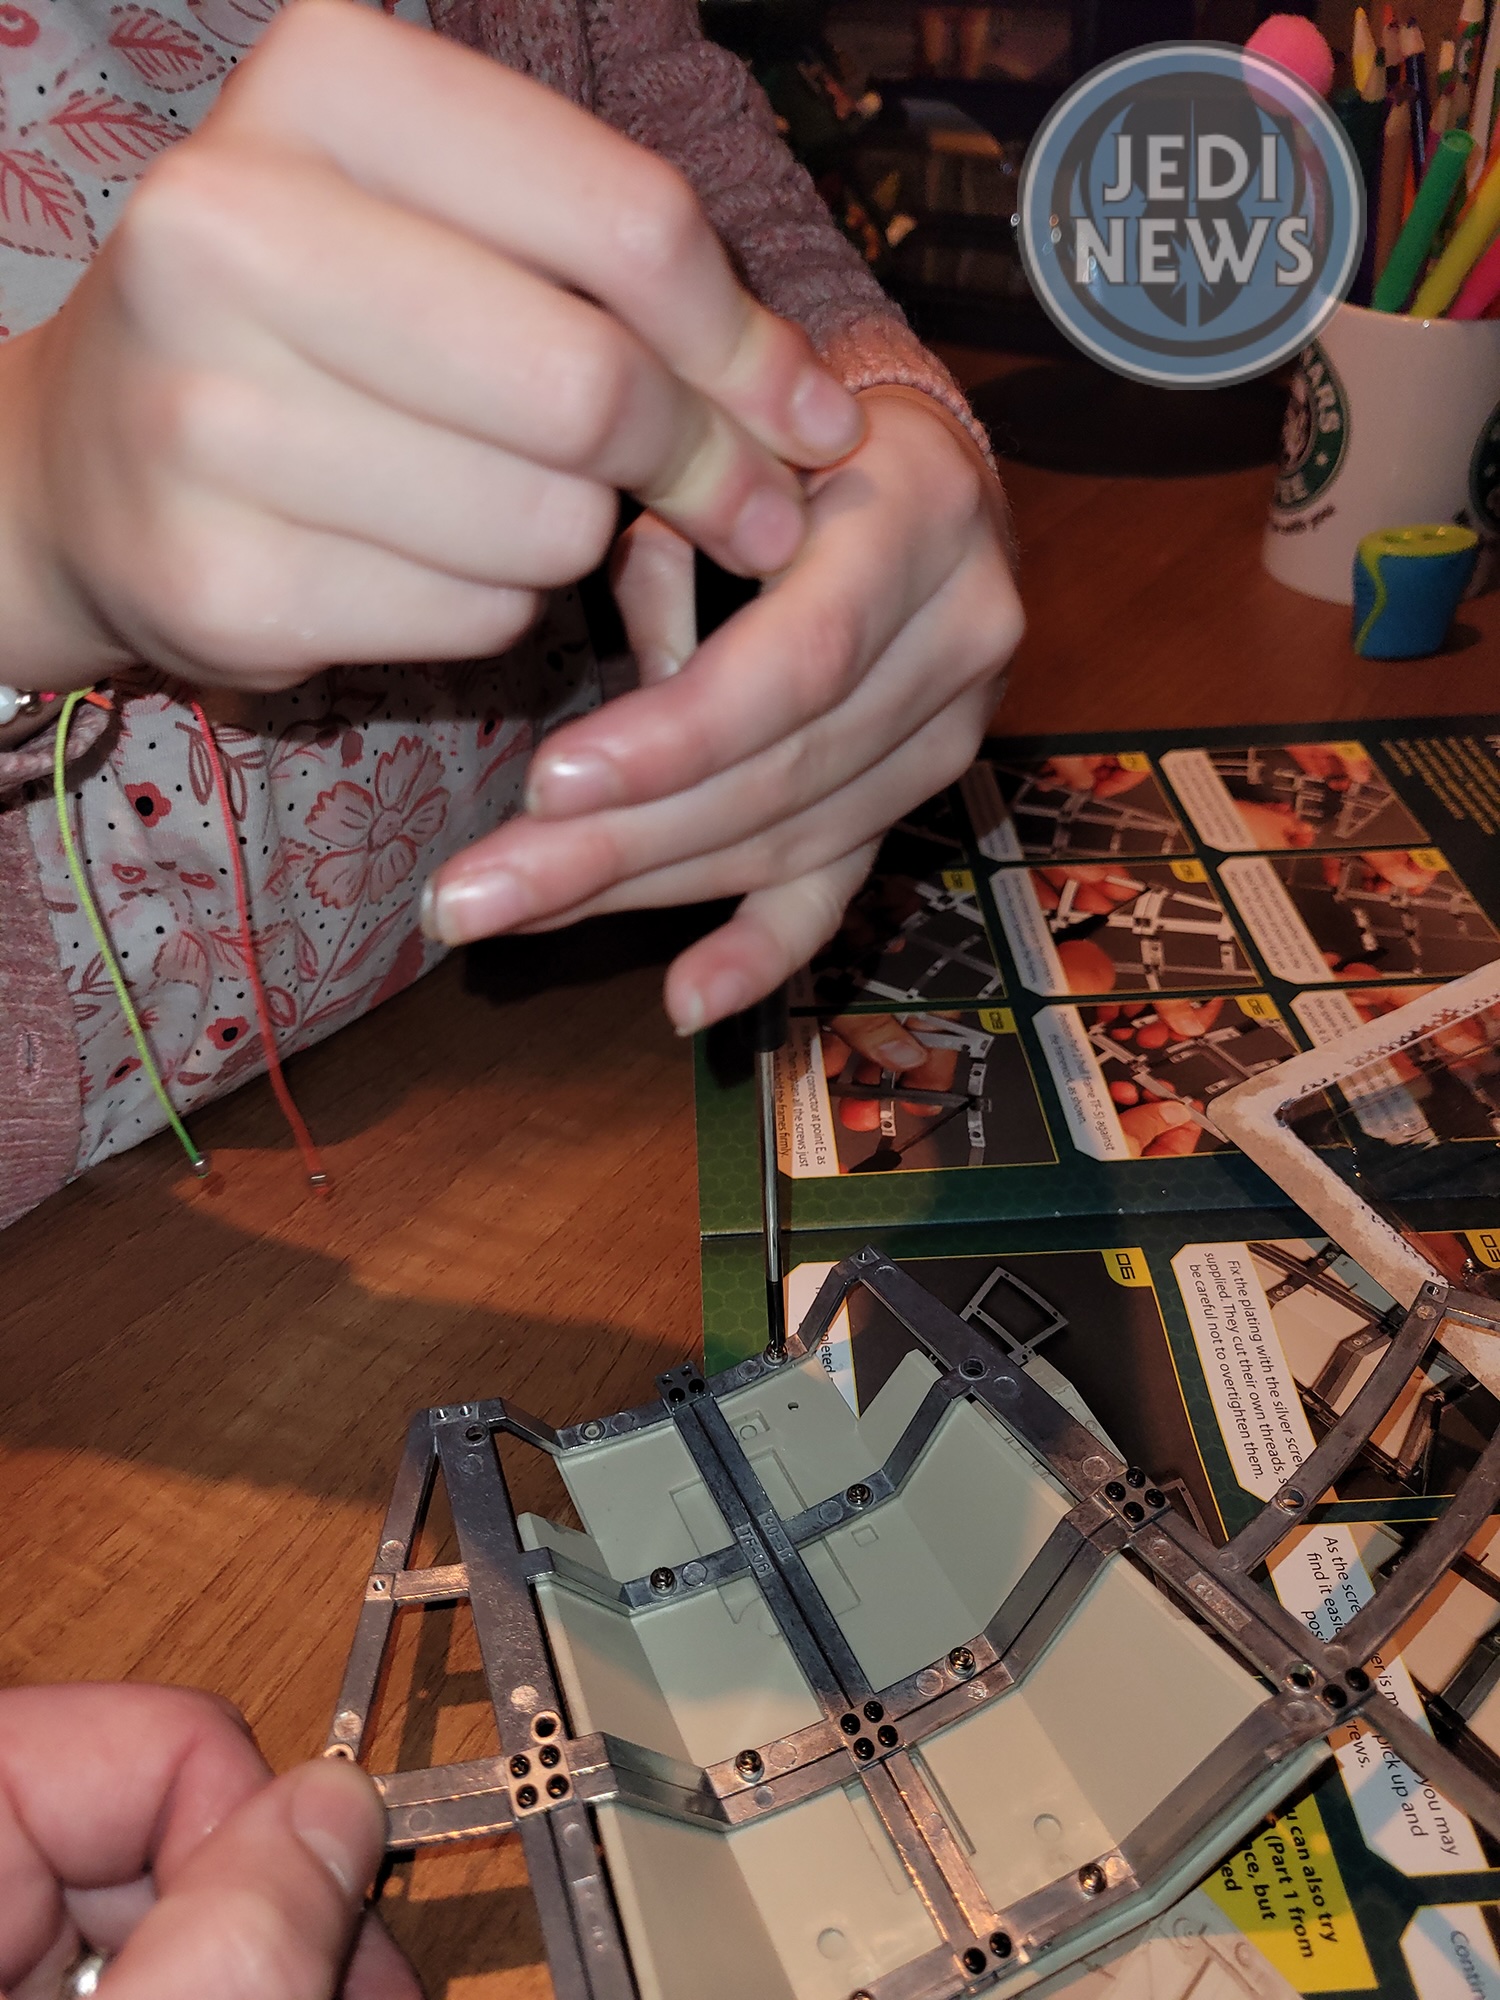
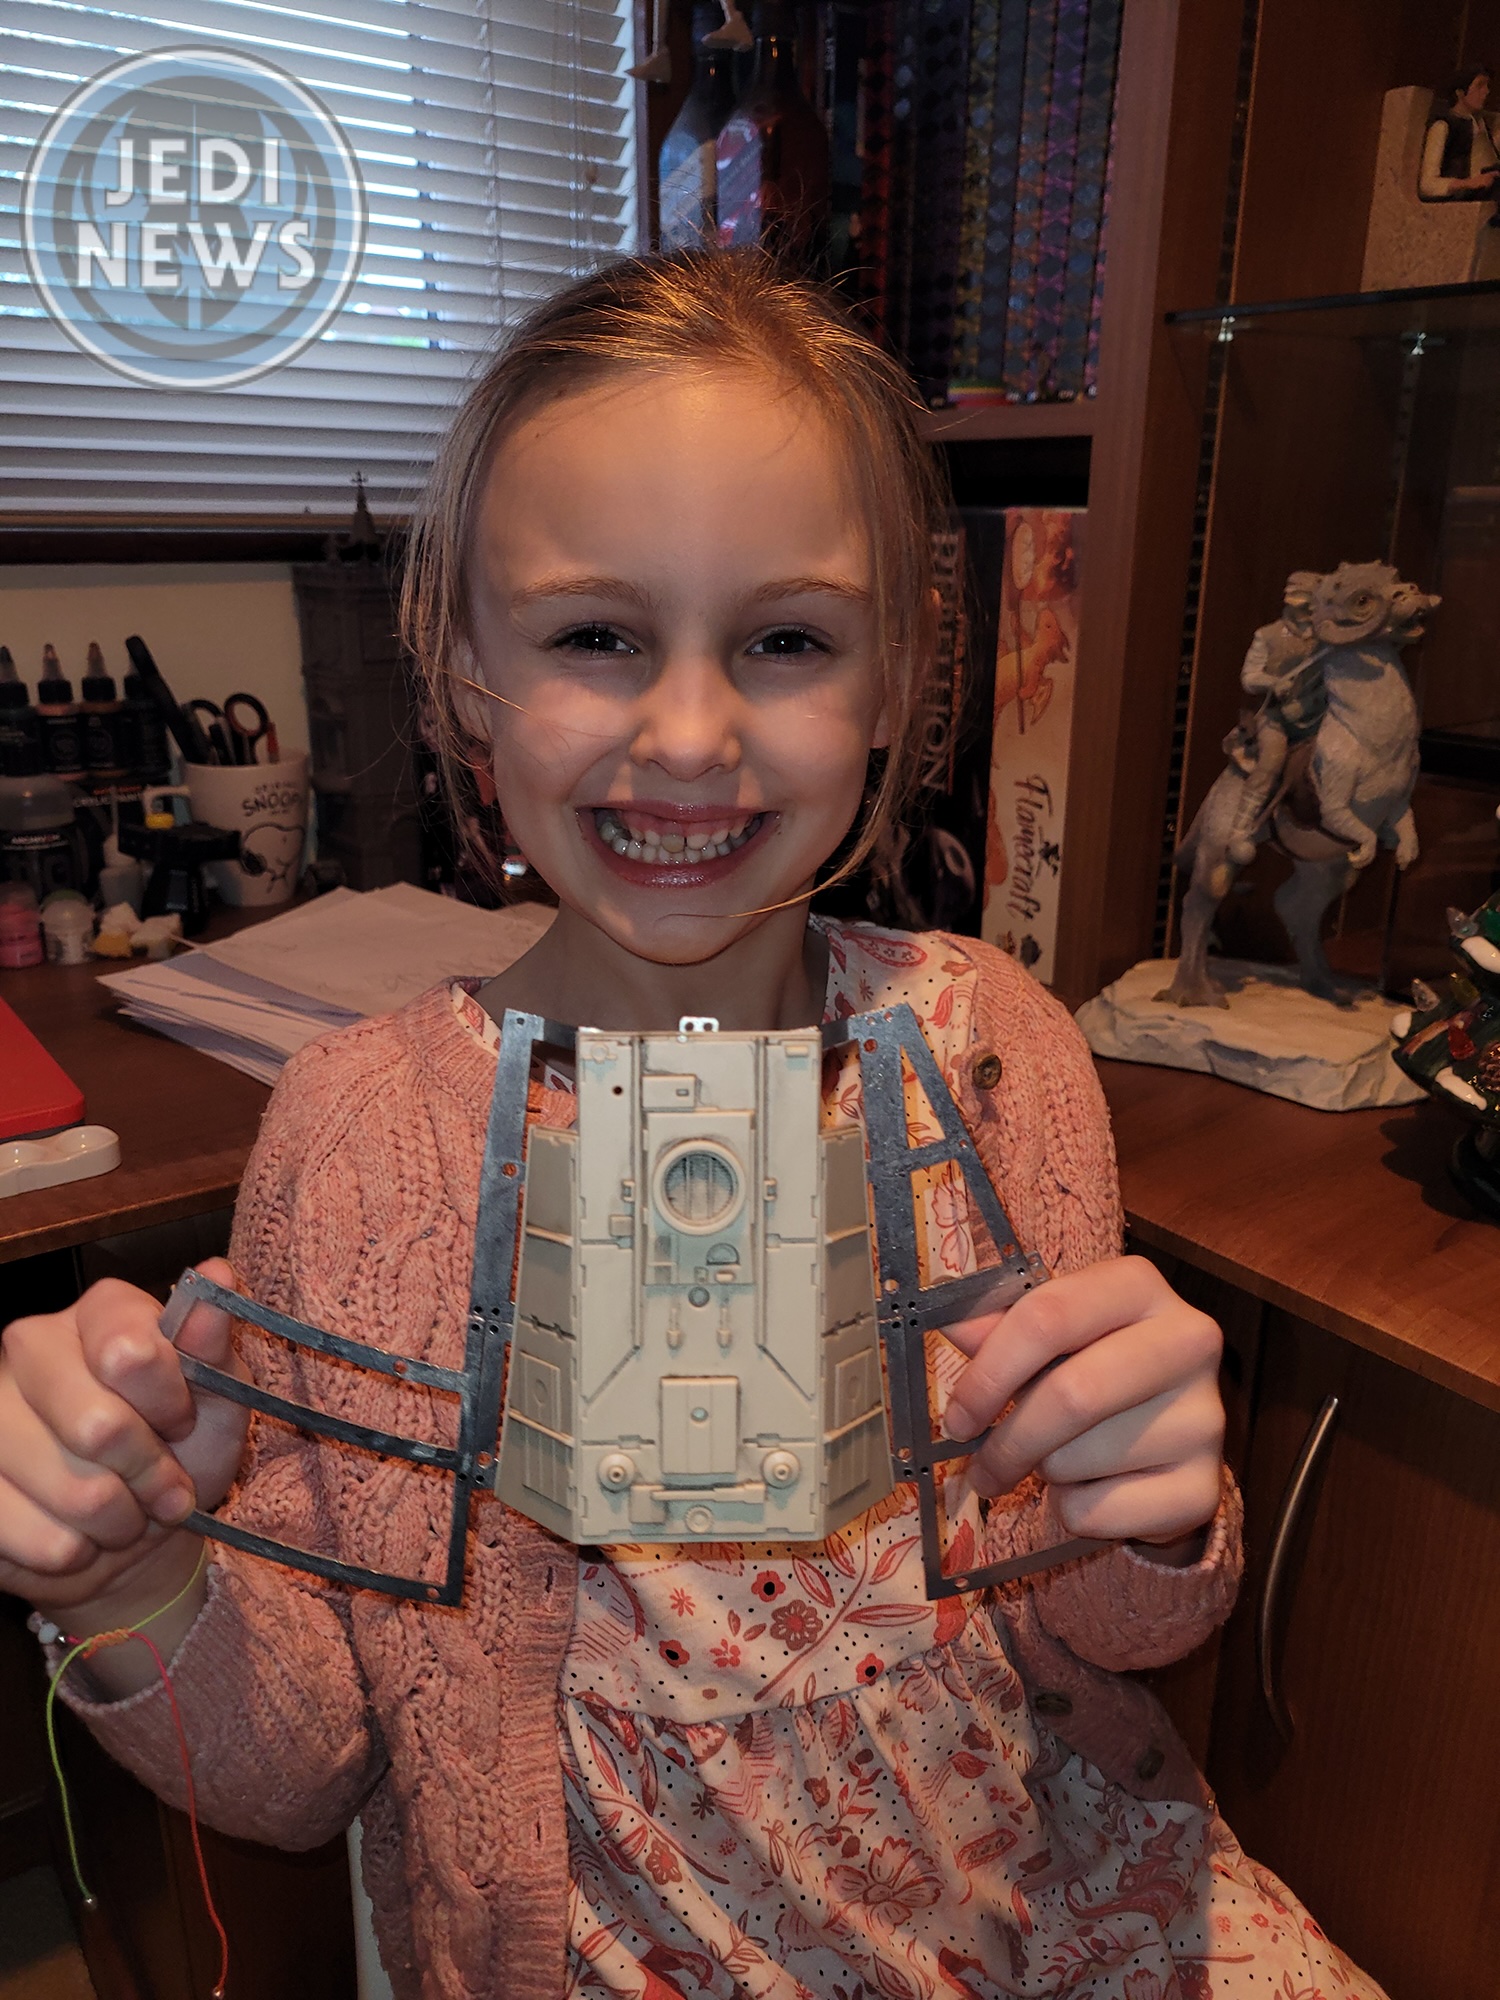
Another two issues and I can’t say I’m not impressed. The sticker on the control panel worries me a little, but not enough to take away from the overall experience. My daughter and I are really enjoying and bonding over this build. At the price point, I know why I would never think this would be a good project to do with a six-year-old, yet the instructions, the easy-to-follow steps and the not too long issues are actually perfect for her (and me!). In just four issues we have the inside of the cockpit and a good start to the hull. Ember wants to do more, more screwing of the hull and constructing the outside of the Falcon, but when I mentioned that we would also have to use circuit boards and make the thing light up, well her smile grew even bigger! Another great set of issues from Fanbase, I’m just very concerned I need to wait a week or two before starting issue five and six… I don’t know if either of us is going to be able to wait that long!
