



Somehow, we can come to the end of the current delivery of magazines for the Millennium Falcon project from Fanhome. Even with a faulty light that my nine-year-old daughter and I had to wait to be replaced, this delivery seems to have gone very quick. With engine lights and even more details added to the ship, the whole project was really coming together. If I’m being completely honest, it might not be coming together as quickly as I had hoped. The two halves of the Falcon were still separate, and I had really thought this delivery of installments would have seen them finally together. I mean, how many details can two mandibles really need!?
While I was hoping for certain aspects to be quicker, the project as a whole, I was hoping would slow down. Almost three years of work of seeing Ember grow in confidence and ability, and I was not too sure I was ready for it to end. I better make sure we enjoy the last few issues!
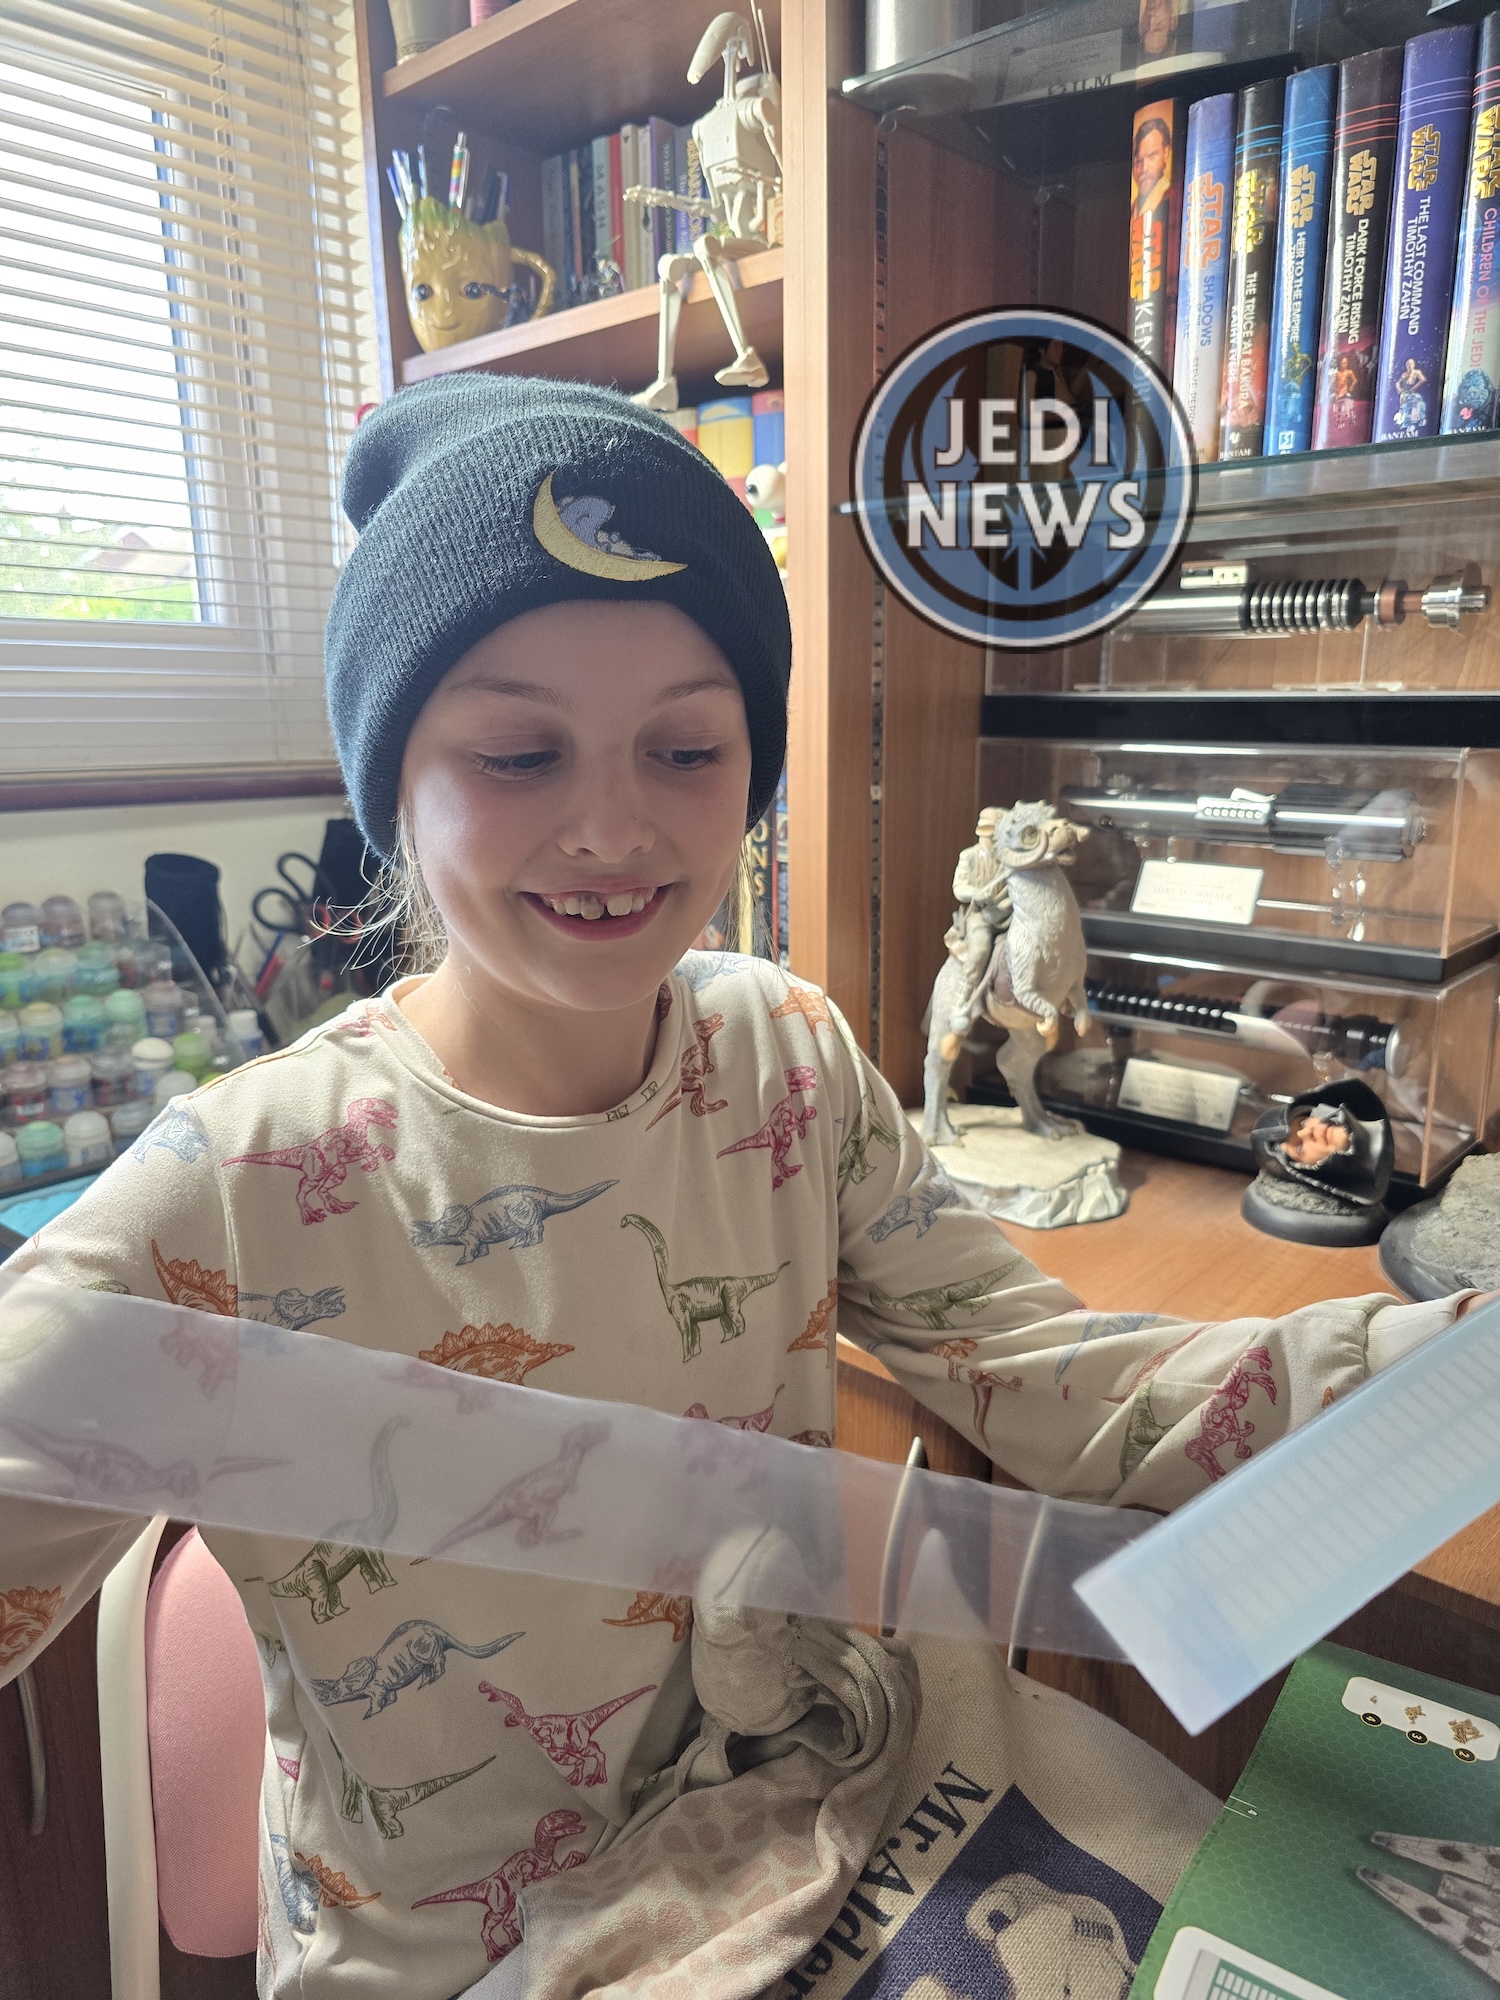
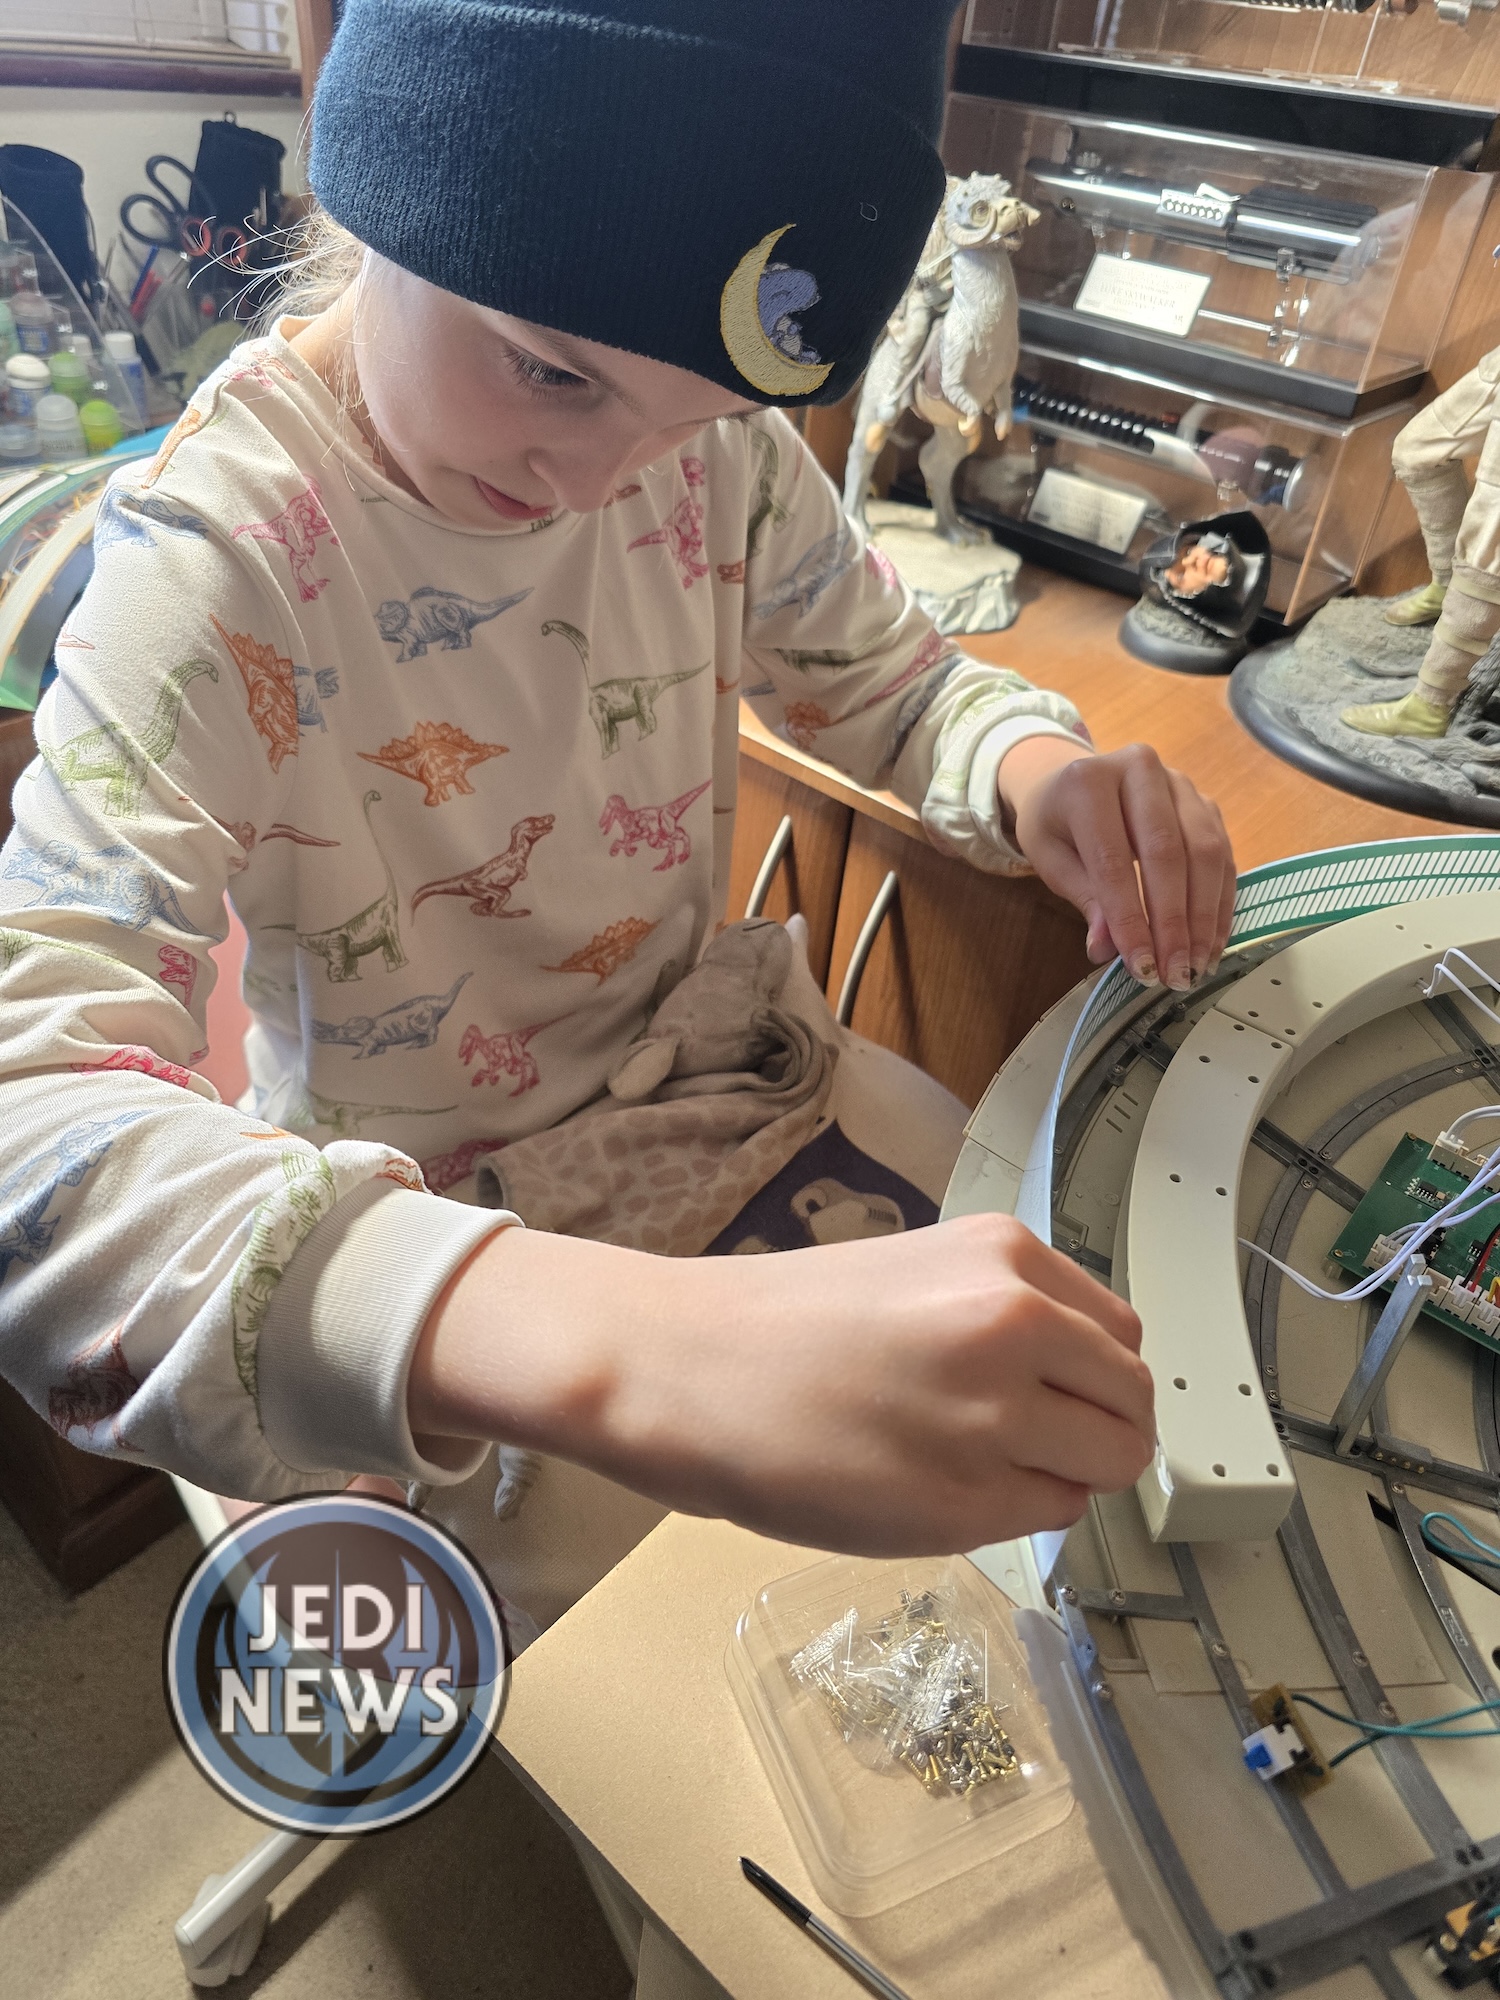
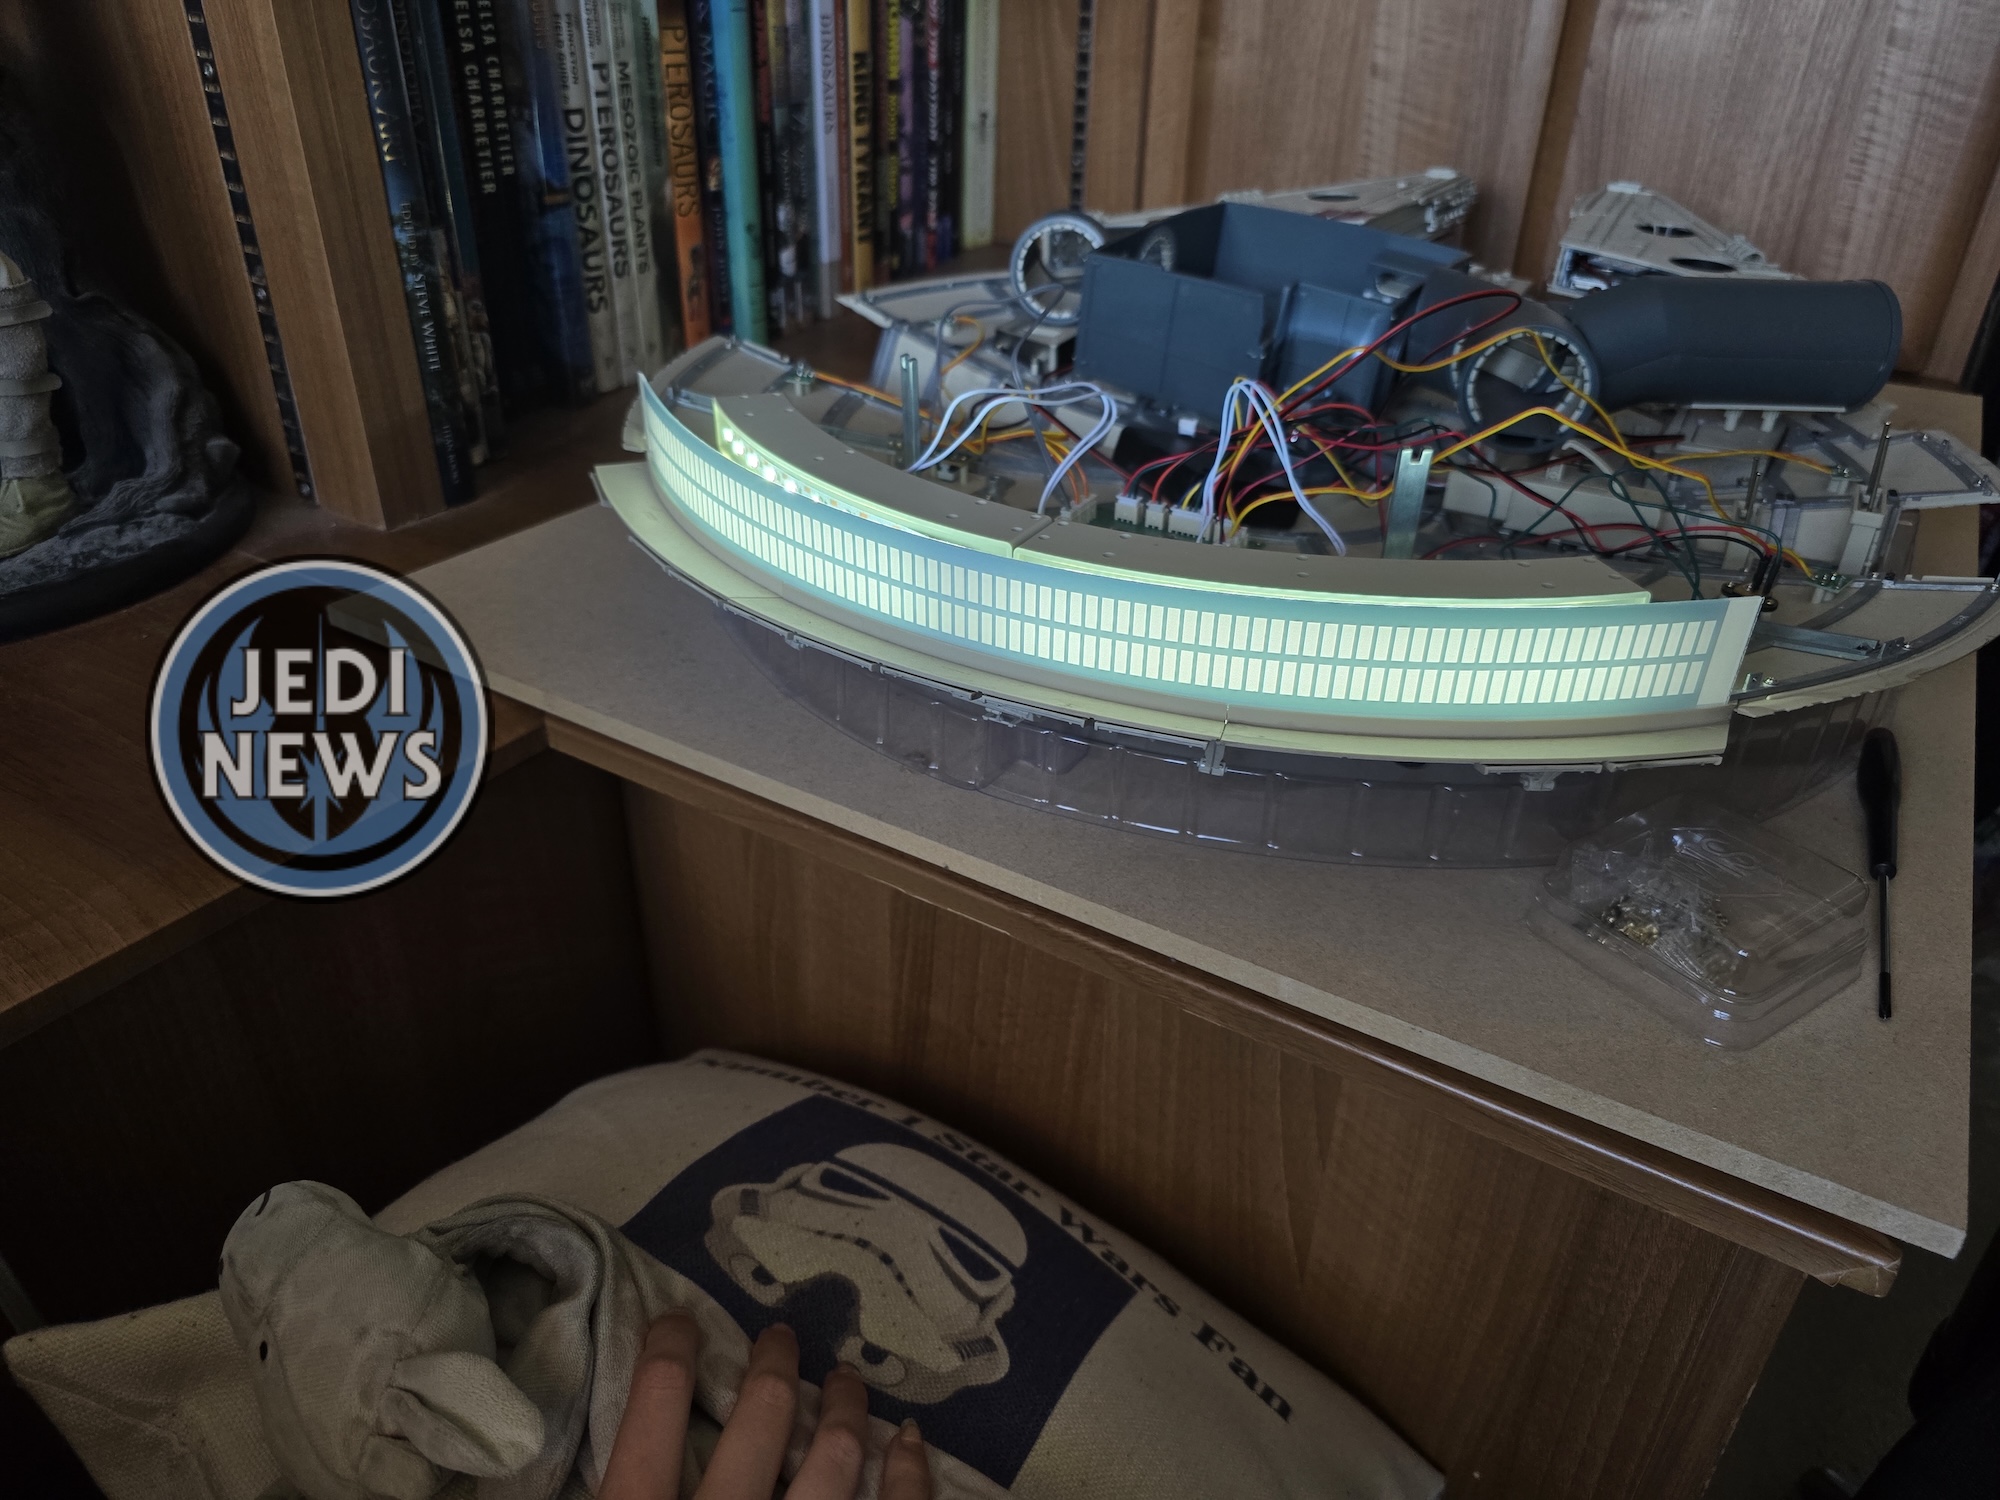
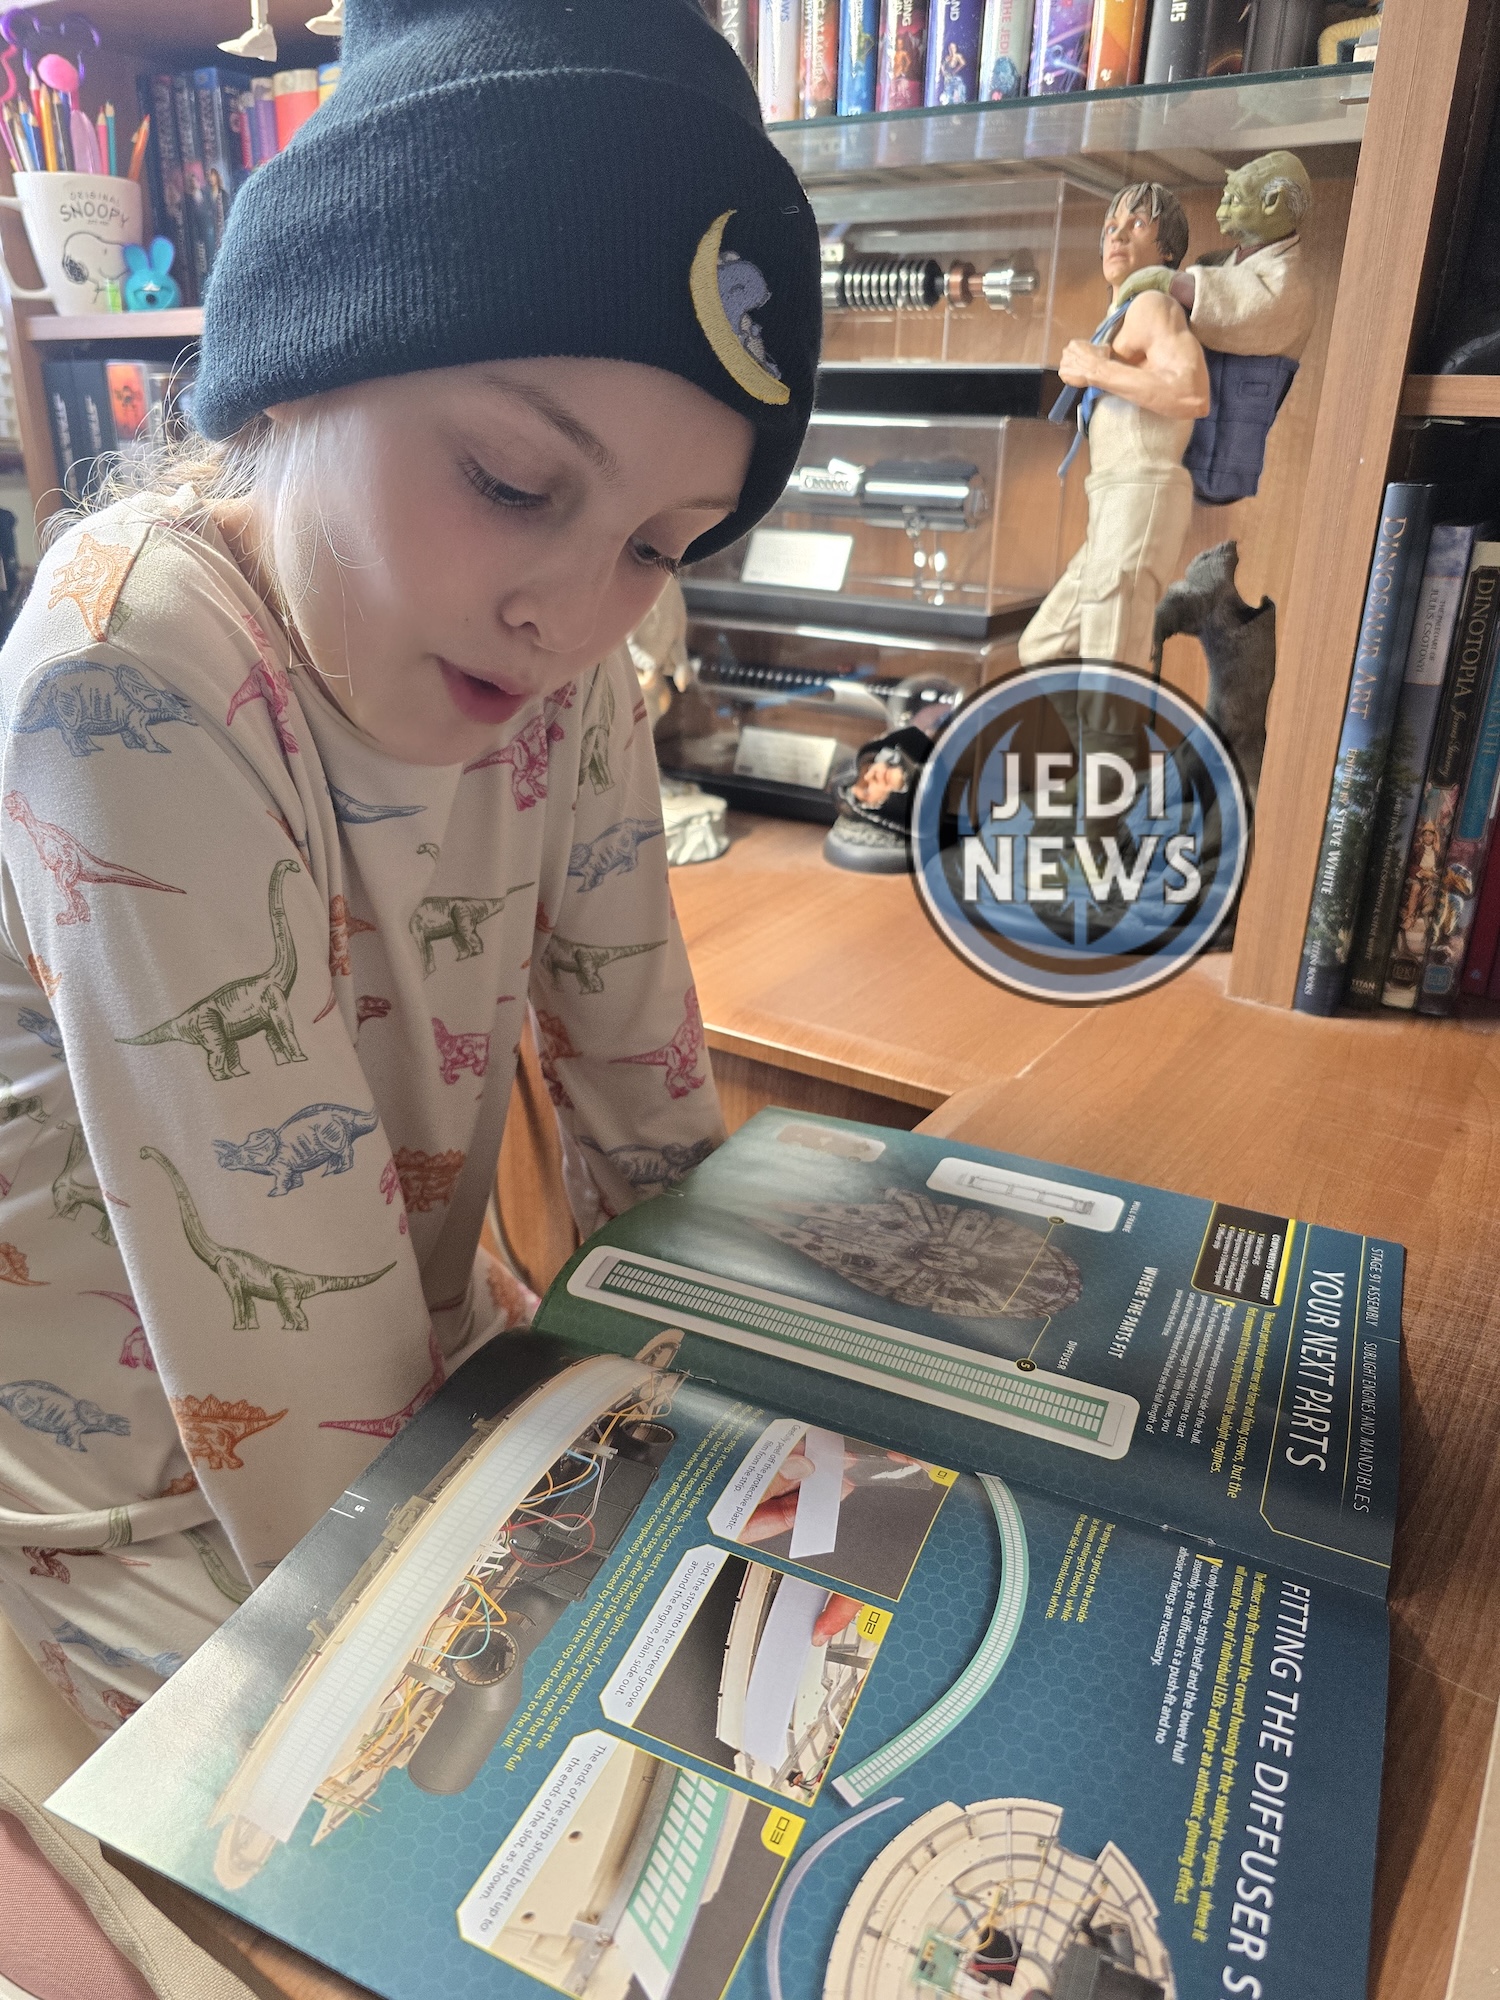
As I have always done, I scout through the magazine to check what it is Ember, and I are supposed to be doing. When Ember was younger, and when we were more focused on the inside of the Falcon, this was a tremendous help. However, as Ember has grown up with the project, her skills growing as well, I have had to worry less, and less. It has meant that I’ve been able to enjoy the project more and as a hobby to do together, we’ve been able to enjoy it together. Well – until we get those pesky small parts!
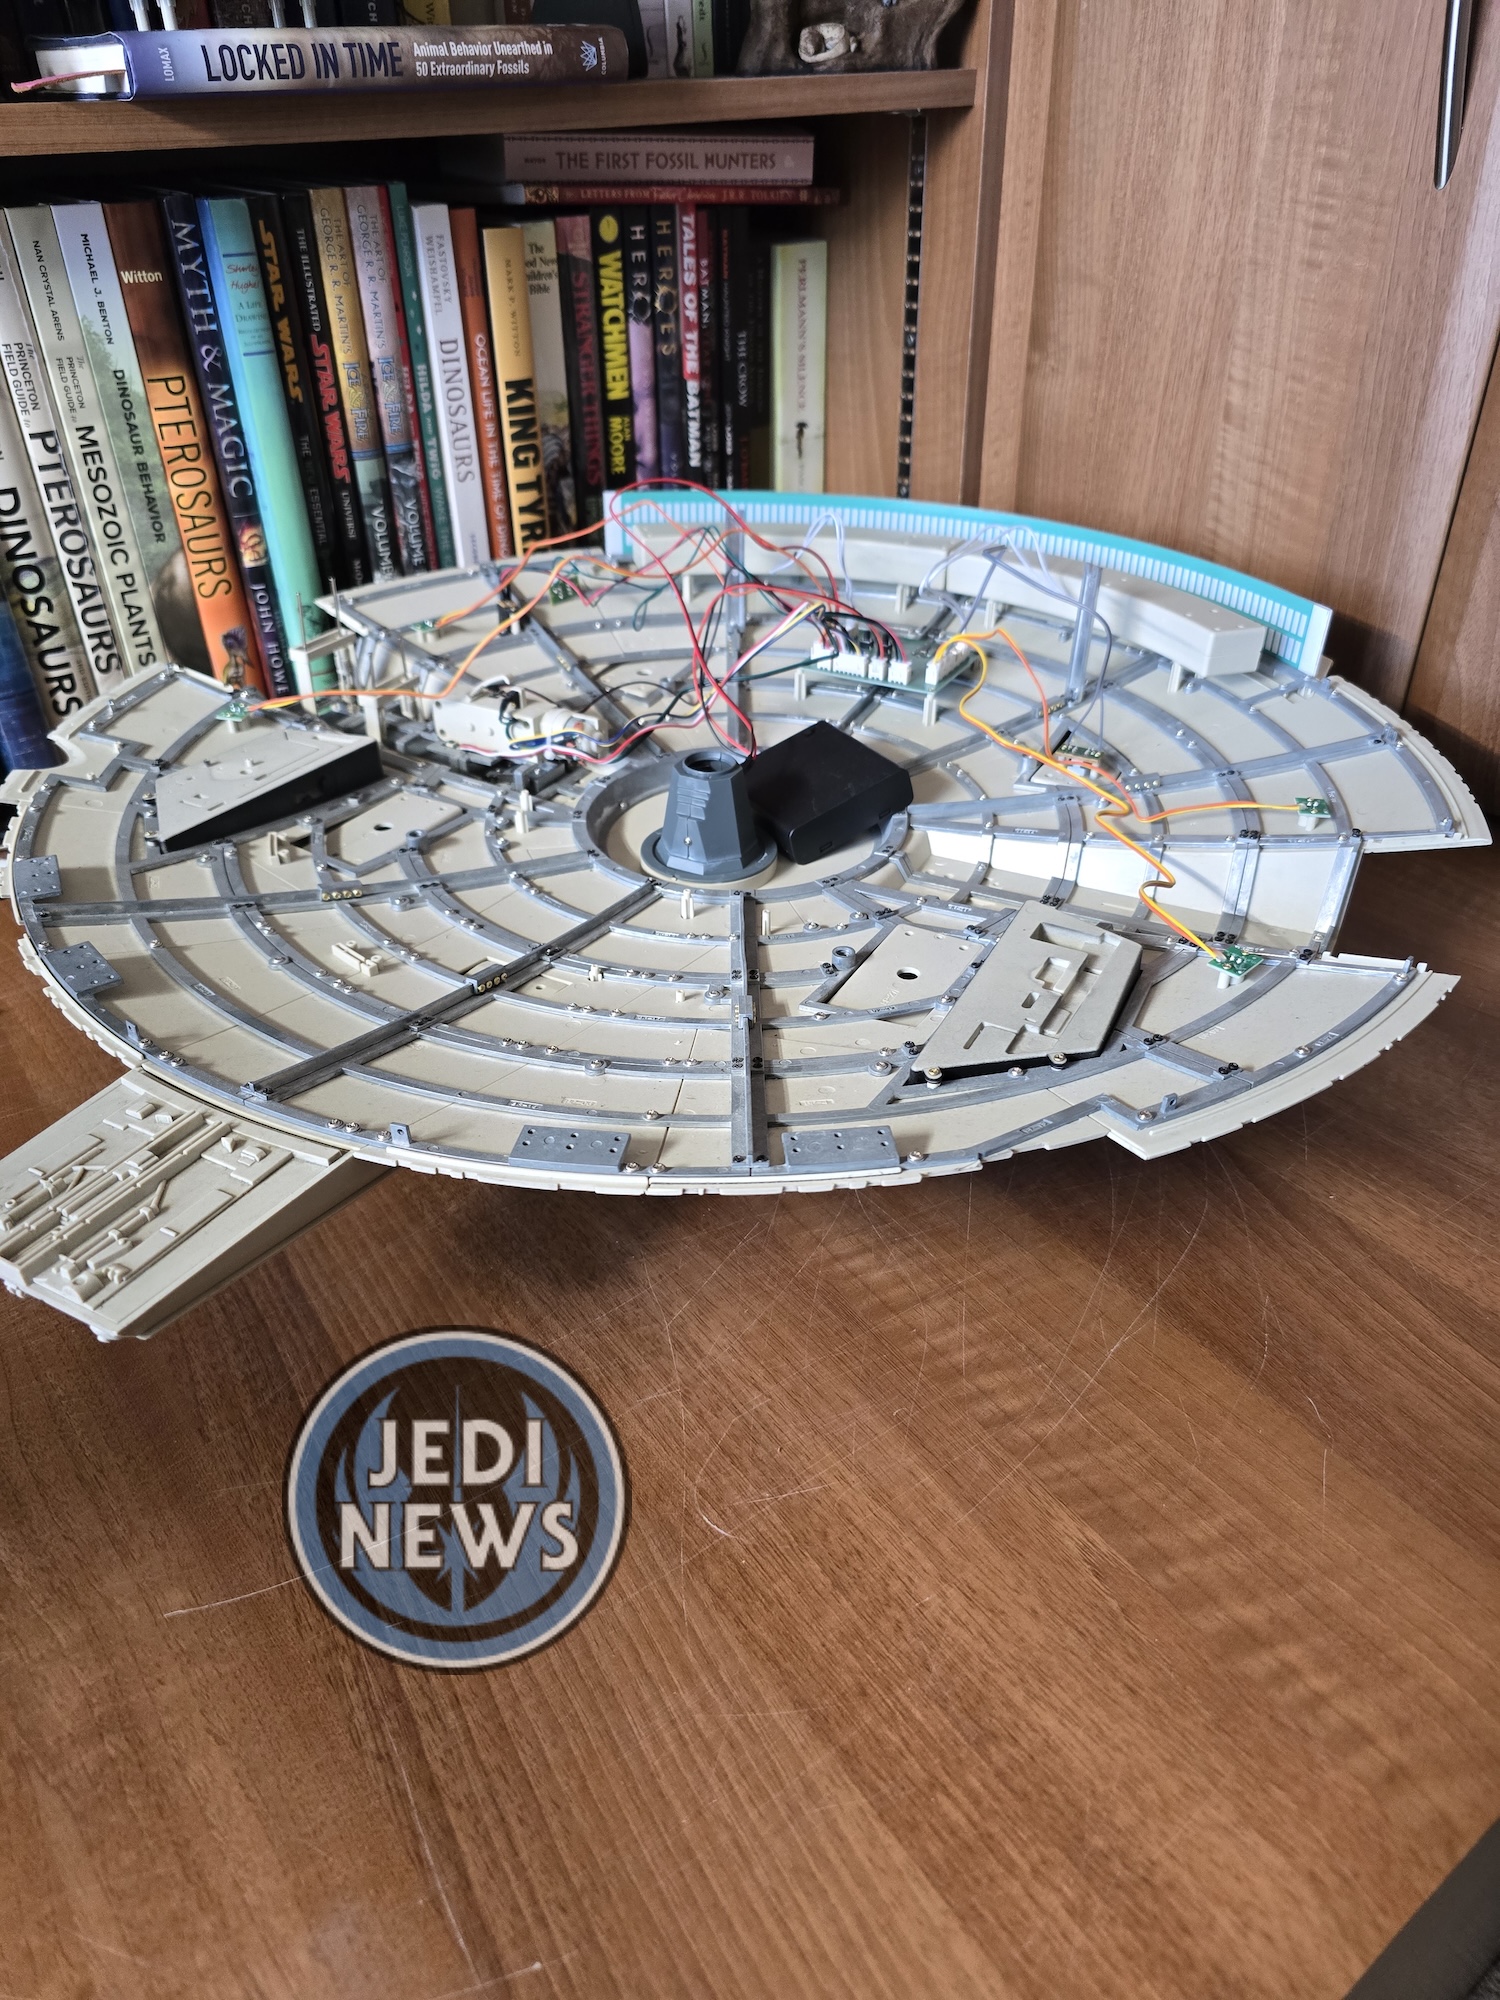
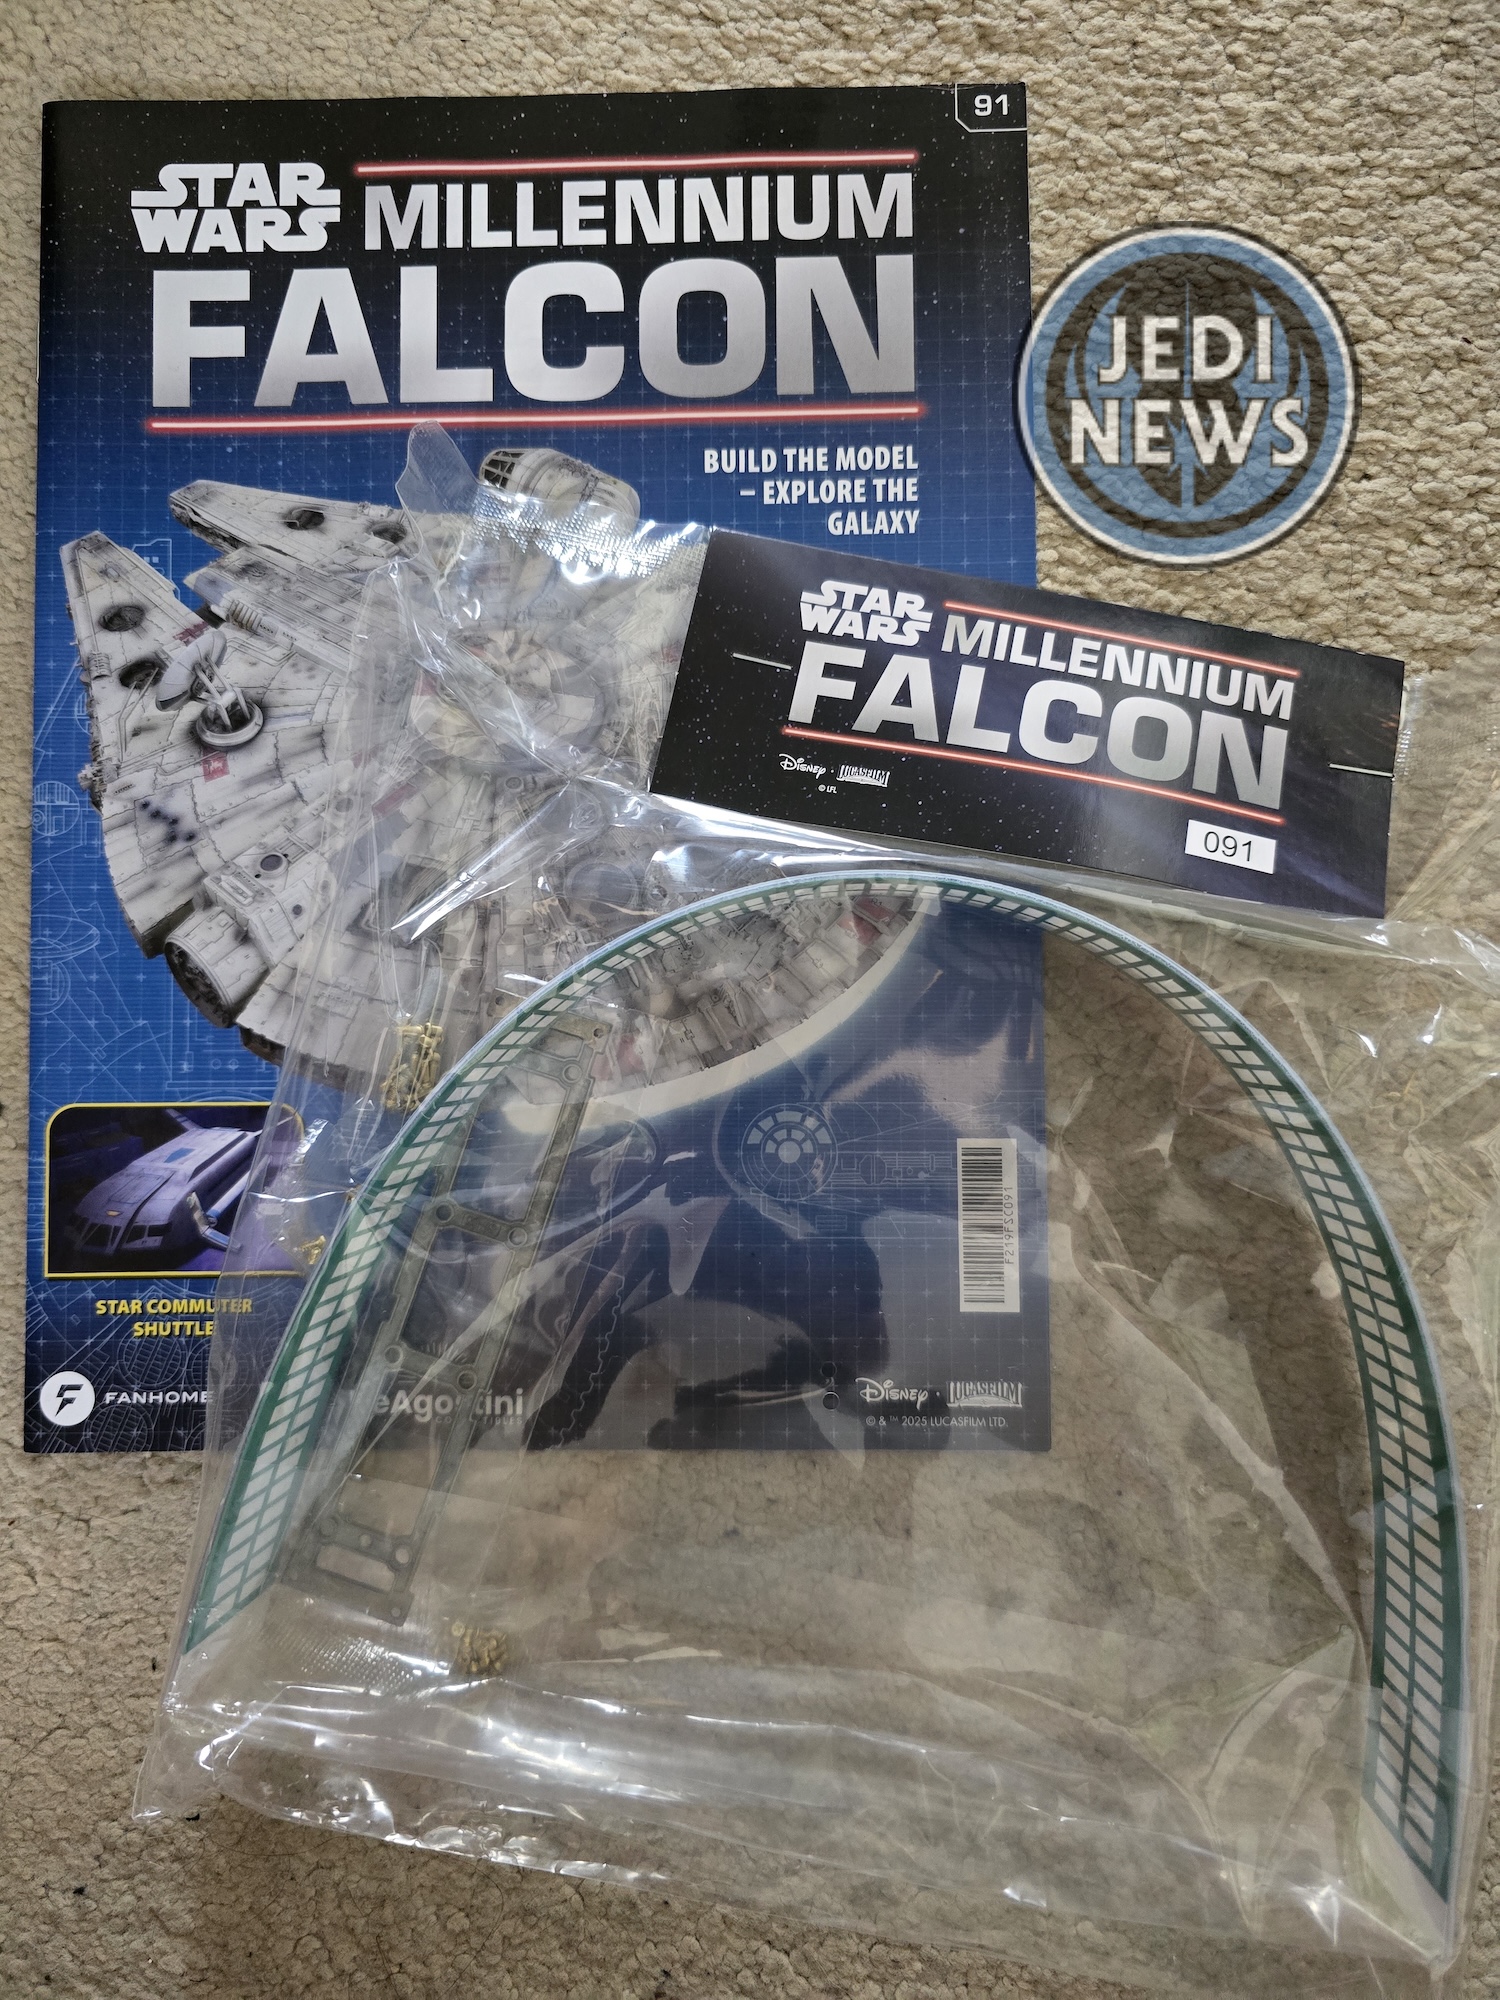
The start of the magazine is always full of information, and I’m a bit sporadic in reading it – I mean I’m really here for the build. The contents of this magazine drew me in; a feature on the Star Tours shuttle. As someone who has been to Star Tours, it was really good to have a feature on the shuttle. Before I got too distracted, I started to head towards the back, where the instructions are. I didn’t have to go far as the Star Tours article was the only one in this issue. I started to wonder just how much we would be doing. The first part was fitting the engine diffuser. This looked totally awesome and something that I knew Ember would love doing. Then I saw why there were so many instructions – there was a section on painting the mandibles. This was something I glanced over but was not too concerned with. I had every intention of painting the model when it was finished but I already had a guide ready and waiting to use. This was the book by Josh Wraith, who has made a guide to painting this model using Archive X paints – colours that match the ones used by Industrial Light and Magic back in the seventies.


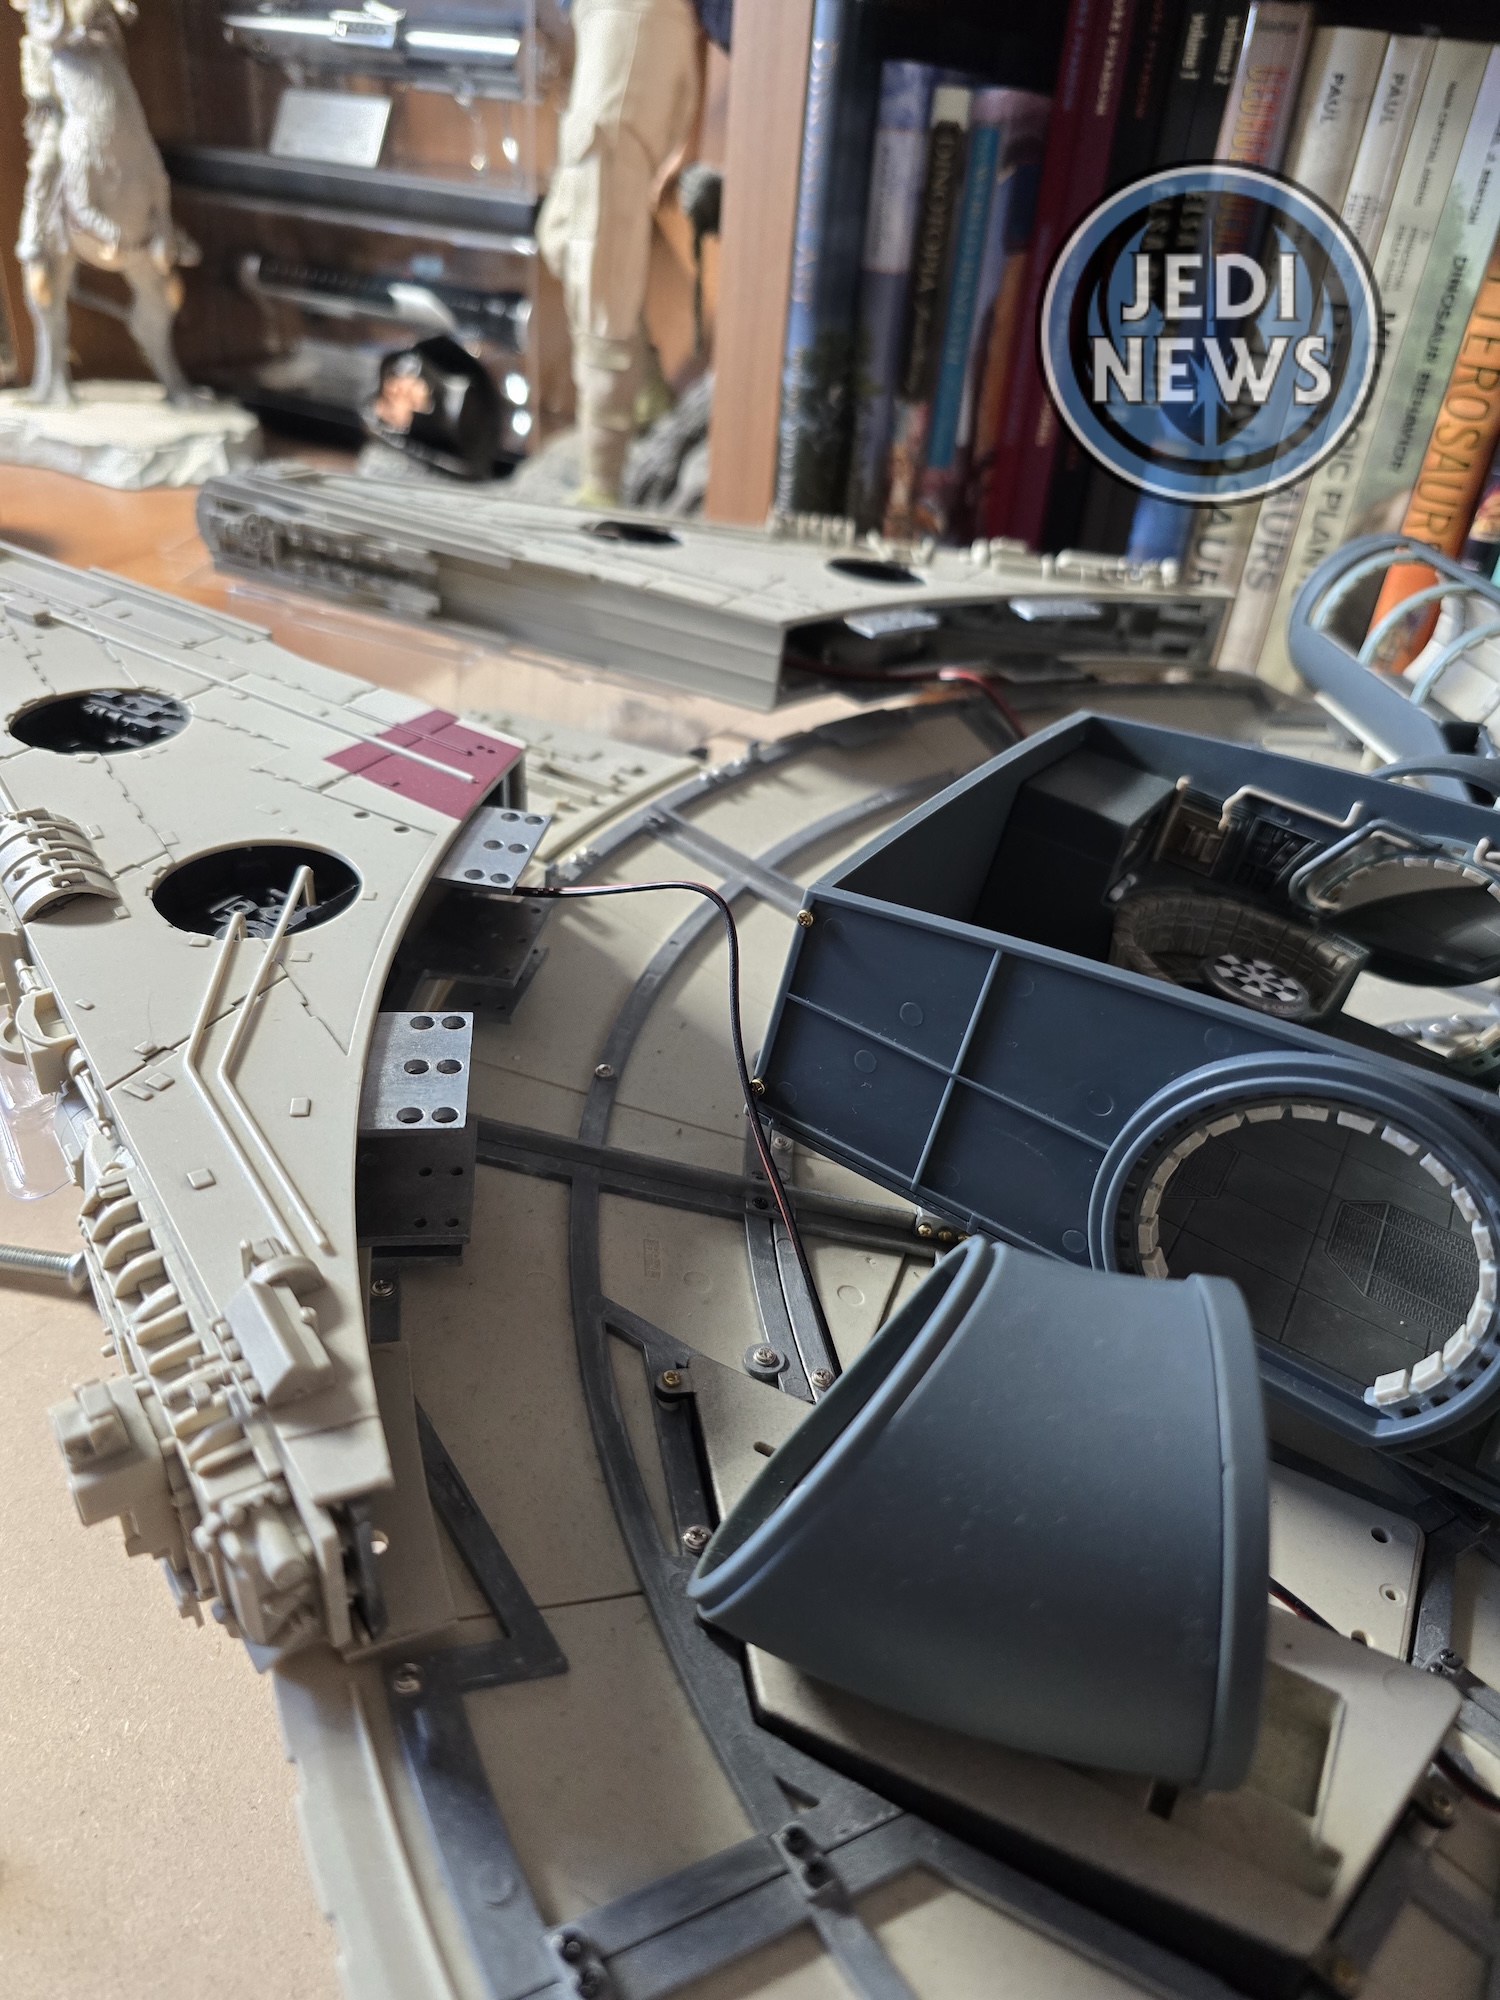
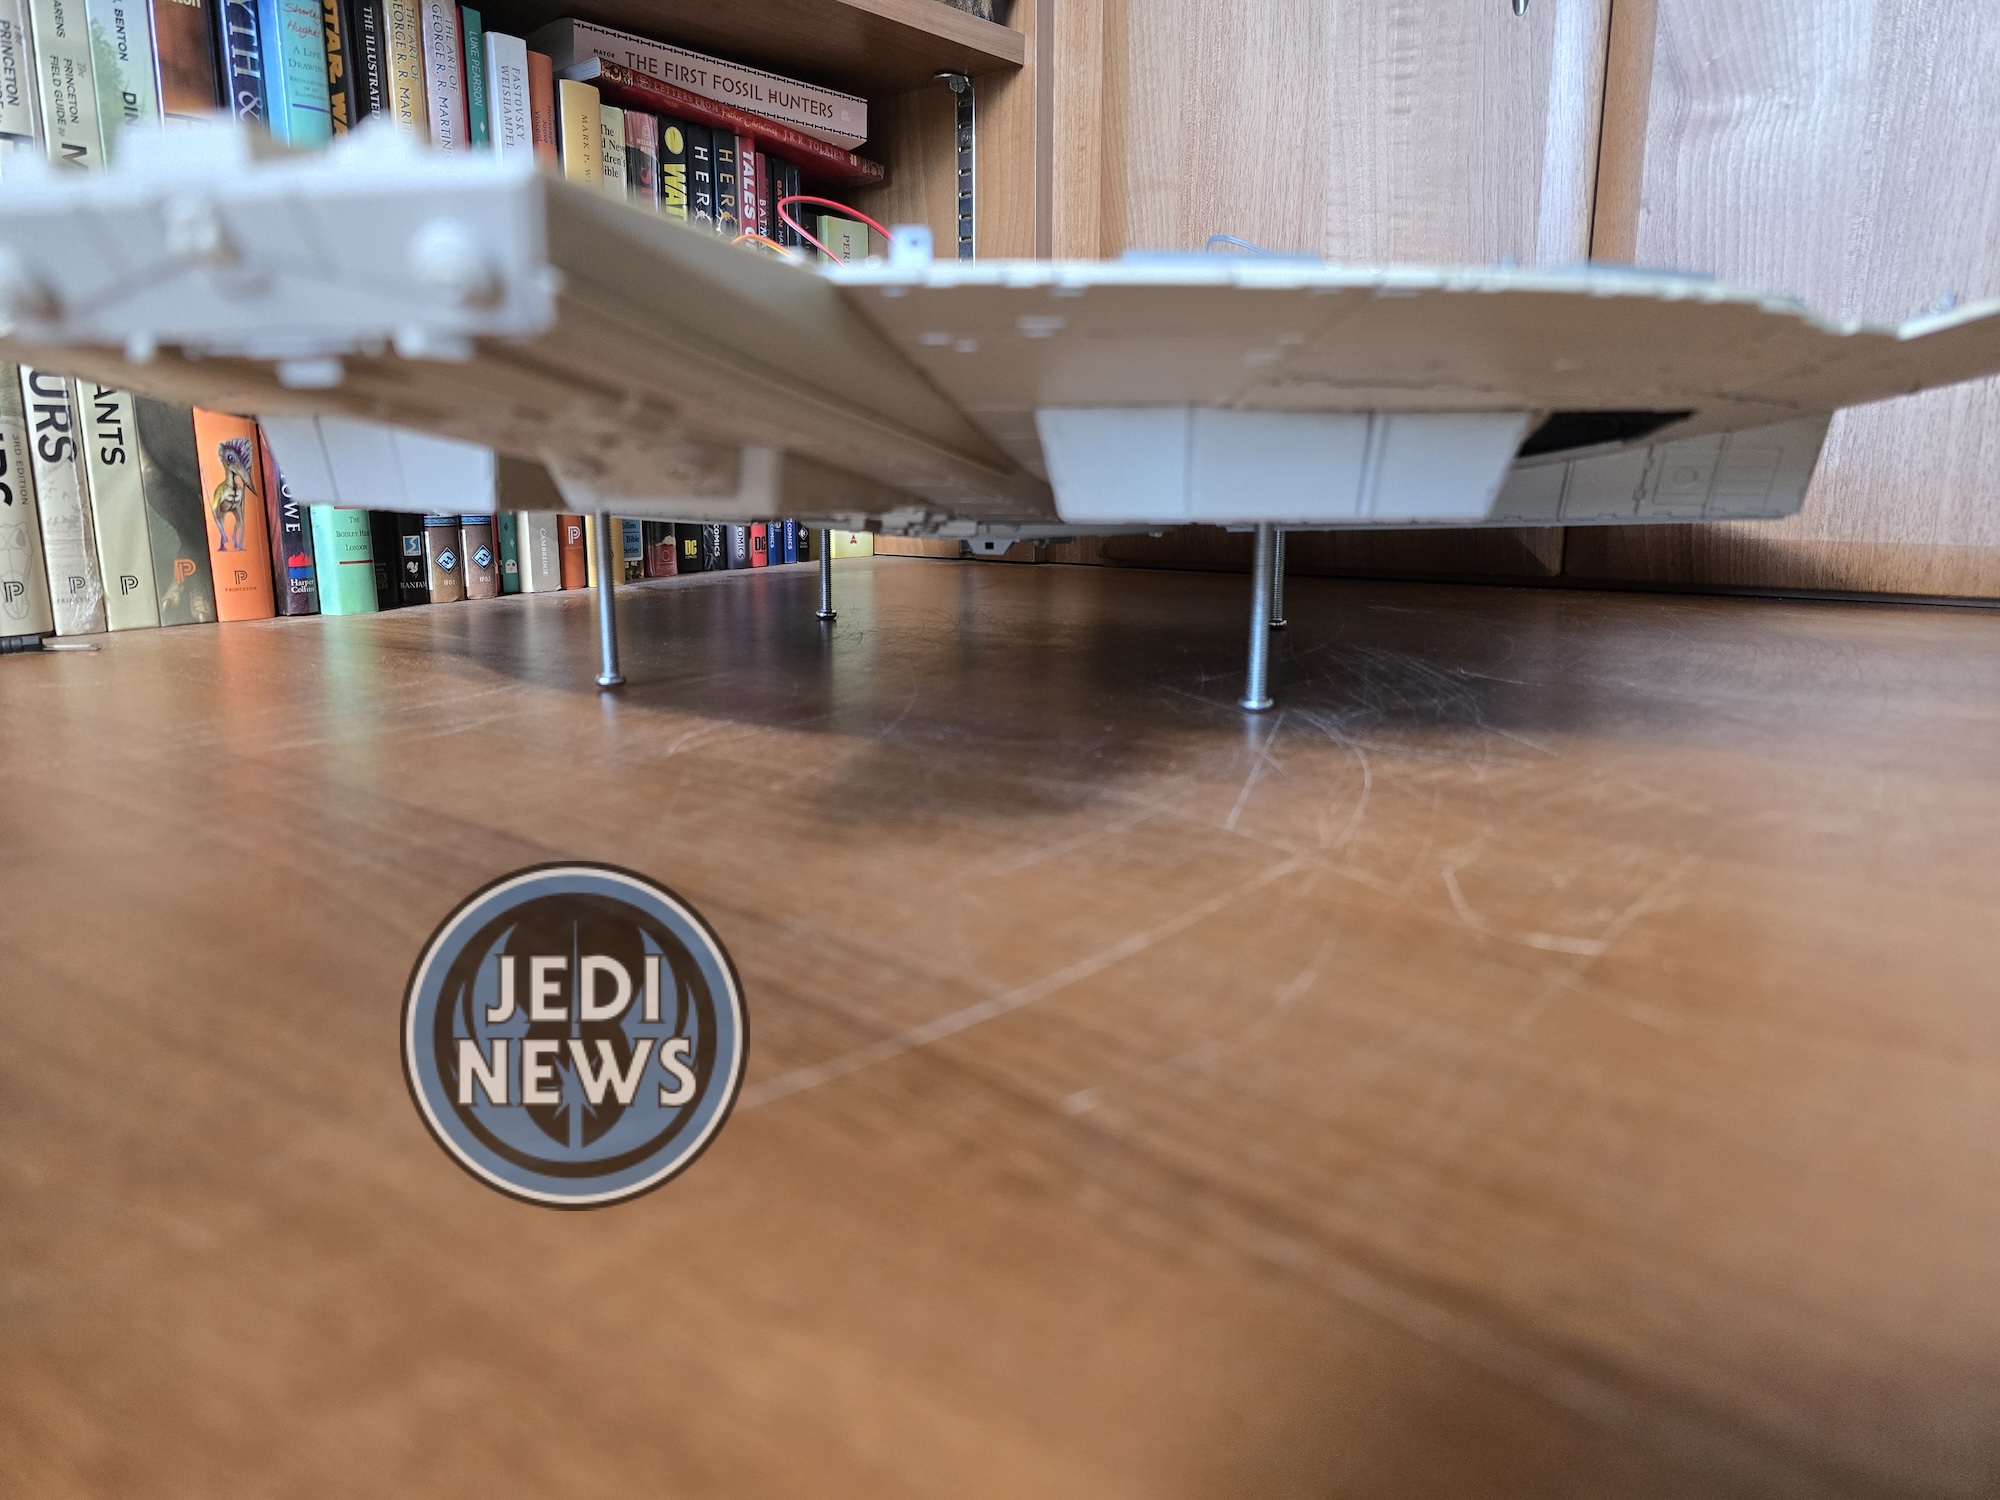
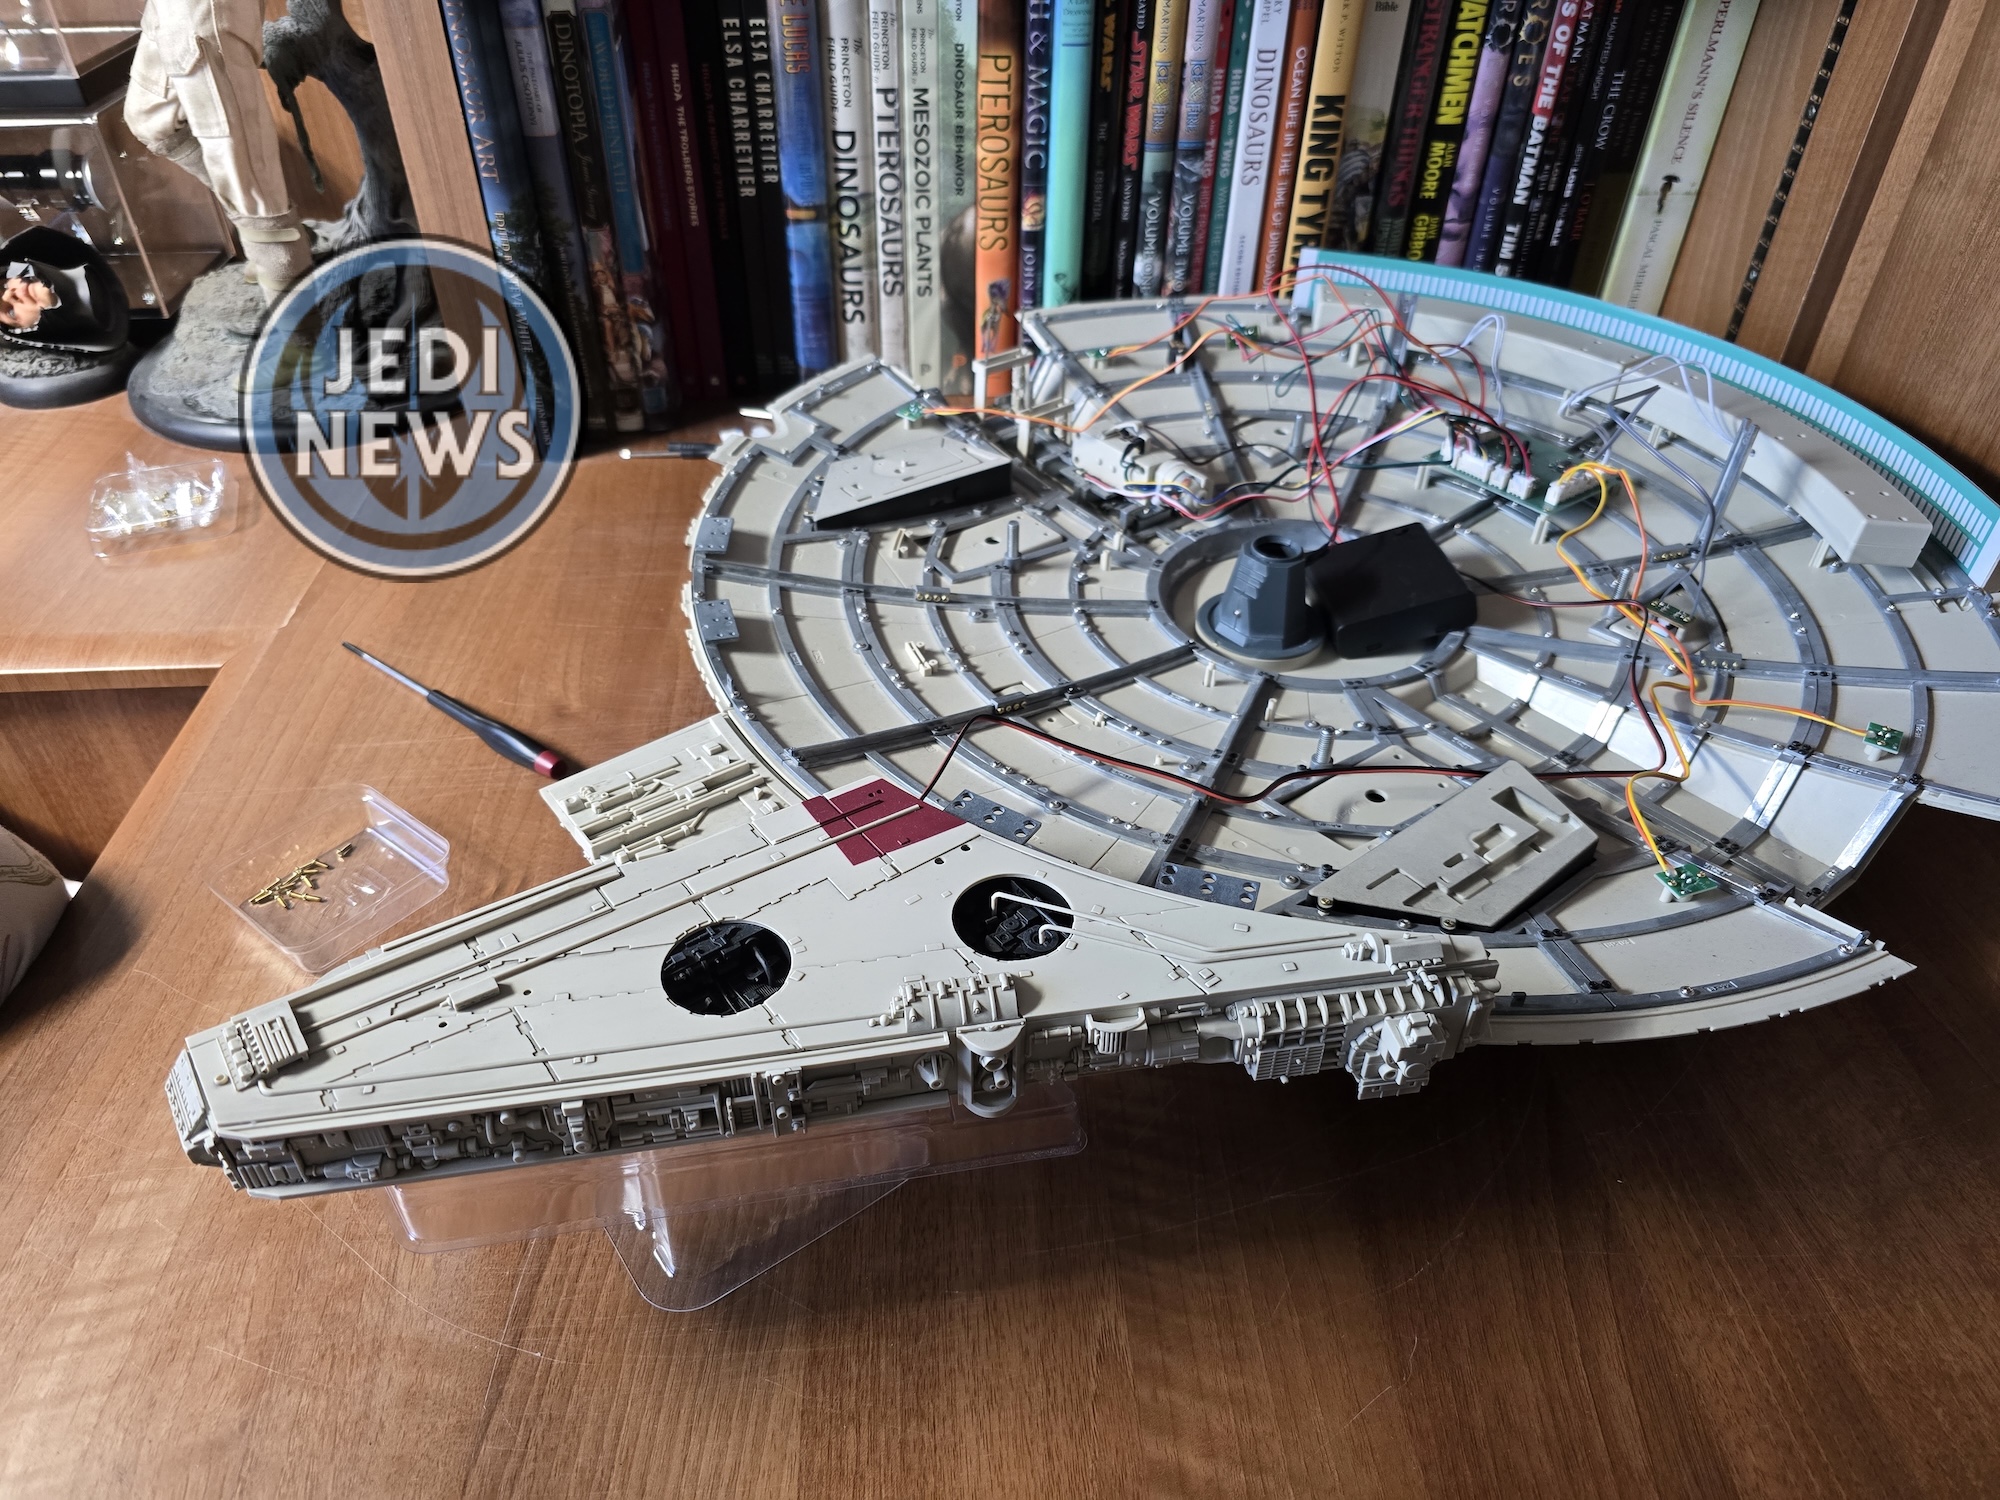
With that not really applicable to our build, I moved onto the last part. This was finally fitting the mandibles. One thing I immediately noticed was that they were not using the jig for the body of the Falcon, instead suggesting using the supporting screws. While I appreciated this, I had had to remove the supporting screws because of fitting the interior parts. I started to wonder just how necessary this would be. After that, it was taking the whole of the interior out (I guess that would give me access to the screws) to tidy up all the wires. While Ember and I could do this, I could see that this was going to take some time and probably some patience. It then says at the end to refit the interior, but knowing we would have to remove the supporting screws (again) would mean this would just get in the way. Maybe the magazine should have just left the interior out till after all of this?!


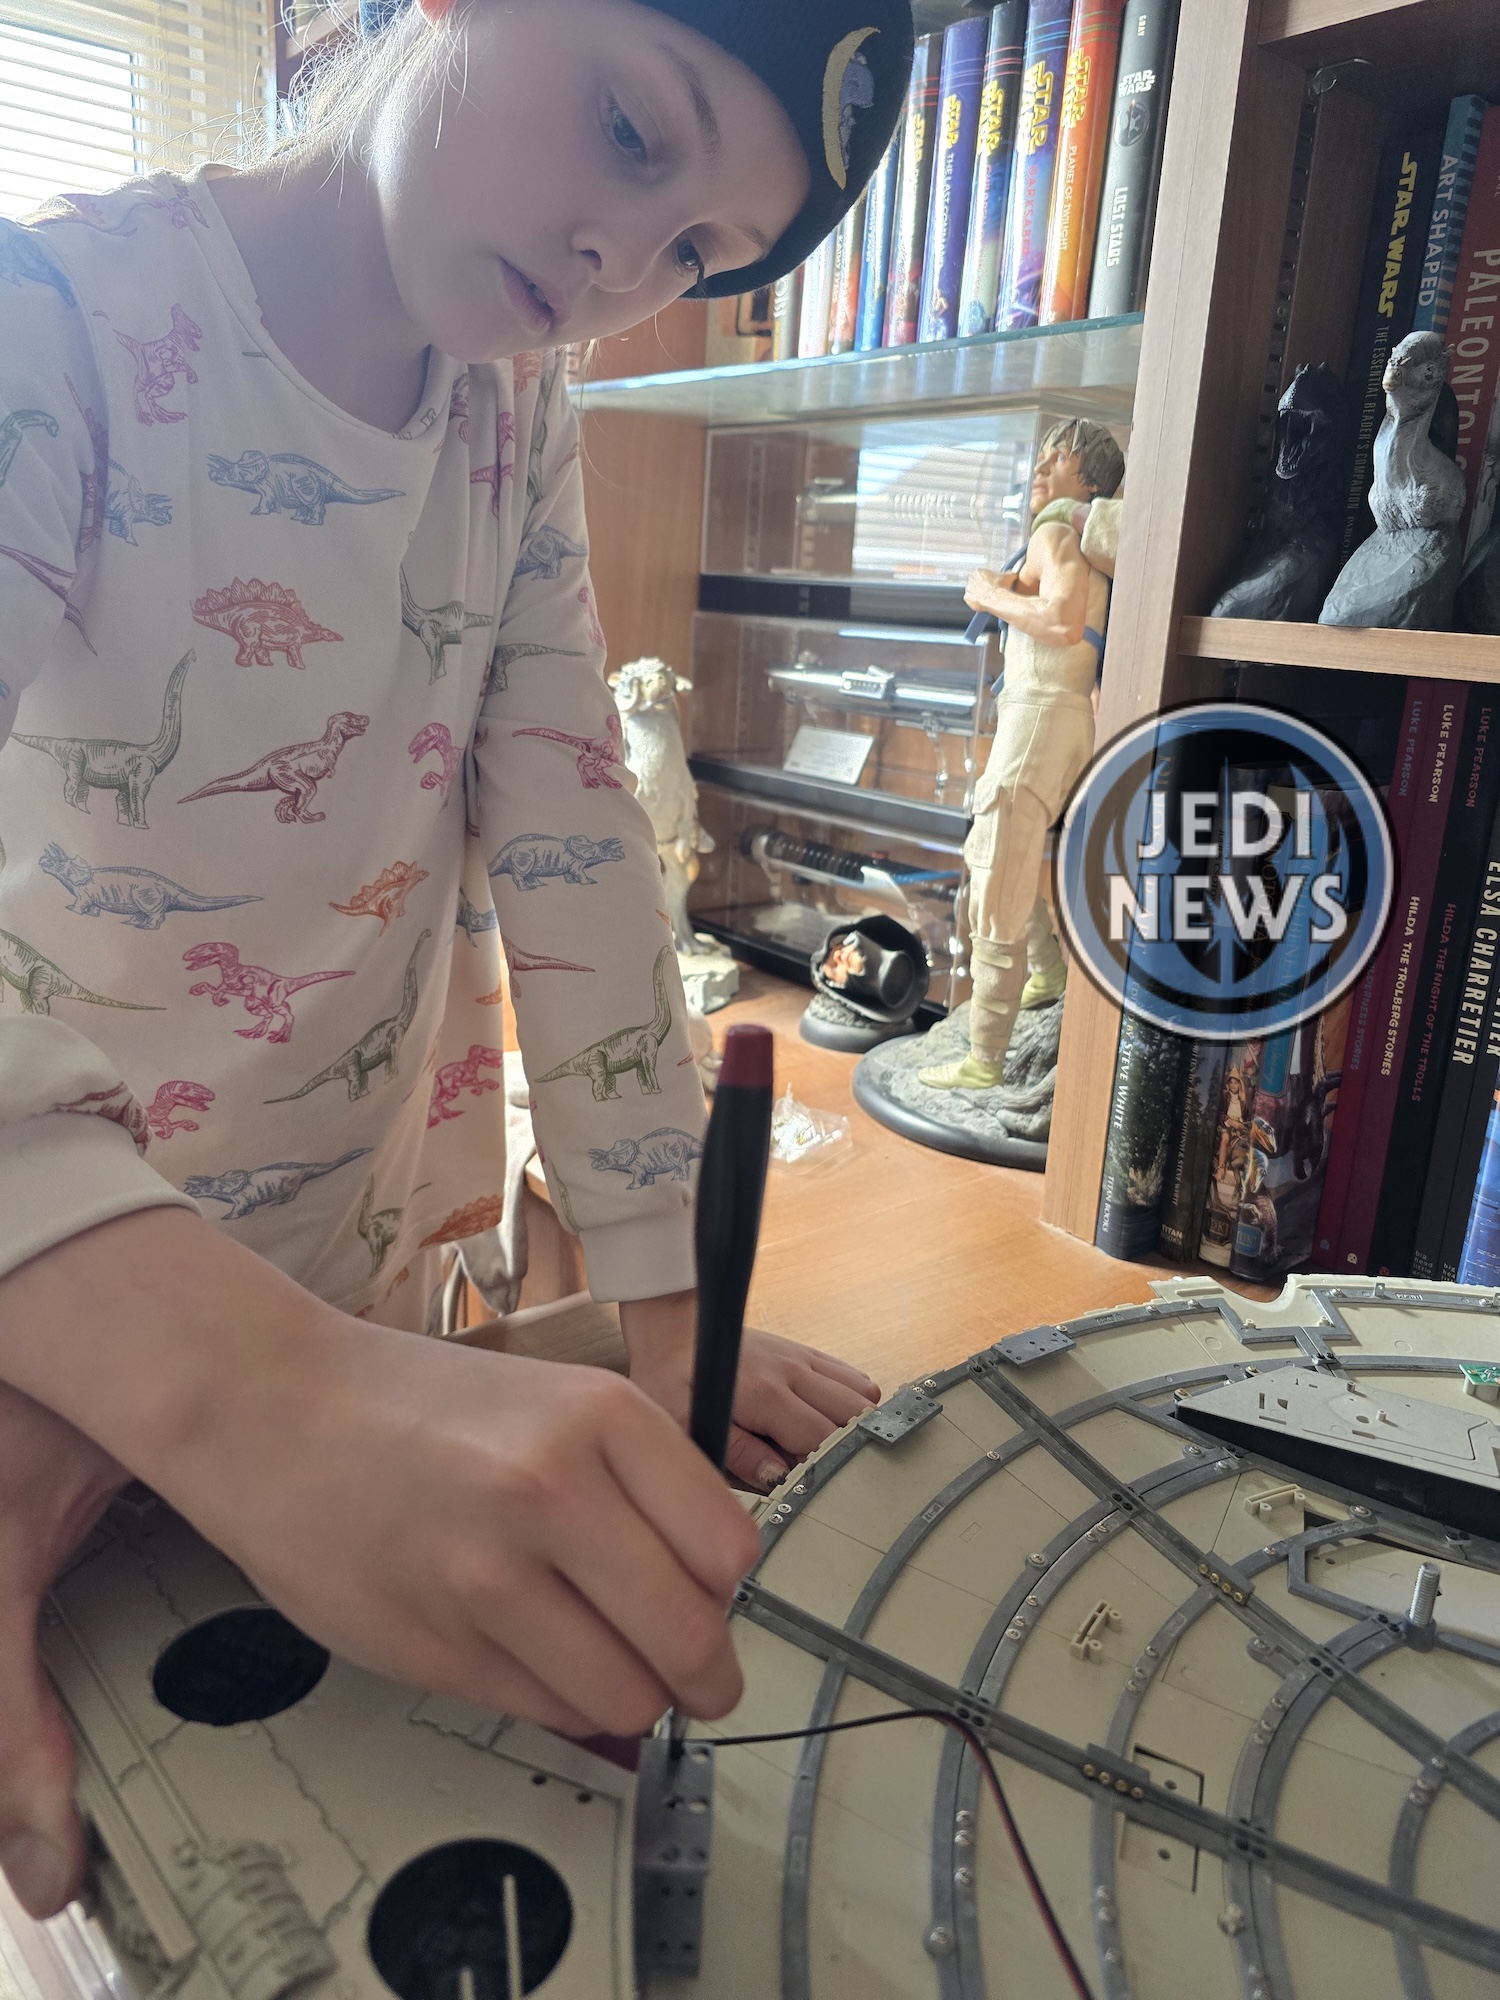
With nothing to do but think on the supporting screws, it was time to sit down with Ember and actually do it. But that thinking time was essential. It had been so long since we had used the supporting screws, to seeing them inside the Falcon for so long, that I had completely forgotten how these could be actually used – they needed to be attached from the outside! Well didn’t I feel like a nitwit! While I had figured this little problem out, actually manipulating the screws from the outside, while trying to hold a rather detailed Falcon at this point, did not thrill me either! I was initially going to do this by myself and then realised that Ember could put screws in as well as I could these days and with me holding the Falcon it would make the whole thing a lot easier. I guess we were ready to go – with a bit of a sense of foreboding…


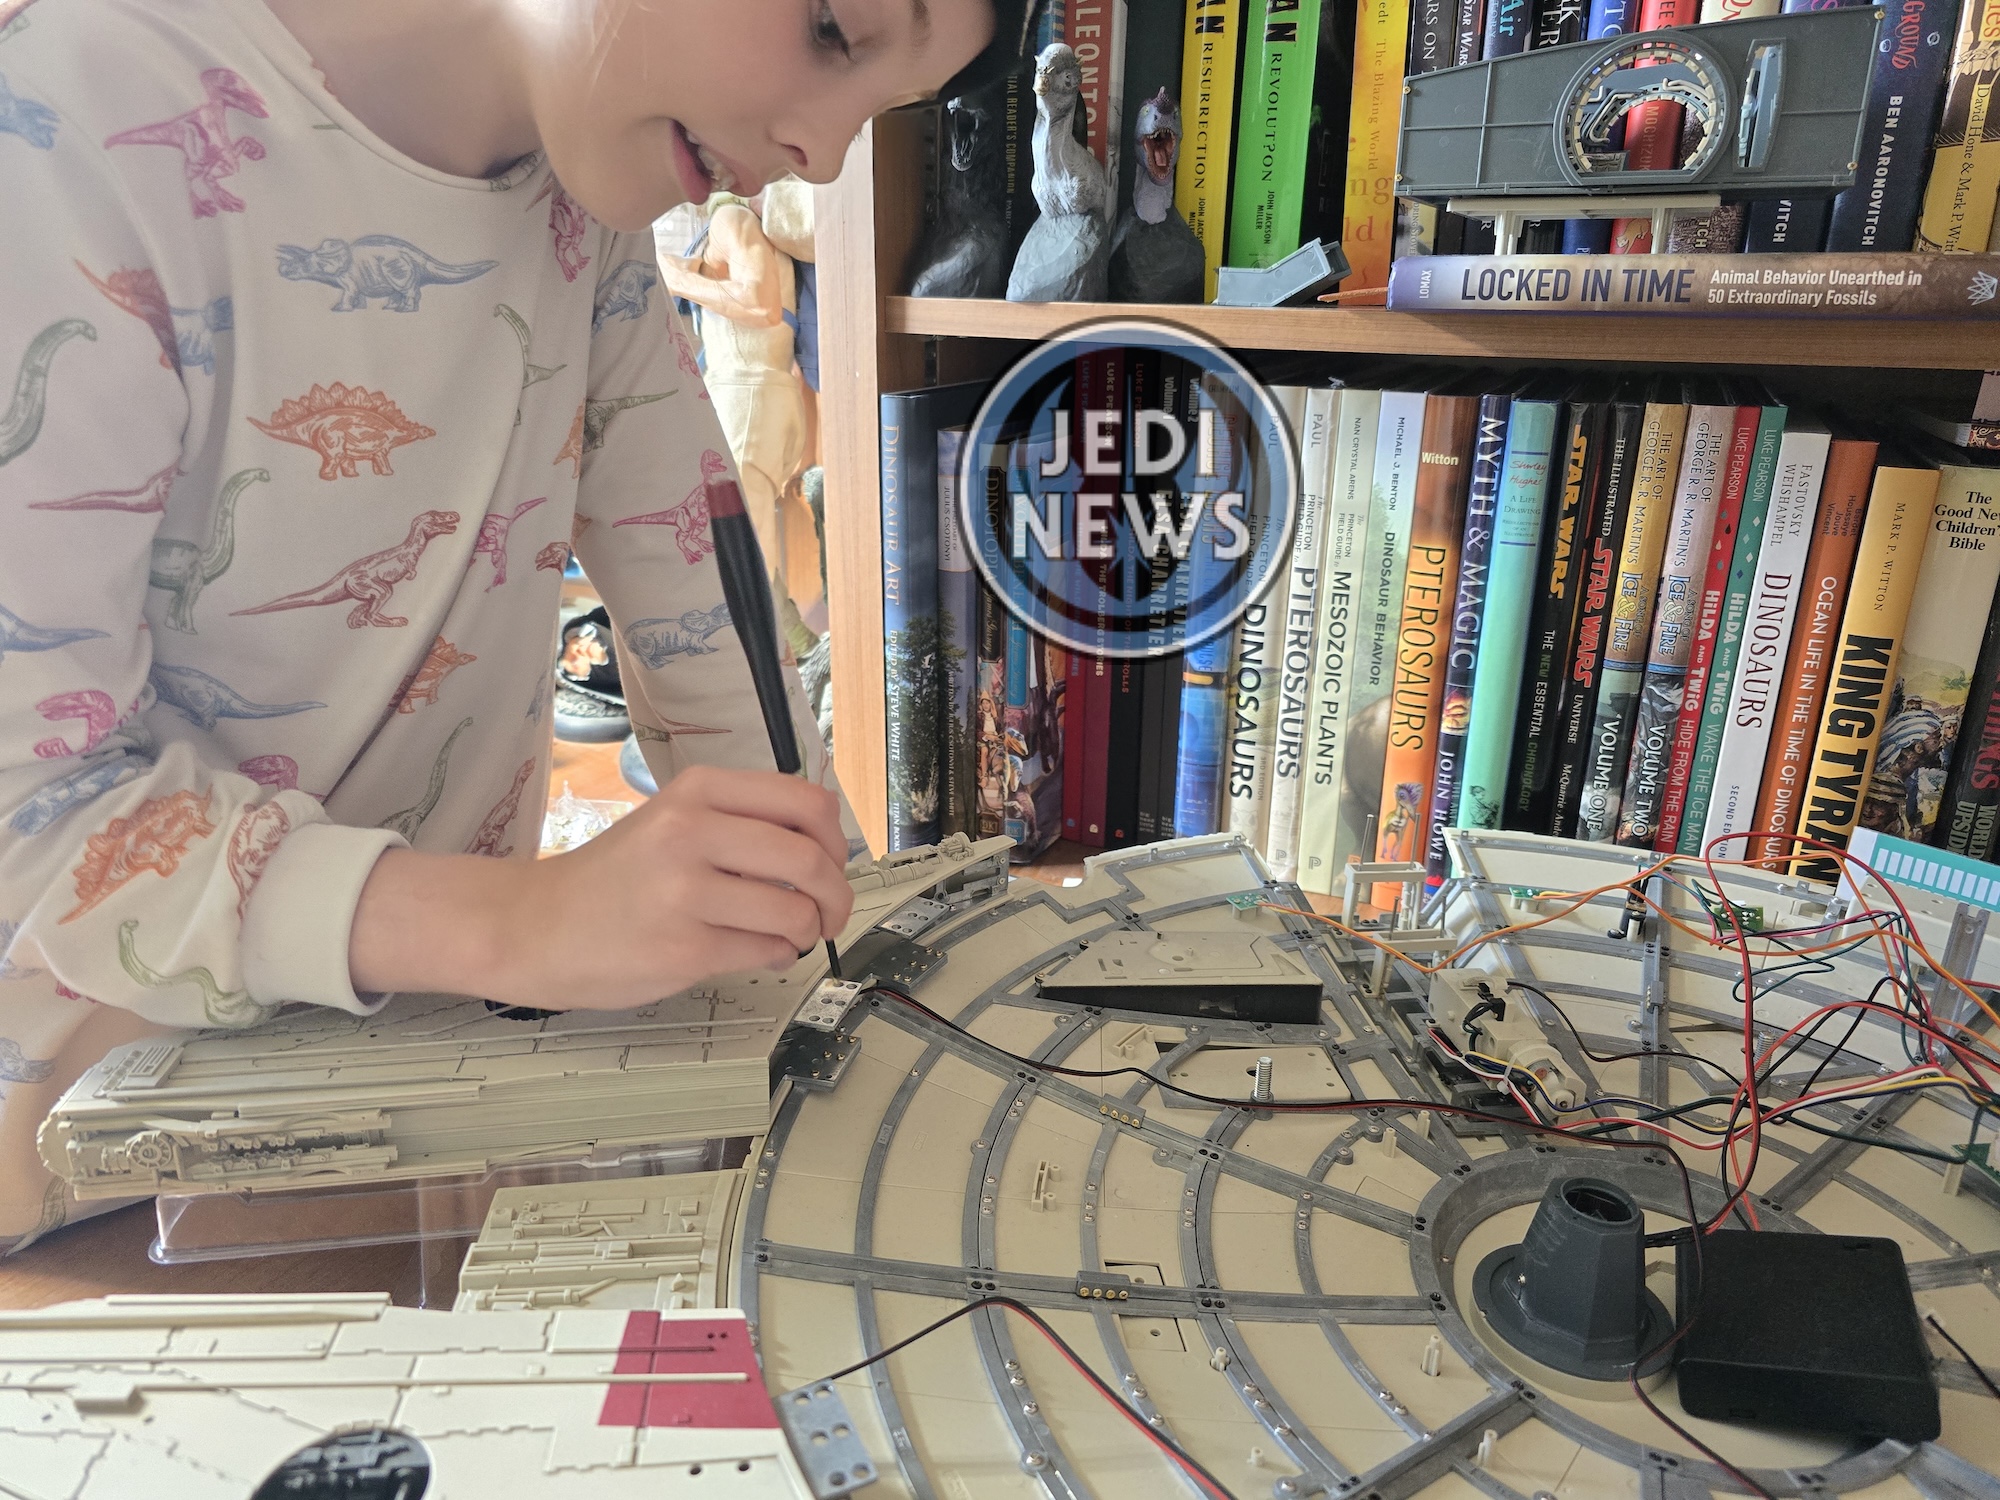
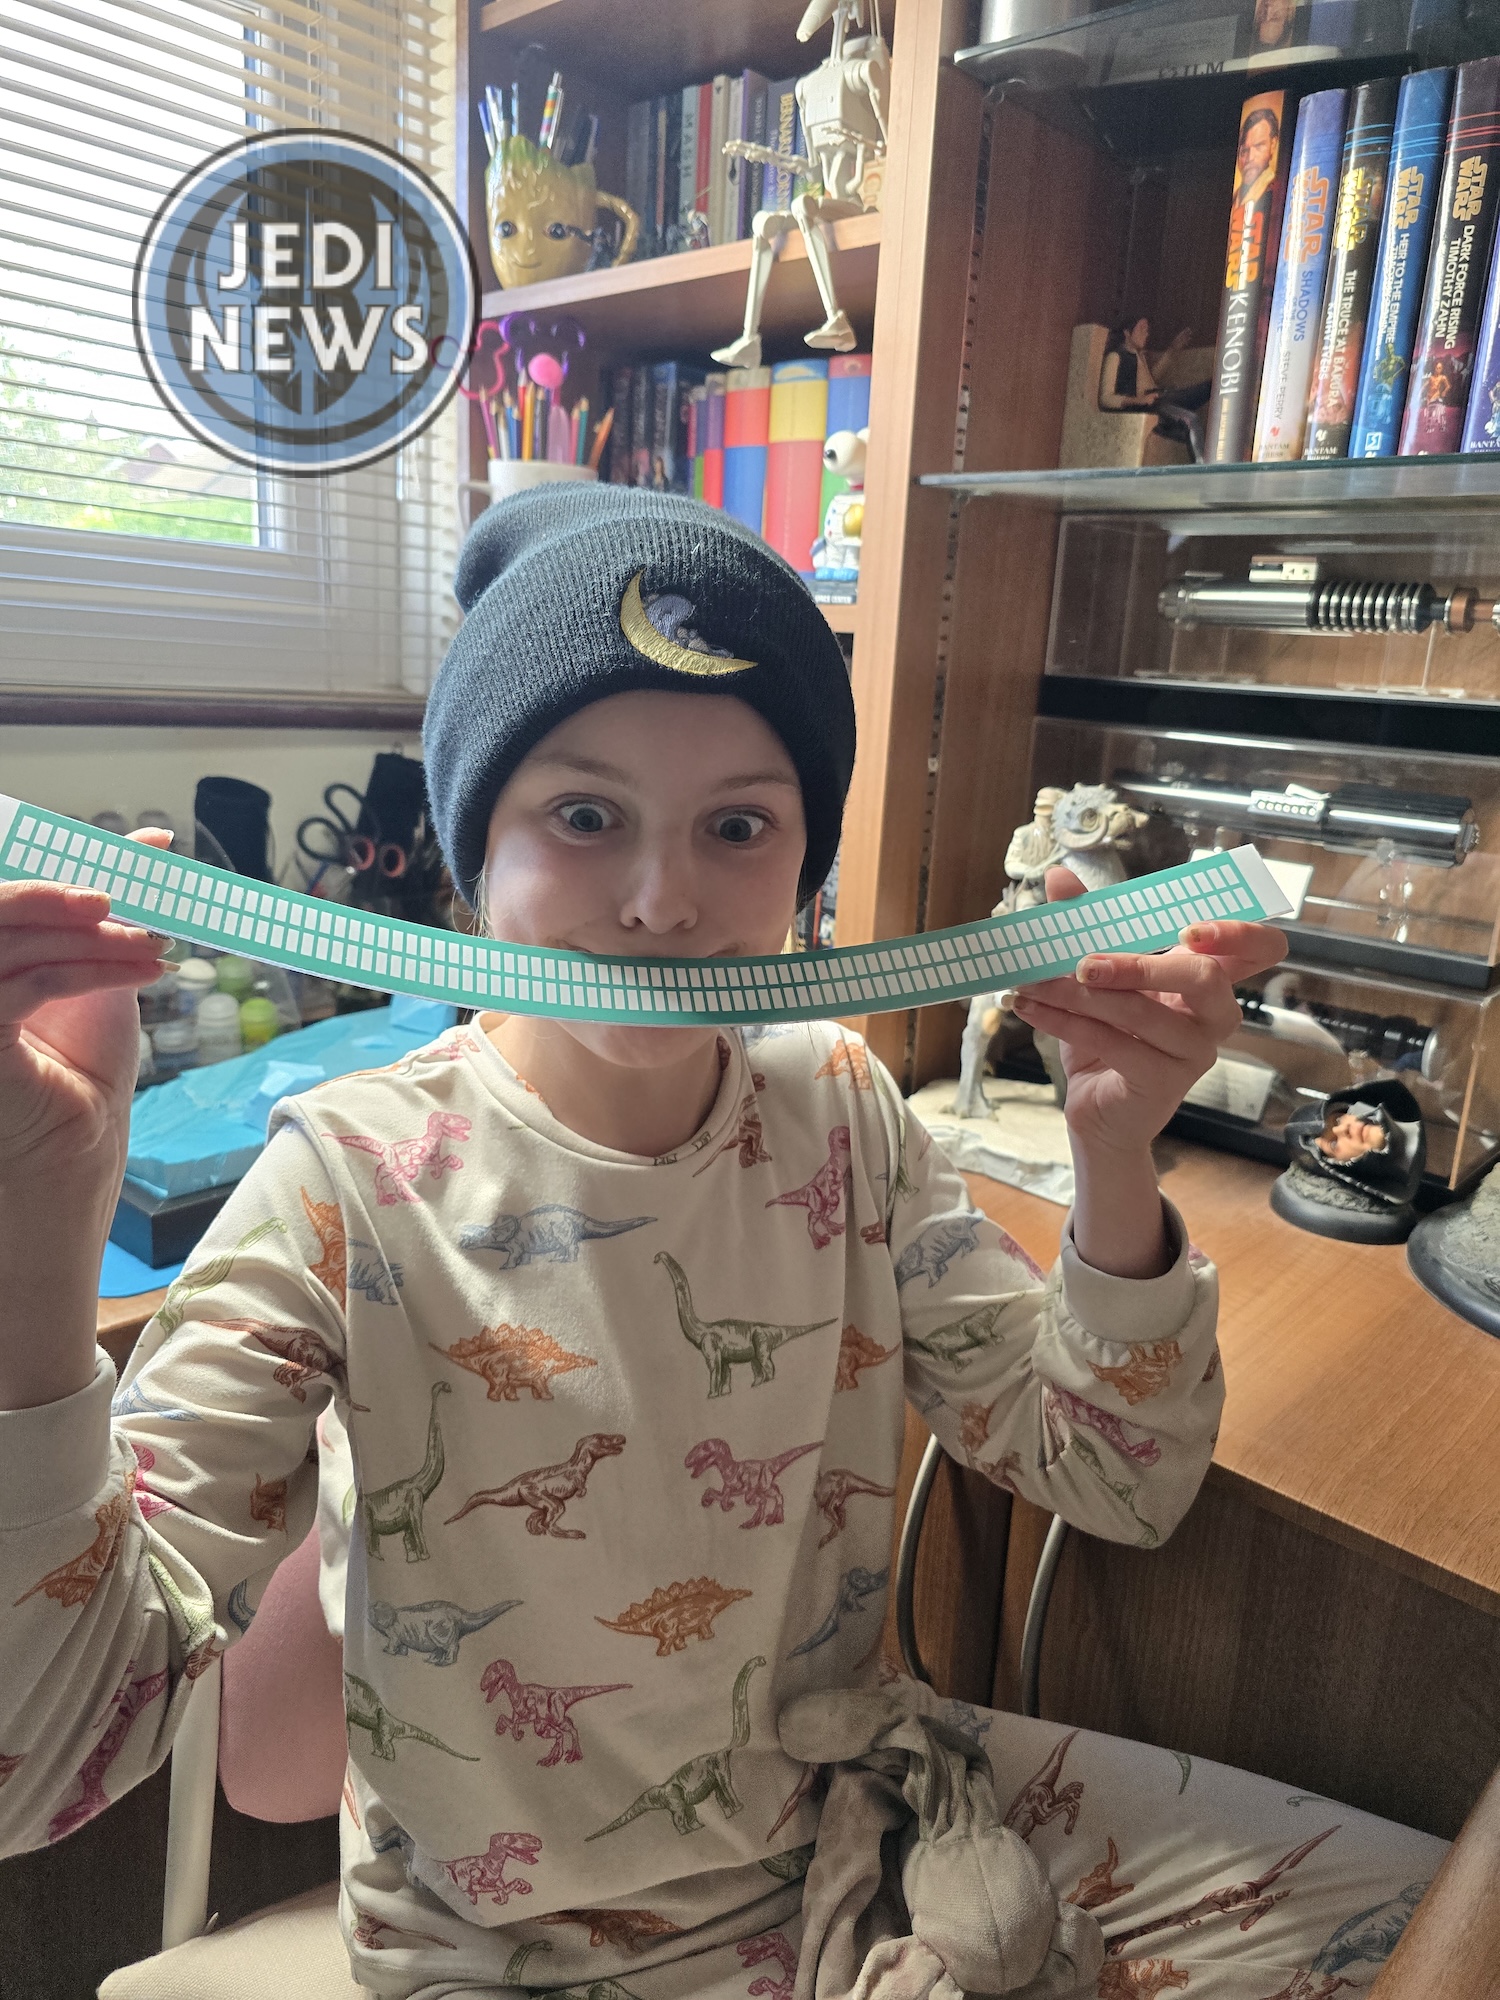
The first part of the magazine was fitting the diffuser strip. Ember loved removing the plastic and was very happy to fit this all by herself. A fairly straight forward thing to do. She wasn’t quite as impressed by the light diffusion as I was when we turned on the lights. She hadn’t read far enough into the magazine to let her know that the effect doesn’t work particularly well until the top encases the whole thing. I was still as giddy as a school child though! I could see the potential here. Yes I wouldn’t be displaying the Falcon with lights on most of the time, but it was amazing to see the engines come alive.
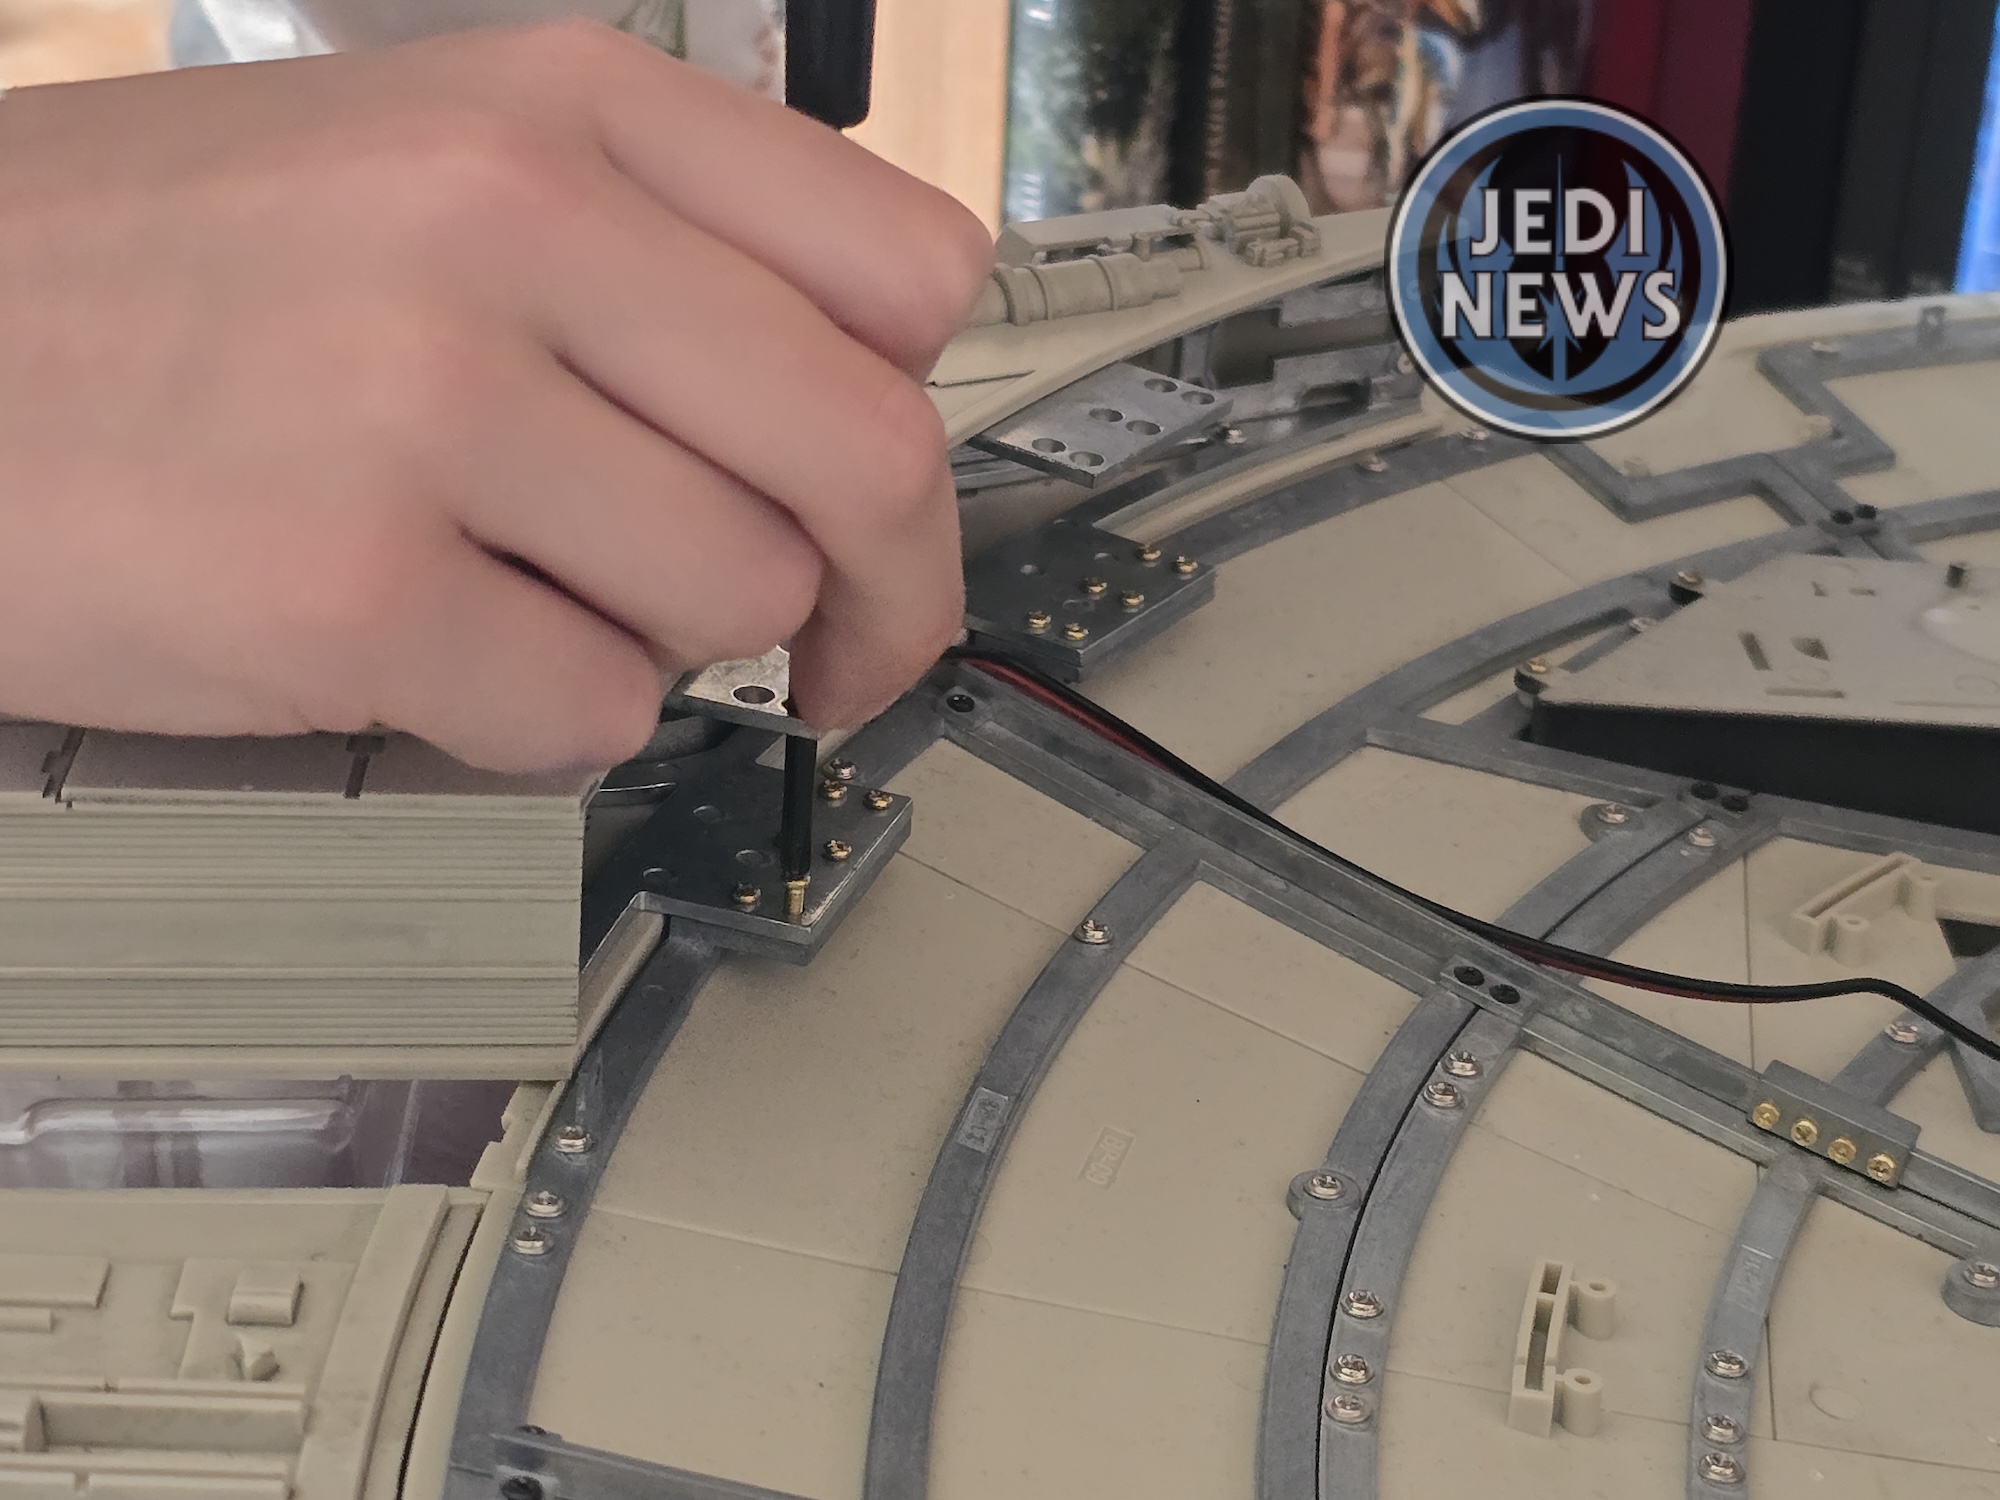
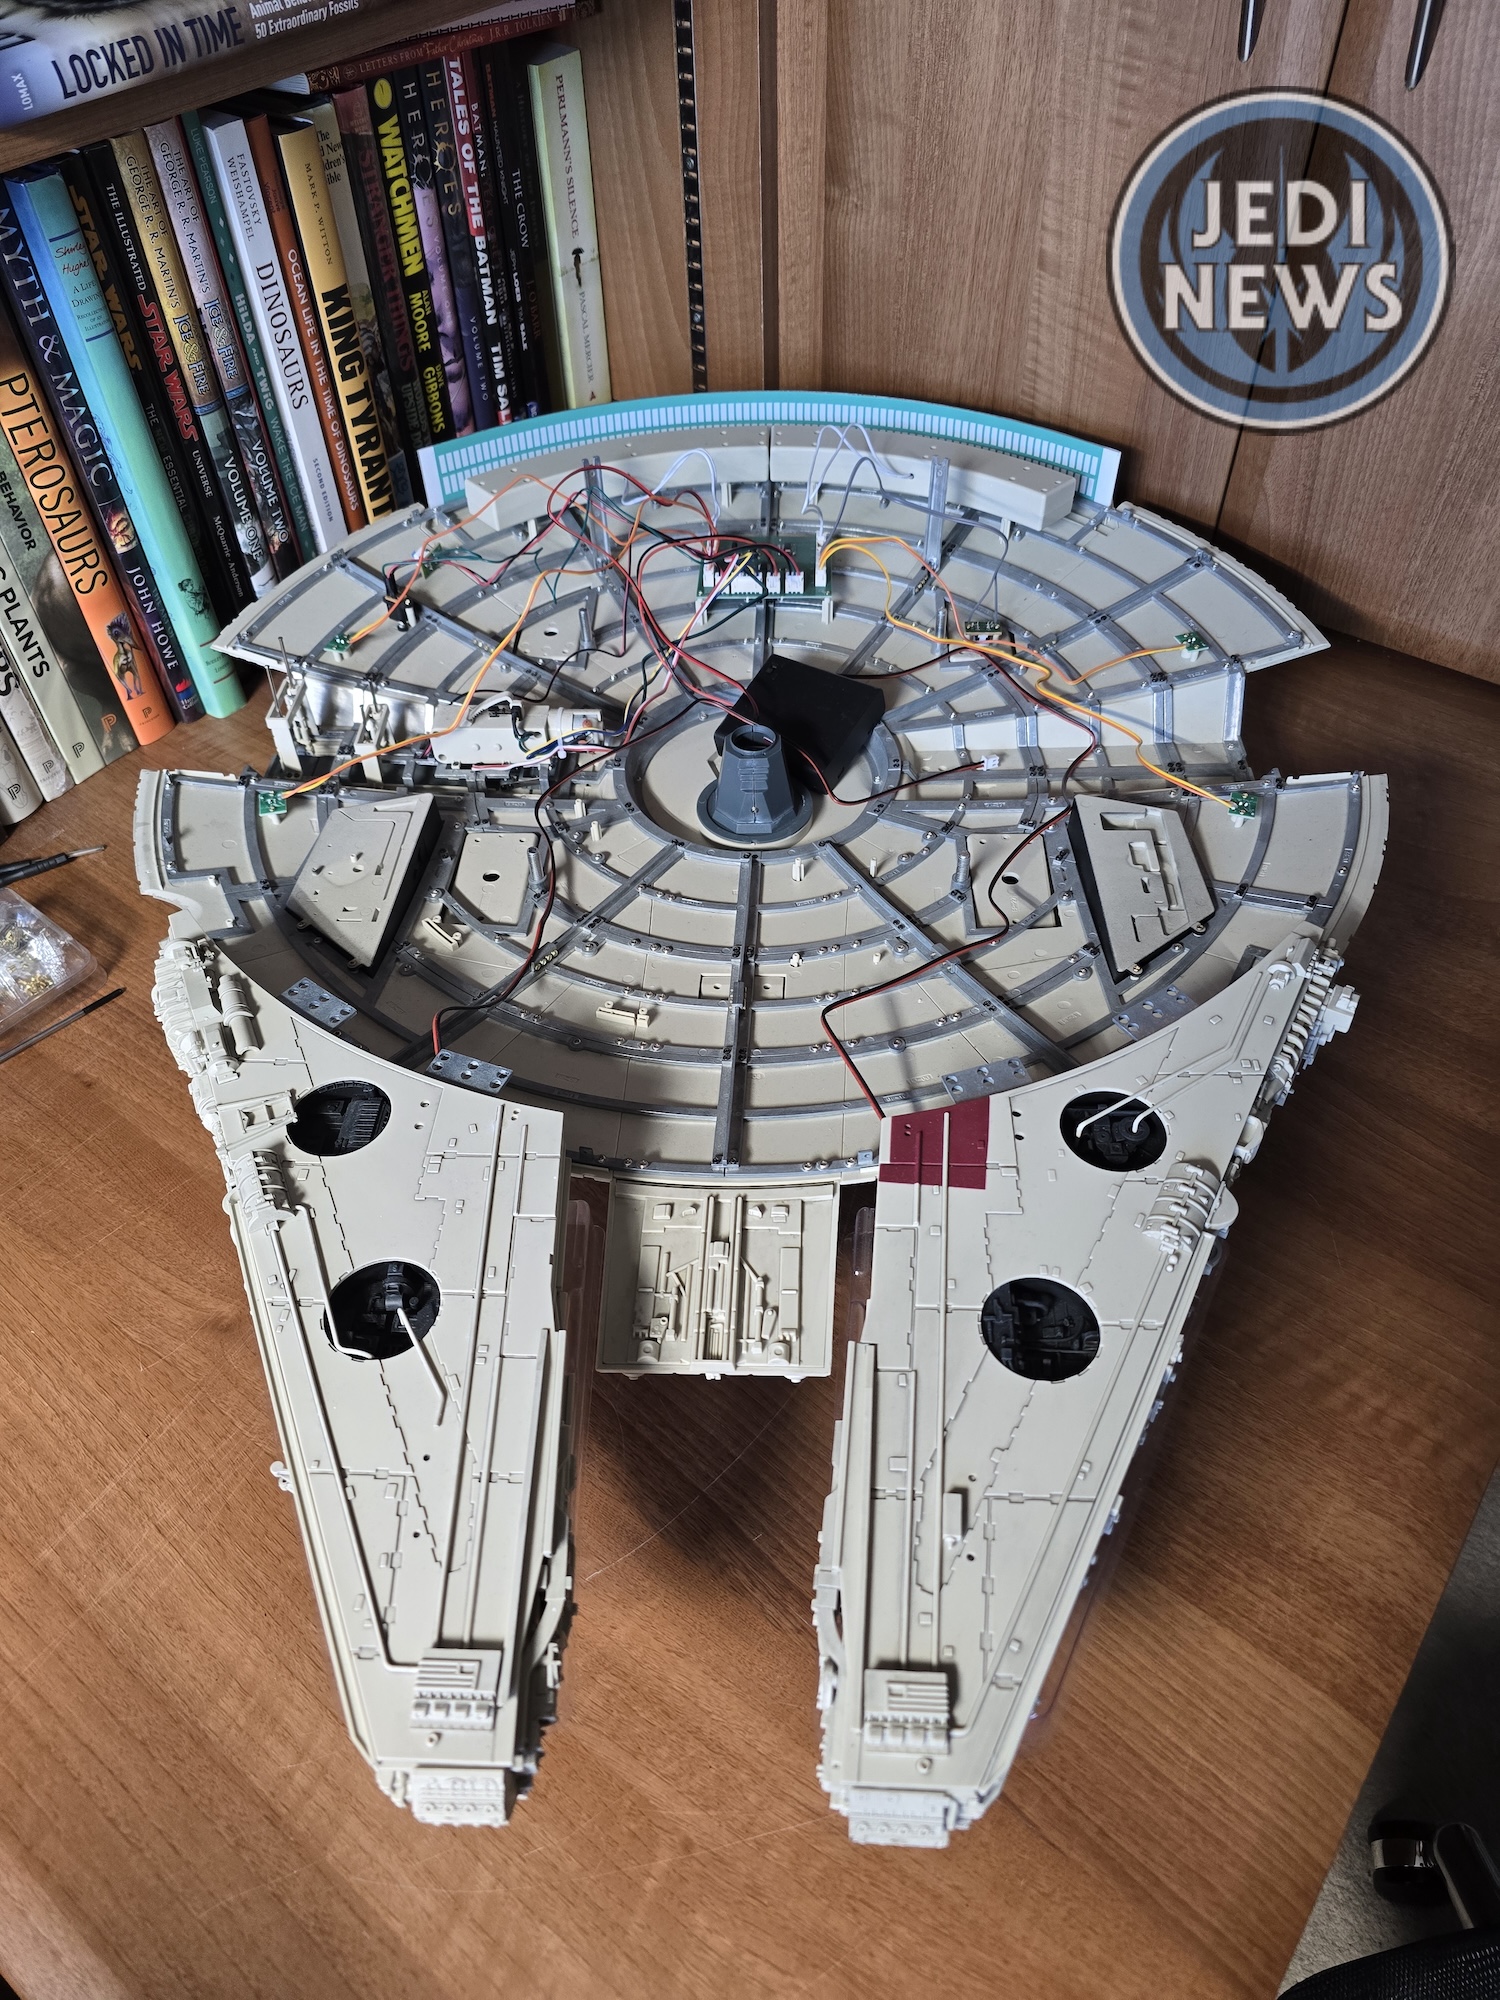
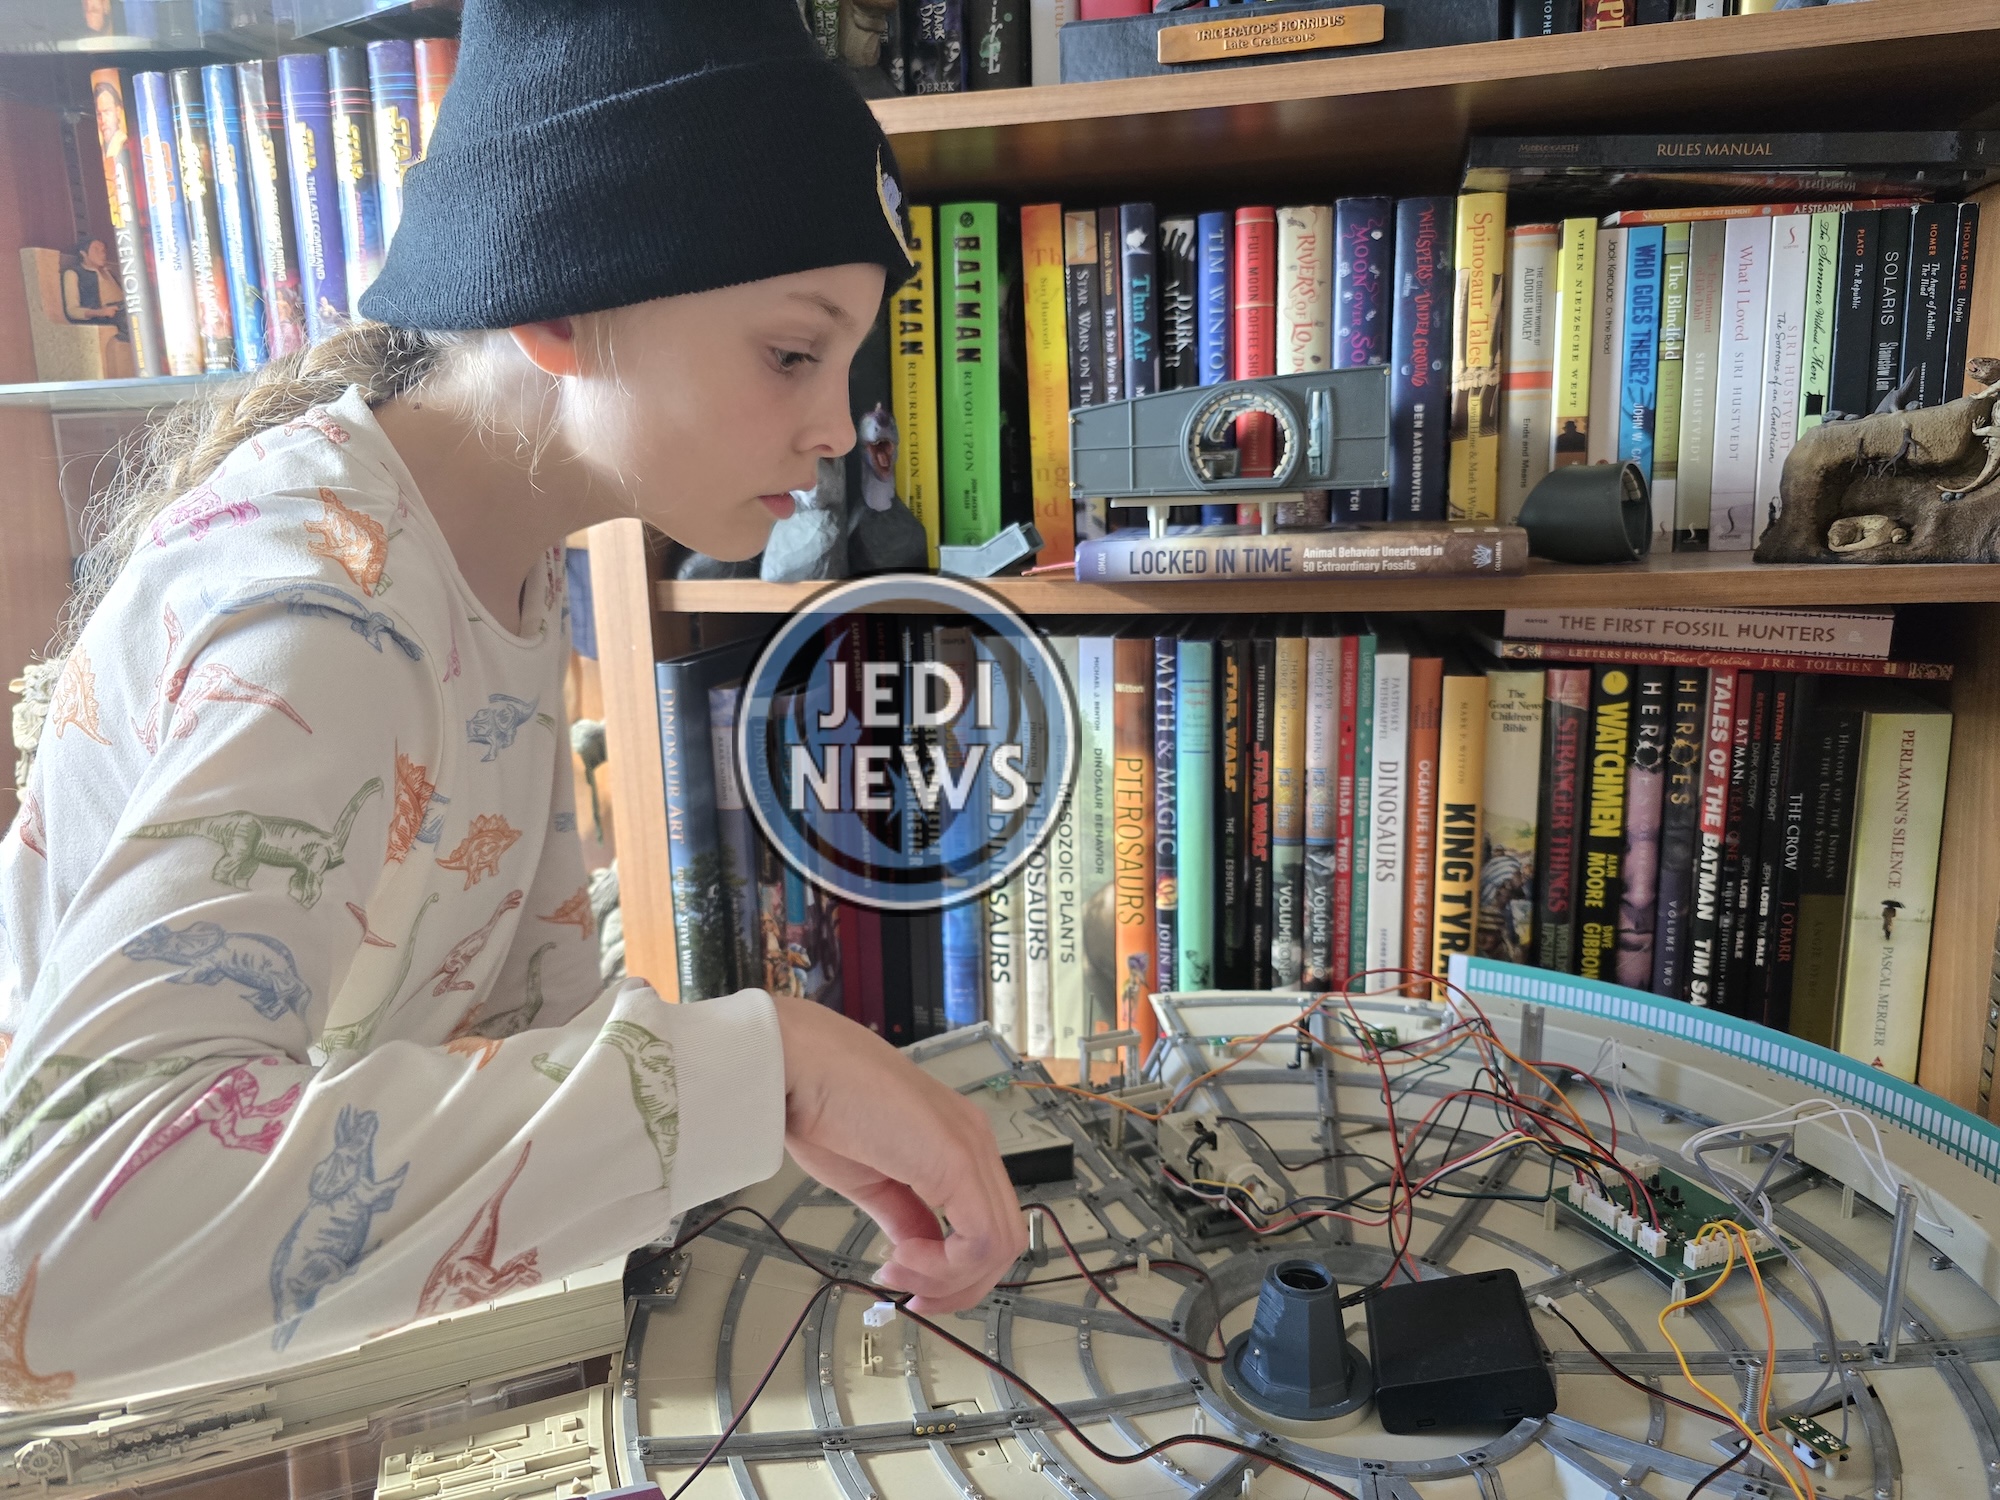
After this, it was onto the mandibles. I went back and forth about whether to keep the Falcon on the jig that it had called home for so many years now, there was perhaps two millimeters of clearance with that and the mandibles. But the whole point was to stop any strain on the mandibles, so I bit my tongue and worked with Ember to add the fixing screws. Was it easy? No, although a lot easier with Ember and I doing it together. The lining up of the height took some work but once we had it lined up properly, I could see just how much better it would be than leaving it on the jig. I sadly looked at the jig on its wooden base, now not needed. It felt like the end of an era!
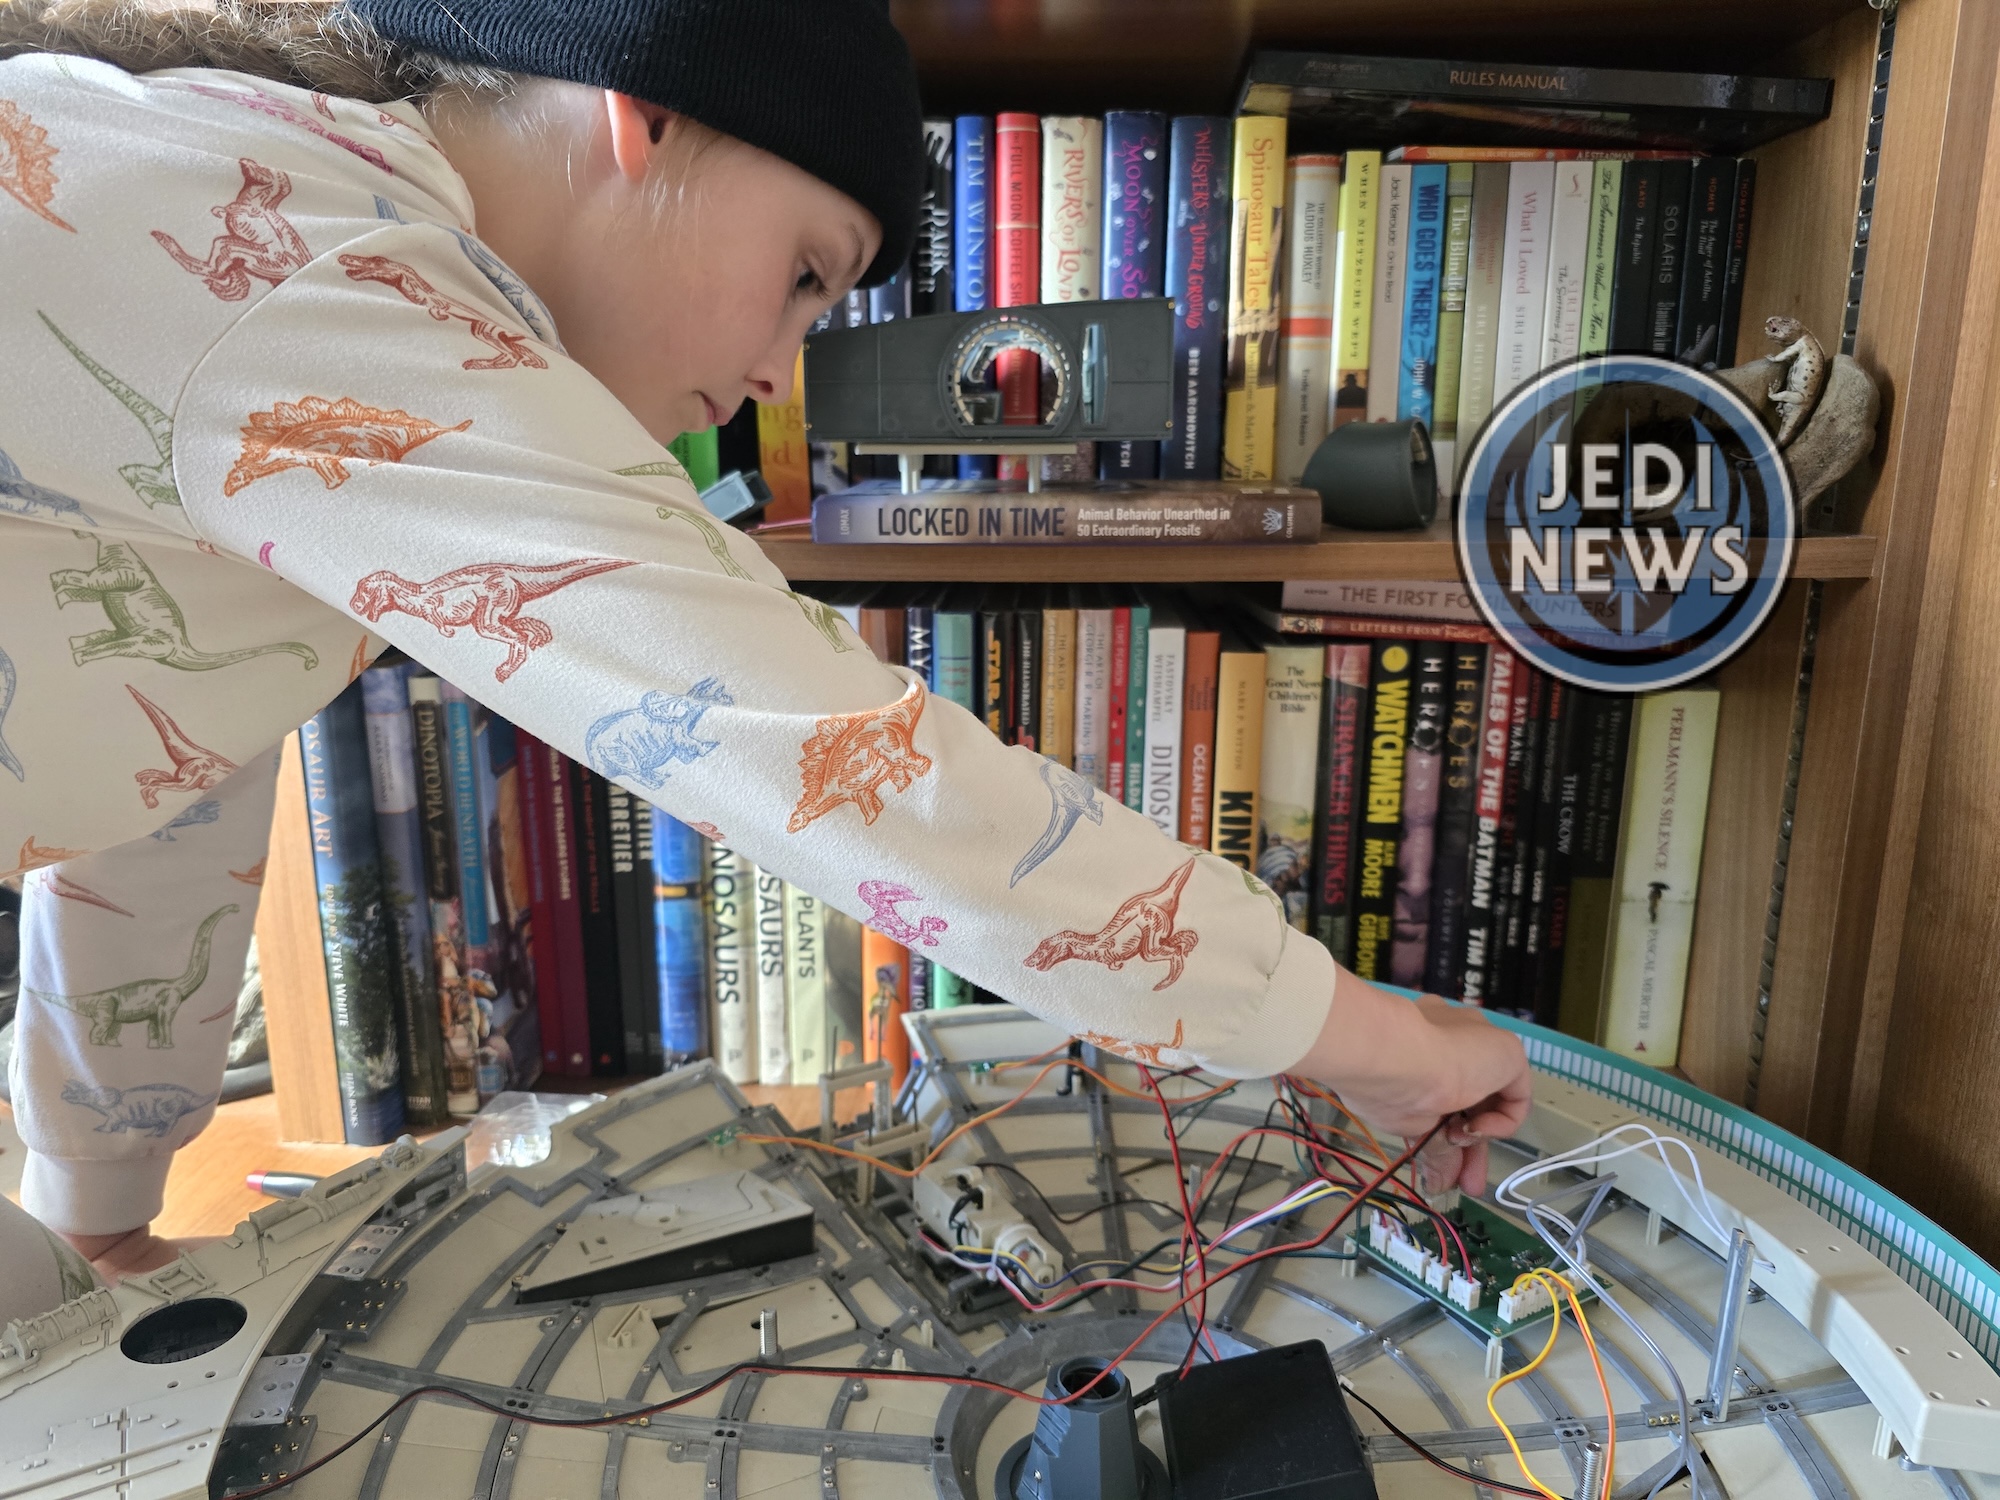
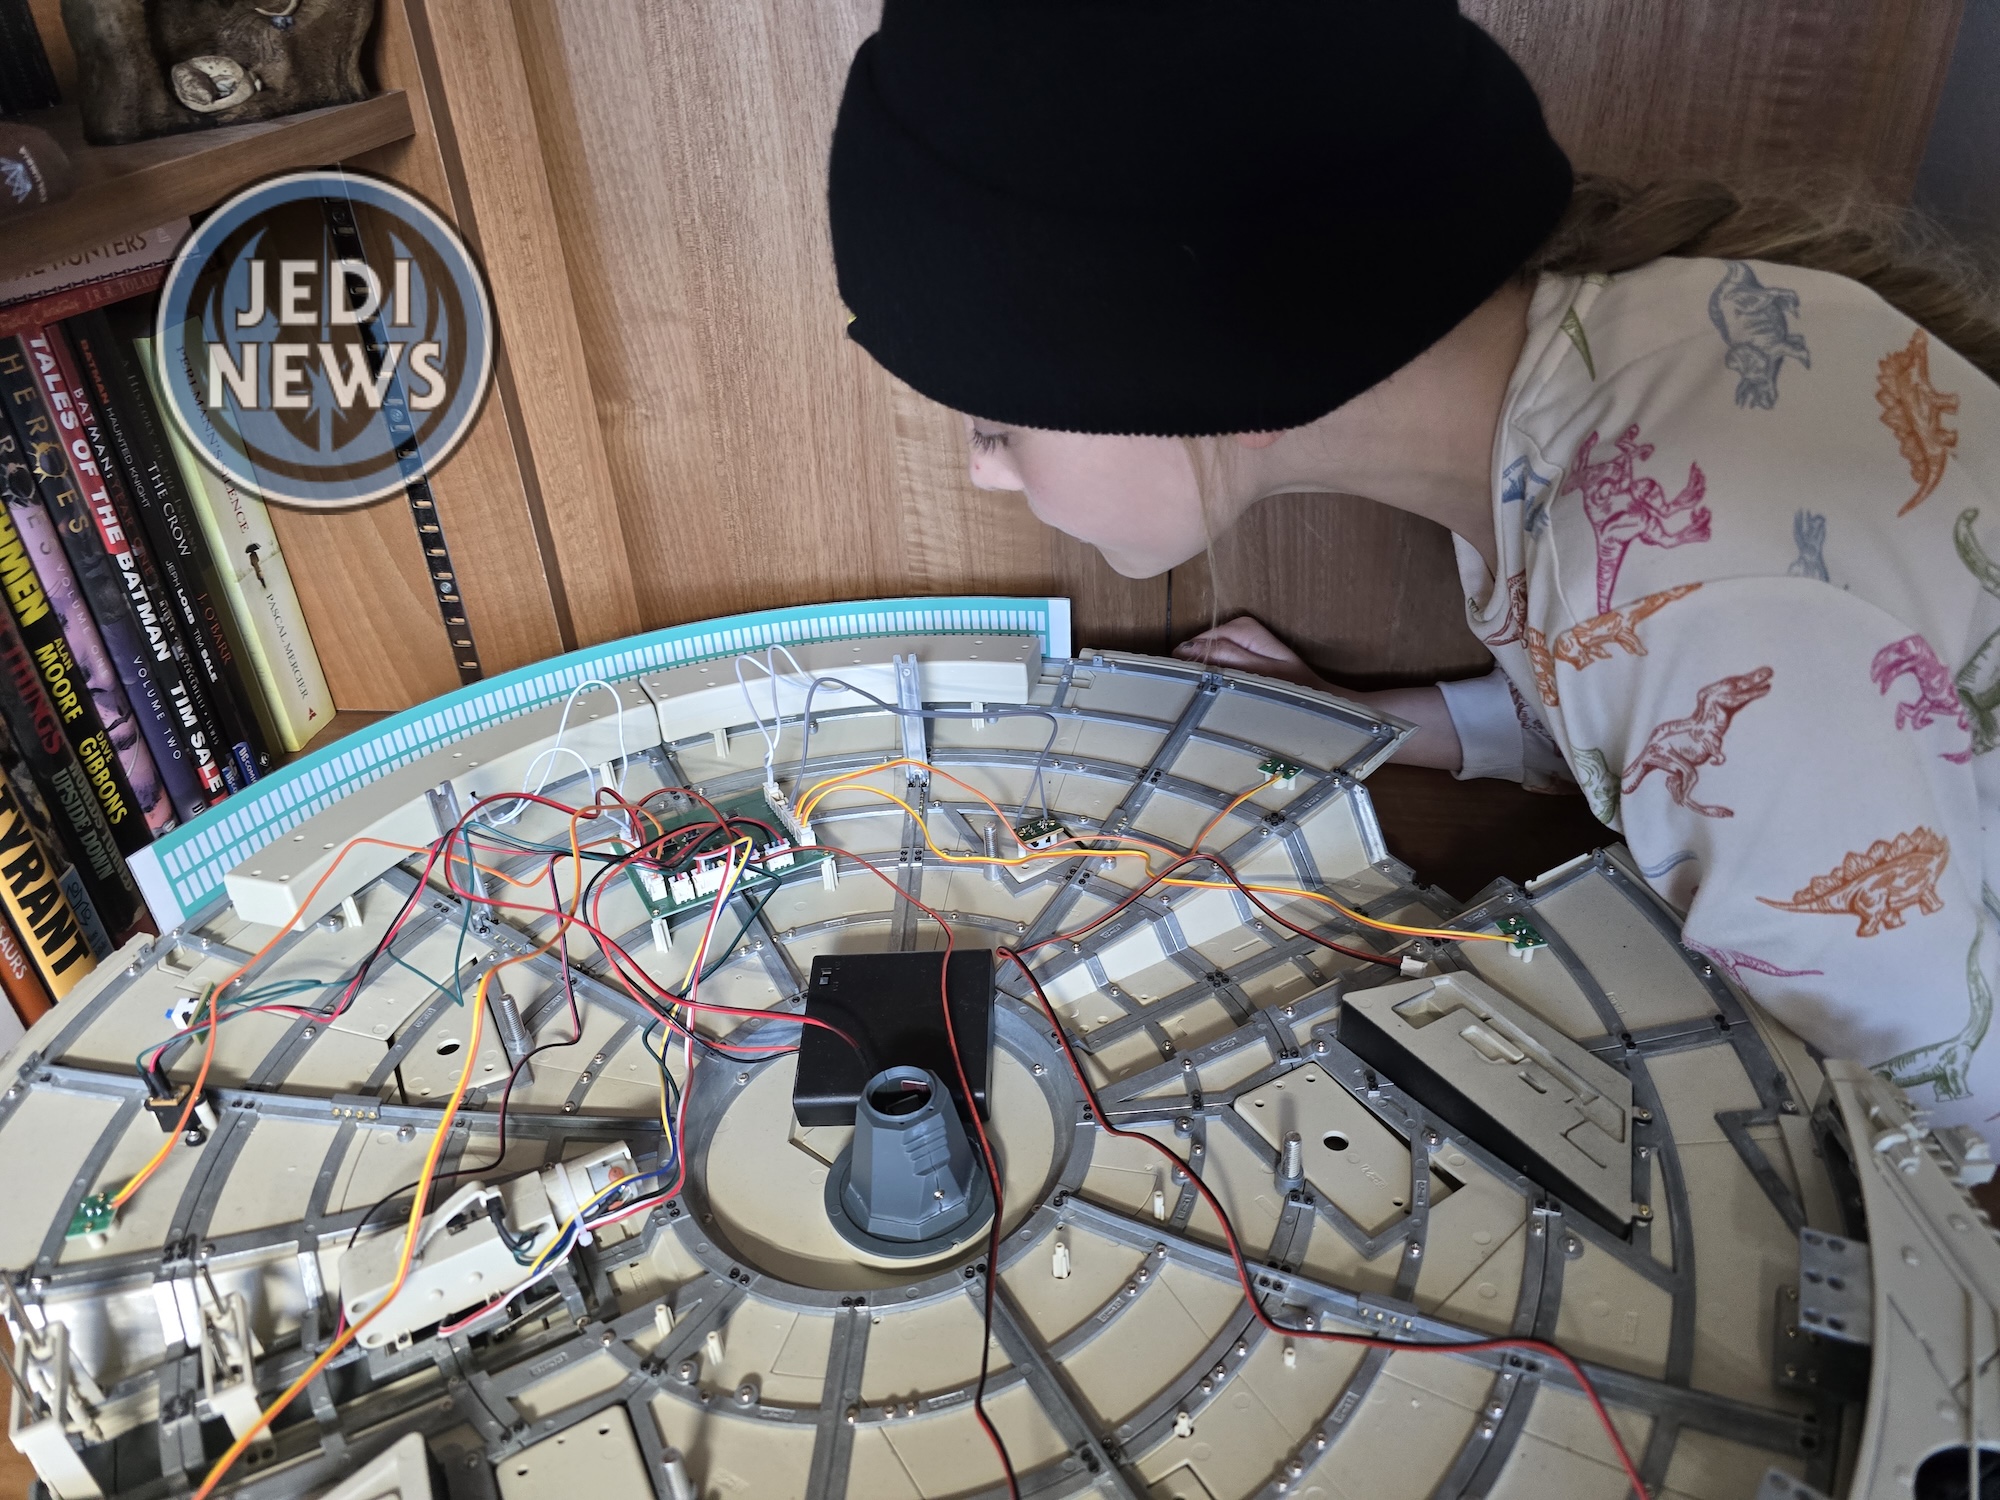
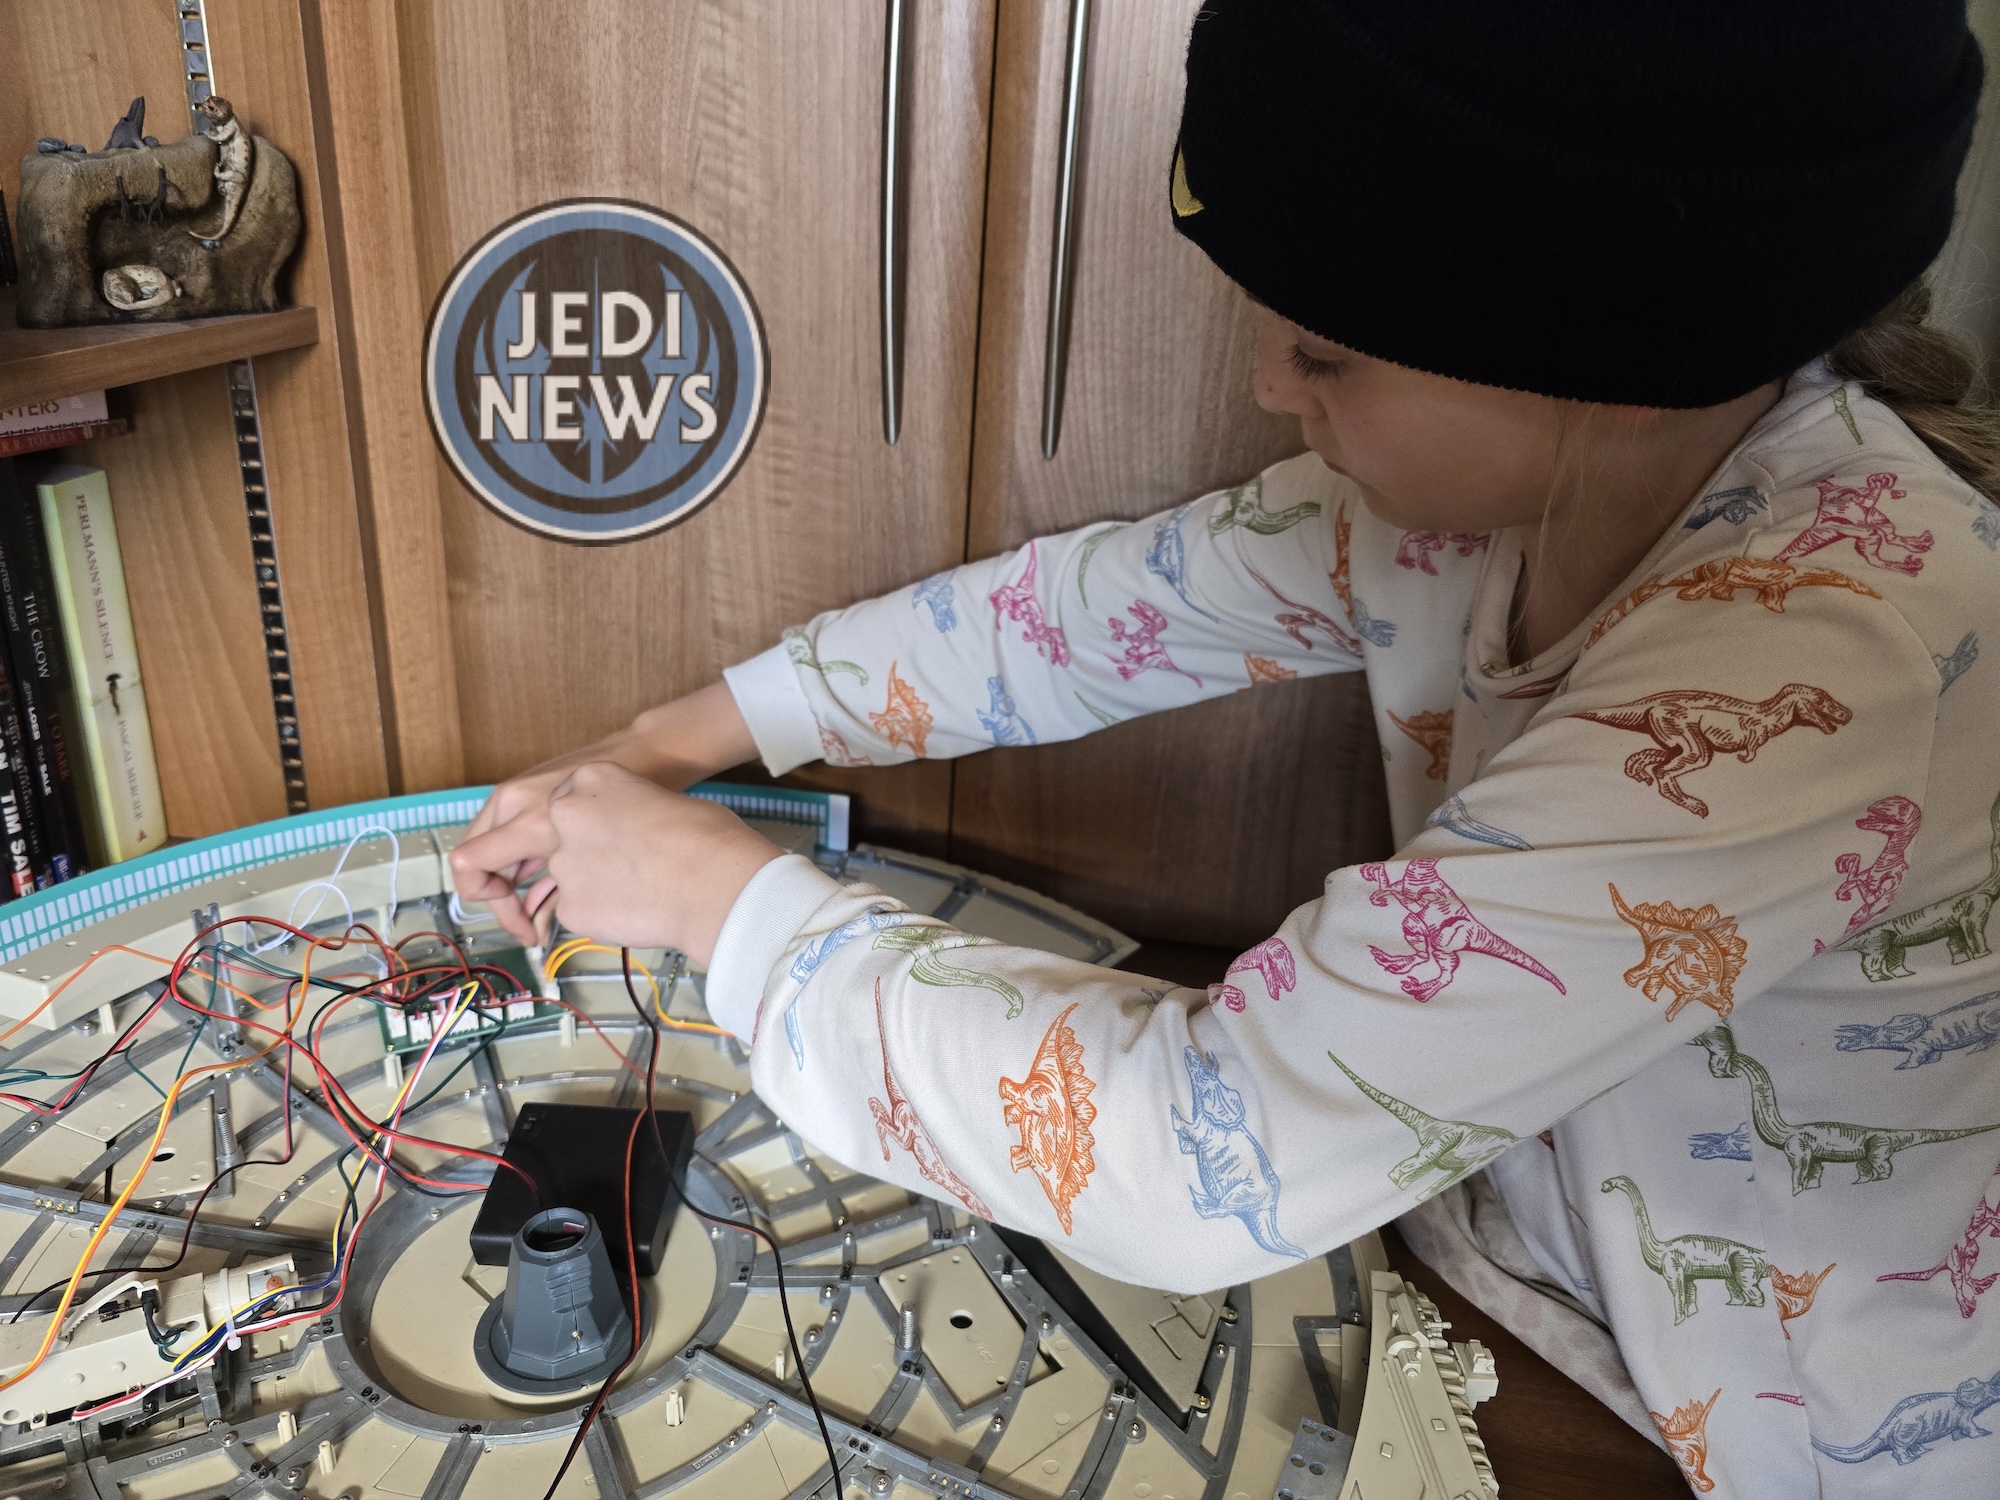
Then it was fixing the mandibles with screws. The one thing that was slightly frustrating was that there were short and long screws included in the instalment, but no mention which one to use. We opted for the longer ones and will have to pray we chose right! Ember needed no encouragement. Once I had hold of the mandible in the correct place, she was able to thread the screws through the larger top hole and screw them into the bottom. I did what any good parent would do and tried tightening them once she was done and found there was no need. I guess the student had become the master!
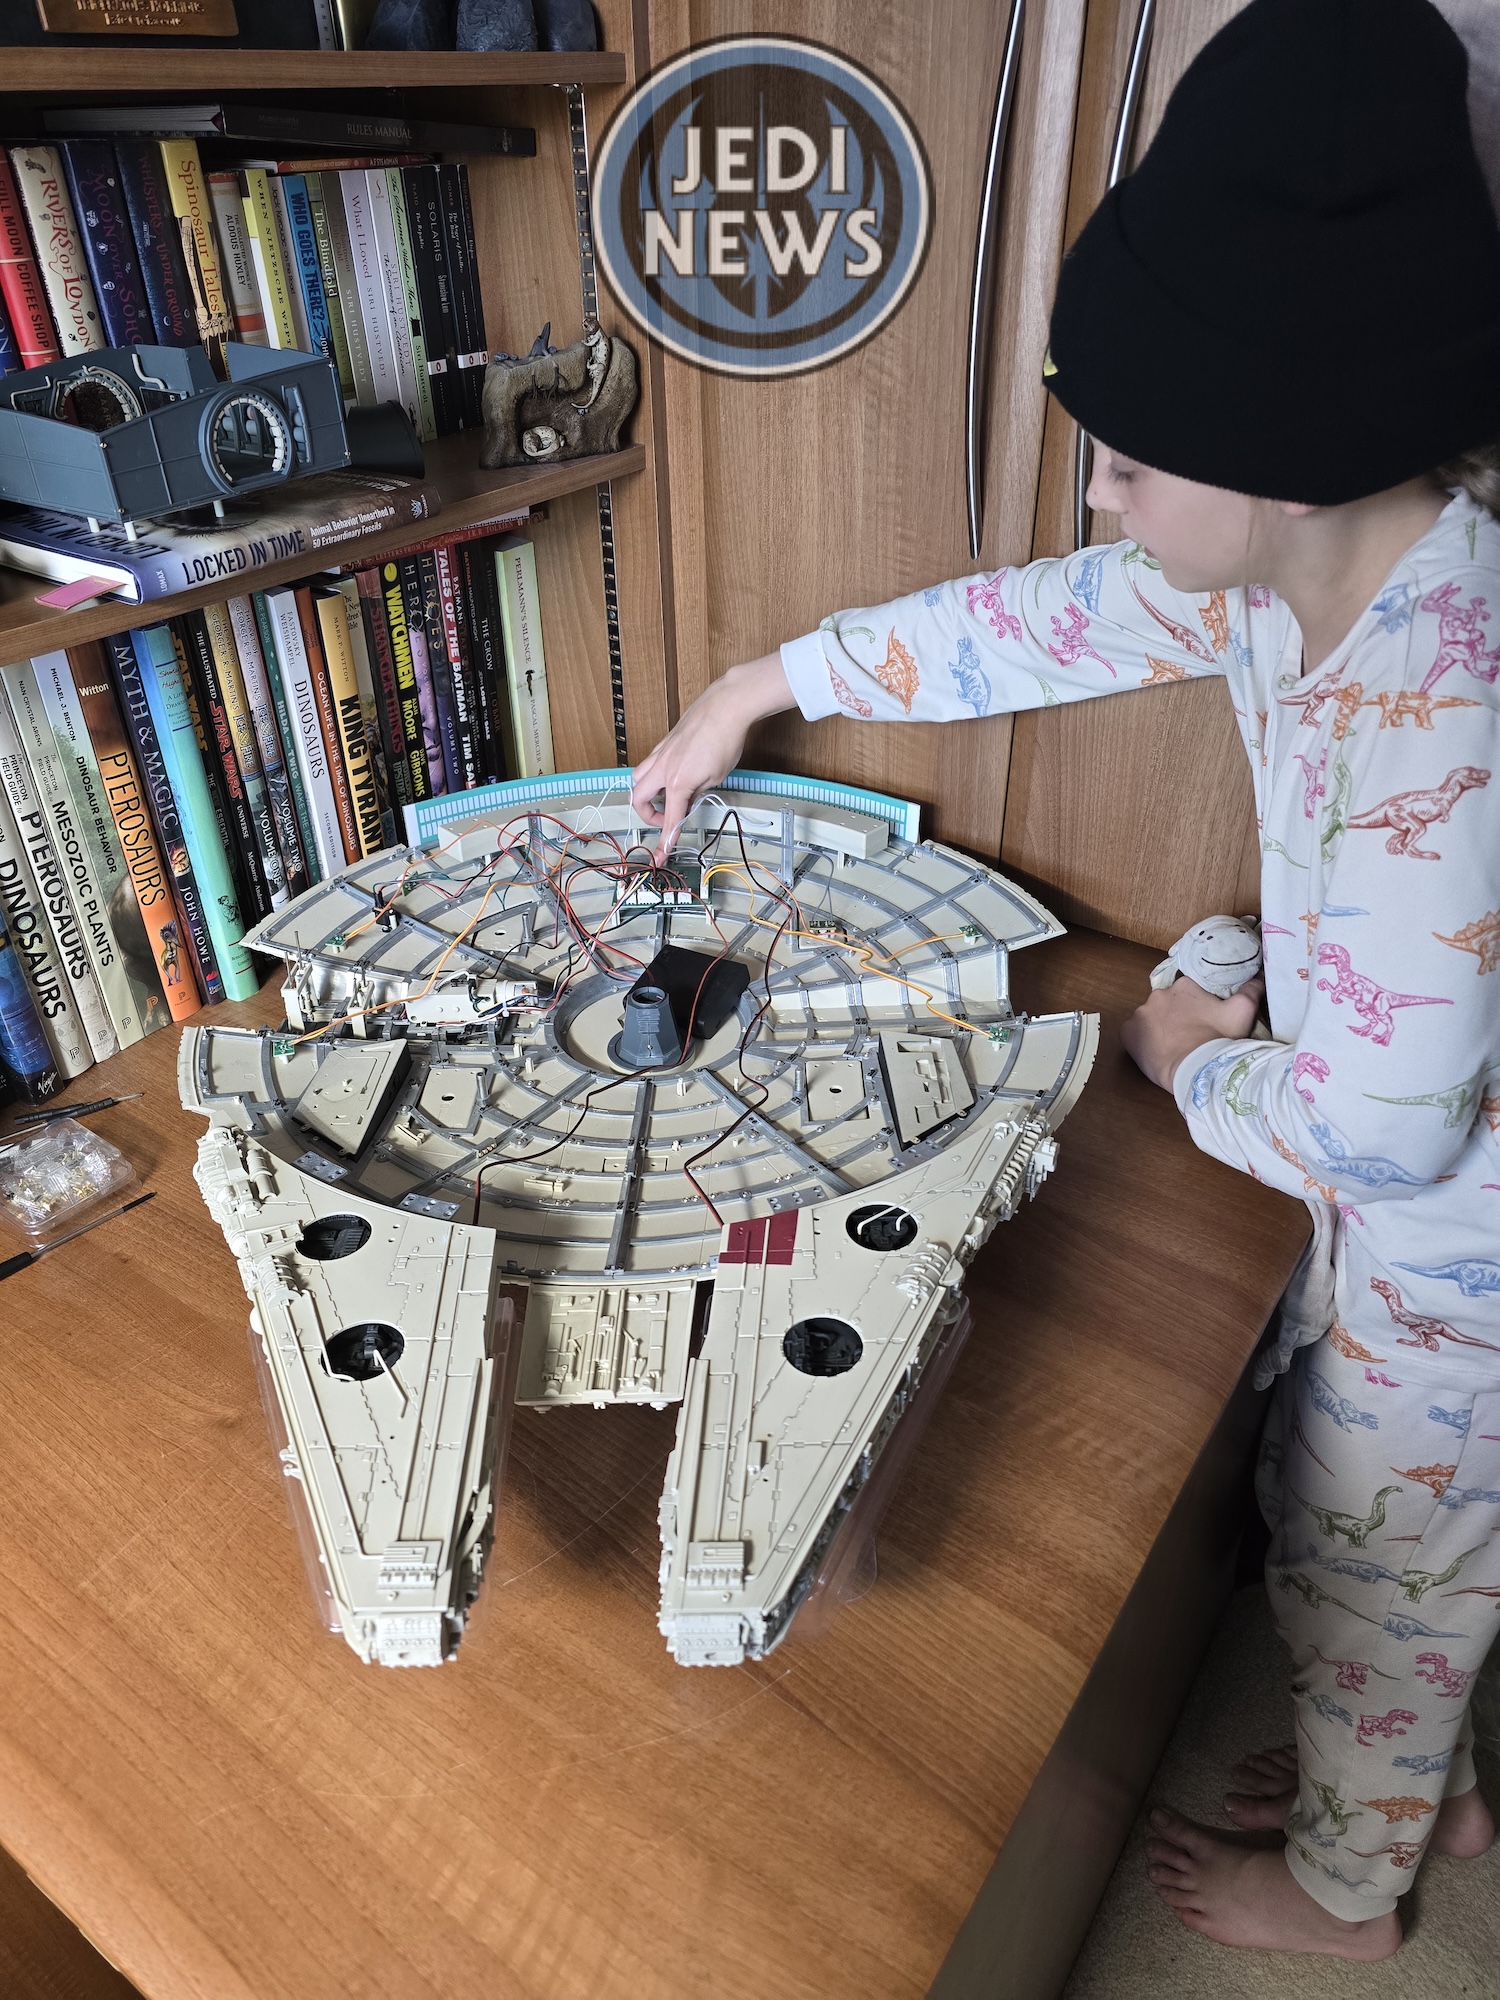

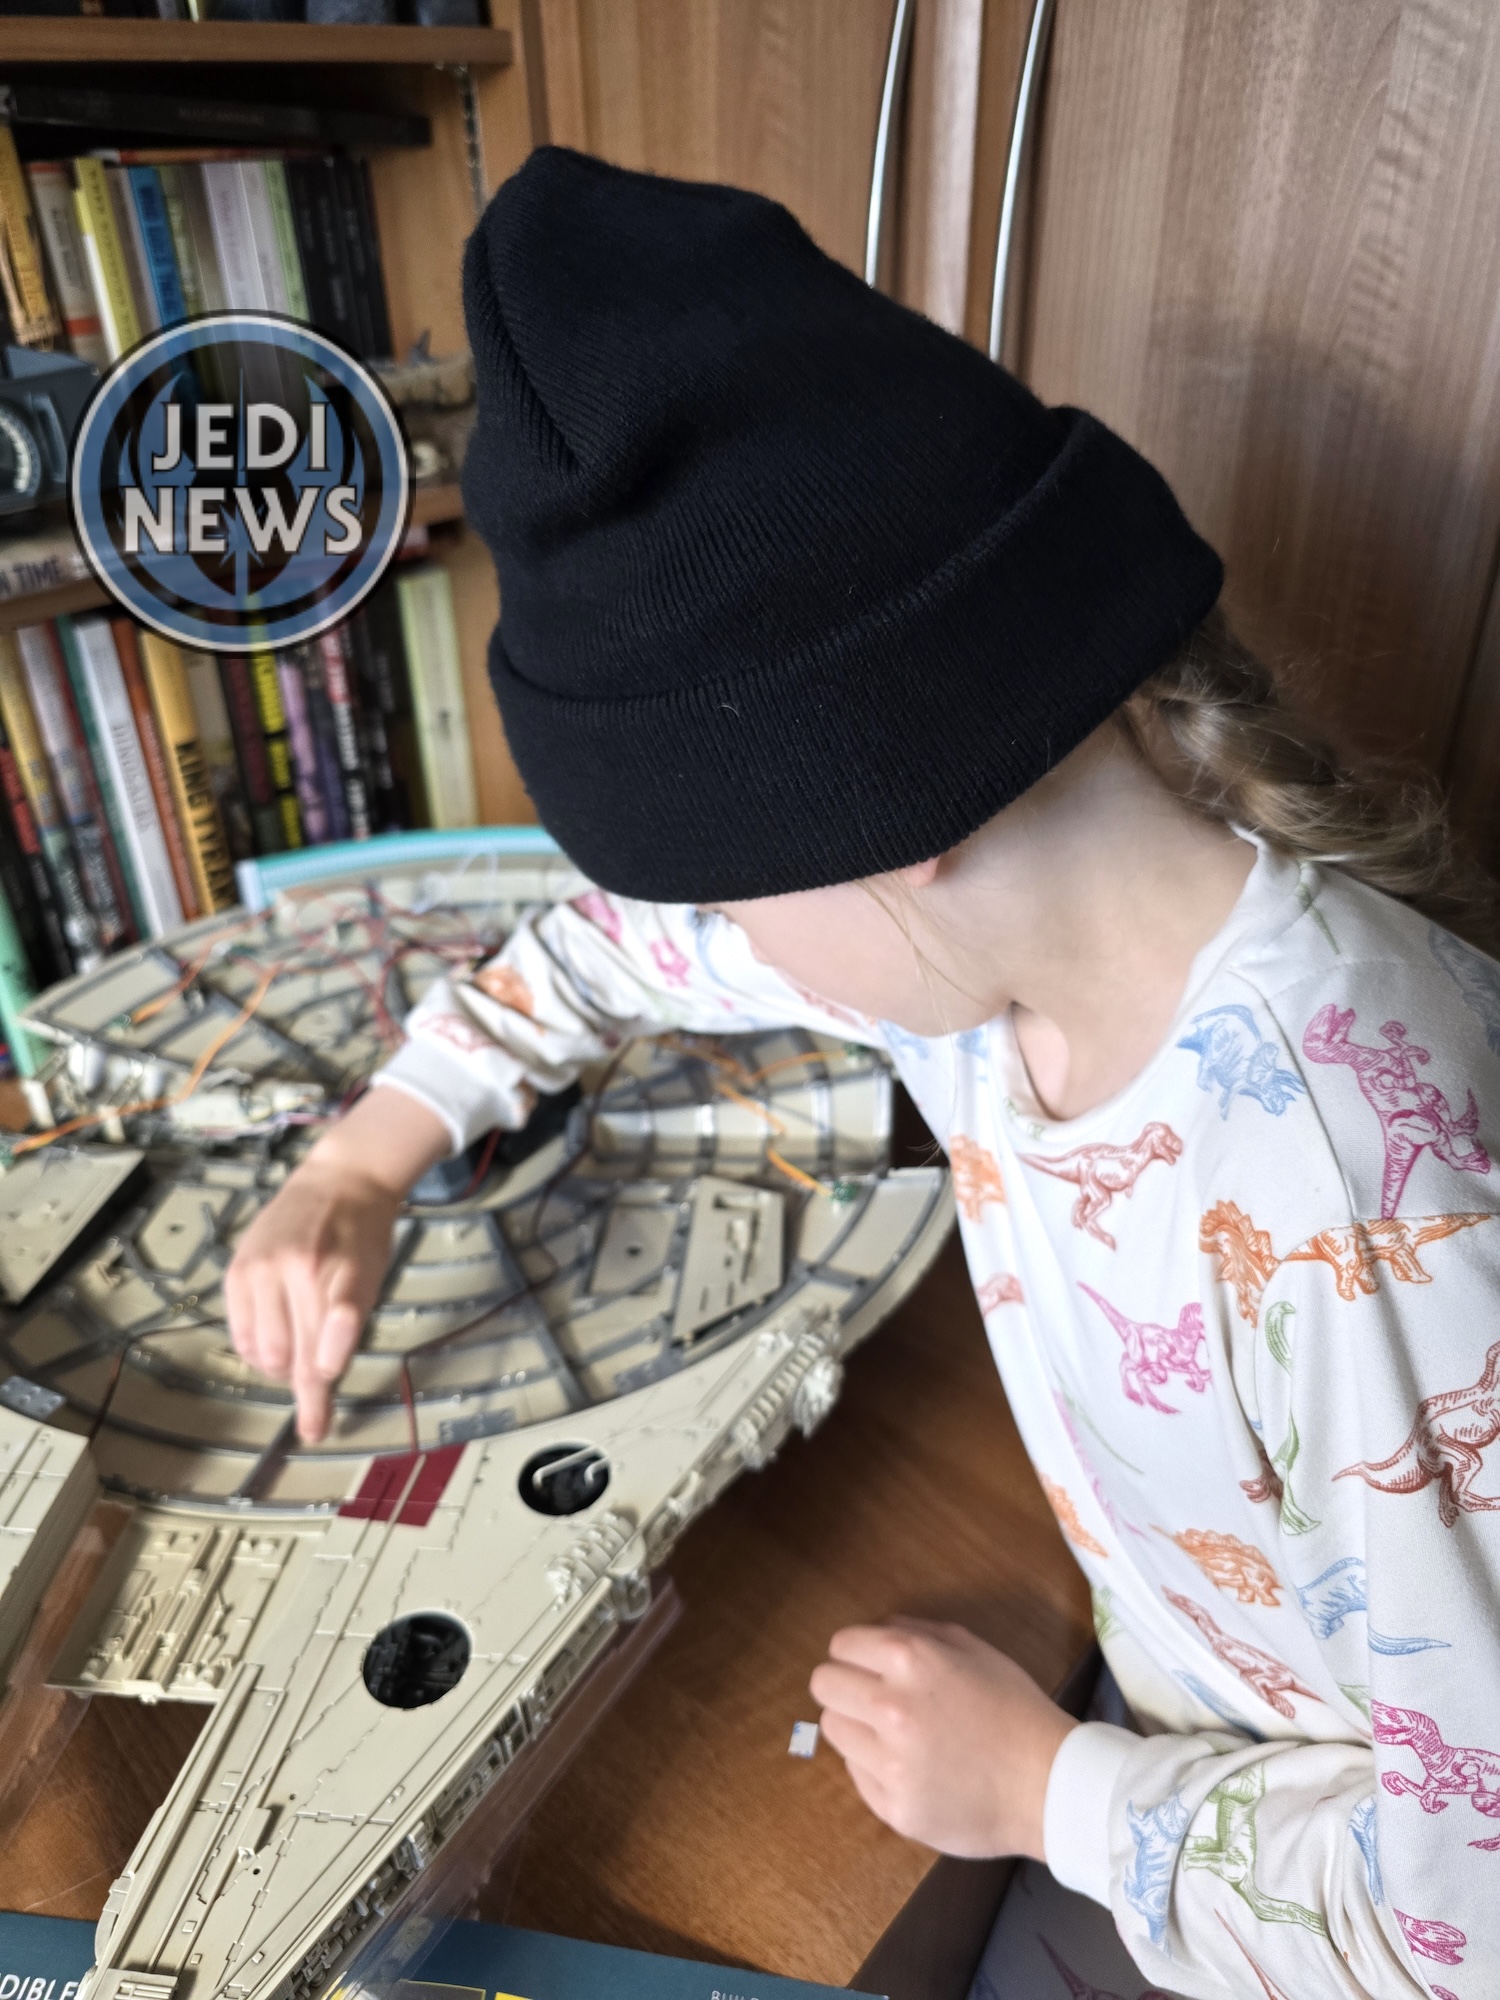
With the mandibles attached, Ember inserted the wiring for the front lights into the control board. Now the lights should have been tested prior to this, but because of the hassle of plugging them in to test them, we had skipped this part. I thought we’d be fine. However, having now had to deal with a malfunctioning engine light, I was a little nervous. As I held my breath, Ember pressed the button…. And every light came on. It was impressive. I got goosebumps seeing the Falcon lit up so well and Ember had a huge grin on her face.
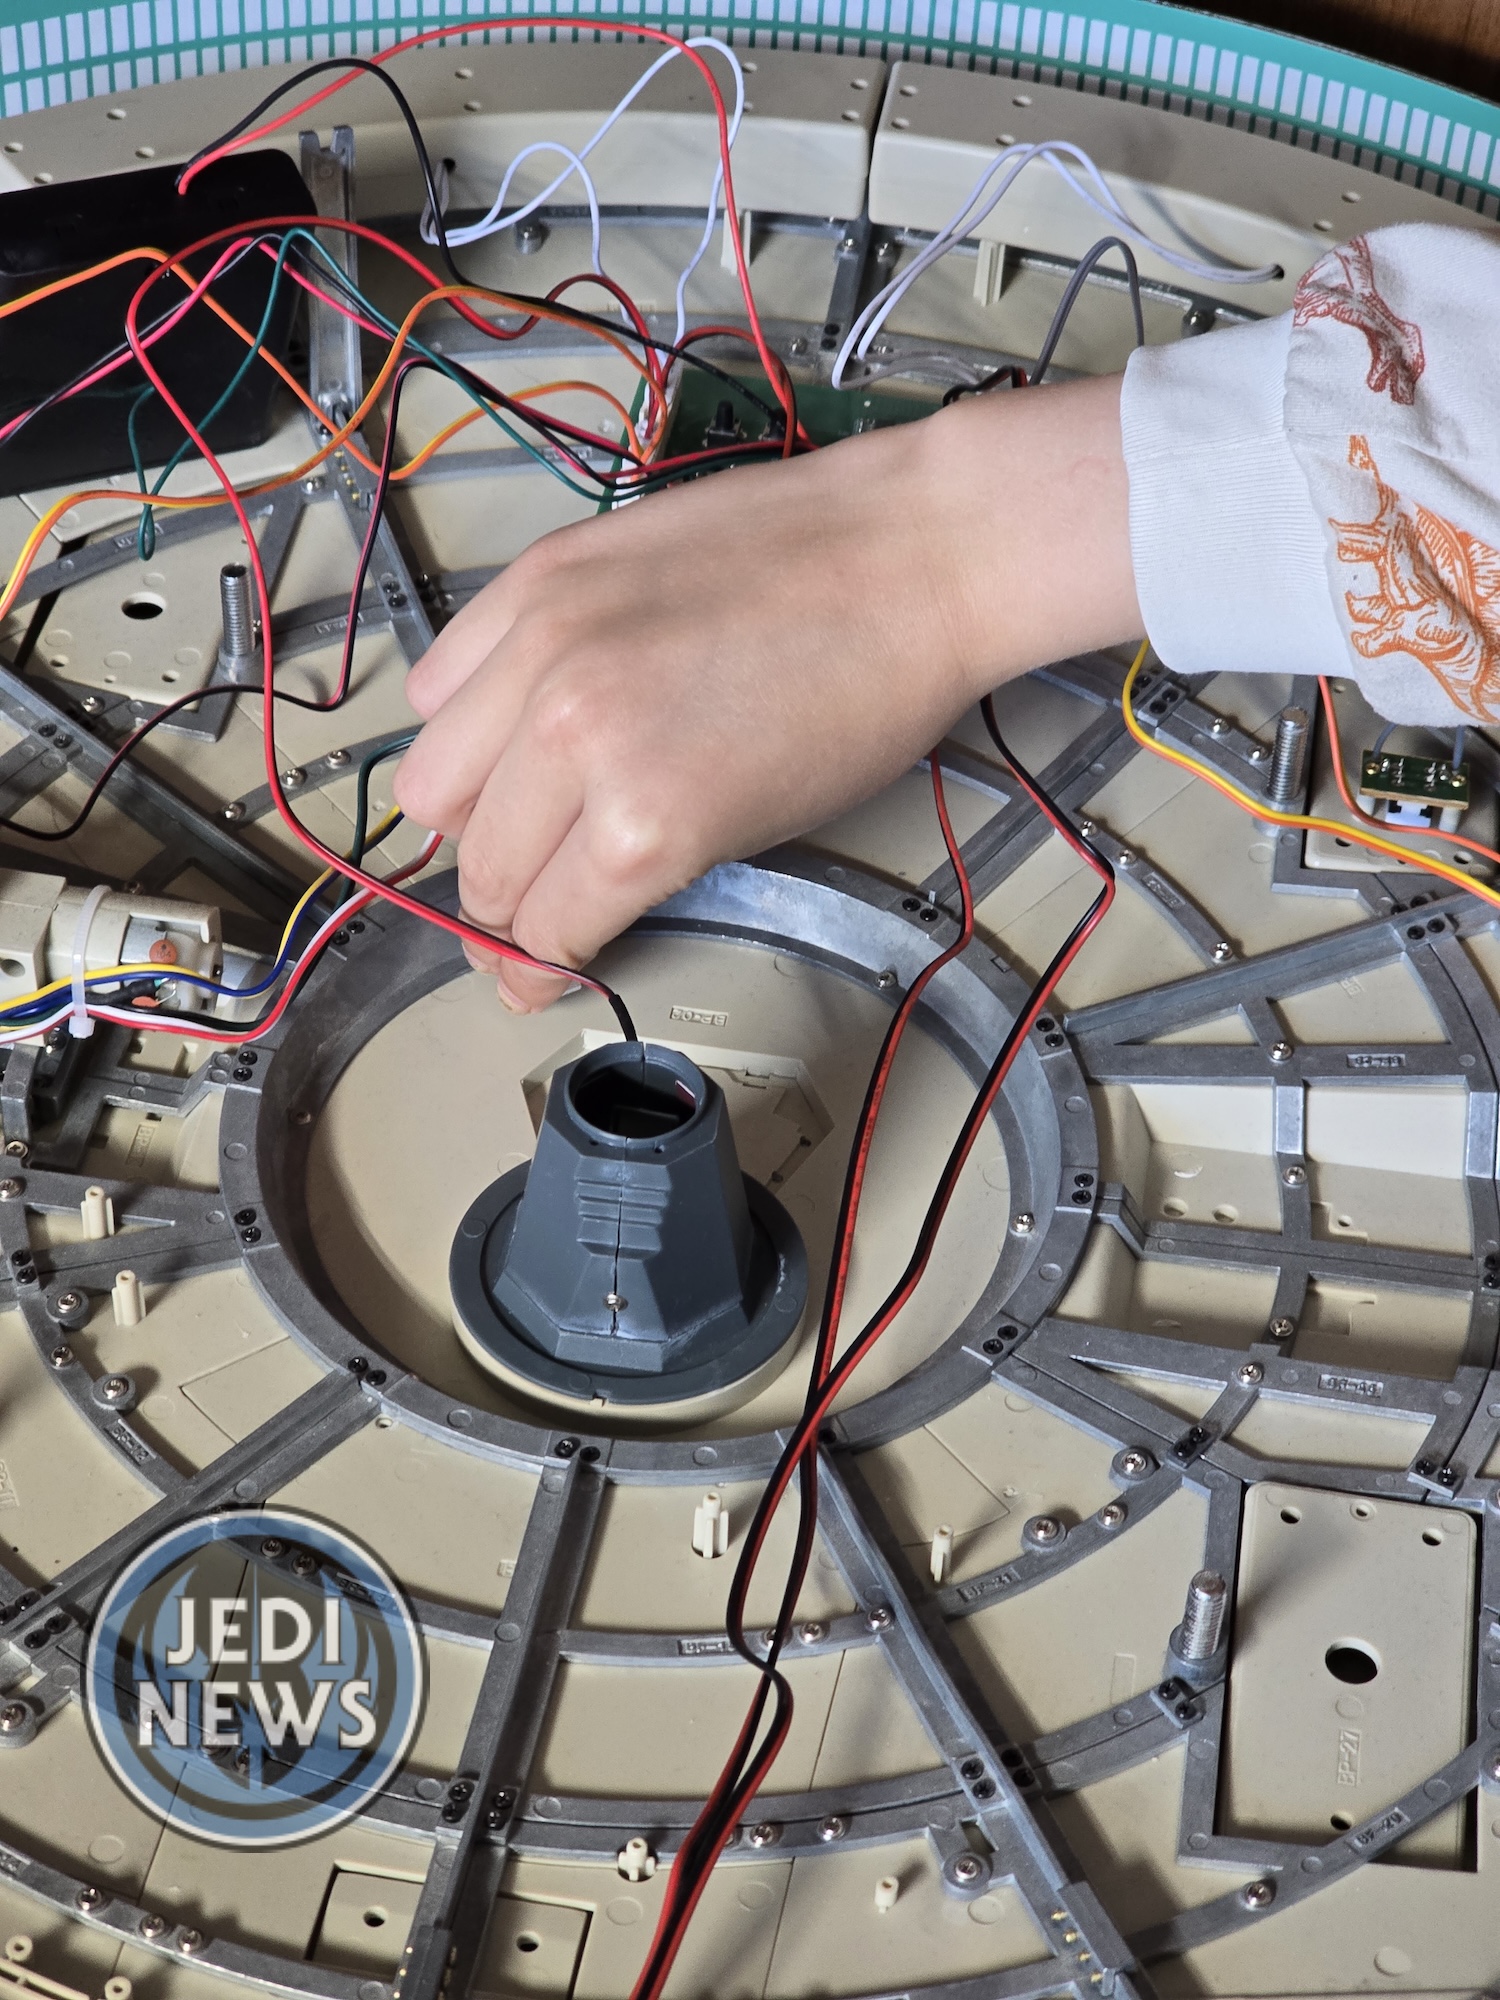
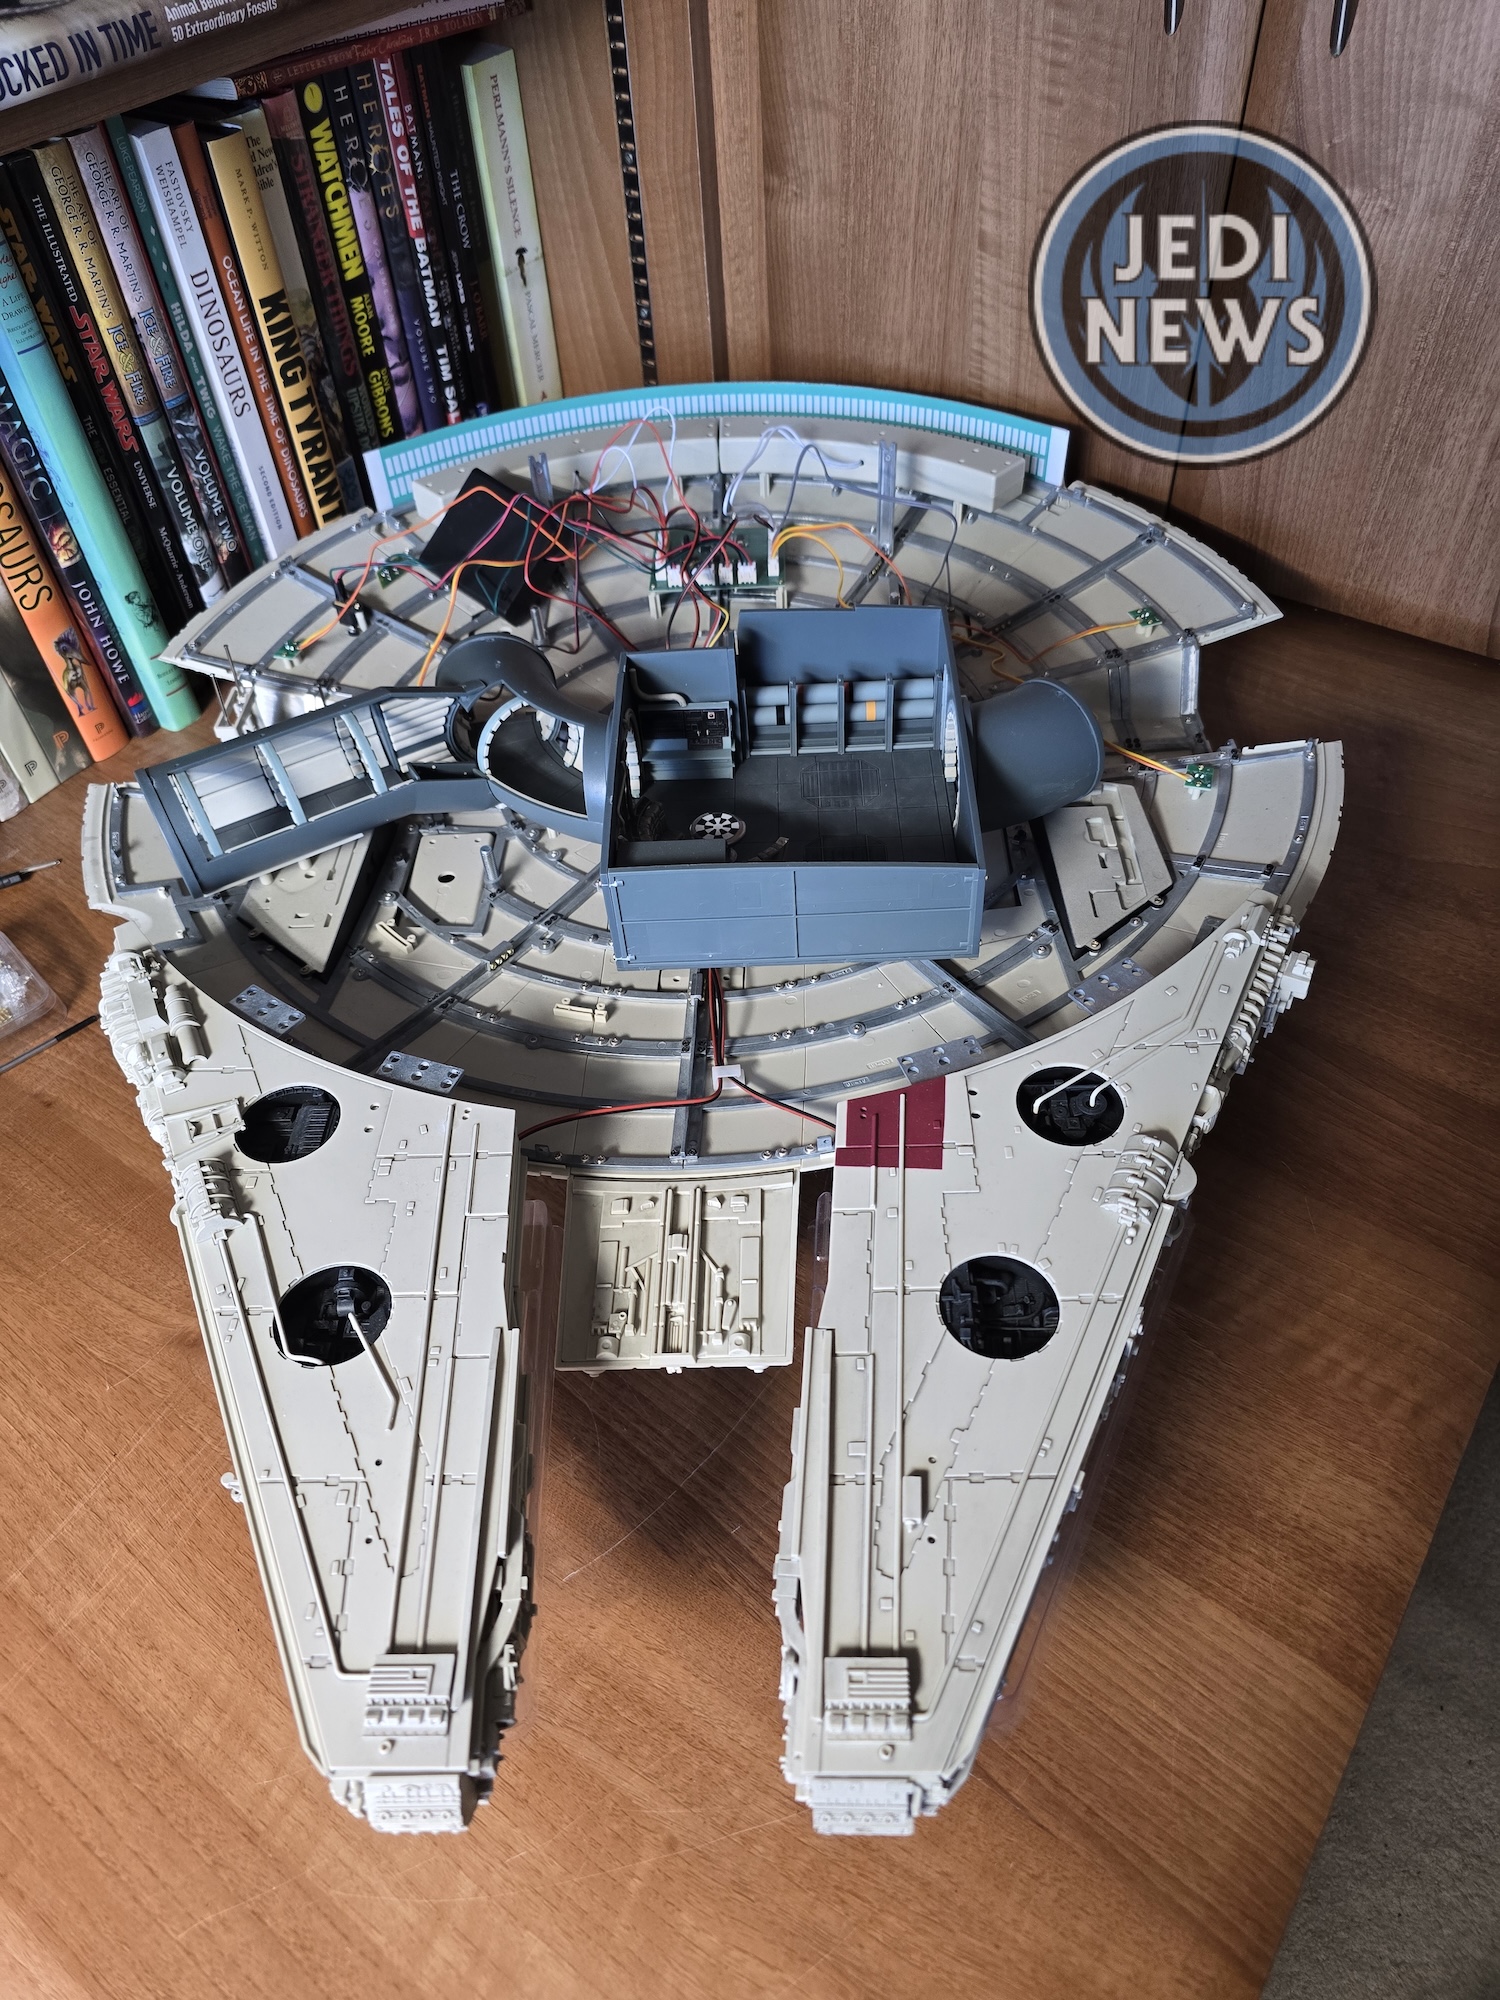

With the Falcon never looking better, we added clips to tidy the wires and reattached the interior pieces. We were done and I just sat back in appreciation. We had had the Falcon on the jig with the mandibles roughly in place for several weeks, so seeing the mandibles attached shouldn’t have been so impressive – but it was. The Falcon off its jig, it felt like the Falcon was lifting off, free of the constraint and having a huge amount of open space around it. The size of this project really hit home, and I was now eager to get the rest of it together. The detail, the size, the lights, this wasn’t just feeling like a copy, this was feeling like the Falcon. With that this current delivery was finished. But I wanted more, I was ready to jump onto the next delivery immediately! Here’s hoping Ember and I don’t have to wait too long!
