



The penultimate magazine. The one before it would all come to an end. After three years of working on this huge project, with a daughter (Ember) who was six years old when we started, it was almost all over. Last magazine had been a fairly straightforward affair. We had added some details, not too many, and had been able to skip over the landing gears because we would not be having the Falcon in the landing pose – it was going to be mounted. There was one glaring thing missing, other than more details to add, the turrets. We had constructed one in the very first magazine, all those years ago, the other lay unassembled still in the box. Surely we would be getting round to them now?
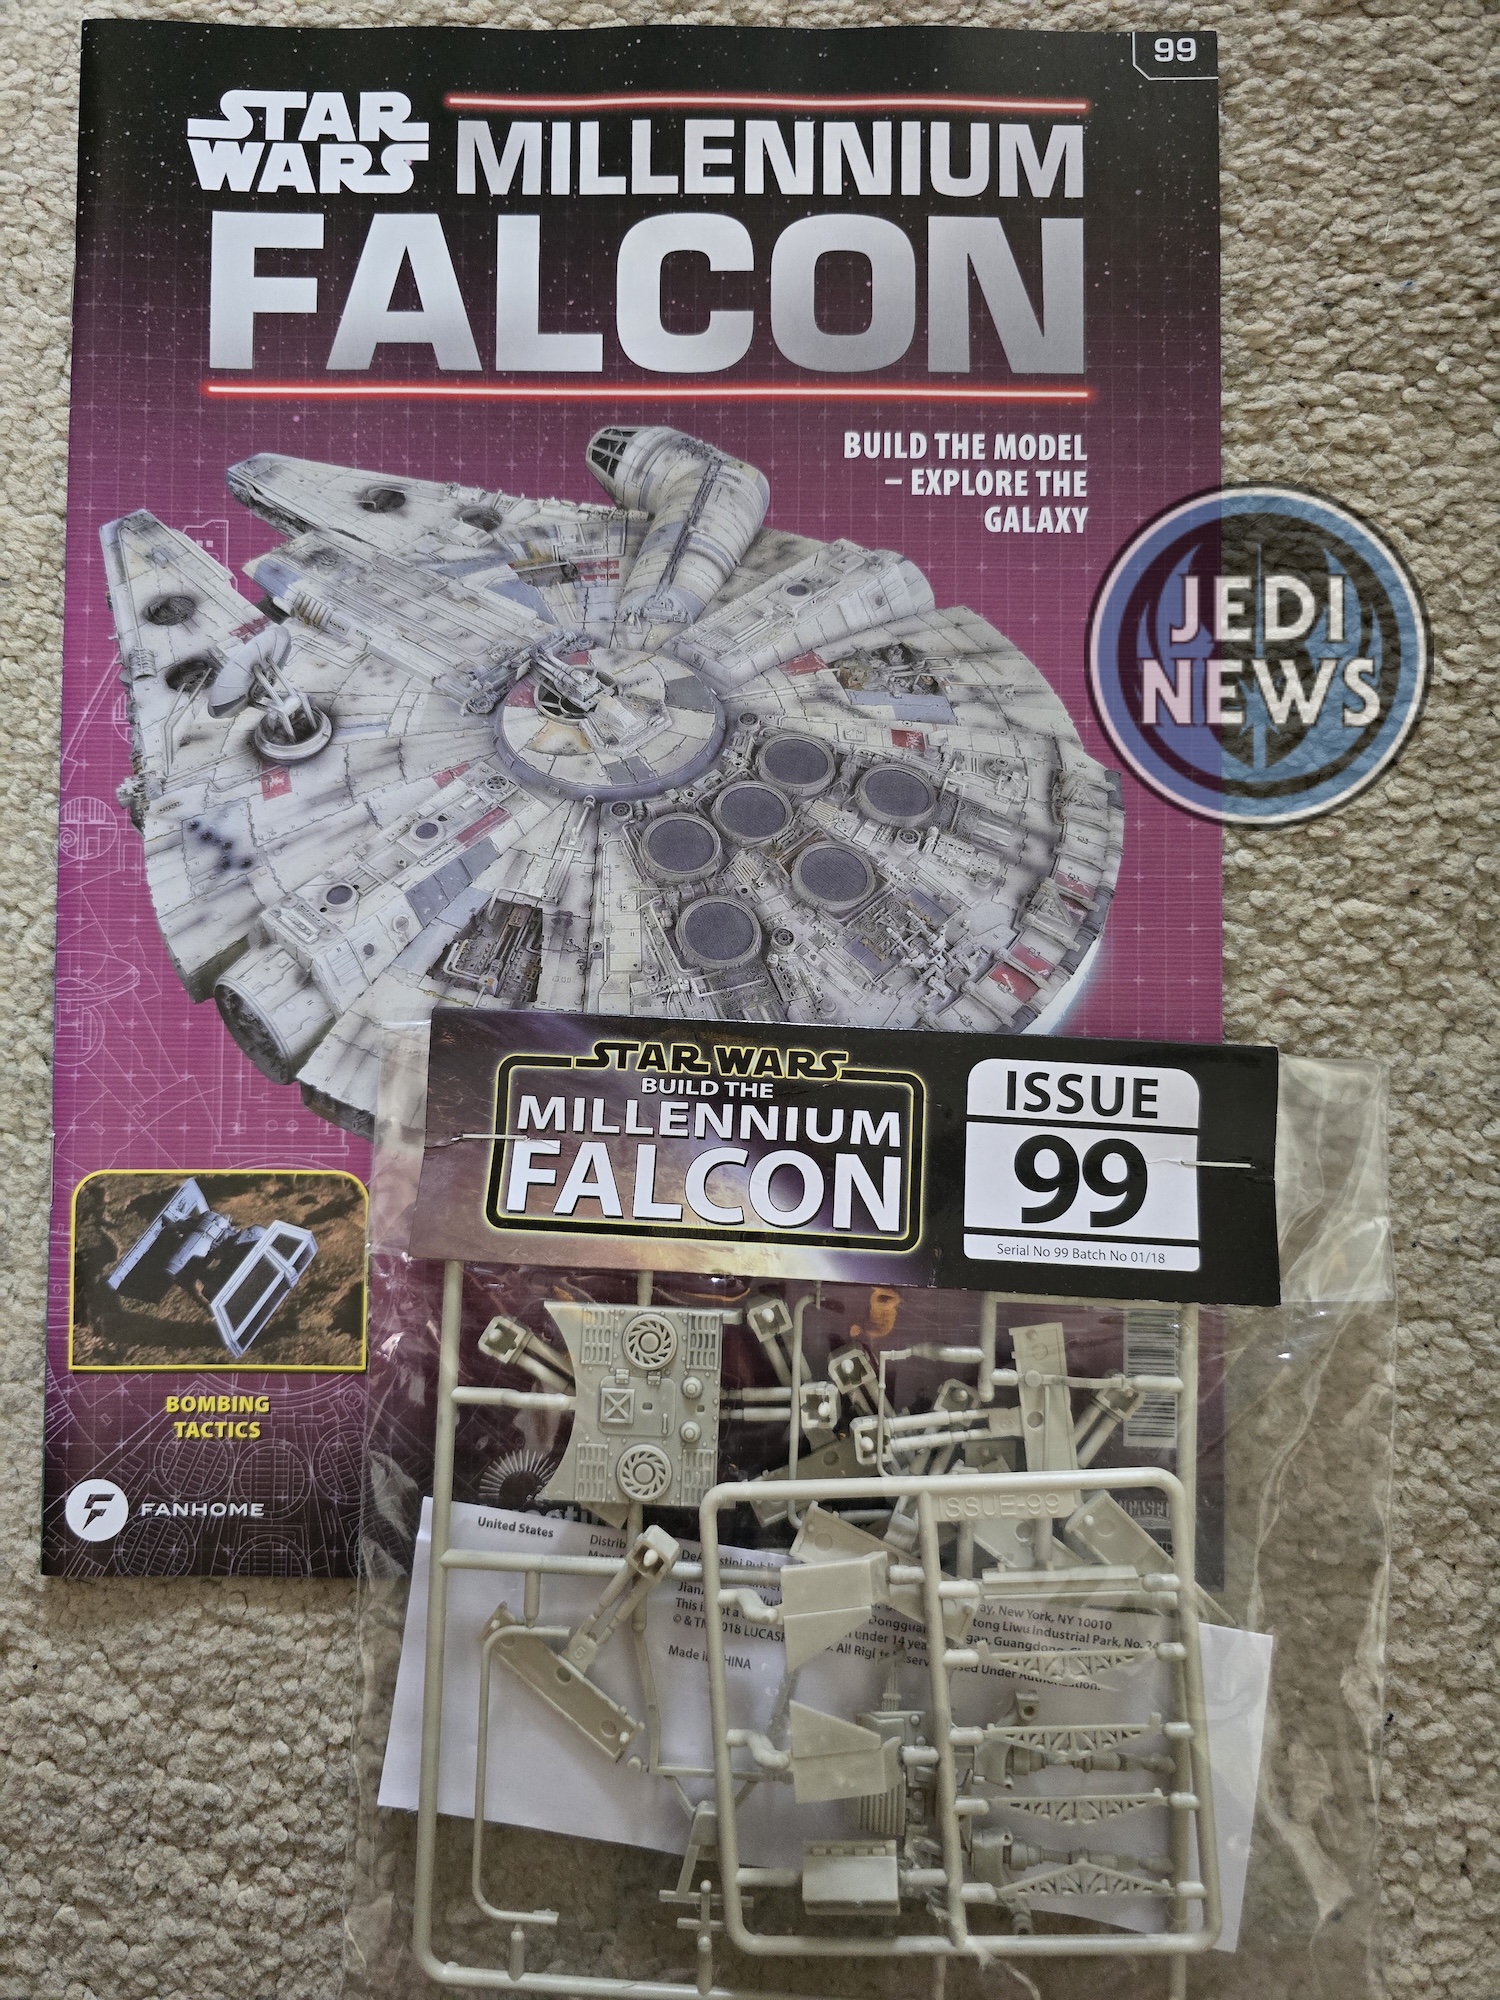
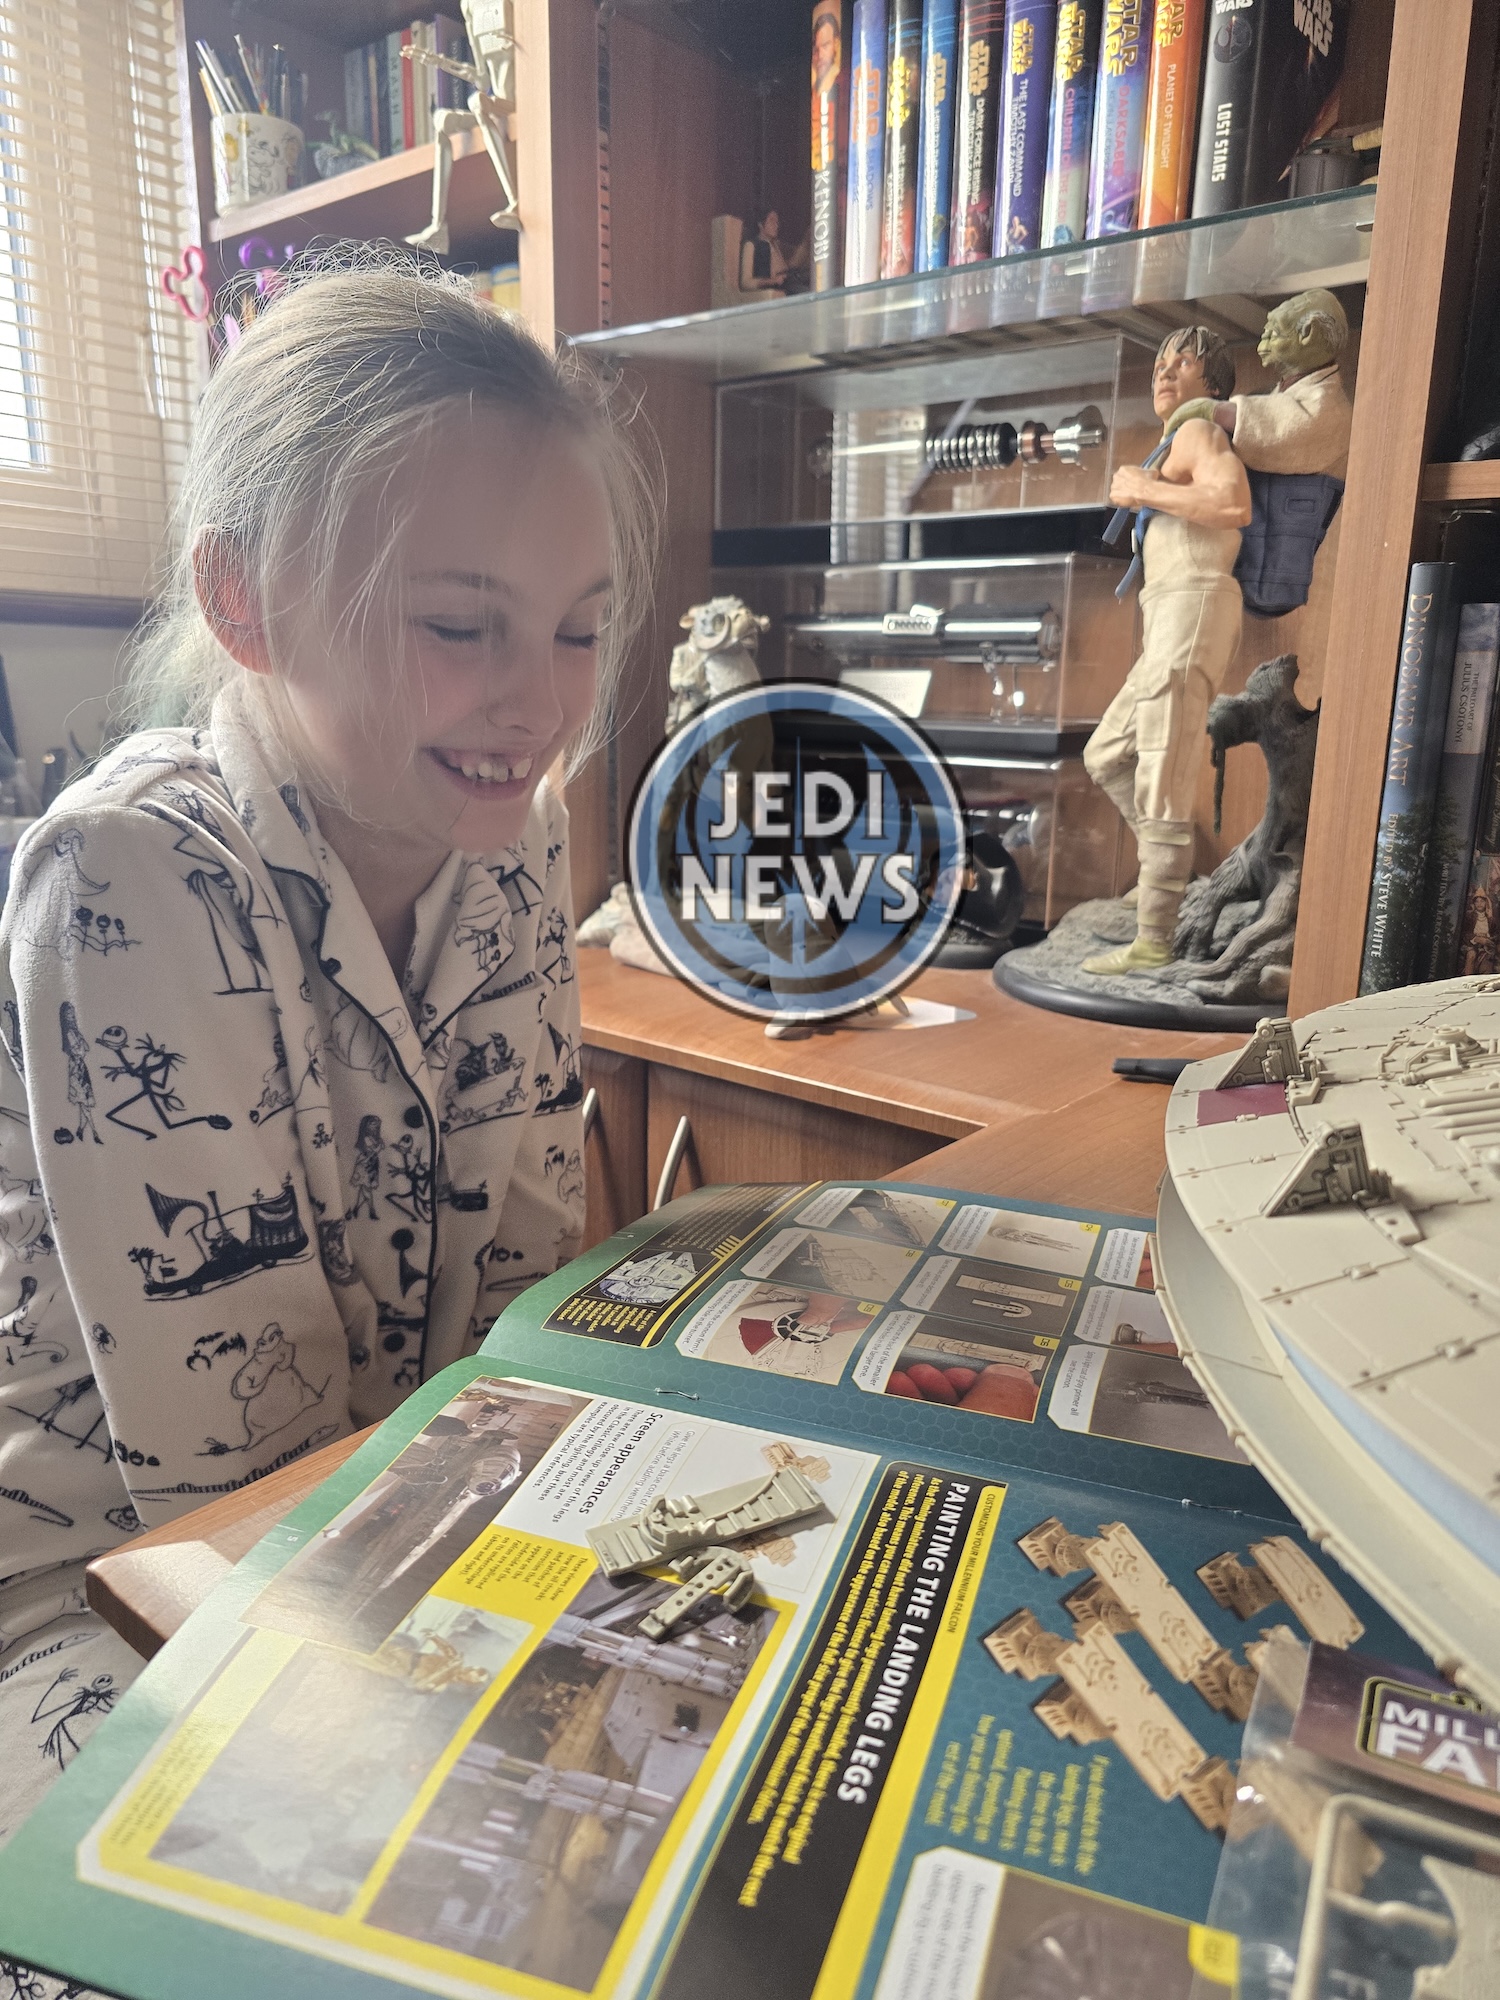
I did not want to dwell too much on the fact that this was almost the last time I would be scouting through the magazine before getting Ember to join me. It is something I have always done, something that was needed a lot more at the start of the project – particularly when Ember was younger. For the most recent installments, it had not really been needed, except the one time I had been caught out, go figure! So, I started to look through. Fitting the legs was something we could ignore, more details and… the turrets. Well at least one! Ready to be painted. Well, this did need some work! Catch me out once, shame on me, catch me out twice… I think not!
I had a few problems with the turret. First off, the turret that was assembled was not secure to say the least, pieces kept popping out and it was in a sorry state after three years. I had not glued the pieces because… why had I not glued the pieces? Grabbing the very first magazine, I looked through it and it said not to worry, you will secure the pieces later… well you couldn’t get much later than this and nowhere did it say about getting things glued in place! Maybe I had missed it when the second turret had been delivered? After a quick search, I found that issue forty-six was when the second turret was delivered. Why did we not assemble it then? Because it said we would do it later! Being a bit cheeky, I checked the last magazine in the delivery, in case it gave instructions. It said to follow the instructions in this magazine… erm… So, my first problem was these quad lasers were not finished, one wasn’t even assembled! So that would need sorting. Then they needed undercoating – I’ll come back to that. Then, as I checked through the last issue, you’d need to do the same thing with the second turret. Surely it would be better at this stage to tell your readers to do this part for both turrets, stopping them from having to repeat it in the next magazine? You can probably tell I was a little frustrated but glad I had discovered this now rather than in the final installment.
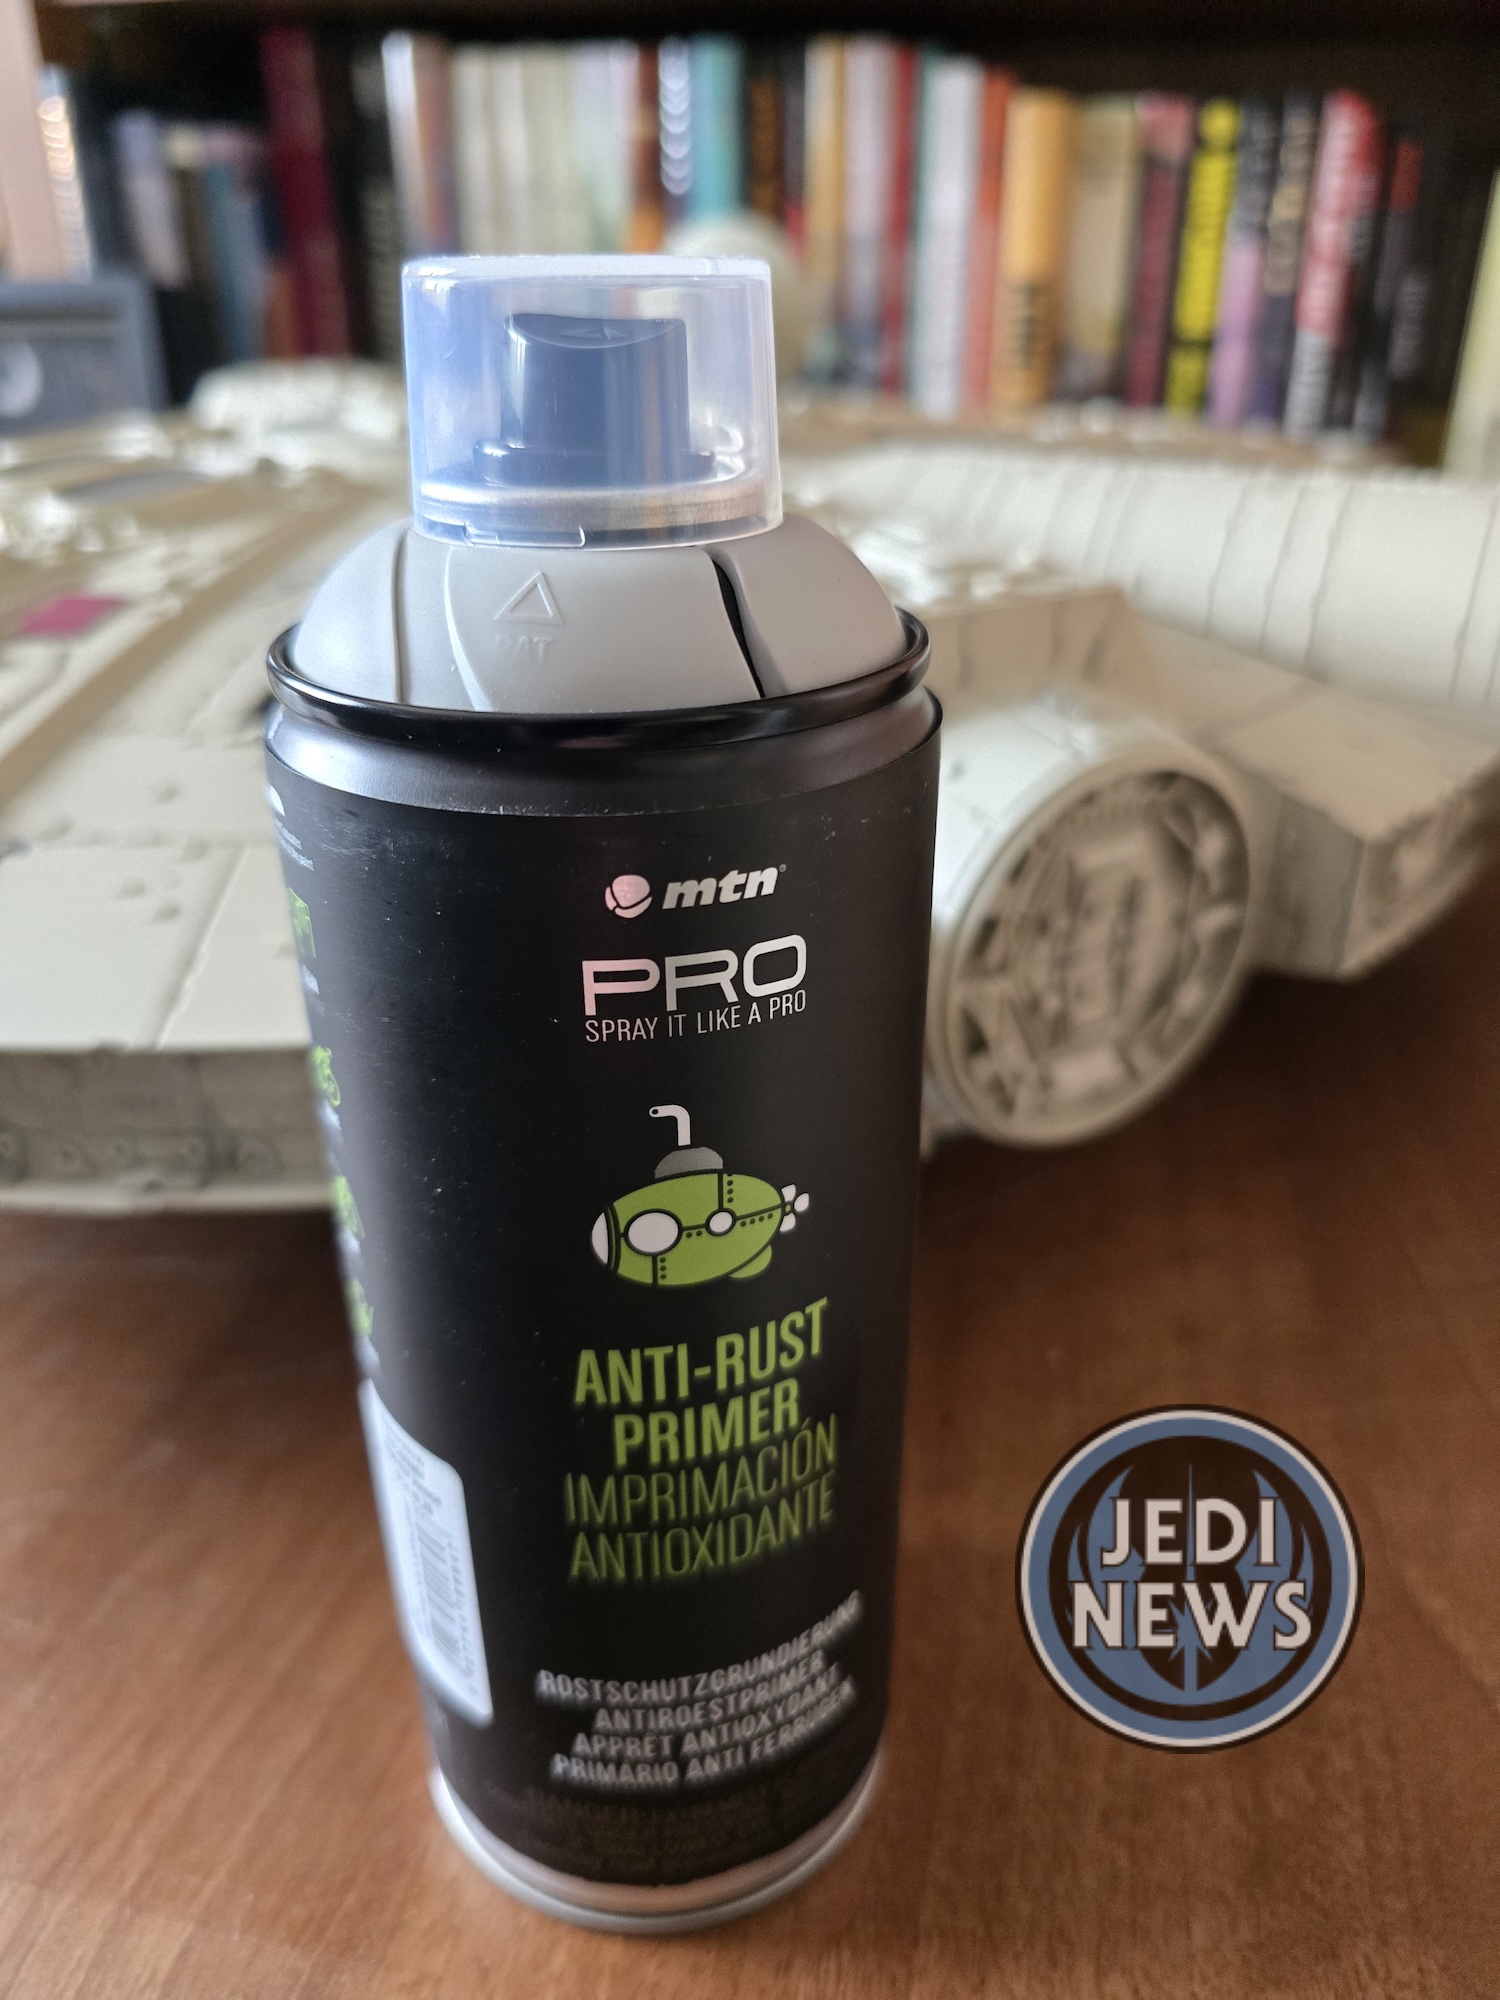
Job number one was to get both turrets assembled and glued so they could fit on the Falcon. Why we couldn’t have done this in the first issue all those years back is beyond me. The turrets are supposed to be attached to the mount, but they aren’t, in the first issue they were quite tight with only one falling out. The one that came with magazine forty-six was not tight at all, so they had to be glued in. After that, the turrets were complete. Then they needed undercoating and technically painting. I say technically because once all was complete, I was going to repaint the entire Falcon in Archive X paints, the same paints used by Industrial Light and Magic all those years ago. I was very aware though that these were metal pieces, which were a completely different material to everything else showing on the Falcon. Thankfully, I had my friend Josh Wraith – the author of the painting guide for the Falcon using Archive X paints – to hand. This book I will be looking at in some detail at the end of this project but suffice to say Josh knows what he is talking about and has painted three of these models. He told me that an undercoat was definitely best before adding the lasers, but not to worry about the actual colour until doing the whole ship. It would need to be a proper spray, designed for metal. It was off to the shops, to find something that would give me a paint that had antirust in it!
Hobbycraft had some by a company called MTN. I had never used them before but thought I would give it a try. I was expecting grey spray but to my delight, it was a beige colour, perfect for the Falcon. It did a great job of covering the turrets. With these done, I was ready for this magazine and hopefully the next! With everything now ready, it was time to call Ember in and get started.
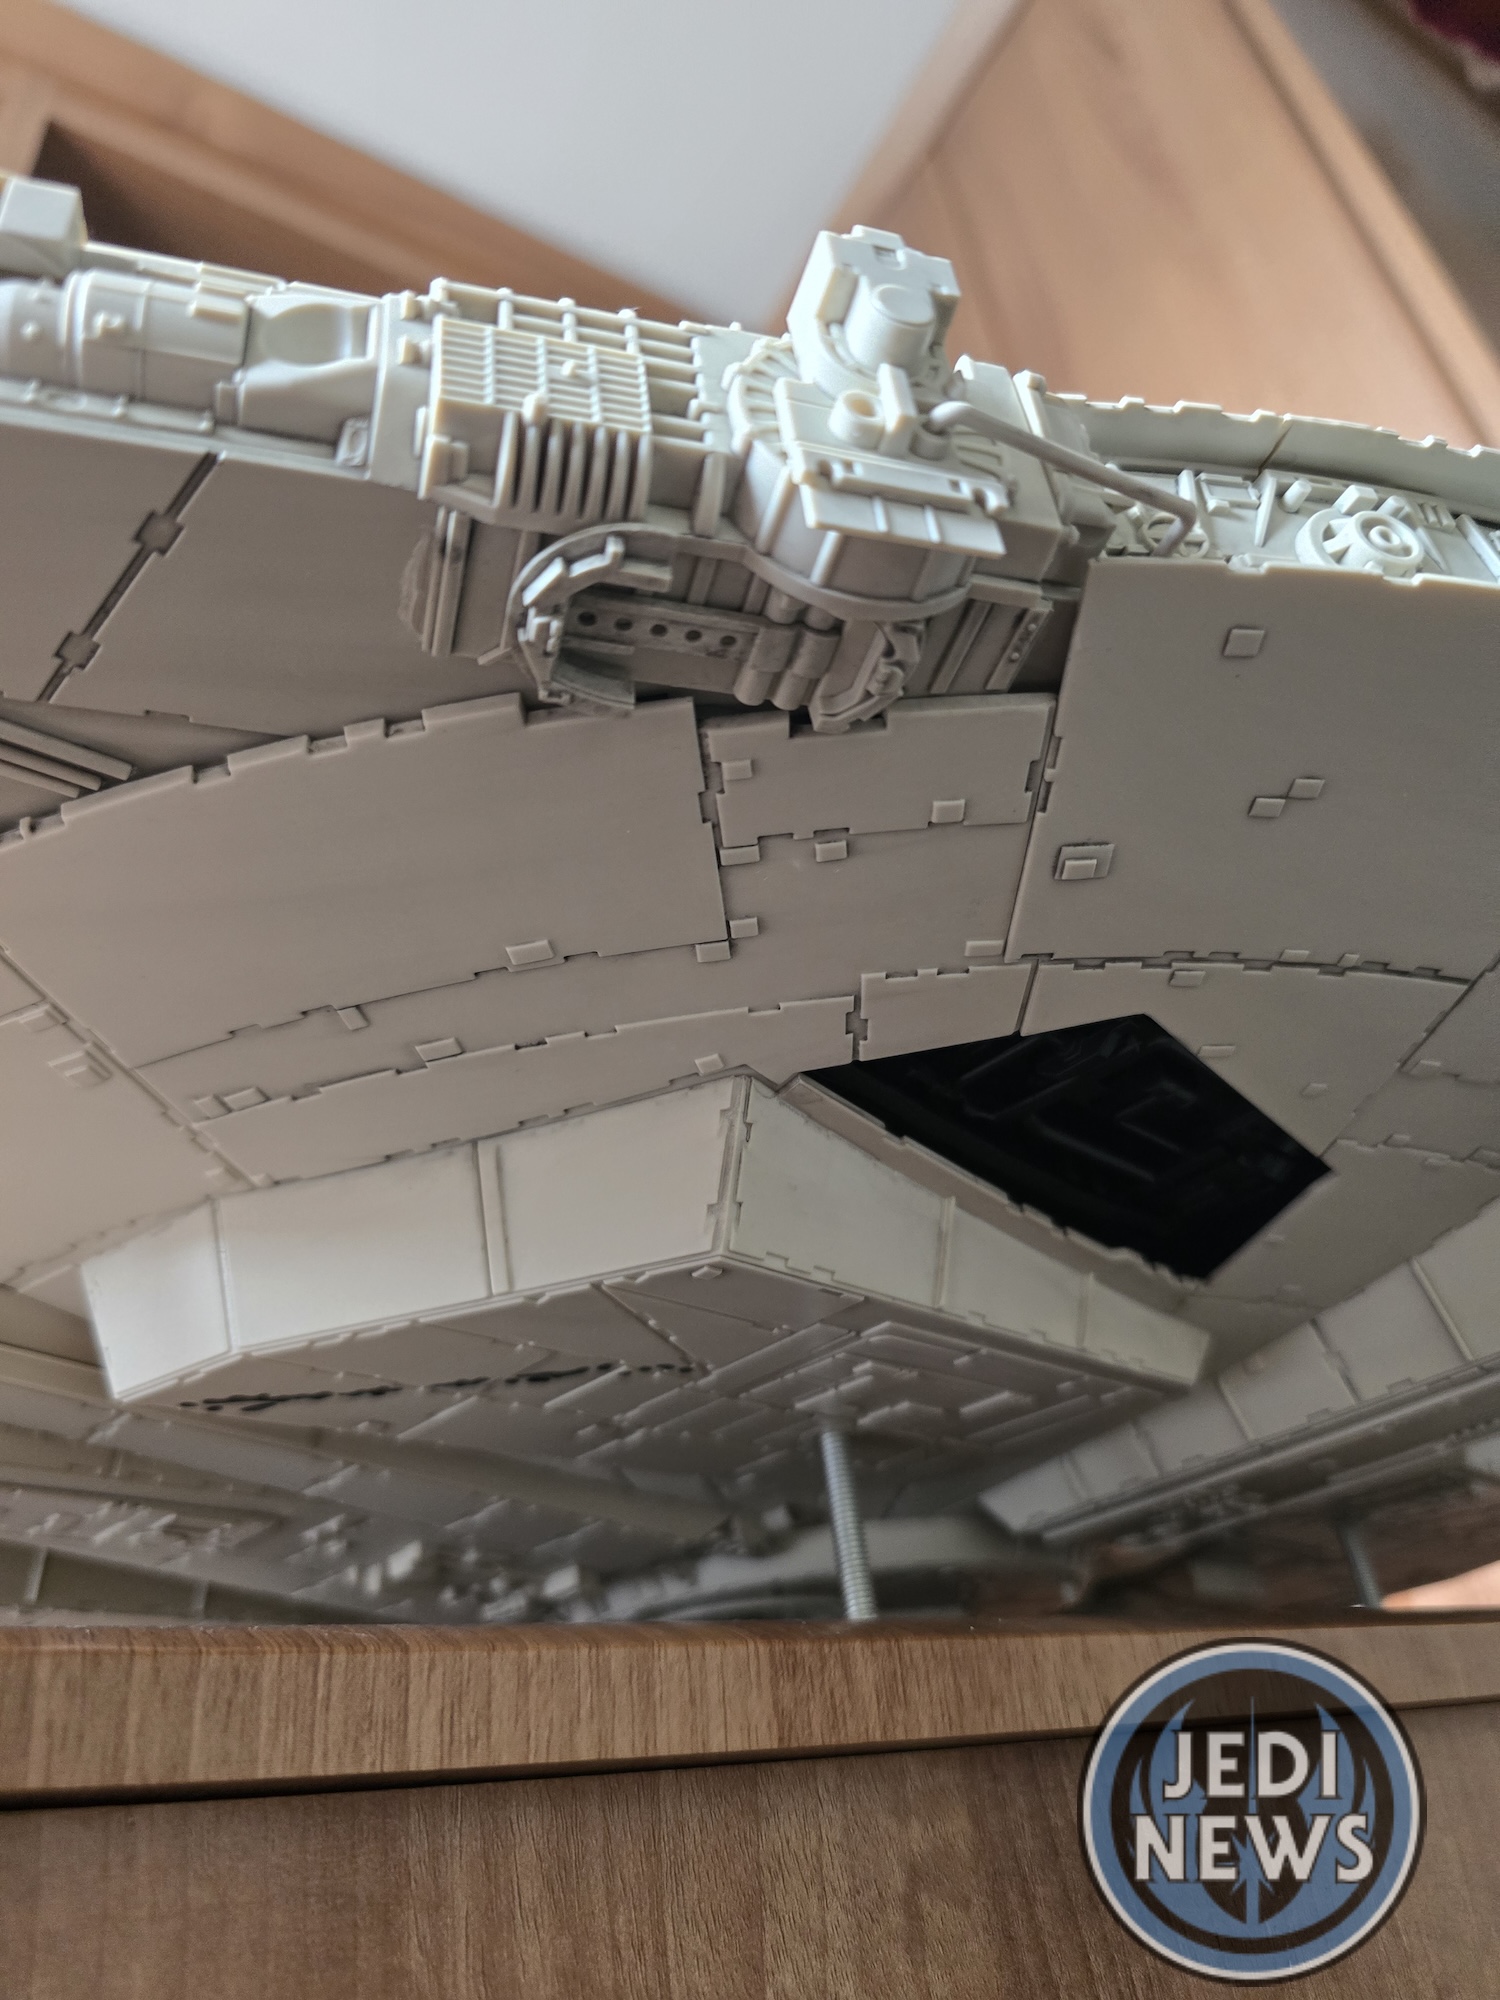
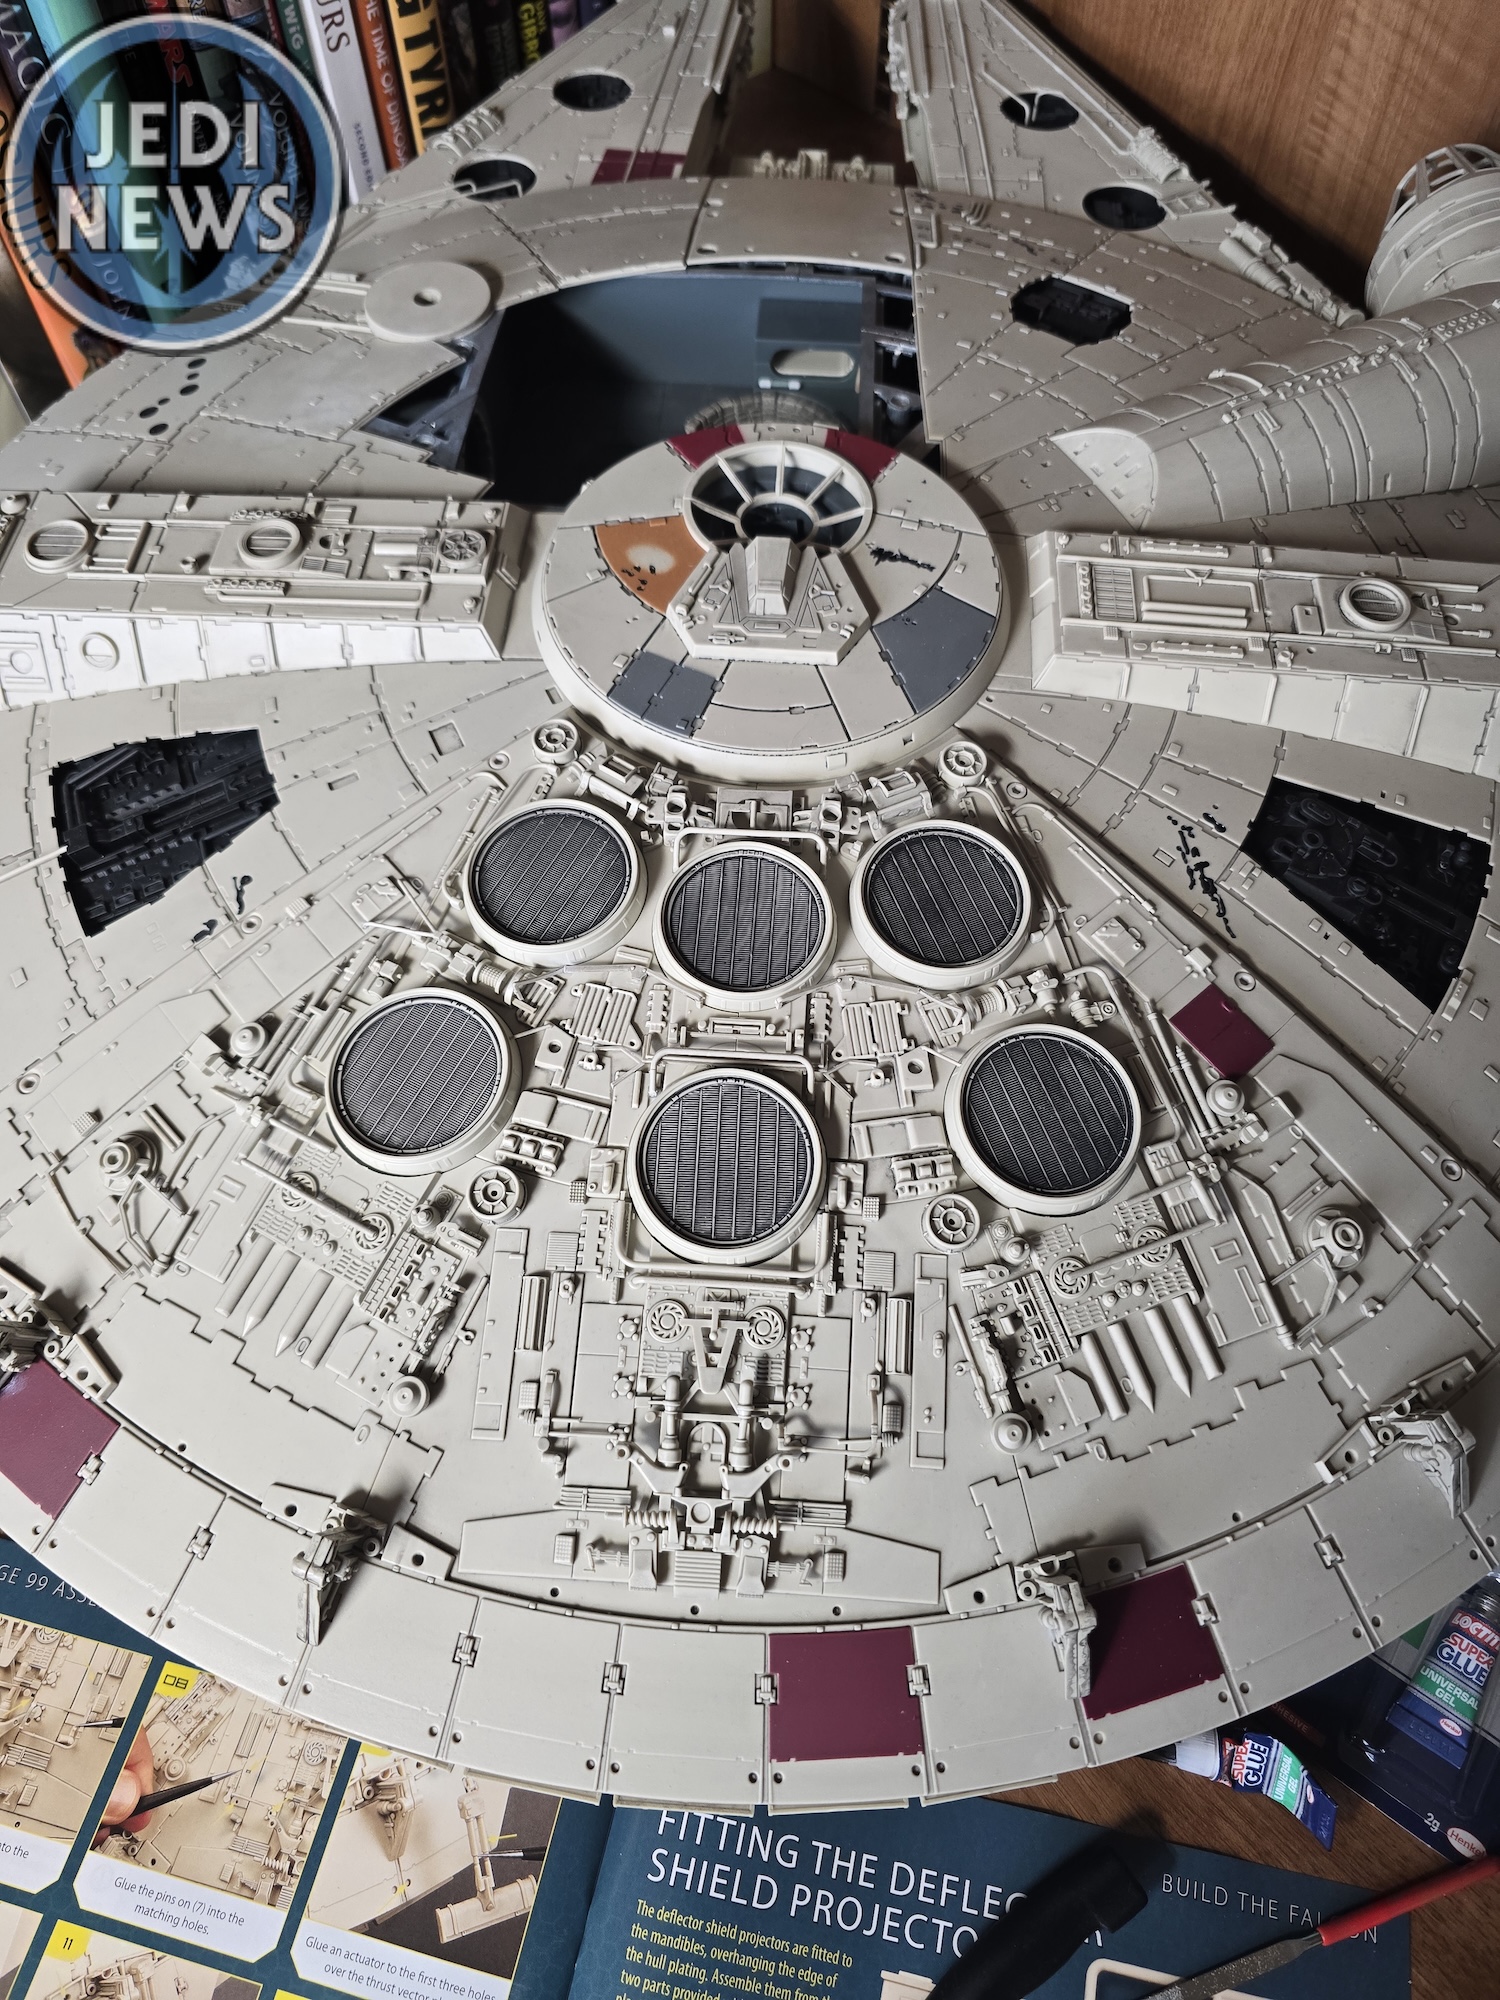
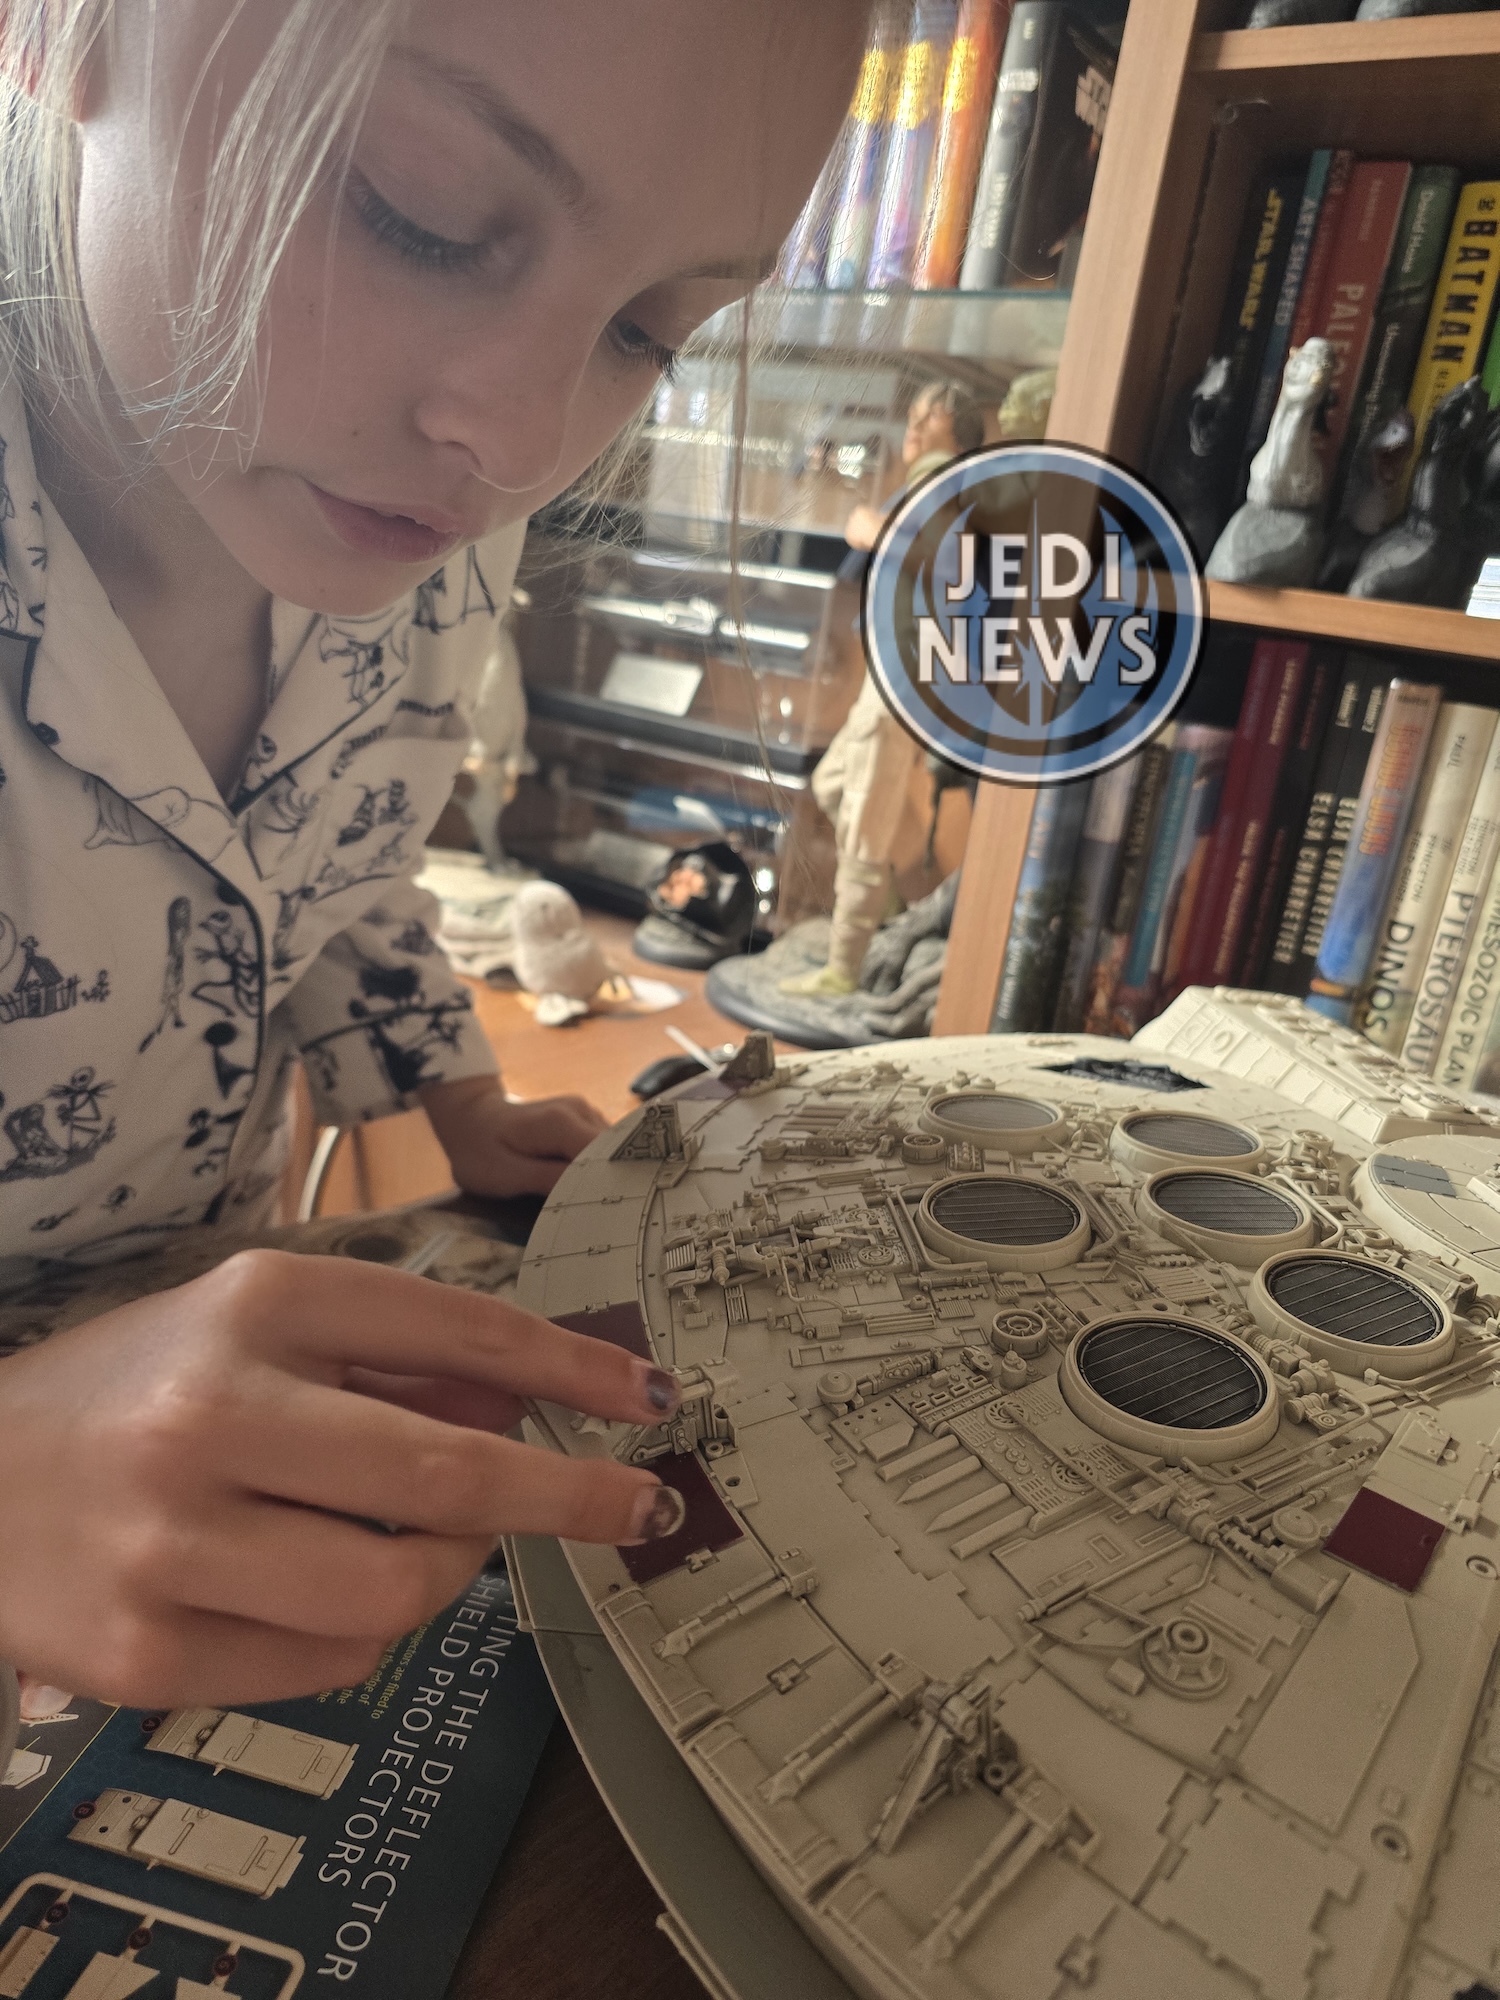
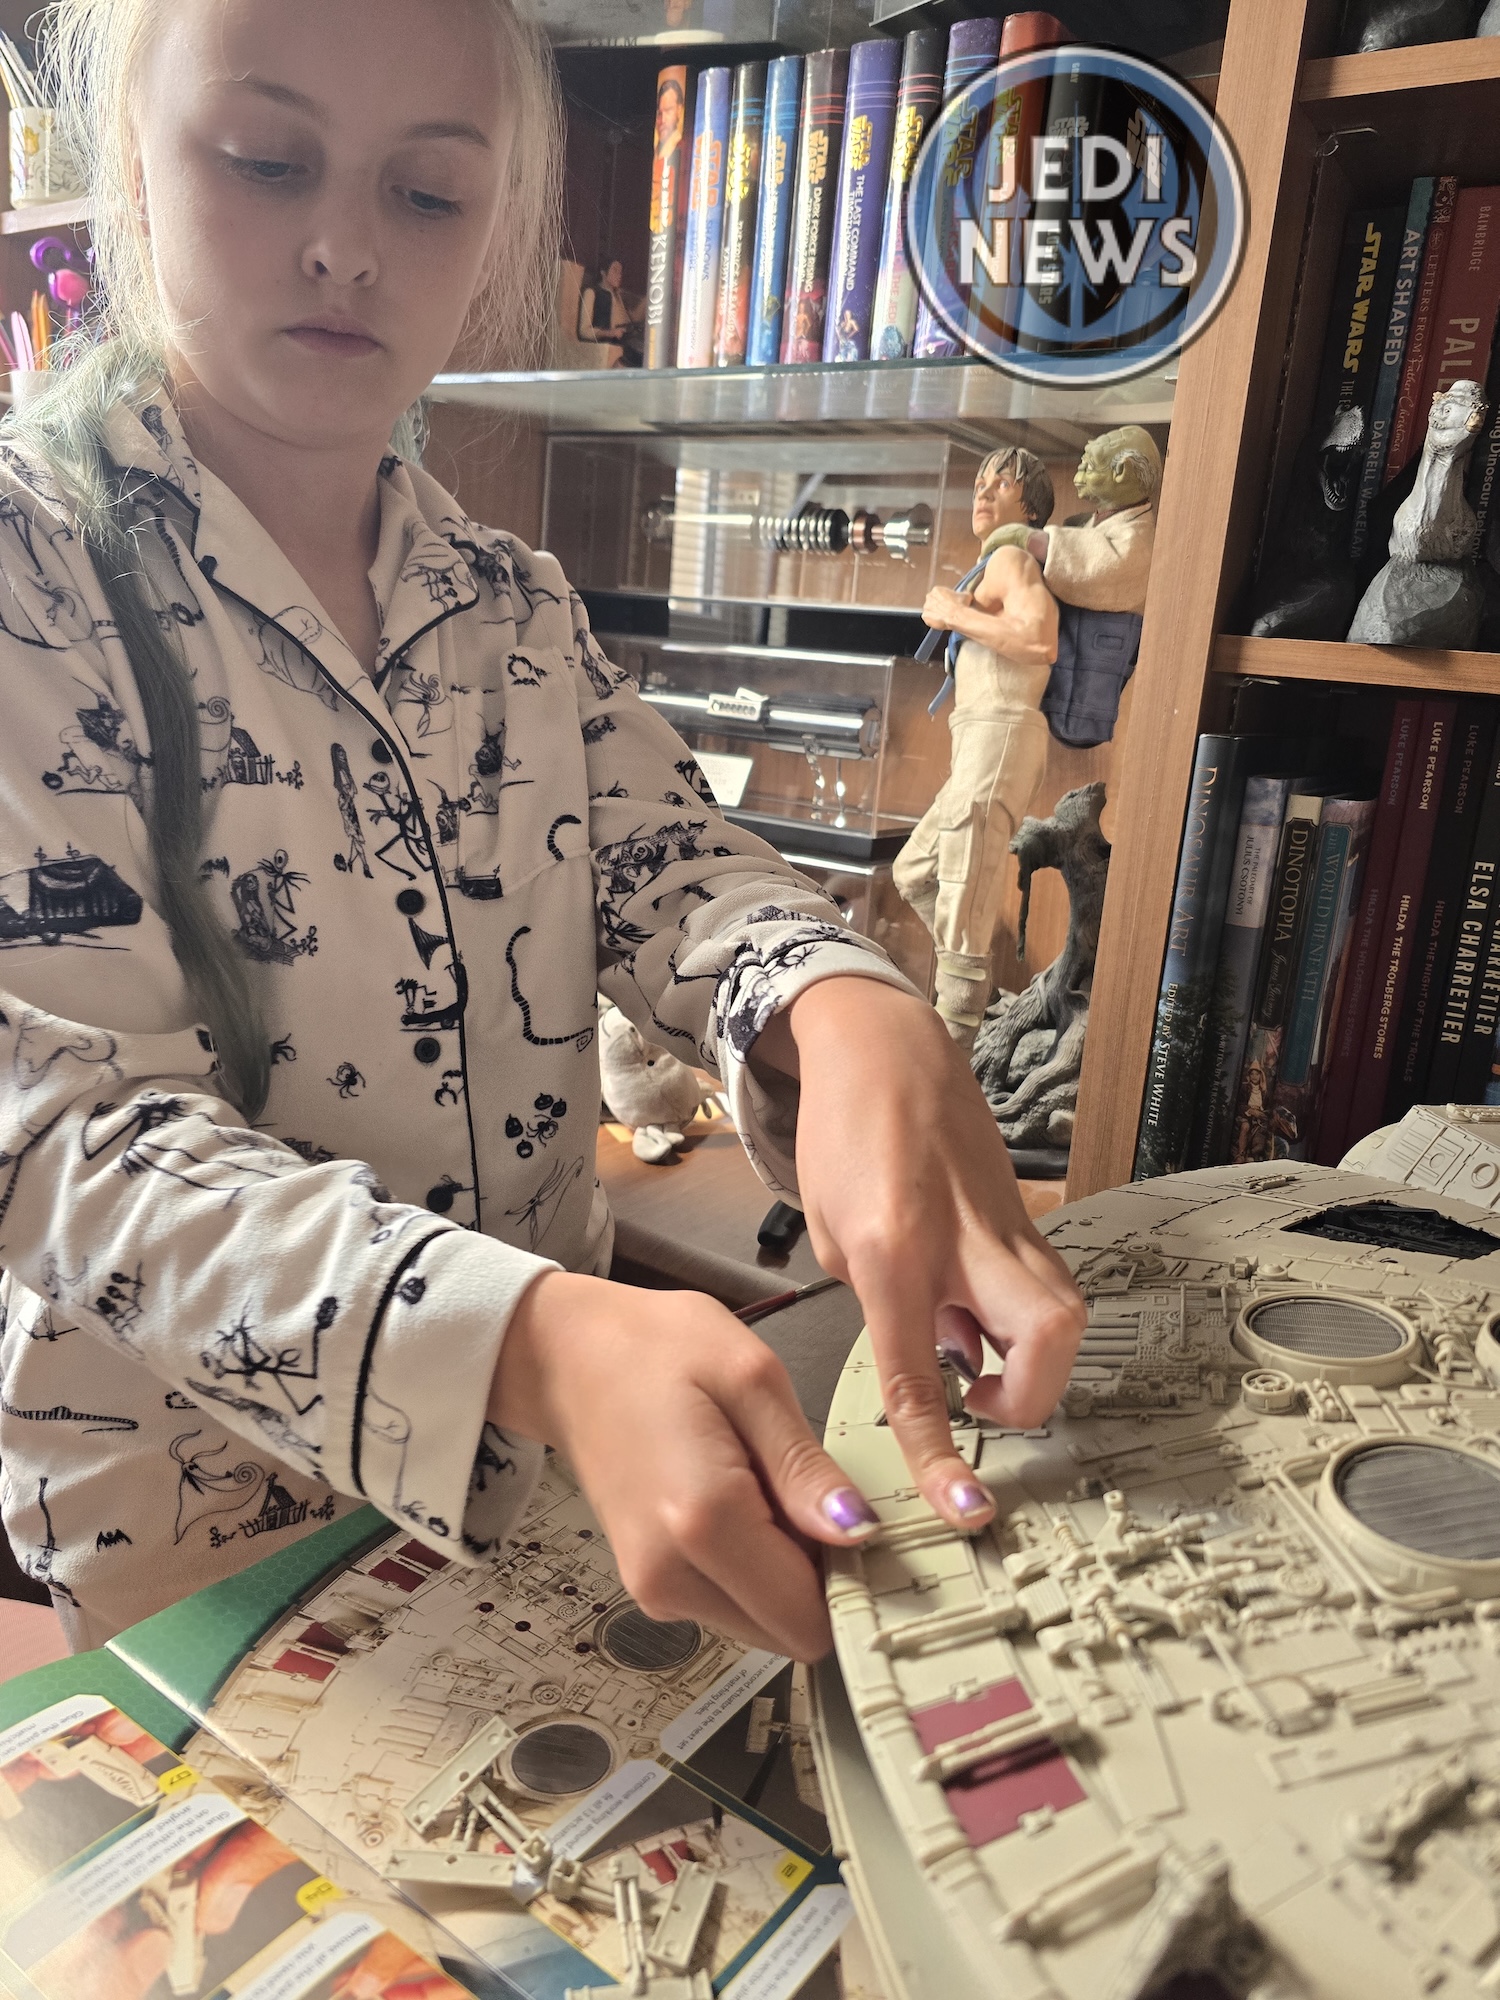
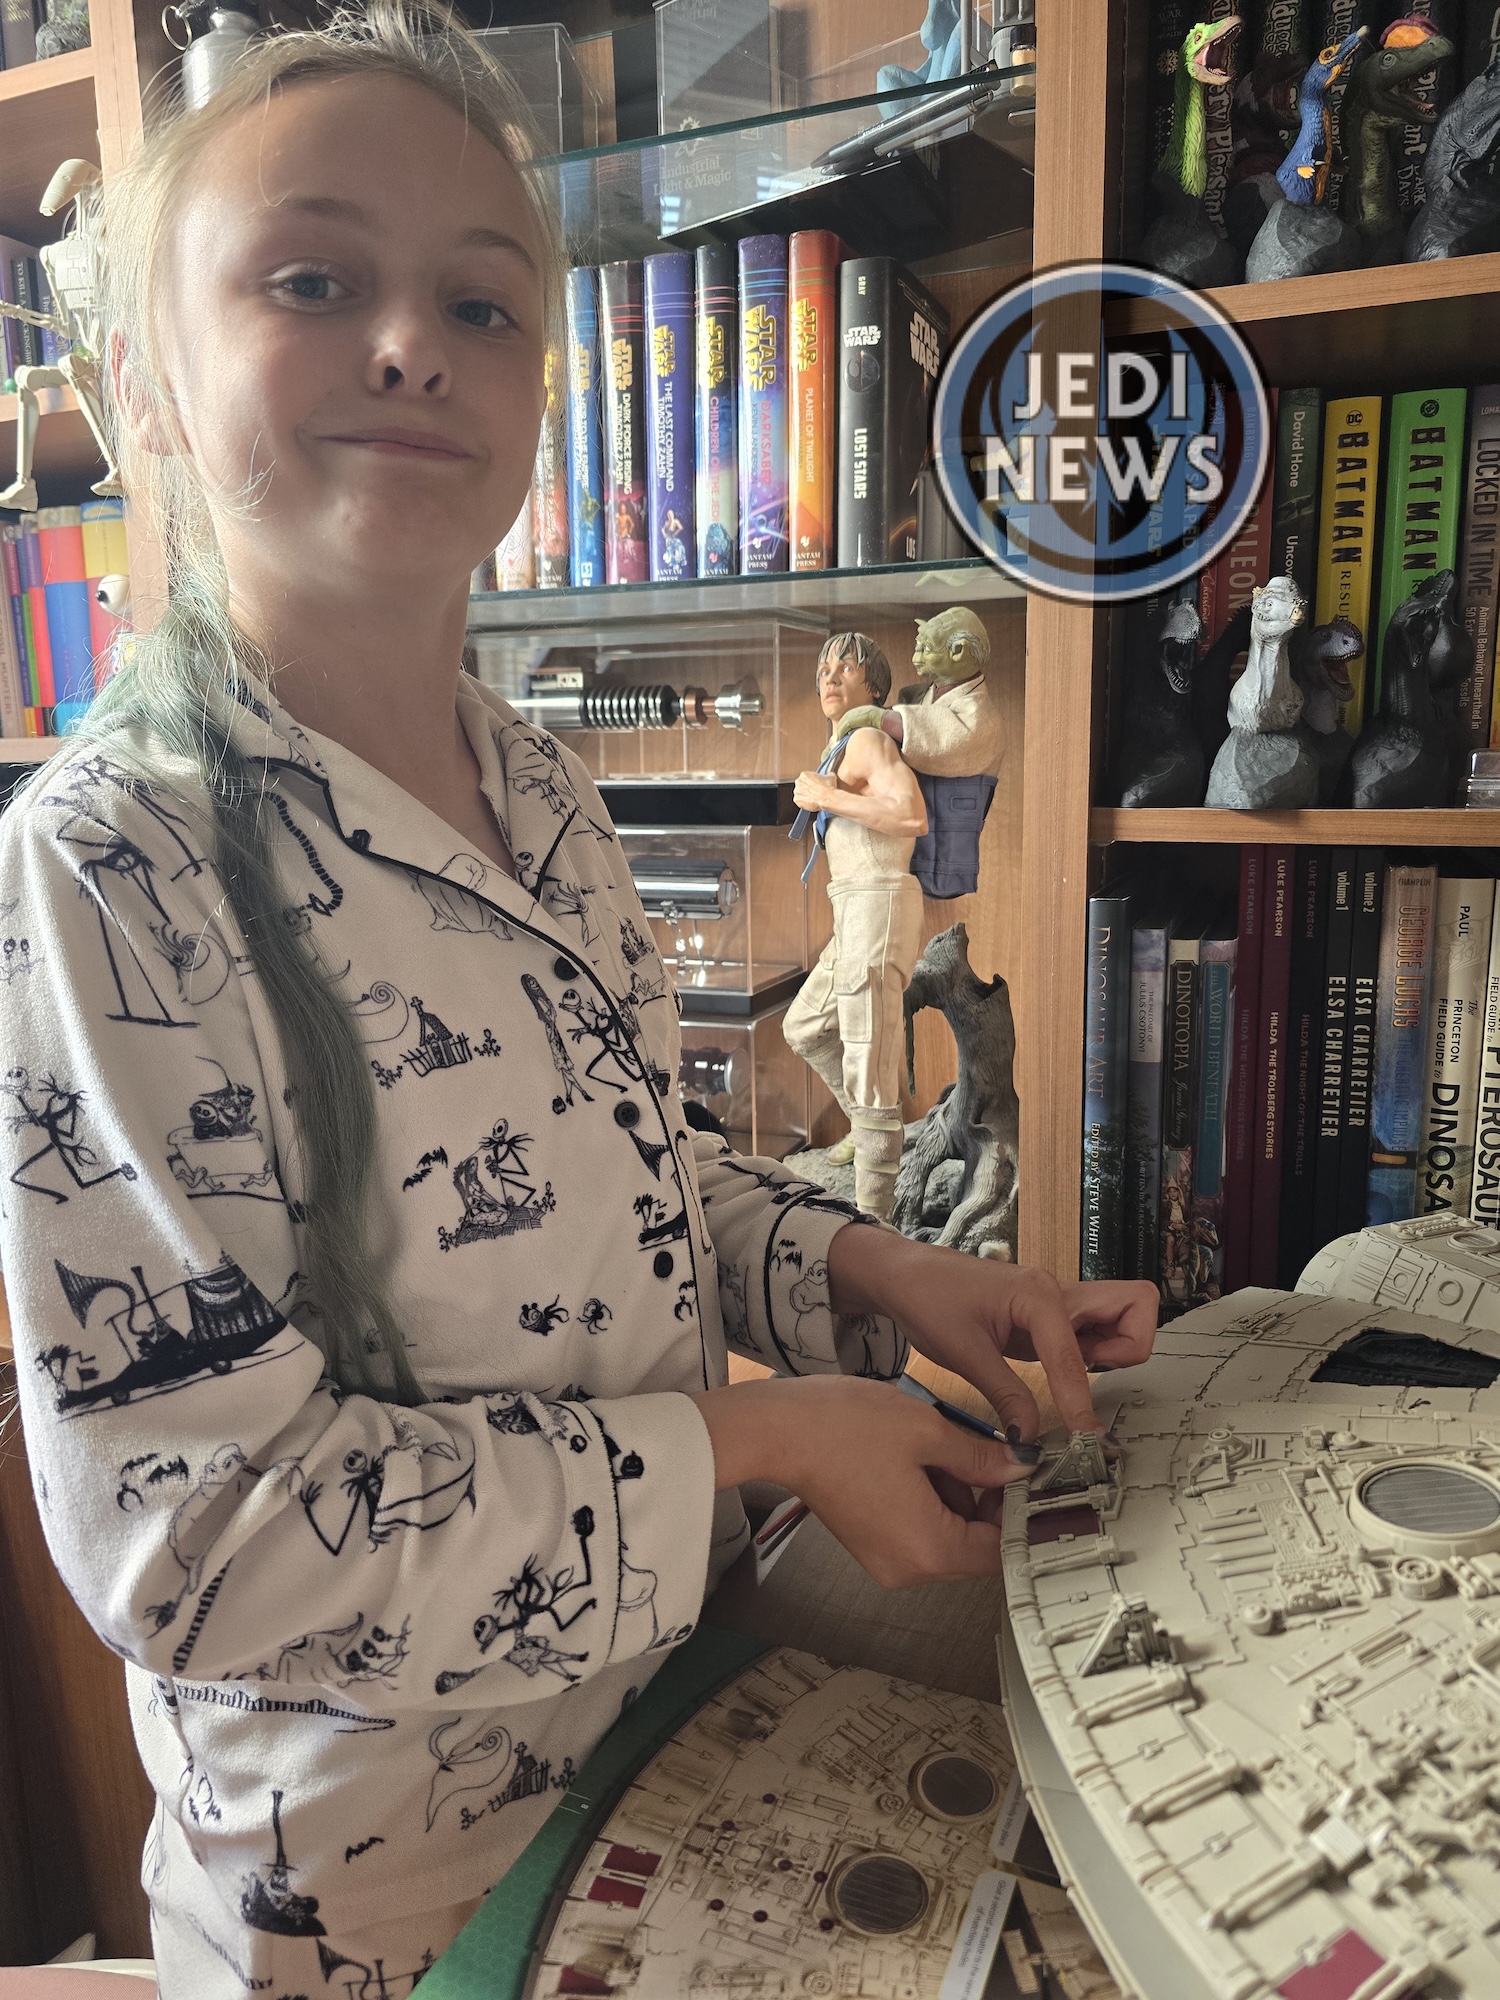
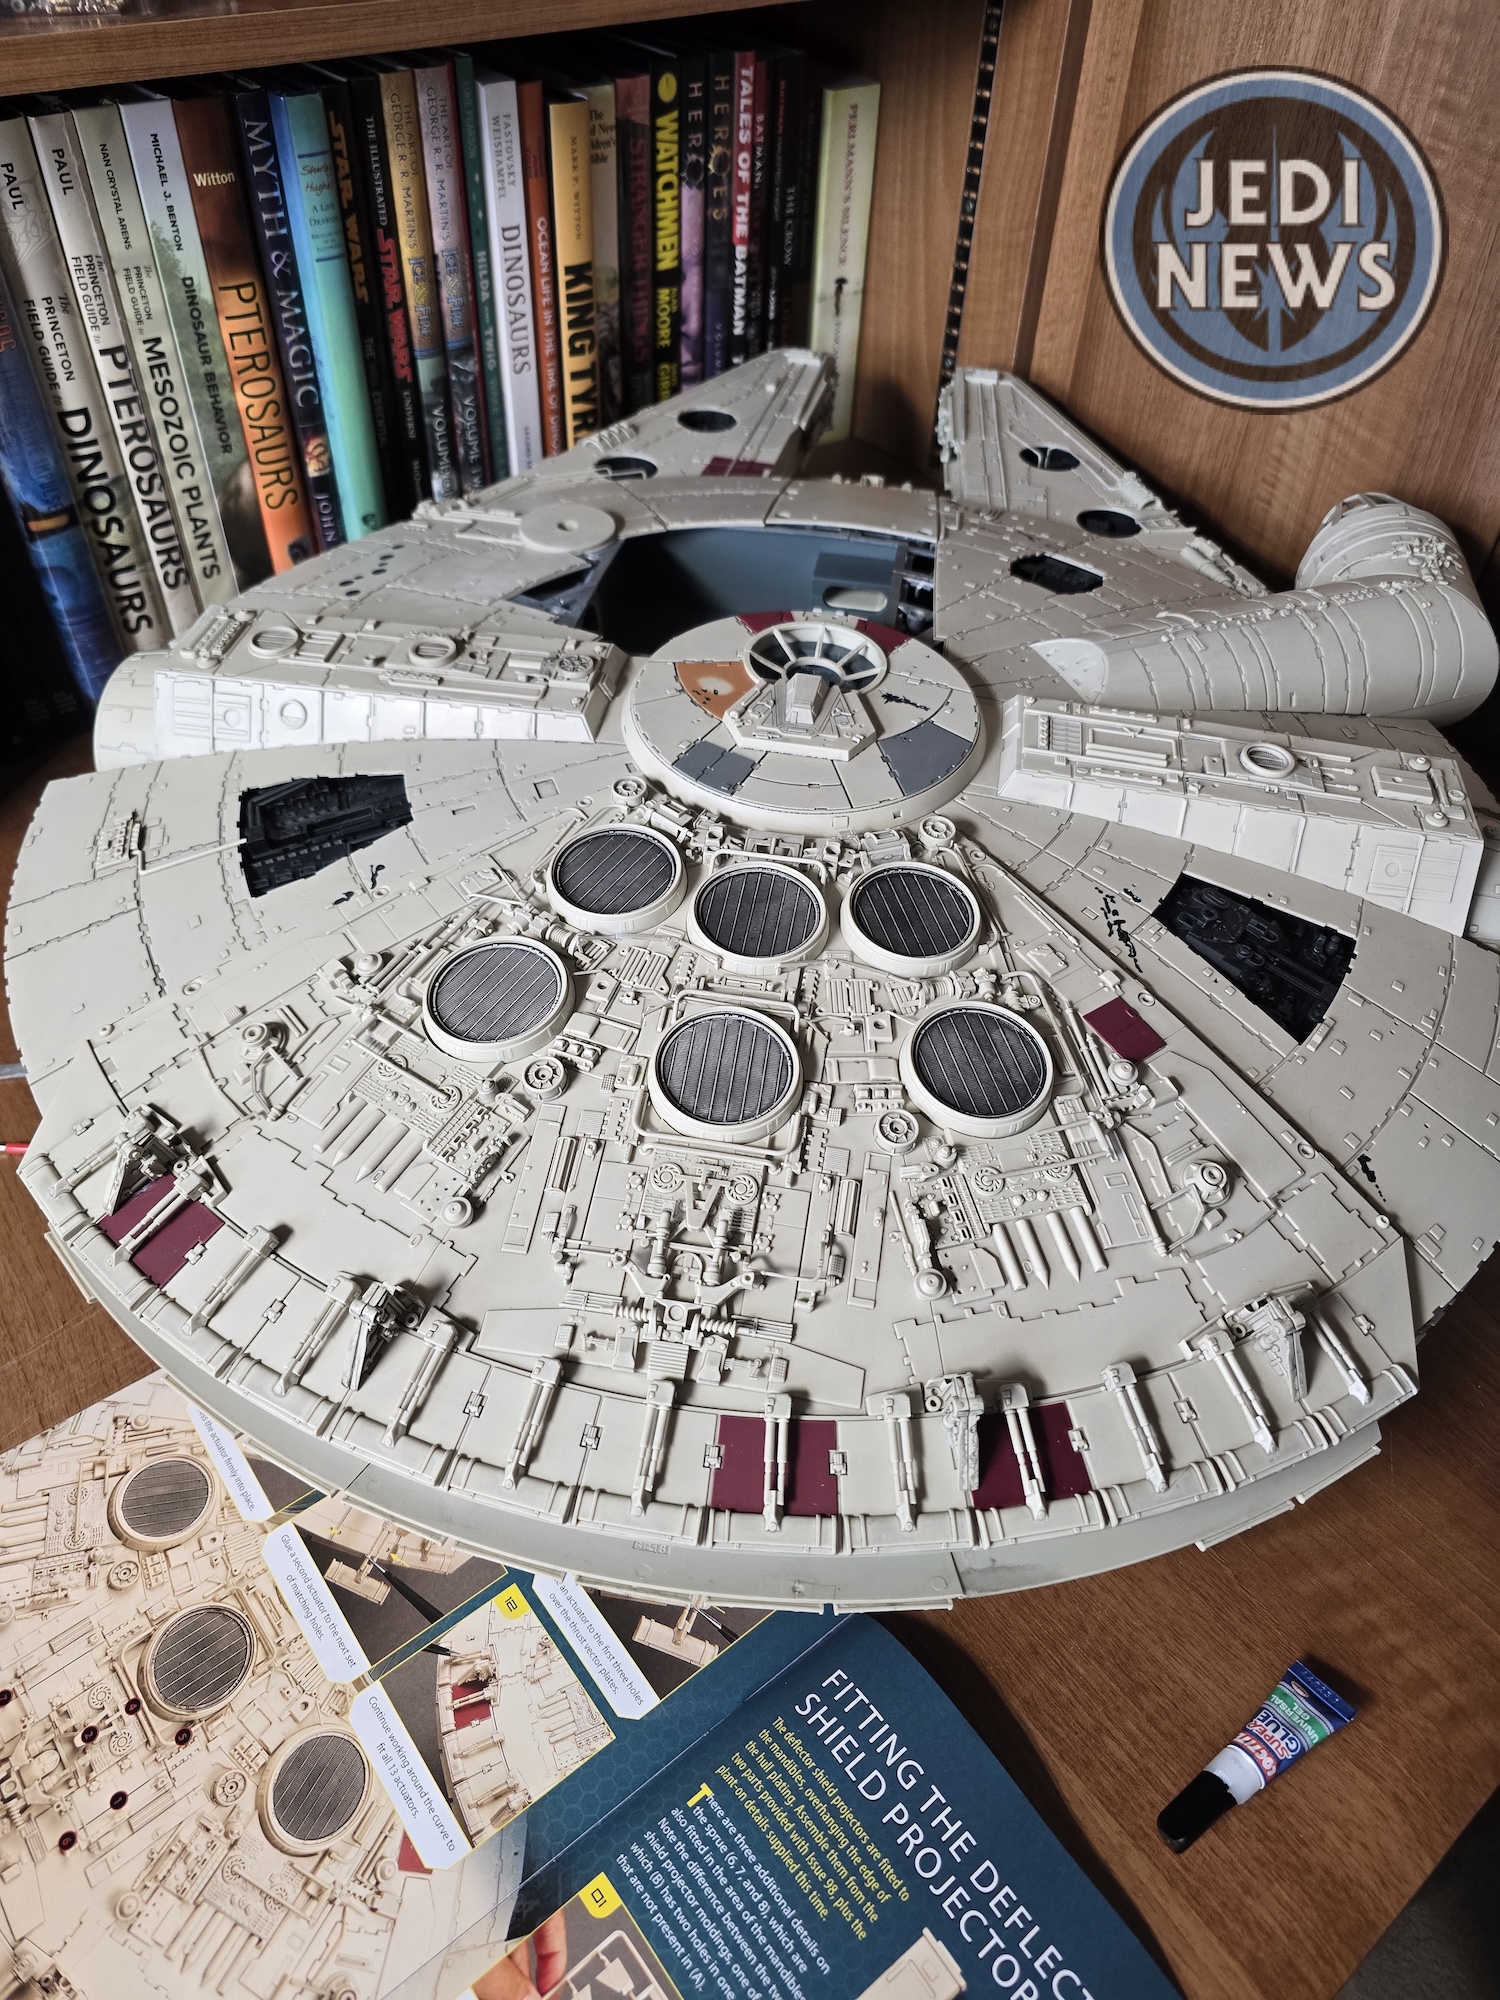
We had to begin by finishing the underside, which required us to glue a piece of hull to the underside. Well, that was not going to be easy! I had to maneuver the ship over the desk so I could glue it upside down. Even Ember commented about why we couldn’t have done this while the ship was upside down. But it wasn’t even that simple, you have to slide the piece under some hull already there – while doing it upside down. Oh, it was not fun. We managed it but then realised that the next part is fitting the turret. Instantly I could see a problem. The turrets can pivot up and down, the screws don’t create any fix for them. This means that the turrets will literally hit the table or the ship, depending on which turret. Nowhere in the instructions does it say about fixing these in place. Now part of me understands, you can position them how you want but there is no guide to actually do this. So, I told Ember that we would leave the turret and we could sort it with the other one – I needed time to think.
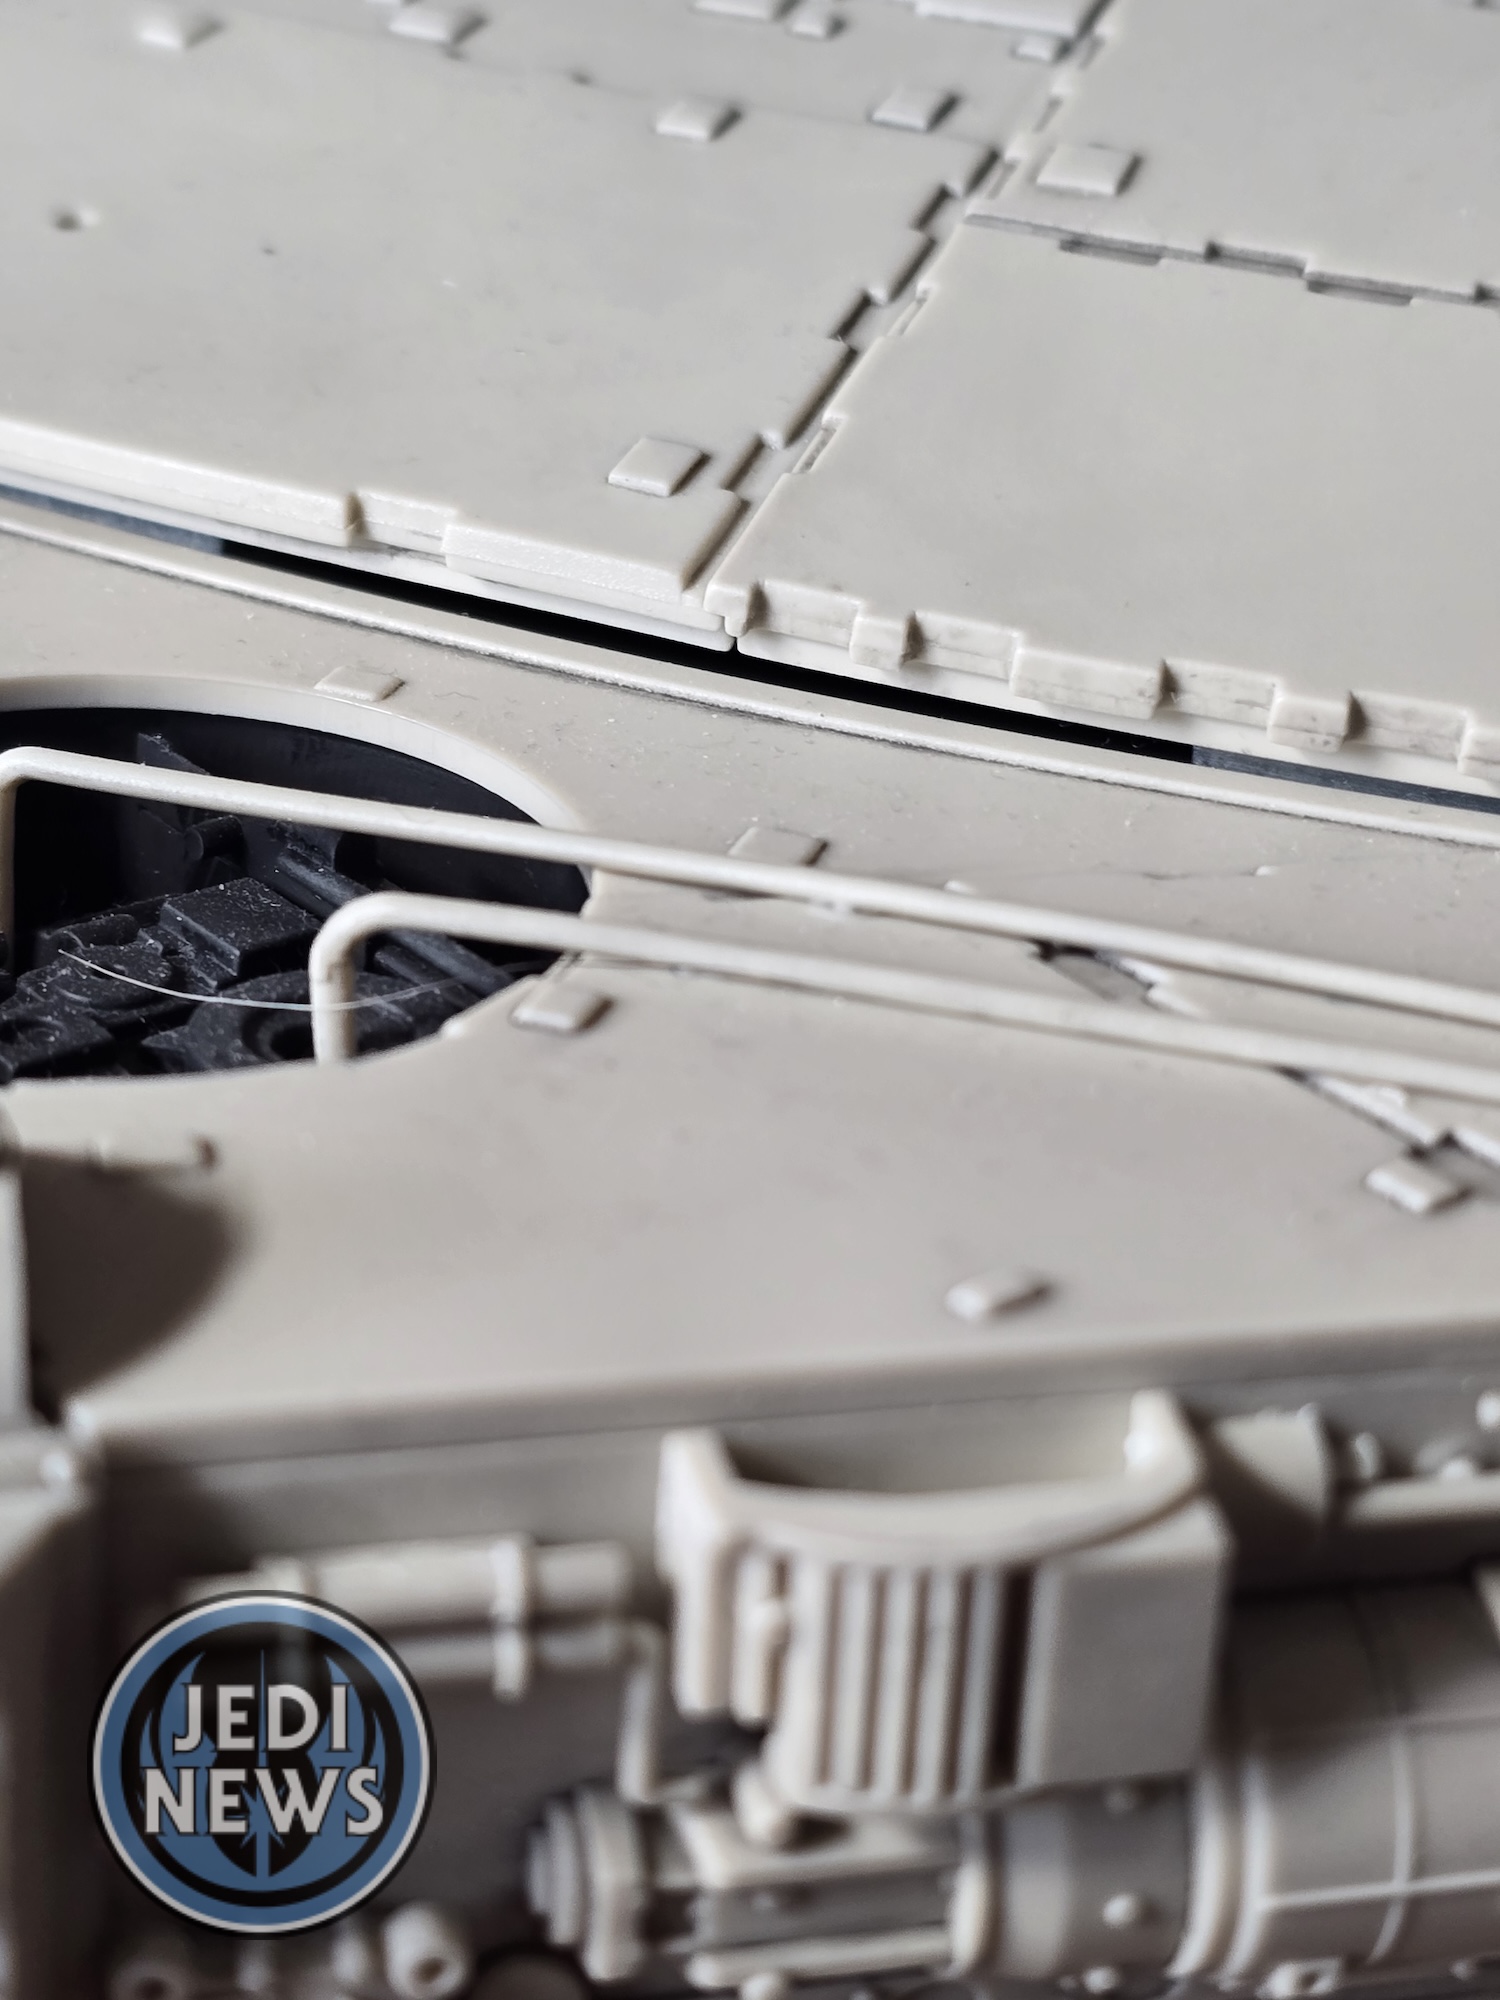
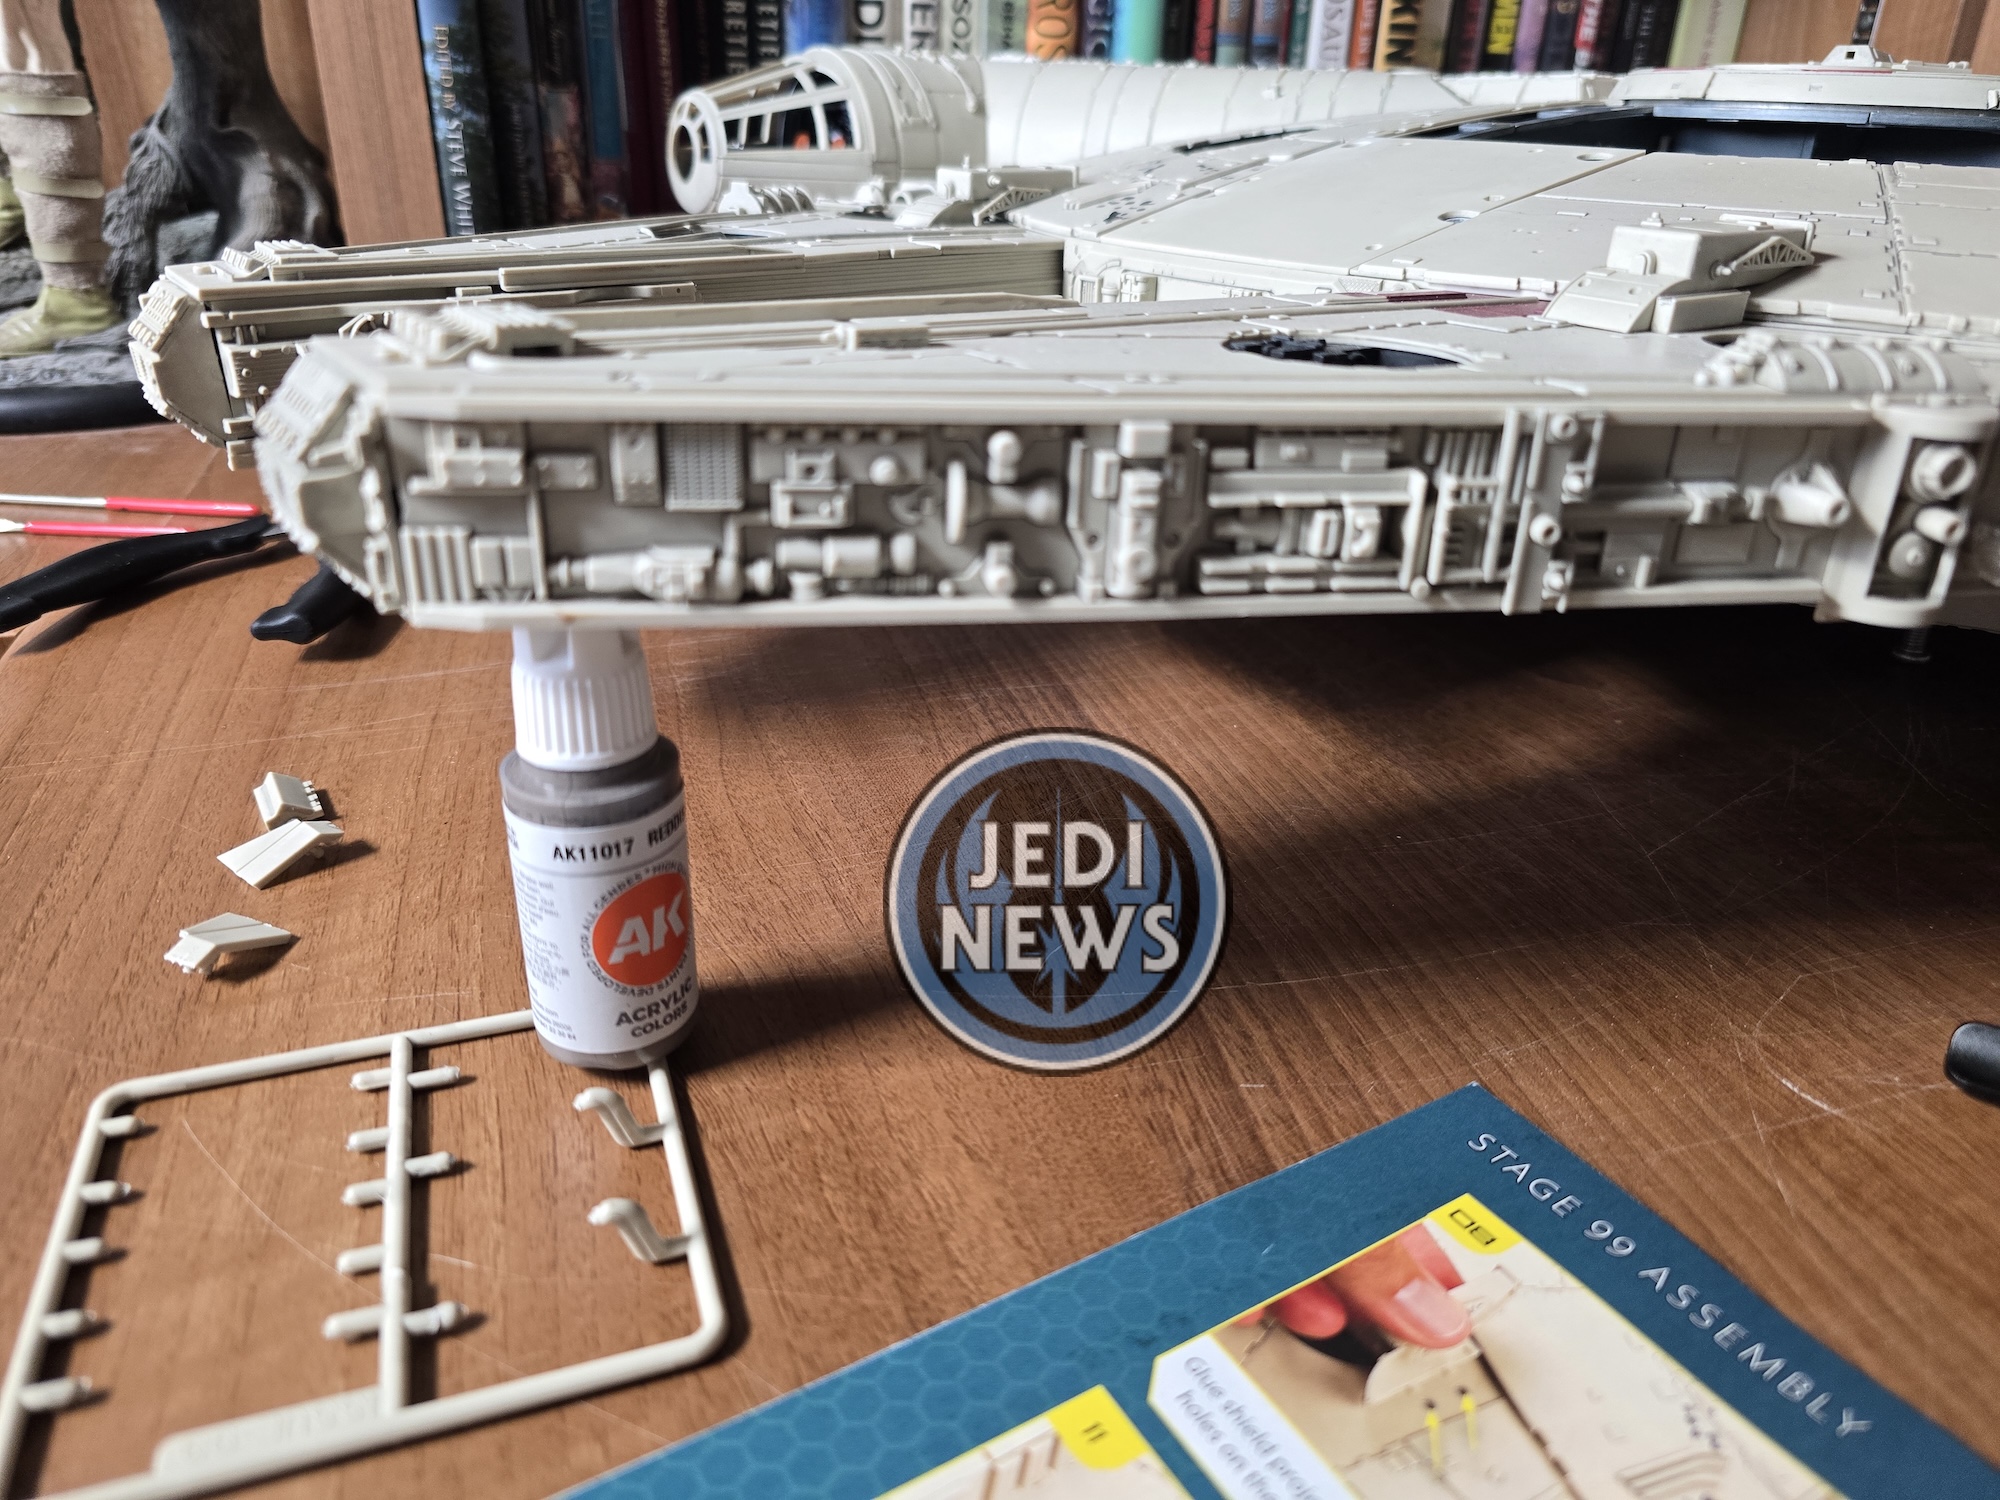
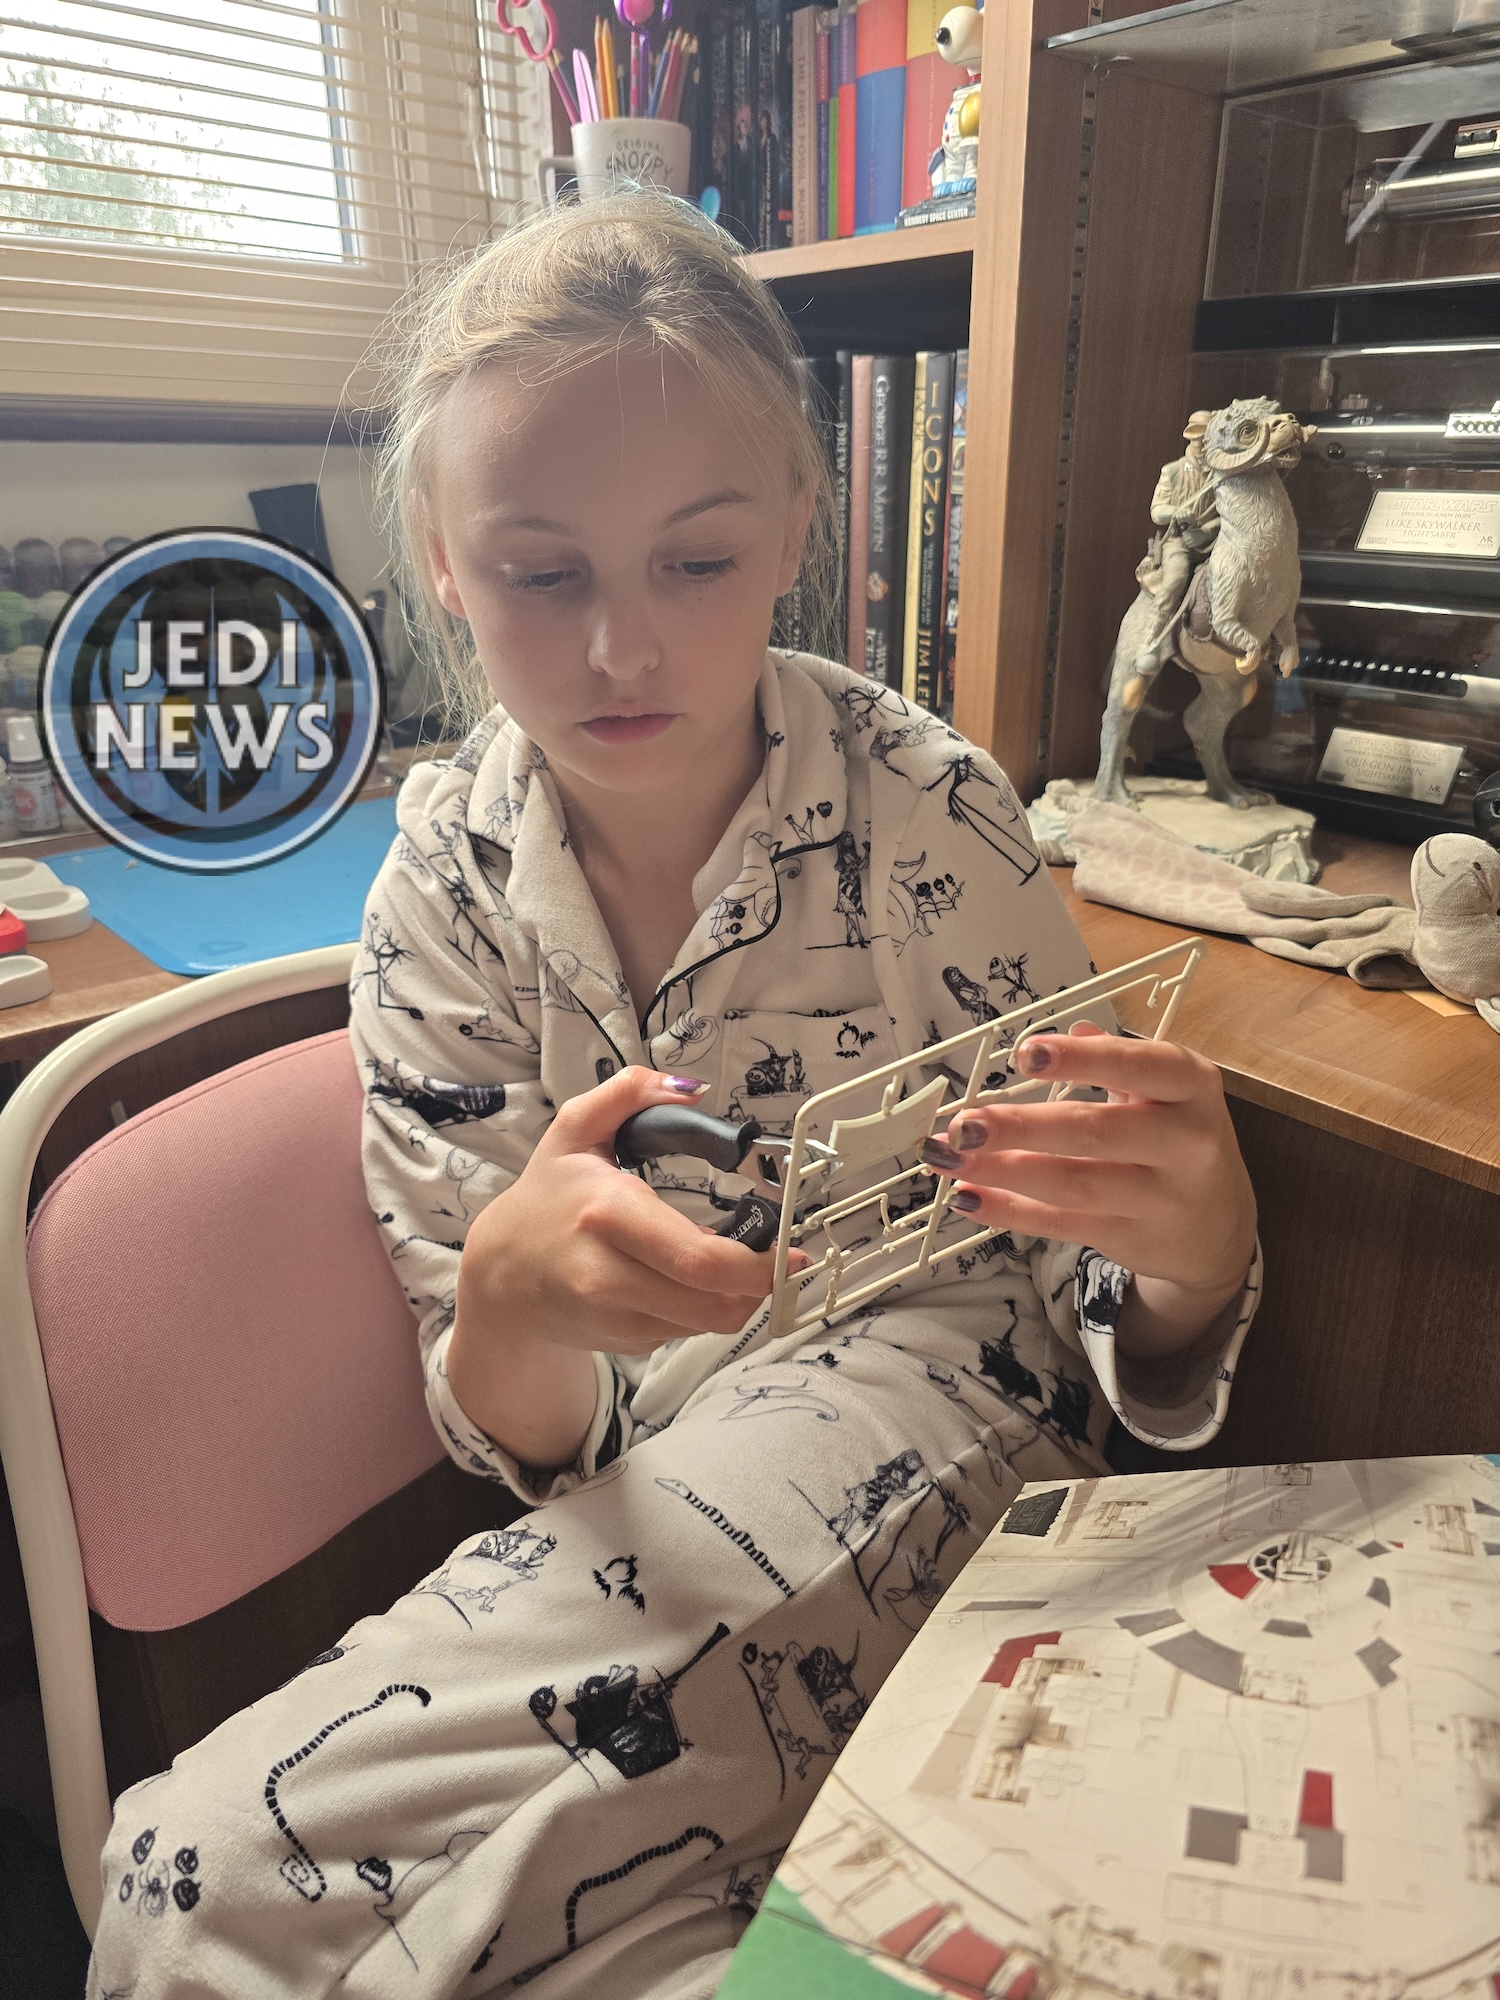
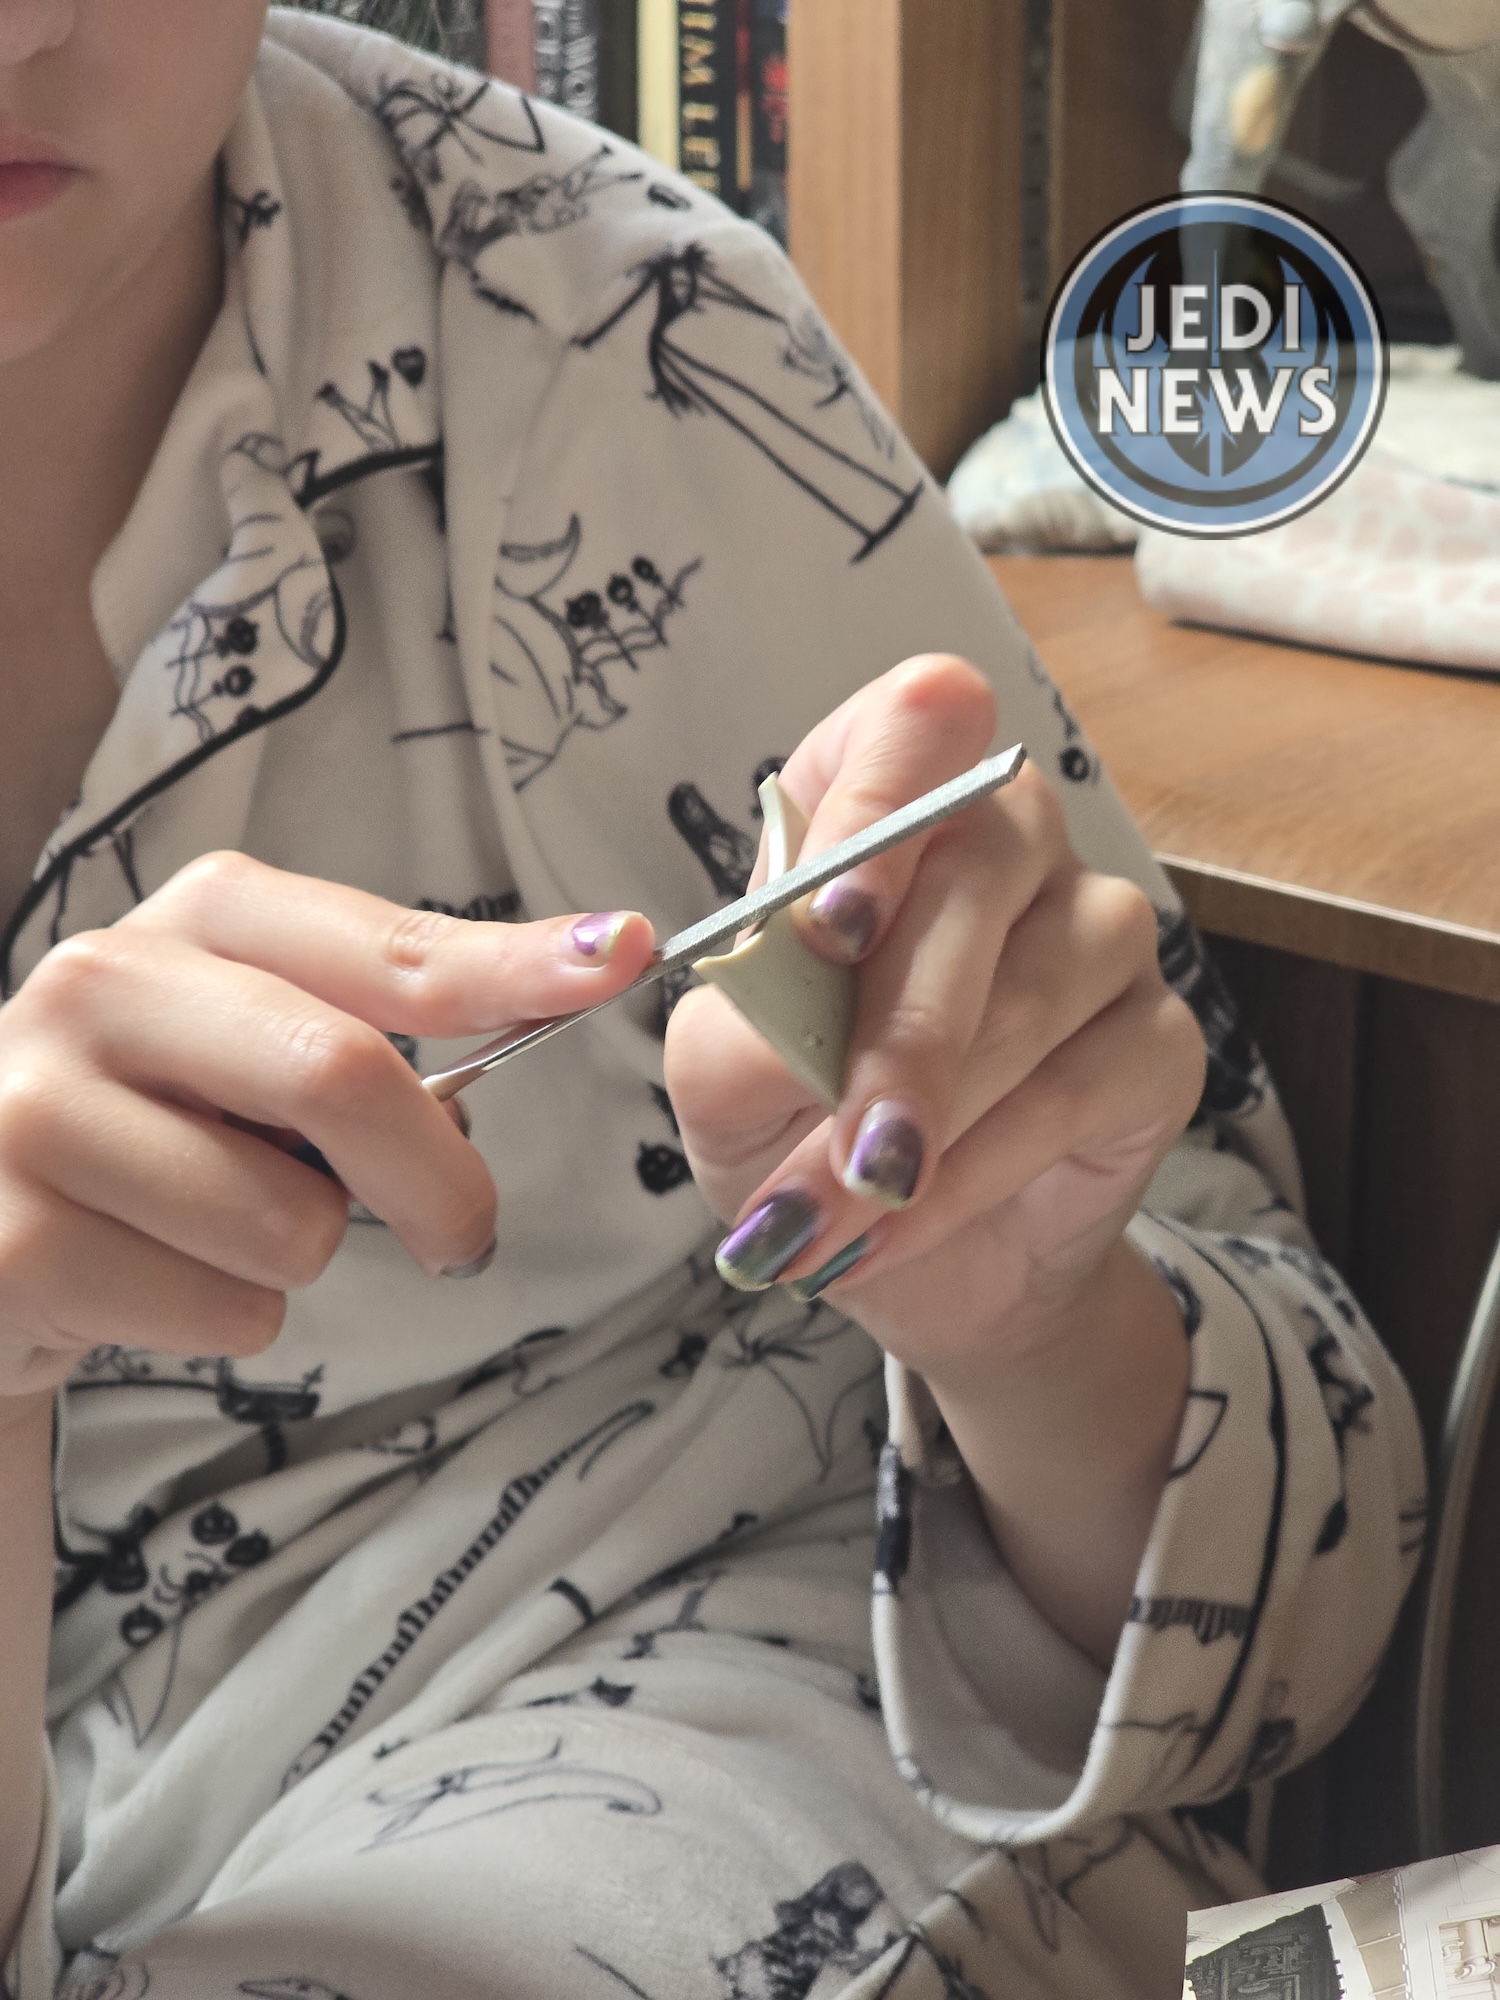
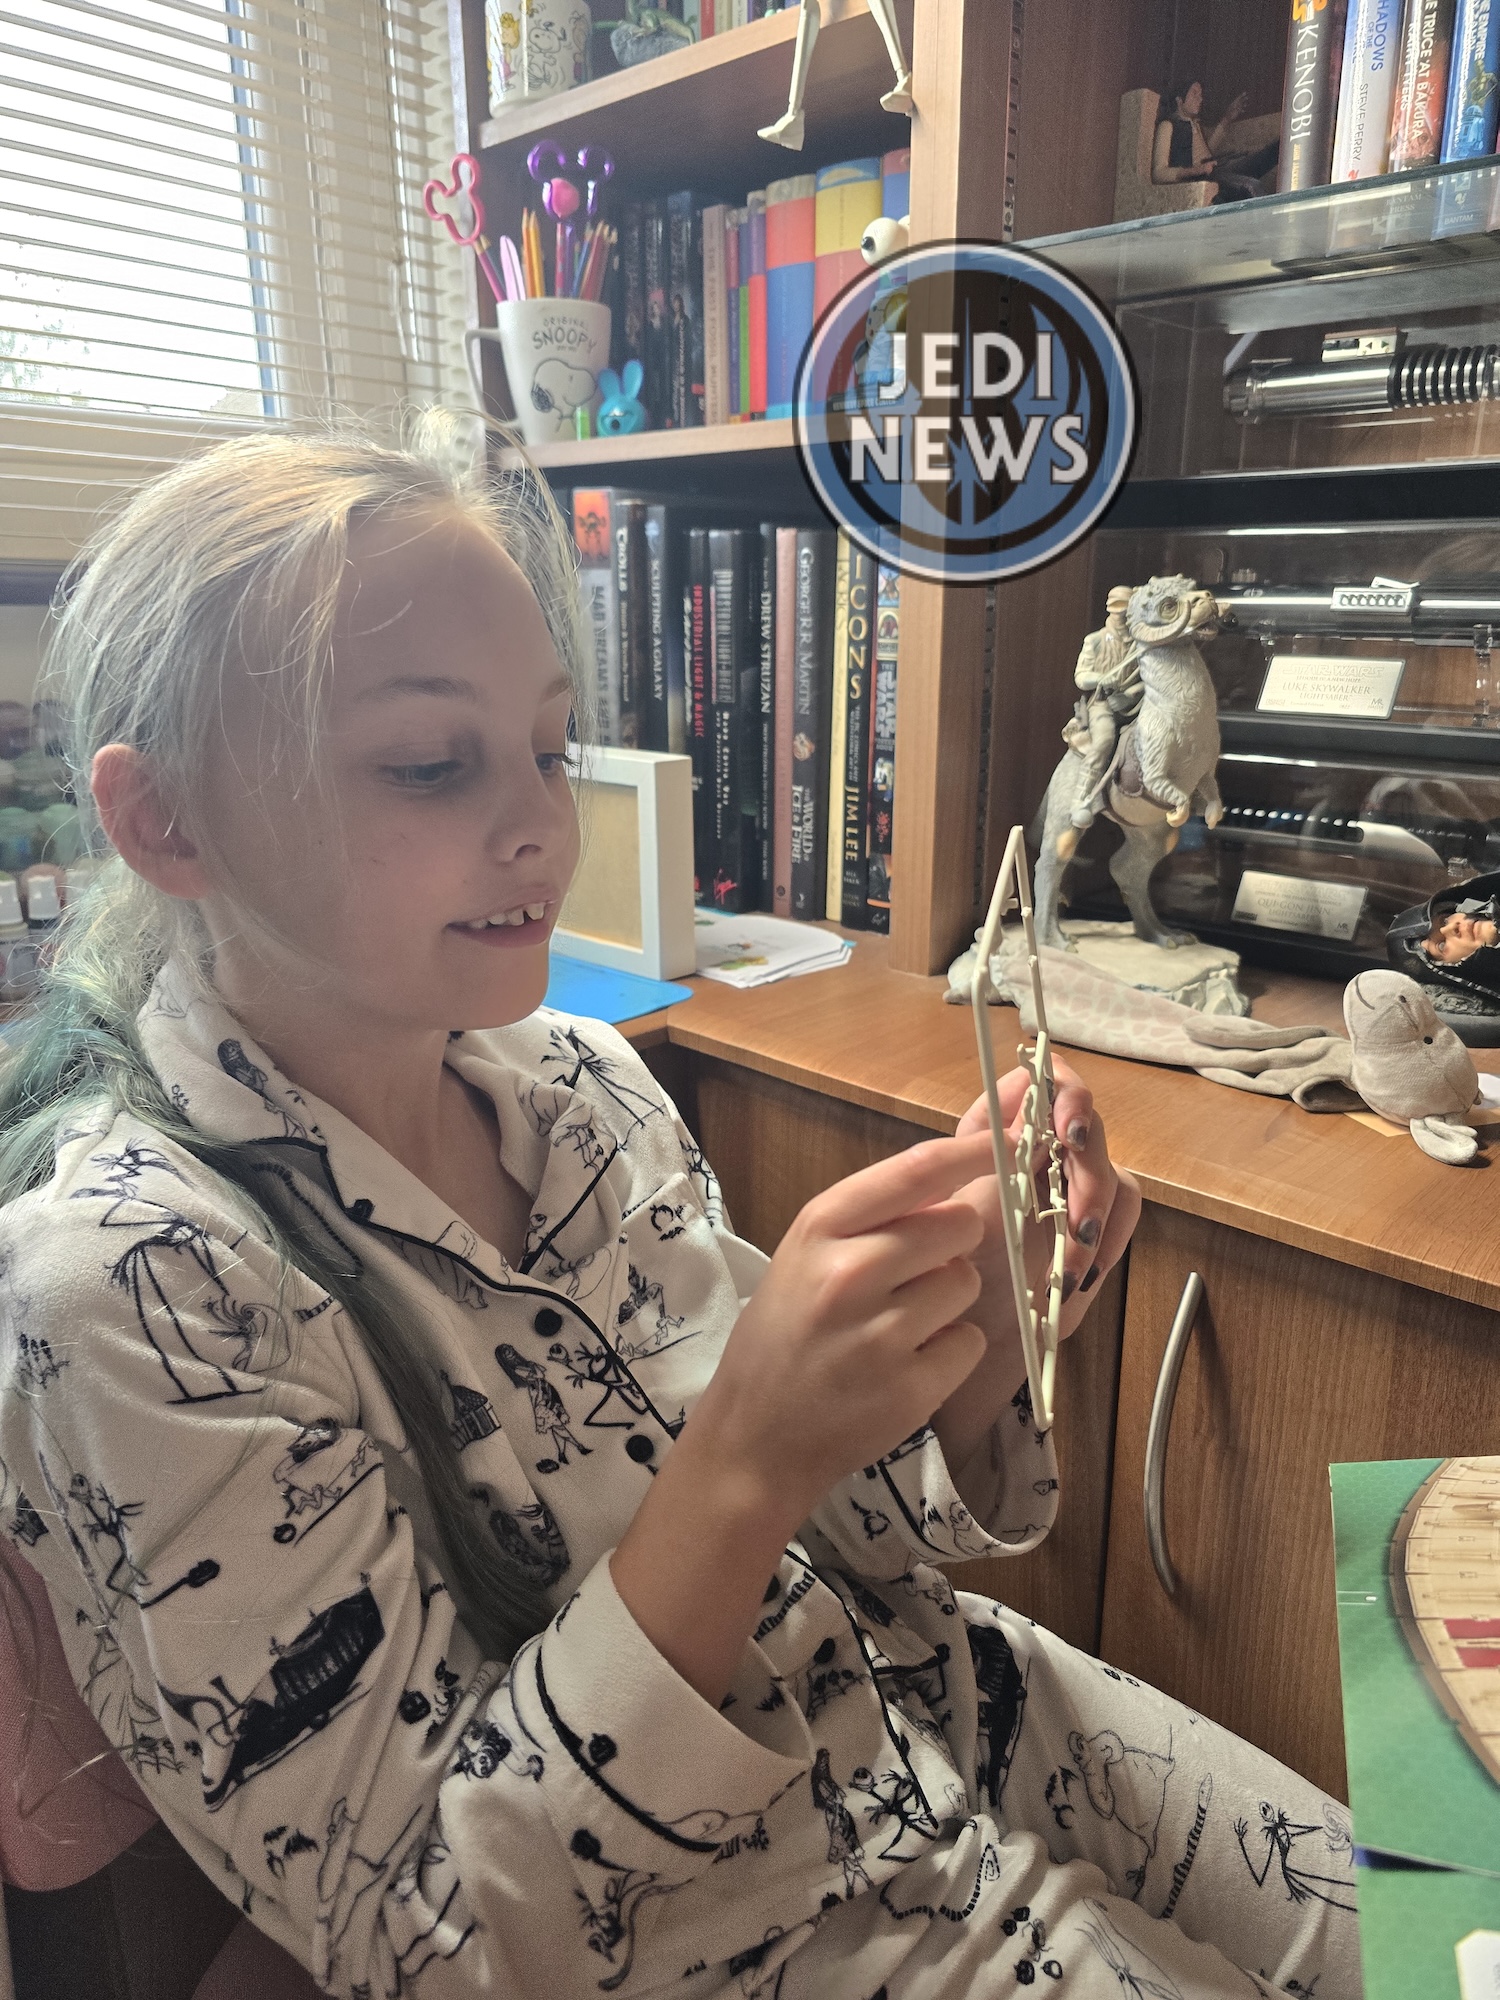
The magazine then talks about painting the landing legs – which we could just skip. So then it was onto detailing the engine cover. I was quite happy to get this all finished. The pieces were all very small bar one, which meant that Ember and I fell back into her finding where the pieces needed to fit while I cut and filed them. Be careful at looking at the final image, part one is identified incorrectly! With the last details added, we then had to glue on the thirteen actuators. As these were all the same, I showed Ember how I glued one on. I then applied the glue but got her to fit the rest. It went surprisingly well!
The last part was to fit the shield projectors. This took far more time than I wanted, mainly because of more inaccuracies. The step-by-step instructional photos are correct, but the final photos are actually the wrong way around (A is B, B is A). With two pieces that look so similar, this was a little nerve wracking trying to figure out if we were doing the right piece! With them done, they were easy to glue on. But I did find that there was a gap with the port mandible. Applying these projectors was going to cause a problem. If I left it as it was, there would be a gap. If I glued the projectors, and then tried to close the gap, the projector would be misaligned. I grabbed some glue and glued the two parts together. Was I supposed to? No, but this is a model after all. I set up a glue pot to hold the mandible up while the glue set and so Ember and I could carry on. With a few more pieces, the magazine was done.
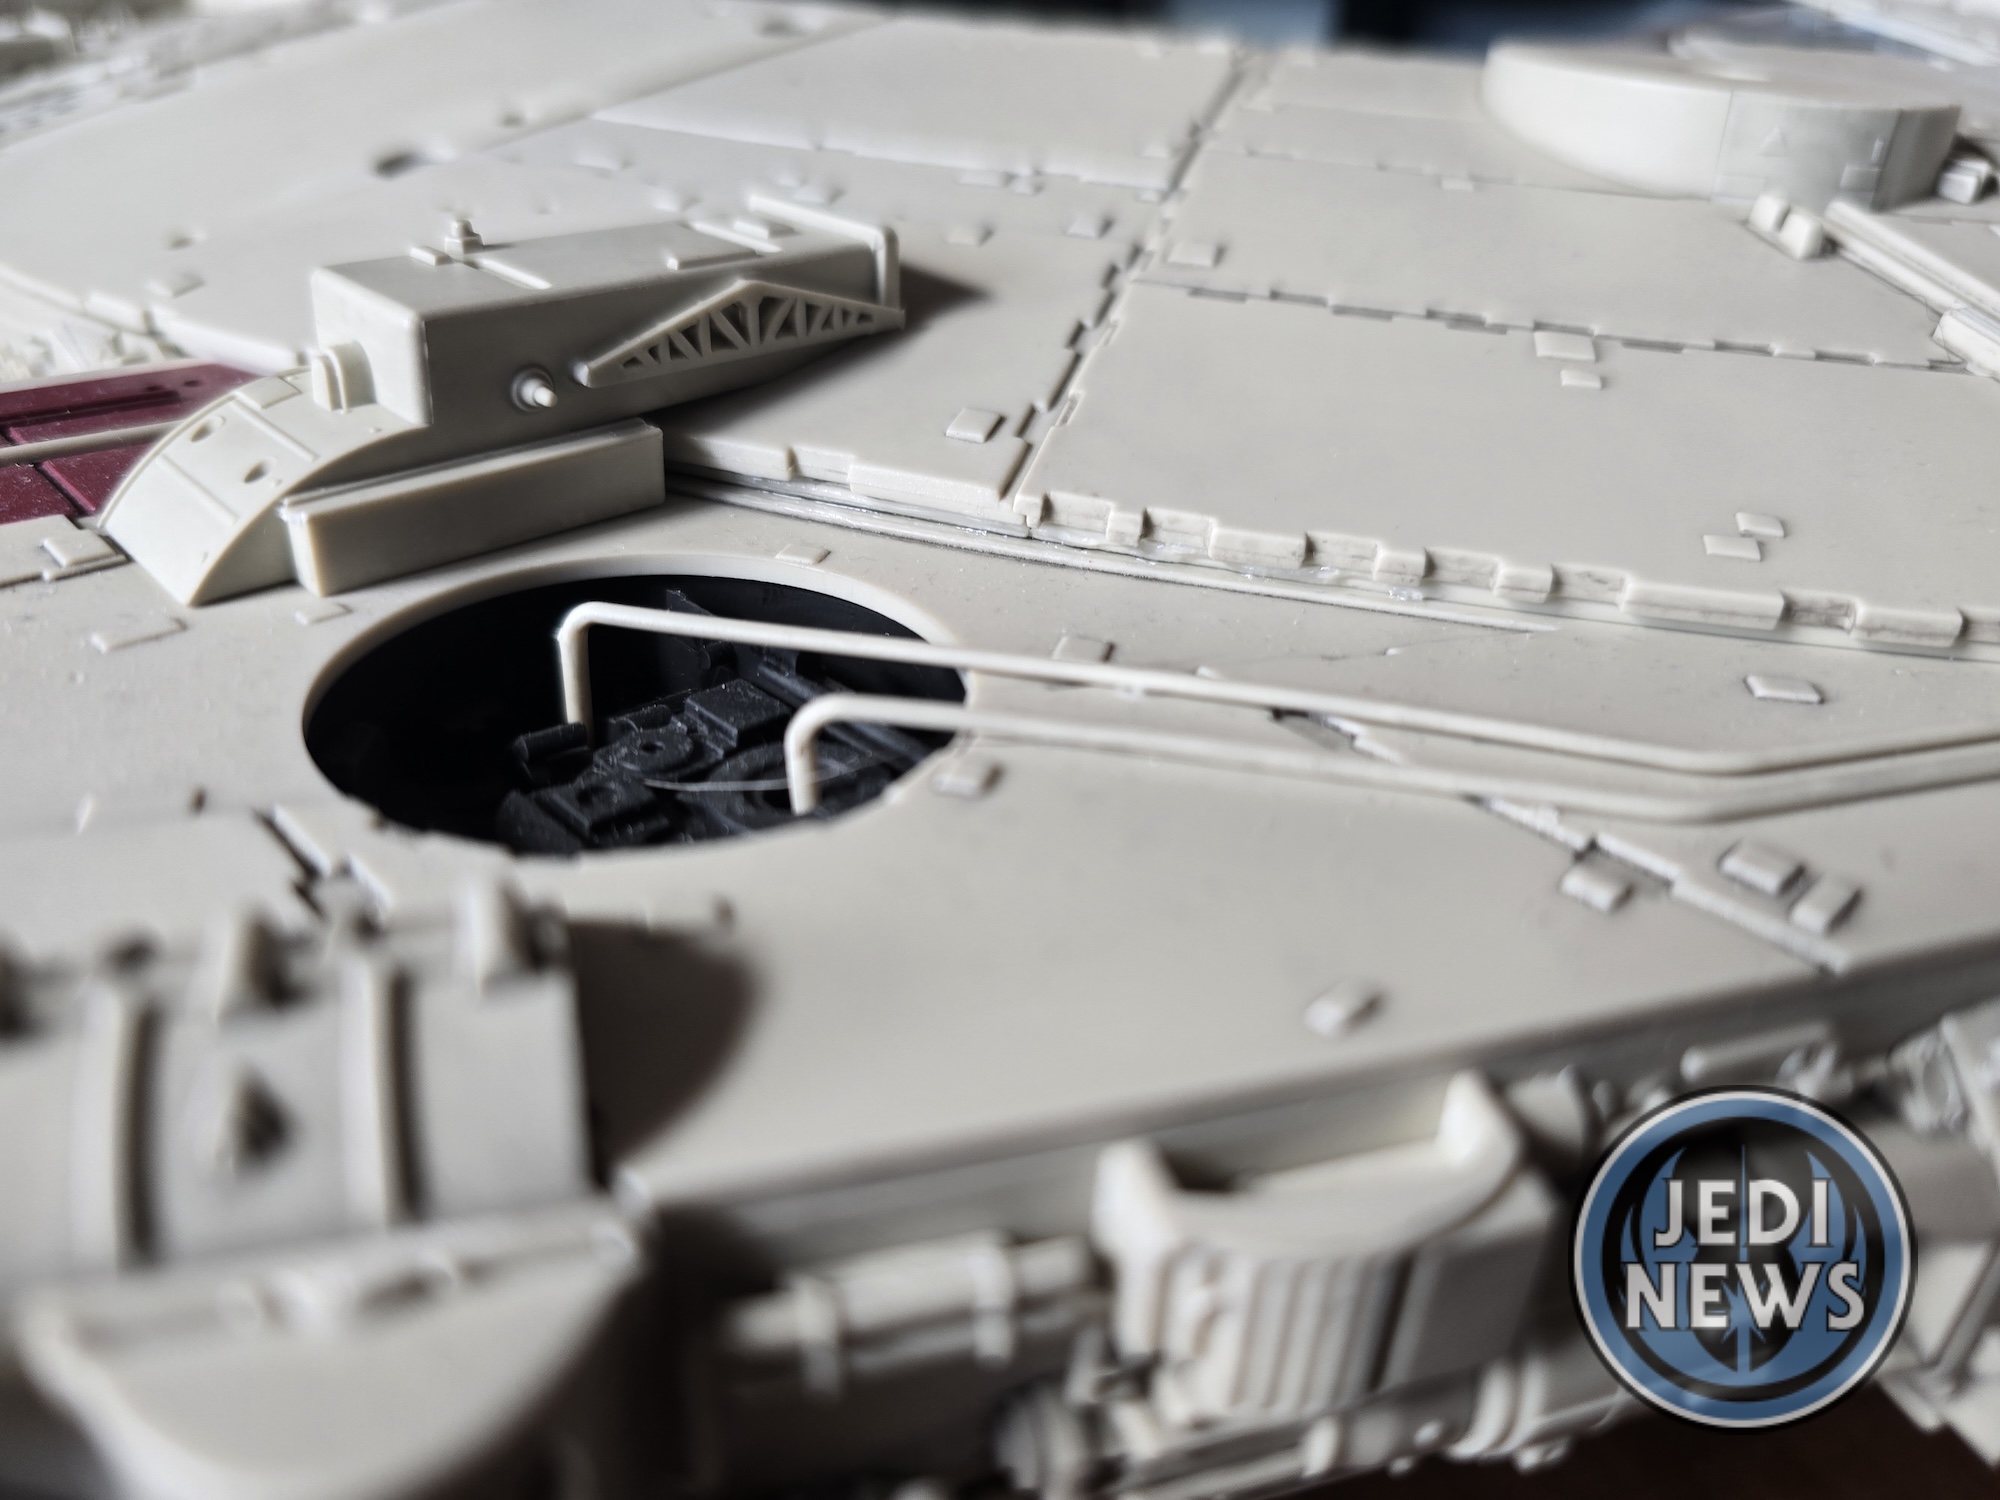
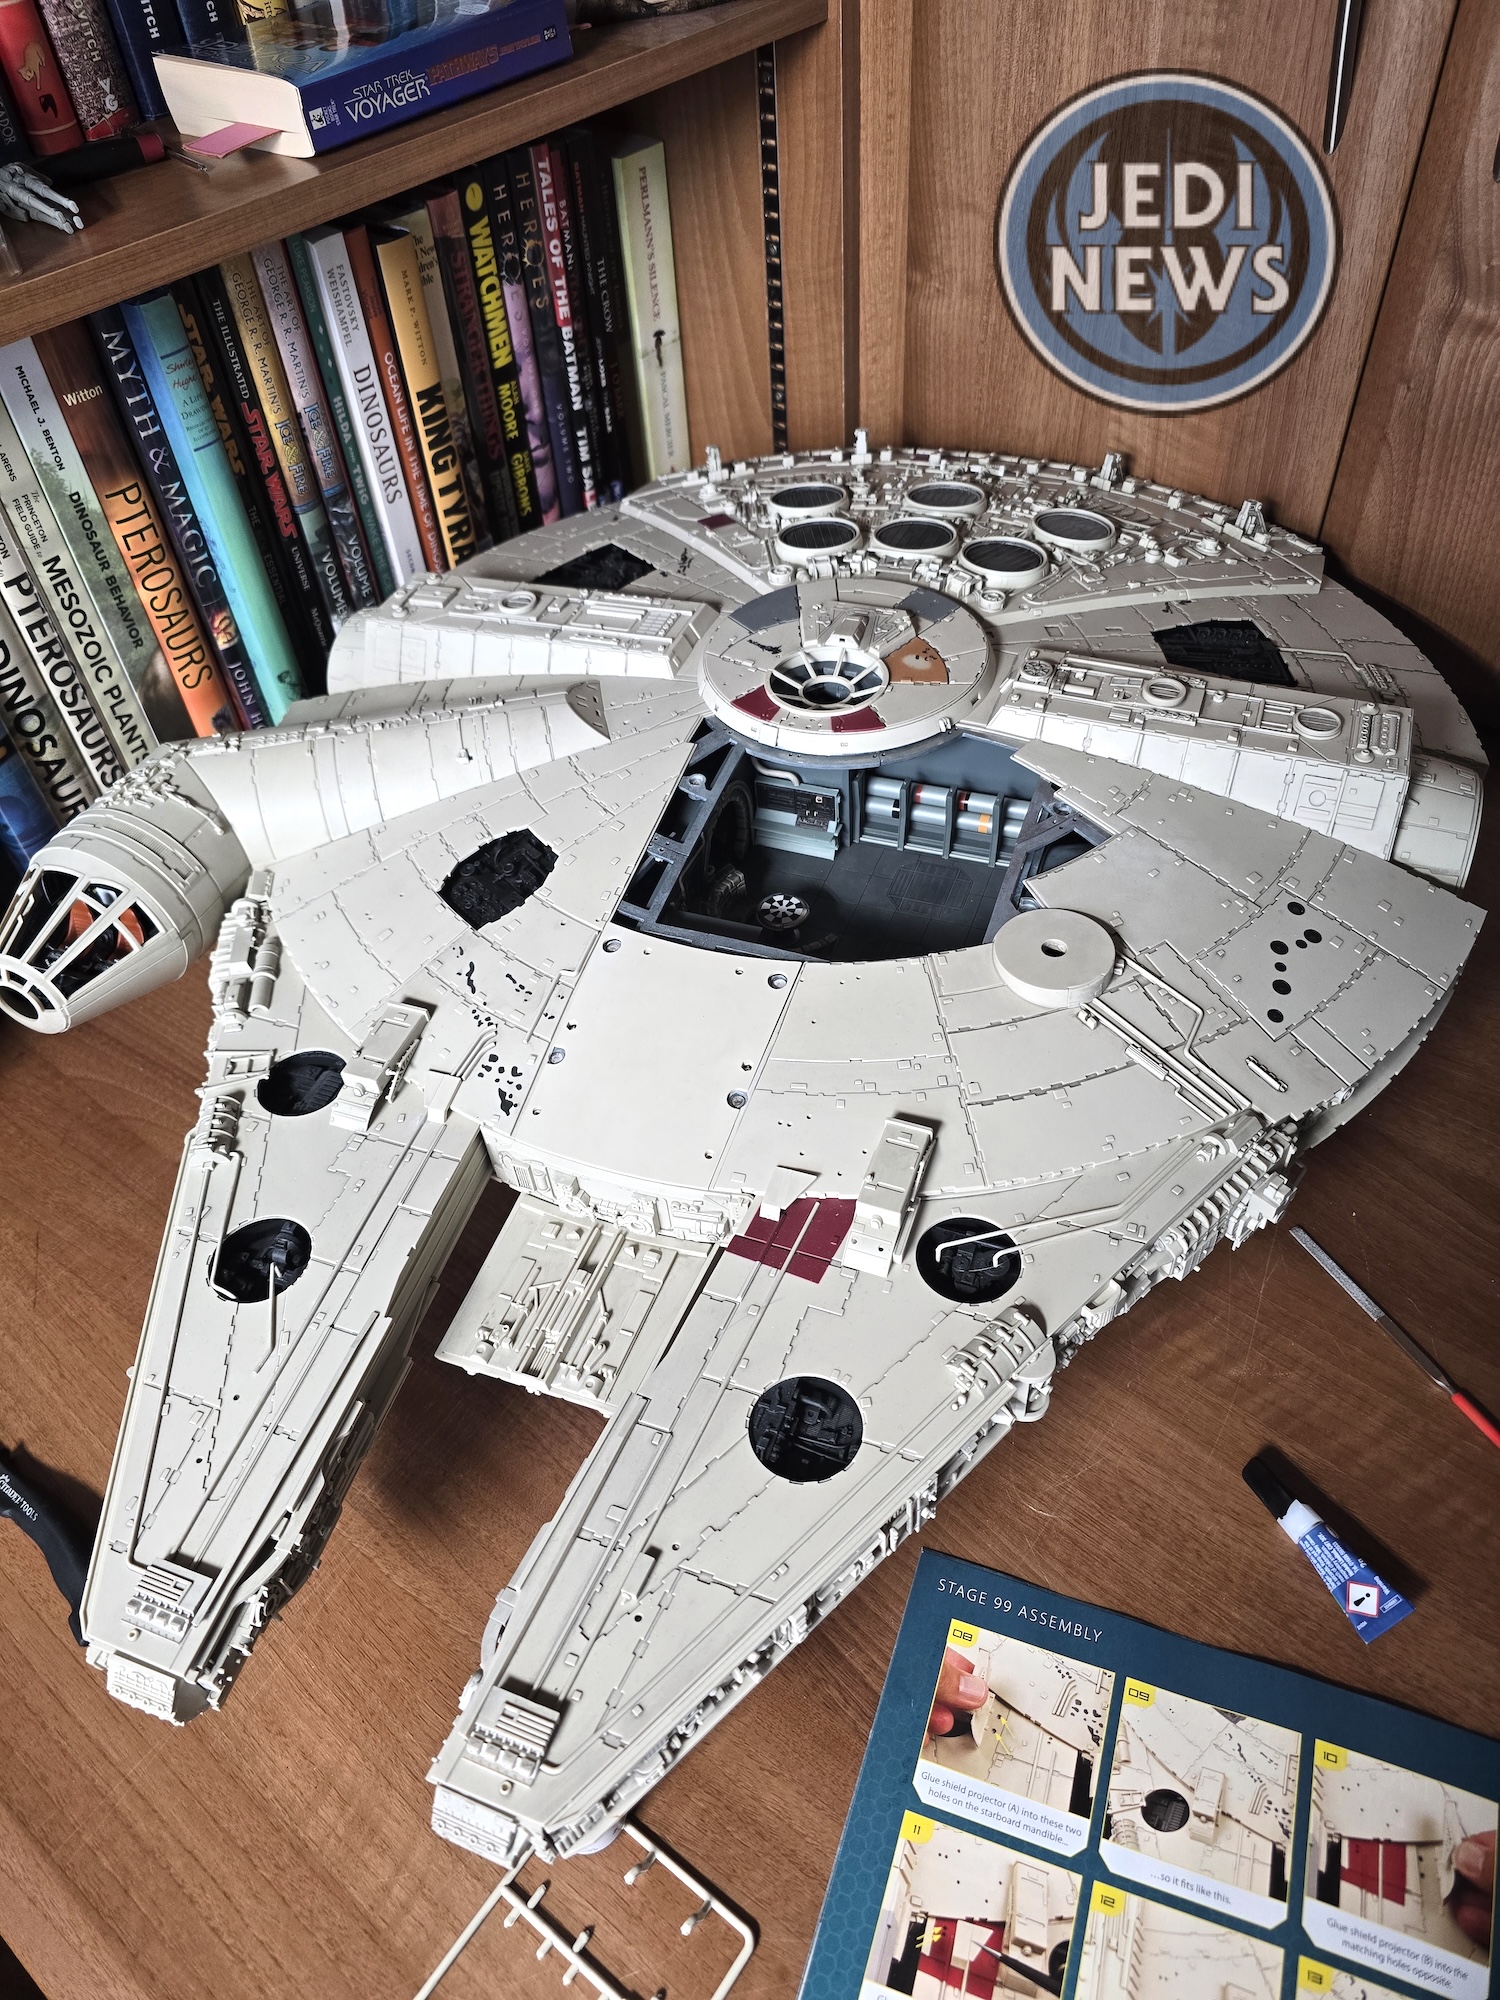
Let’s start with the great. The Falcon looks truly amazing. There seem to be very few spaces now and it is really looking like the ship we know and love. I look at it and I just smile. However, the instructions and the lack of precision with them is starting to get frustrating. For someone who has never done a project this size, there seems to be a lot missing, or things simply incorrect! The order of doing certain parts is starting to grate as well. After completing most of this project, the last few installments have felt a little sloppy, which just causes unnecessary stress. This close to the end, I don’t want this to be my lasting impression! While a lot of the things required me to complete them rather than Ember, we found enough ways to keep her helping me and lending her support. She enjoyed it, which ultimately, is the main thing. With that, there is just the final magazine to complete…
